For many musicians and sound designers, a selection of effects is a must have, bringing the benefits of additional tools that your instruments may not have, as well as making them available to multiple instruments.
Look at synth players and you will often find a number of guitar effects pedals and this is true of keyboard based and modular players. But that could be flipped around, or looked at from another perspective. Why not use your Eurorack rig to process external sounds, either instead or in addition?
Using Eurorack to process external audio offers a huge range of possibilities over pedals. There’s the inherent versatility you get. Interoperability makes for some really interesting patching opportunities and, if you’re already a Eurorack user, then you don’t necessarily need to spend much either.
Best Eurorack modules: essential oscillators, filters, utilities, effects and more
There are some modules you’ll need to get started but these tend to be cheap and readily available. Chief amongst these is some form of input device, to get your audio in at a usable level for Eurorack. A simple I/O like Strymon’s AA.1 could work, or you could take it up a step and use something with a few more options. We like to use Mutable Music Thing’s Ears, as it has not only an input and amplifier but an envelope follower and a gate output, which can be used for some interesting patching, without the need for extra modules. Handy if you want to make a breakout-processing skiff.
The main consideration is to have an idea of what you’d like to achieve with your effects. It could well be that more traditional tasks are all you need but in a different format to effects pedals. This is an easy setup but retains the modular benefits and could mean just a simple delay, reverb, drive and modulation like a phaser. The choices here are pretty varied in size, cost and user experience but most will give you more than pedals.
Other than the standard fare effects, you have some exciting tools in Eurorack format to take things a bit further
That said, one consideration is where you’ll be using them. For gigging, modular won’t give you stompbox switching, unless you invest in an external foot switcher, but in the studio it can be fantastic to have everything on the desk, without all the cable clutter a pedal board brings with it. If you’re studio-based you can think about a MIDI interface too, so you can tie in effects with your DAW, something that’s much harder with pedals.
Other than the standard fare effects, you have some exciting tools in Eurorack format to take things a bit further. All the sound-shaping you use for patches can be put into service for effects too, making swells for your reverbs with envelopes, or clocking delays, filter instead of wah and making bitcrushed lo-fi guitar or synth sounds can breathe new life into existing gear.
We’ve put together a little rig to look at how this could work in practice, with some key modules that can do the job. Being modular, there are multiple options for each of these, so work with what you have, the principles will be the same and we all have our own preferences for which modules we prefer. We’ve opted for Ear as an input and AA.1 for output, Rings for some fun resonating, an envelope generator from Wavefonix, Modbap’s new CLRS as a lo-fi effect, Z-DSP as it is a powerhouse effects unit but in this case we’ll be using it as a reverb. We went with Knobula’s Echo Cinematic for delay and a handful of others to experiment with.
For a really small effects unit look at something like Endorphin.es Ghost (which there is also a pedal variant of) as it offers delta, reverb, filtering and drive. That combined with Ear is an excellent way to dip your toe into the waters of modular effects, as you’ll see in our accompanying video.
Back to basics: create a simple but effective minimalist processing patch
For the most basic patch we can use a multi-effect module. There are lots to choose from, including many DSP-based modules, or go more old school analogue. The first thing you need to do is to get your low level input up to Eurorack’s hotter signal, so you will need an input device. For this we’ve chosen to use Ears, which has a built-in amplifier, suitable for most instruments. For the effects portion we’ve chosen Ghost, paired with Z_DSP, with the halls of Valhalla card installed. This gives a heap of options for effects and modulation and easy integration with a wider setup if you need it. For now, we’ll make it super simple but with a neat trick to make drive sounds more dynamic.
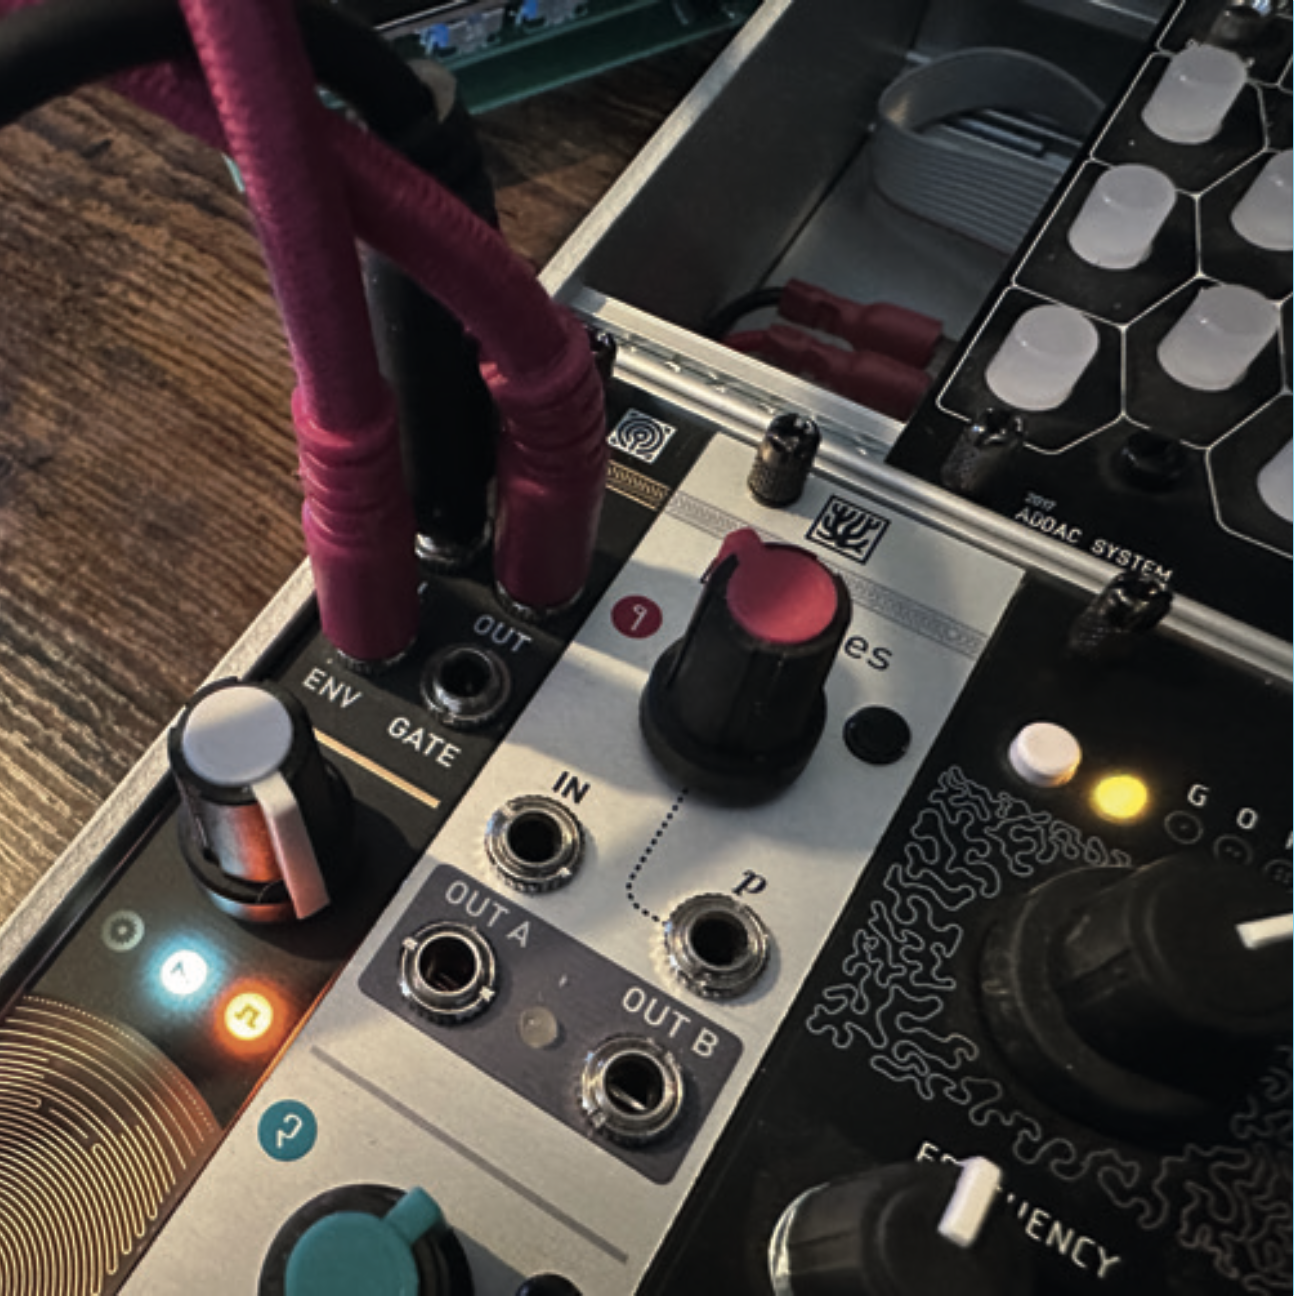
First up you’ll need to plug in your instrument: in our case, a Fender Parallel Universe Strat/Tele hybrid. You’ll need a cable or adapter to ensure your input is 3.5mm. Turn the knob until you see the gate and envelope follower LEDs light up. The brightness indicates the level.
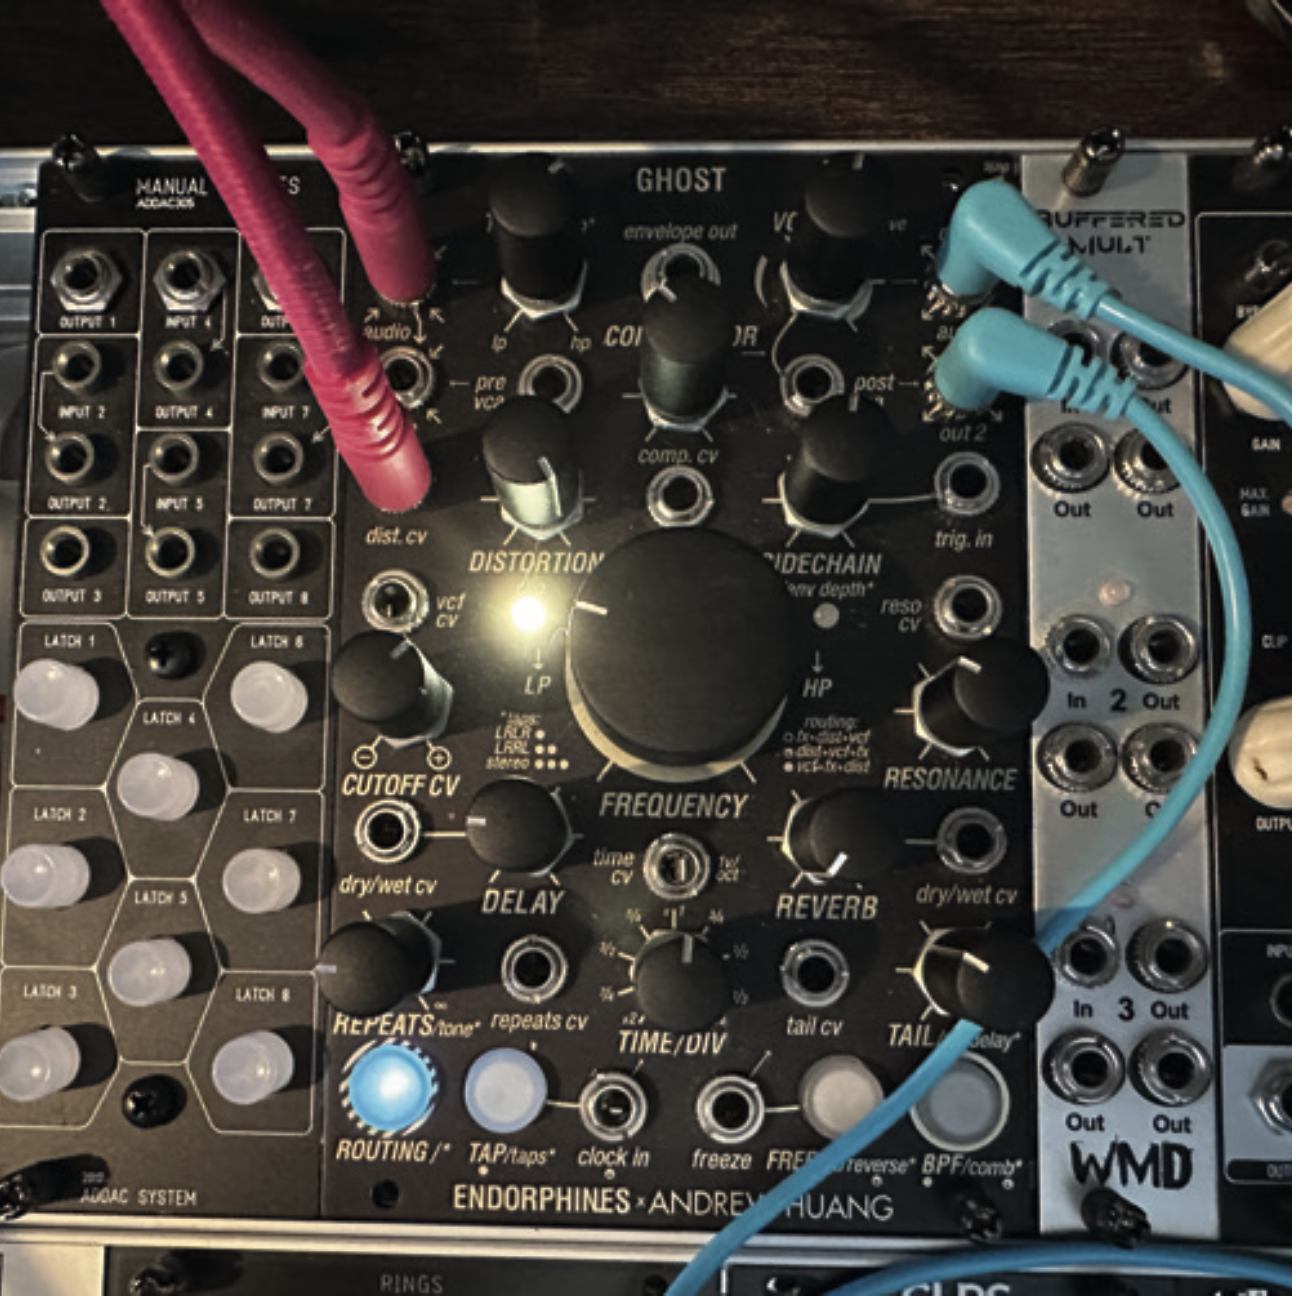
Take the output from Ears and patch it into Ghost’s input and then patch Ear’s envelope follower into Ghost’s dist.cv input and crank the knob to set your maximum distortion. This will vary depending on input levels and pickup type.
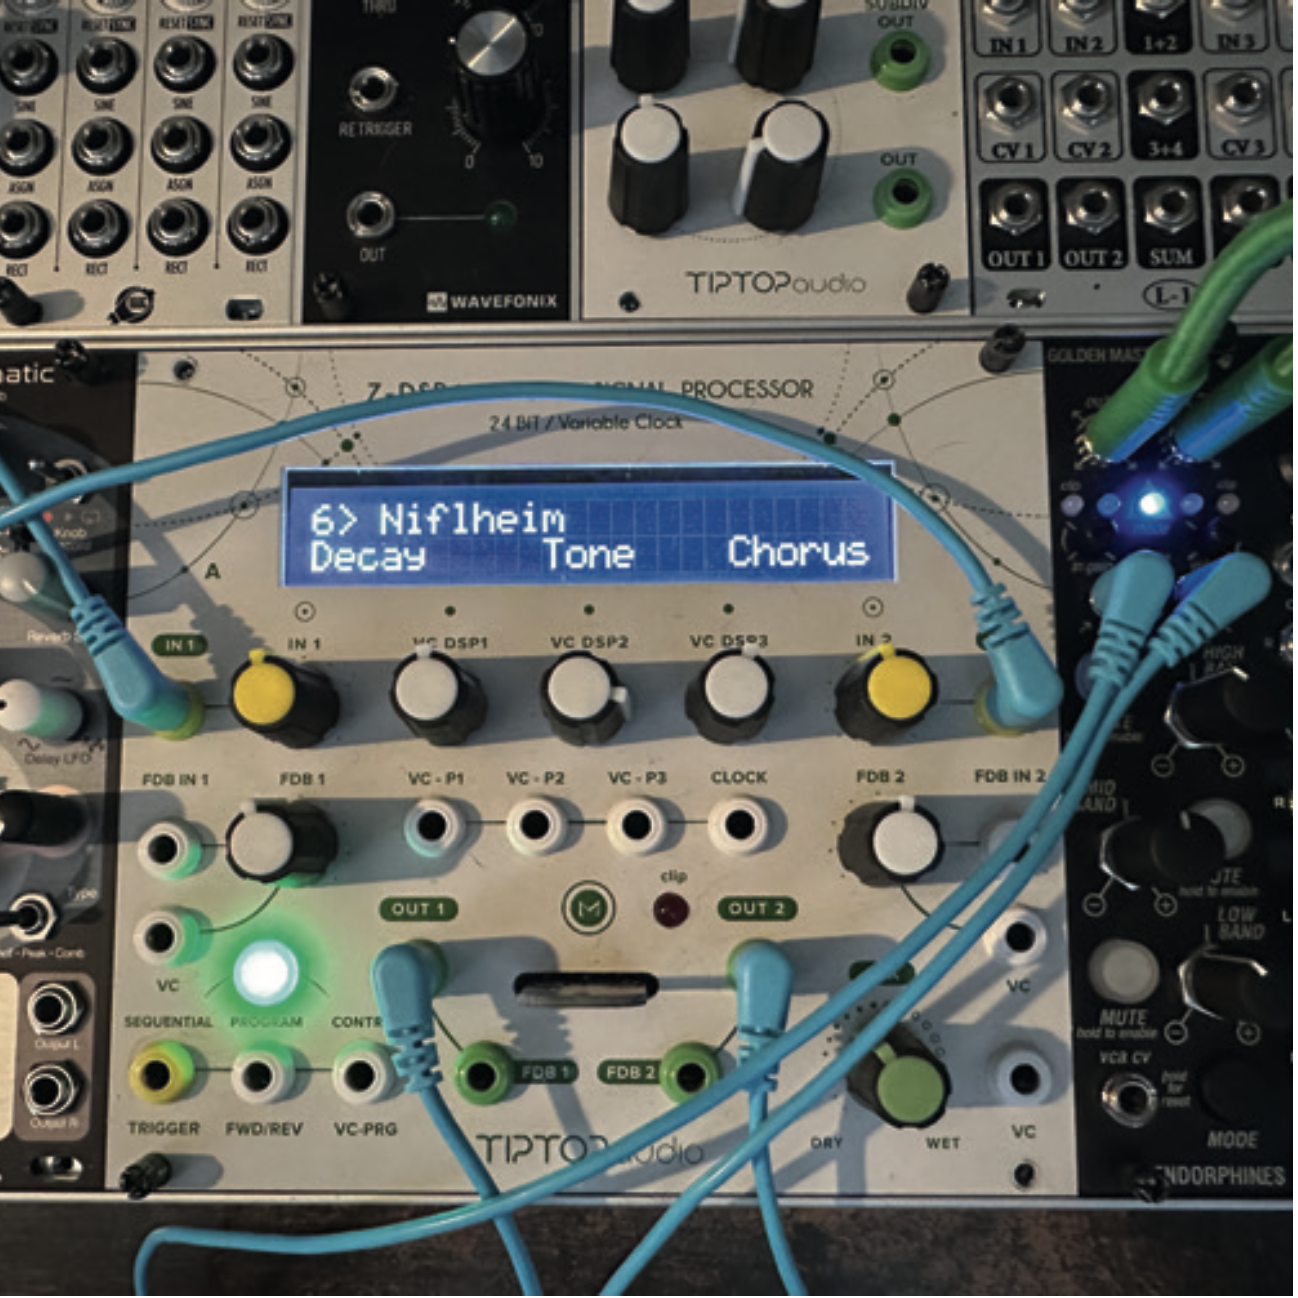
Patch into your output device (Strymon AA.1 for us) and you’re done. Dial in any reverb or delay and then play away. Using Ear’s envelope follower like this means that the harder you hit strings, the more distortion you get. You can apply the same techniques to control CV for anything. A really dynamic way to play.
Impact modulations: using dynamics of an audio signal to create modulations in a patch
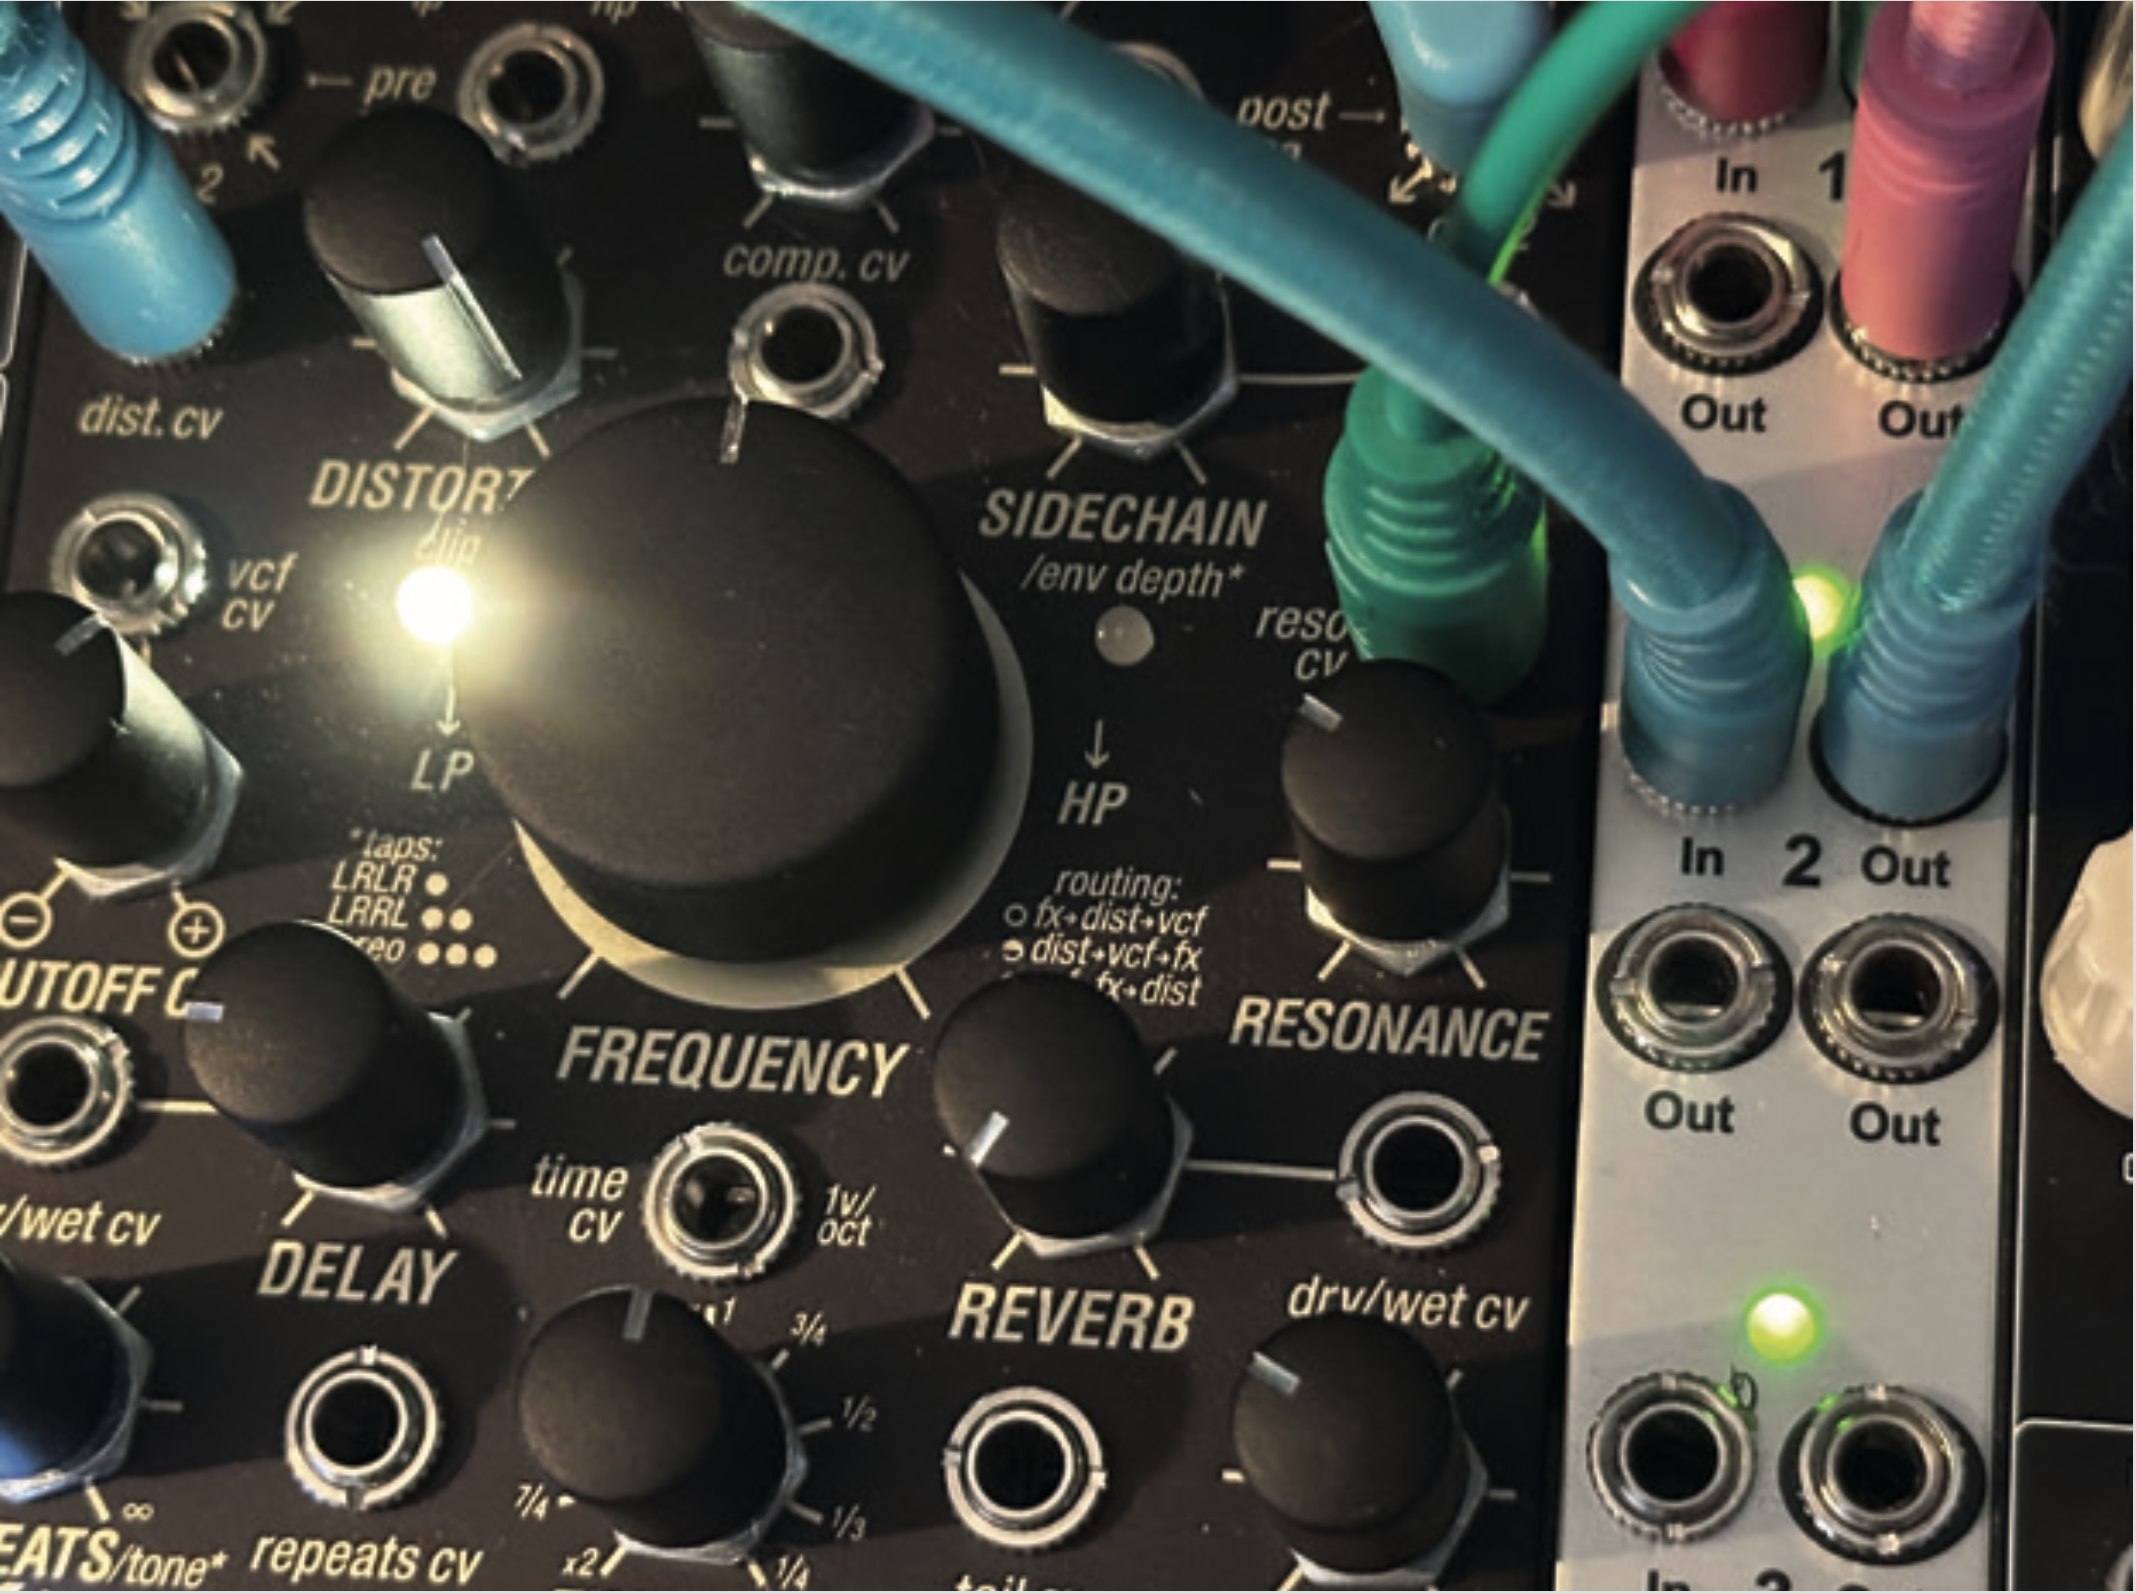
Plug your instrument into Ears as in the previous walkthrough. As we’ll make use of the envelope generator for a couple of things. Patch this into a mult, taking the first copy to the distortion CV input of Ghost, so that you get a falloff in the dirt of each note. Use the output knob to balance your signal. The distortion can increase the perceived volume quite a lot, so you might need to tweak to suit.
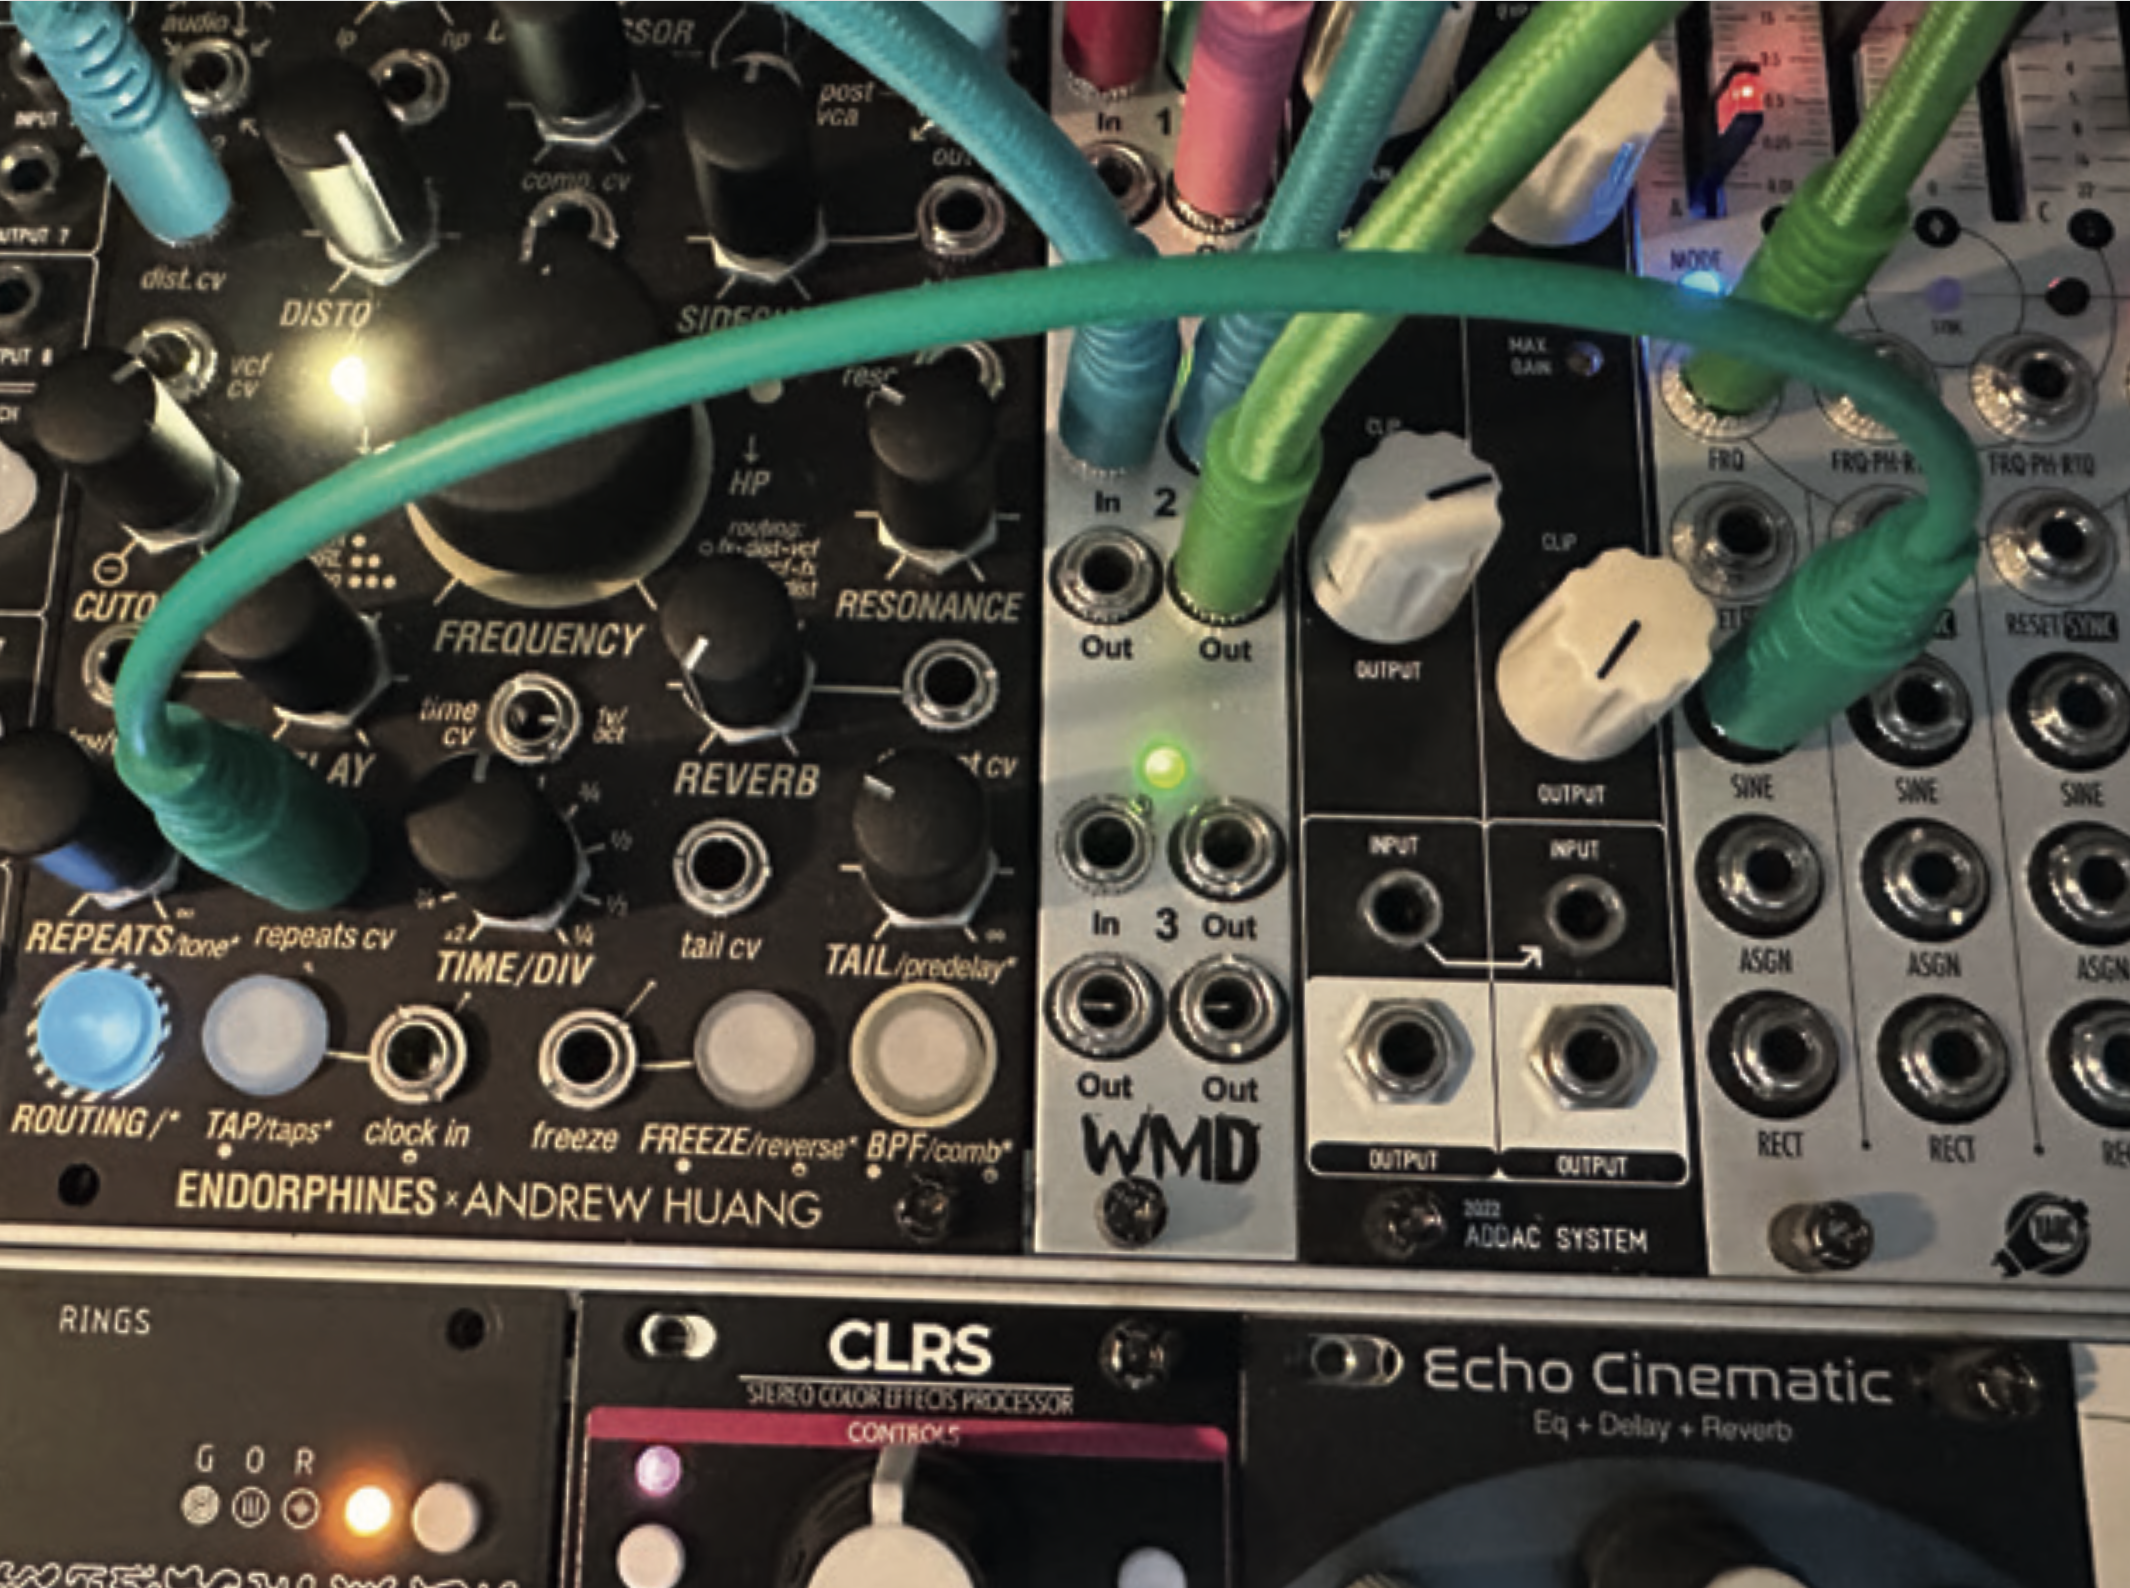
Patch a second copy into the FRQ socket of Batumi, giving you dynamic control over the LFO speed. Now patch the first sine wave output from Batumi into the repeat CV point on Ghost. This means that every time you strike a note you’ll get a swell of repeated that fades away as the note rings out. Play with other modules too, like reverb size or phaser mix.
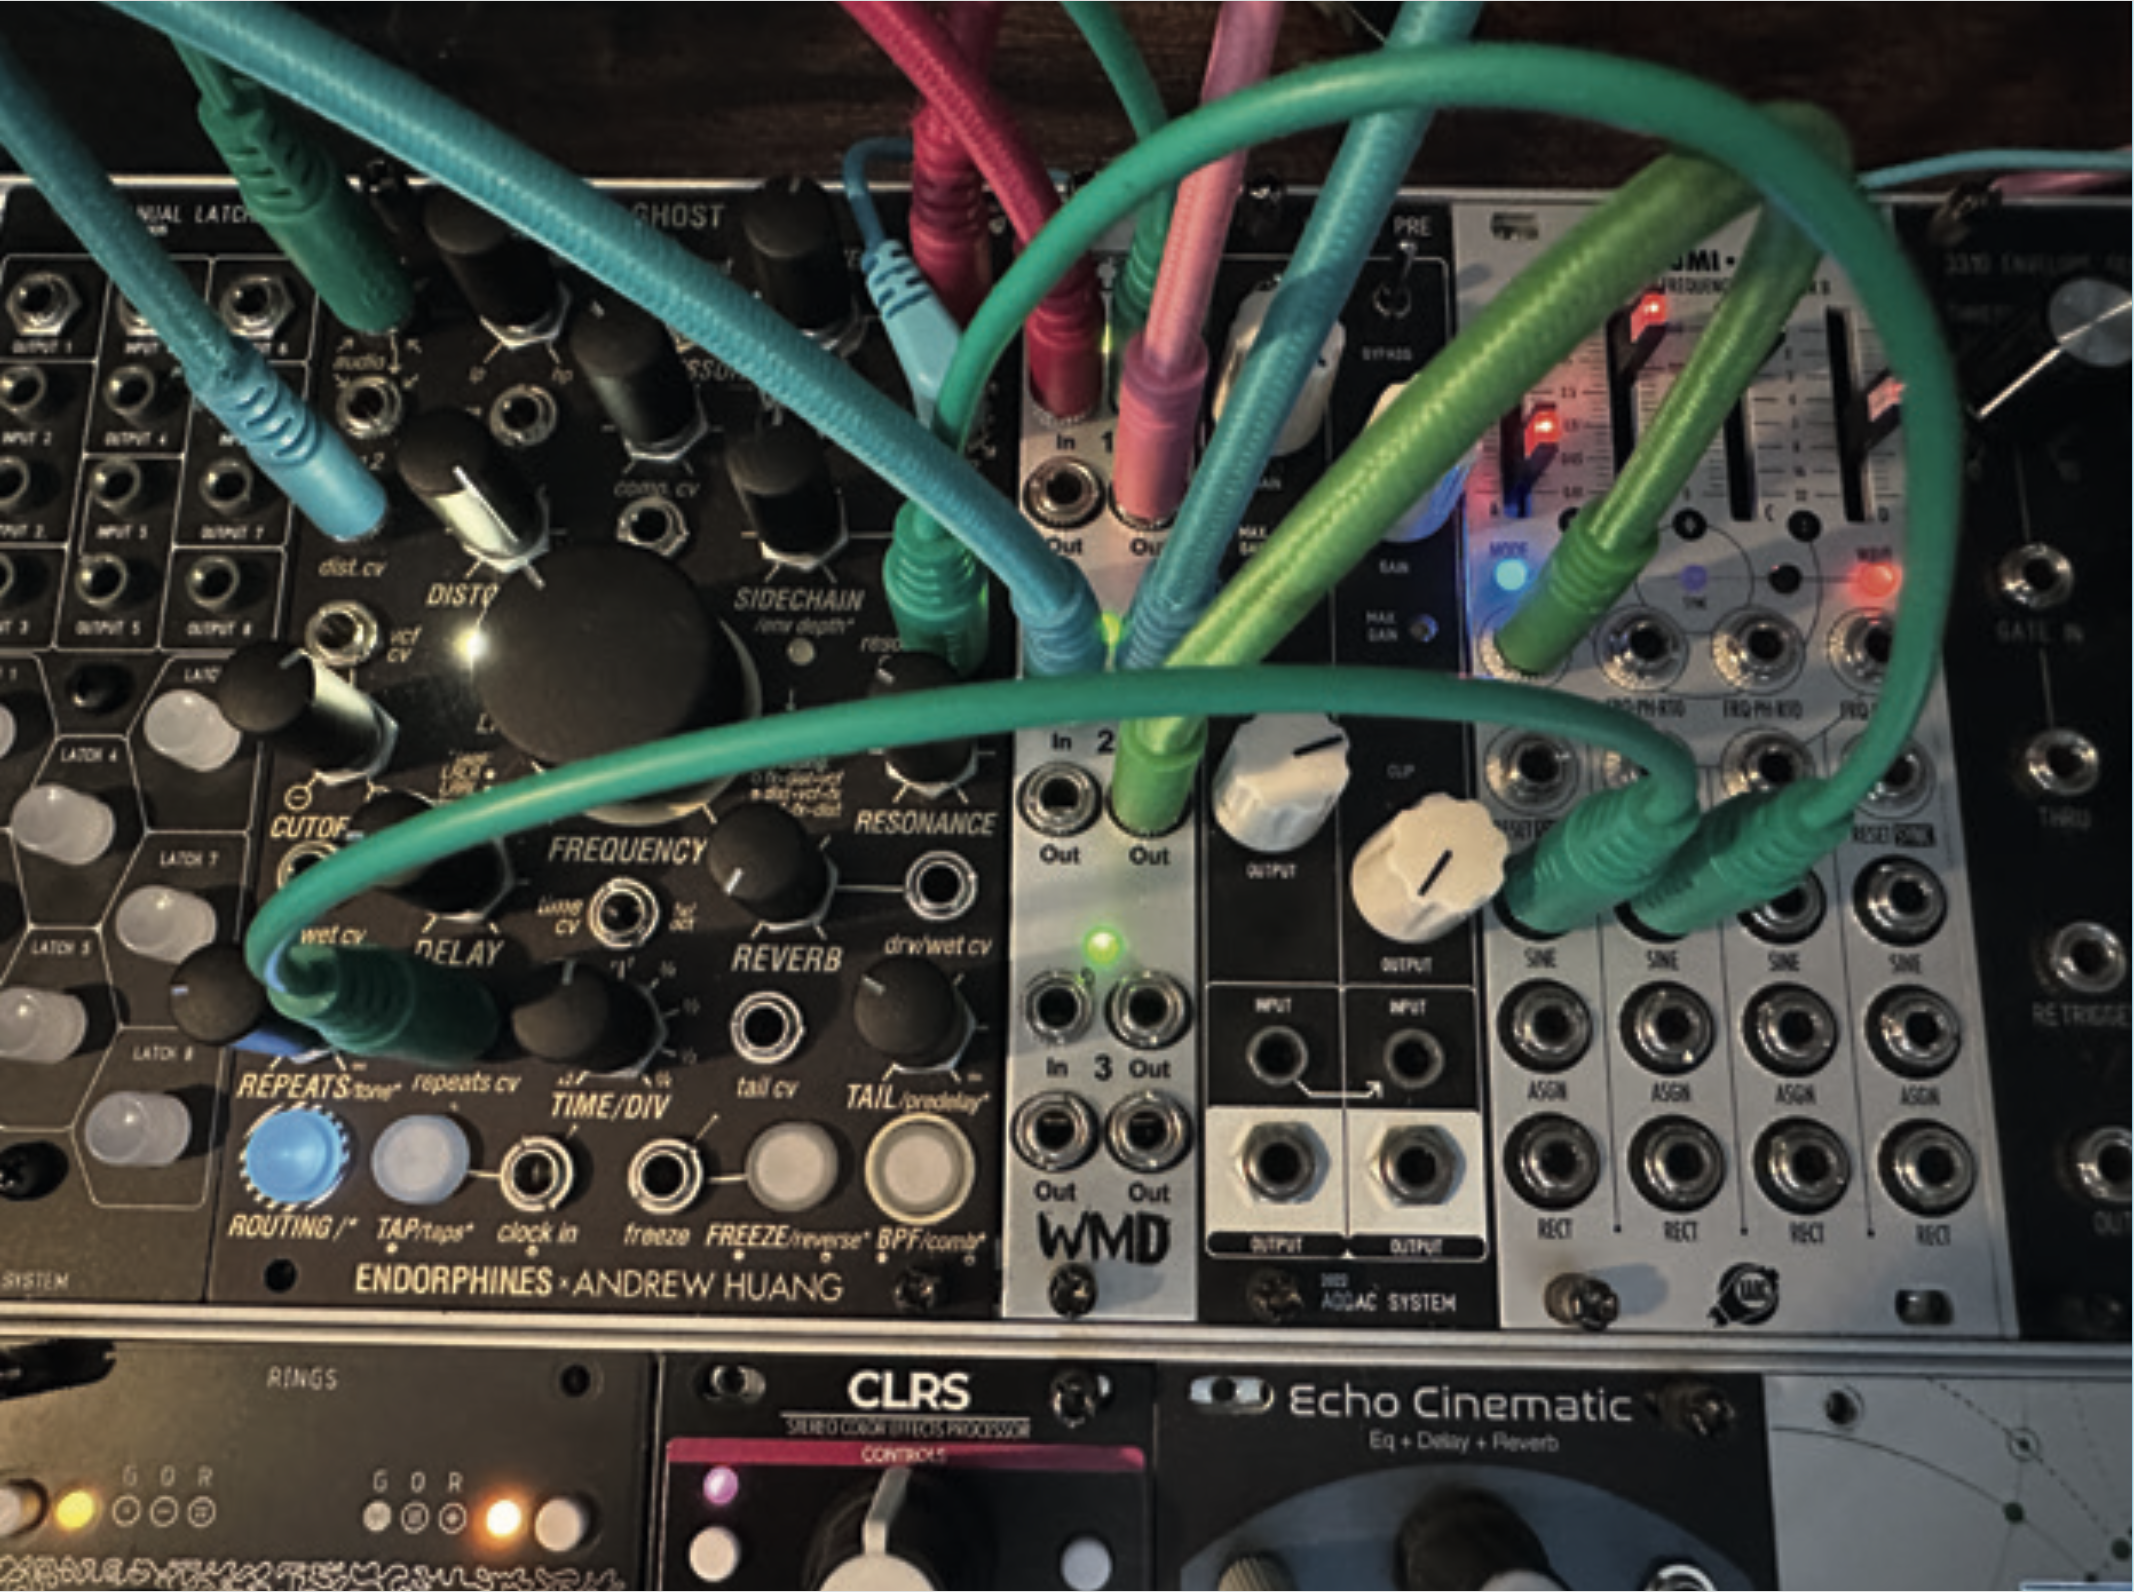
Use Ghost’s filter to reduce some of the high end a little. For added interest, modulate this and/or the resonance with a slow gentle LFO, taken from Batumi’s second channel. It can be interesting to add some sharper, sudden, modulation instead, so experiment with wave shapes for this. A random output from a different source could work but we prefer a smoother modulation.
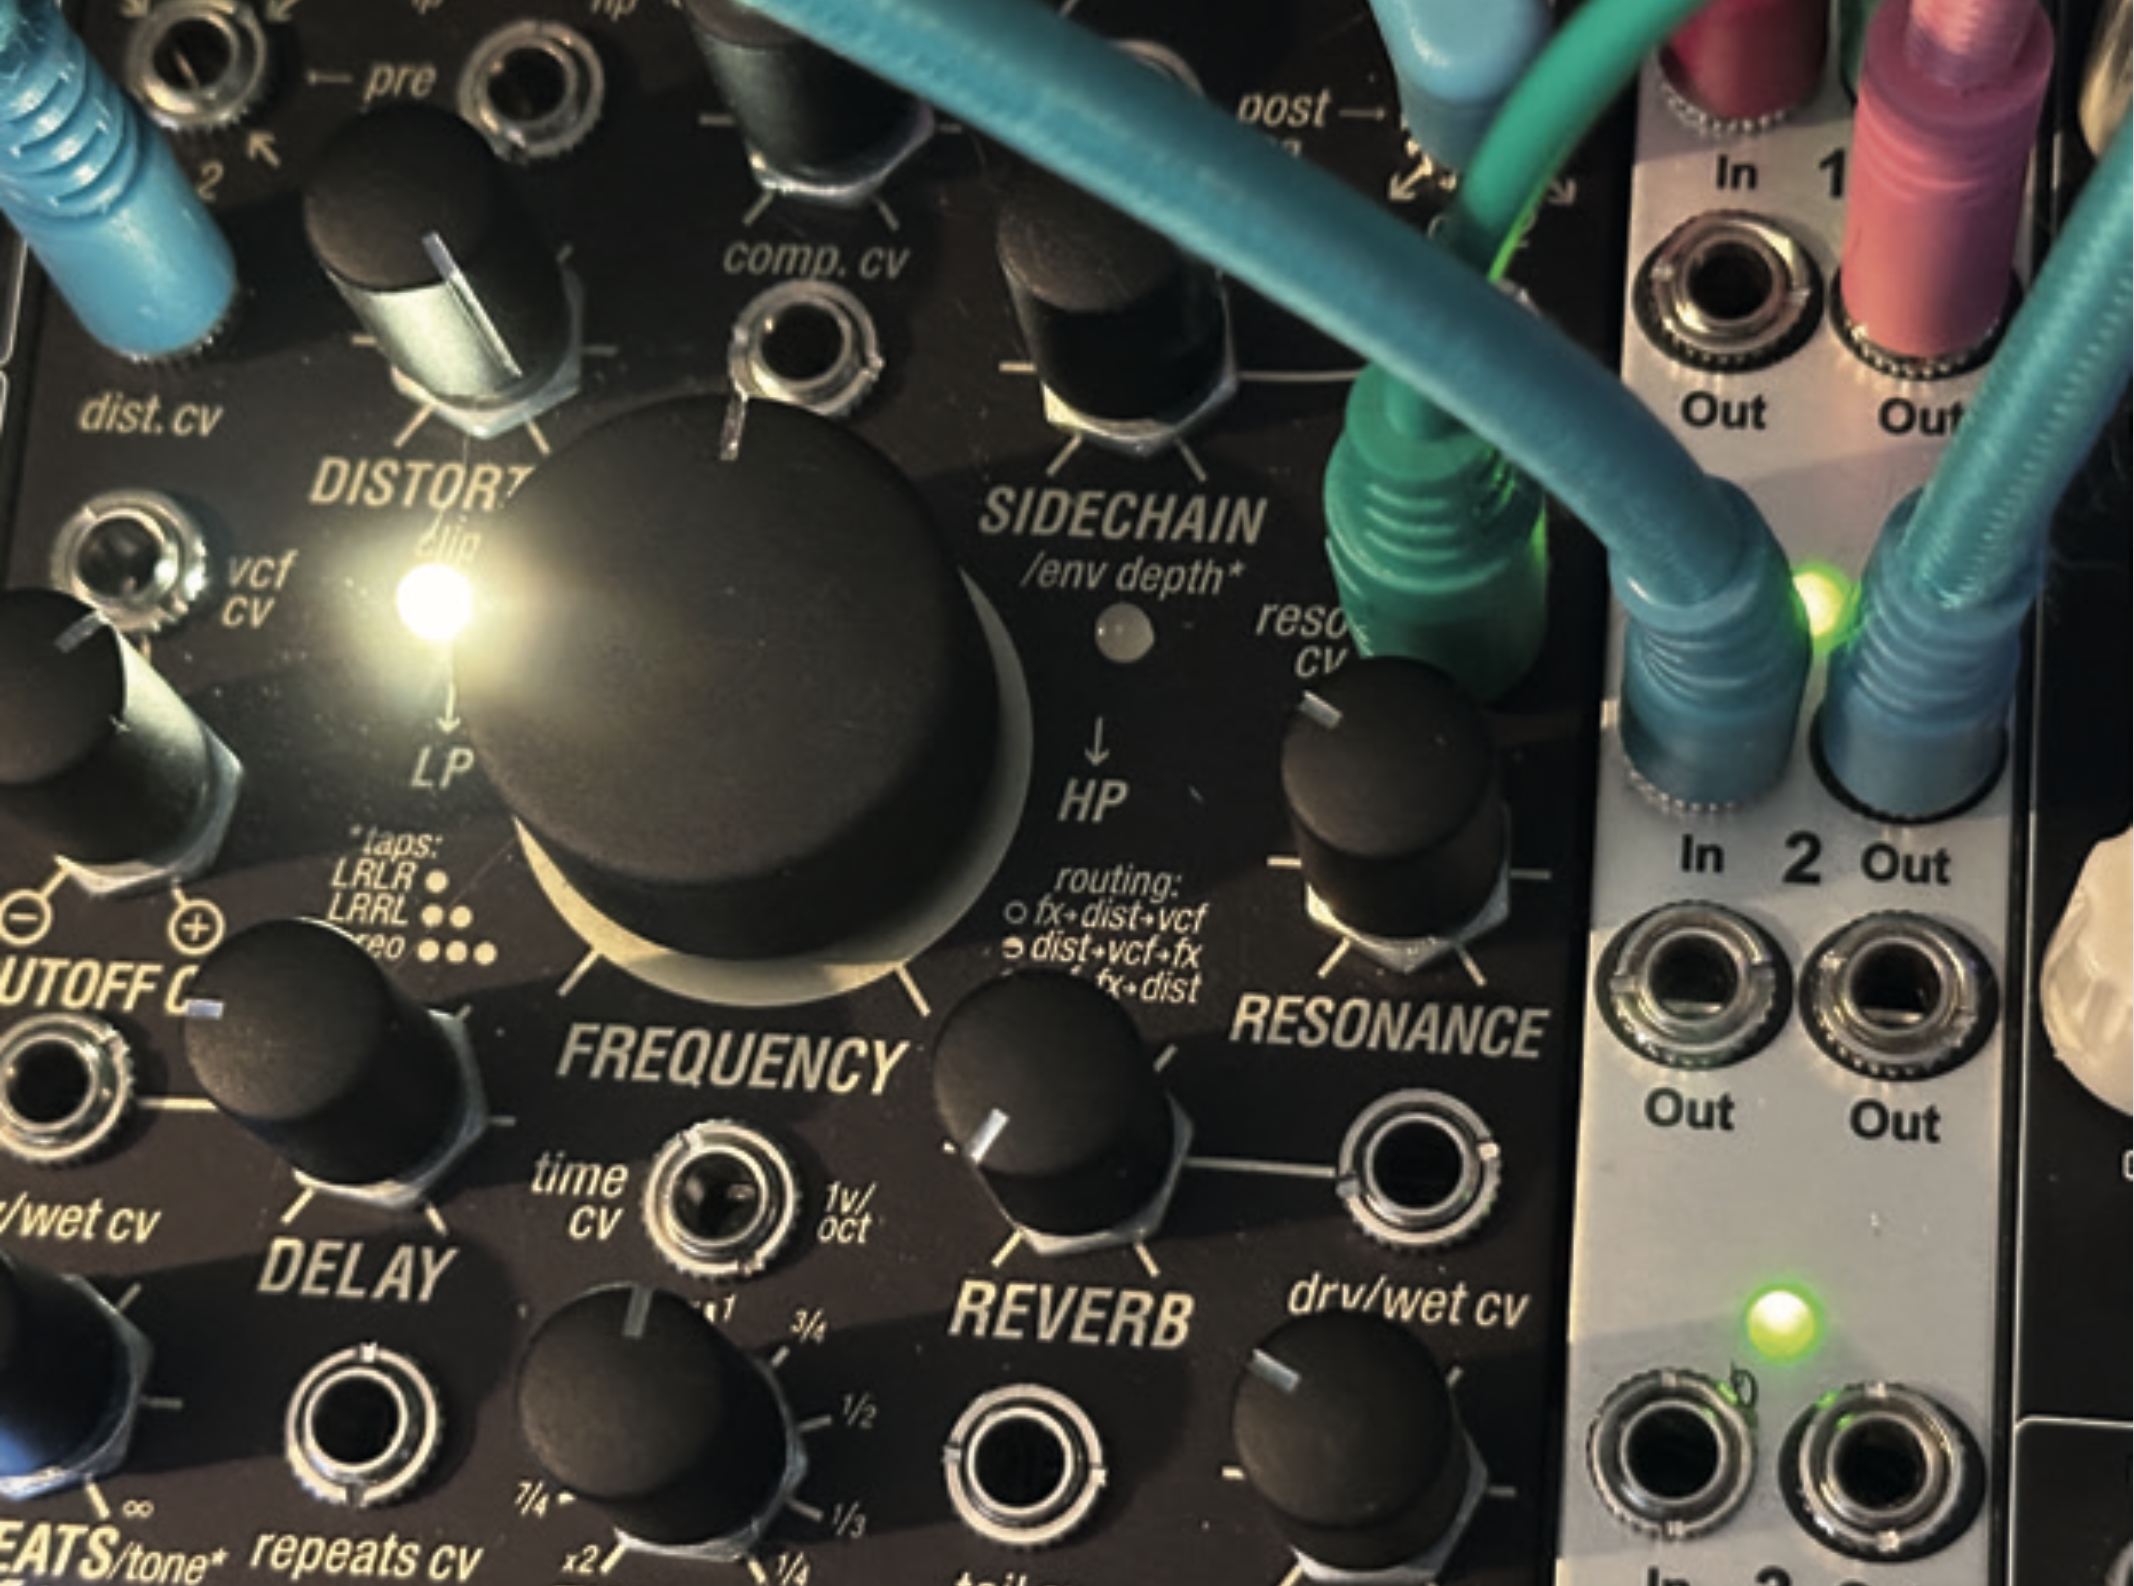
Patch Ghost’s output into your reverb and set to taste. We’re using the Z-DSP, as our end goal is a huge ambient guitar sound and the Asgard algorithm is perfect for this. A third copy from the mult can be used to control a fading of parameters here too. For us it’s the length stopping things from feeling too slushy and messy. As this and the distortion fade at the same time it gives a more interesting sound.
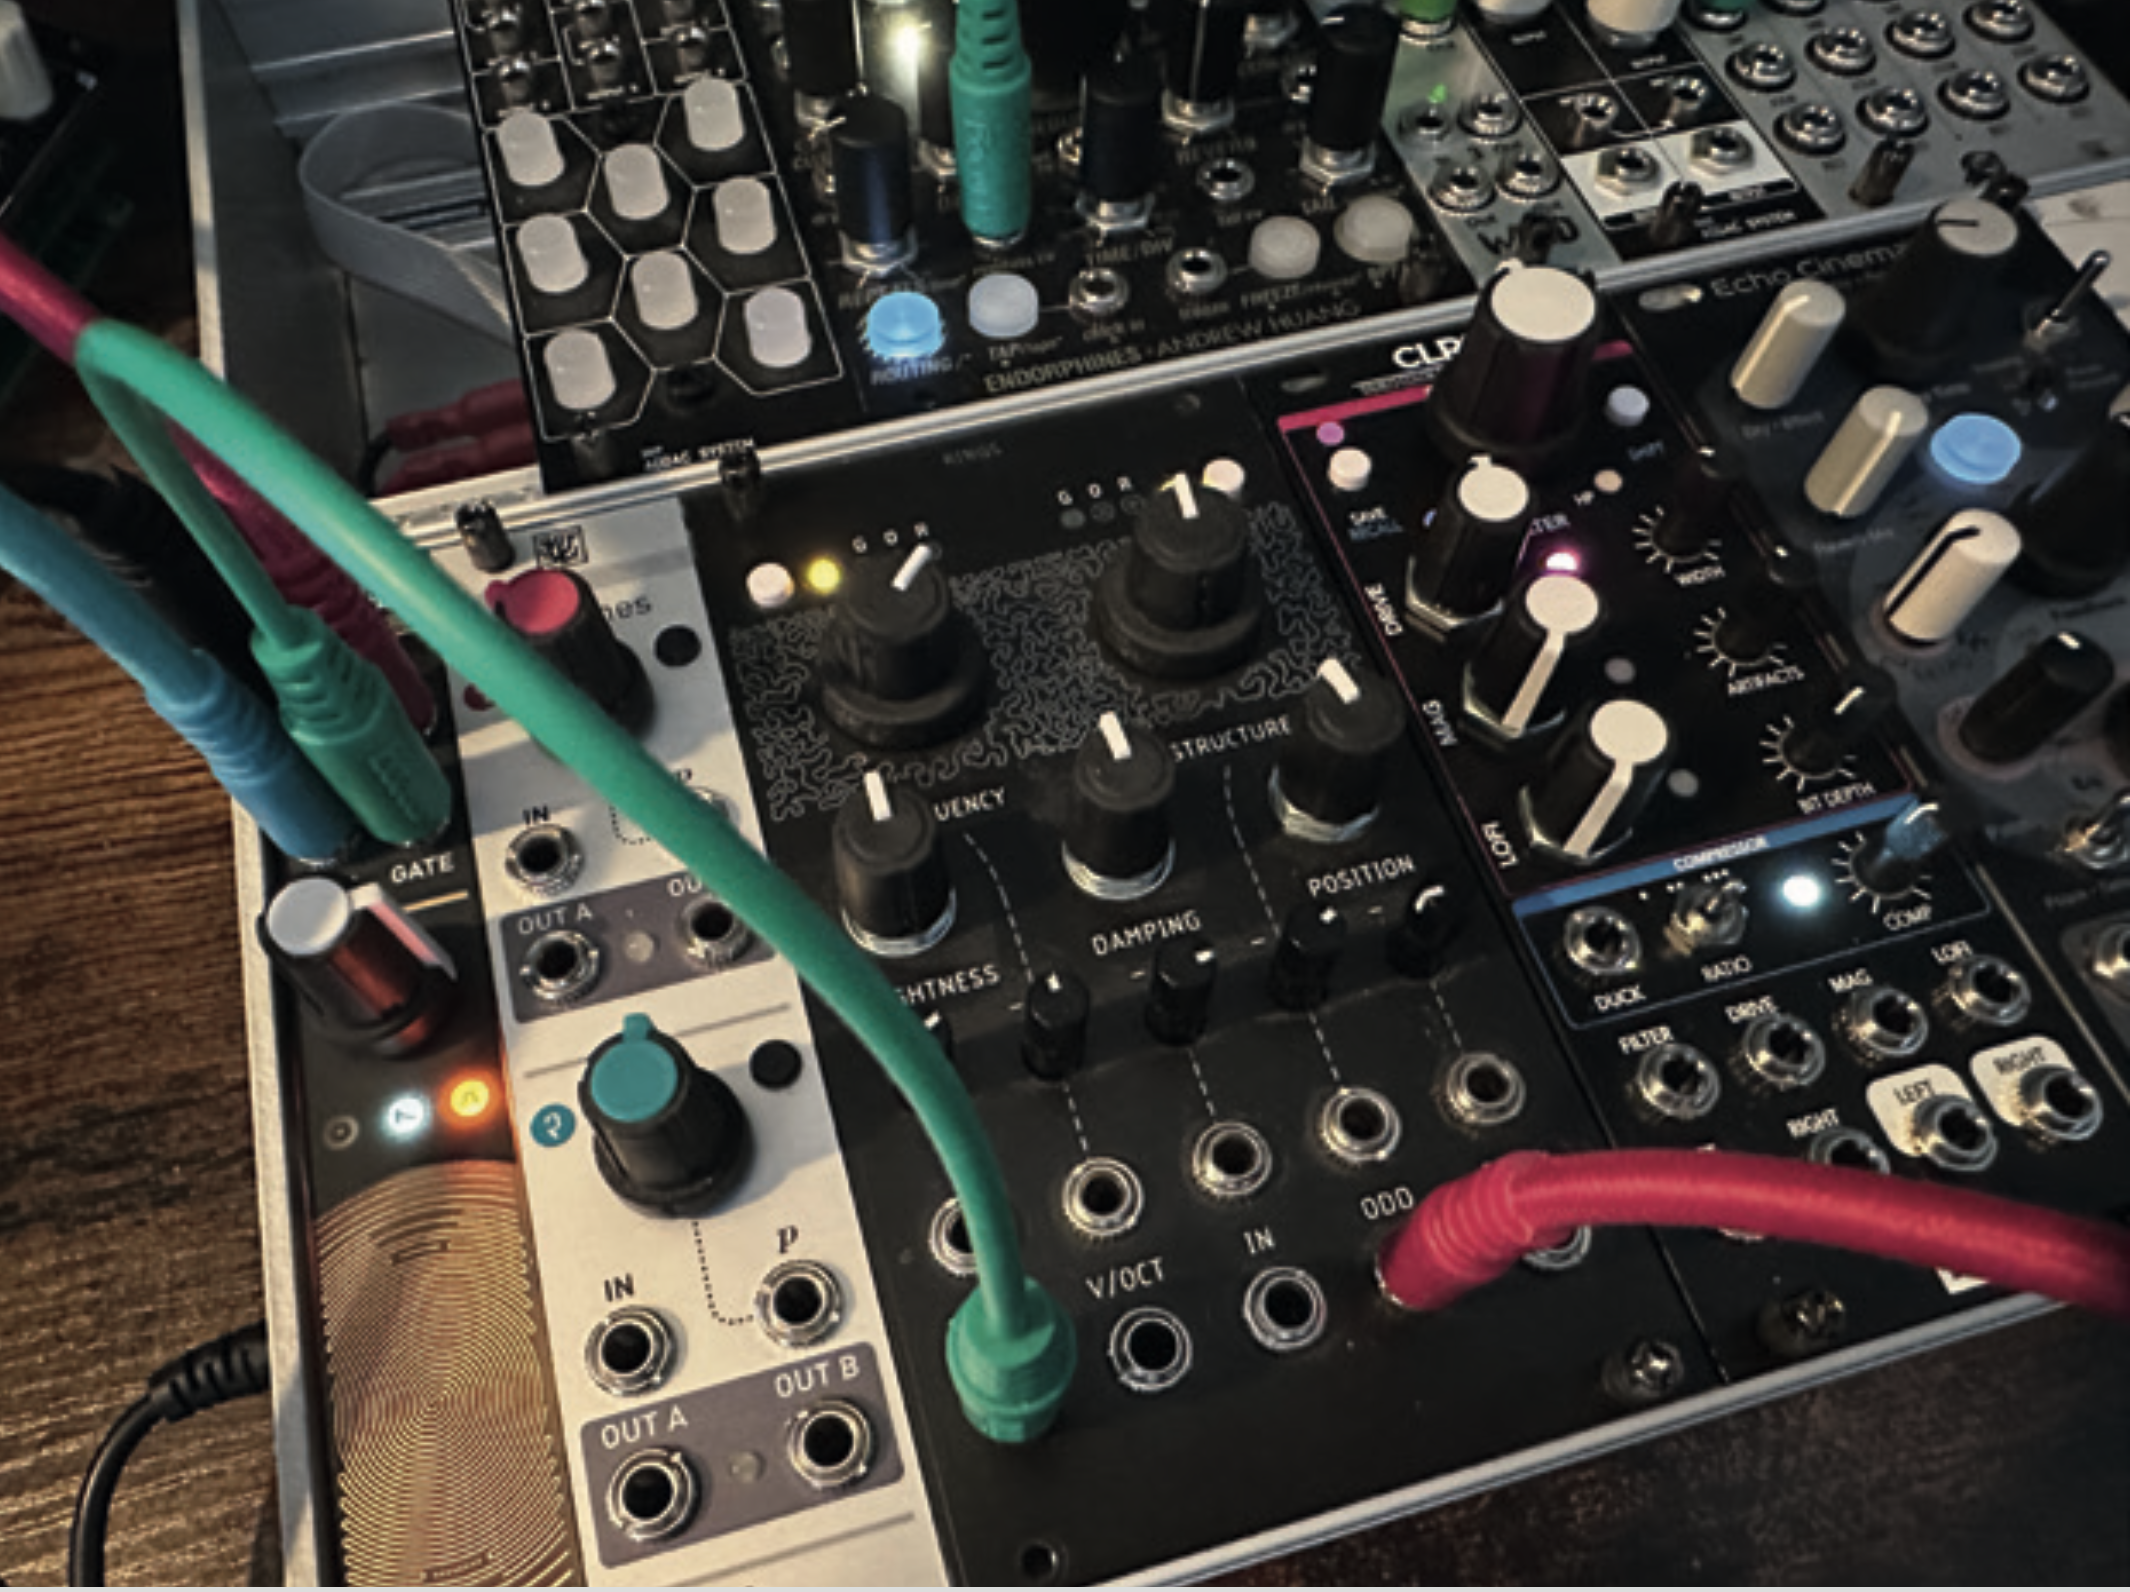
Take the gate from Ears and patch it into the strum input of Rings and set Rings to orange mode. Tune it to your root note, in my case D, then add any modulation you feel like, and patch the output into a VCA, along with the two outputs from Z-DSP. A mixer works just fine too but a VCA offers extra modulation options, should you want them.
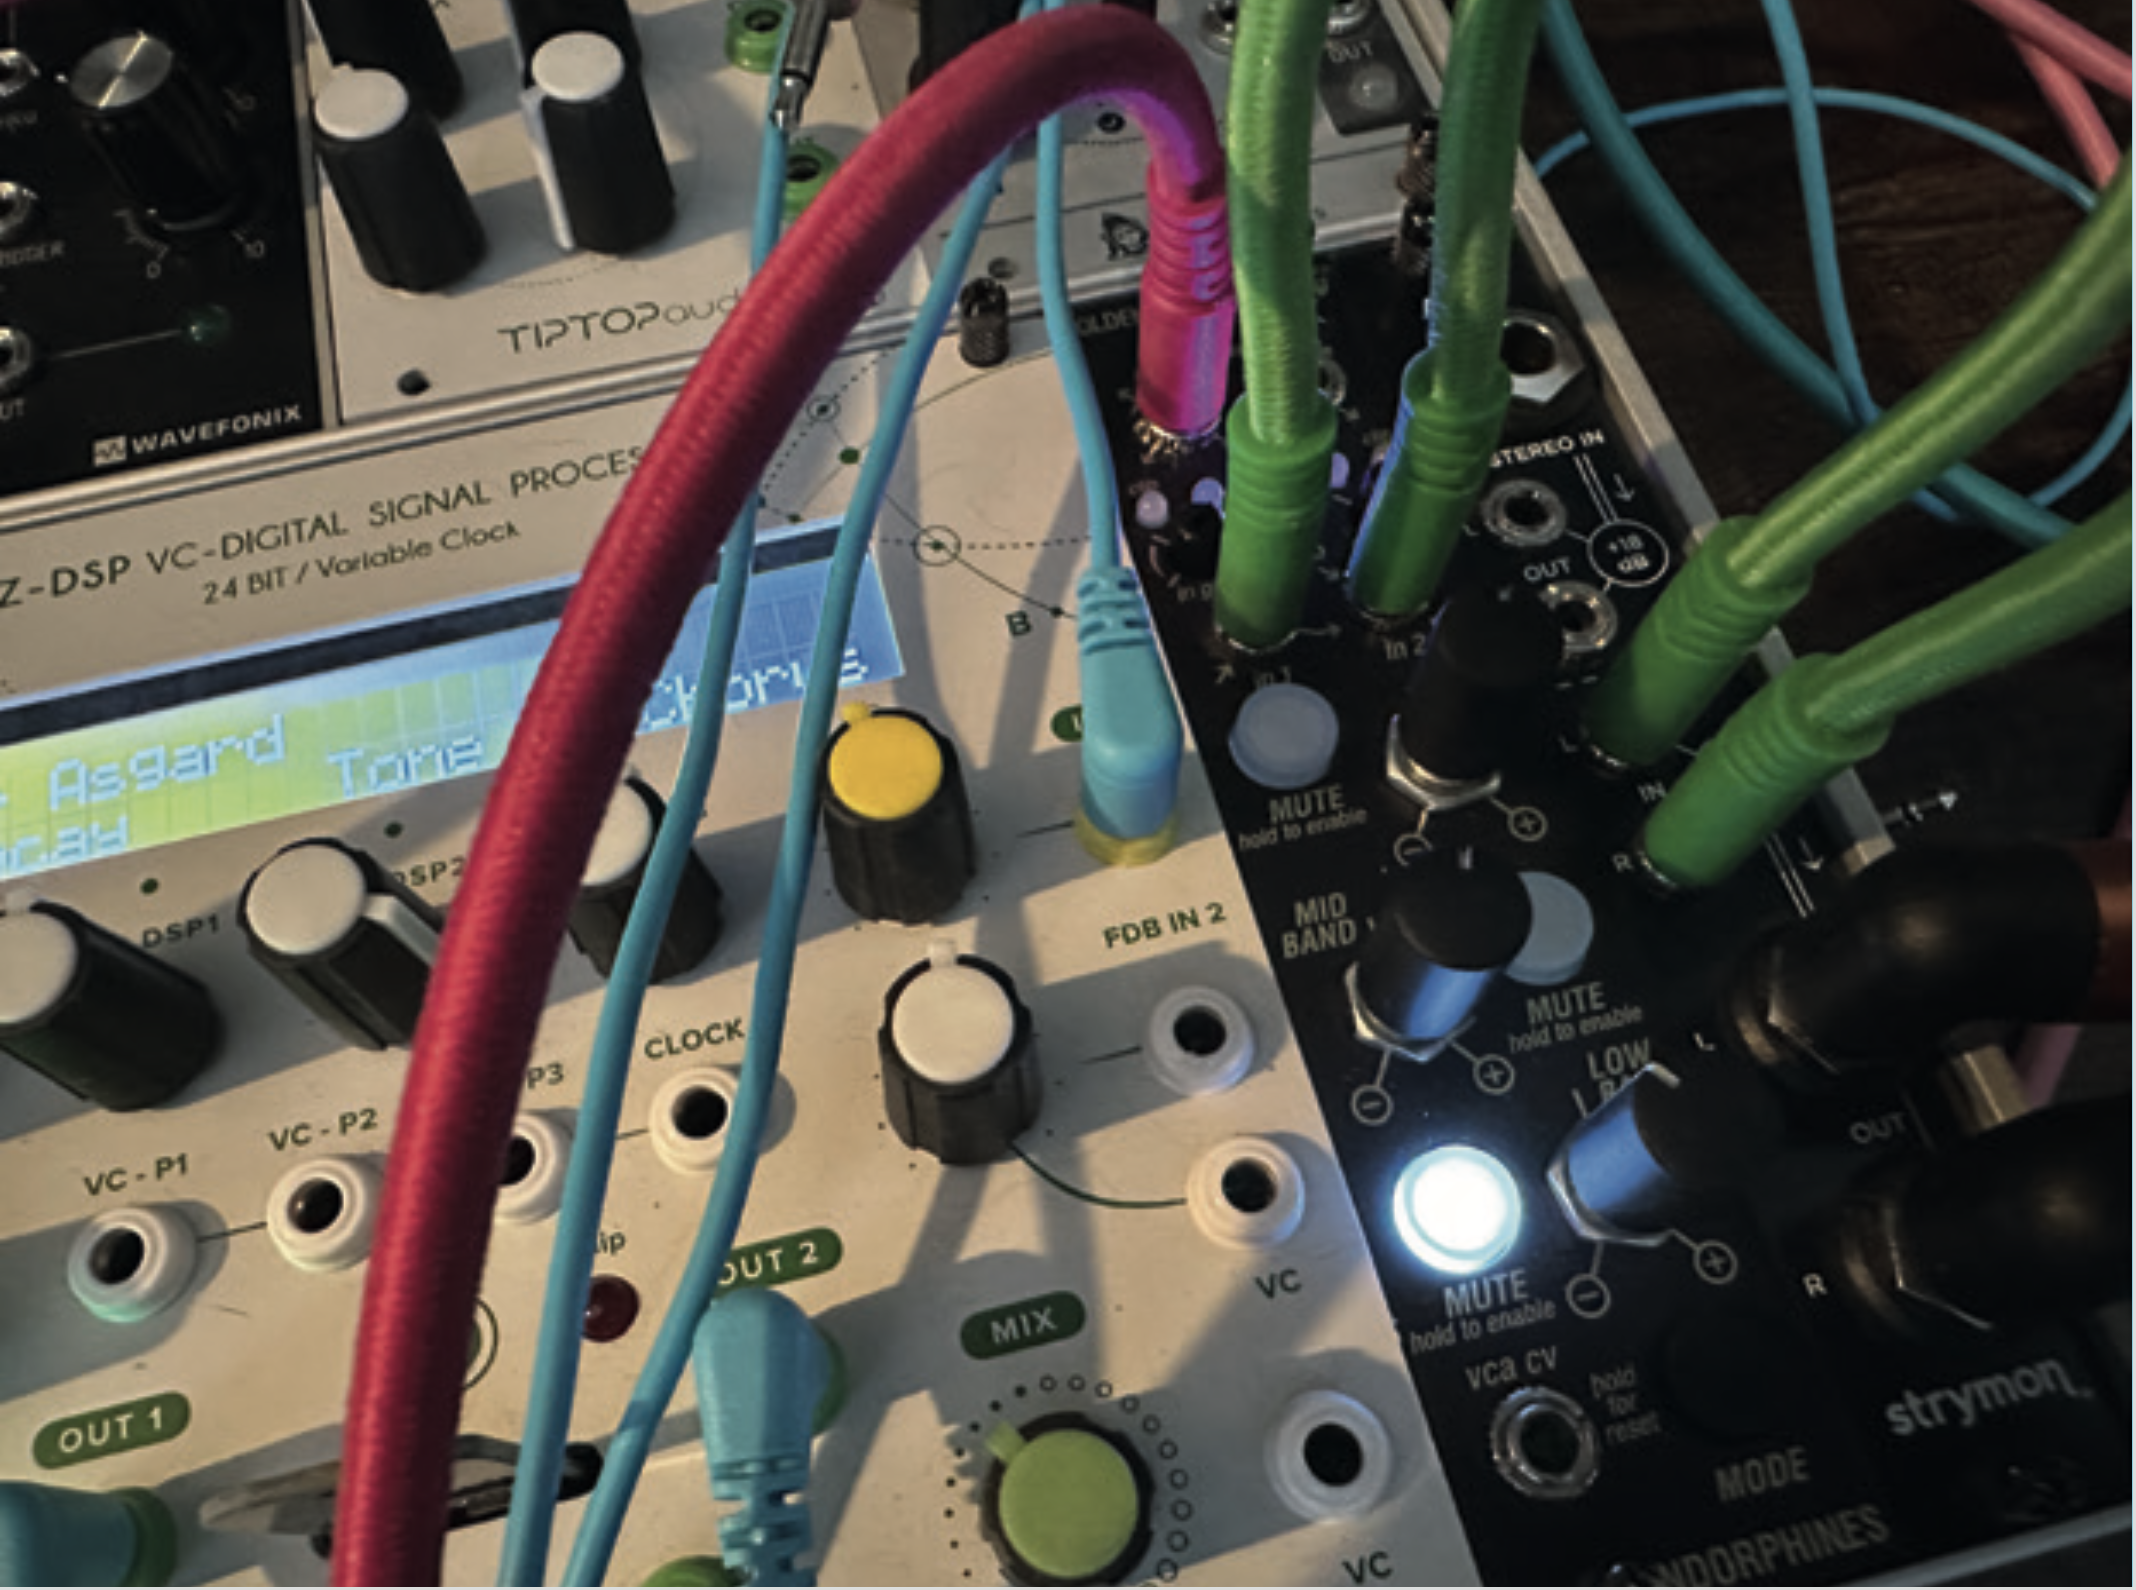
You may find that certain frequency ranges are a bit much, especially when you add drive or big reverbs. If that happens, use an EQ of some kind to tame things before output. For this we turned to Endorphin.es Golden Master, in Blue mode. We reduced the low end by pressing and holding the Low Band button and turning the knob. From here, you can go to your recording device and the job is done!


