Among multiple extraction shooters, one of Marathon‘s unique features is the Runner Shells. Runner Shells are classes or archetypes, each with distinct abilities and roles in a team composition, so picking the best greatly increases your odds of exfiling.
It doesn’t stop with abilities, as you can lean into a specific playstyle using Cores, Implants, and customized stats in the Cradle. This opens up multiple buildcrafting opportunities and provides enough room for every Runner Shell to shine.
Here’s our Marathon Runner Shell tier list for solos and duos/trios.
Marathon Runner Shell tier list
The tier list is based on the practical value a Runner Shell brings to the environment. However, each Runner Shell in Marathon offers a unique playstyle, and when paired with the right Cores and Implants, can excel in both solo and trio gameplay. Don’t be afraid to experiment, especially as you discover new gear on Tau Ceti IV.
Here’s the Marathon Runner Shell tier list as of Season 2:
| Tier | Solos | Duos/trios |
|---|---|---|
| S-Tier | Assassin, Thief | Recon, Triage |
| A-Tier | Triage, Recon, Vandal | Destroyer, Sentinel, Vandal, Thief |
| B-Tier | Destroyer, Sentinel | Assassin |
| Rook | Rook | Rook |
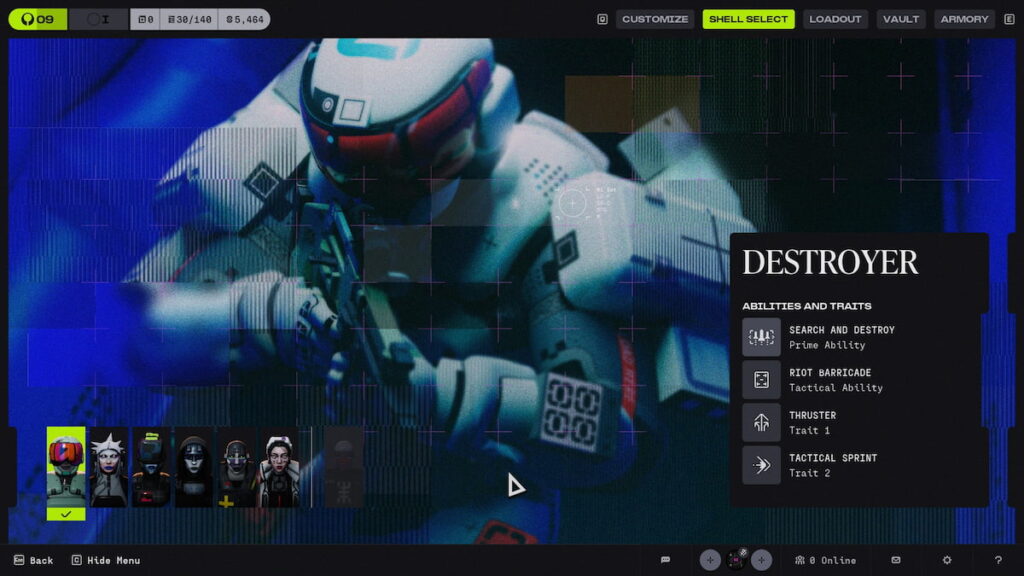
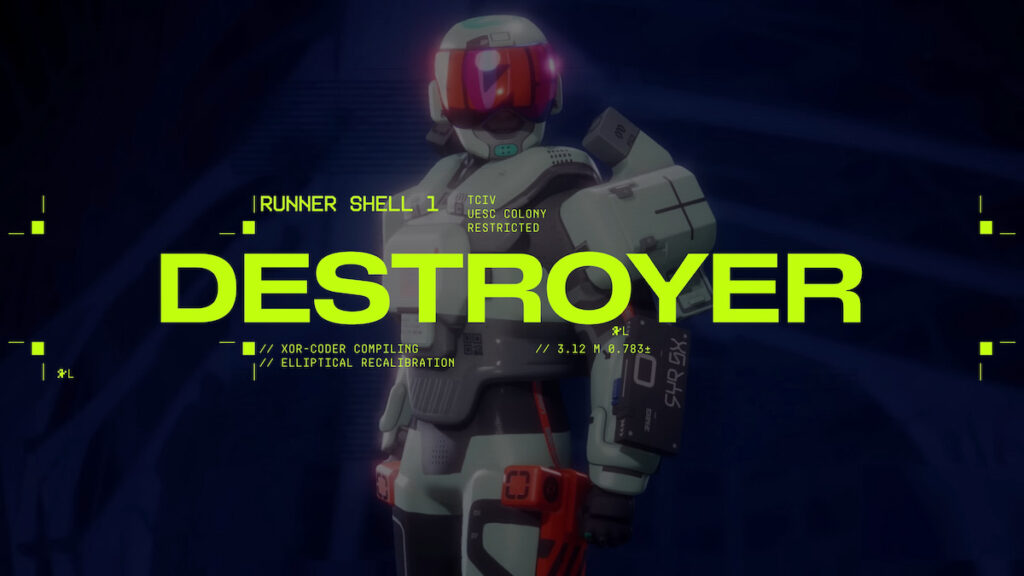
Destroyer
| Pros | Cons |
|---|---|
| + High sustained damage + Great for fighting PvE enemies |
– Ensures everybody knows where you are |
As the name implies, Destroyer is all about explosions. With the Riot Barricade and Search and Destroy abilities, Destroyer takes the frontline and packs enough firepower to deal considerable damage to both Runners and UESC.
In squads, Destroyer is a more flexible option, depending on what you plan on doing. The Search and Destroy missiles deal decent damage, and the added mobility from Thrusters keeps you mobile when going for all-out warfare against UESC. It becomes less useful in solos where going guns blazing against UESC is, on its own, a bad idea.
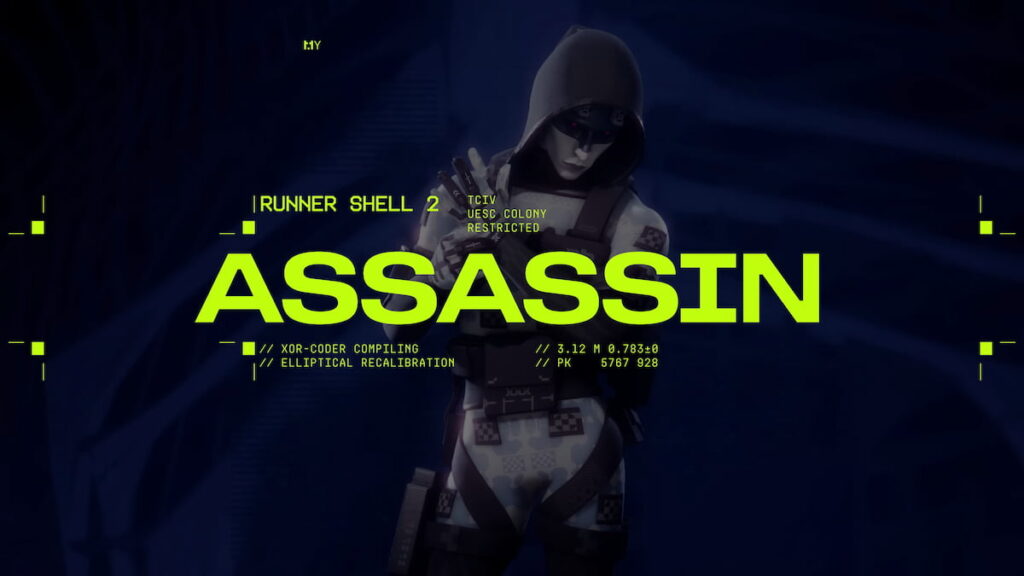
Assassin
| Pros | Cons |
|---|---|
| + Invisibility + Great utility to disengage from gunfights + Stealth works against both Runners and UESC |
– Doesn’t offer much utility in a teamfight |
Centered around smokes and invisibility, Assassin is a stealth Shell. While it doesn’t provide much utility in a team scenario, as there’s not much stealth happening in a full squad, Assassin is one of the best solo Shells in Marathon.
You can sneak past both players and UESC using Active Camo, while using the Shadow Dive or Smoke Screen as an escape tool. Multiple Cores, like Flexweave Casing and Guerrilla, allow for a longer ability uptime, which means more invisibility, stealth, and unexpected attacks.
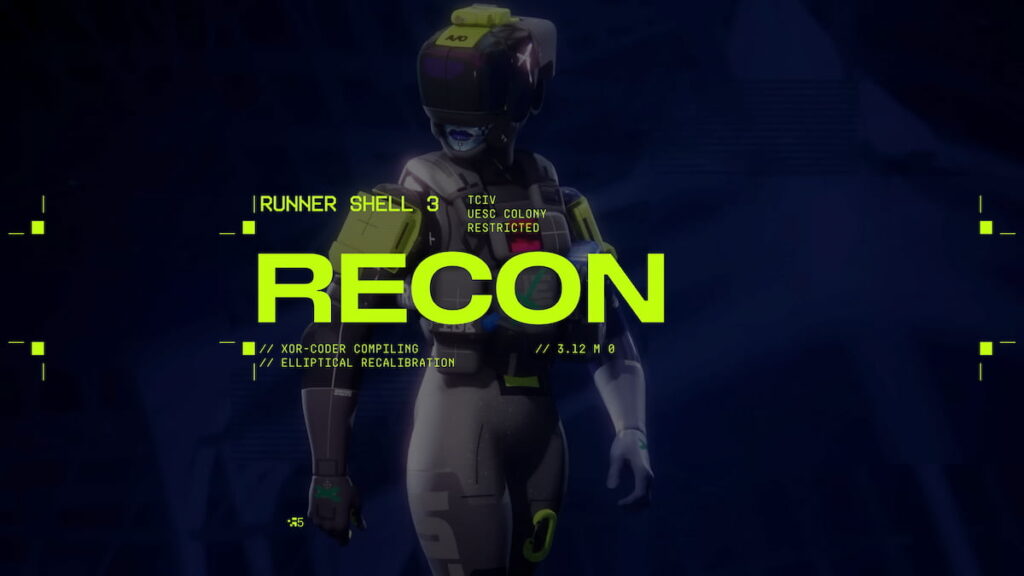
Recon
| Pros | Cons |
|---|---|
| + Lots of intel-gathering + Enemy tracking |
– Interrogation is only useful in squads |
Recon is an intel-gathering Runner Shell, which naturally puts it high in the tier list, as information is everything in an extraction shooter. You need to know where the enemies are at all times to avoid running into an unexpected encounter and losing your loot.
Its Interrogation trait is especially powerful, as you can ping the entire enemy team with only one finisher. This becomes even stronger with high-tier Cores that allow Interrogation to trigger on downing an enemy instead. Another powerful Core for Recon is the Early Warning System, which pings your HUD when an enemy is nearby.
Recon is a must-have in squads, but it also works well in solos. Interrogation is the one trait that won’t do much unless an enemy pings you, but the rest are incredibly helpful to stay aware of your surroundings and one step ahead of the enemy.
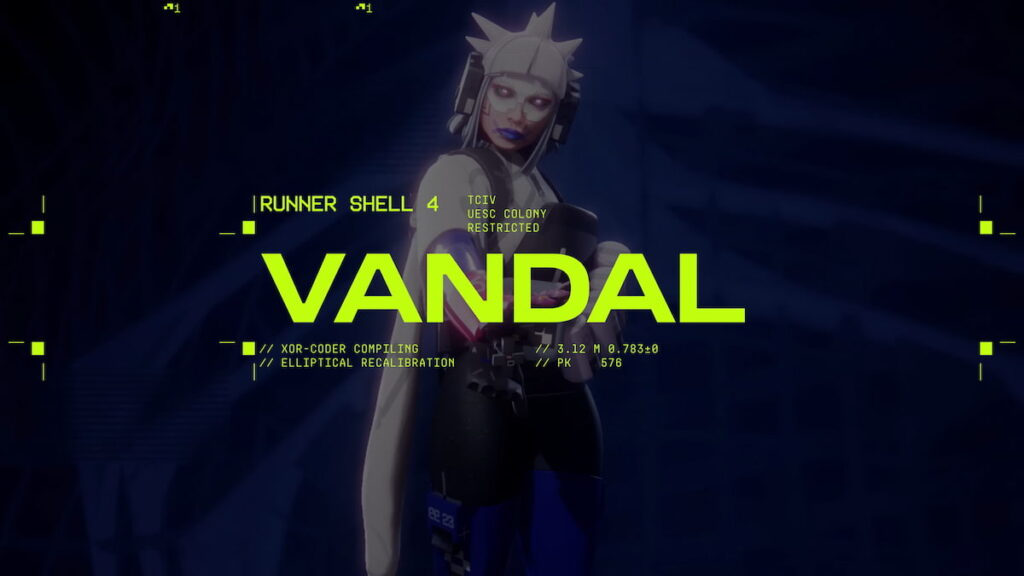
Vandal
| Pros | Cons |
|---|---|
| + High mobility + Can displace enemies |
– Requires additional mechanical skill to master |
Vandal is the movement Shell, and while it doesn’t offer much utility, it offers plenty of room for mechanical expression. This also means it’ll take more time to master Vandal and outplay your opponents.
The main piece of utility in Vandal’s kit is the Disrupt Cannon, which knocks back enemies in the blast zone. It’s great to knock Runners out of cover or throw off their aim, allowing you to secure a kill thanks to rapid movement. This works the same in both squads and solos, leaving it up to you to truly push Vandal’s limits.
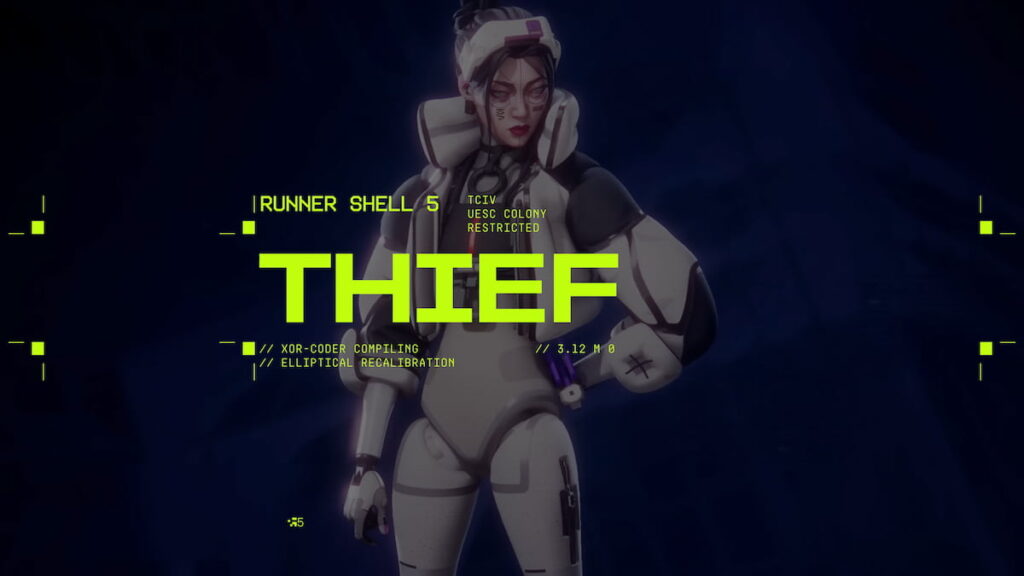
Thief
| Pros | Cons |
|---|---|
| + Great mobility and escape tools + Easier looting when hunting for valuables + Intel-gathering |
– Intel gathering is limited to the Prime ability – X-Ray Visor only works on enemies within the line of sight |
Thief is a looting Shell, and while it’s naturally a strong solo Shell, it also provides decent utility in a team environment through the Pickpocket Drone. You can use the drone to mess around with other Runners or to scan nearby areas, pinging targets for yourself and your team.
Intel-gathering is limited to the Prime ability, which has a long cooldown, but you can also direct your team to areas with more valuables. The same is true in solos, where you can focus on finding rare items while always having an escape tool in the form of the Grapple Device.
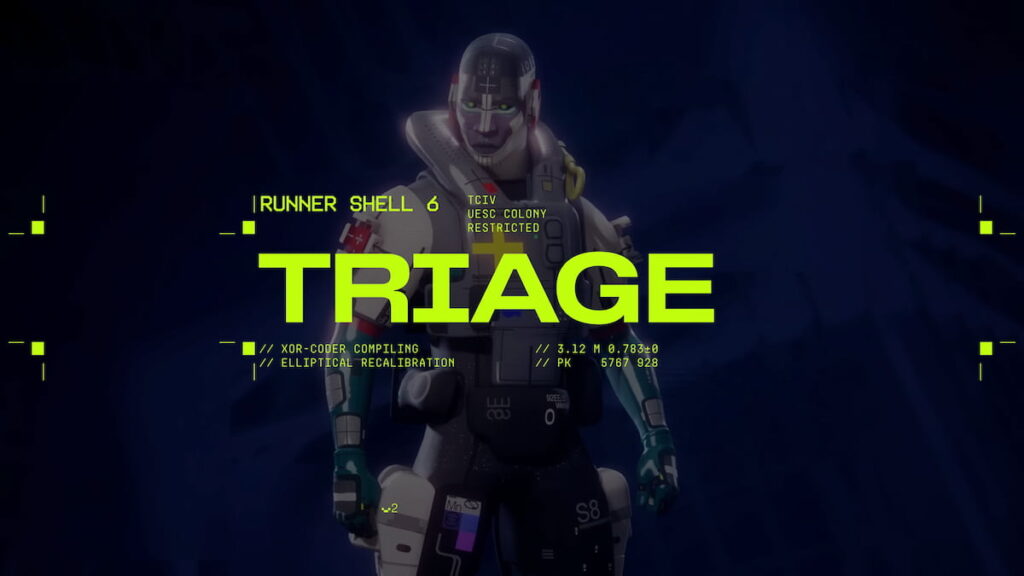
Triage
| Pros | Cons |
|---|---|
| + High sustain for the entire team + Strong synergy with volt weapons |
– Drones expose yourself and your teammates – Prime can be used offensively, but requires timing |
Triage is a medic Shell and another must-have when playing in a squad, as Shareware.exe shares the effects of any consumable you take to all teammates with the med-drone attached. On top of that, its Prime ability is basically a ranged defibrillator. All these effects greatly increase how long your team can stay in a fight and also save some of the sought-after supplies.
Despite Shareware.exe being useless in solos, Triage is a pretty strong pick. The healing drones and higher base self-repair speed (especially since healing items aren’t widely available) ensure you can confidently tackle both Runners and UESC.
To make the most out of the Shell, though, you must pair it with a volt weapon. When you break an enemy’s shield using a volt weapon while Battery Overcharge is active, it EMPs the enemy. EMP prevents enemies from using their abilities, leaving them extremely vulnerable.
Sentinel

| Pros | Cons |
|---|---|
| + Keeps you safe from incoming grenades + Works well against splash damage |
– Snare Mine can be replaced with a Claymore – Prey Tracker is only effective at close range |
Sentinel is all about controlling an area and excels in close-range engagements. The Defender System is an ADS that destroys incoming projectiles, like grenades. This works against enemy players and UESC. You can further reinforce the area using a Snare Mine and keep track of enemies with Prey Tracker.
This Runner Shell is best when fighting squads in tight spaces and hallways. Prey Tracker has a very limited range, making it less universal, especially when playing solo. You can also easily opt to replace the Snare Mine with a Claymore if your goal is to keep an eye on the flank.
You might still want to pick Sentinel when playing solo, especially if you plan on fighting UESC, as the Defender System does wonders against grenadiers.
Rook
| Pros | Cons |
|---|---|
| + Gives a random loadout + Can blend in with UESC + Loadout can be improved with Capstone upgrades |
– Forced to play against trios – Fewer abilities than other Shells |
Rook is a scavenger Shell and has its own tier, because you can only use it as a solo player against trios. When playing Rook, you join ongoing trios matches (with 10-15 minutes remaining in the match) to scavenge some loot and try to make it out alive.
You don’t use your own gear as a Rook. Instead, you get a random loadout that progressively gets better as you unlock faction upgrades. Rook’s strength is its Tactical ability, which allows it to blend in with the UESC forces. You can explore areas swarming with AI enemies relatively safely and get out before players start wreaking havoc.
The Tactical ability (and an upgrade from Sekiguchi) also allows you to extract at guarded exfils, usually reserved for well-equipped teams of Runners.