Kitchen islands have become one of the most sought-after features in modern homes – once a marker of luxury, they’re now the element that defines how a kitchen looks, feels, and functions. Positioned at the center of the action, an island anchors the layout, shaping how the space is used from morning coffee to evening cooking.
The best kitchen island ideas work hard. They add storage, house appliances, and carve out clear zones for prep, cooking, and seating – all while setting the tone for the entire room. At their most successful, they shift the kitchen from purely functional to genuinely sociable, creating somewhere people naturally gather, not just pass through.
Getting it right, however, comes down to careful kitchen island design and planning. Proportions, placement, and circulation need to be carefully considered from the outset, ensuring the island enhances the space rather than overwhelming it. From how it directs movement to how it integrates seating, storage, and materials, every decision affects how well it performs in real life.
Covering smart layouts and sculptural shapes to standout materials, seating ideas, and budget-savvy solutions, our expert-led inspiration will help you achieve an island that works beautifully from every angle.
1. Let the Island Steer the Layout
Done well, a kitchen island design doesn’t just add surface area; it transforms how the entire kitchen layout works. A well-placed island becomes the point everything orbits around, bringing structure to open-plan layouts while making the kitchen feel more sociable, intuitive, and easy to move through.
Crucially, the island layout can be used to define the working side of the kitchen – positioning key elements such as the cooktop, prep space, or sink in one clear zone, while shaping circulation routes around it. This helps prevent crossover through busy areas and ensures the layout functions smoothly, even when the space is in constant use.
‘In an open-plan kitchen, zoning is really about gently guiding the way people move through the space, and an island does so much of that work beautifully,’ says Kara Childress, founder, Kara Childress Interior Atelier.
‘It's a seamless way to create a social zone for seating and conversation while keeping the cooking zone just slightly protected. I love that guests have somewhere comfortable to gather and feel included without wandering into the hotter, busier part of the kitchen when someone is busy at the stove.’
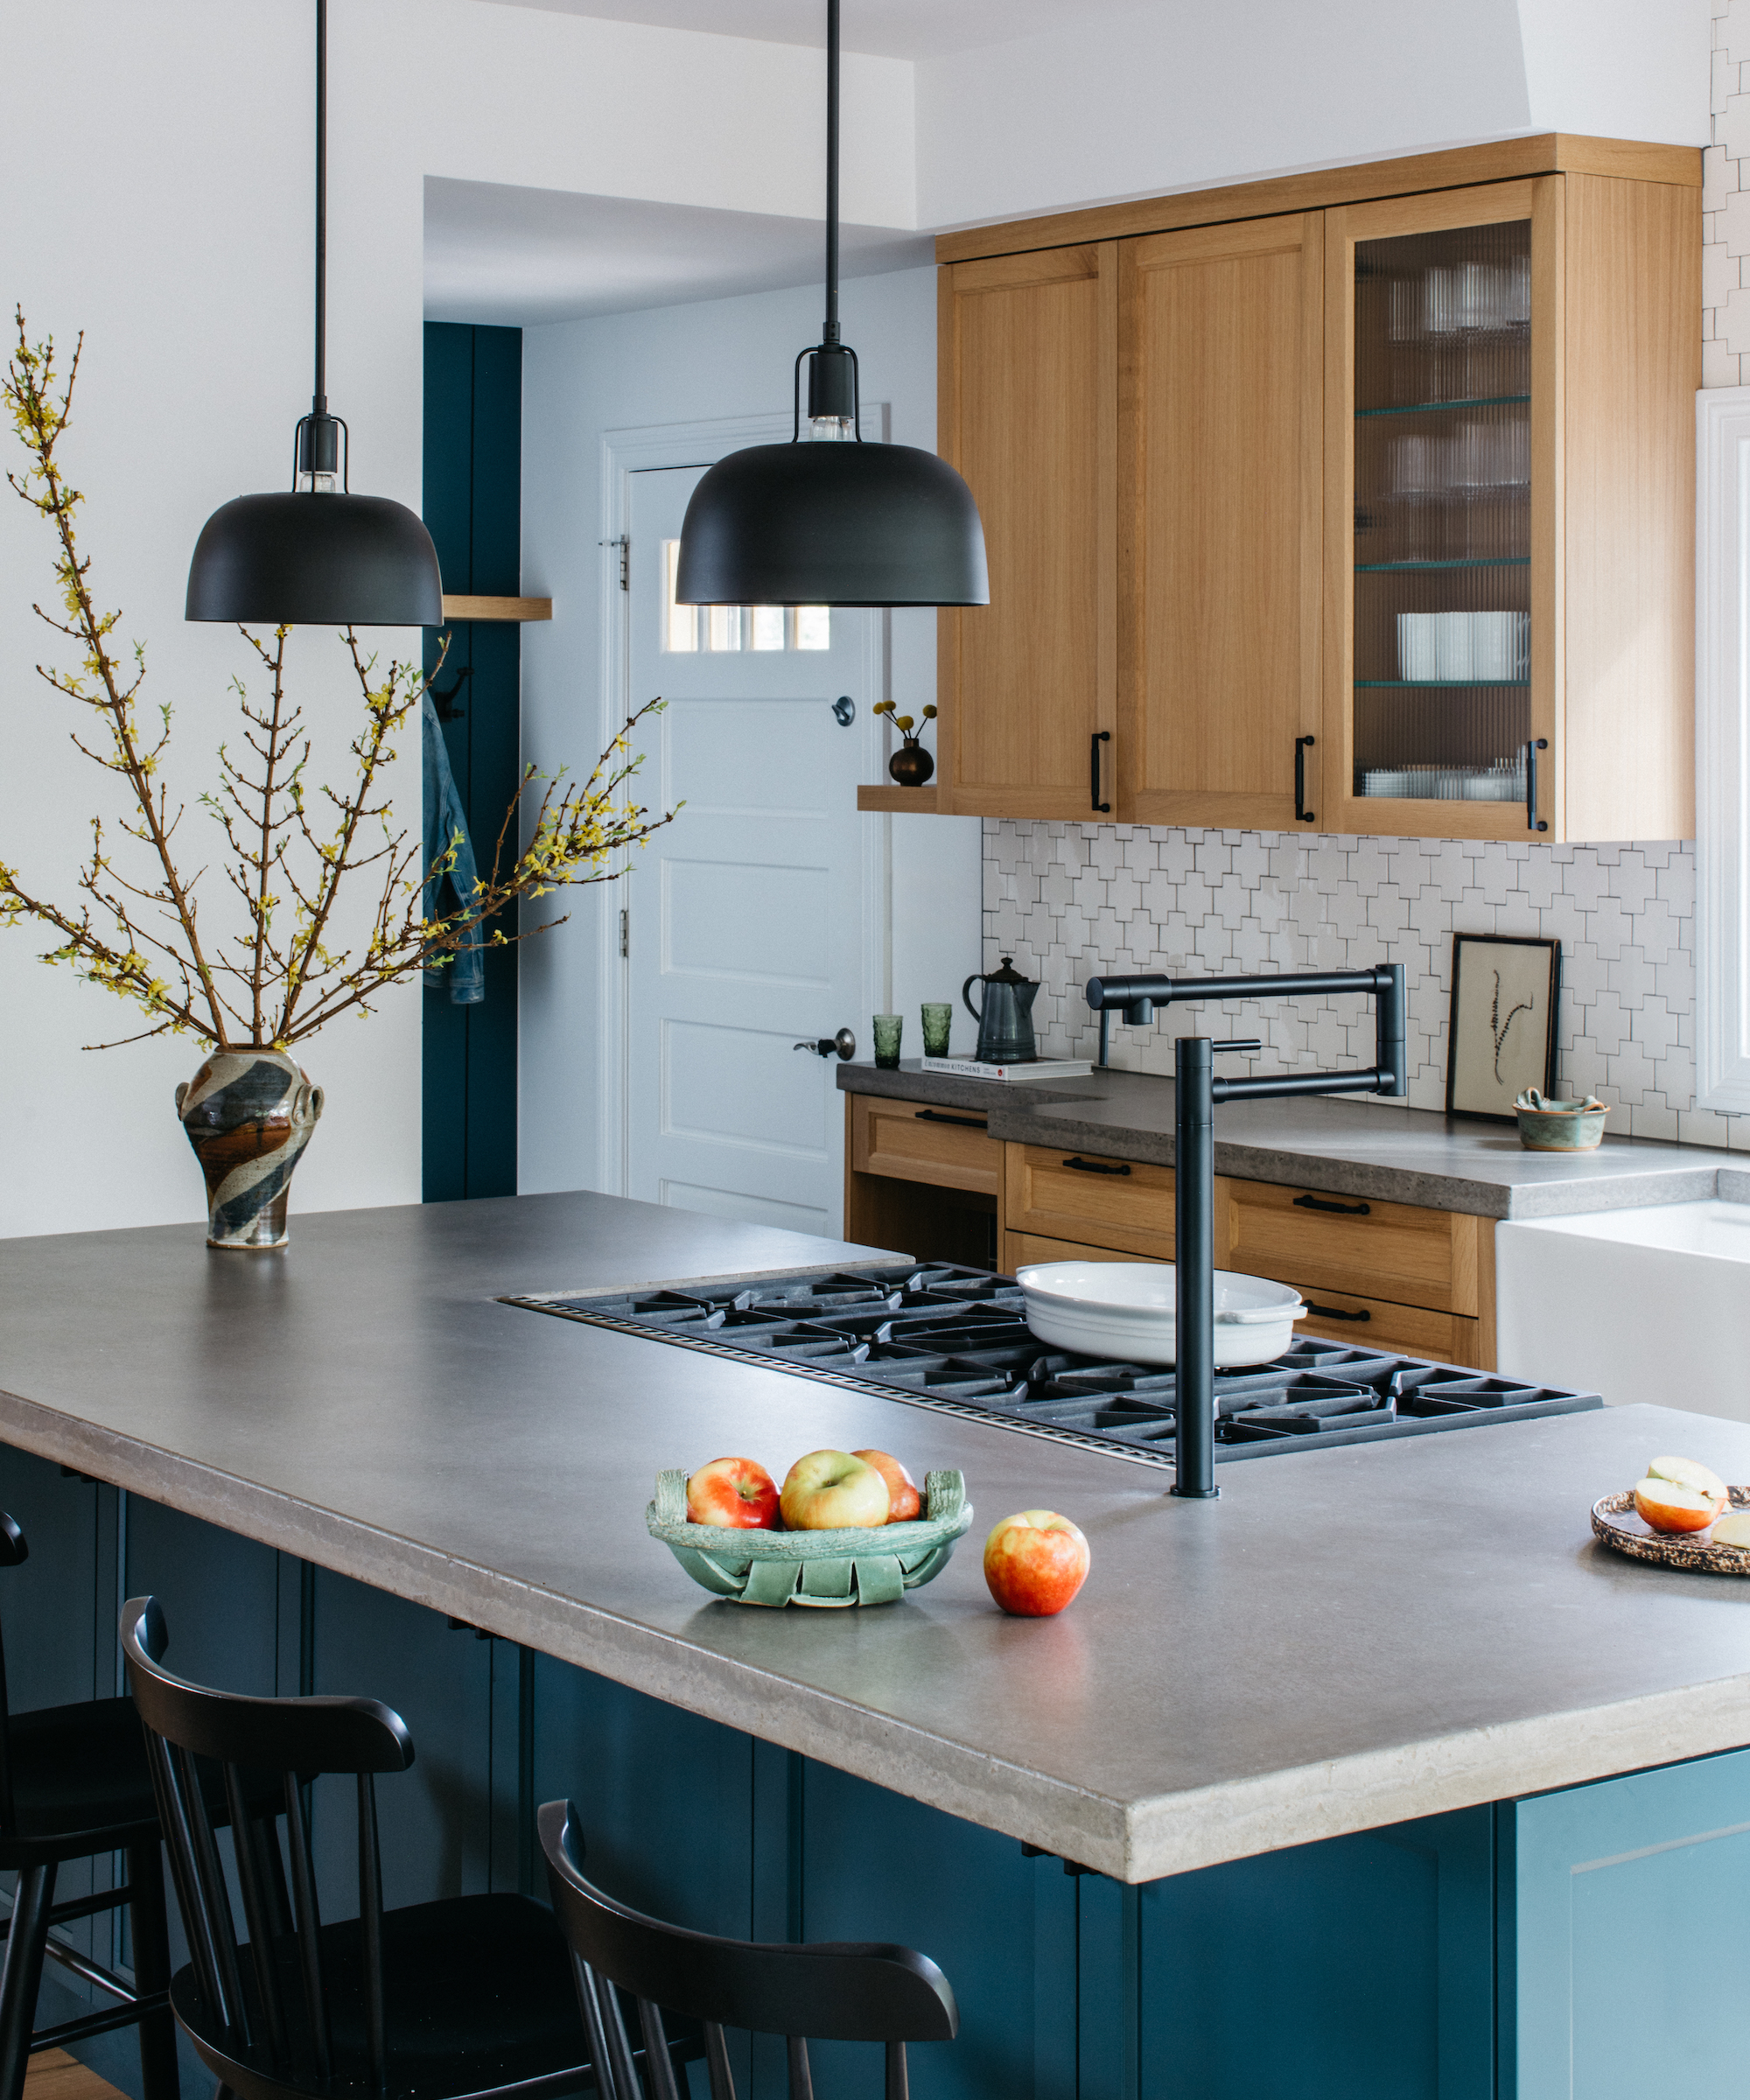
2. Create Space for Multiple Cooks
Kitchen island ideas that support more than one user require clear kitchen zoning rather than simply more surface area. A secondary sink introduces a dedicated prep point that allows tasks to happen in parallel, preventing the main sink from becoming a bottleneck.
Placement is pivotal. Positioning a prep sink towards the end of the island allows guests to access water for drinks or handwashing without stepping into the main cooking zone, keeping circulation smooth during busy moments. It can also be elevated beyond a simple rinse point by specifying an instant hot water tap or a model that delivers chilled or sparkling water, turning it into a more versatile fixture. The trade-off is that these systems require space below for tanks or boilers, which will reduce available cabinetry.
‘The prep sink offers perfect support while preparing meals. It's usually on the island because that's where people generally do their chopping and "mise en place" before cooking, and where you wash your fruits and veggies, and wash hands after kneading dough or cutting meats,’ says Lina Galvão, co-founder, Curated Nest.
‘It's differentiated from the primary sink in that it's usually smaller, might also be decorative, and often has a hands-free faucet. A prep sink is a must for those who cook often, but it is definitely a luxury and requires enough space and proper layout to make sense.’
3. Consider Hiding Clutter
Open-plan kitchens don’t have to mean putting every stage of cooking on display. A raised section on the island is a clever way to keep things feeling connected, while subtly screening the messier side of daily life.
By introducing a slight change in level, the island can present as clean and composed from the seating side, even when the working side is mid-prep (or mid-pile-up). It’s a small design move that makes a big difference, especially for less confident cooks who don’t enjoy chopping with an audience.
‘The raised section on this island is definitely a detail that is doing a lot more work than it initially looks like. It gives you a clean, uninterrupted surface for seating on one side, while quietly hiding what's going on in the kitchen, from the prep mess to the sink full of dishes,’ says Courtnay Tartt Elias, founder and principal designer at Creative Tonic Design.
‘In an open-plan kitchen, it is really a gift to have a bit of separation between the working parts of the kitchen and the dining areas. Your guests get a pretty, calm view where you can chat while keeping some of the mess out of everyone's direct line of sight.’
4. Make A Skinny Island Work Hard
In small kitchens, the success of an island is defined less by what it contains and more by how easily you can move around it. A slimline design can introduce valuable additional surface area, but only when it respects the room’s natural pathways.
Rather than overloading it with appliances or storage, treating a narrow small kitchen island as a dedicated prep or landing space keeps it purposeful and proportionate. This restraint ensures the room feels comfortable to navigate rather than constrained.
‘A narrower island can be a really thoughtful solution in a tighter kitchen, but it always comes back to how the space needs to live day to day. I’m typically prioritizing flow first, if you can move comfortably through the room, everything else starts to fall into place,’ says Emily Ruff, founder of Cohesively Curated Interiors.
‘A slim island gives you that extra surface for prep or a casual perch without interrupting circulation. That said, I don’t try to force it to do everything. With less depth, you’re usually sacrificing things like a sink, cooktop, or generous seating, so I prefer to treat it more intentionally.’
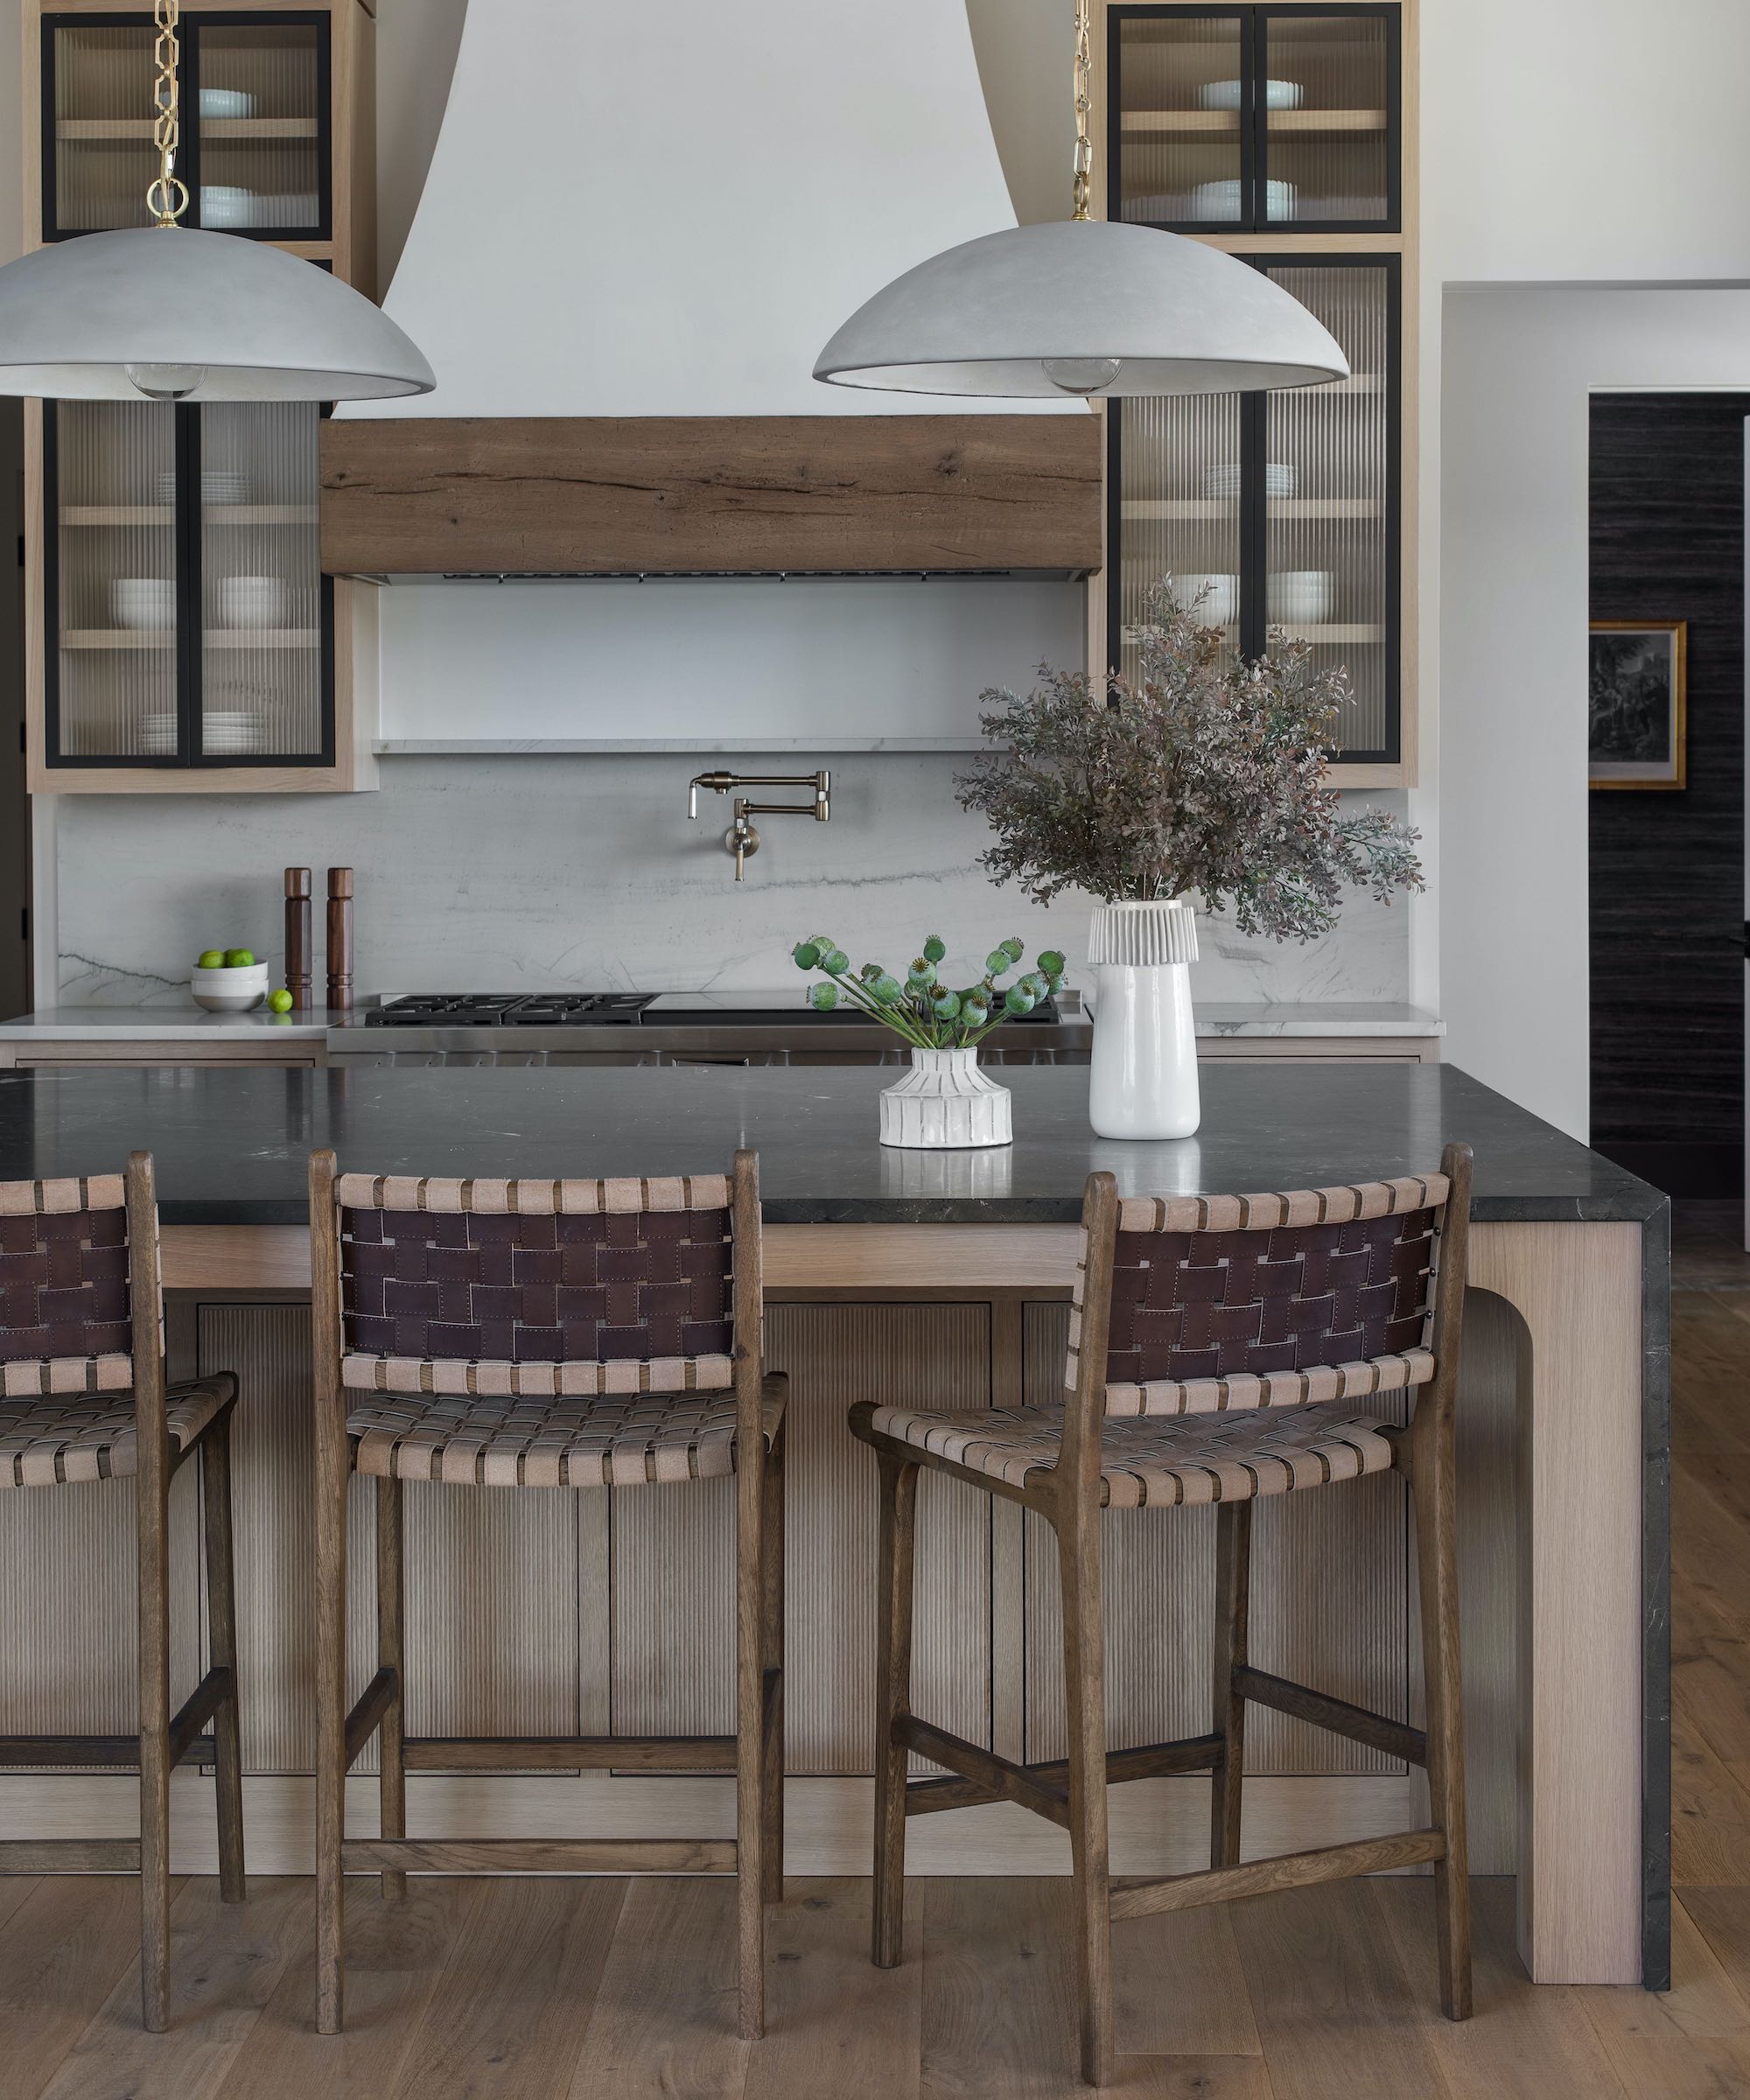
5. Lighten Islands with Open Ends
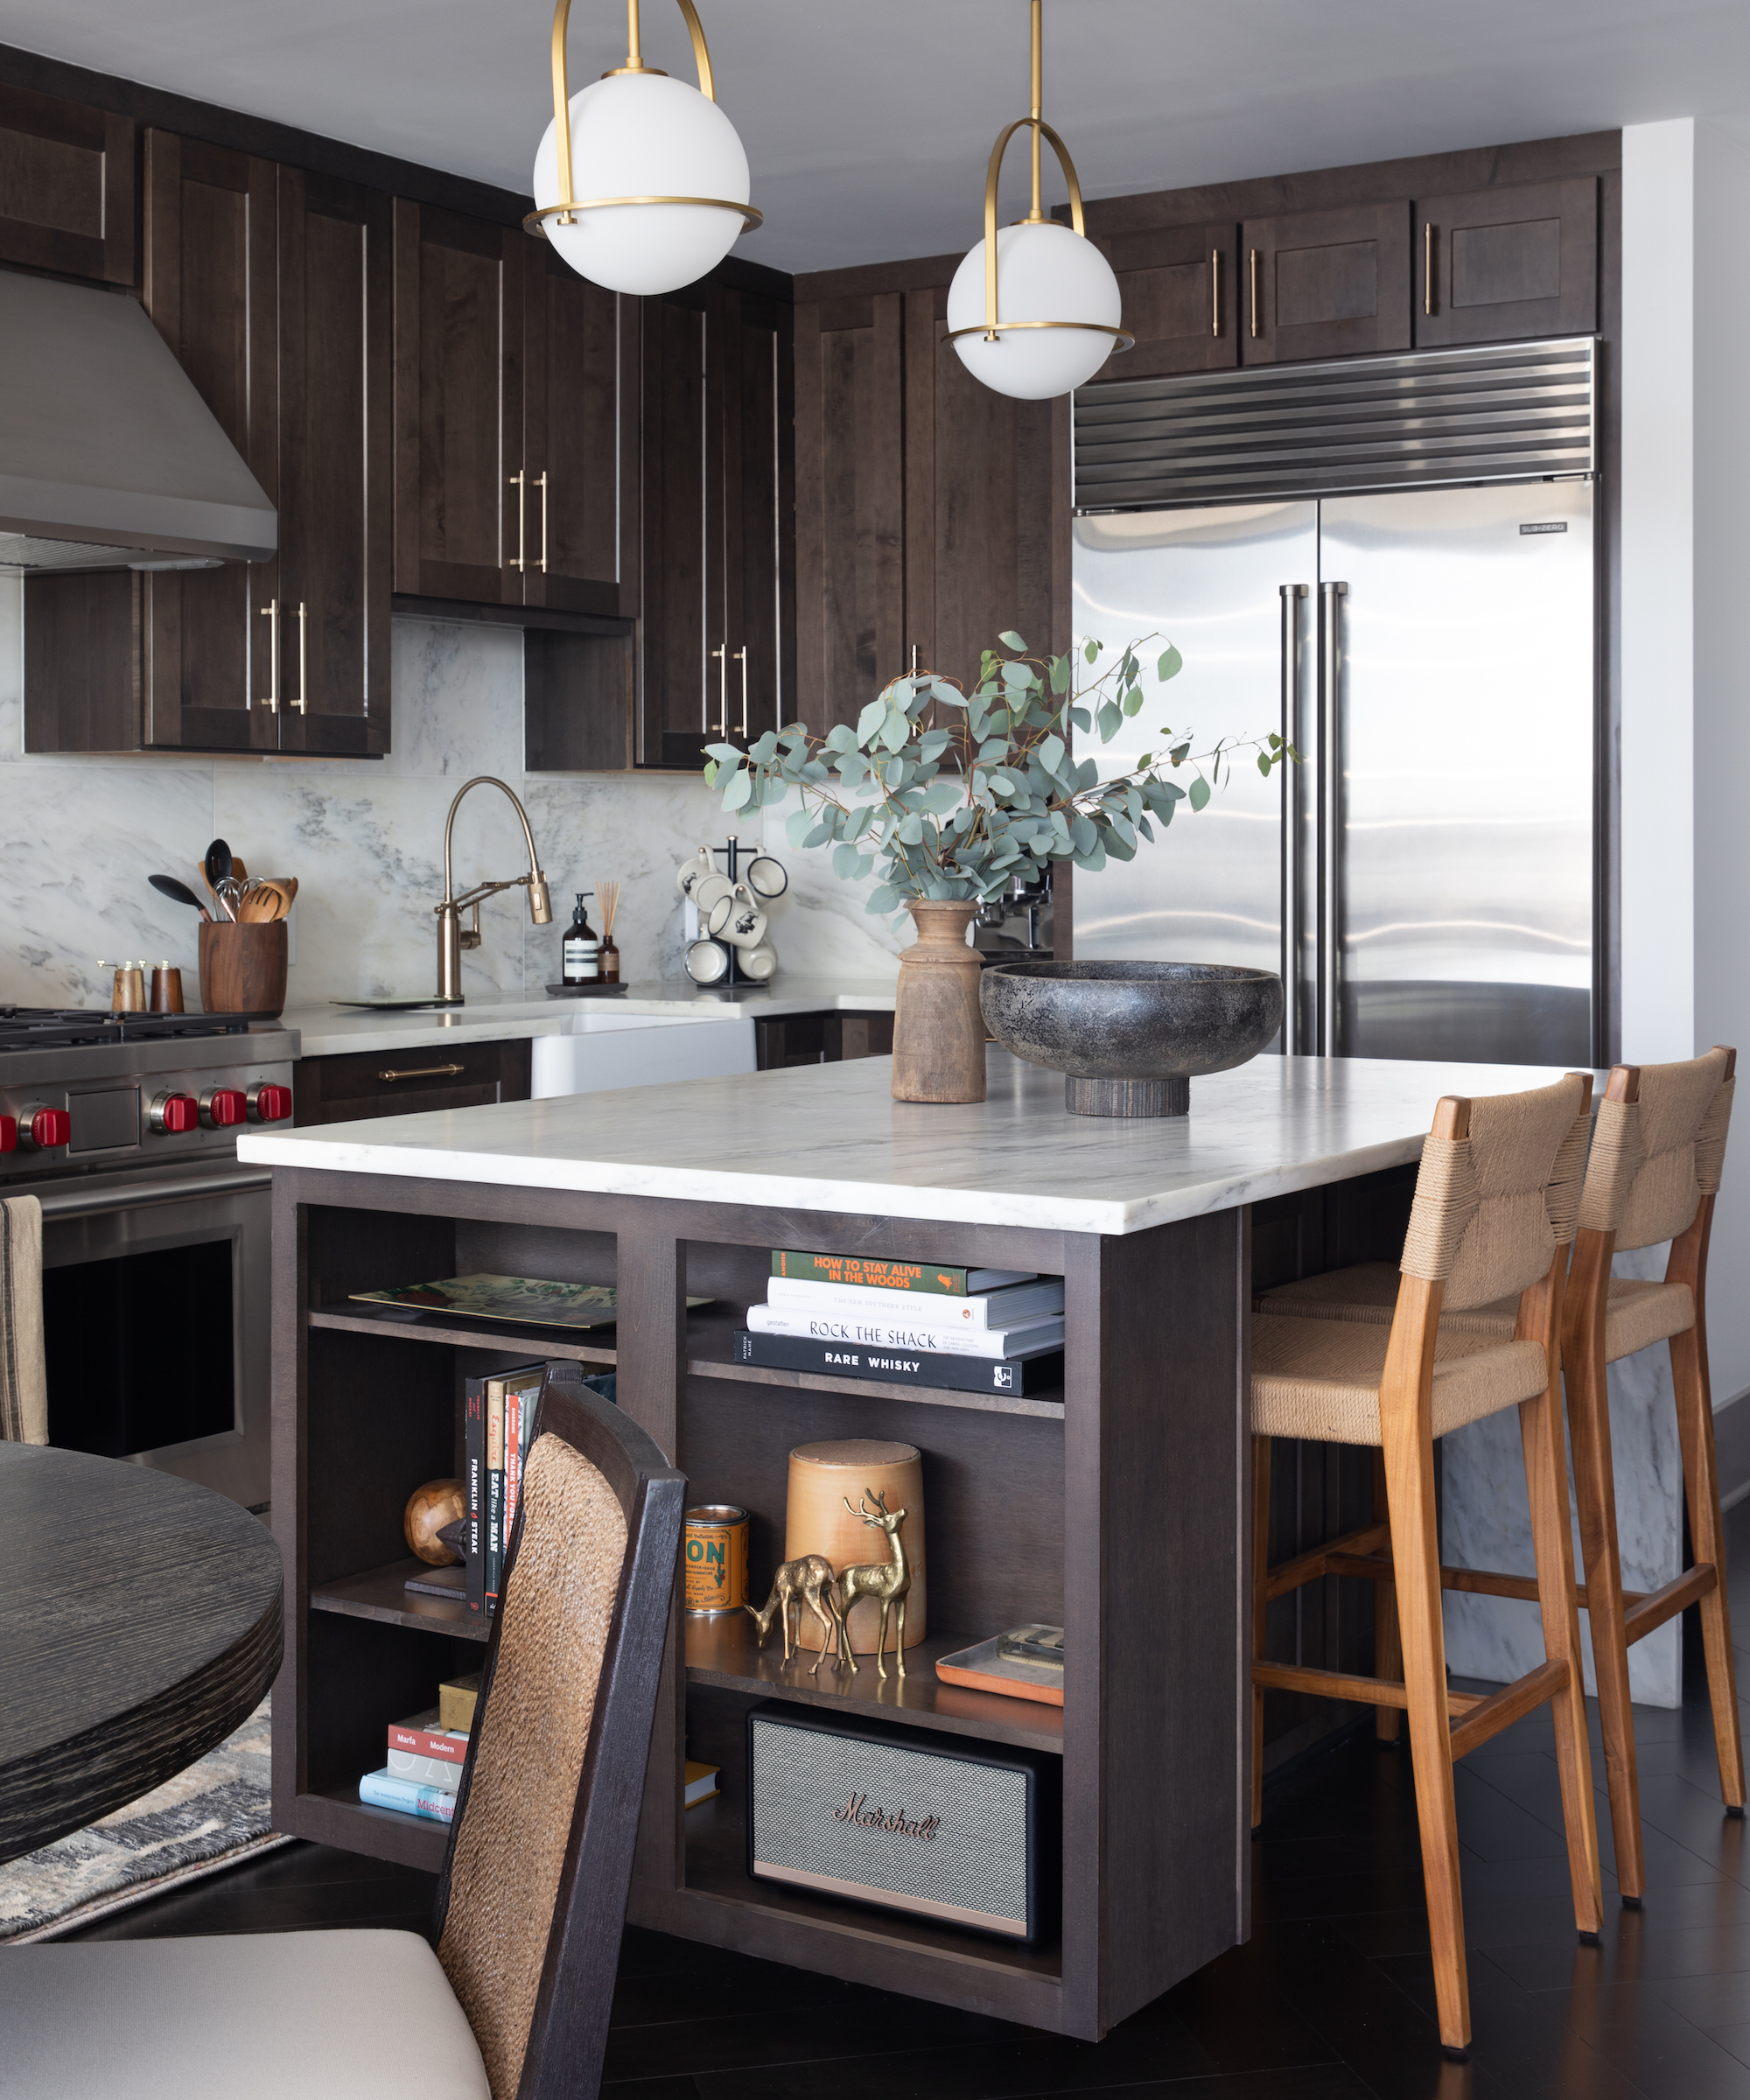
Even the most beautifully designed island can feel heavy if it reads as a solid block, particularly in smaller kitchens where every inch matters. Introducing an open display section at the end is a simple but effective way to visually lighten the piece and add color and shape.
This approach works especially well in compact layouts, where reducing visual bulk can make the entire room feel more spacious. It also offers an opportunity to layer in personality, from cookbooks and ceramics to baskets or barware – best kept edited and practical, as open shelving will require regular dusting.
‘One trick I like is adding a little open display area on the end. It breaks up the bulk so the island feels lighter and more like a piece of furniture than a big block of cabinetry,’ says Meredith Owen, founder and principal of Meredith Owen Interiors.
‘Everyone loves the idea of an island, but in a smaller kitchen you do have to be a bit ruthless about space. If you can’t keep around 36 to 42 inches clear around it, the room can start to feel cramped very quickly,’ she adds.
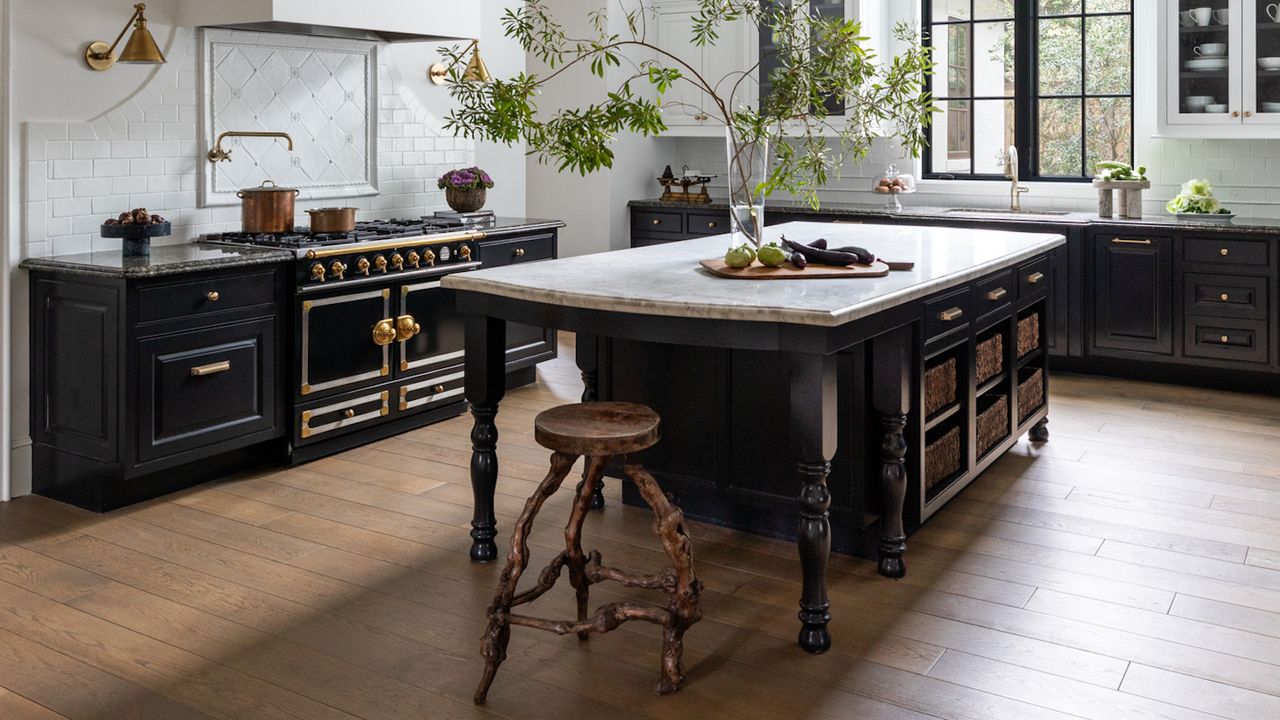
6. Break Free from the Rectangular Norm
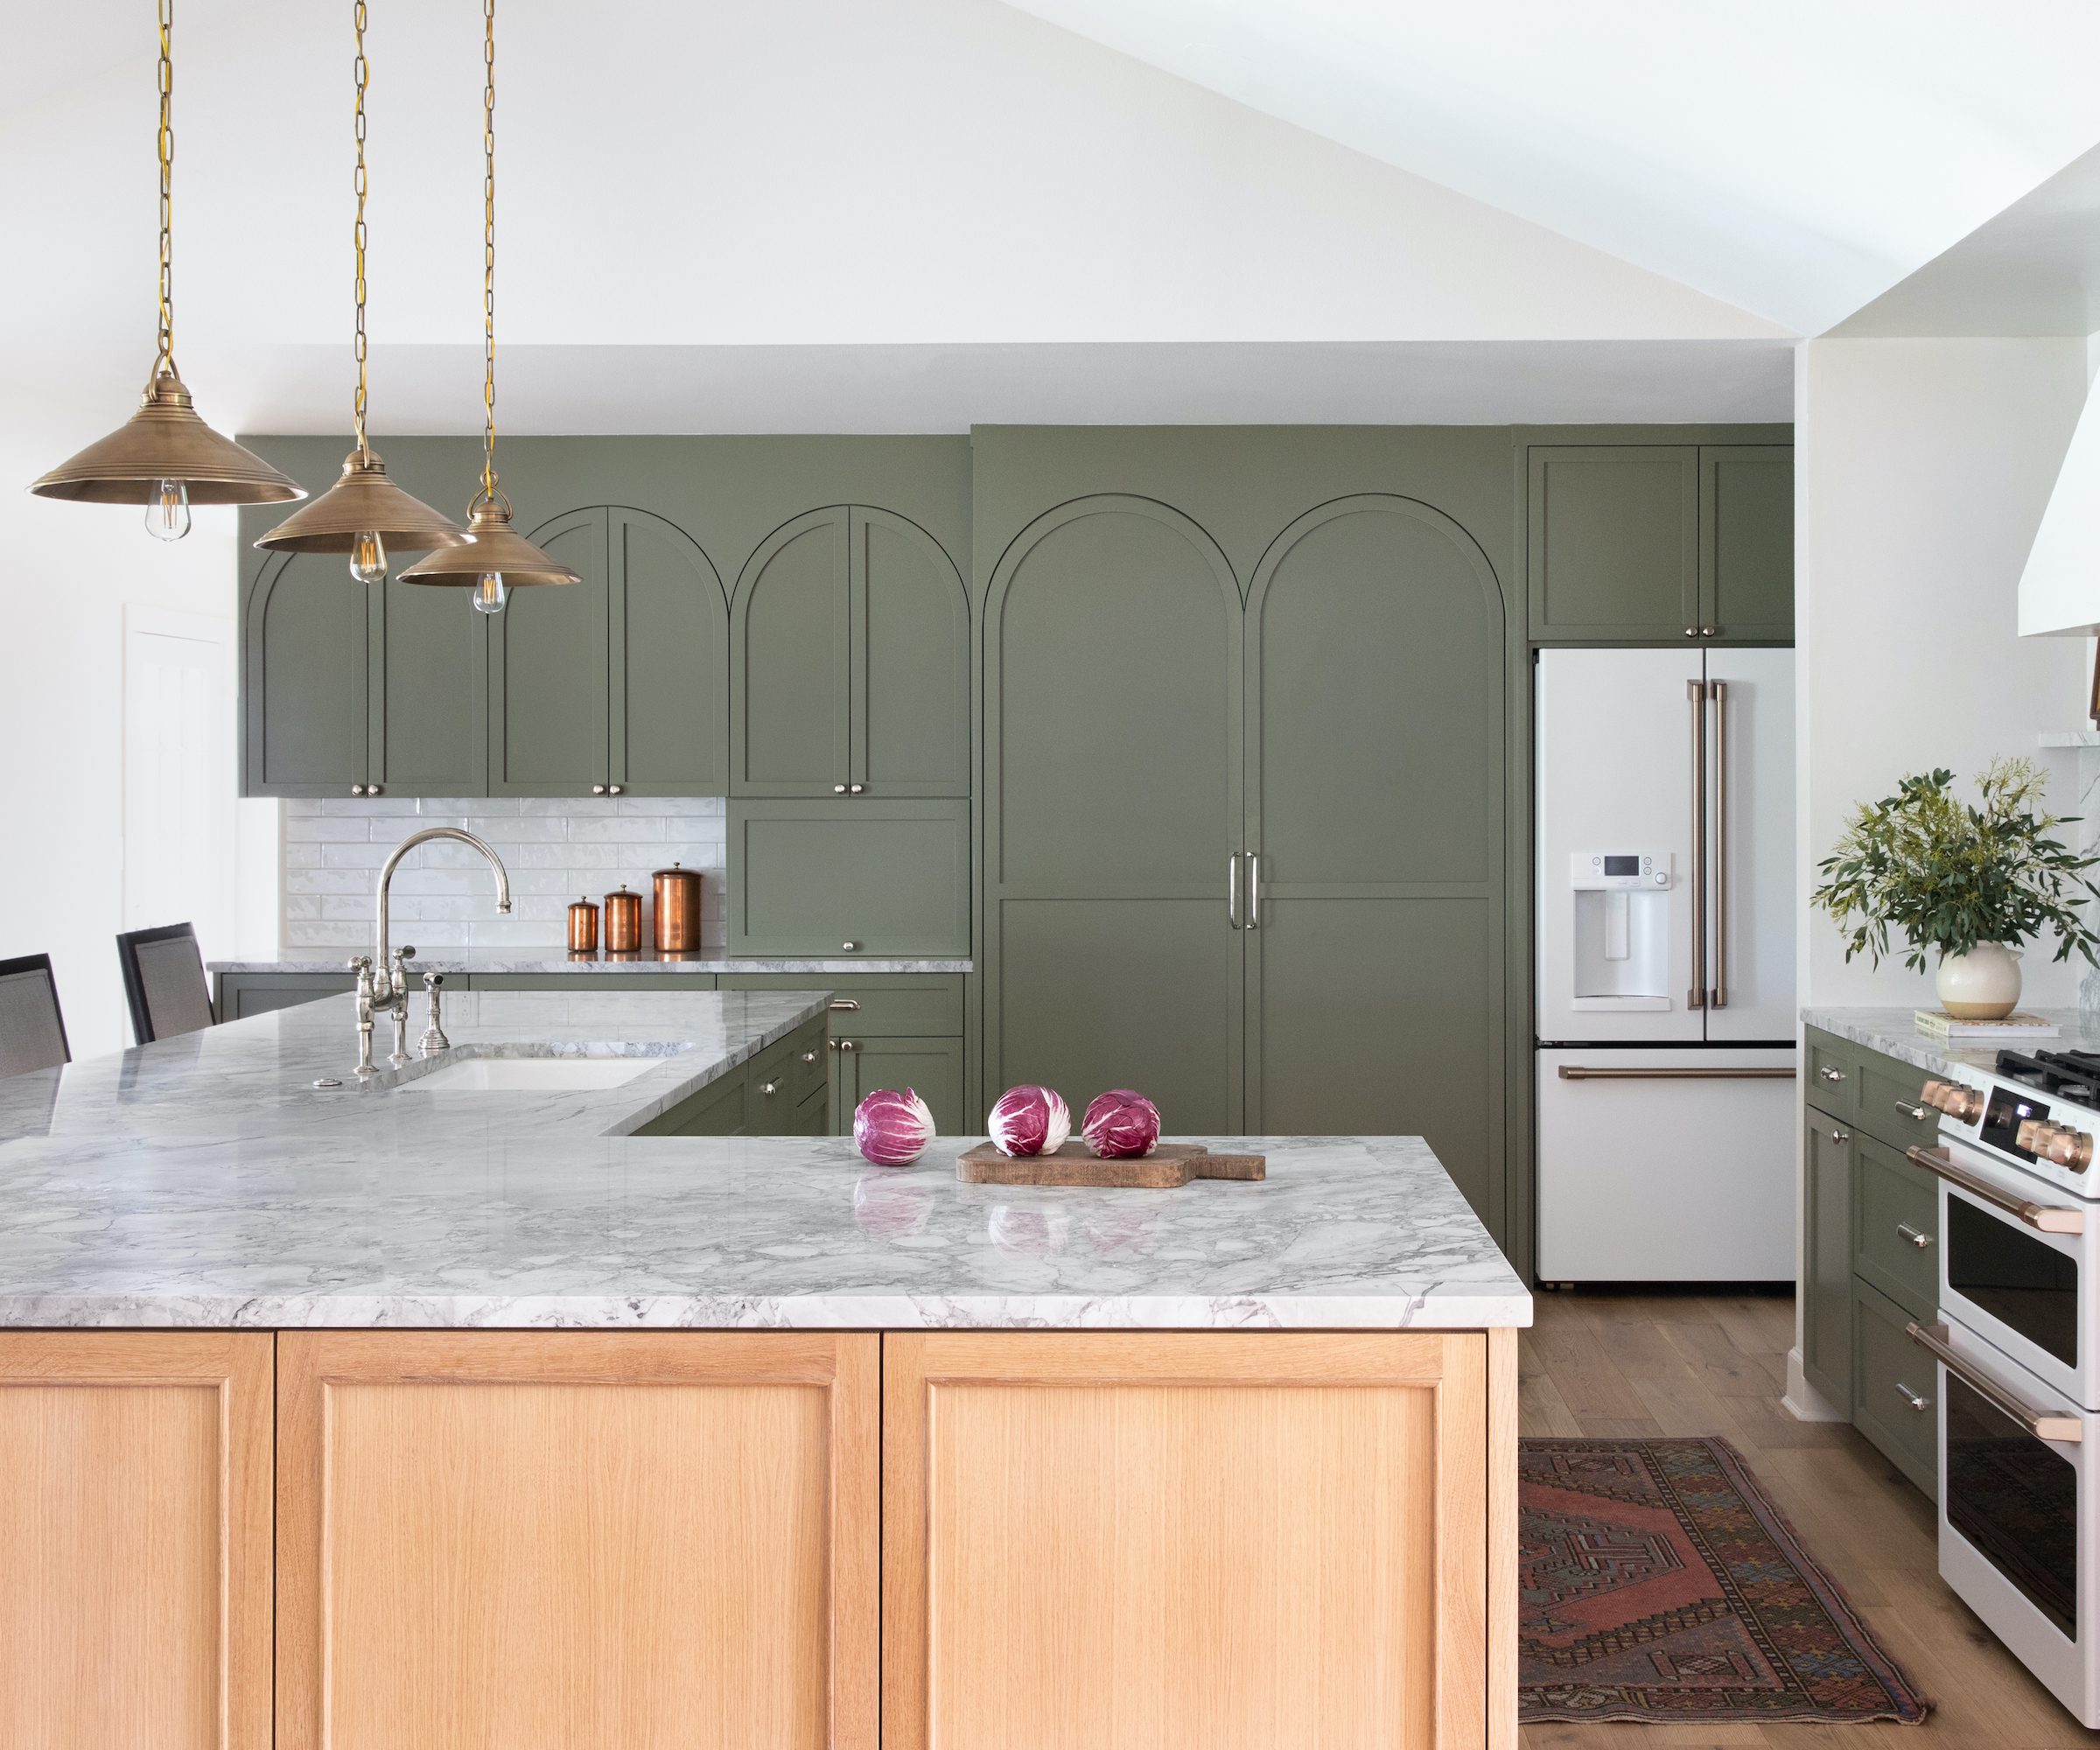
Think beyond the standard rectangle for an island that really earns its keep. In larger kitchens especially, a more creative approach to shape can unlock a layout that feels far more considered, helping the space flow better and work harder day to day.
‘It’s easy to default to a rectangular island, but playing with the shape can sometimes solve the layout far better, especially in large open-plan homes,’ explains Shannon Eddings, founder of Shannon Eddings Interiors.
A more considered form can prevent your island from reading as one long, uninterrupted block, instead introducing structure and subtle zoning within an open space. L-shaped designs are particularly effective, creating a natural divide between prep and seating, while curved or chamfered corners can soften circulation routes and make movement feel more intuitive. Peninsula-style U-shapes or offset sections can also help break up the mass, giving the island a more architectural presence while improving day-to-day usability.
‘This L-shape island is great for keeping the working side slightly protected while directing seating and traffic around the outer edge, so people can gather and chat without constantly crossing through the cooking zone,’ adds Shannon.
7. Extend the Island’s Social Role
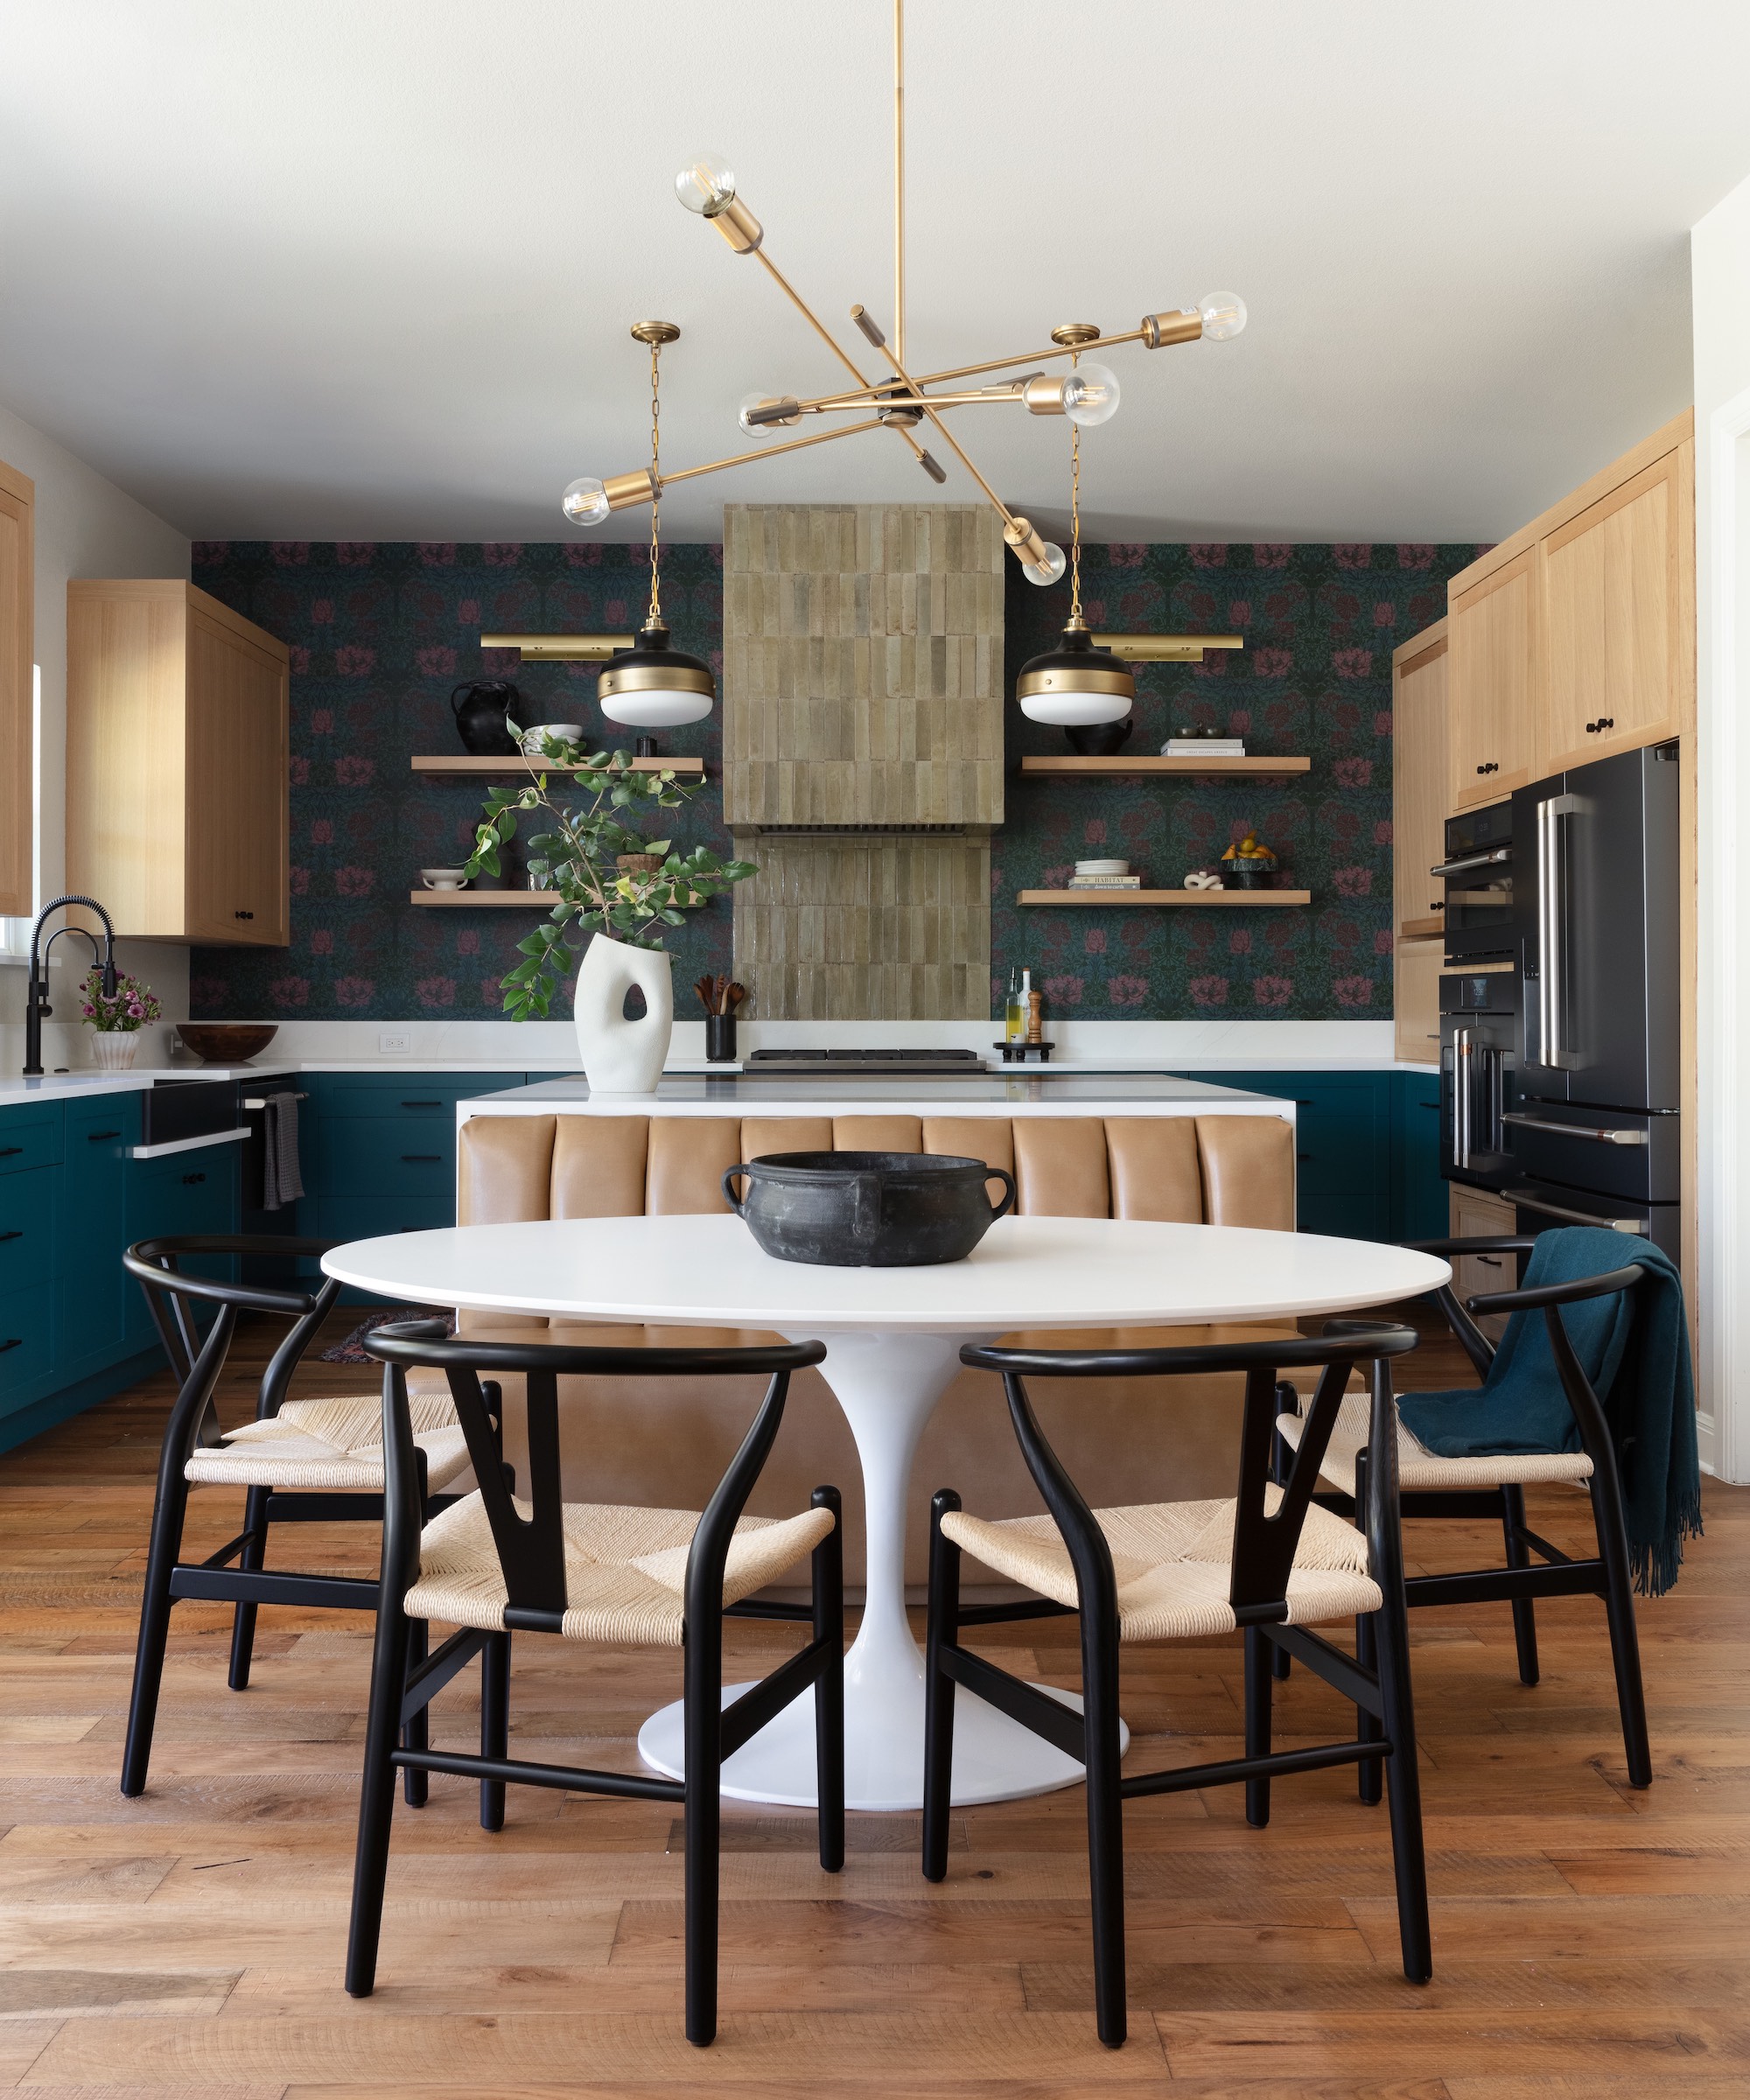
As kitchens take on more of a living and dining function, seating needs to feel more intentional than a row of bar stools. Incorporating a banquette at the end of the island creates a more grounded, comfortable place to sit, encouraging longer, more relaxed use of the space.
It also helps soften the overall feel of the kitchen, introducing a more furniture-like element that bridges the gap between cooking and living areas. Done well, it can anchor the island within the room, making it feel less like a workstation and more like a destination.
‘Adding a banquette and table to the end of an island is a brilliant way to make the kitchen feel more sociable, but it does mean the island effectively grows longer,’ says Lindsie Davis, principal designer, Blueberry Jones Design.
‘Before committing, make sure the room can comfortably absorb that extra length – you want to avoid chairs hitting against cabinetry or walls each time someone takes a seat.’
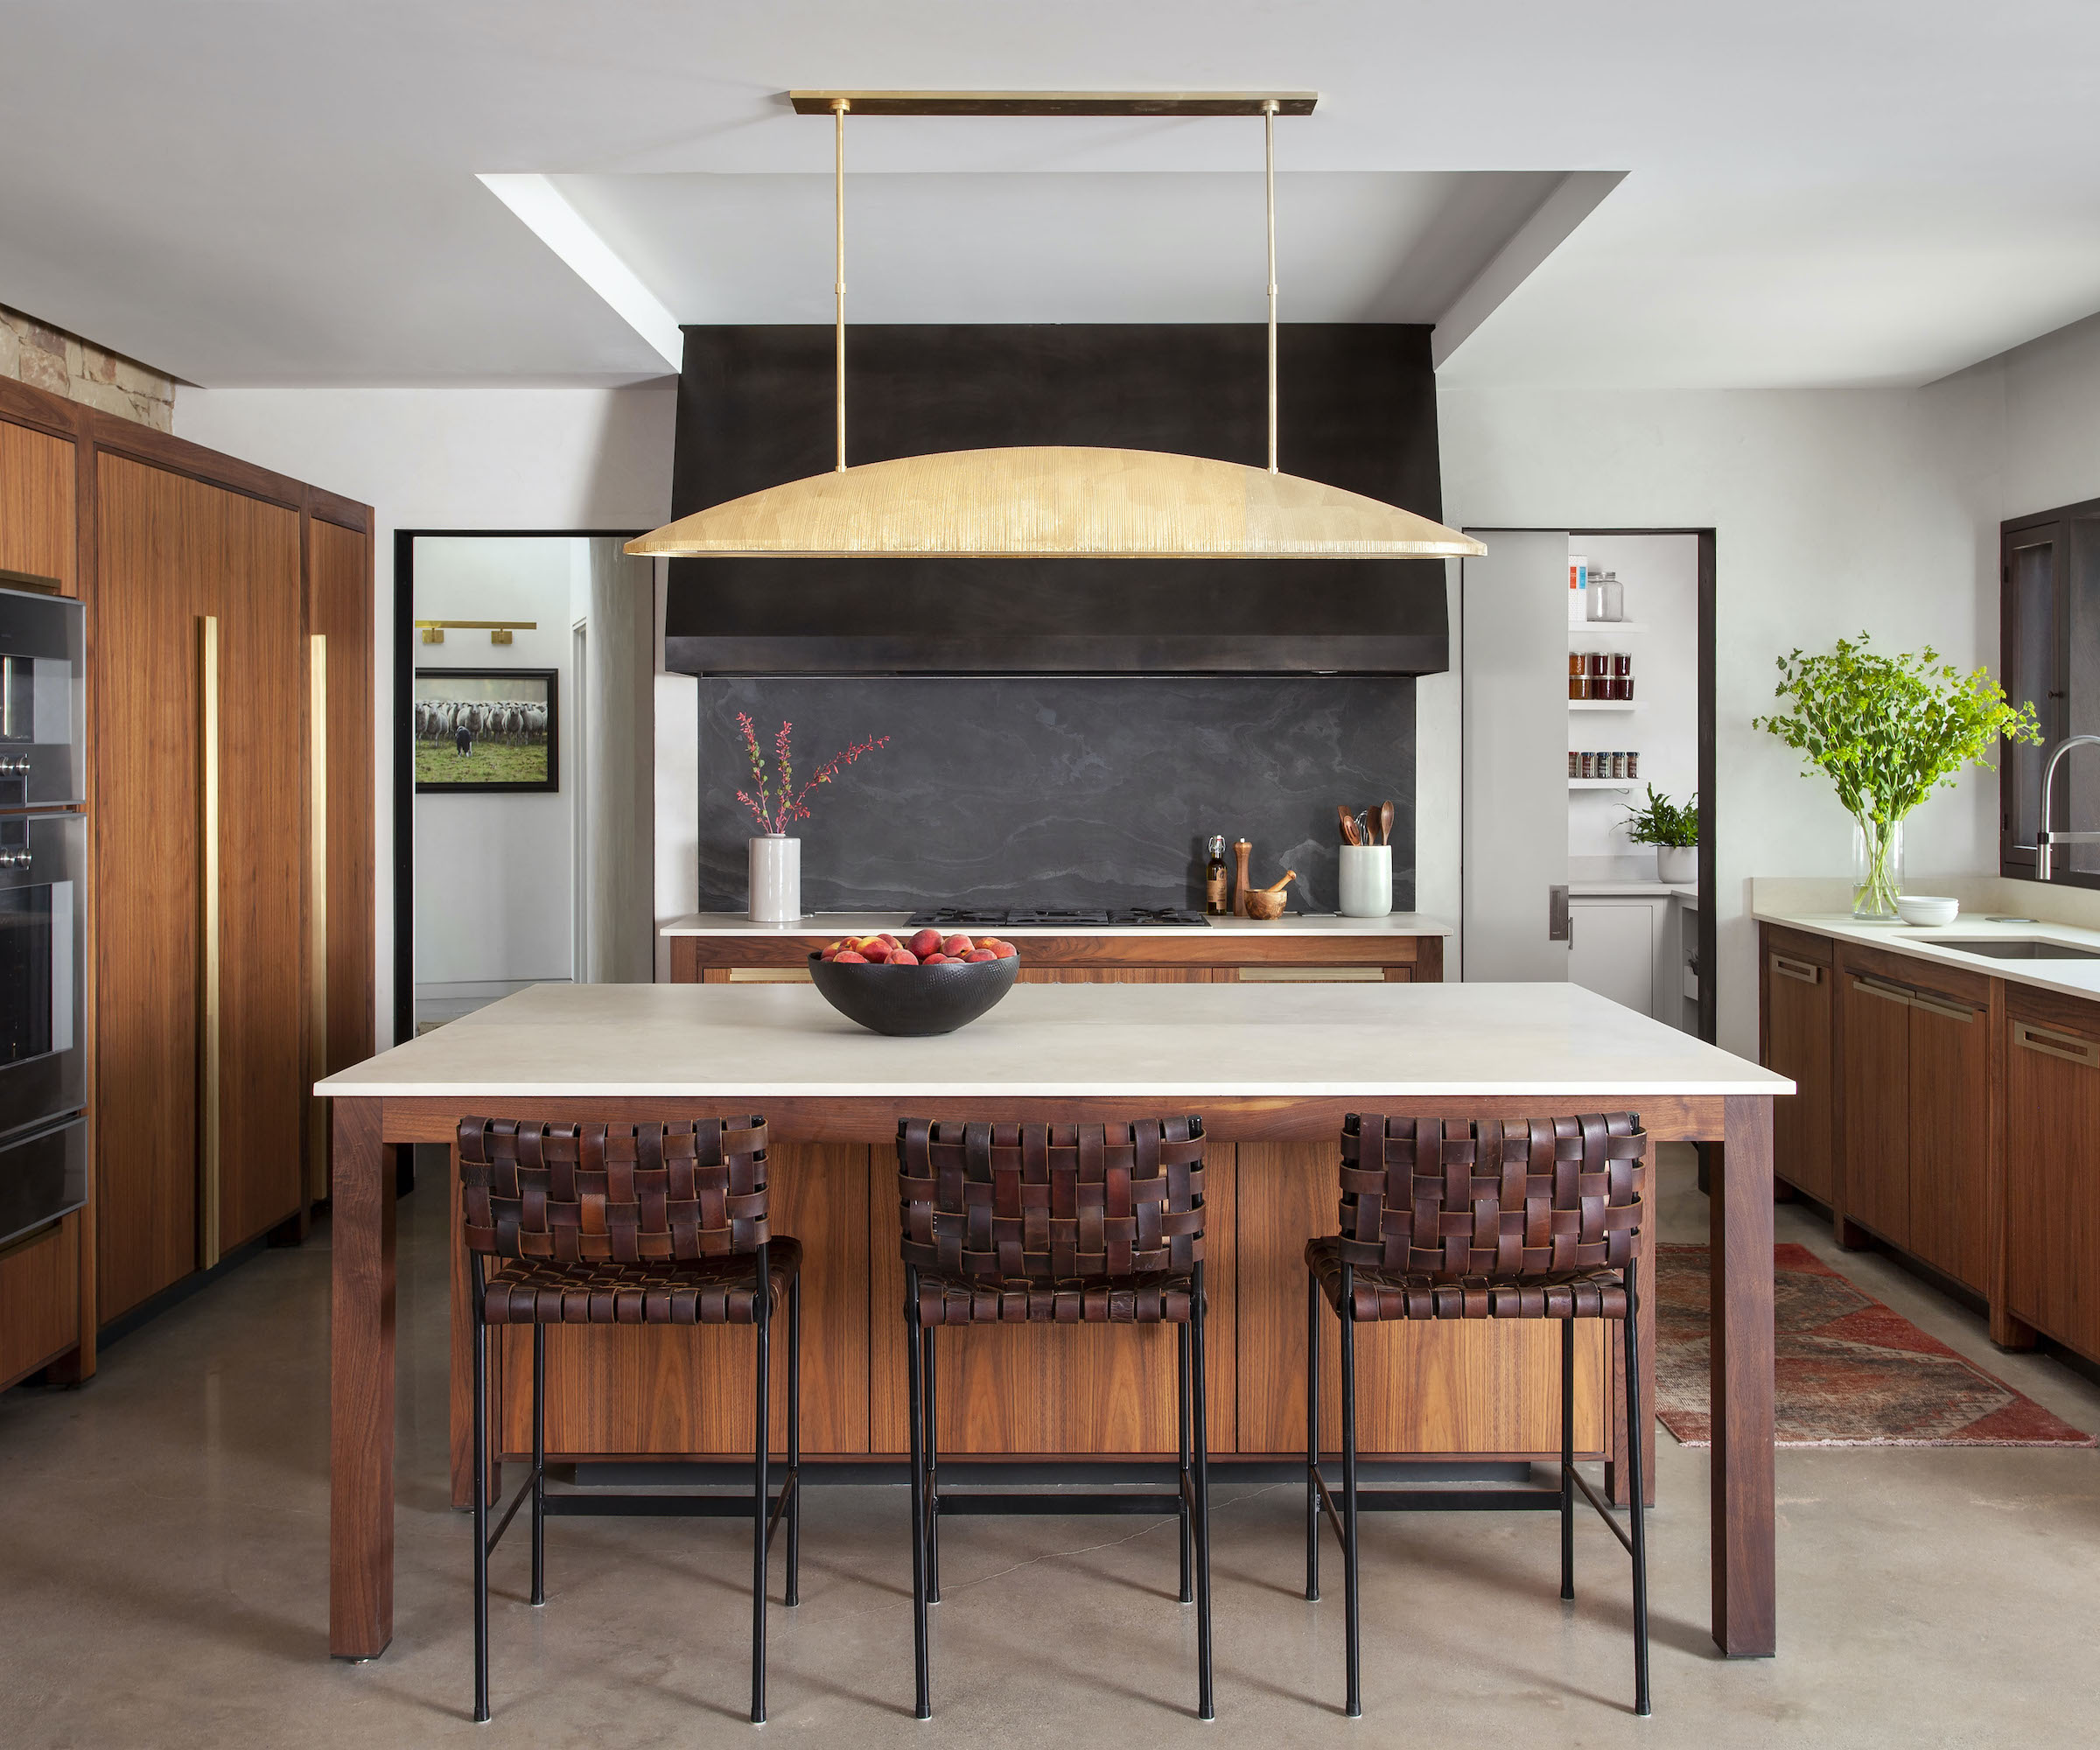
8. Add Depth Through Materiality
‘An island is a great opportunity to bring texture into the kitchen, because it sits right at the centre of the room and you experience it from every angle,’ says Lindsie Davis, of Blueberry Jones Design.
That visibility also means materials need to work harder. The island is one of the most touched and used elements in the kitchen, so combining finishes with different tactile qualities – smooth stone, grained timber, brushed metal – adds not just visual interest but durability in high-use areas.
It’s also a chance to introduce subtle contrast. A darker base, fluted detailing, or a shift in finish can ground the island and give it presence without relying on bold kitchen island color. ‘I often look for ways to echo materials nearby, so everything feels connected. Here, the ribbed timber panels on the island relate nicely to the fluted glass in the upper cabinets, while the woven stools add another tactile layer. It’s a subtle way of building interest,’ adds Lindsie.
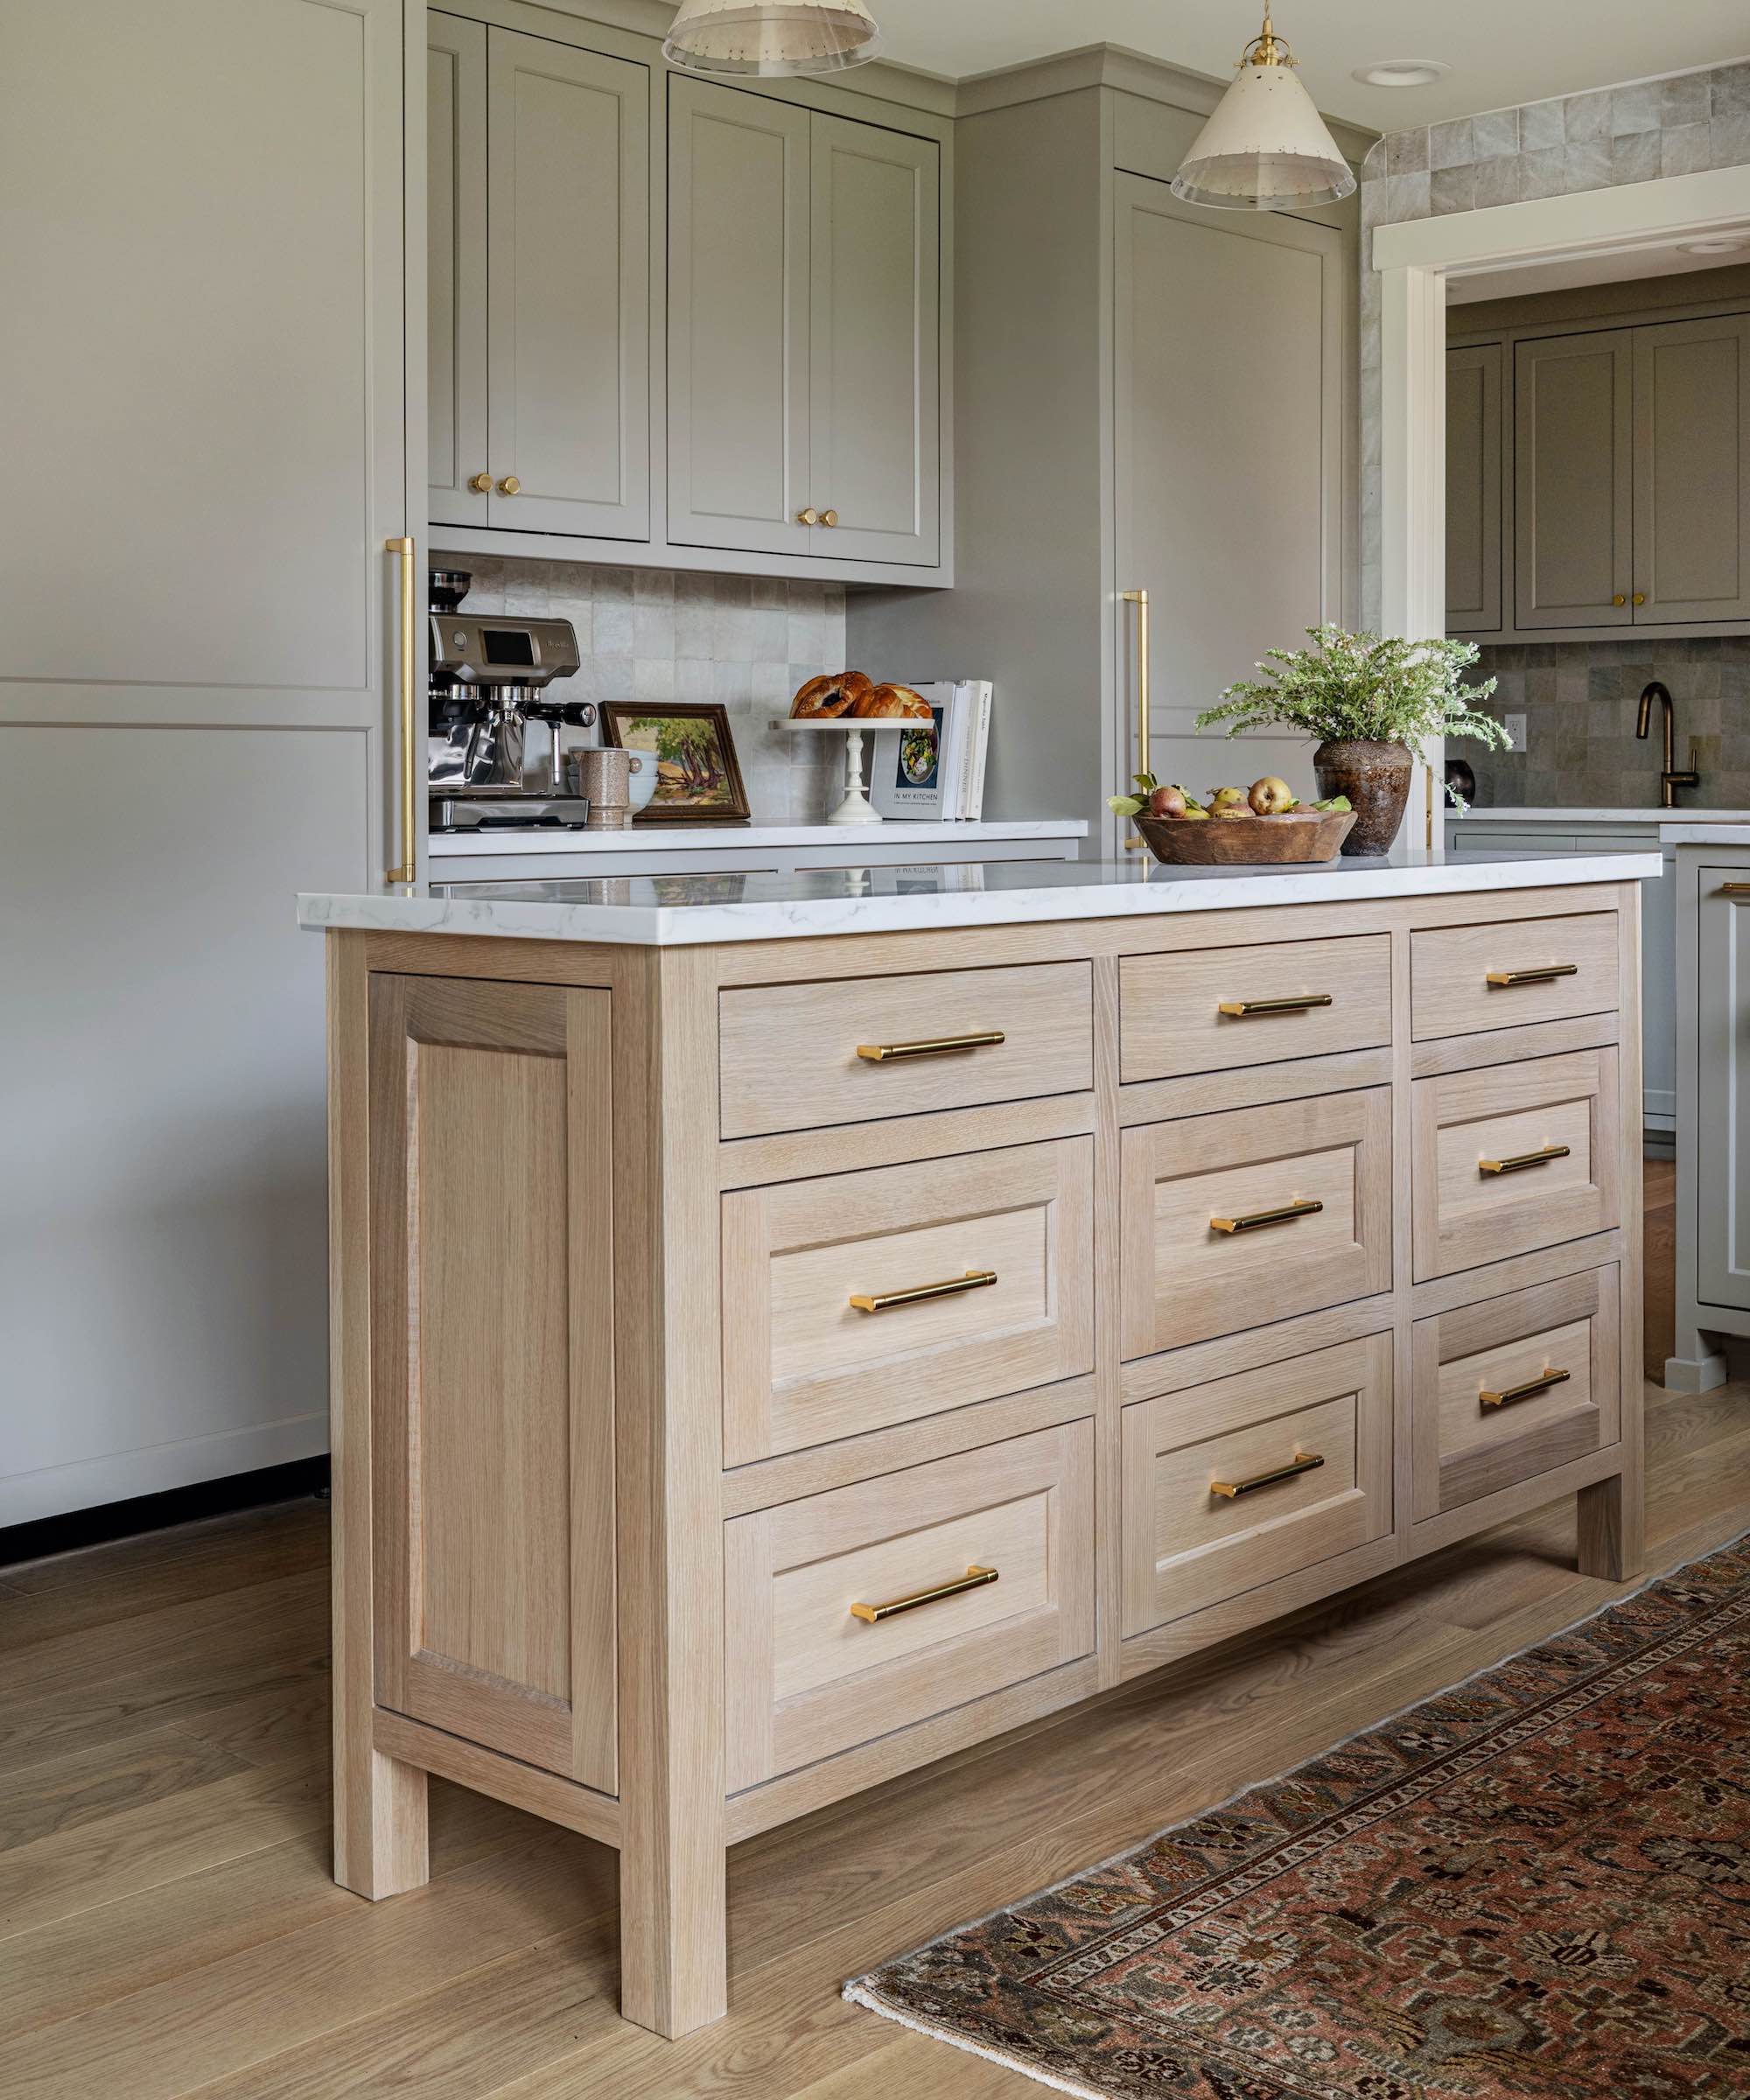
9. Be Clever with Storage
Kitchen islands often carry the bulk of everyday storage, so how that storage is designed matters. Deep drawers offer a more efficient solution than traditional cupboards, making it easier to store and access larger items without everything getting lost at the back.
Unlike cupboards, which can quickly become cluttered and hard to navigate, drawers allow everything to be seen at a glance, making them particularly useful for cookware, serving pieces, and everyday essentials. ‘Deep drawers are particularly useful in an island because they can accommodate bulky cookware and platters,’ says Benjamin Johnston, founder, Benjamin Johnston Design.
On the working side of the island, drawers should be dedicated to everyday prep essentials, with shallower drawers or tiered dividers to keep smaller items visible and easy to reach. Internal organizers such as peg systems, knife blocks, and adjustable compartments help everything stay in place and prevent contents from shifting or getting lost.
On the outer side, island storage can be more about volume and dedicated to bigger items that are used less often but still need to be close by. ‘Here, push-touch drawers wrapped in the same stone as the island are a clever way to hide serious storage in plain sight,’ adds Benjamin. ‘The handle-free fronts keep the design sleek so the island feels more like a sculptural piece of furniture than standard cabinetry.’
10. Add Creative Design Details
An island is the perfect opportunity to be more creative with your kitchen design. By playing with curves, exaggerated edges, sculptural legs, or unexpected proportions, it will become a true focal point, bringing a stronger sense of identity to the room. These bolder moves shift the island from something purely functional into a feature that actively shapes the space around it.
Here, Blakes London demonstrates how a few creative adjustments can lead to something far more distinctive. ‘Those diagonal legs are a clever twist. By angling the supports and setting them back from the edge, the island takes on a slightly table-like character rather than the usual solid block – an unusual detail that gives the whole piece a lighter, more architectural feel,’ says lead designer, Reuben Ward. ‘The key to keeping a bold island design timeless is balancing those expressive details with classic materials and good proportions, so the island still feels elegant and grounded rather than overly trend-driven.’
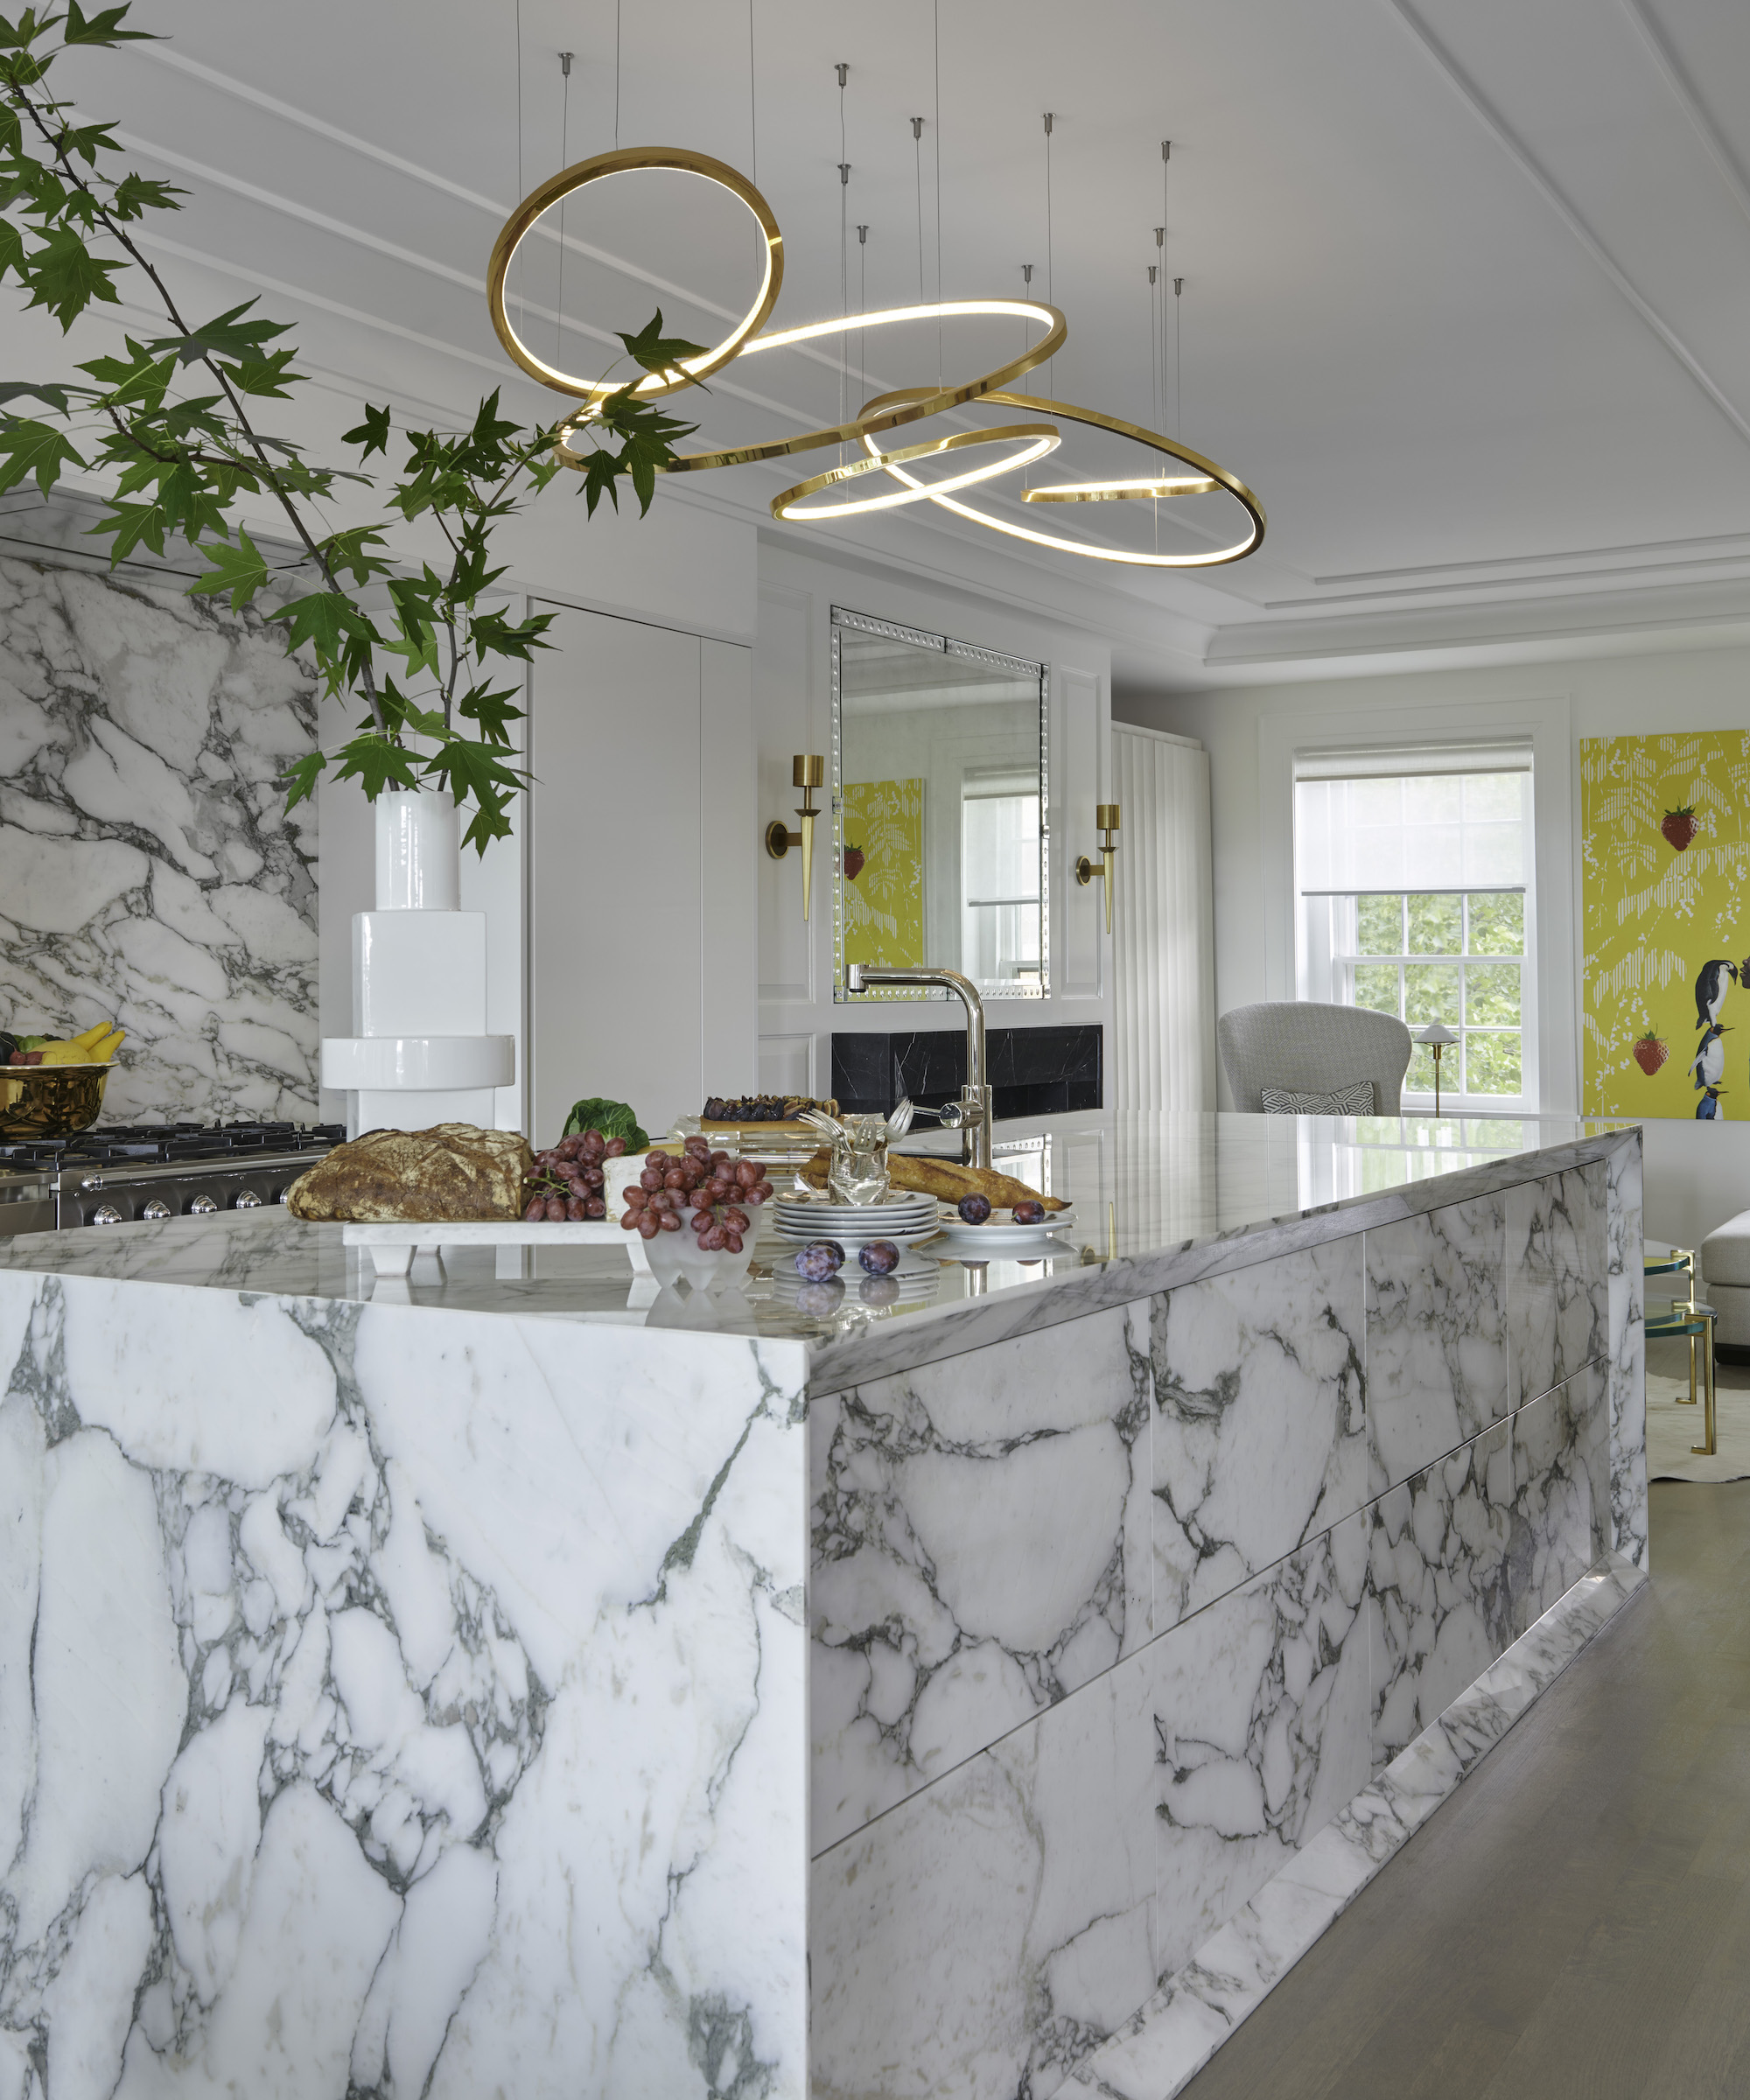
11. Maximize the Impact of Stone
If there’s one way to instantly elevate a kitchen island, it’s with a confident choice of stone. From dramatic veining to rich color variation, statement slabs bring energy and movement into the space, turning the island into an immediate focal point.
It’s not just about the surface, either. There’s a growing shift towards more decorative edge profiles – from softly rounded bullnose to classic ogee – which add another layer of refinement and give the island a more bespoke, considered finish.
The more striking the stone, the more it deserves to be fully showcased. Details such as waterfall edges allow the material to wrap down the sides, amplifying its impact and revealing the full beauty of the slab.
‘When you invest in a natural stone waterfall edge, it’s worth thinking carefully about where it will actually be seen,’ adds Blakes’ Reuben Ward. ‘The veining can be incredibly beautiful, so I like to orient the waterfall on the end you encounter first when entering the kitchen or moving through the space. That way the stone becomes a real focal point rather than a detail tucked away where no one notices it.’
12. Make Cooking More Intuitive
An island cooktop creates a more sociable, outward-facing way of cooking, but it only works if the practicalities are properly resolved. This is one of those features where good planning makes the difference between effortless and awkward.
Start with space. You’ll need generous landing areas either side of the hob for hot pans, plating and prep – this isn’t the place to squeeze things in. Think about how you actually cook and allow room accordingly, particularly if you’re using larger pans or cooking for a crowd.
Extraction is another key consideration. Downdraft systems are often the most discreet solution on an island, keeping sightlines clear, but they do require powerful filtration to be effective. That, in turn, means committing to regular cleaning and maintenance to keep performance on par.
Utilities also need early coordination. Routing power, gas – and potentially water – to the island will impact floor construction, so it’s something to resolve at the planning stage, not retrospectively.
‘When a cooktop is located on the island, I like to think carefully about how someone will actually move through the space while cooking. A pot filler in that setting becomes less of a luxury and more about making the kitchen work smoothly. Large stockpots are surprisingly heavy once they’re filled, so having water directly at the cooktop saves the extra steps of carrying them back and forth from the sink,’ says Laura Tribbett, founder of Outline Interiors.
‘In this kitchen, the pot filler sits right at the island cooktop, which keeps the prep and cooking zone streamlined. It allows someone to fill a pot exactly where they’re standing, then move straight into cooking without interrupting the flow of the space. Small details like that can make a busy kitchen feel calmer and more intuitive to use.’
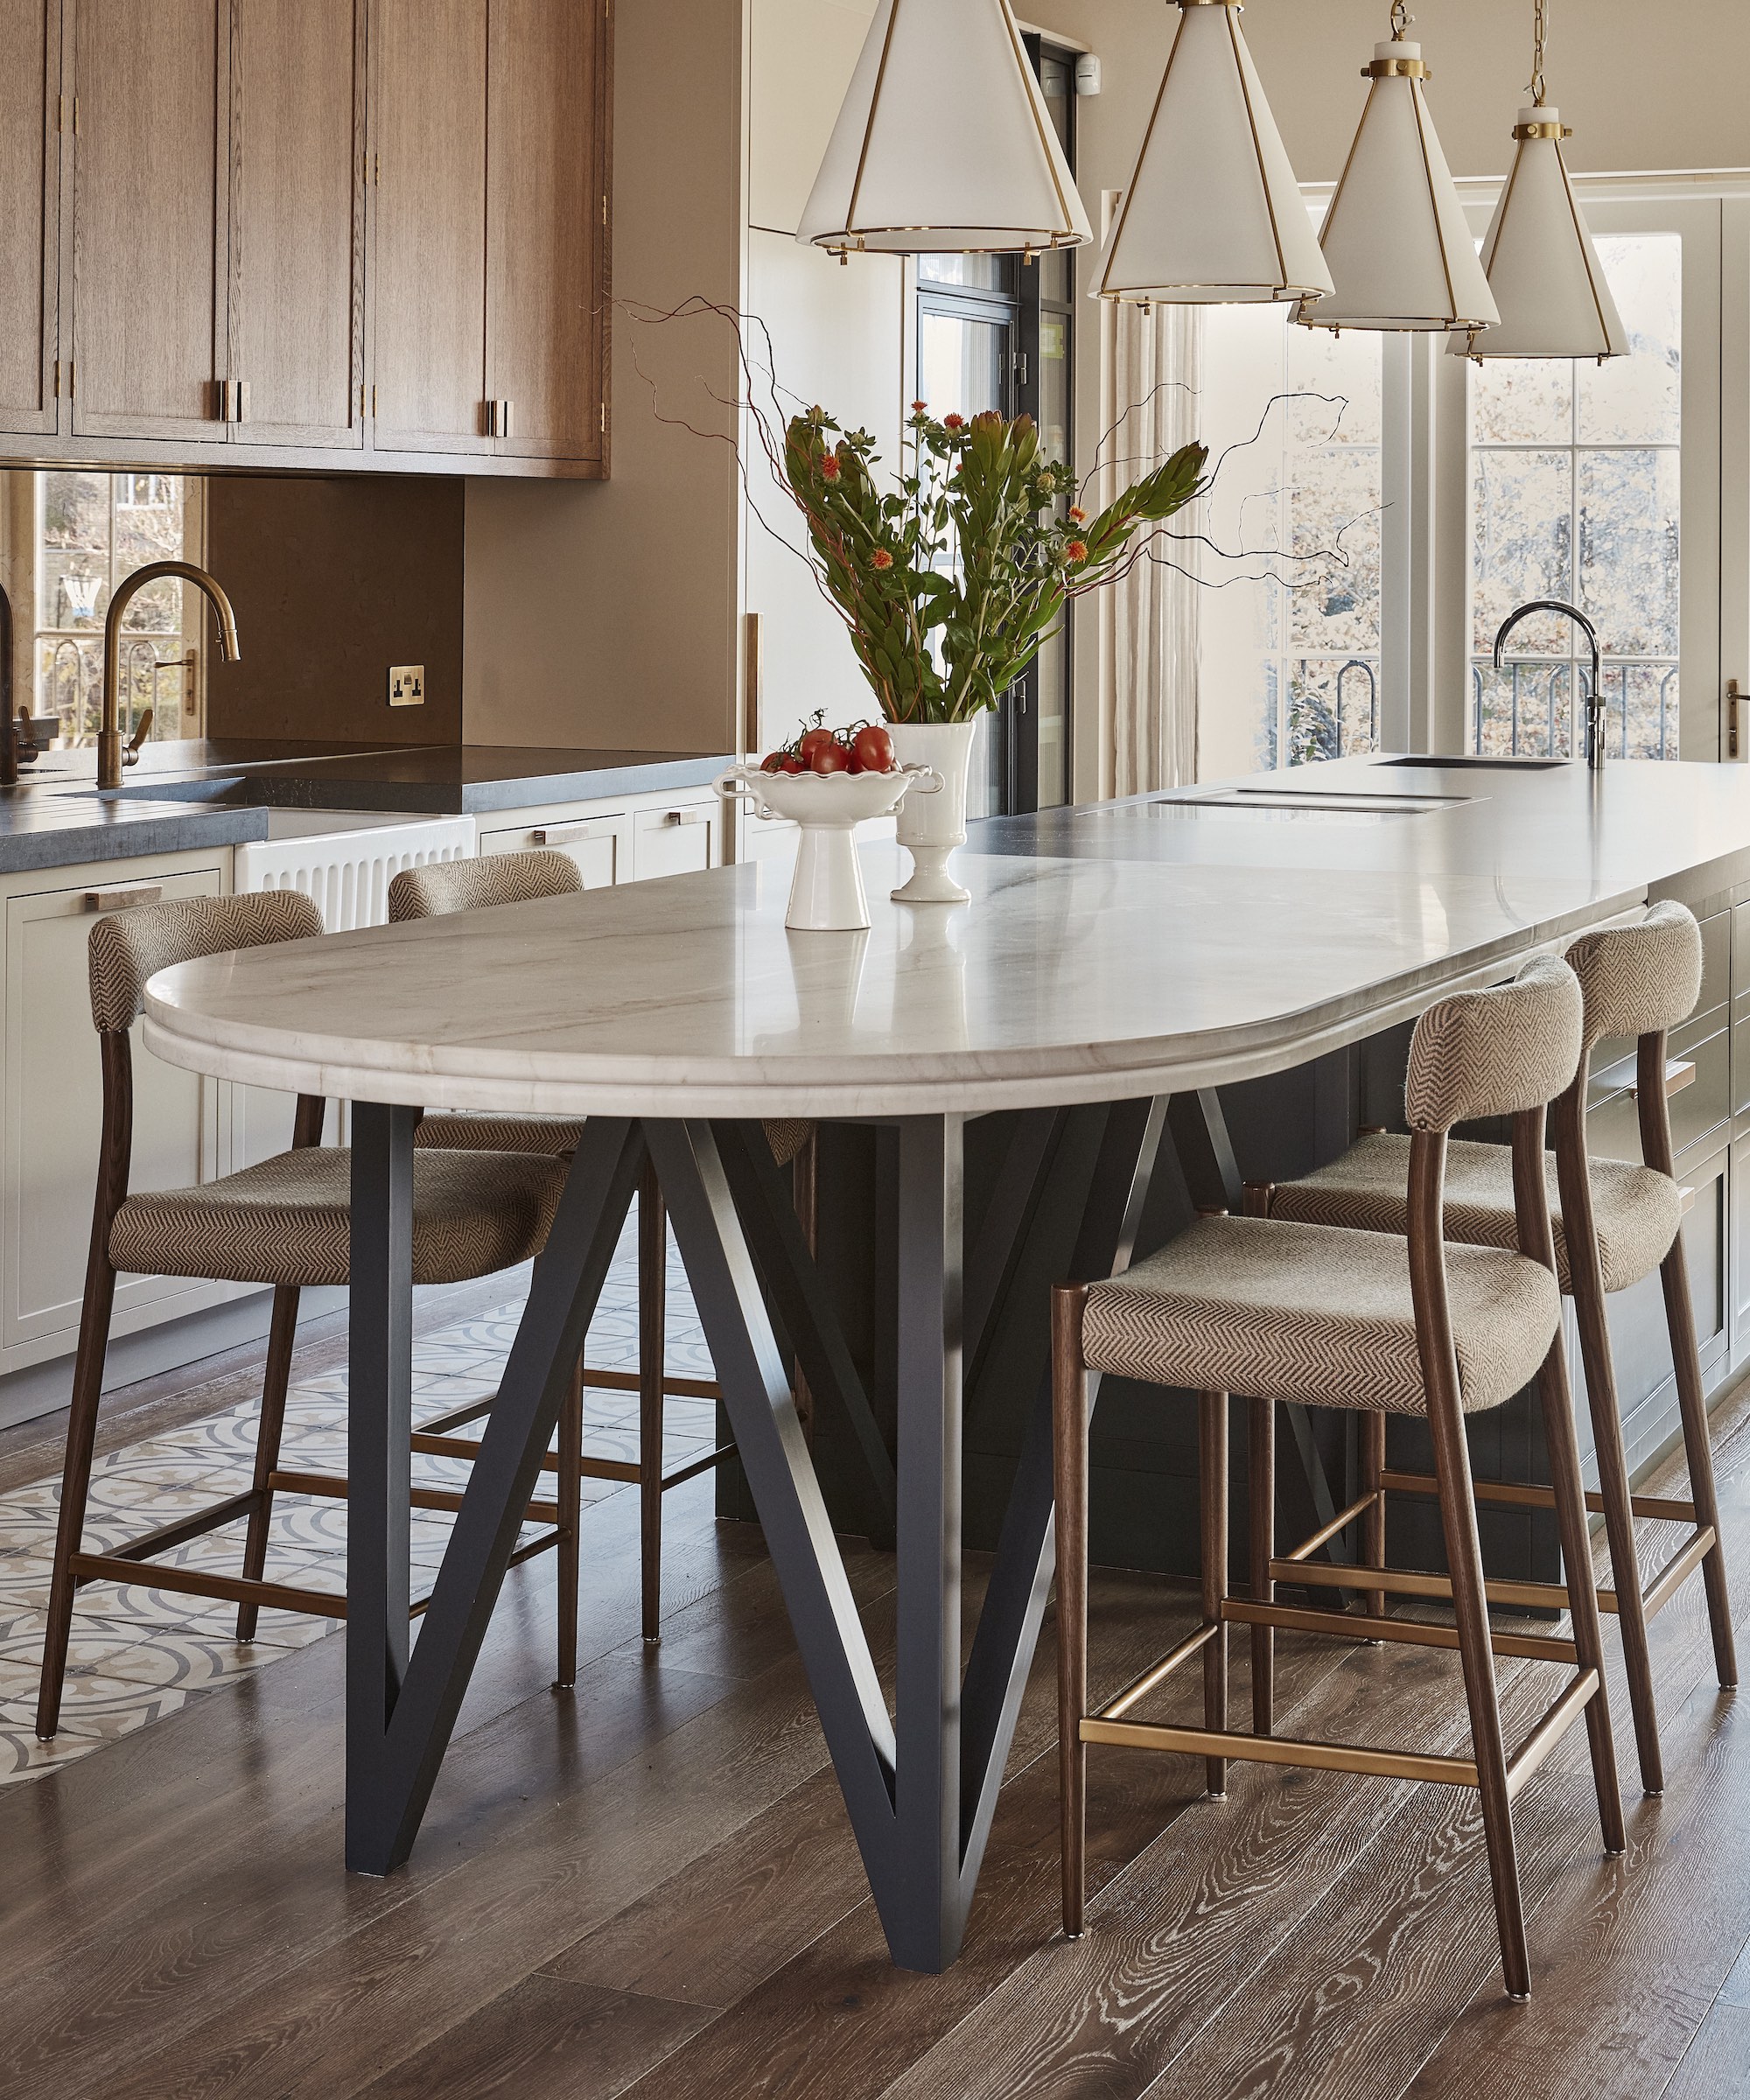
13. Design a Decent Breakfast Bar
An island can absolutely double as a dining spot, but only if the proportions are right. The difference between somewhere you perch and somewhere you actually want to sit for a meal comes down to clearances with your kitchen island seating, spacing and stool height.
As a rule, allow around 24 inches (60cm) width per person so stools don’t feel cramped, with a little extra if you want a more relaxed, dining-style setup. For legroom, an overhang of 12 inches (30cm) is the minimum, but 15–18 inches (38–46cm) is far more comfortable if you plan to sit for longer periods.
‘A generous overhang can completely change how comfortable island seating feels,’ says Laura Britt, founder of Britt Design Group. ‘Once you start pushing beyond about 12 to 15 inches of overhang, though, you’ll usually need some form of corner support to properly carry the weight of the countertop. I like to treat those supports as part of the design. Framed legs or corner posts help define the seating zone and give the island a lighter, open feel.
Seat height should align with your worktop. For a standard 36-inch (91cm) island, look for stools with a seat height of 24–26 inches (61–66cm), allowing around 10–12 inches between seat and counter for comfortable knee clearance. What goes on behind the stools matters, too. Make sure there’s enough space for circulation once bums are on seats – ideally at least 36 inches (91cm), and closer to 44–48 inches (112–122cm) in busy family kitchens where people are constantly passing through.
14. Switch Surface Materials
Using a single material across an entire island can feel monolithic, particularly on larger designs. Splitting the countertop introduces variation, allowing different areas of the island to work harder, both visually and practically – and can also be a more efficient way to use premium materials, reserving them for where they’ll have the most impact.
‘In this kitchen, we intentionally split the island countertop materials to break up what could otherwise feel like a large, uninterrupted surface,’ says Rachel Morrison, principal designer at Morrison Interiors. ‘The marble anchors the prep area, while the darker stone at the seating side introduces contrast and warmth. This subtle shift helps define how the island is used while adding another layer of texture and visual interest to the space.’
For keen or messy cooks, it can make sense to align materials with use. Select more hard-wearing surfaces such as porcelain or stainless steel on the working side, and something warmer, like timber, at the breakfast bar where it meets skin.
Where the join sits is just as important. Positioning the transition in line with a change in function – for example, between prep and seating – ensures the split feels intentional, not random.
15. Achieve Impact on a Budget
A kitchen island doesn’t have to be fully bespoke to deliver luxe looks. With the right approach, it’s possible to create something that feels design-led without the same level of investment – the trick is knowing where to spend and where to hold back.
One of the smartest strategies is to simplify the base and invest where it will be seen and used most. A standard cabinetry carcass can be elevated instantly with a standout kitchen countertop, a thicker edge profile, or a waterfall end on just one side rather than both. Focusing budget on these high-impact details creates a more considered look without the full cost.
You can also mix materials to stretch your spend further. Use a more affordable surface across the main prep area, reserving premium stone for a smaller section where it will have the most visual impact, such as the seating side or island end.
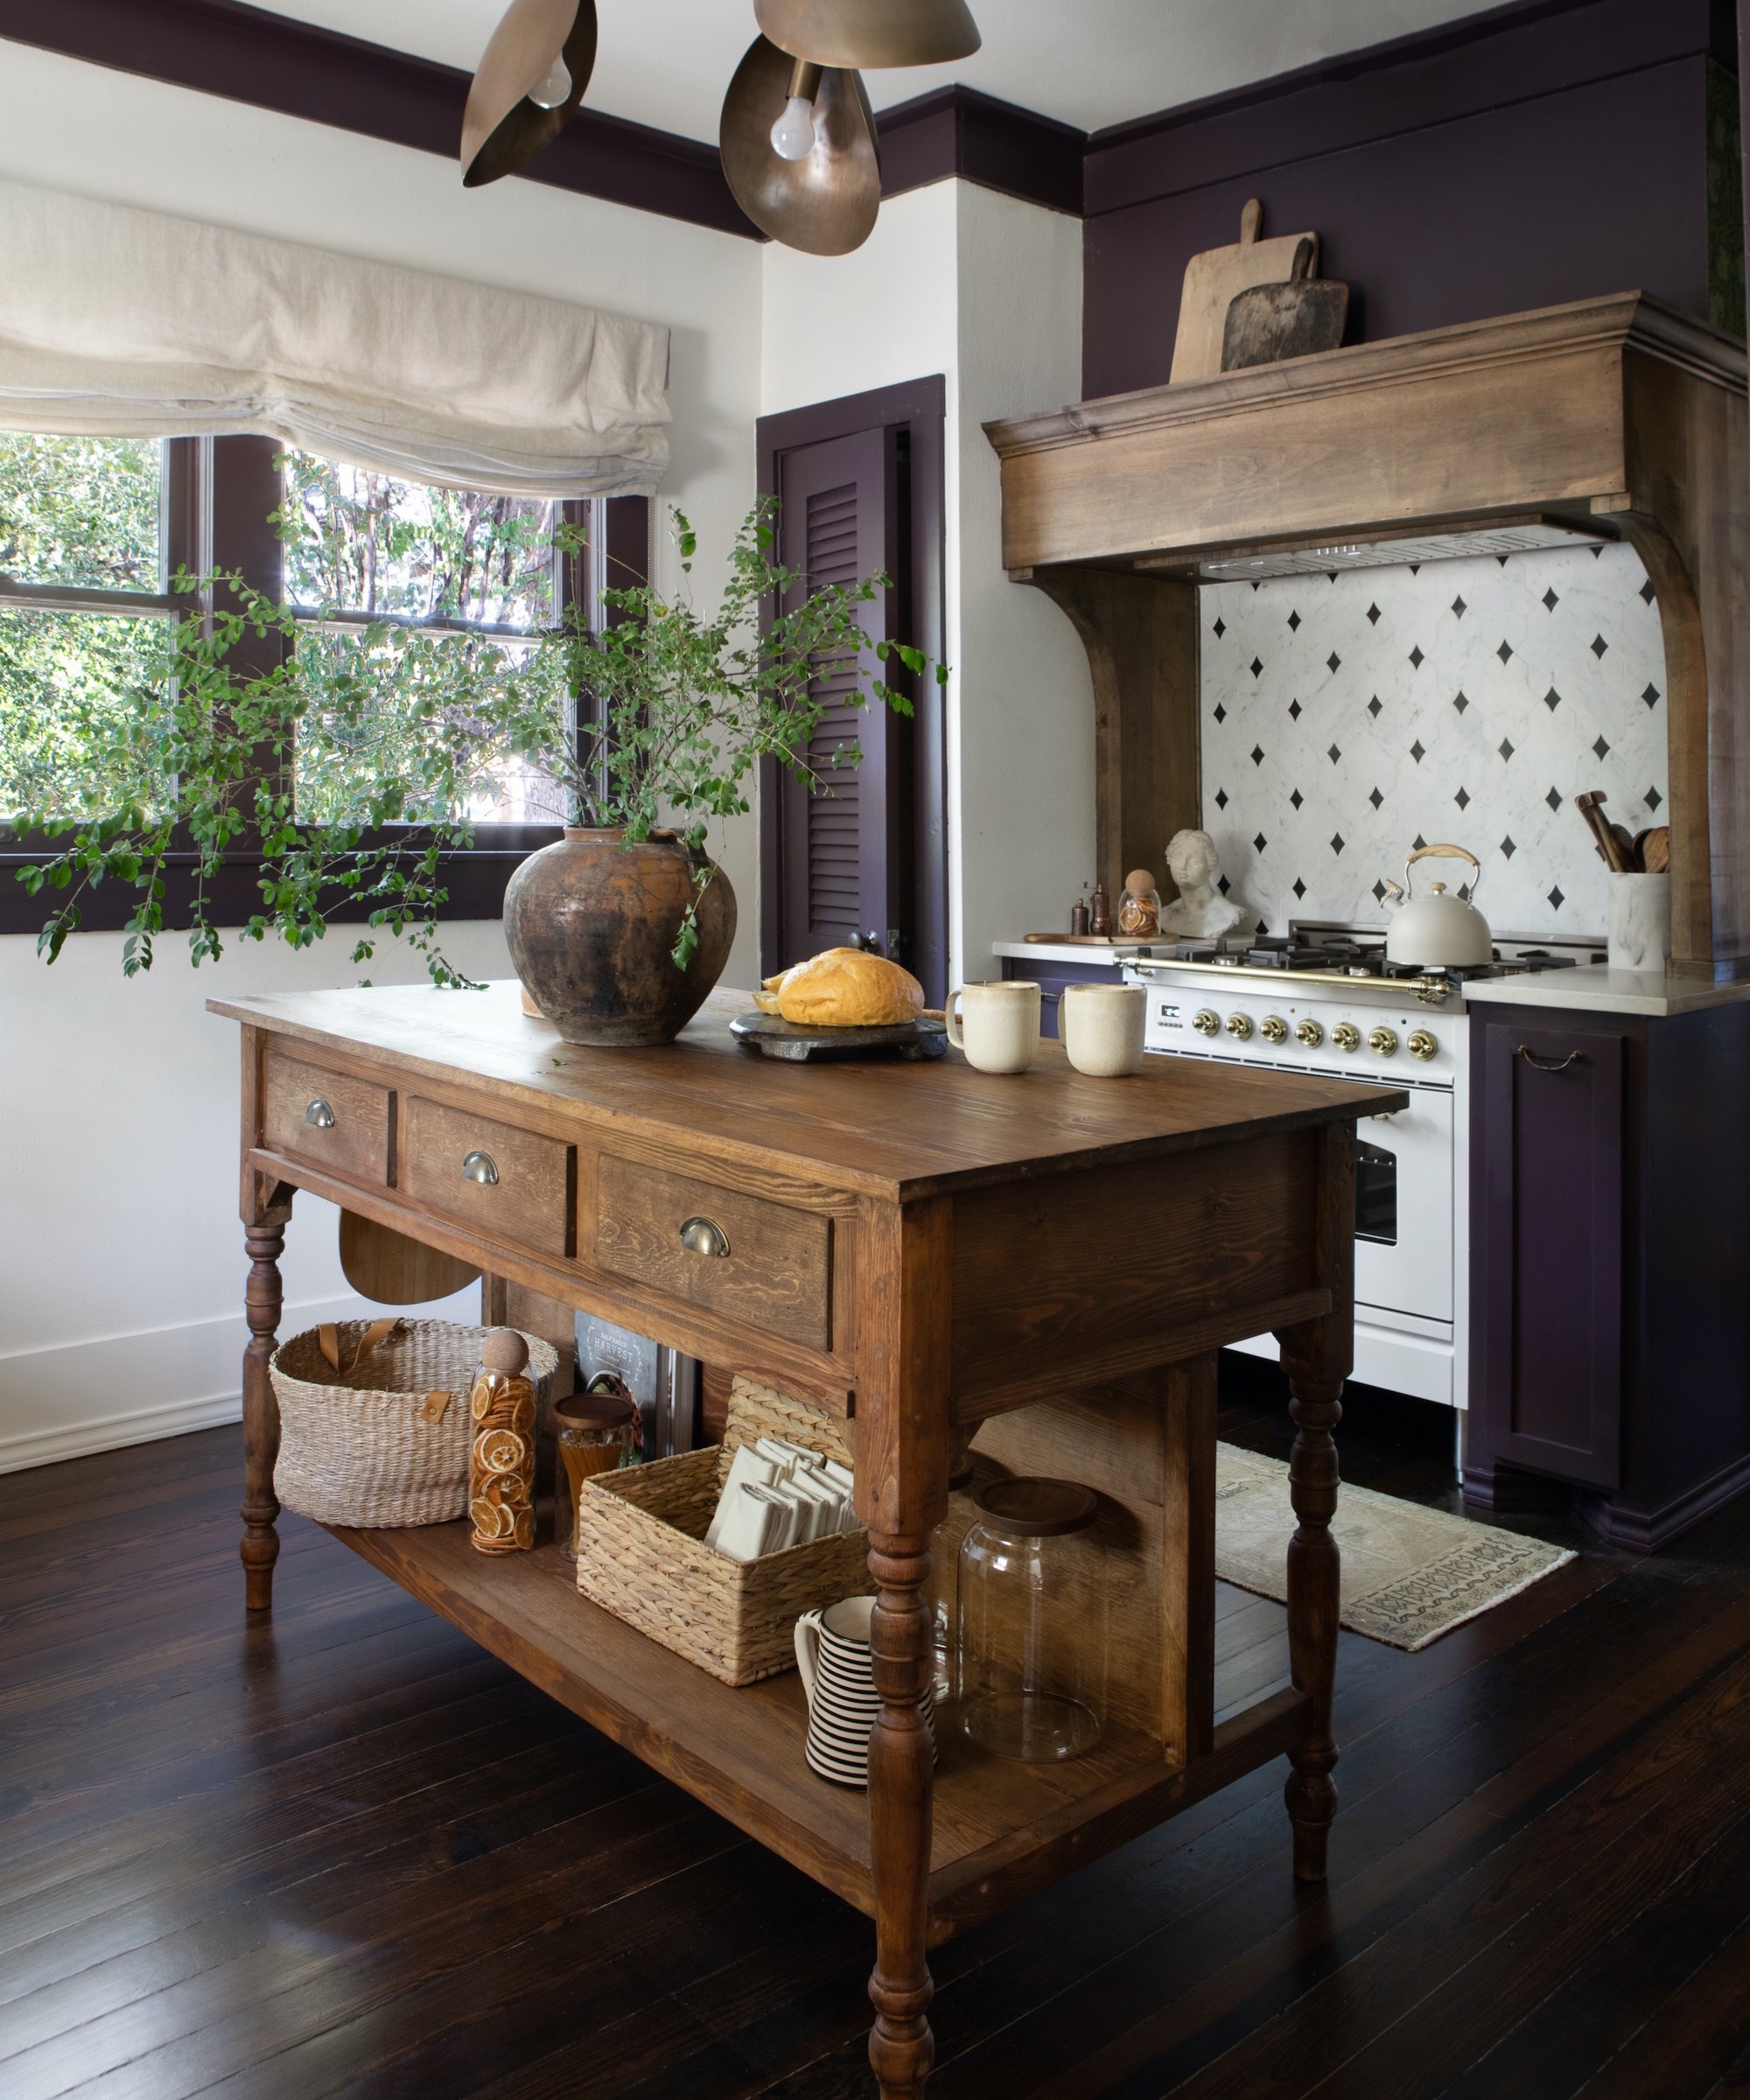
Another approach is to think beyond standard cabinetry altogether. Reclaimed or repurposed furniture – from antique workbenches to farmhouse tables or vintage shop counters – can make a striking island alternative, bringing instant character and individuality. ‘We chose this unique piece over a traditional island because it brings an aged, antique charm that perfectly complements the character of this historic cottage,’ says Ginger Curtis, founder and CEO of Urbanology Designs.
Kitchen Island FAQs
Are double kitchen islands a good idea?
Double islands can work brilliantly in larger kitchens, particularly where you want to separate functions. One island can be dedicated to prep and cooking, while the second becomes a more social, seating or serving space. Do ensure there’s enough room between and around them – without generous clearance, the layout can quickly feel excessive rather than efficient.
Is a kitchen island always the best use of space?
Not necessarily. In smaller kitchens, an island can sometimes do more harm than good if it restricts movement. If you can’t maintain comfortable walkways – ideally at least 36 inches, and more in high-traffic areas – a peninsula or freestanding piece is often a better solution.
What is the smallest size a kitchen island can be?
A compact island can work from around 4 feet long, but it needs to be carefully considered. Slim designs are best kept simple – think prep space or light storage rather than trying to include sinks, cooktops, and seating. If you’re compromising circulation to make it fit, it’s usually a sign to lose the island idea altogether.
Are moveable or freestanding islands worth considering?
Yes, particularly in smaller or more flexible spaces. Freestanding islands or kitchen carts can provide additional prep space and storage without committing to a fixed footprint. They also allow you to adapt the layout over time, which is useful in multi-functional kitchens.
Should a kitchen island be a different color to the rest of the cabinets?
A contrasting island can be a great way to introduce personality without overwhelming the space. Deeper tones, or different materials altogether can help the island read as a focal point, while still feeling connected to the wider scheme through shared details such as hardware or countertops.
How do you design a kitchen island for entertaining?
A well-executed island for hosting might include a drinks fridge, ice trough, an extended overhang for more comfortable seating, and a dedicated serving area. The goal is to create a space where people can gather naturally without interrupting the flow of the busy cooking zone.
There’s a lot to process when planning a kitchen island, and plenty of boxes to tick. Once the fundamentals are in place, exploring the latest kitchen island trends can help fine-tune the aesthetic.