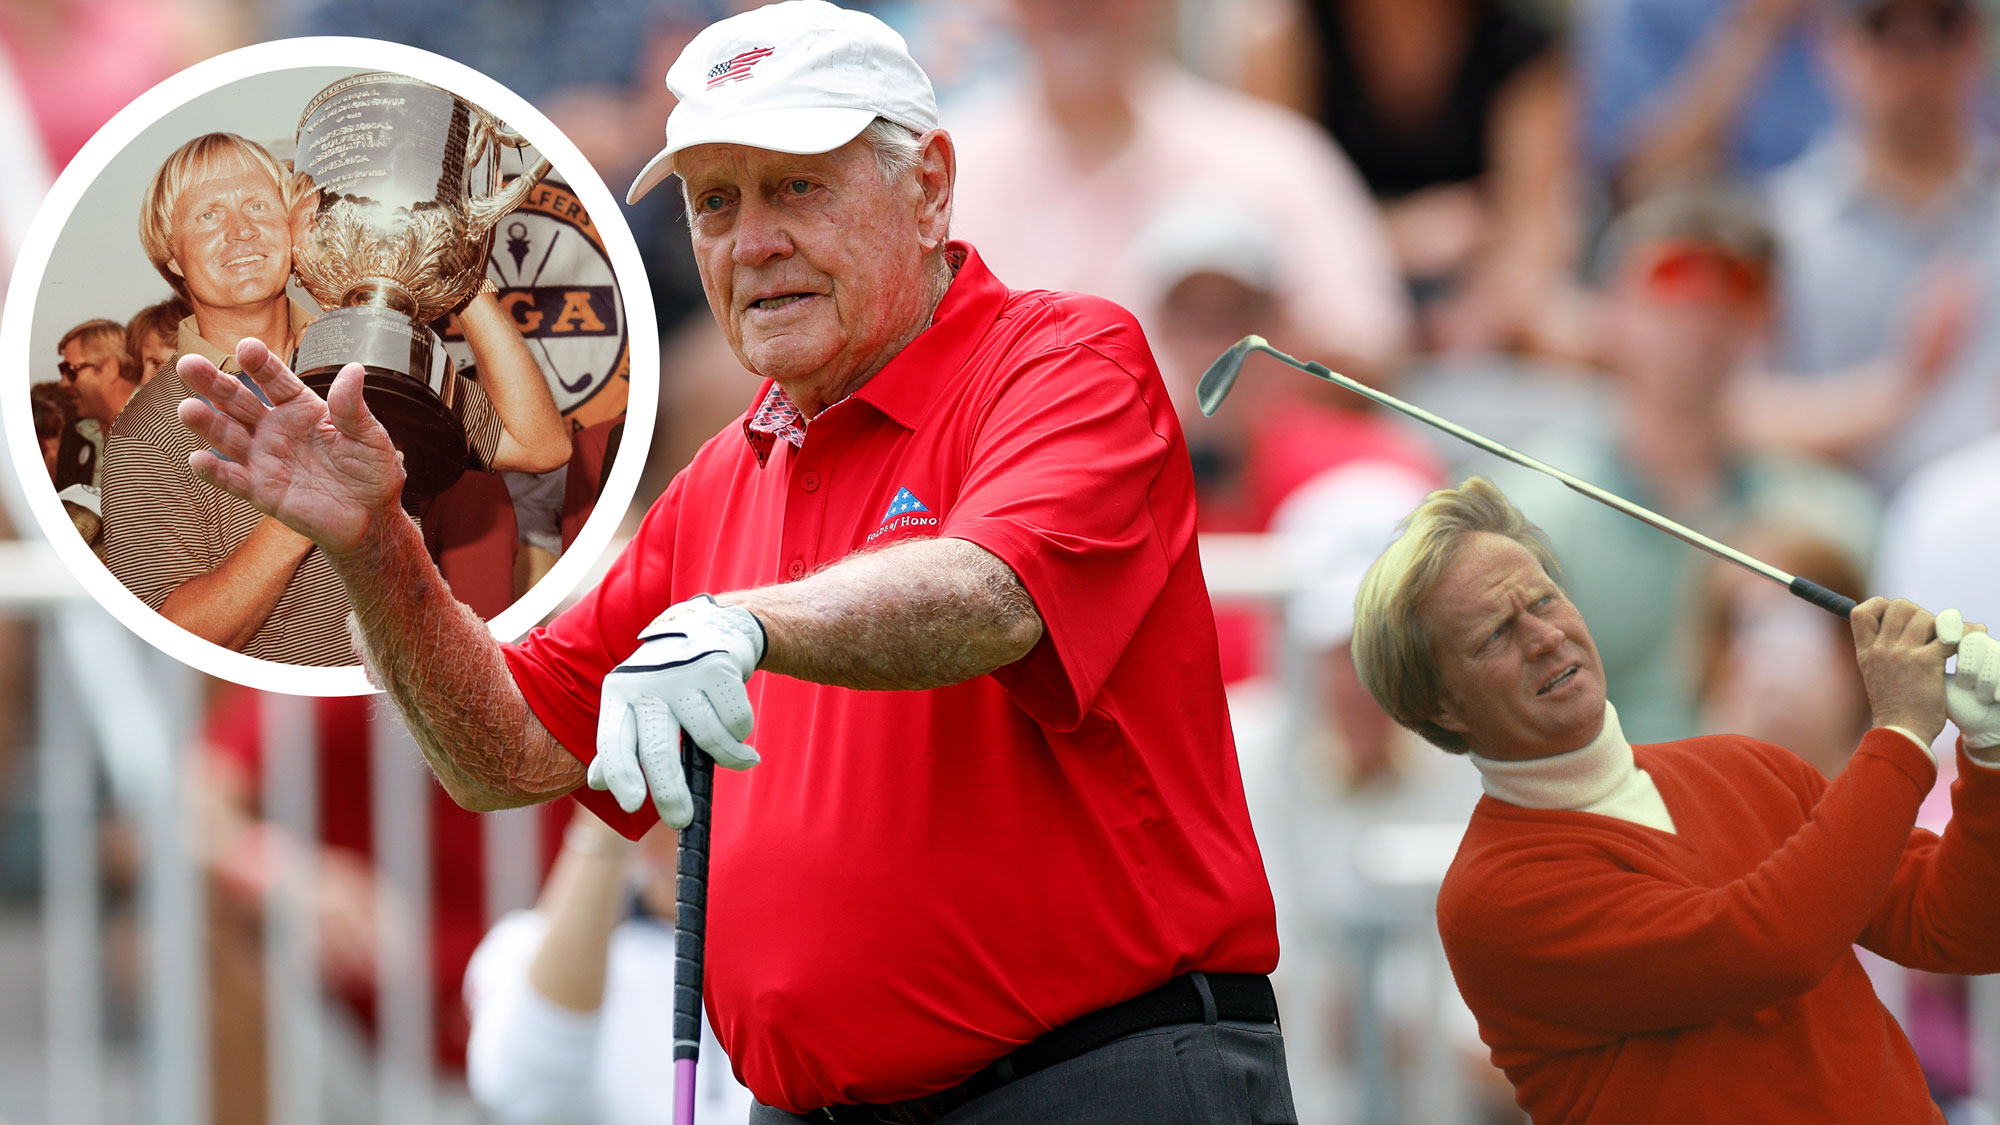
The wealth of wisdom and experience belonging to the greatest players ever to play golf rarely goes out of date, but their valuable insights can sometimes get lost in the archives of years gone by.
But, what if we could unlock that treasure trove of teachings to help you play better golf? Well, I did a little digging... and what I unearthed is pure gold.
These golf lessons and top tips, shared by legend of the game Jack Nicklaus, may be more than 25 years old... but their relevance today is undeniable. So, taken straight from a selection of the 1998 Golf Monthly issues, feast your eyes on this nostalgic assortment of advice from a true legend...
Jack Nicklaus Golf Lessons
These timeless tips were written with Ken Bowden, a long time Golf Monthly collaborator and author who produced a number of excellent books alongside Jack Nicklaus - each of which has helped countless golfers to improve their game.
The Takeaway
1. Takeaway Techniques
Over the years, we've seen three basic techniques for starting the takeaway. The move I prefer actually combines two of them.
Most golfers used to drag their hands away before the clubhead moved, to compensate for the twisting characteristics of hickory shafts. This can be seen in old photos of Bobby Jones’ swing. However, this lagging-type action is unnecessary with today’s modern shafts and, if carried to extremes, can lead to inconsistencies in swing plane and path.
More common nowadays is the opposite move, where the wrists hinge very early in the takeaway, often as the first move away from the ball. I’ve always avoided this method because it feels contrived and unnatural to me.
"I’ve played well when sensing a slight lag in the takeaway, which allows me to feel the clubhead momentum. Essentially, though, I want everything from the clubhead to my left shoulder moving away together."
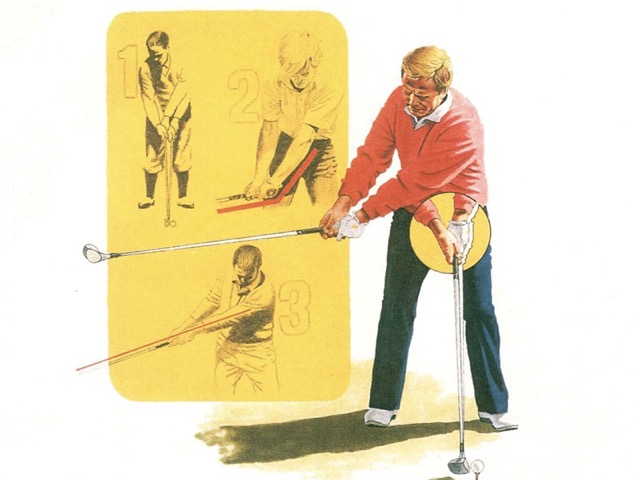
The third way of starting is what has become known over the years as the one-piece takeaway. With this technique, the shaft and left arm remain in a straight line until the momentum of the swing causes the wrists to hinge after they pass hip height.
My own, personal preference lies halfway between the first and third techniques. I’ve played well at times when sensing a very slight lag as I initiate the takeaway, which allows me to feel the momentum of the clubhead beginning to swing. Essentially, though, I want everything from the clubhead to my left shoulder moving together to promote consistency of path and plane.
I think most golfers will find my techniques the most effective.
Focus On Your Strengths
2. Focus On Your Strengths
Traditional wisdom says that large, strong hands are essential for playing good golf. If that was true, I'd still be selling insurance for a living! My hands are small and my fingers are short; I wear a small-to-medium golf glove.
There’s no question that large, powerful hands have served many players well. Notable examples include Harry Vardon, Tommy Armour, Byron Nelson, and Arnold Palmer. But, I hope my career proves that a person can still excel at the game without strong hands.
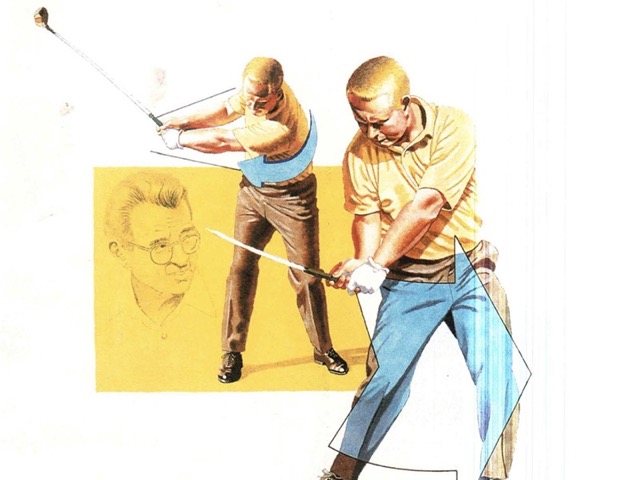
The key, as in other areas where physique is a factor, is to use your natural strengths in the way you swing the golf club to overcome or offset your weaknesses.
For instance, my top physical asset as a youngster was my arm and leg strength. In building my game, my teacher, Jack Grout, focused primarily on arm extension and body coil coming down, with relatively passive hands throughout.
Employ the same "use your strength" philosophy to your own game, ideally with a teacher who knows how to exploit your particular assets.
The Flying Elbow
3. Let The Elbow Go
As an amateur and young professional, I was frequently questioned about what some critics described as my “flying right elbow.” A number of them actually forecast it would ultimately prove my downfall as a player.
Whenever people criticized the position of my right elbow at the top of the backswing, I told them that their eyes were deceiving them! If my elbow had pointed upwards—in the classic flying position—I would have swung the club across the target line through impact and fought many recurring problems.
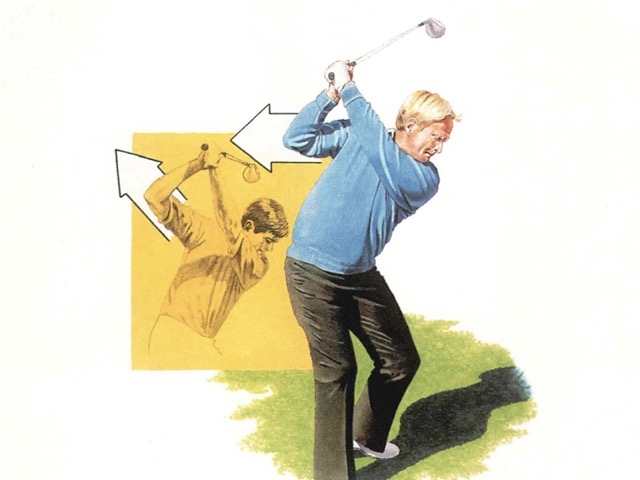
In reality, my elbow, although admittedly high, pointed directly behind me at the top of my backswing, in keeping with my belief that the club must remain centered between the arms throughout the swing, just as it is at address. In addition, letting the elbow move away from my side was the only way I could achieve the upright plane and wide arc I wanted on all my full shots.
If you’re lacking power, try letting your right elbow move freely away from your body on the backswing. As long as it points outwards rather than upwards at the top, this technique could help you gain substantial yardage.
Clubbing Up
4. Commit To Clubbing Up!
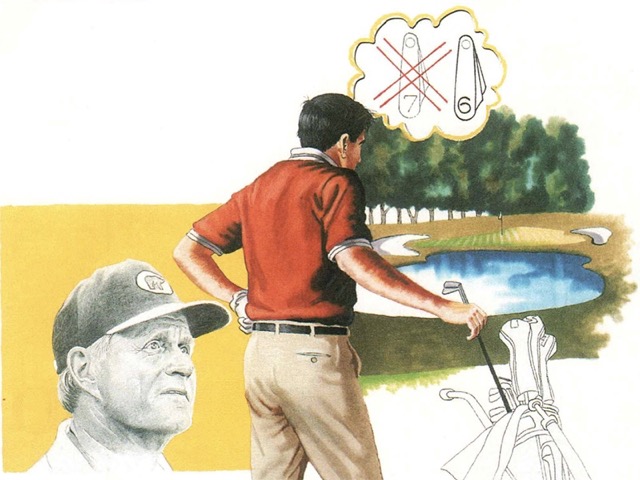
Improving effortlessly at golf is really a contradiction in terms, with one major exception – club selection. Try the following experiment the next time you play a round of golf when there’s little or nothing at stake.
On your tee shots on par-3s and your approach shots on par-4s and par-5s, figure out the club you would normally take and then take one more. For instance, if the 7-iron seems the right club, leave it in the bag and go with the 6-iron instead. When your mind says “pitching wedge,” pull out the 9-iron, and so on.
“As long as you make your normal full swing, you’ll almost certainly score better because you’ve got your ego out of the way.”
That way you don’t have to make the perfect swing and hit the “career” shot that the shorter club often demands.
What’s more, there’s usually more trouble in front of and to the sides of greens than there is behind them. The longer club will put you past the trouble, even with a mediocre strike.
If this procedure teaches you a lesson, namely that making realistic and strategic decisions leads to lower scores, stick with it.
Alignment Checks
5. First Things First...
The first thing you should check when your game inexplicably leaves you is your set-up to the ball, particularly your alignment to the target. Since golfers can’t readily see their alignment at address, they sometimes slip into poor positions. It’s a simple problem that afflicts all golfers, even Tour pros.
In 1996, I went to the first Senior PGA Tour “Major” of the year, The Tradition, playing poorly. There I consulted Jim Flick, who frequently worked on my game with me over the years. After silently watching me hit practice balls for a few minutes, Jim asked me to take my set-up and stop.
He then walked over, slid his feet in where mine were, and had me look from behind the ball. He asked me where I thought a golfer so aligned would hit it and I told him 30 yards to the right.
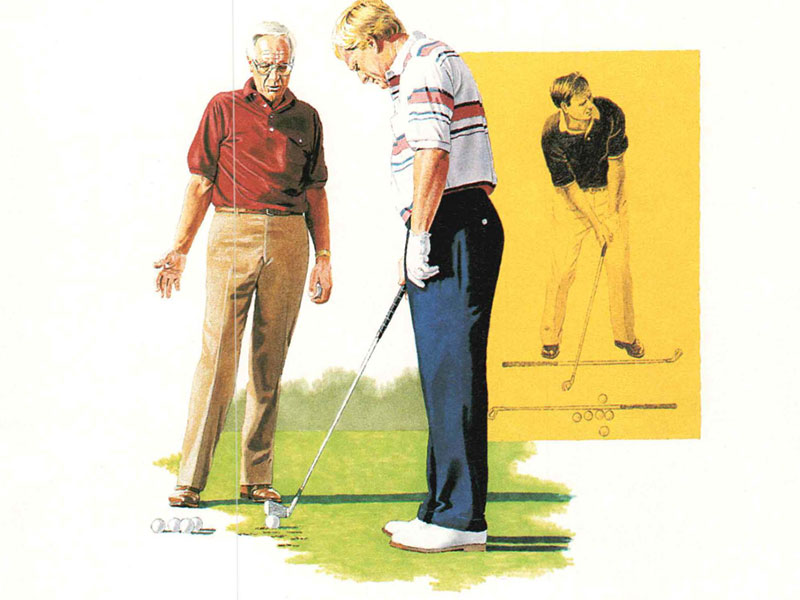
But you don’t need an instructor to check your alignment. Lay a club just outside and parallel to your target line, then take your address and place another club along your stance line. Now step behind the ball: if the shafts are parallel, your alignment is square.
Within five minutes of readjusting my set-up, my shots were flying exactly where I wanted them to. That weekend I shot 65-66 to win The Tradition for the fourth time.
And the moral? Never mess with your swing until you are certain you are aligned and aiming correctly.
Want To Read More Timeless Golf Tips?
The Golf Monthly archive is a gold mine of brilliant reads, documenting a journey through the history of golf dating back to our first issue in 1911. Take advantage of over 100 years of invaluable tips from the best tour professionals and coaches in world golf, by subscribing to the online Golf Monthly Archive.

