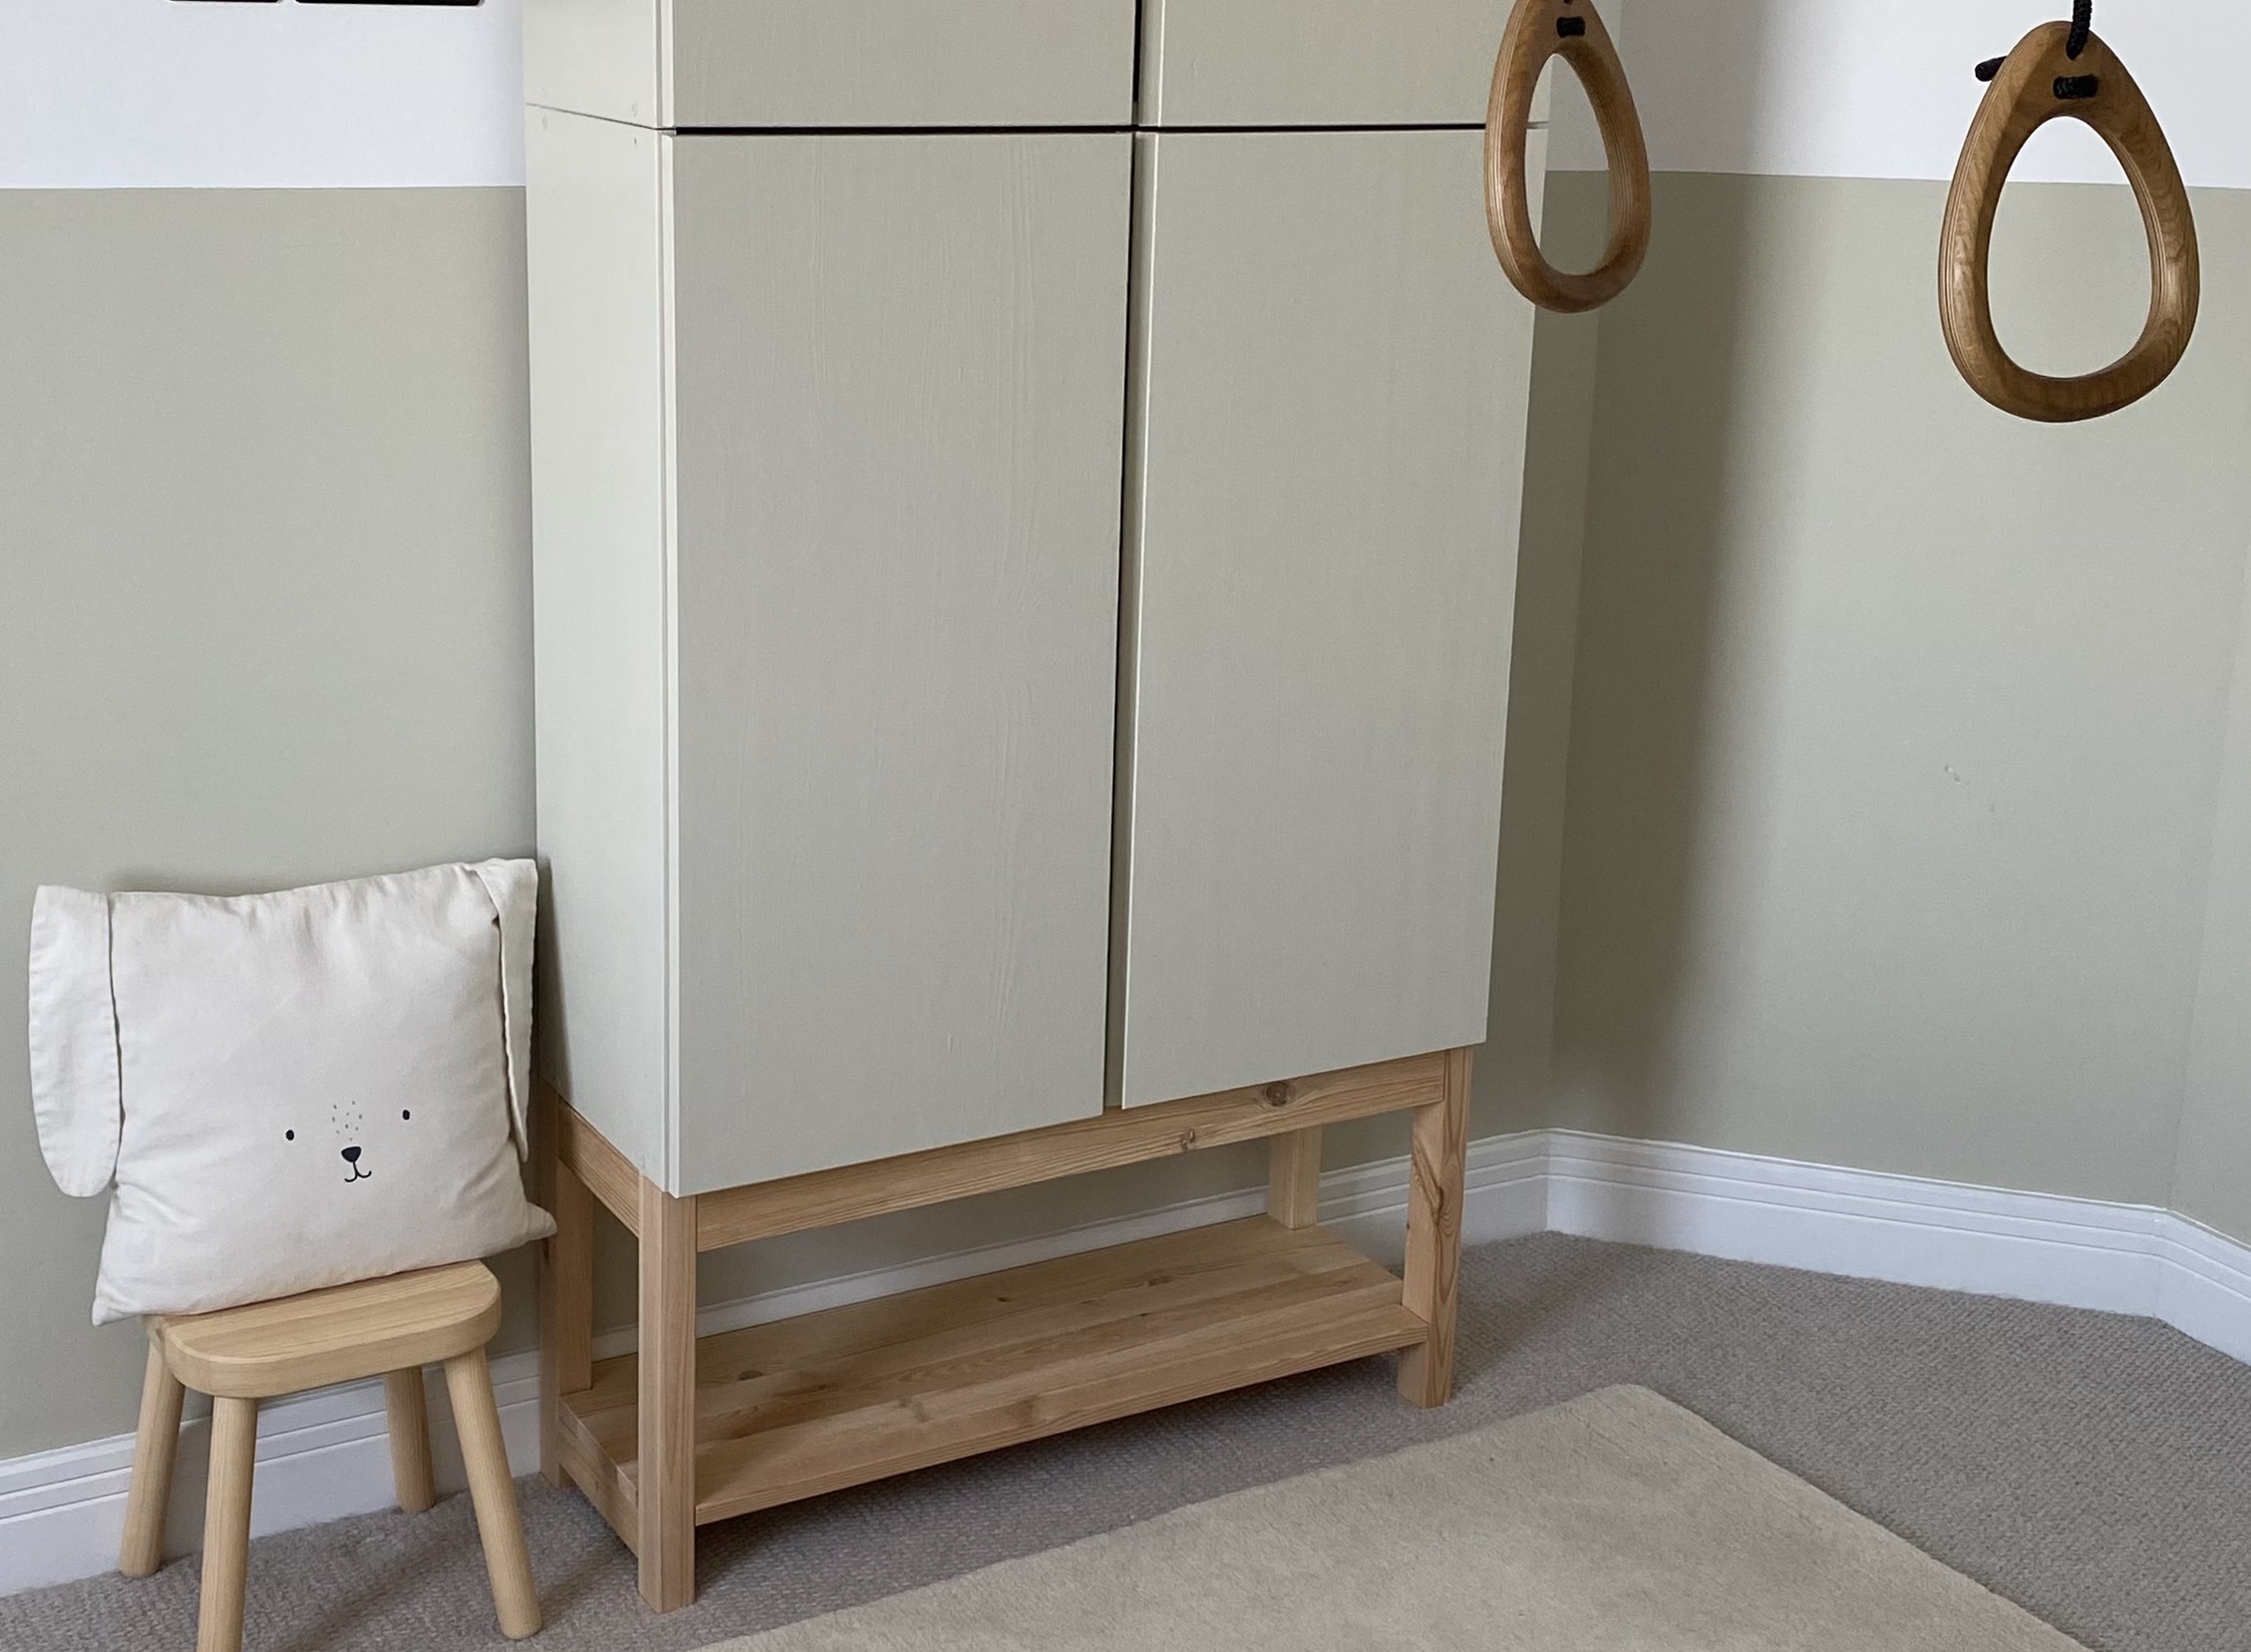
The versatility of IKEA's furniture is one of the main reasons we adore the Swedish homeware brand. Their iconic flatpacks suit virtually any space and style and can adapt to serve any purpose you put them to, whether intended as a cabinet, bookcase, or credenza. But, while all of them offer a clean slate to let your creativity run wild, nothing quite compares to the pared-back simplicity of the IVAR.
This solid pine cabinet has been serving our homes for over 50 years, and it's still going strong. Sold in its rawest form possible, it offers a blank canvas for countless creative possibilities, but sometimes you only need to make the subtlest changes to achieve the best results. That's exactly what home renovator Joanna Fletcher has done with her super simple IKEA hack which honors the original IVAR with a sleek, minimalist design that blends beautifully into her son's bedroom. Here she explains the steps involved.

Like many trusty IKEA IVAR hacks, this idea was born after seeing a cabinet in a similar style to the finished one she customized, but with a far heftier price tag. Joanna, of @project_34_selfbuild, also wanted something taller to fit her space. 'I’d spent hours searching for the right cabinet and fell in love with one from Neptune,' she explains. 'It's for storing my son's Lego and I wanted it to be high since the ceilings are tall, while also narrow enough to avoid eating into his space.'
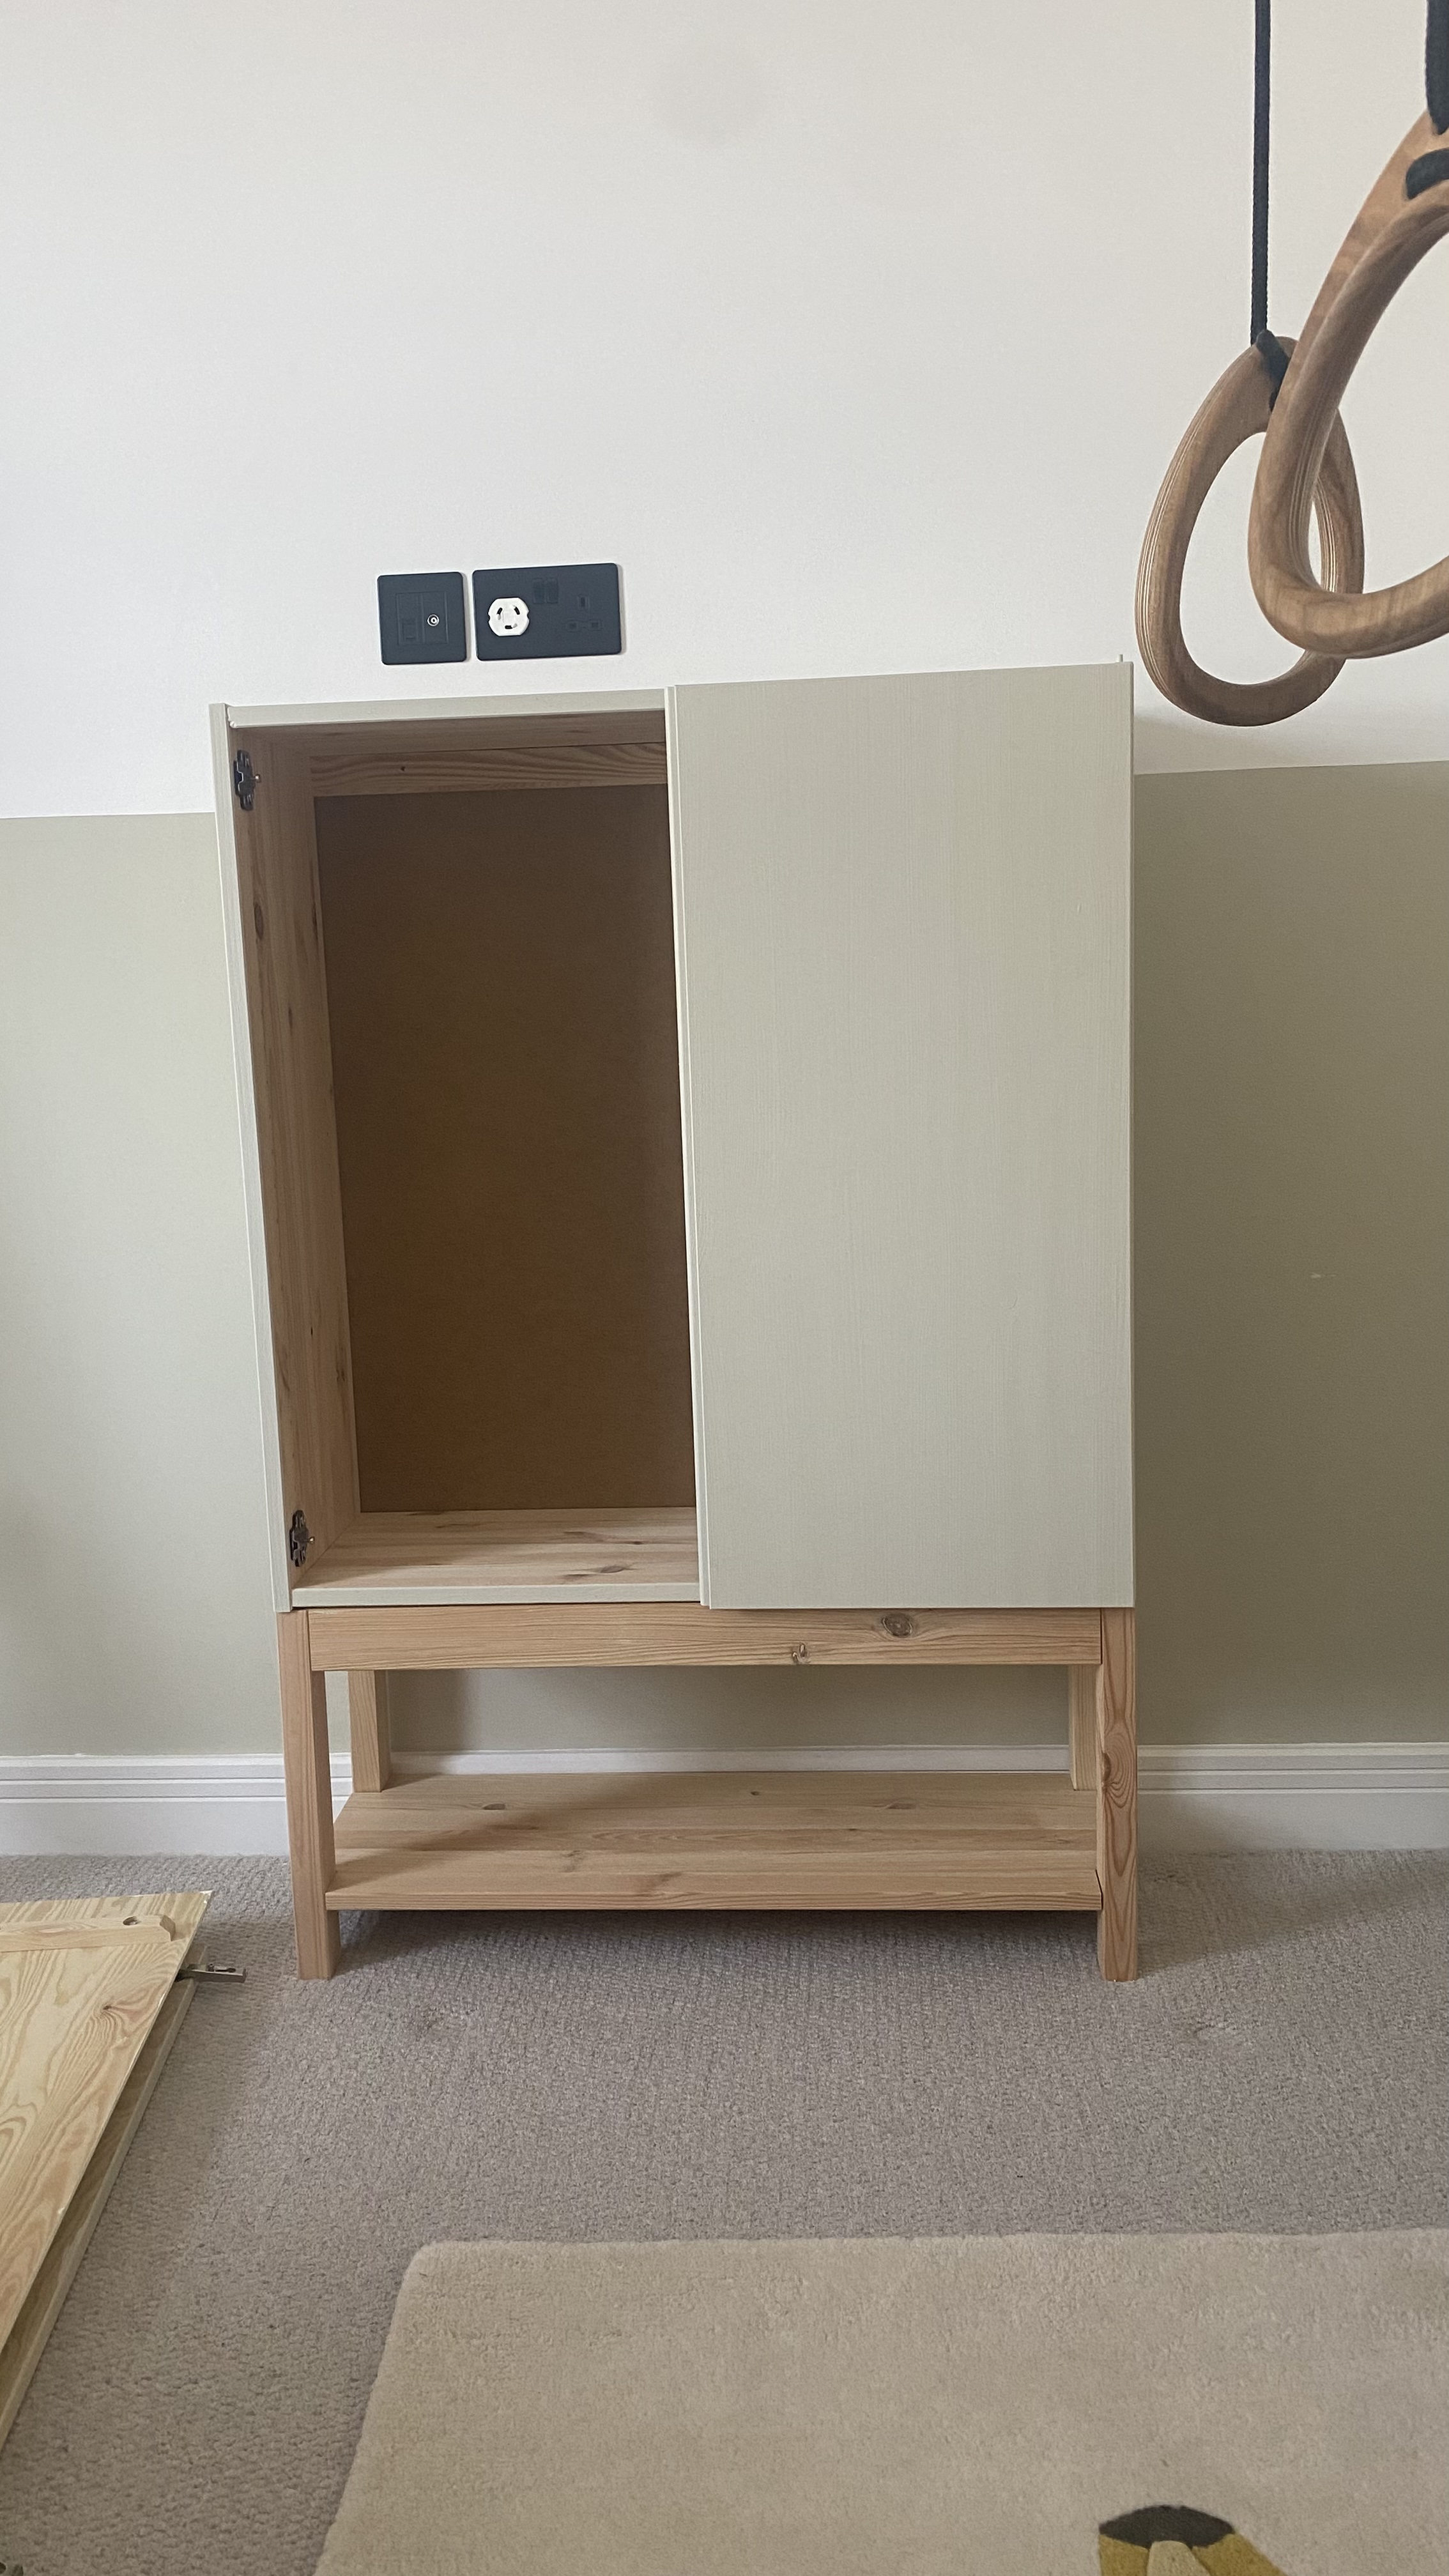
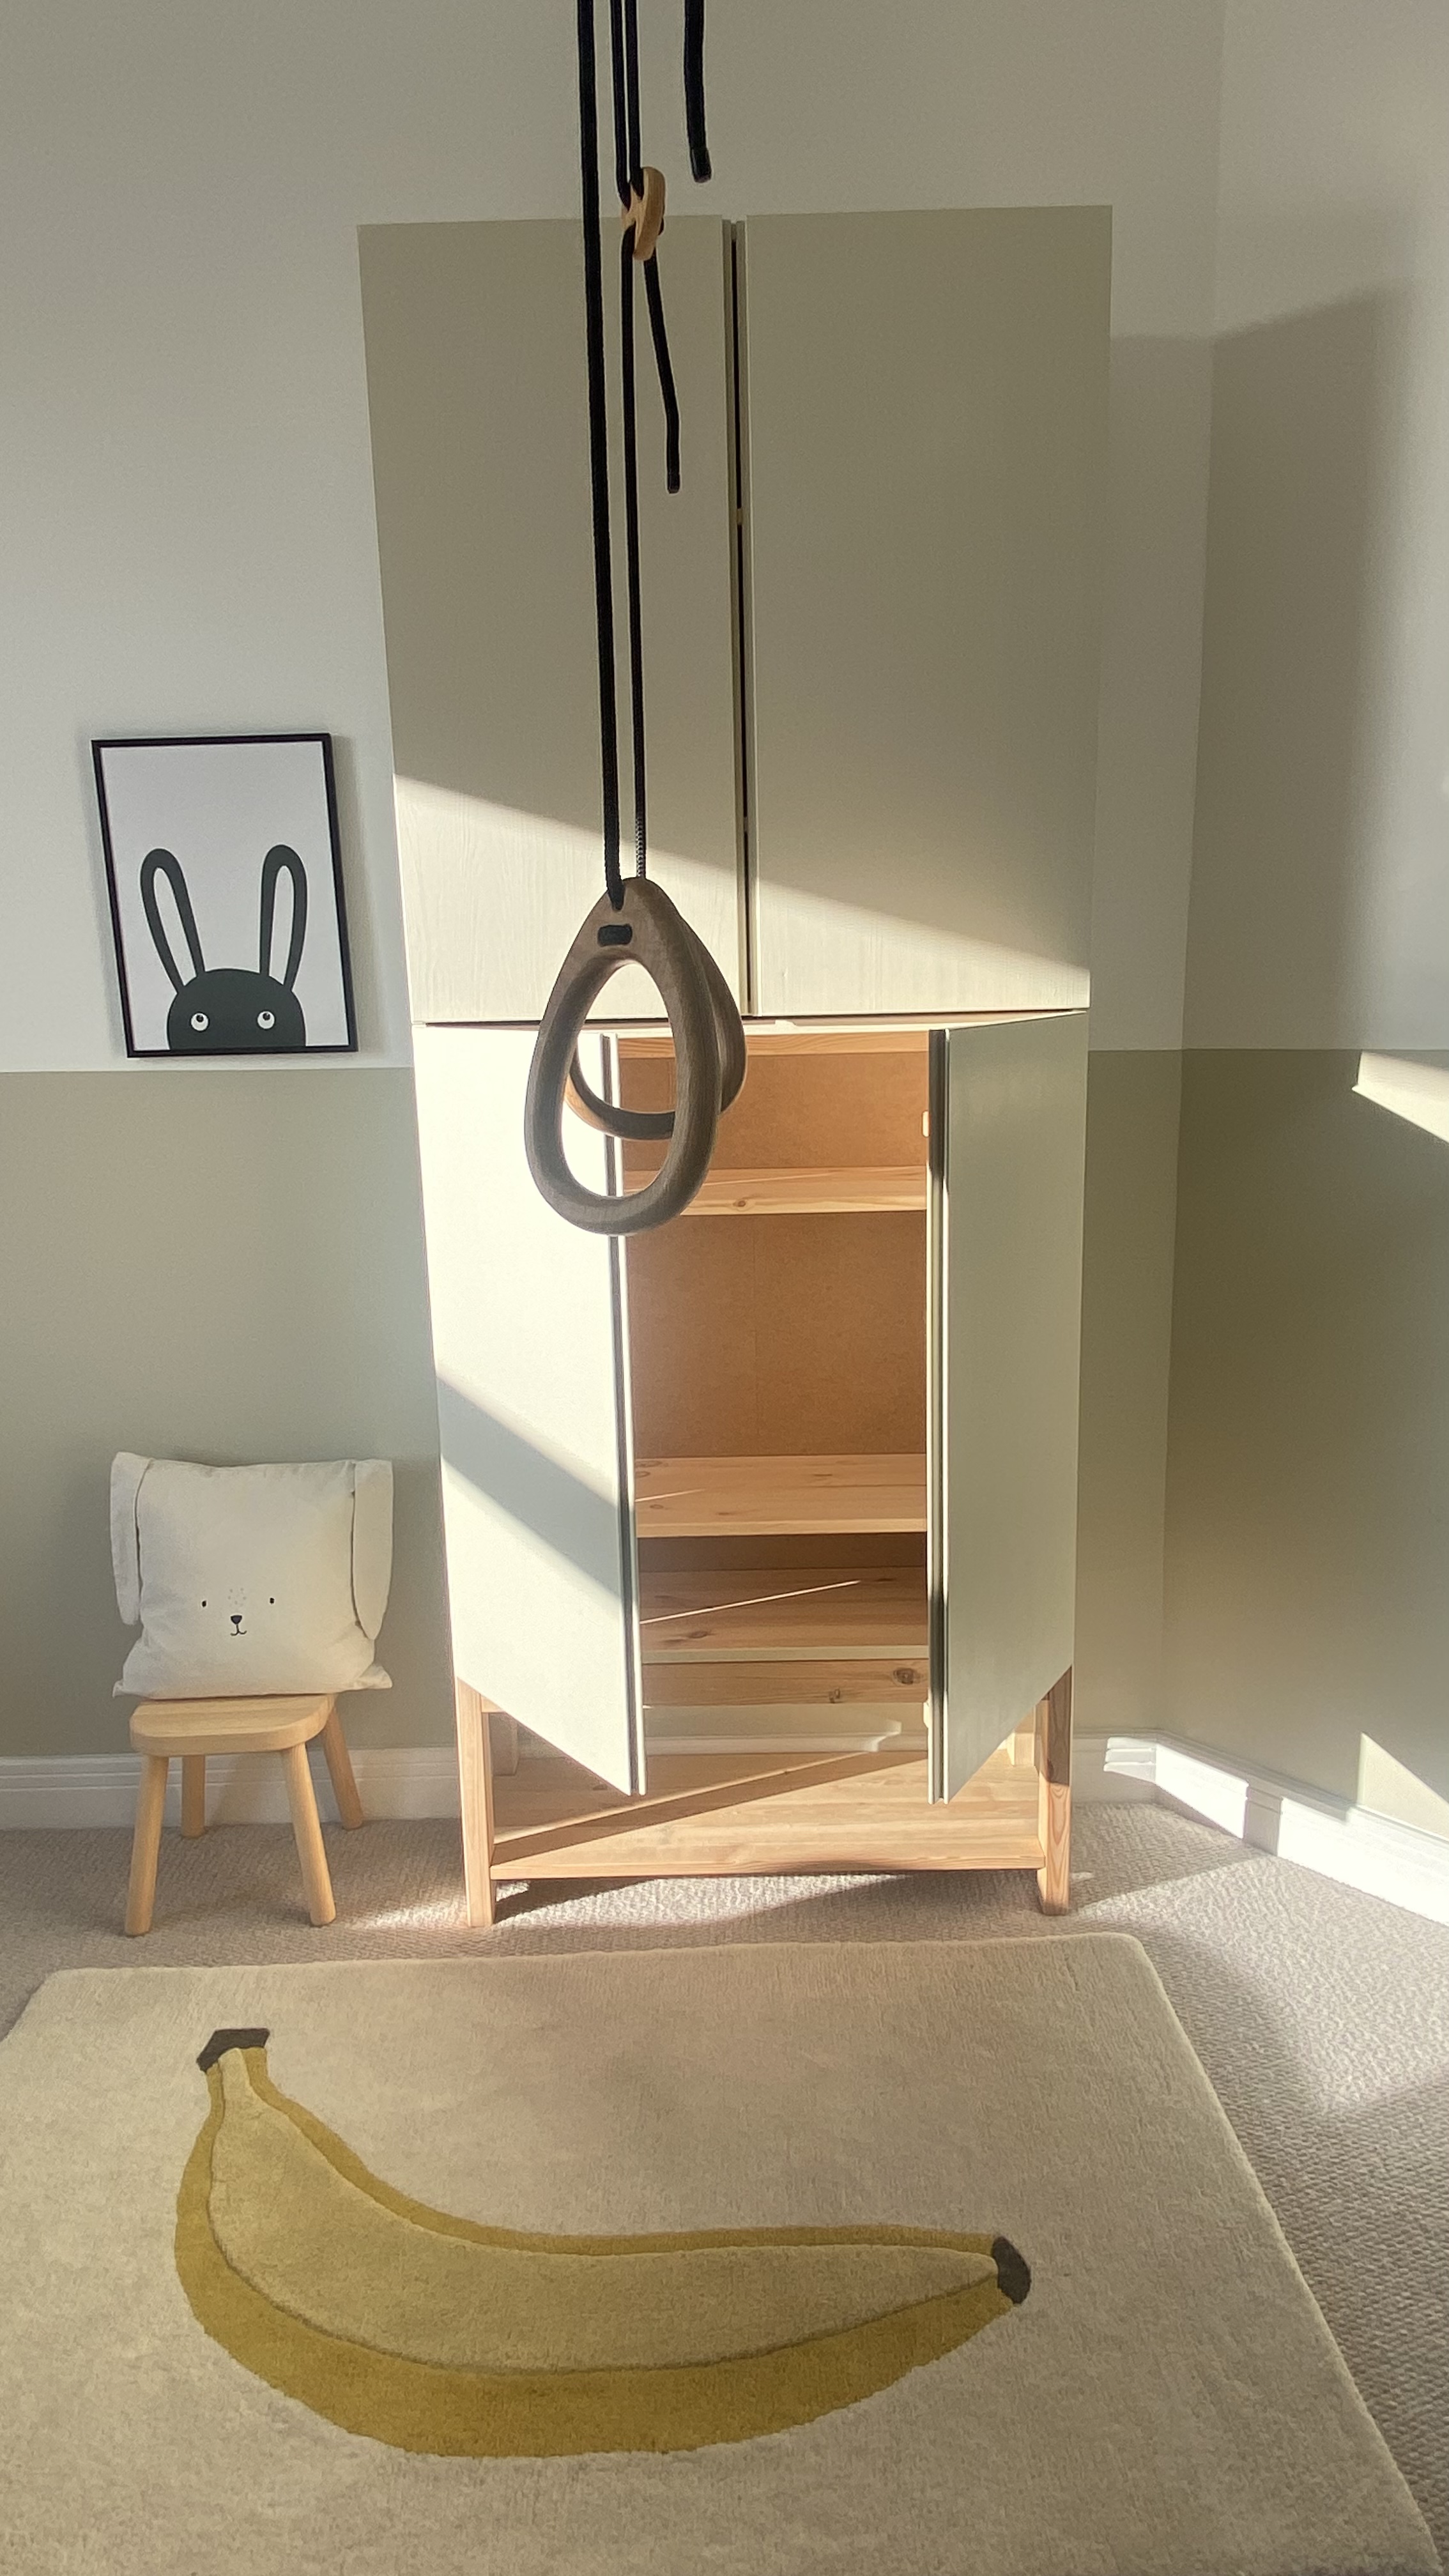
After a closer look at the IKEA IVAR Joanna realized its compact dimensions would be perfect for the job. Measuring just under 12 inches deep, it's a great storage option for smaller spaces, but Joanna still had the issue of height to contend with. 'I mounted two IKEA IVAR cabinets on top of each other, securely fastening them to the wall to avoid any accidents.' Joanna used heavy-duty angled brackets like these ones from Amazon for the job. 'It’s a tall unit so for safety this was really important, especially as it's my son's room.'

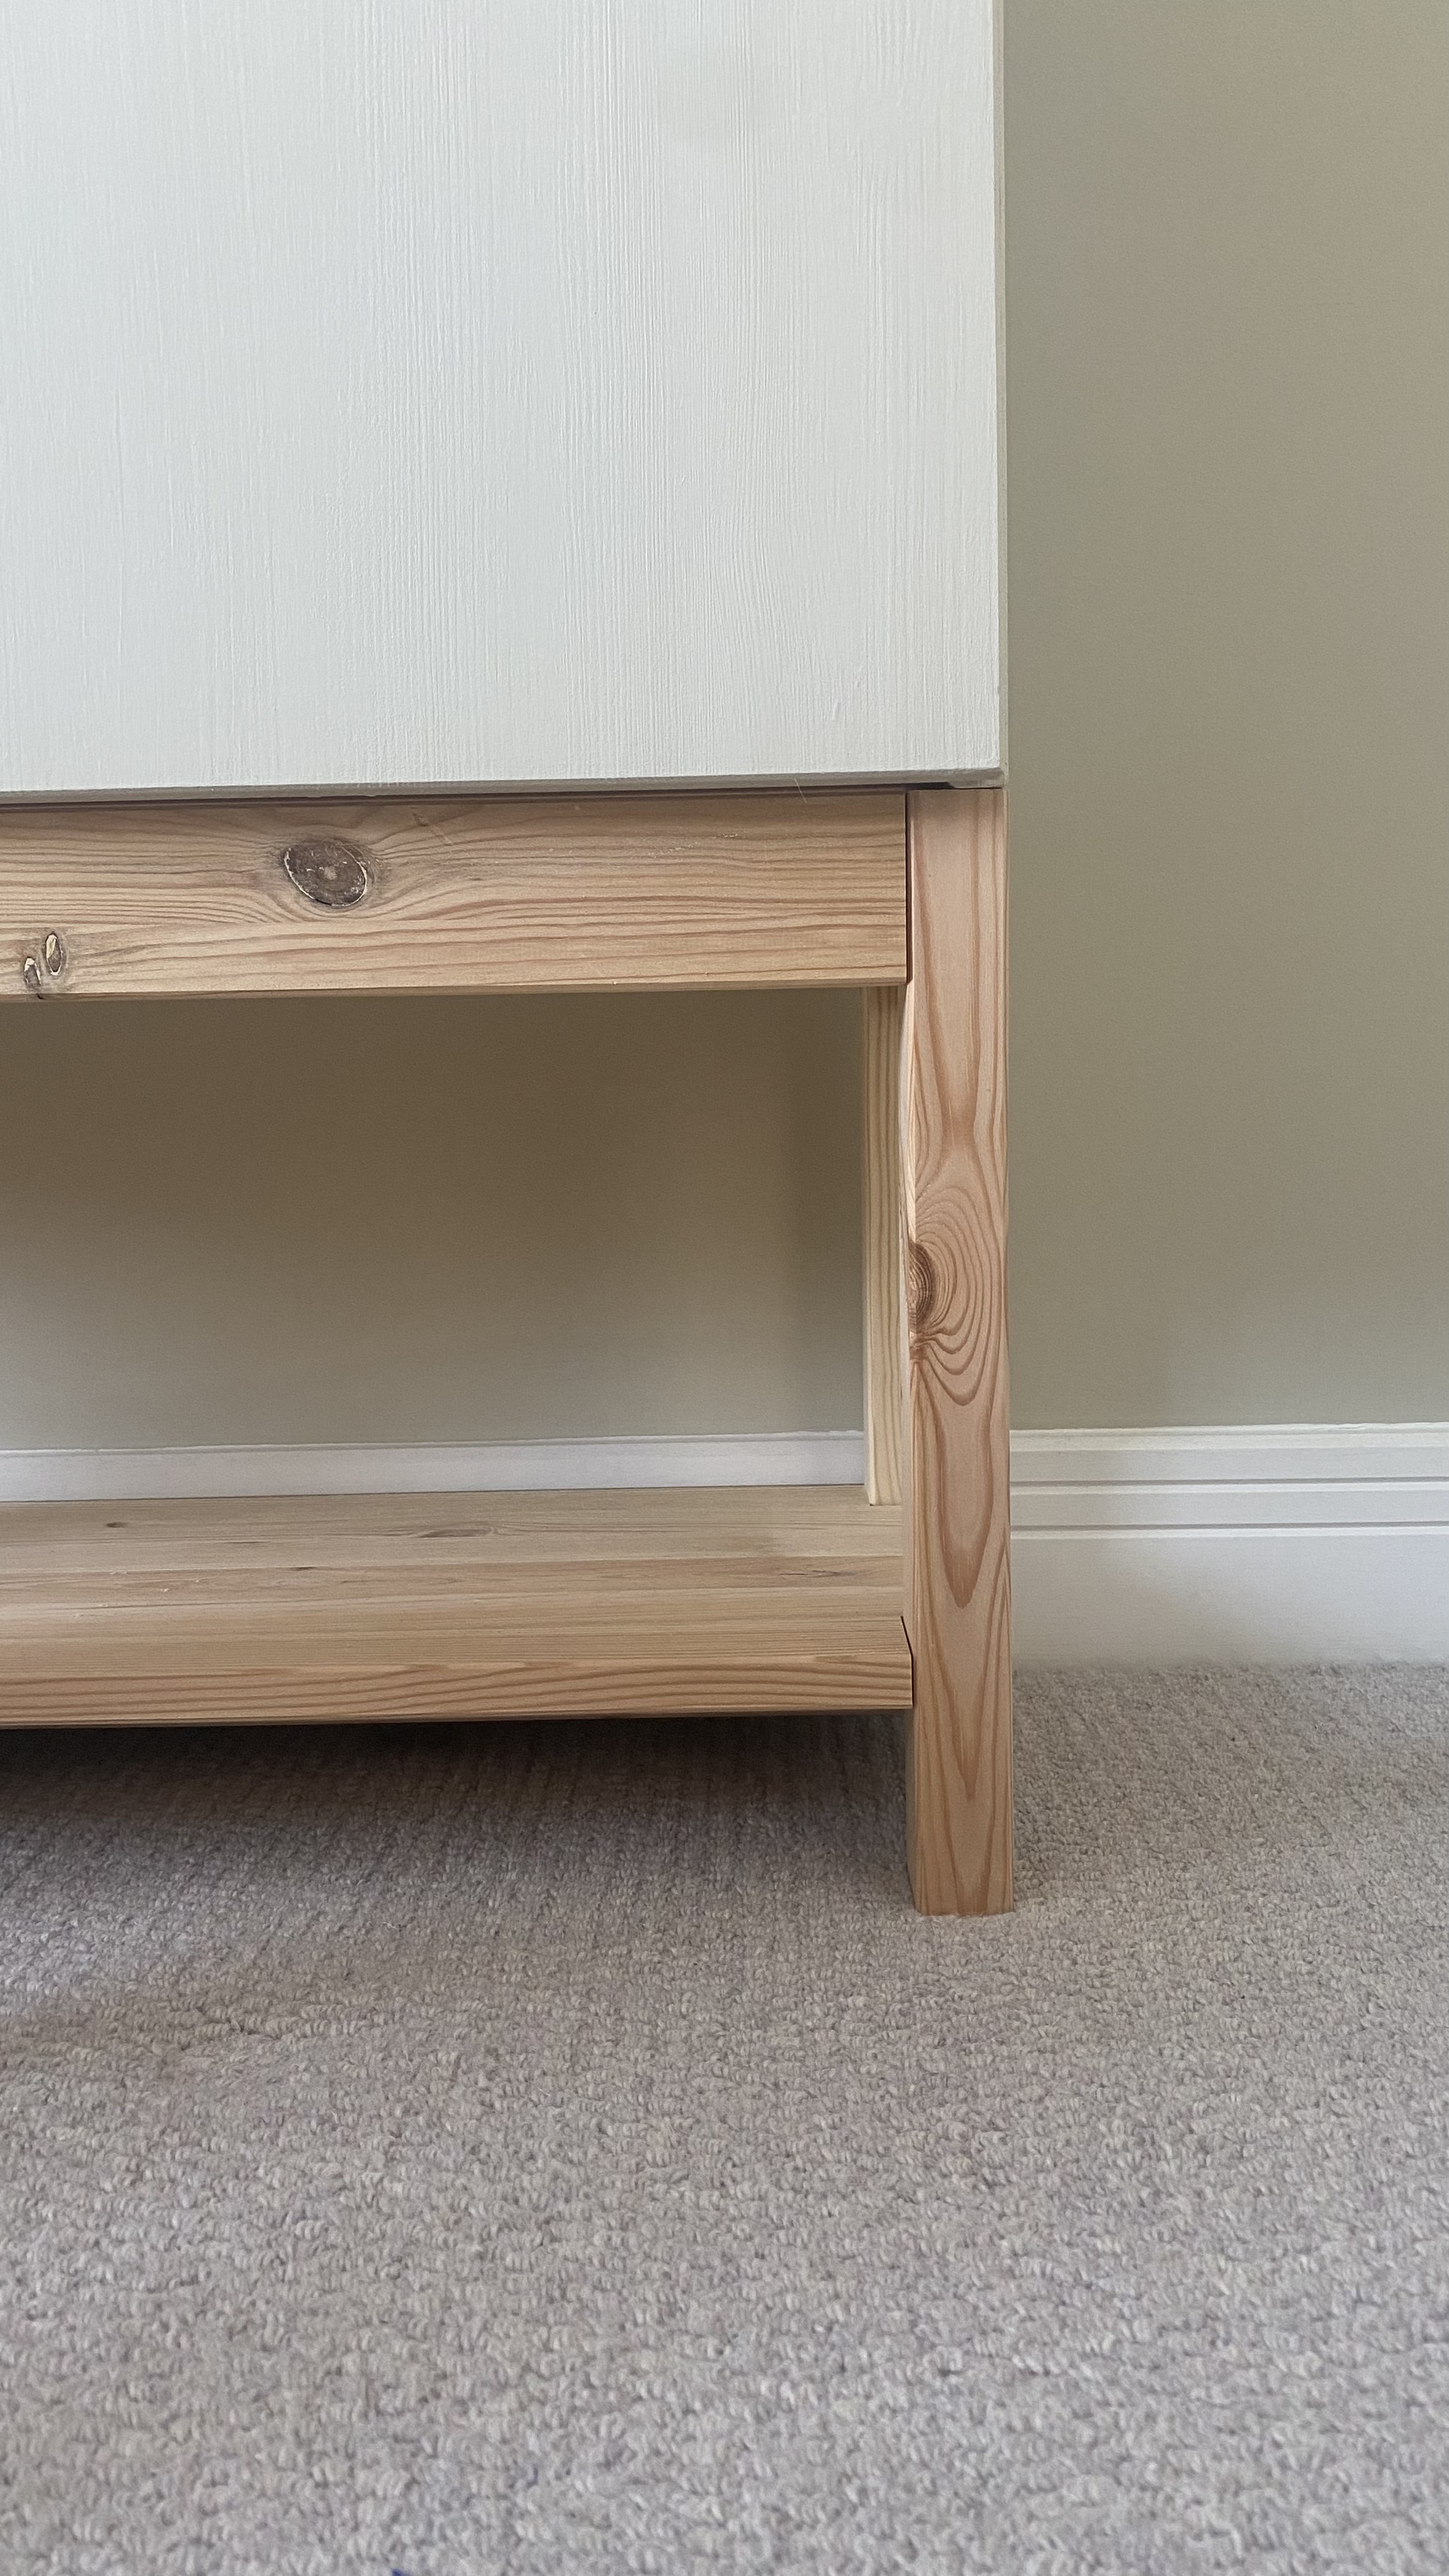
To add some extra height to her DIY cabinet idea, Joanna added a wooden under-cabinet base. This raises the unit off the floor with wooden legs while also offering an extra shelf below for more storage - a valuable commodity in a kids' room.
'Once I built the cabinets I then primed using Zinsser BIN Shellac-based primer,' says Joanna. This is our go-to primer when painting IKEA furniture and one of its many benefits is that it doesn't require any sanding or prep beforehand. 'Once dried, however, I did give it a light sand so that I had a super smooth base to paint on,' Joanna adds.

Next, it was time to paint. Joanna used the shade Soulful Beige from Zhoosh paints for a neutral Scandi look that pays homage to IKEA's heritage, but you can choose any color that takes your fancy if you're keen to replicate her idea. 'It’s painted in the same color as my son's room for a tone-on-tone look,' Joanna says. 'I think color drenching works really well in his room.'
Positioned against the wall that has the lower third painted in the same soft beige, and with some calming yet playful decor ideas surrounding it, Joanna's cabinet looks right at home in her son's relaxing bedroom. 'The shape and size of the cabinet is the perfect storage idea for his Lego,' Joanna notes. 'It goes to show that you don’t have to spend a fortune to make something beautiful.'


