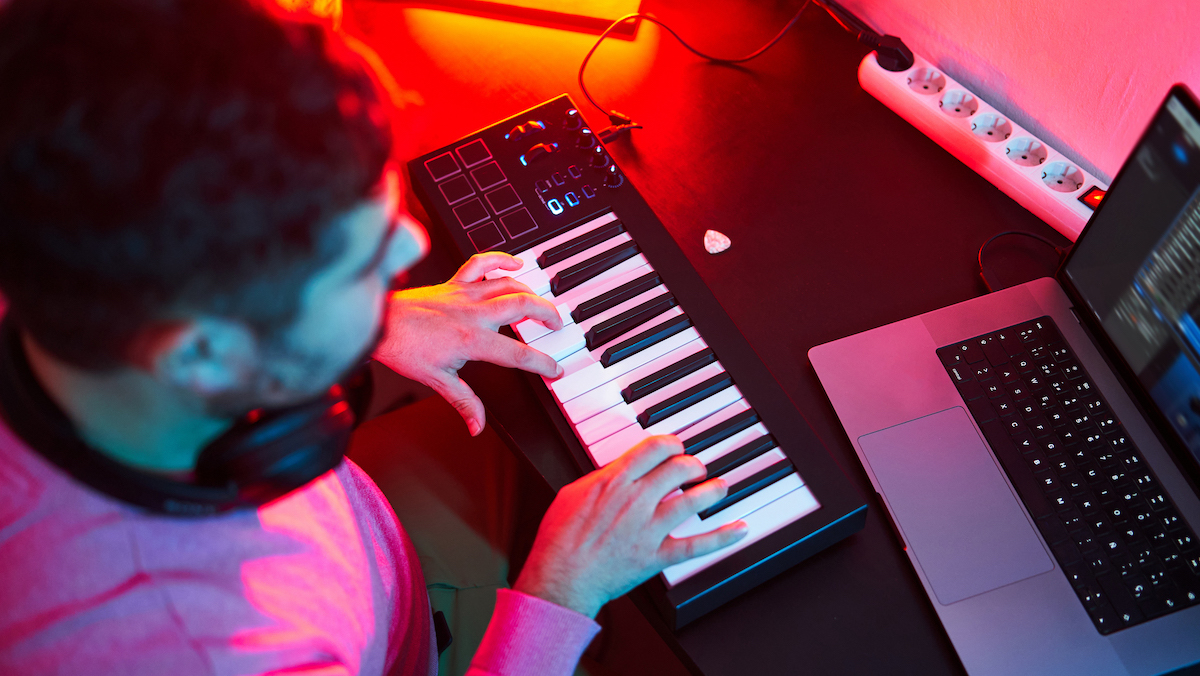
If you’re just about to embark on your journey as either a music-maker or producer, then you’ve found the right page. This feature intends to provide an answer to one of the most essential questions that many people starting out have: “How do I work with a MIDI controller to make music with software?”
This is the first part of a new ultra-simple series here at MusicRadar, which seeks to untangle the complexities of the various entry points to music-making. They’re the topics that are all-too often overly complicated by the experts who, even when writing beginner-level content, tend to assume a degree of knowledge that many haven’t got a handle on yet.
Well, we’re keeping things very, very simple here. We're assuming little to no knowledge of, well, basically anything. But, we are going to assume that if you’re reading this, then you’re fuelled by the hunger to start making the music you know you have inside yourself, and want to learn how to do it.
So, let’s unpack the first step, which is how to work with MIDI. Hopefully, you'll learn that understanding of how it works is central to the world of music production and unlocking your own creativity.
MIDI: What is it?
MIDI is essentially a communication language. It's an acronym for 'Musical Instrument Digital Interface' and allows your physical instruments and dedicated controllers to communicate with computers, tablets and devices.
MIDI data doesn’t send out any actual sound, but instead transmits data about what you’re doing with the instrument/controller. So, as you play your MIDI keyboard or controller, the position of your fingers on the keys, the speed at which you play and any additional manipulation you do (e.g. moving any modulation or pitch wheels up and down) will be communicated to your computer or device. This data is then routed to the virtual instrument or plugin you're currently working with.
MIDI controllers are typically connected to your computer via a simple USB cable. Older instruments might require you to plug in a MIDI connector (aka, a five-pin DIN plug) into an audio interface, but increasingly, USB 2.0 or 3.0 connections are more common.
Why do I need to know about MIDI?
MIDI is absolutely central to the world of modern music production, as the MIDI data you send controls the virtual instruments on your computer, and can be used to trigger other samples, loops and effects. Once you’ve got your MIDI keyboard plugged in to your computer, the next step is to record something with your instrument.
In most mainstream DAWs, such as Logic or Ableton Live, you’ll be asked to create either an Audio or Software Instrument/MIDI track that you want to record into when you open it for the first time. For recording MIDI, you’ll need to choose the second of these options.
Next, you’ll want to choose an instrument to send the MIDI information to - and get audible results from. Every DAW is different, but with Apple-based DAWs like Logic and GarageBand, you could choose from the existing Apple-provided banks of software instruments by choosing from the left-hand menus, or, down in the mixer area, clicking on the ‘Input’ option for that track and choosing from your own bank of software instruments (if you have any) to load. Other DAWs have different routes, so check out the specific manuals/instructions on how to prime your track with the correct virtual instrument.
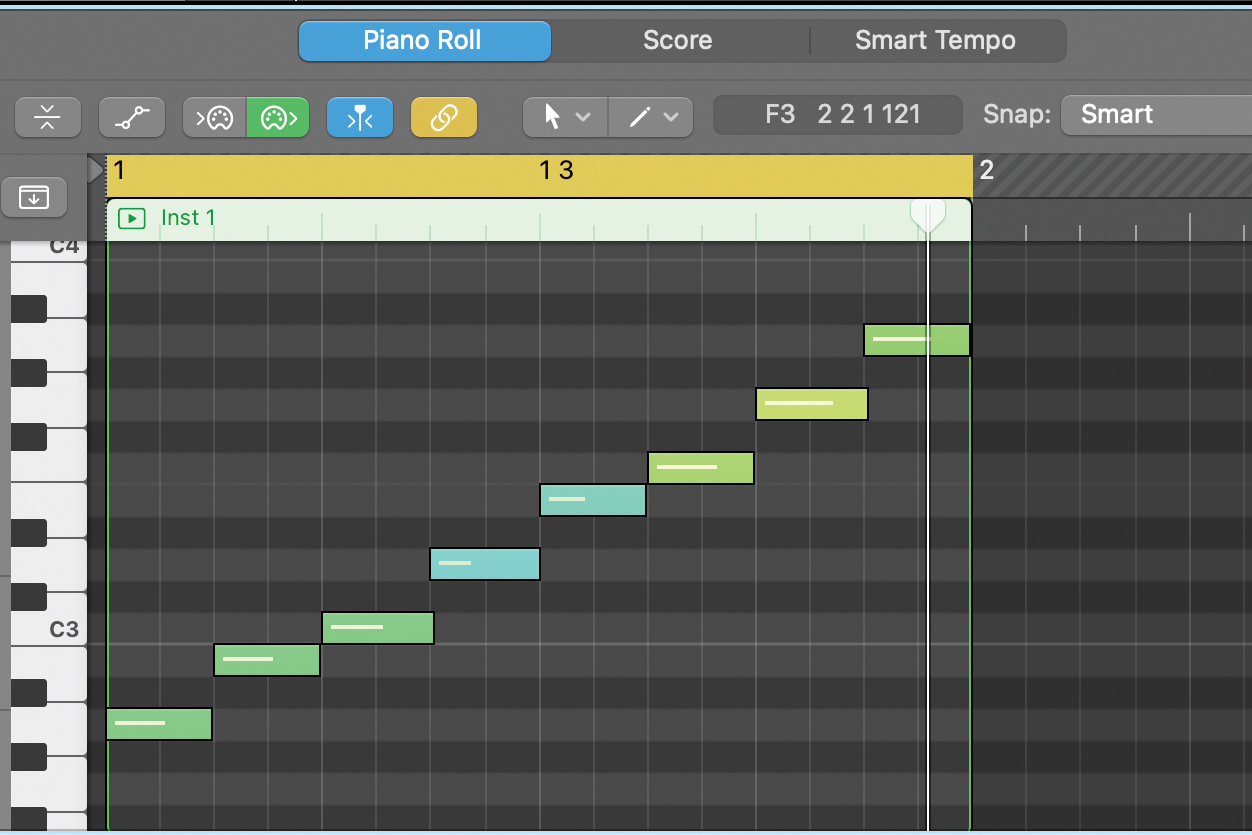
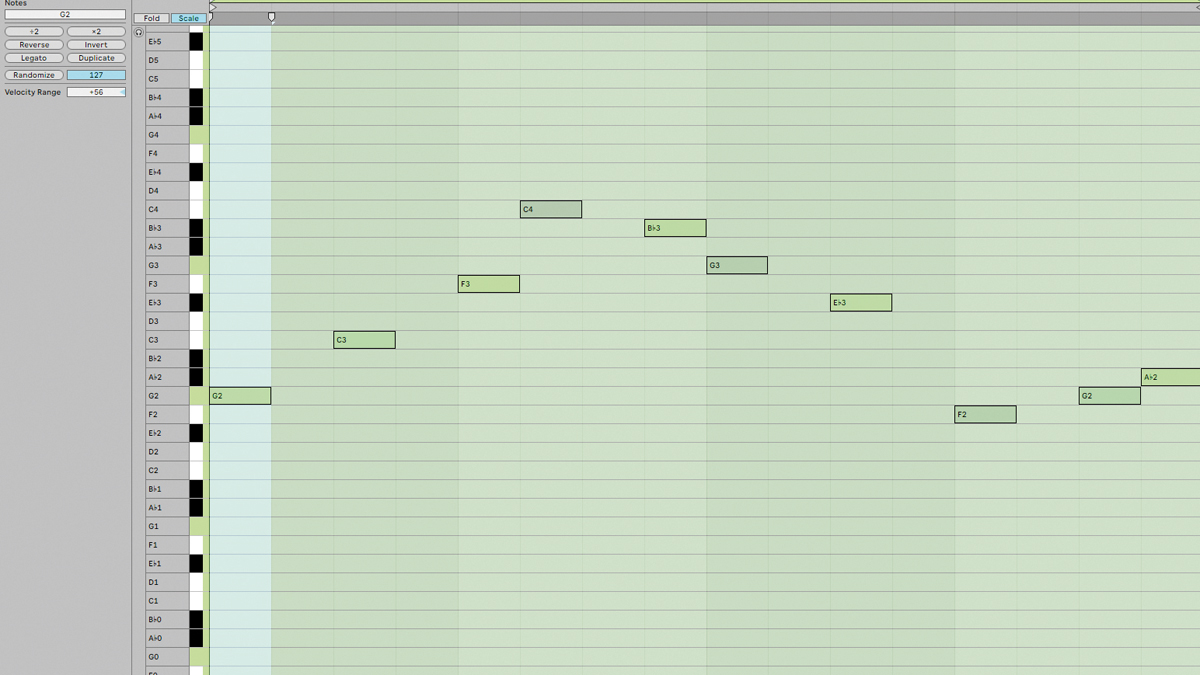
Once you’ve recorded the part you want to record, you’ll notice that instead of a waveform, you have multiple rectangular blocks that correspond to the notes you’ve played. This is known as a ‘MIDI Region’.
If you’ve slightly got the timing wrong, or accidentally slipped your fingers when playing and triggered another note, then one of the best things about MIDI is that you don’t have to waste time re-recording. You can simply click on your MIDI performance which (in most DAWs) will open up the performance in greater detail – and enable you to drag, lengthen/shorten or even change the instrument you’re playing the MIDI through.
This area is known as the ‘Piano Roll’. If you drag your notes up or down, you’ll notice that the pitch of the note changes in accordance with the piano keyboard layout on the left-hand side.
There’s also the option to ‘Quantise’ your notes, so they lock more tightly in at the right time in sync with your currently set tempo. This isn’t always advised, as sometimes you may want to capture impromptu performance fills and flourishes, and making everything too locked-in can often lead to slightly rigid-sounding results. MIDI has 16 channels per connection, which means up to 16 instruments can be controlled simultaneously.
Getting a grip on how MIDI works is just the starting point that most of your adventures in virtual instruments, synthesis, track arranging and melody-making will be built on-top of.
10 key MIDI points
1. MIDI doesn’t just trigger playable string and synth instruments, it can also be used as a controller for drum kits, brass instruments and basically anything you can imagine. If you want it, you’ll be able to find a virtual instrument or sample library version of it, where your interaction with a MIDI interface/keyboard enables you to map out a performance.
2. Continuing on from the above, MIDI keyboards and controllers can be used as samplers in their own right. Most DAWs have sampler plugins built in, which can be assigned to your MIDI keyboard, making it able to play various note variations of your own originally-sourced sounds or audio.
3. Beyond playing instruments and launching samples, the knobs, wheels and pads on your MIDI instrument can be assigned to control various different parameters on the virtual instruments (such as filters on synths, or reverb/delay levels). Setting up these ‘Control Change' ('CC') messages will vary DAW-to-DAW, but it’s typically a straightforward process to set-up them up. In Logic, entering Learn Mode (⌘+L), clicking on a specific parameter you want to control and moving the selected knob/fader on your MIDI hardware will latch them together.
4. Typical MIDI message types includes ‘Note On/Off, Program Change, Control Changes, Pitch Bend and Aftertouch, these basic messages underpin how your computer (and the program/instrument you’re running) reacts to your inputs
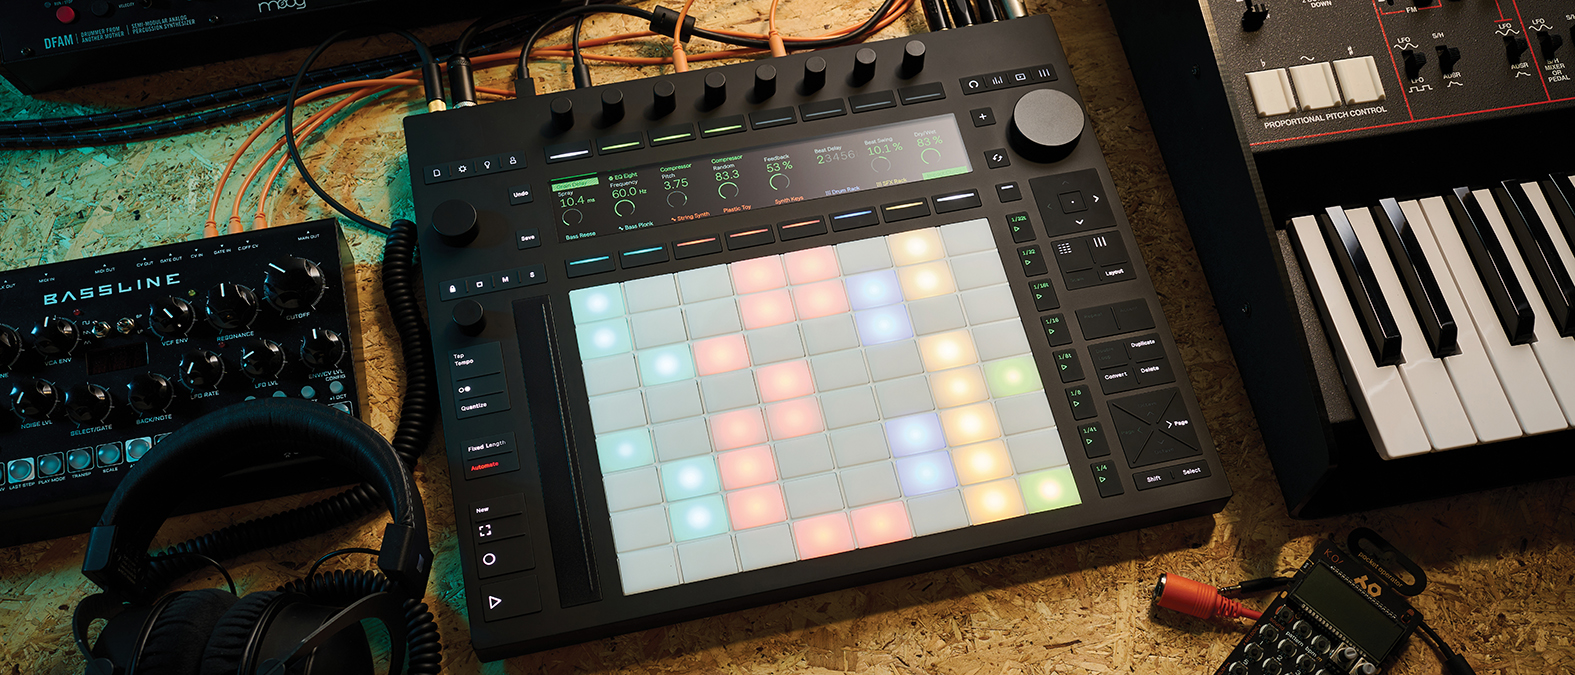
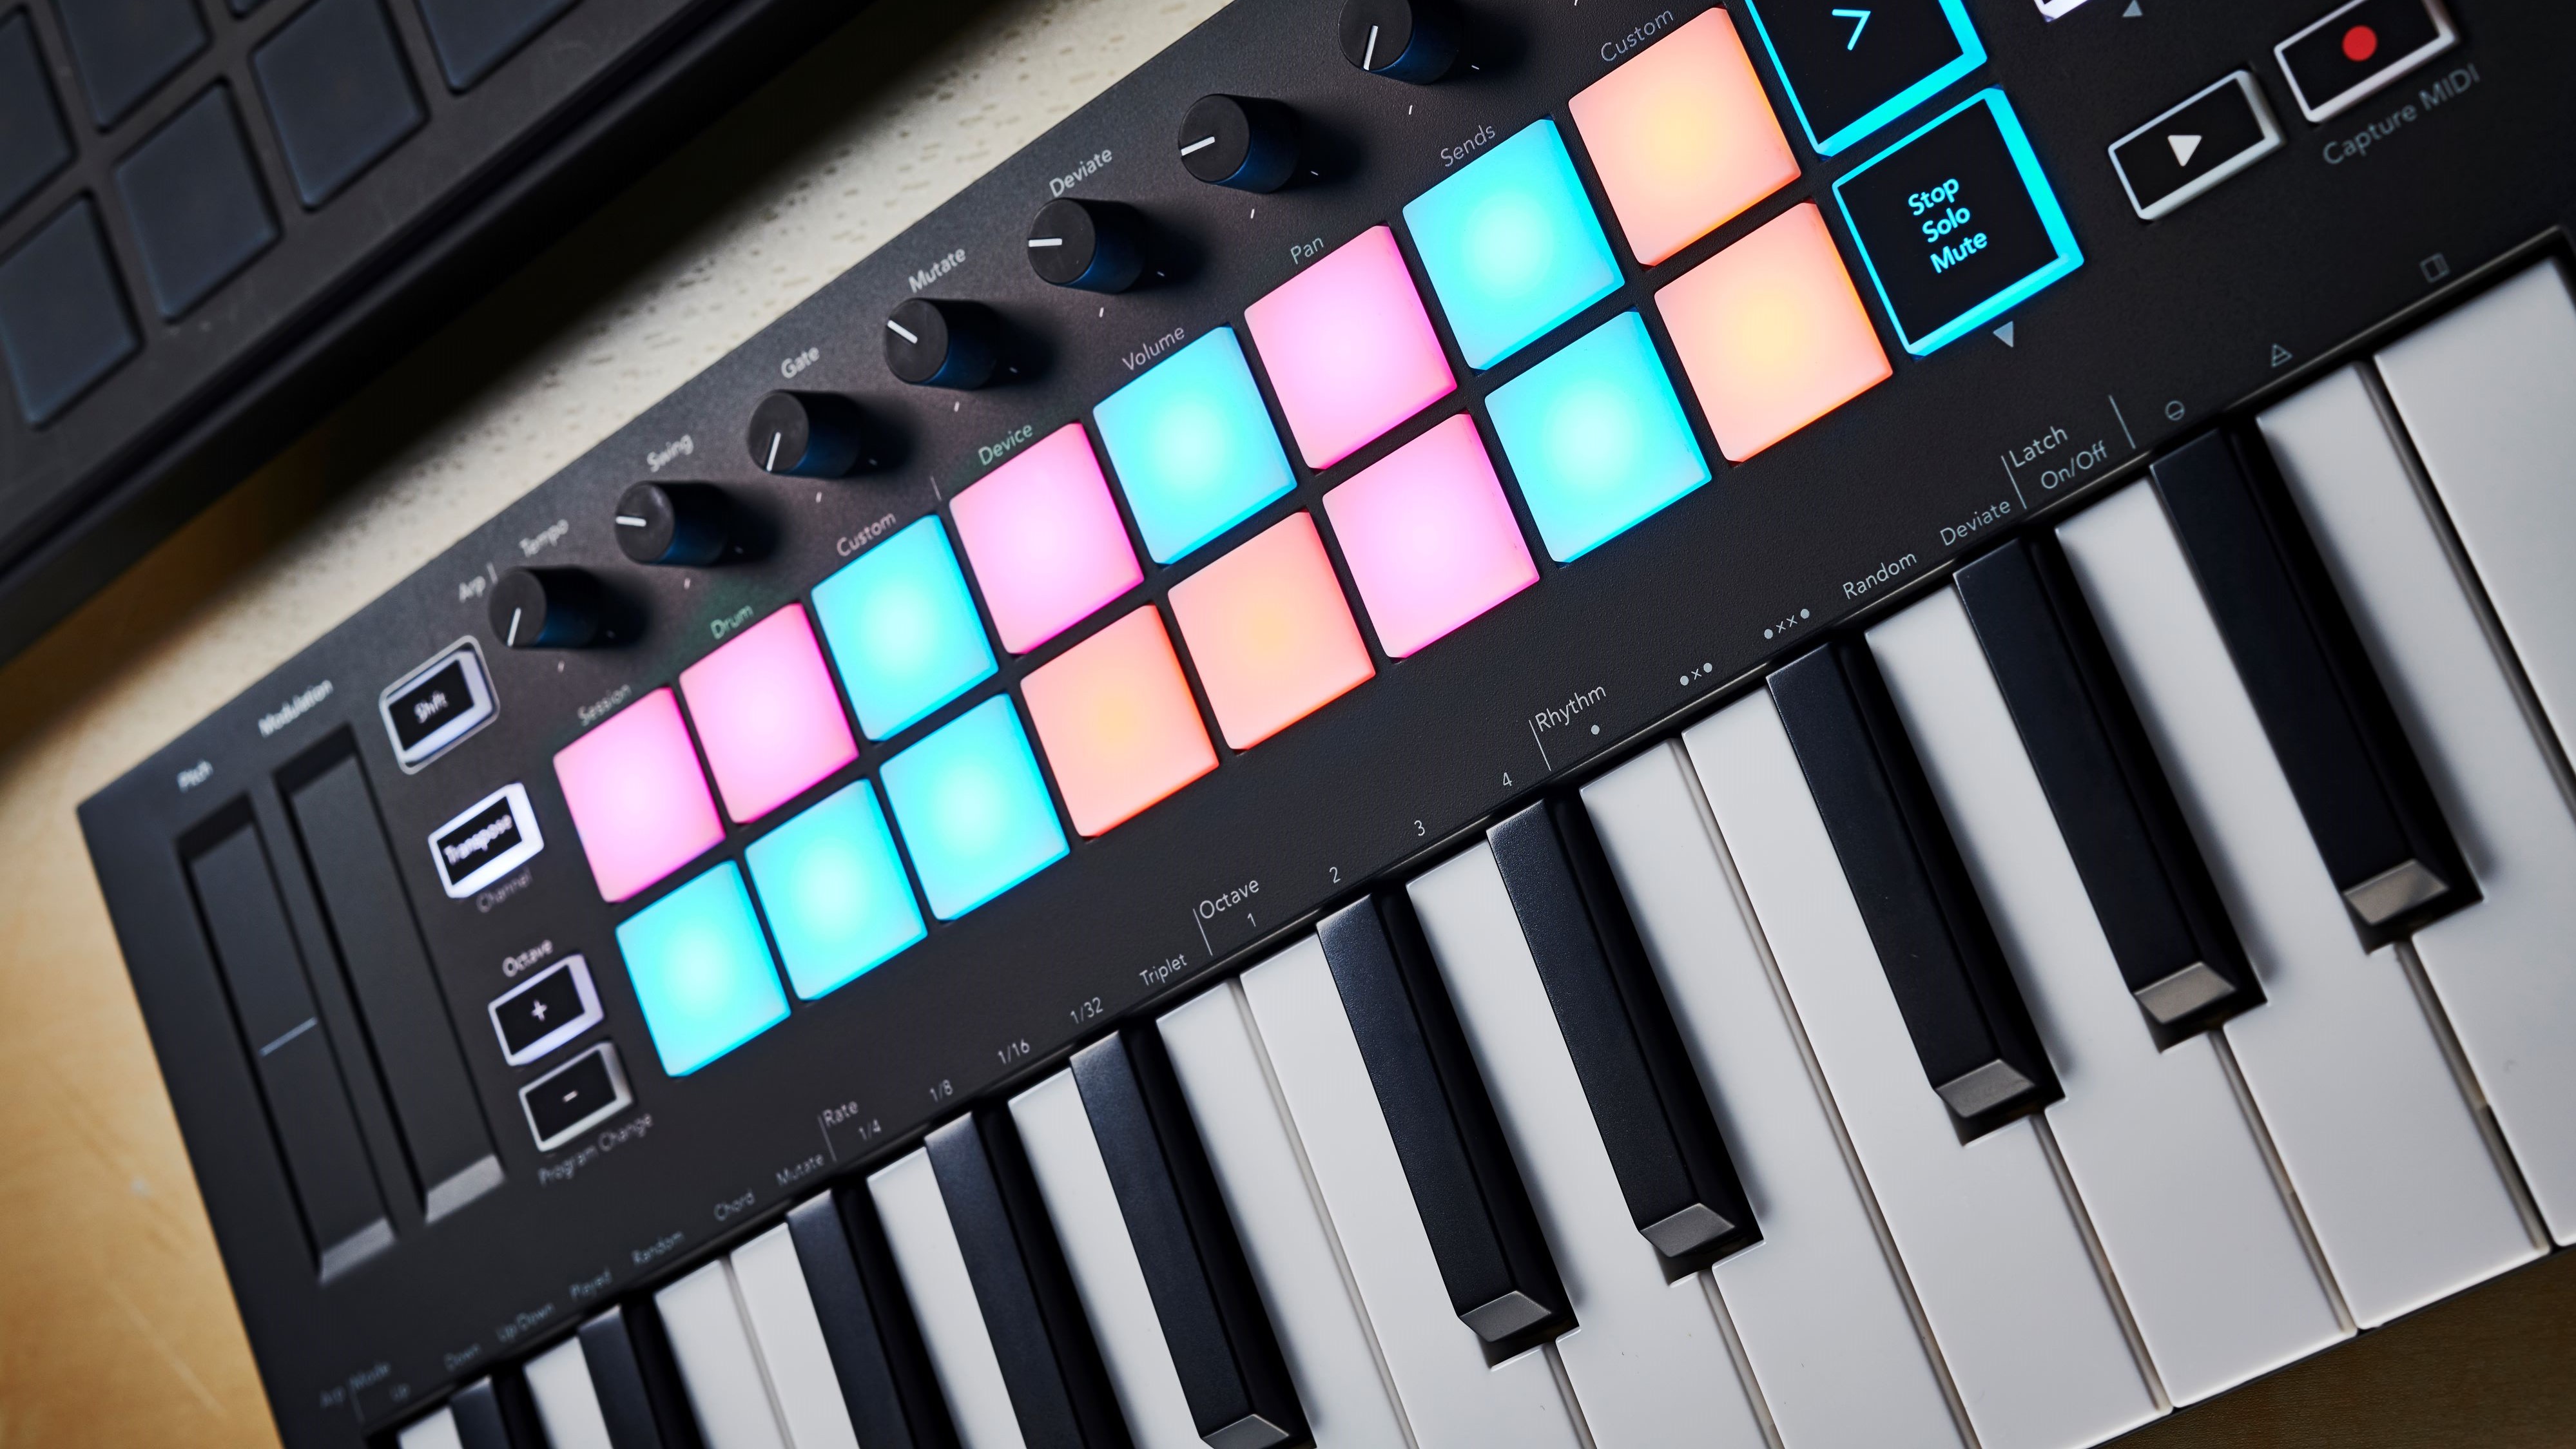
5. Beyond keyboards, more advanced MIDI control surfaces include pad-based workflows (such as Ableton Push 3 and Novation’s Launchpad), as well as the guitar-leaning Artiphon Instrument 1 and MIDI drum-kits such as Roland’s V Drum.
6. One of the biggest problems with interfacing solely with a MIDI keyboard is making the sampled instruments you’re controlling sound ‘human’, particularly with instruments like brass or breath-controlled instruments. There are numerous routes around this, such as laying down the shape of the melody and then forensically shaping the MIDI notes until the performance sounds more organic. A less time-consuming way would be to use an MPE instrument (see point 10)
7. There’s a plethora of MIDI packs out there, which import pre-made MIDI data into your DAW. Typically these consist of repeated loops of grooves or chord sequences. These pre-shaped MIDI sequences can be highly useful starting points. Many of which are free.
8. When you record a MIDI performance, you’re essentially directing your software to play the inputted notes at a certain time, which is different to recording audio. As the number of MIDI instruments stack-up so too will the demands on your processor. This could lead to crashes and lag. The best solution would be to ‘freeze’ the MIDI performance once you’re happy with it. Different DAWs will have different approaches to freezing, but the principle means that the performance/sound is saved as audio and your DAW has less to do (don’t worry, you can always un-freeze and bring back the original, editable MIDI data).
9. MIDI Automation allows you to pre-draw the movement of specific CC instructions (see point 3), this means you can adjust the opening and closing of envelopes, filters or the incorporation of effects over time. While you can do this manually with your MIDI controller, pre-drawing allows you to prepare and sculpt certain changeable attributes (like fade-outs or swells) ahead of time, adding more movement to your track.
10. When shopping for MIDI keyboards and controllers, you may also notice a rising array of MPE instruments. These keyboards and control surfaces modify the original MIDI spec and allow for a wider array of control. MPE in itself is worthy of a deeper look, but in general these instruments grant more playability for those musicians looking to create more organic, evolving sounds and realistic performances
MusicRadar further reading…
Over the years, we’ve produced many articles and features on using MIDI and getting the best from both controllers and more in-depth MIDI editing.
Your starting point should be our guide to the best MIDI keyboards. Continually updated and refreshed with our latest picks, this is a one-stop, indispensable read if you’re not sure which one to buy first, or if you want to upgrade.
Next you’re going to need to know how to connect up your MIDI hardware to your computer.
Here are seven ways to work smart with MIDI in your DAW, going deep on some DAW-specific avenues that will transform your approach and mindset to getting creative with MIDI.
Next we have a fascinating feature, going deeper on the history of the MIDI specification and how it fundamentally changed the music production landscape.
Following on from that, if you want to know more about the next evolution of MIDI, then here we unpack the details of how MIDI will evolve in the future
Don’t have a dedicated MIDI controller but instead have a digital piano? Then this too can be used as a MIDI controller, this feature will explain how to set it up.
Alternatively, if you have a standalone hardware drum machine, this can be put to use as a MIDI controller, we break this down in a meaty feature
Speaking of drums and all things beats, this comprehensive tutorial unlocks how you can program MIDI drums that sound like the real thing
And, on the piano front, if you’re after some astounding piano sounds, playable with your MIDI controller, then our guide will steer you onto the right path
Finally, here’s a comprehensive overview on running a perfect studio workflow, with your MIDI controller in the context of other instruments, speakers, interfaces and hardware


