Most of us need coffee to function - I couldn't write this article without it. Thankfully, it's easier than ever to make good coffee at home. No longer the preserve of independent cafes, domestic versions of the best coffee machines mean you can have true espresso at home.
At least, that’s the theory. But those of us who prefer to spend our spare time living instead of measuring the specific gravity of coffee beans can find that making coffee at home is surprisingly tricky. What should be a simple task - insert beans, press button, receive coffee - is littered with pitfalls.
After far too long testing these machines for a living, I’ve made every mistake in the book, so I know exactly what can go wrong. If your coffee isn’t quite right, you may have fallen for one of these common coffee maker mistakes - but they’re all easy to fix.
1. The wrong beans
Let’s start with the beans. Unless you’re an obsessive, you don’t need to worry about the difference between arabica and robusta beans - most wholebean and ground coffee sold in supermarkets is arabica anyway. If you’re interested, arabica beans tend to have more interesting flavours; robusta beans are cheaper, higher-caffeine, and slightly bitter, so they tend to be used in instant coffee.
A more common mistake is buying the wrong roast level for your chosen coffee. For moka or other black coffee styles, it’s best to use dark roast. For coffees with milk, a medium roast is better. Light roasts are fun if you know how to make good pour-over coffee, but this is best suited to coffee die-hards.
In most cases, it’s best to hedge your bets and go for a medium roast. Some of us just buy dark coffee because it tastes stronger, which people associate with higher caffeine levels and therefore more energy in the morning. Actually, the inverse is true; the lighter the roast, the higher the caffeine content. If you’ve ever made coffee and wondered why it tastes so bitter, you’ve probably gone for too dark a roast.
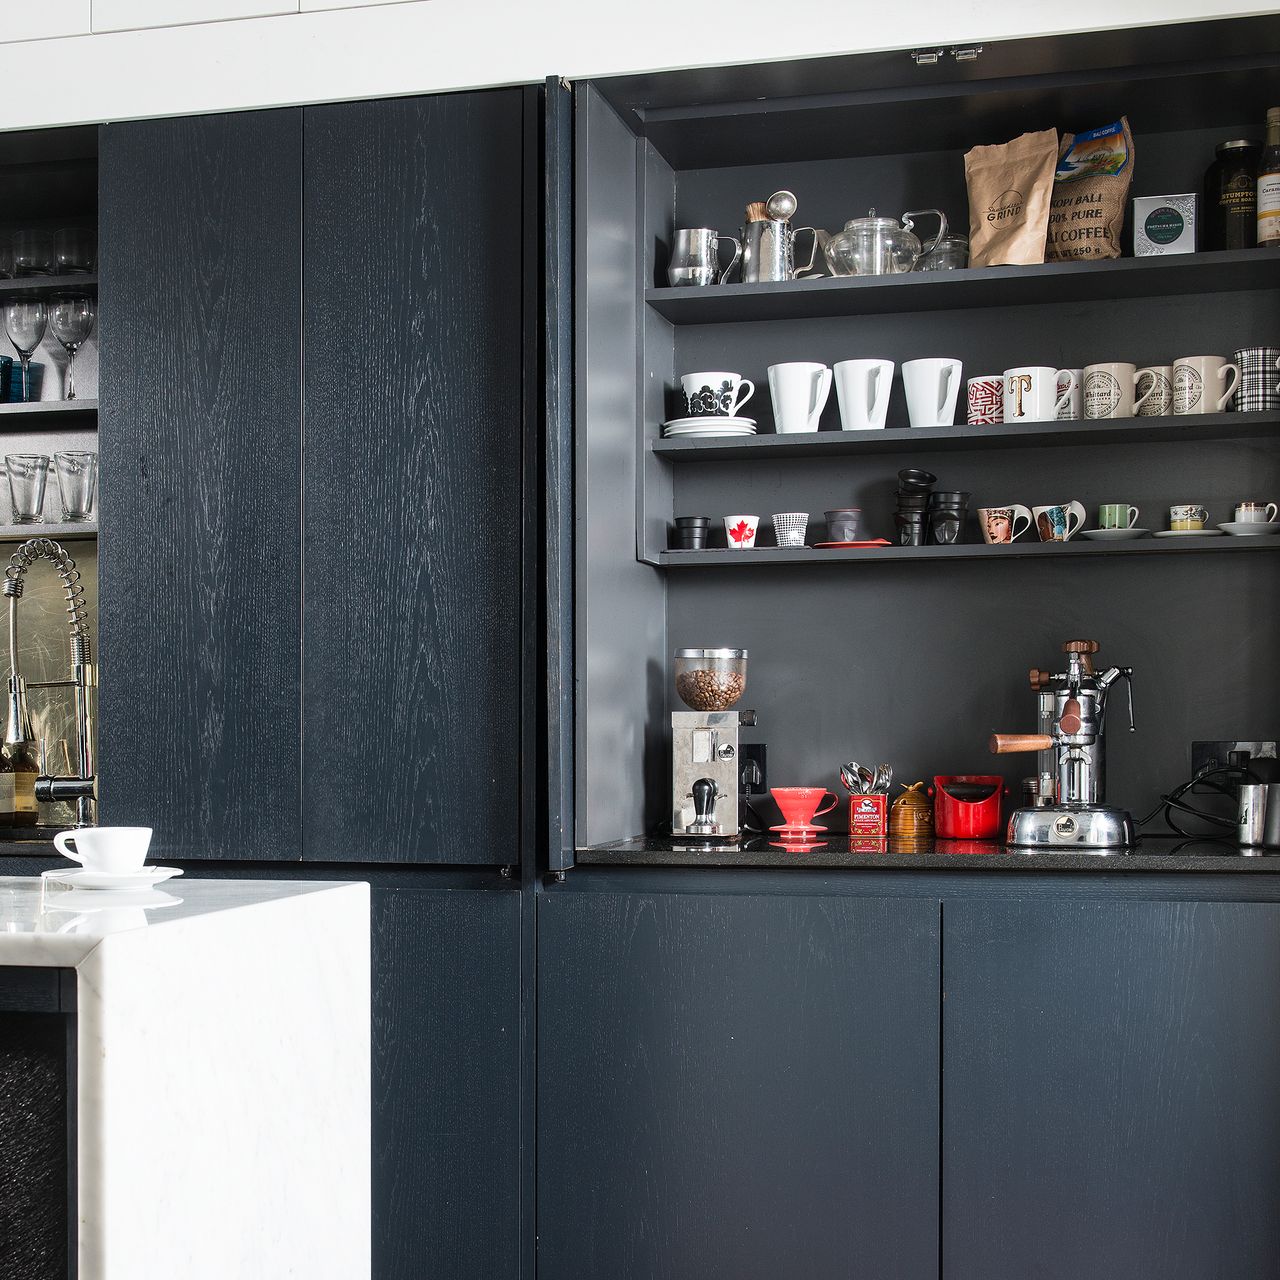
One way to ensure you always have good beans is to sign up to a subscription service. GRIND's can cater up to 1kg bags, too.
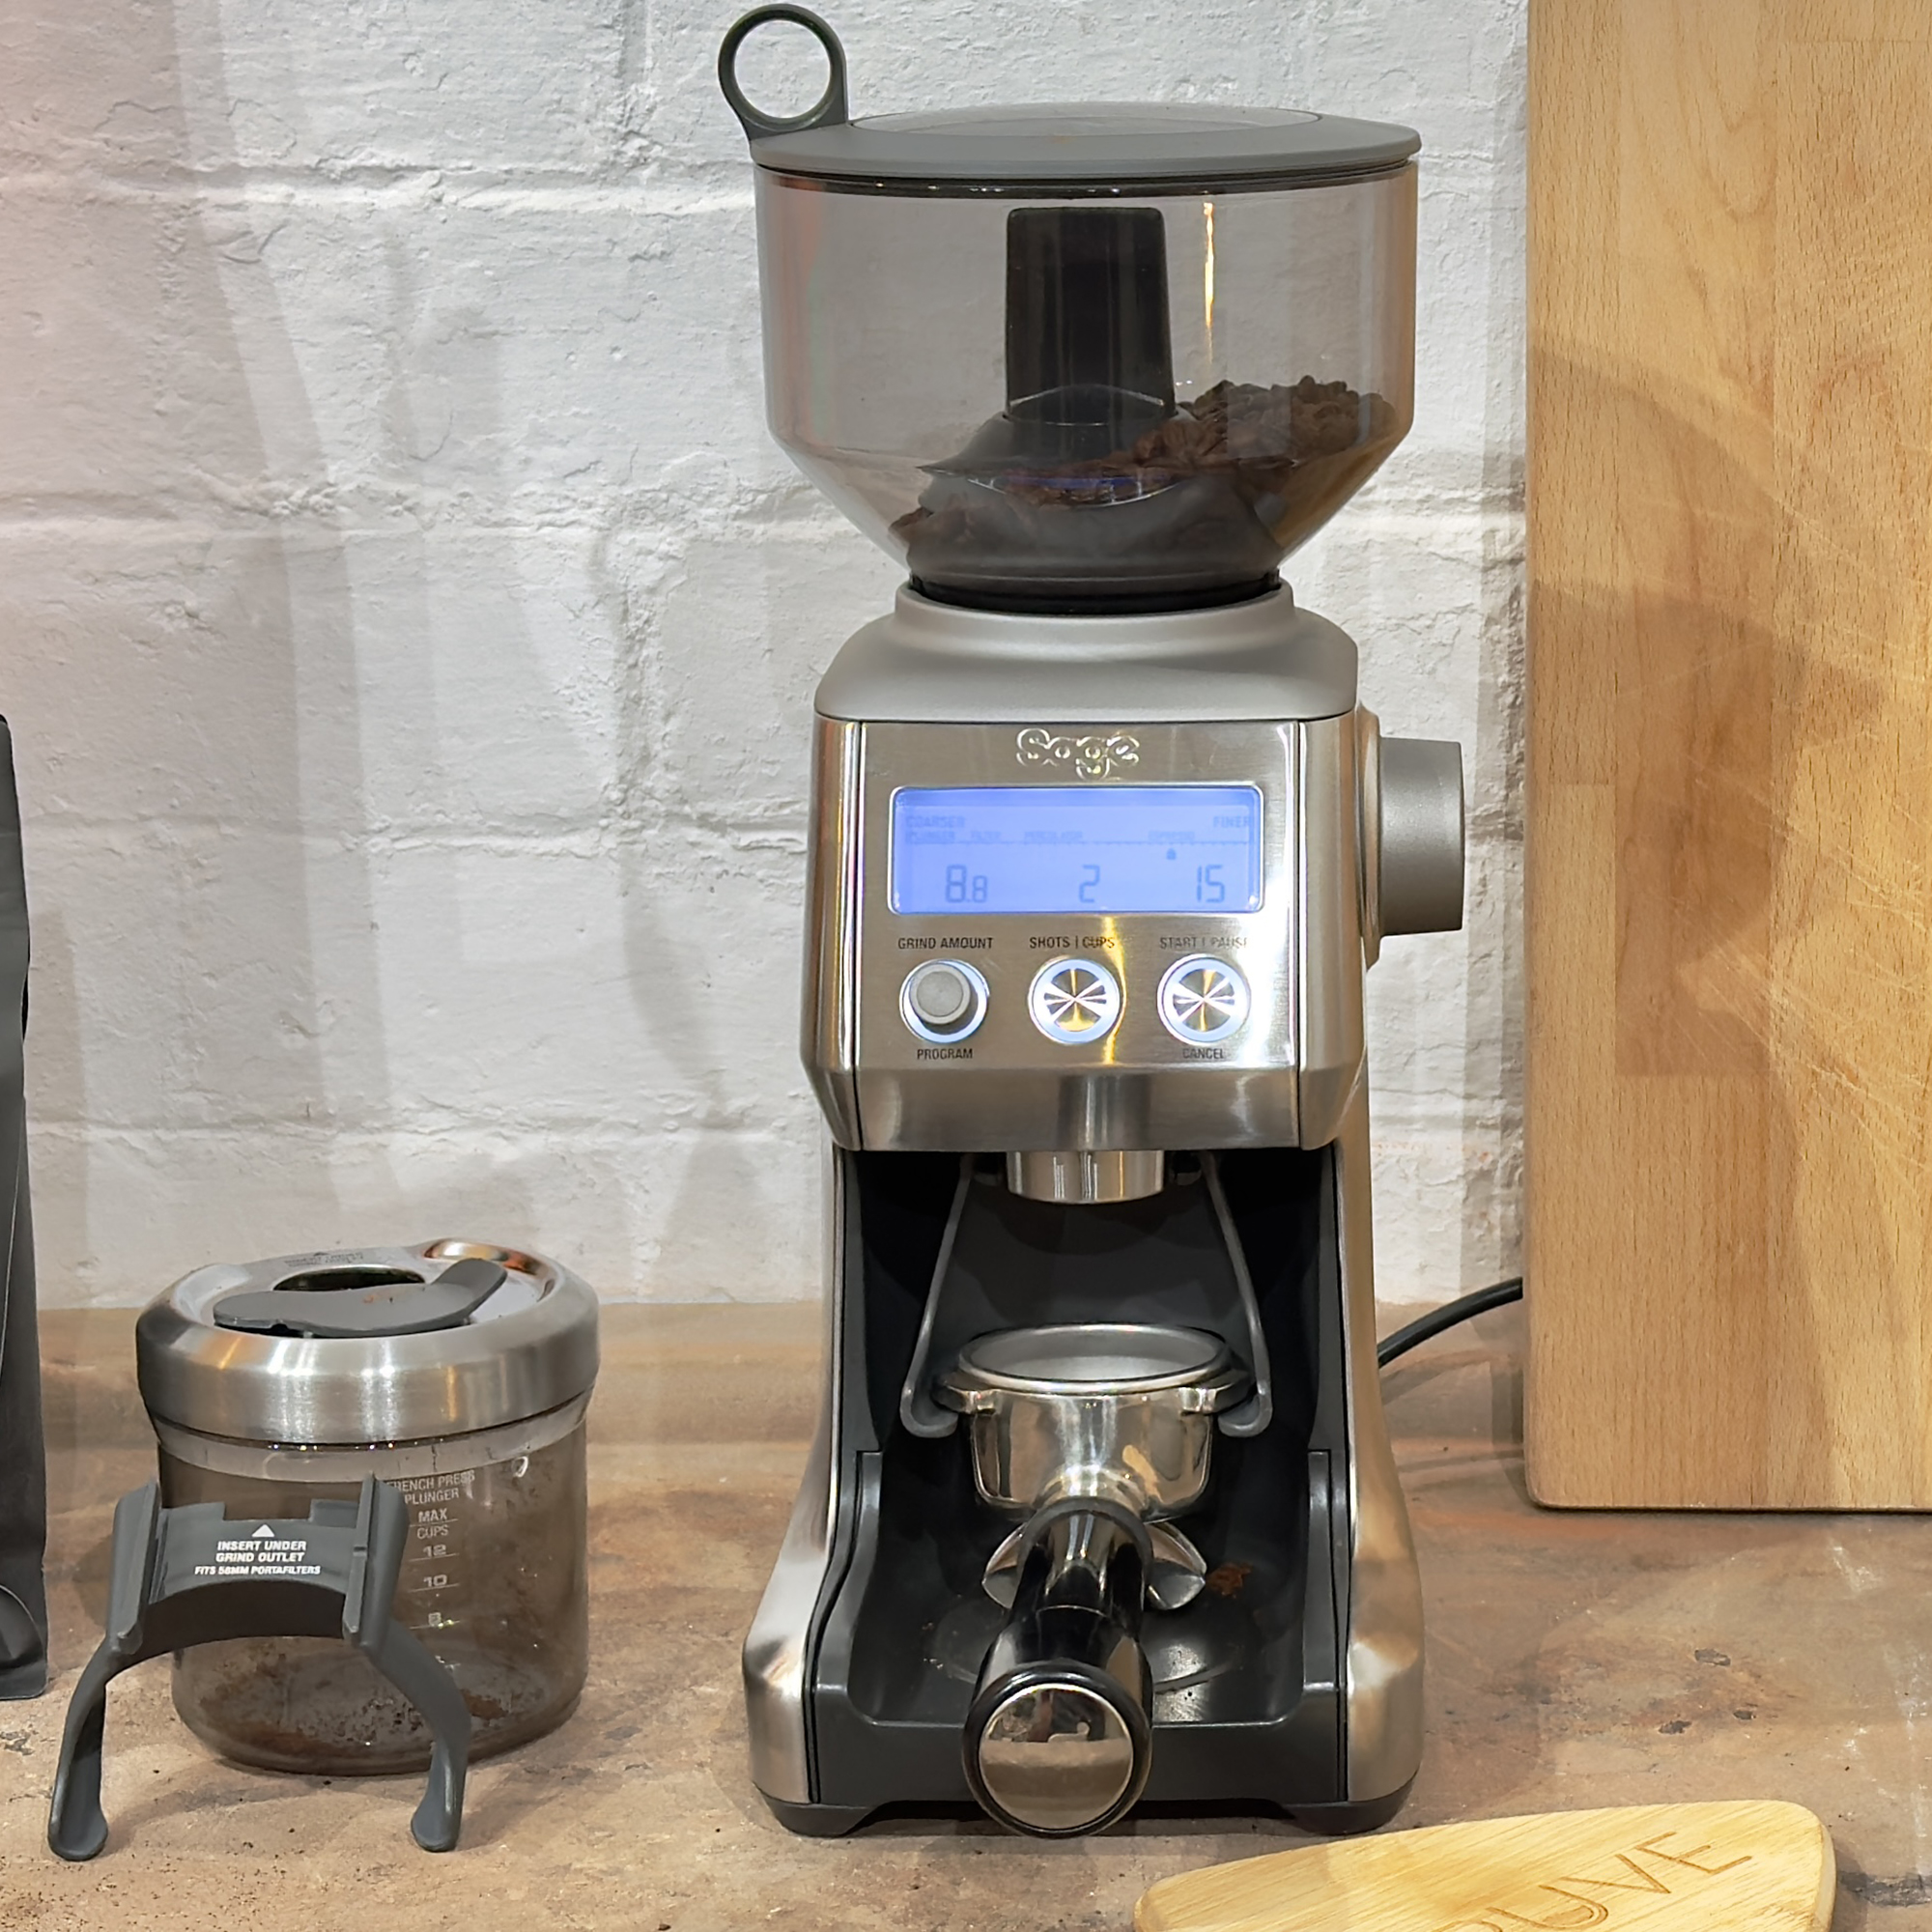
2. The wrong grind size
Once the beans are sorted, it’s time to grind them. Whether you buy ground coffee or do it yourself with a coffee grinder, you need to make sure you pick the right grind size. A common mistake is to over- or under-grind your beans. A helpful rule of thumb is that the smaller the portion, the smaller the grind.

Espresso needs finely ground coffee. If the coffee particles are too large, water flows too quickly, preventing it from stripping the right amount of coffee oil from the beans. You’ll know if your grind size is too coarse if the coffee tastes watery and weak.
Similarly, cafetière or filter coffee needs a coarse grind. If the coffee is ground too finely, too much coffee oil is stripped from the beans, which makes a bitter taste.
3. Too much or too little coffee
The standard amount of coffee for a double espresso is 16g. If you want a stronger coffee, you can take it up to 18g, but I’ve found it most reliable to keep the scoop to 16g, which is also the perfect amount for a single cup of pour-over or Aeropress.
Much more than 16g will make a bitter coffee, as it increases the likelihood that water will channel (more on this later), or over-extract. Less than 16g will make for a weak coffee.

The rough rule here is that two tablespoons are usually around 15-16g. If you want to be more precise, I’ve found a cheap coffee scoop like this at Amazon (for 72p!) is really helpful, but if you want something more stylish, there are plenty of other options like these at Muji, Garden Trading, or Barista & Co.
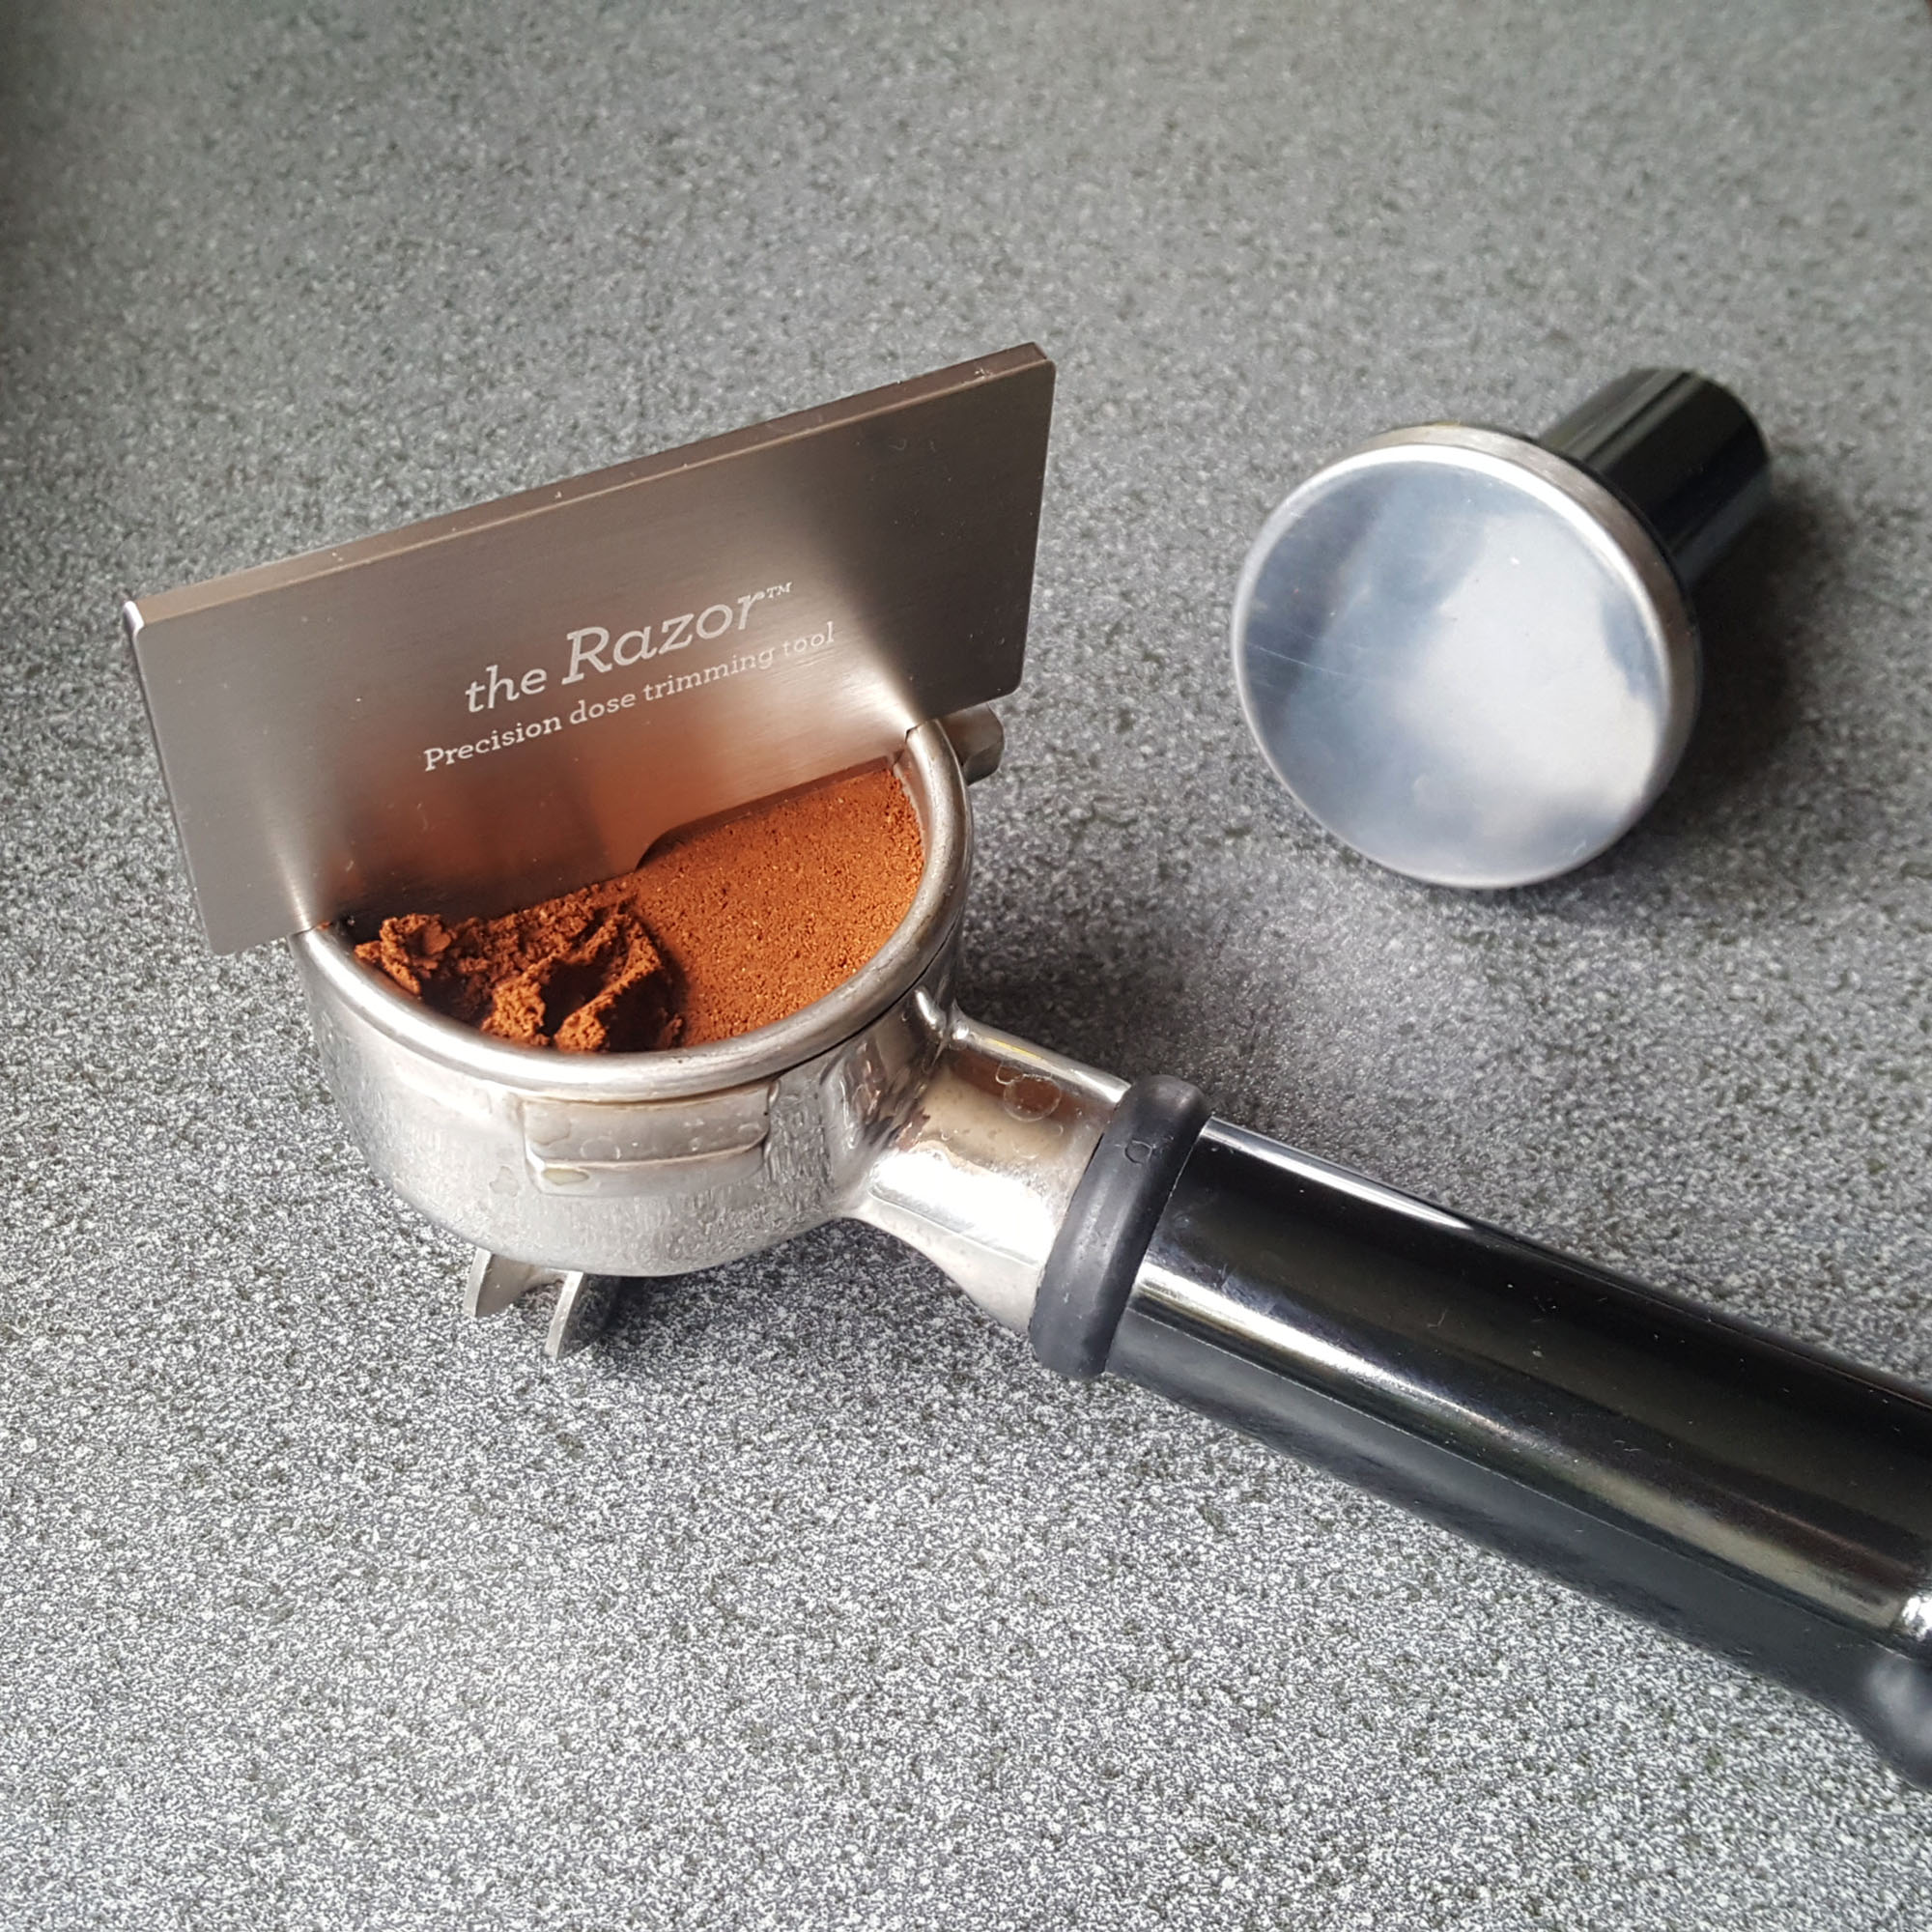
Helpfully, some portafilter baskets have ‘fill to here’ lines to help you pour the exact amount.
4. Wrong portafilter basket
Speaking of which, make sure you have the right basket for your coffee. The filter basket is what holds the coffee in your portafilter. It’s really easy to set up a machine out of the box and think it makes terrible coffee when you just have the wrong basket.
Many modern espresso machines come with several different basket sizes for different coffees. Some baskets are designed for single shots of espresso; others are designed for double shots.
Most are pressurised and force the coffee through a tiny hole, which is what creates the foam on a shot of espresso. Some baskets are non-pressurised, designed so that aficionados can adjust the pressure for different styles of roasts. For most people, pressurised is by far the easiest way to make coffee.
5. Skipping WDT
With the basket sorted and the coffee loaded, I’ve found it very helpful to use a WDT tool. It sounds technical, but it’s about as far from scientific as you can get. The ‘Weiss Distribution Technique’ is a very pompous name for stirring the grounds in an espresso basket before tamping them.
When I first started testing coffee machines, I was incredibly sceptical, but I've found that the WDT method makes a huge difference. The idea is that water will always flow through the path of least resistance. If you don’t even out the coffee particles, clumps of coffee will direct water straight through one part of your coffee and not through all of your grounds, which is known as ‘channelling’.
You can have a delicate roast, a particle-perfect grind and the exact 16g scoop - if you don’t WDT, the coffee might pull through unevenly. Some of it will be over-extracted, and some of it will be over-extracted. If you’ve ever had a sour yet somehow bitter coffee, this is why. It often happens in busy coffee shops where overworked baristas don’t have time to WDT - it’s a vital step.
The good news is that WDT tools are very basic equipment. They’re really just pins and a handle. You can buy cheap WDT tools like this on Amazon, but you don’t always need them. I’ve got by with a sterilised safety pin or sewing needle; you really just need to fluff up the grounds to prevent channelling.
5. Uneven tamp
A tamp is a tool for pressing down coffee in a portafilter basket. The point of tamping is that it removes air between coffee particles, so when water is forced through under pressure, it has to create paths for itself, which strips the coffee oil from the beans. It’s basically impossible to tamp too much, so you should press down on the coffee as much as you can.
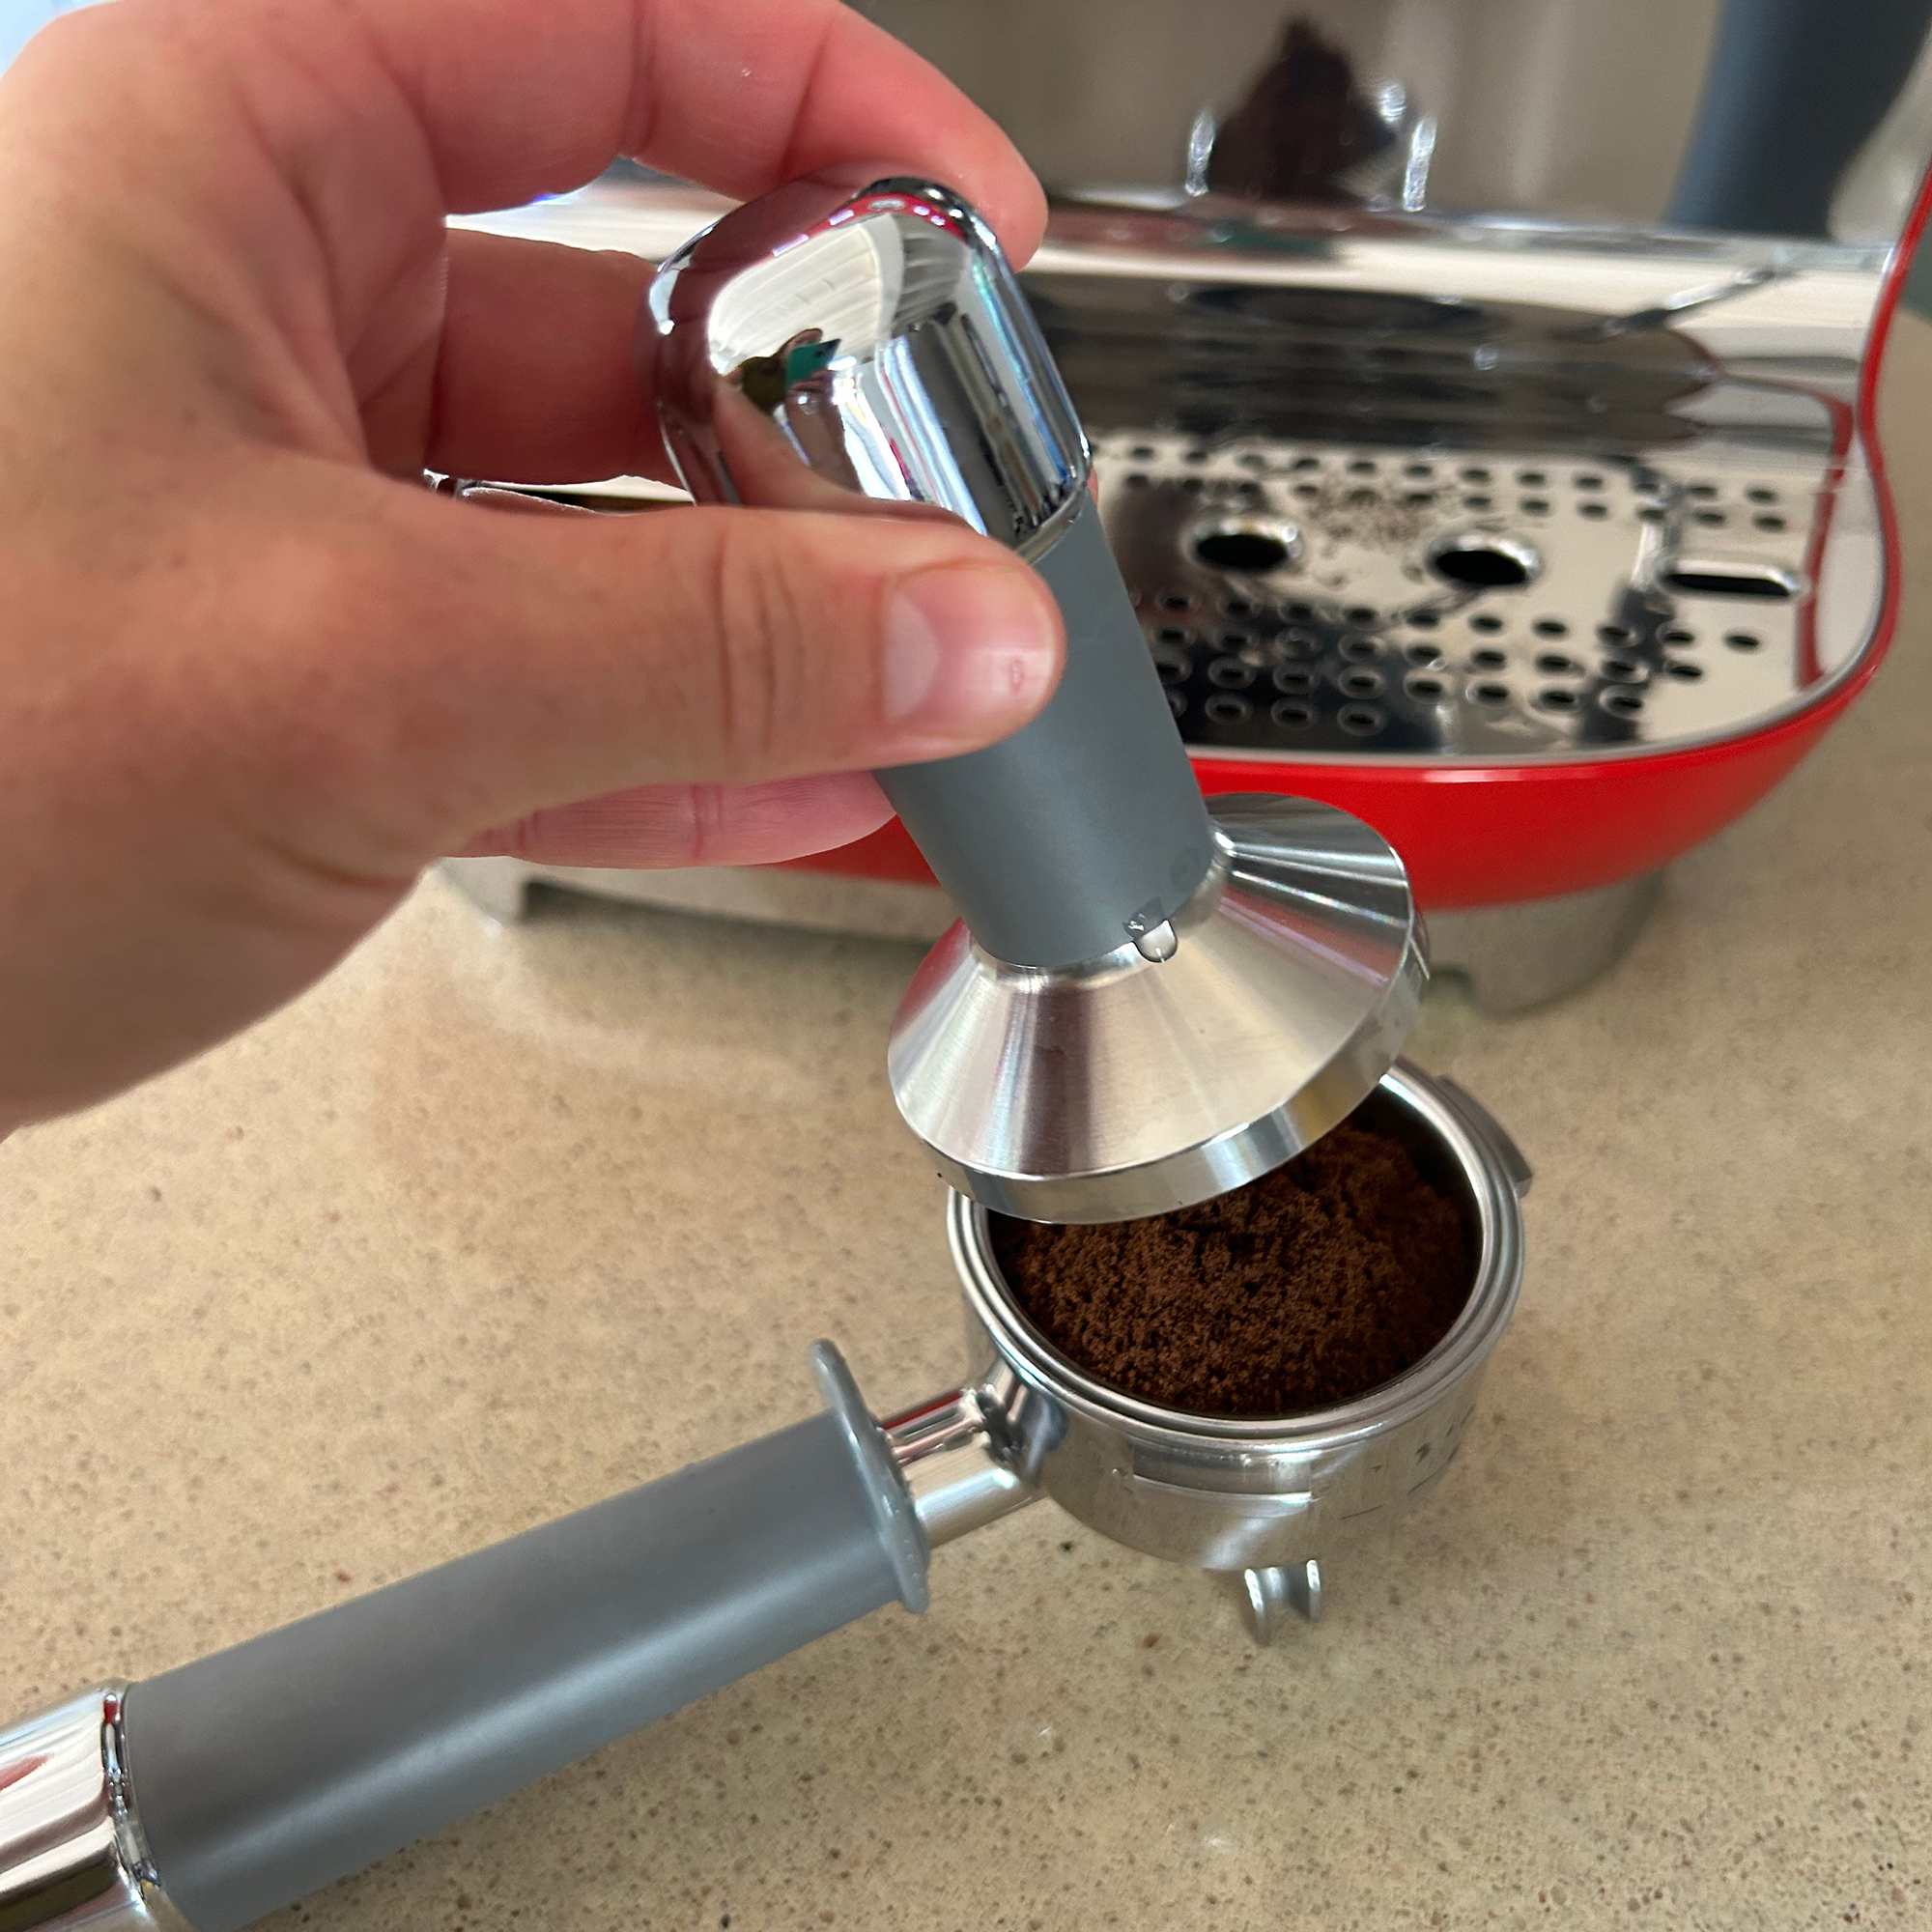
However, make sure the tamp is level. A common mistake is to put as much force as possible into the tamp, but that makes the coffee sit unevenly in the basket, which causes channelling. If you’ve ever put two espresso cups under the spout and the coffee has only flowed out of one side, your tamp probably wasn’t level.
6. Low pressure
Now it’s time to hit the button, but even after the steps above, the coffee is a little watery. The mistake here is that you need more pressure.
True espresso needs around 9 bars of pressure. Most coffee machines max out at 15, but beyond 9 bars, you’ll make over-extracted coffee.
Unfortunately, it’s not visible on all coffee machines, and some models have a helpful but imprecise gauge which gives a rough pressure range for espresso but not specific pressure in bars. However, pressure is often quite easy to fix; sometimes you just need slightly more coffee and a better tamp to create a tighter puck and greater pressure.
7. Steaming wand trouble
If you’re making a latte or cappuccino, there are a few common mistakes with a steaming wand.
The first is to be sure to tilt the jug; if you don’t, you can’t create a vortex. The vortex stirs the milk as it steams, which distributes heat more evenly and helps prevent burned milk.
Another issue is wand placement. It can’t be too deep or too shallow. Too shallow, and you make too much foam. If it’s too deep, there’ll be a horrible screeching sound, and you’ll probably burn the milk. Instead, the milk should come about halfway up the milk wand arm, which will make a sort of tearing noise.
Finally, make sure you purge the wand before and after you use it for hygiene. A tip I can’t overstate is to keep a damp cloth to hand to clean the wand. I constantly make this mistake, and it’s a complete pain - if you don’t clean milk from the wand immediately, it dries hard, and it’s an absolute nightmare to clean.
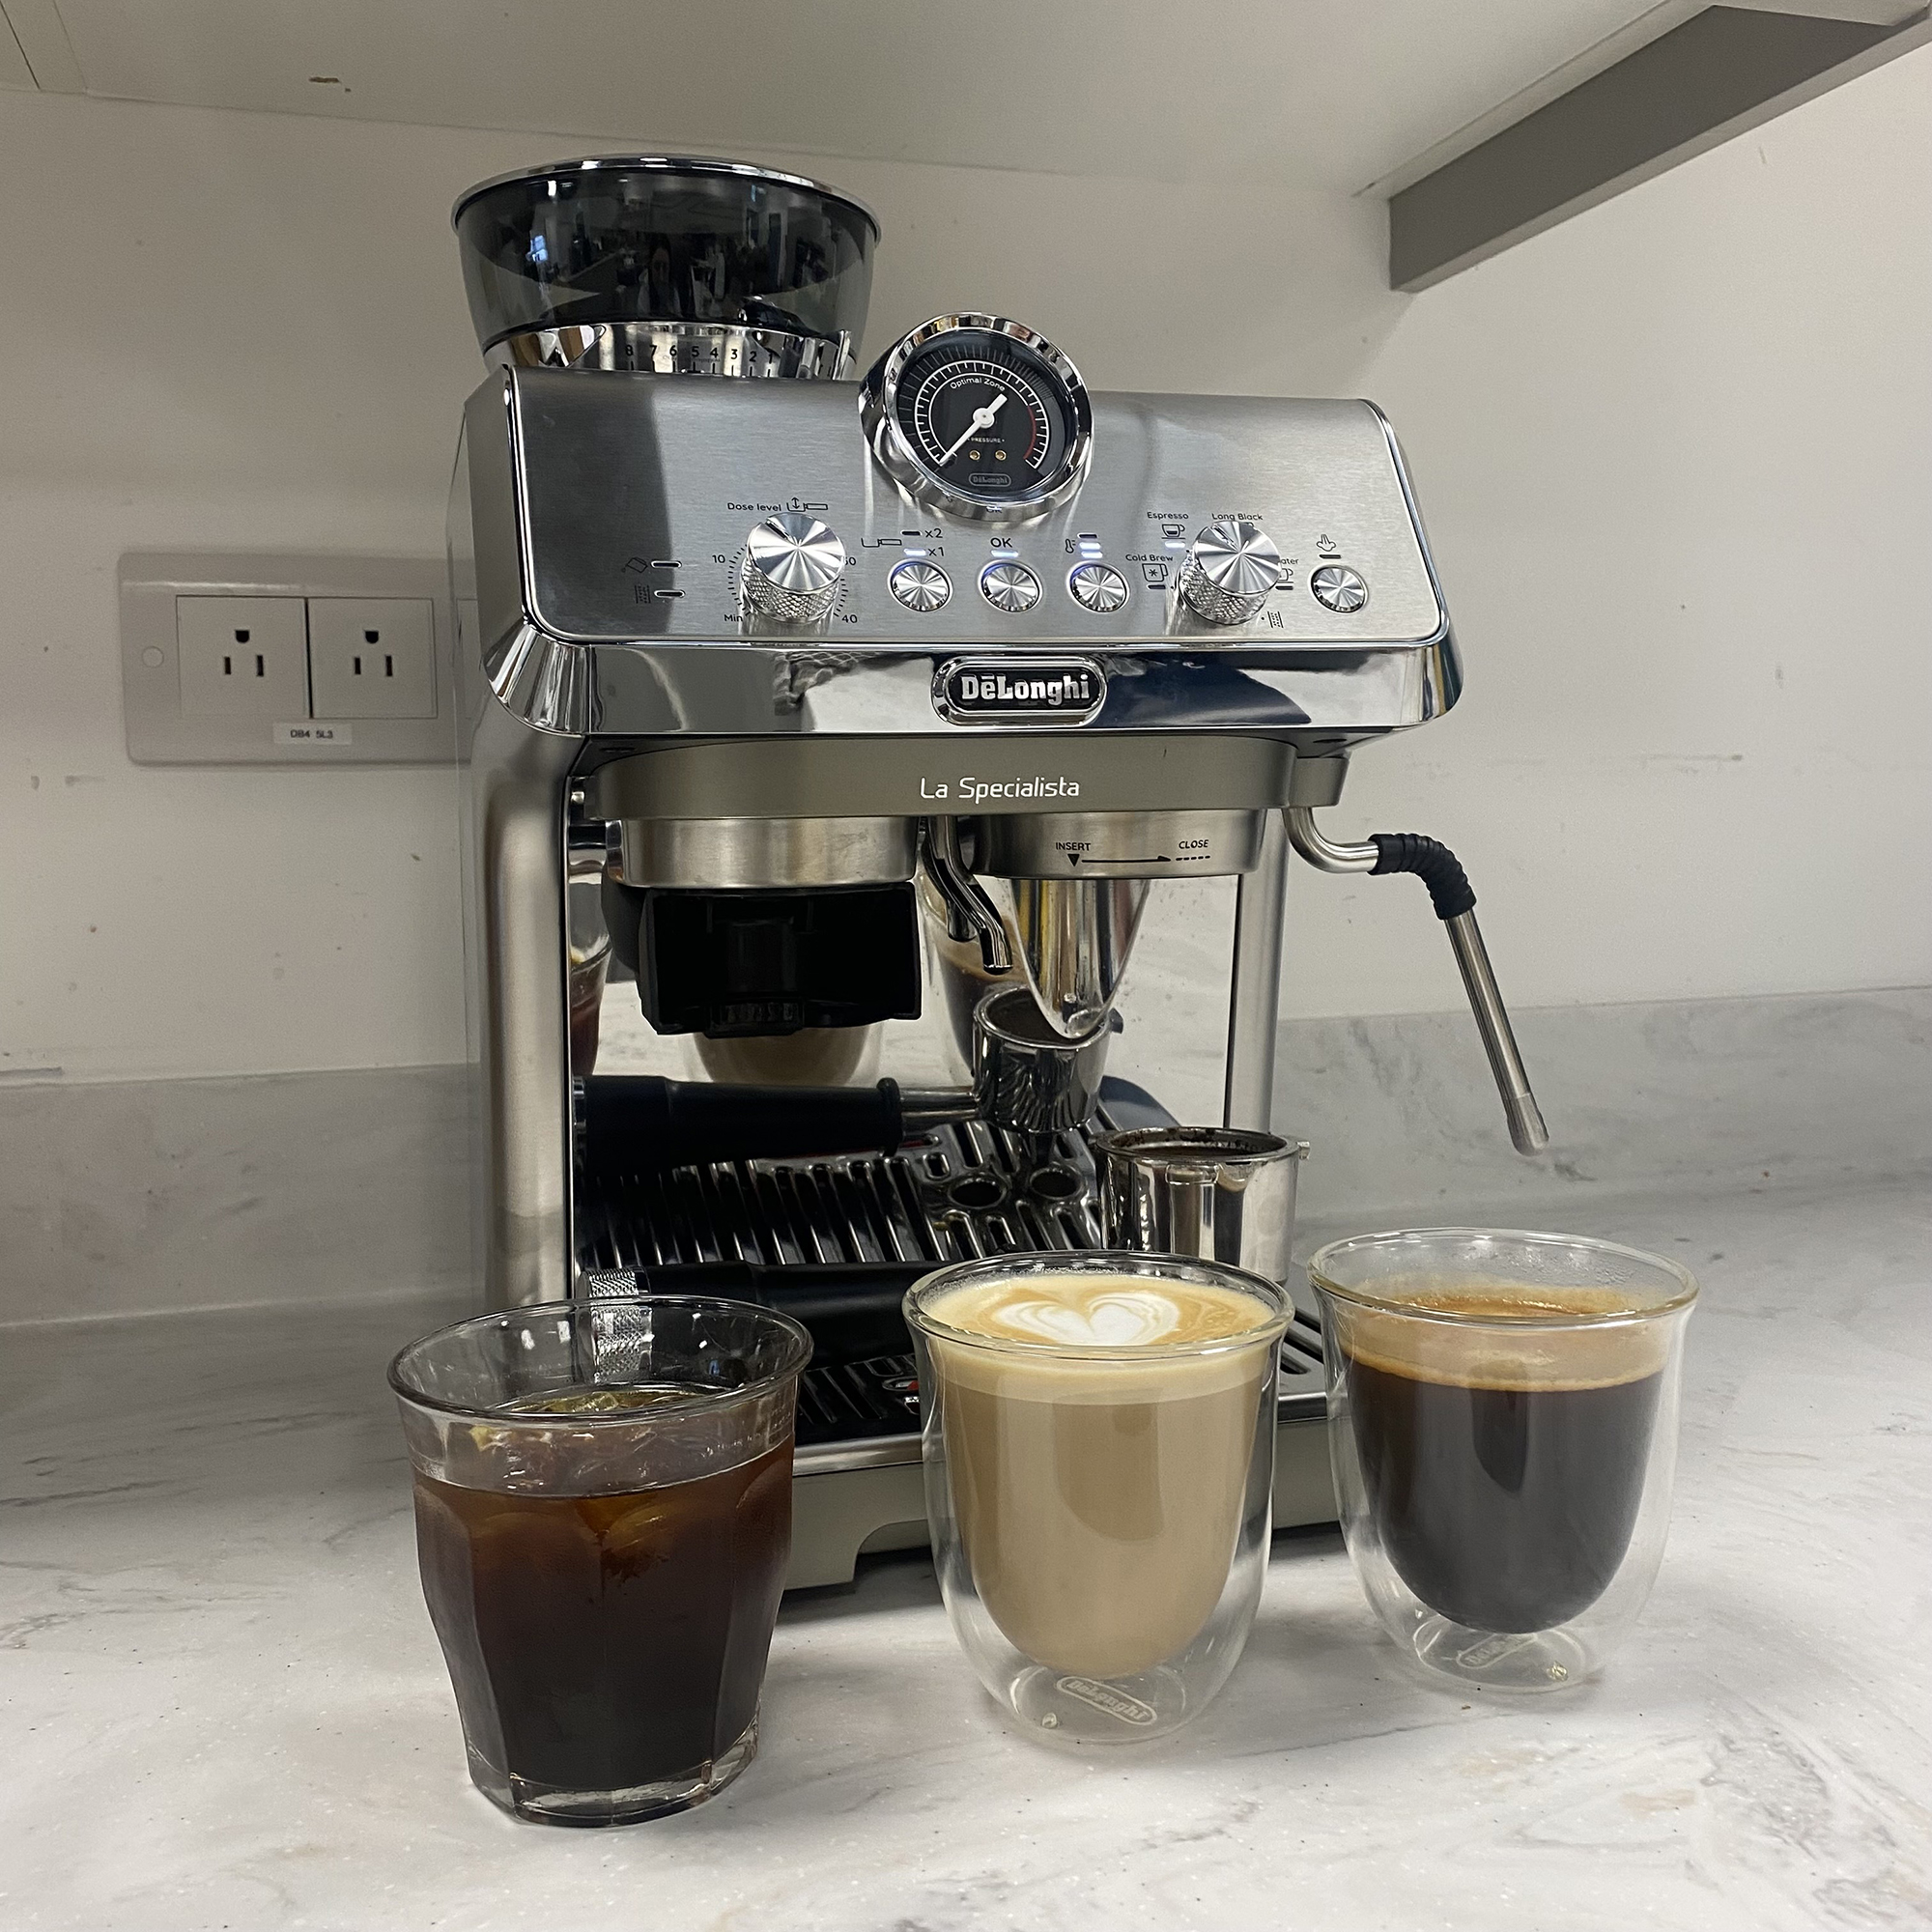
If you know all this stuff already, but your homemade coffee doesn’t live up to what you get in a cafe, it’s probably the case that you’re making the wrong type of coffee. Different milky coffees have different milk ratios. A cappuccino should be a 1:1:1 mix of espresso, steamed milk, and foam. A latte should be a 1:3 mix of espresso and steamed milk, with some foam on top, and a flat white is 1:2. It takes some practice to get these ratios right, but it makes a huge difference.
8. Vegan milk
Finally, while we’re discussing milk, be careful with alternative milks. Whether oat, almond, or soy, standard dairy alternatives are too thin to use with a steam wand. The protein content is too low, so they don’t form proper foam, and they curdle.
Instead, you need the barista versions of these milks. It’s not a marketing gimmick - these milks are thicker than standard dairy alternatives, so they can form proper foam. There are a tonne of options out there, with a range of choices of barista soy milk, barista oat milk, and barista almond milk.
However you like your coffee, avoiding these simple mistakes is an easy way to improve your homemade brews.