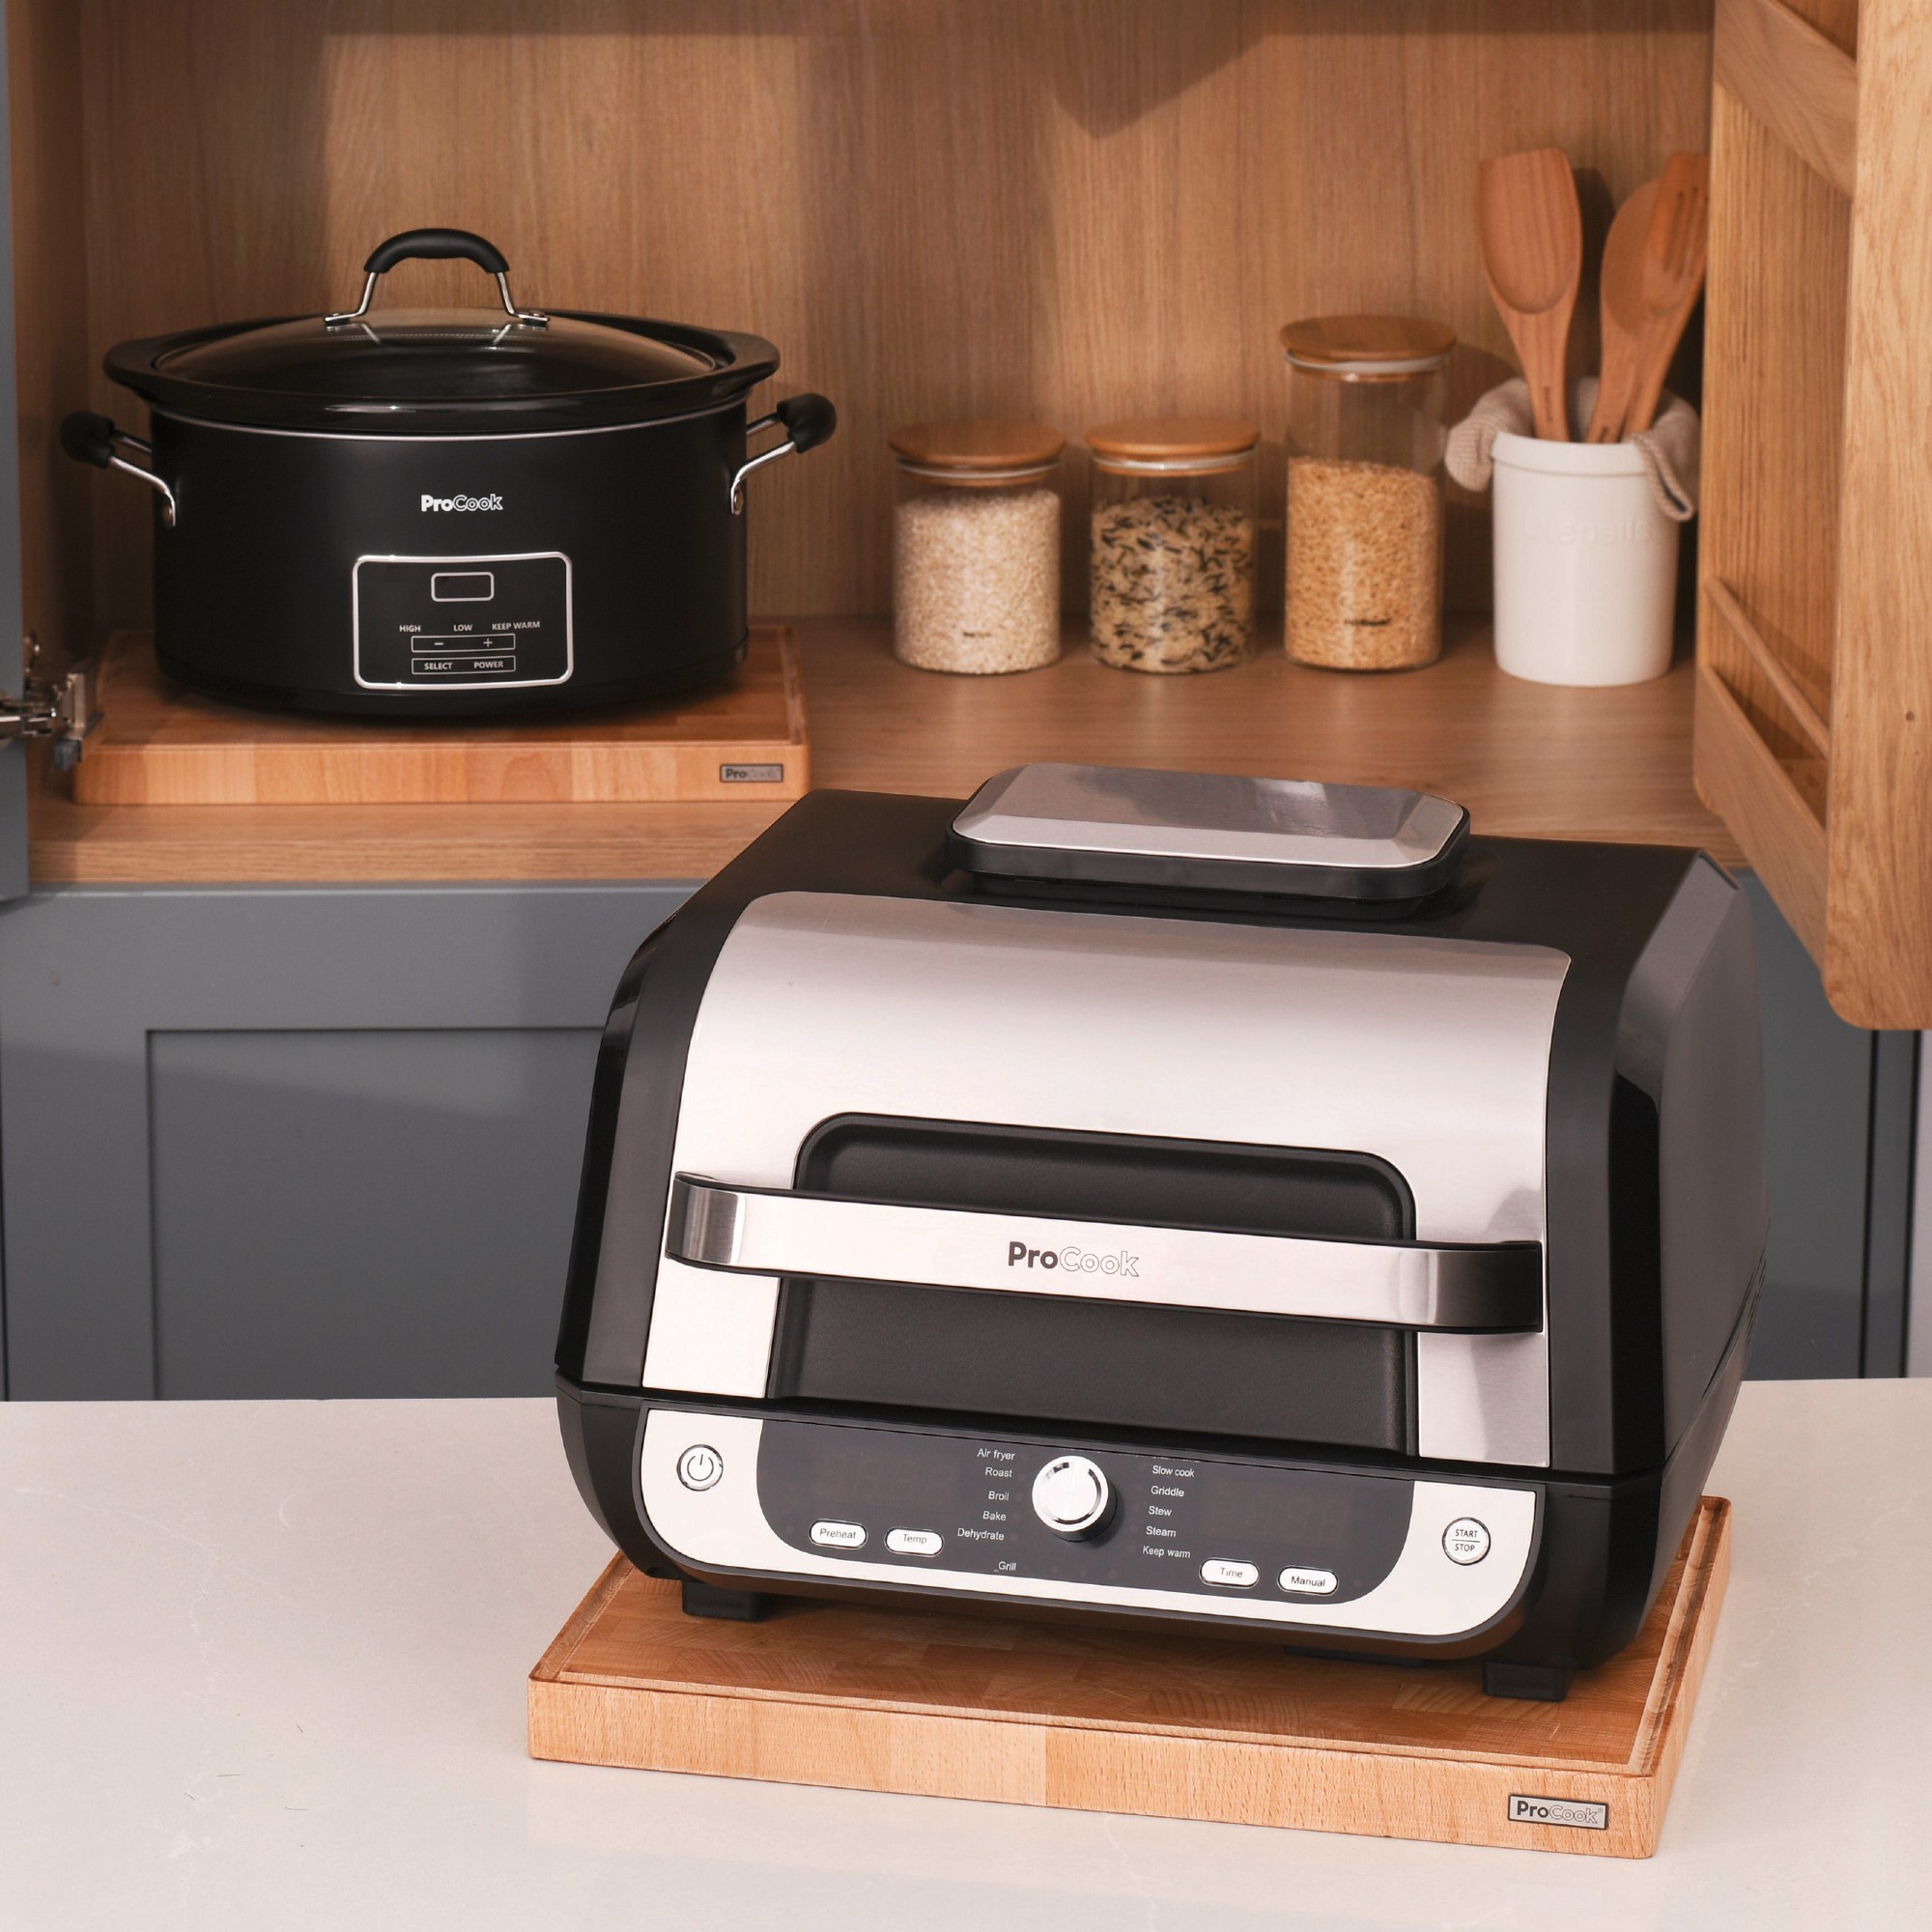
Whether you’re looking to create an instagram-worthy clutter free kitchen, or you’re just fed up with a sea of ugly appliances, there are plenty of reasons to consider appliances that can do more than one thing.
The ProCook Air Fryer Health Grill can do far more than its name suggests. In fact, apart from its inability to pressure cook, I’d say it has more in common with a multi cooker than it does with most of the best air fryers.
It must be said though, while we were excited about this launch in our first look at it when it was released, we also know that sometimes appliances can miss the mark on some aspects of the design or functionality. So I set up the ProCook Air Fryer Health Grill in my kitchen and tried to use as many functions as possible to see if it’s a great all-rounder, or distinctly average at lots of things.
ProCook Air Fryer Health Grill product specs
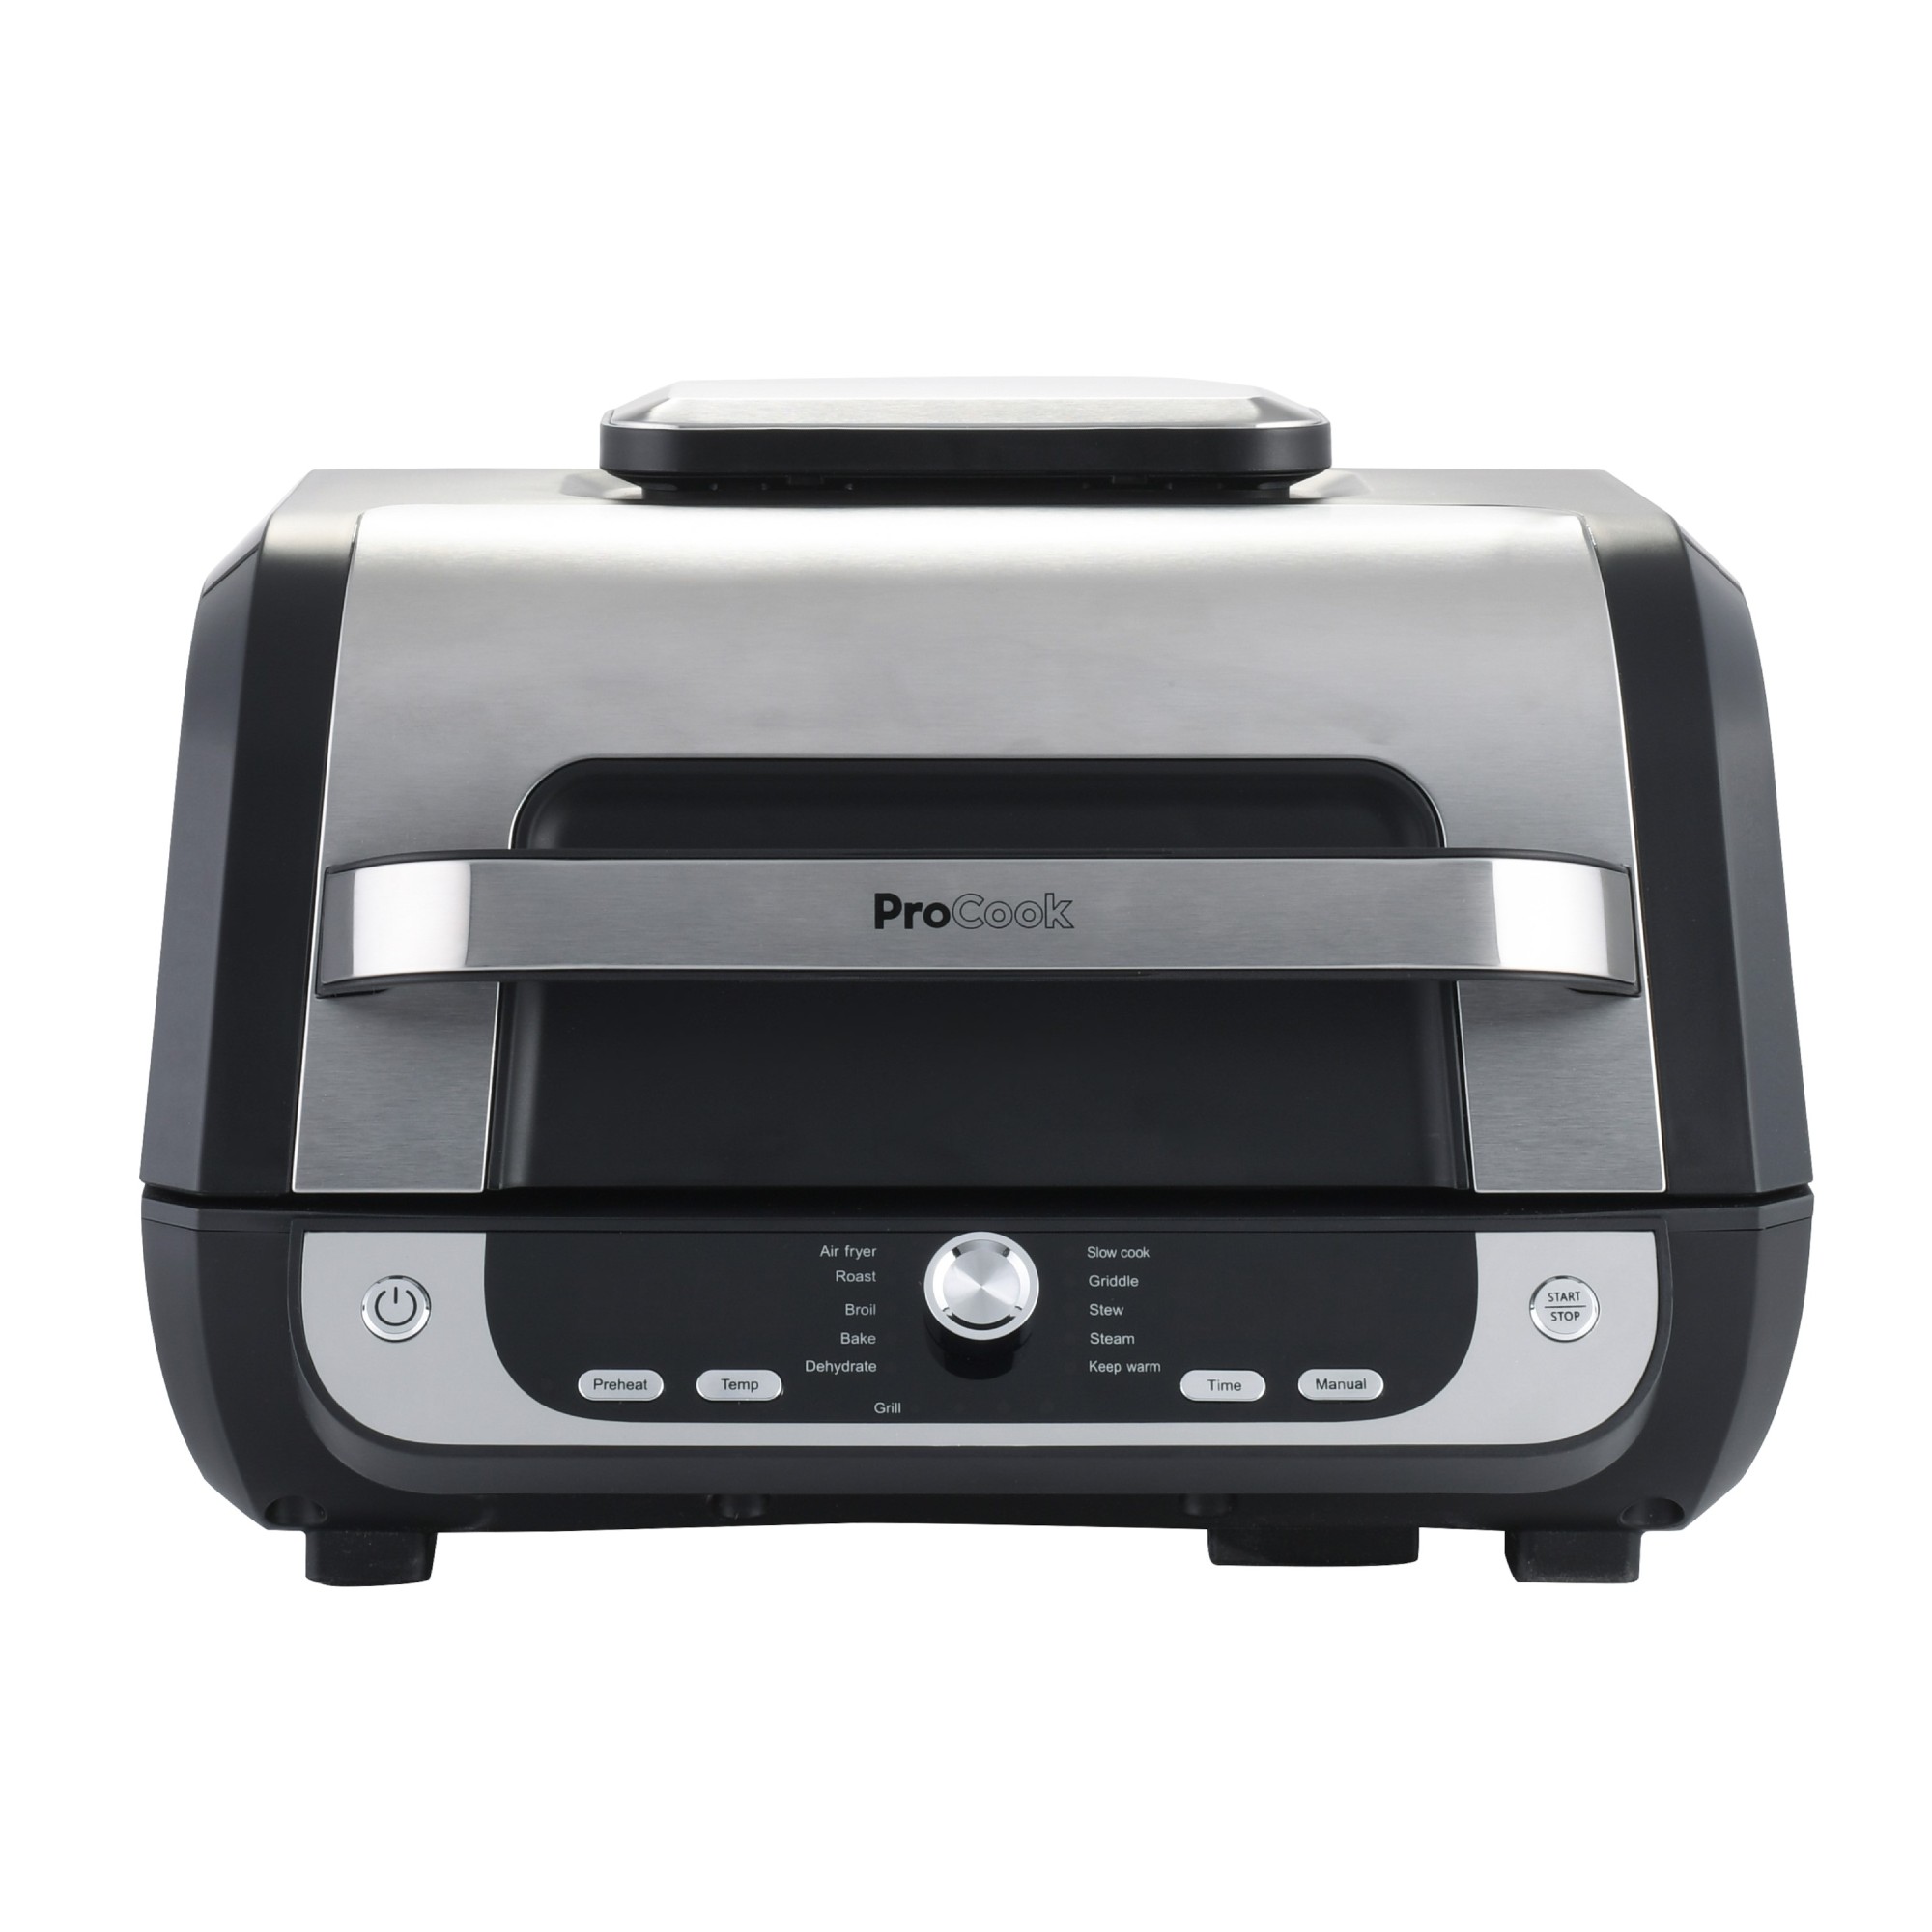
- Modes: air fry, roast, broil, bake, dehydrate, slow cook, grill, griddle, stew, steam, keep warm, and manual
- Accessories: non-stick crisper basket, multifunctional cooking pot, grill rack, glass lid, cleaning brush
- Weight: 10kg
- Size: (H)28x (W) 40 x (D)40cm
- RRP: £299
Unboxing, setting up and first impressions of the ProCook Air Fryer
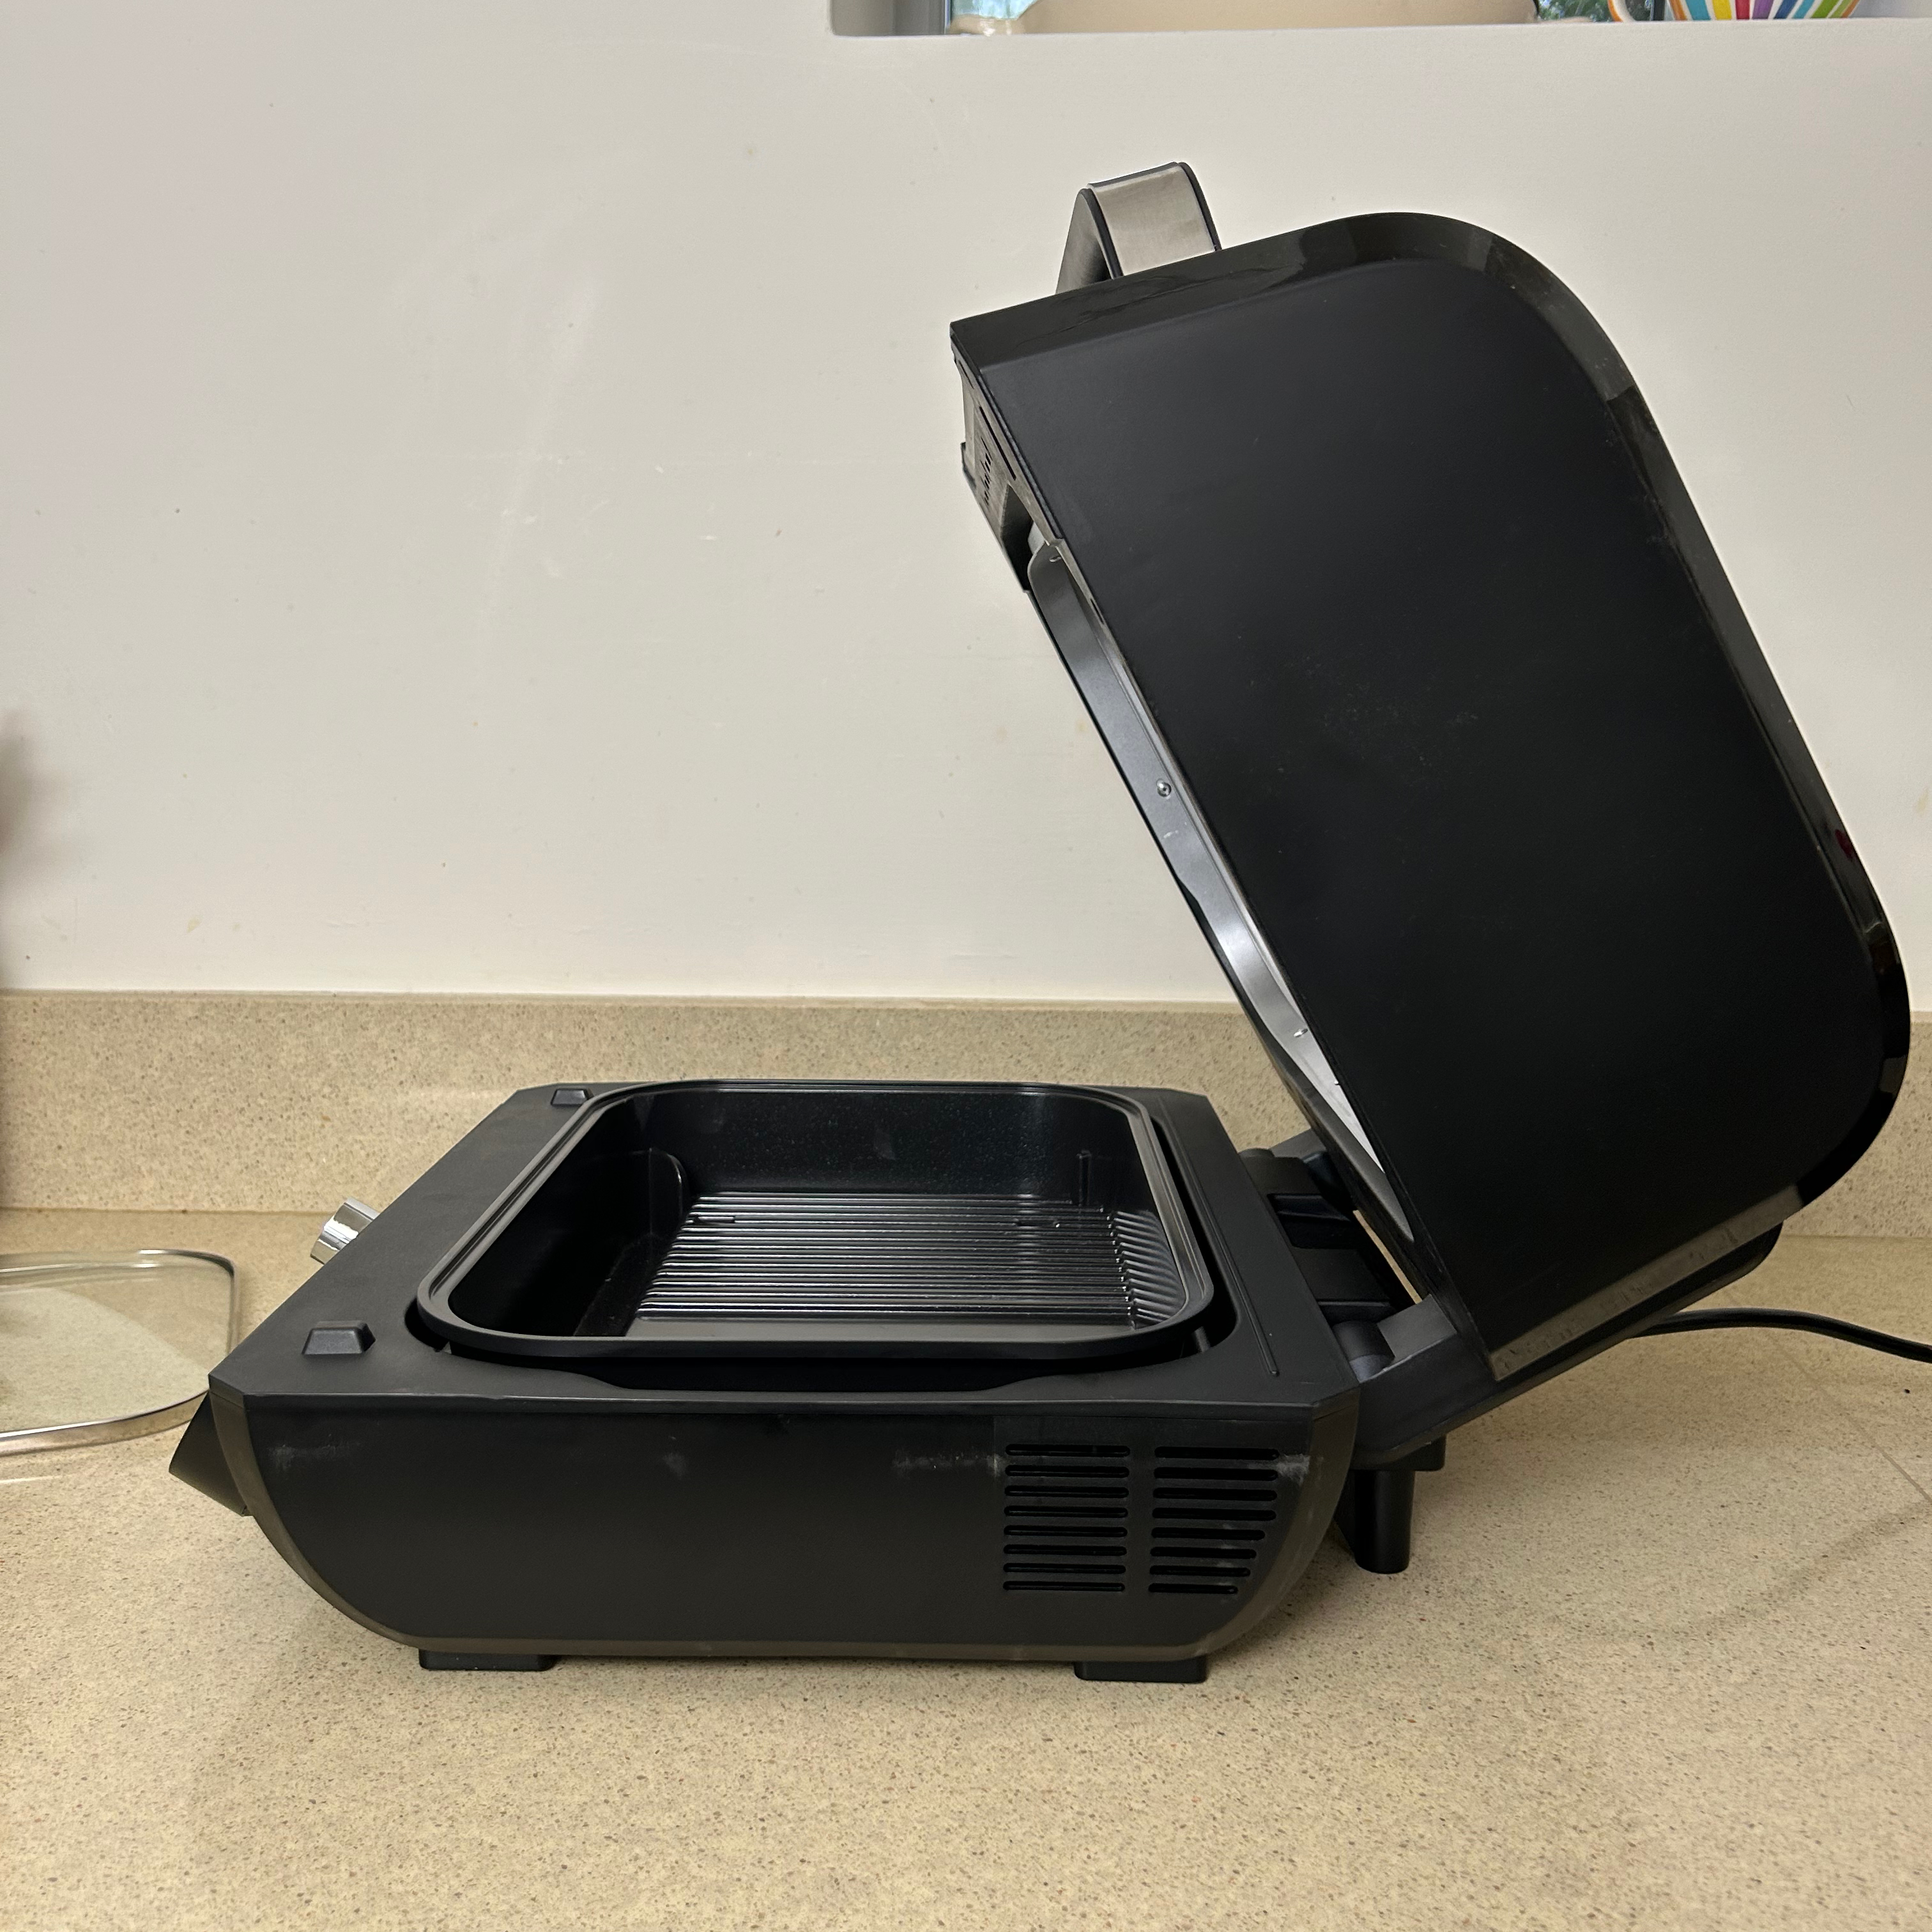
Since ProCook is a B Corp, I was expecting plastic-free packaging and thankfully when I opened the box, that was the case. Given that it’s such a multi-functional appliance, it’s no surprise that it’s quite stocky. Though the footprint is still smaller than some dual basket air fryers. The difference is that it needs to sit more towards the front of the worktop, to allow space for the hefty lid to lift up and sit in the open position.
Inside, there’s the main multifunctional cooking pot. This pot is used for everything from slow cooking a casserole to grilling a steak. At the front of the pot is deep well to collect fat, and the main base of the pot is split into a flat section as well as a ridged griddle section. And while this layout makes sense for griddle style cooking, I’m immediately wondering if this shape will be annoying for slow cooking or stewing.

The non-stick crisper basket sits inside the main pot, presumably for air frying, but in all honesty you have to make a bit of an educated guess about which accessory is the most suitable for each cooking function, because the manual gives no information to help out on this front.
For certain cooking functions such as steam, stew, and slow cook, the main lid has to be open. In these instances you need to use the glass lid directly on the cooking pot instead. The final accessory in the box is the wire grill rack and this slots into the cooking pot for grilling. There’s also a cleaning brush included in the box.

The layout and general usability of the control panel is straightforward. The dial cycles through the cooking modes. And then the time and temperature are adjusted by pressing the corresponding buttons and turning the dial.
There’s an optional preheat for some functions as well as a manual button. Though I’m not sure what the thinking is behind the manual button, since most of the cooking functions can be adjusted to the appropriate time and temperature. Furthermore, there’s nothing to tell me if this manual setting uses top heat, bottom heat, or a combination.
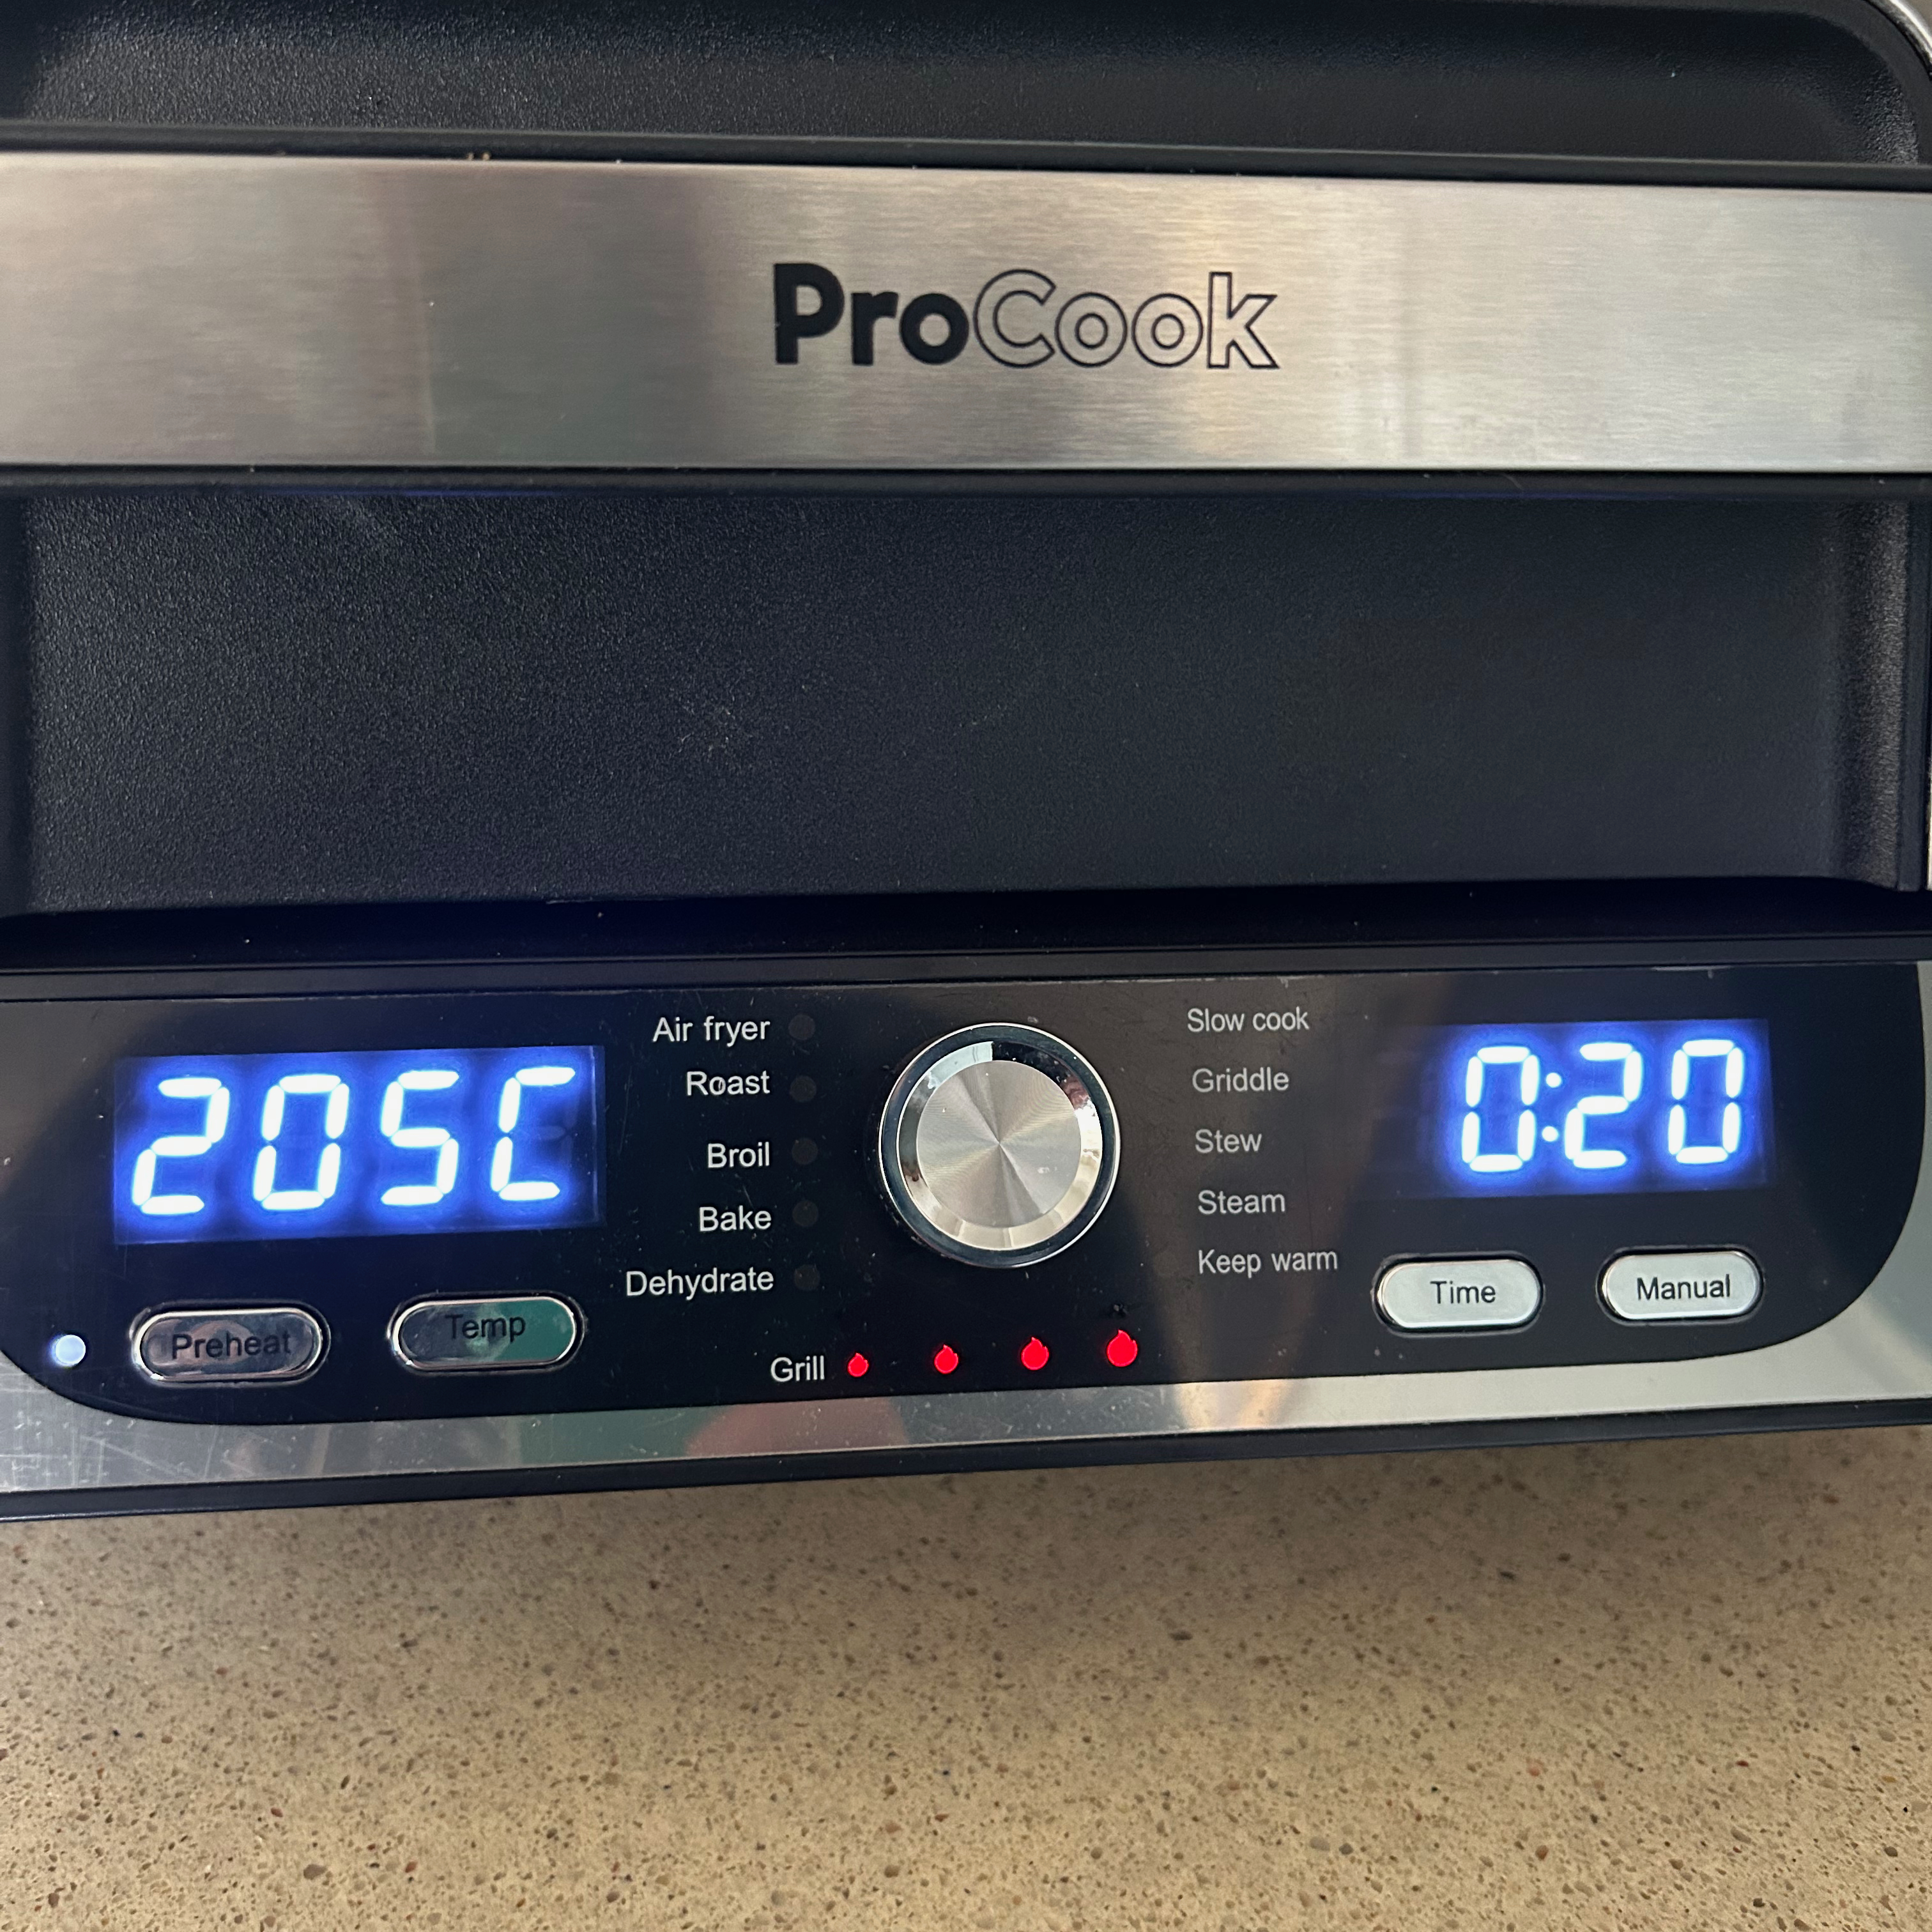
My real bugbear with the control panel is that it uses American terminology, which has the potential to confuse people. For example, the word broil isn’t a word we use in the UK, it’s the American word for a grill.
This is complicated even more by the fact that there’s a grill function too. But this isn’t intense heat from above like a UK grill, it’s intense heat from underneath. Essentially it’s what we in the UK would call griddle style cooking. But, to make matters worse, there’s also a griddle function, which the manual says is heat from above and below. Confused? Even I’m getting in a muddle and I’m very familiar with the differences between UK and US cooking terminology.
In my opinion the instruction manual needs to be more comprehensive, and given the potential for confusion with the settings, the lack of helpful information is even more frustrating.
What is the ProCook Air Fryer Health Grill like to use?
Air fry
I set the air fryer to 200C and used the automatic preheat function which took five minutes. And once preheated, it prompted me to add the food. The crisper basket had plenty of space for two large frozen breaded fish fillets, but I’d have struggled to fit a third in.
I didn’t turn the fish during the 16 minute cook, nevertheless the breadcrumb coating crisped up beautifully on both sides.
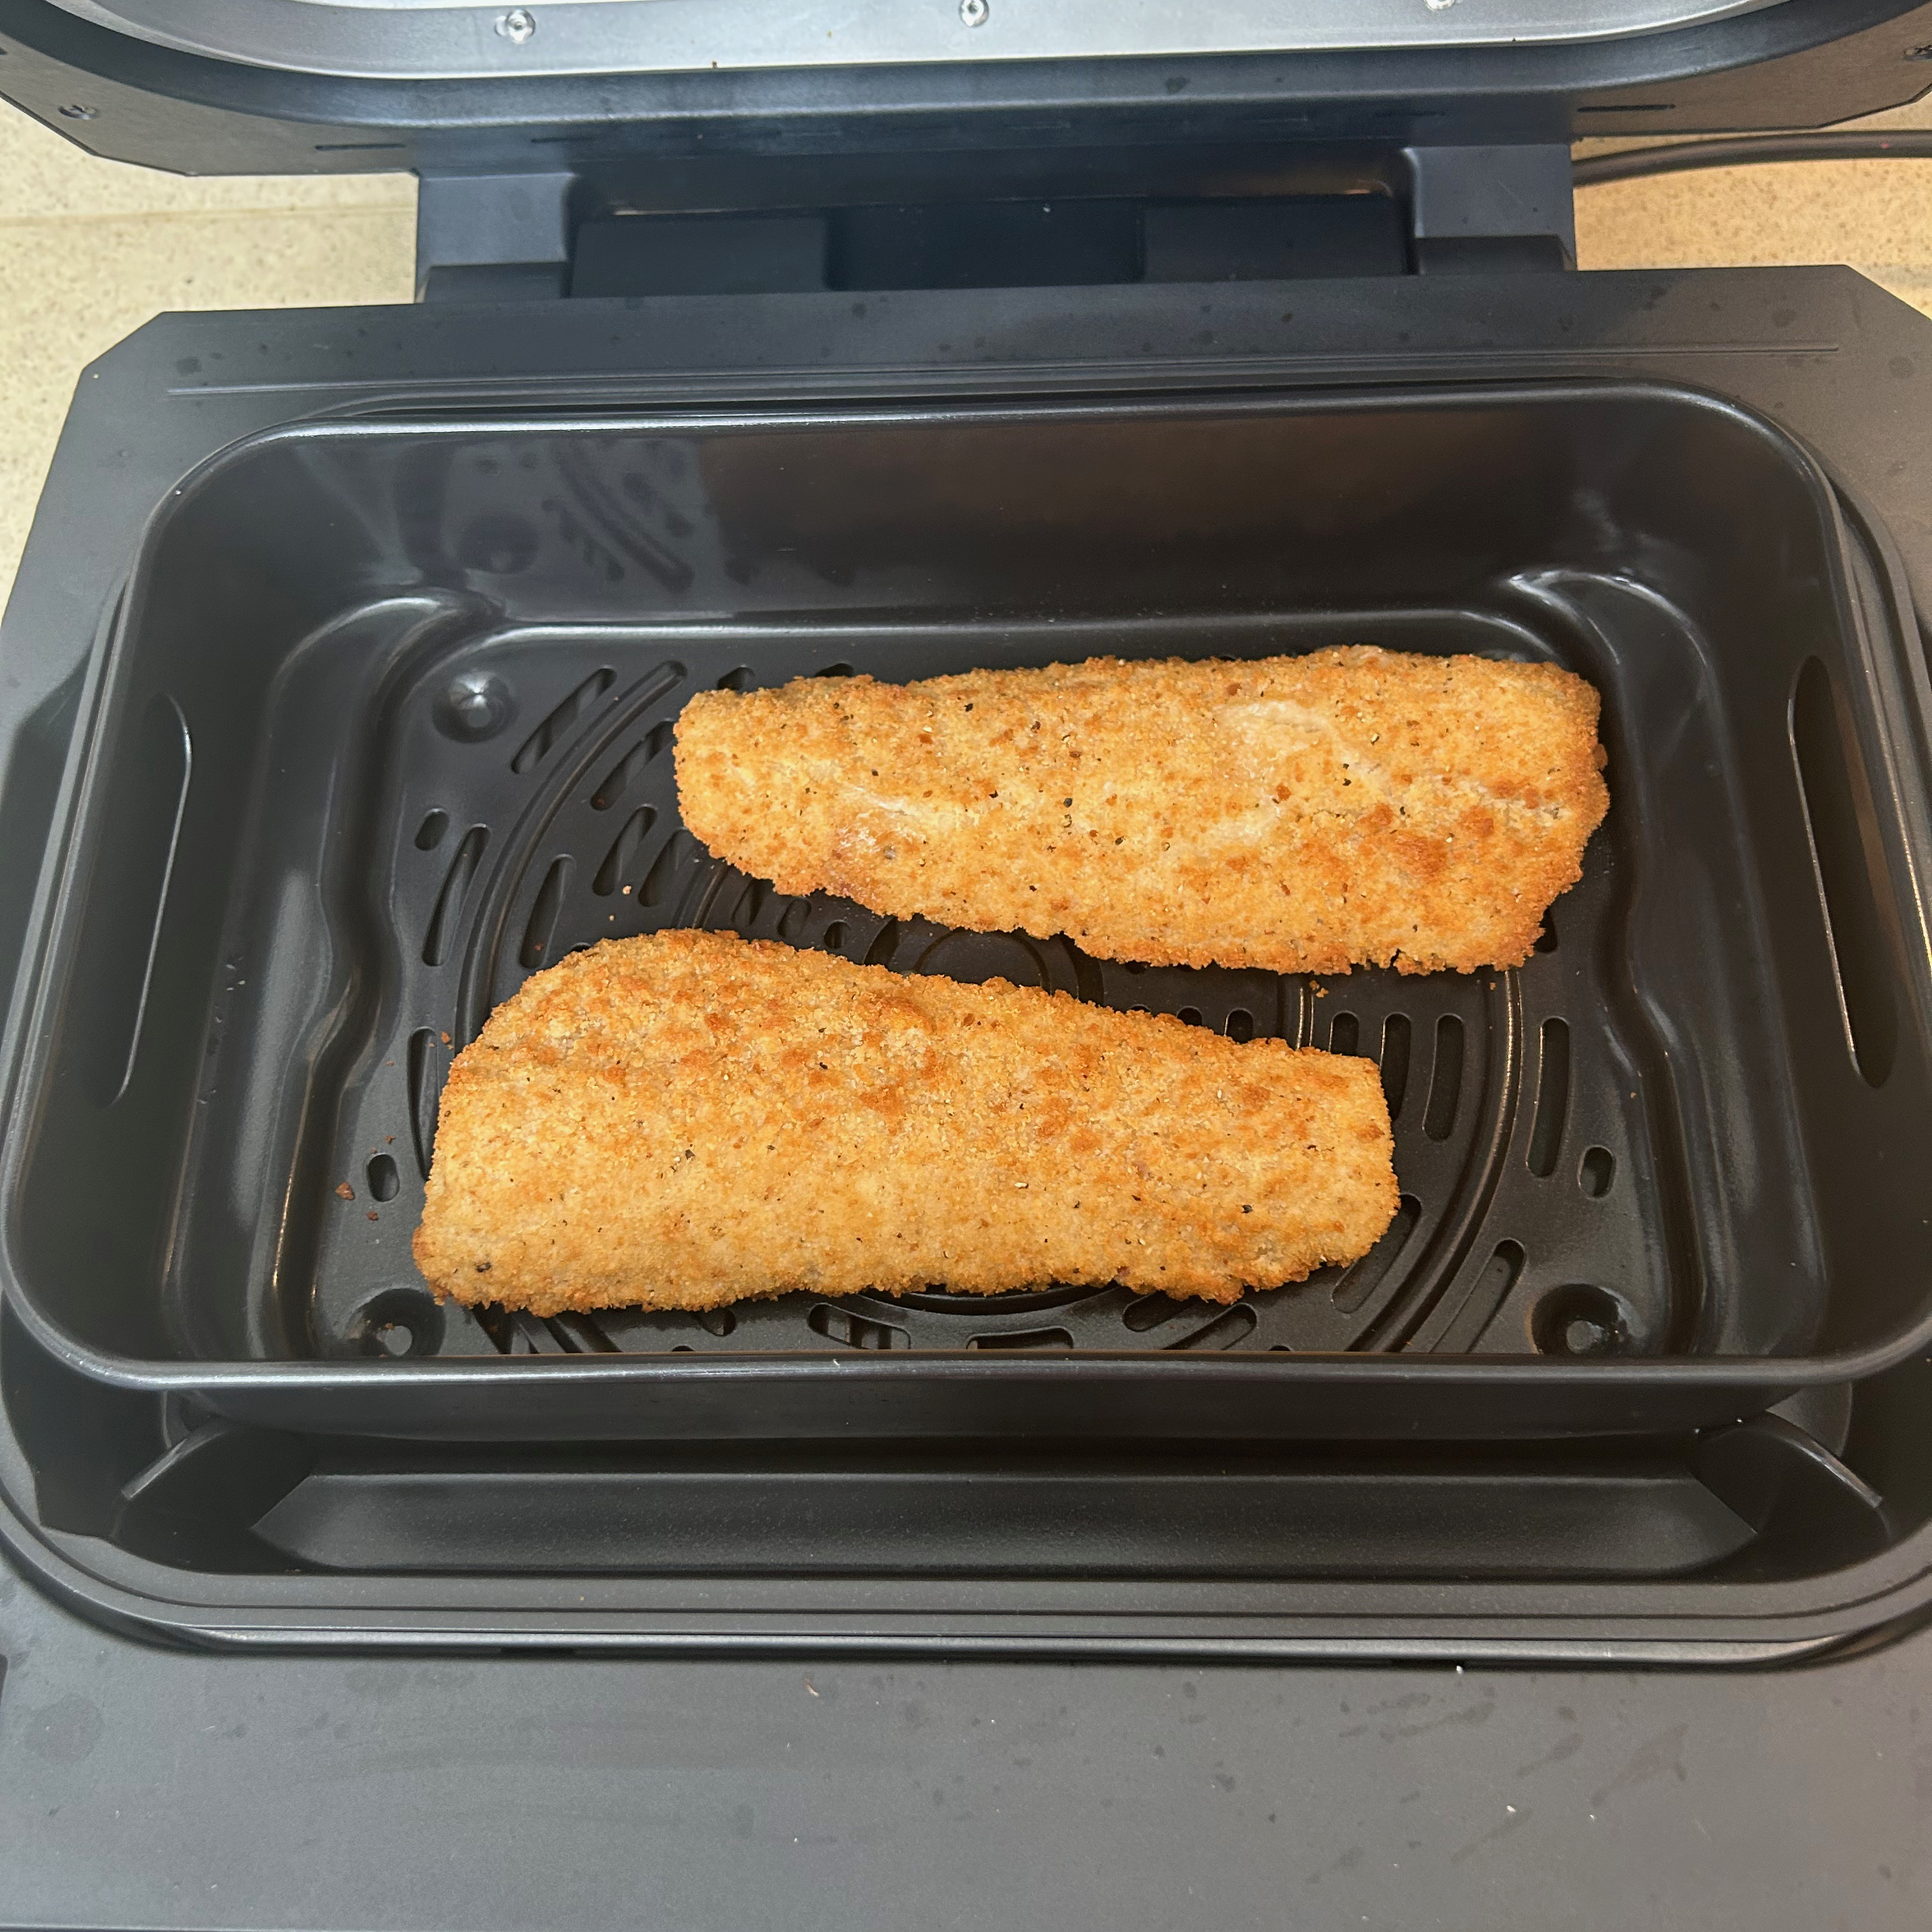
Next I attempted scampi and chips. With the manual providing little-to-no help, I went with my usual method of soaking the chips in cold water for 30 minutes before drying and lightly coating in oil. This time the air fryer took closer to six minutes to preheat to 200C.

I cooked the chips in the preheated air fryer for 20 minutes, shaking them a couple of times to ensure they browned evenly. After 20 minutes they were almost cooked enough, so I added a bag of frozen scampi into the basket and continued cooking for a further 12 minutes. The scampi was succulent with a crisp crumb, while the chips were golden, with fluffy centres. This was enough for two portions, but any more would have been a stretch.
Bake mode
Because the main cooking pot doesn’t have a completely flat base, I didn’t want to attempt anything like muffins in paper cases, where the ridges might be problematic. I decided scones could work, but I placed them on baking paper to avoid them getting stuck in the griddle ridges.

There was space for six large fruit scones at a time. I preheated it to 175C which took 3 ½ minutes, and the scones baked in 15 minutes. They rose evenly, had the perfect texture inside and were lightly browned. I was surprised and impressed with the result.
Grill
As I’ve already mentioned, the grill function is essentially like cooking on a hot griddle. So before making a slow cooked chunky beef chilli, I thought I’d try browning the diced beef using this cooking mode.
There are four grill temperatures to choose from, I chose the third, which is 205C and it took 4 ½ minutes to preheat. Despite this, when I added the beef chunks to the ridged griddle side, it didn’t sear and sizzle like I would expect, but after a while the pieces did start to brown.

I also decided to add the onions and peppers to the flat side of the pan to soften them. But before adding, I brushed the surface lightly with oil. They cooked quite gently, and softened nicely and meant I didn’t have to dirty a frying pan to do this job before slow cooking.
Slow cook
I added all the additional chilli ingredients into the pot and set it to slow cook for six hours. For this function you have to use the glass lid and leave the main lid in the open position. Unlike most slow cookers, the temperature is adjustable, but I left it on the preset temperature.
The lid has quite a big steam hole in the top and I was slightly concerned that this would allow the chilli to reduce and thicken too much. But luckily that wasn’t the case. Instead it cooked well and the diced beef softened nicely.
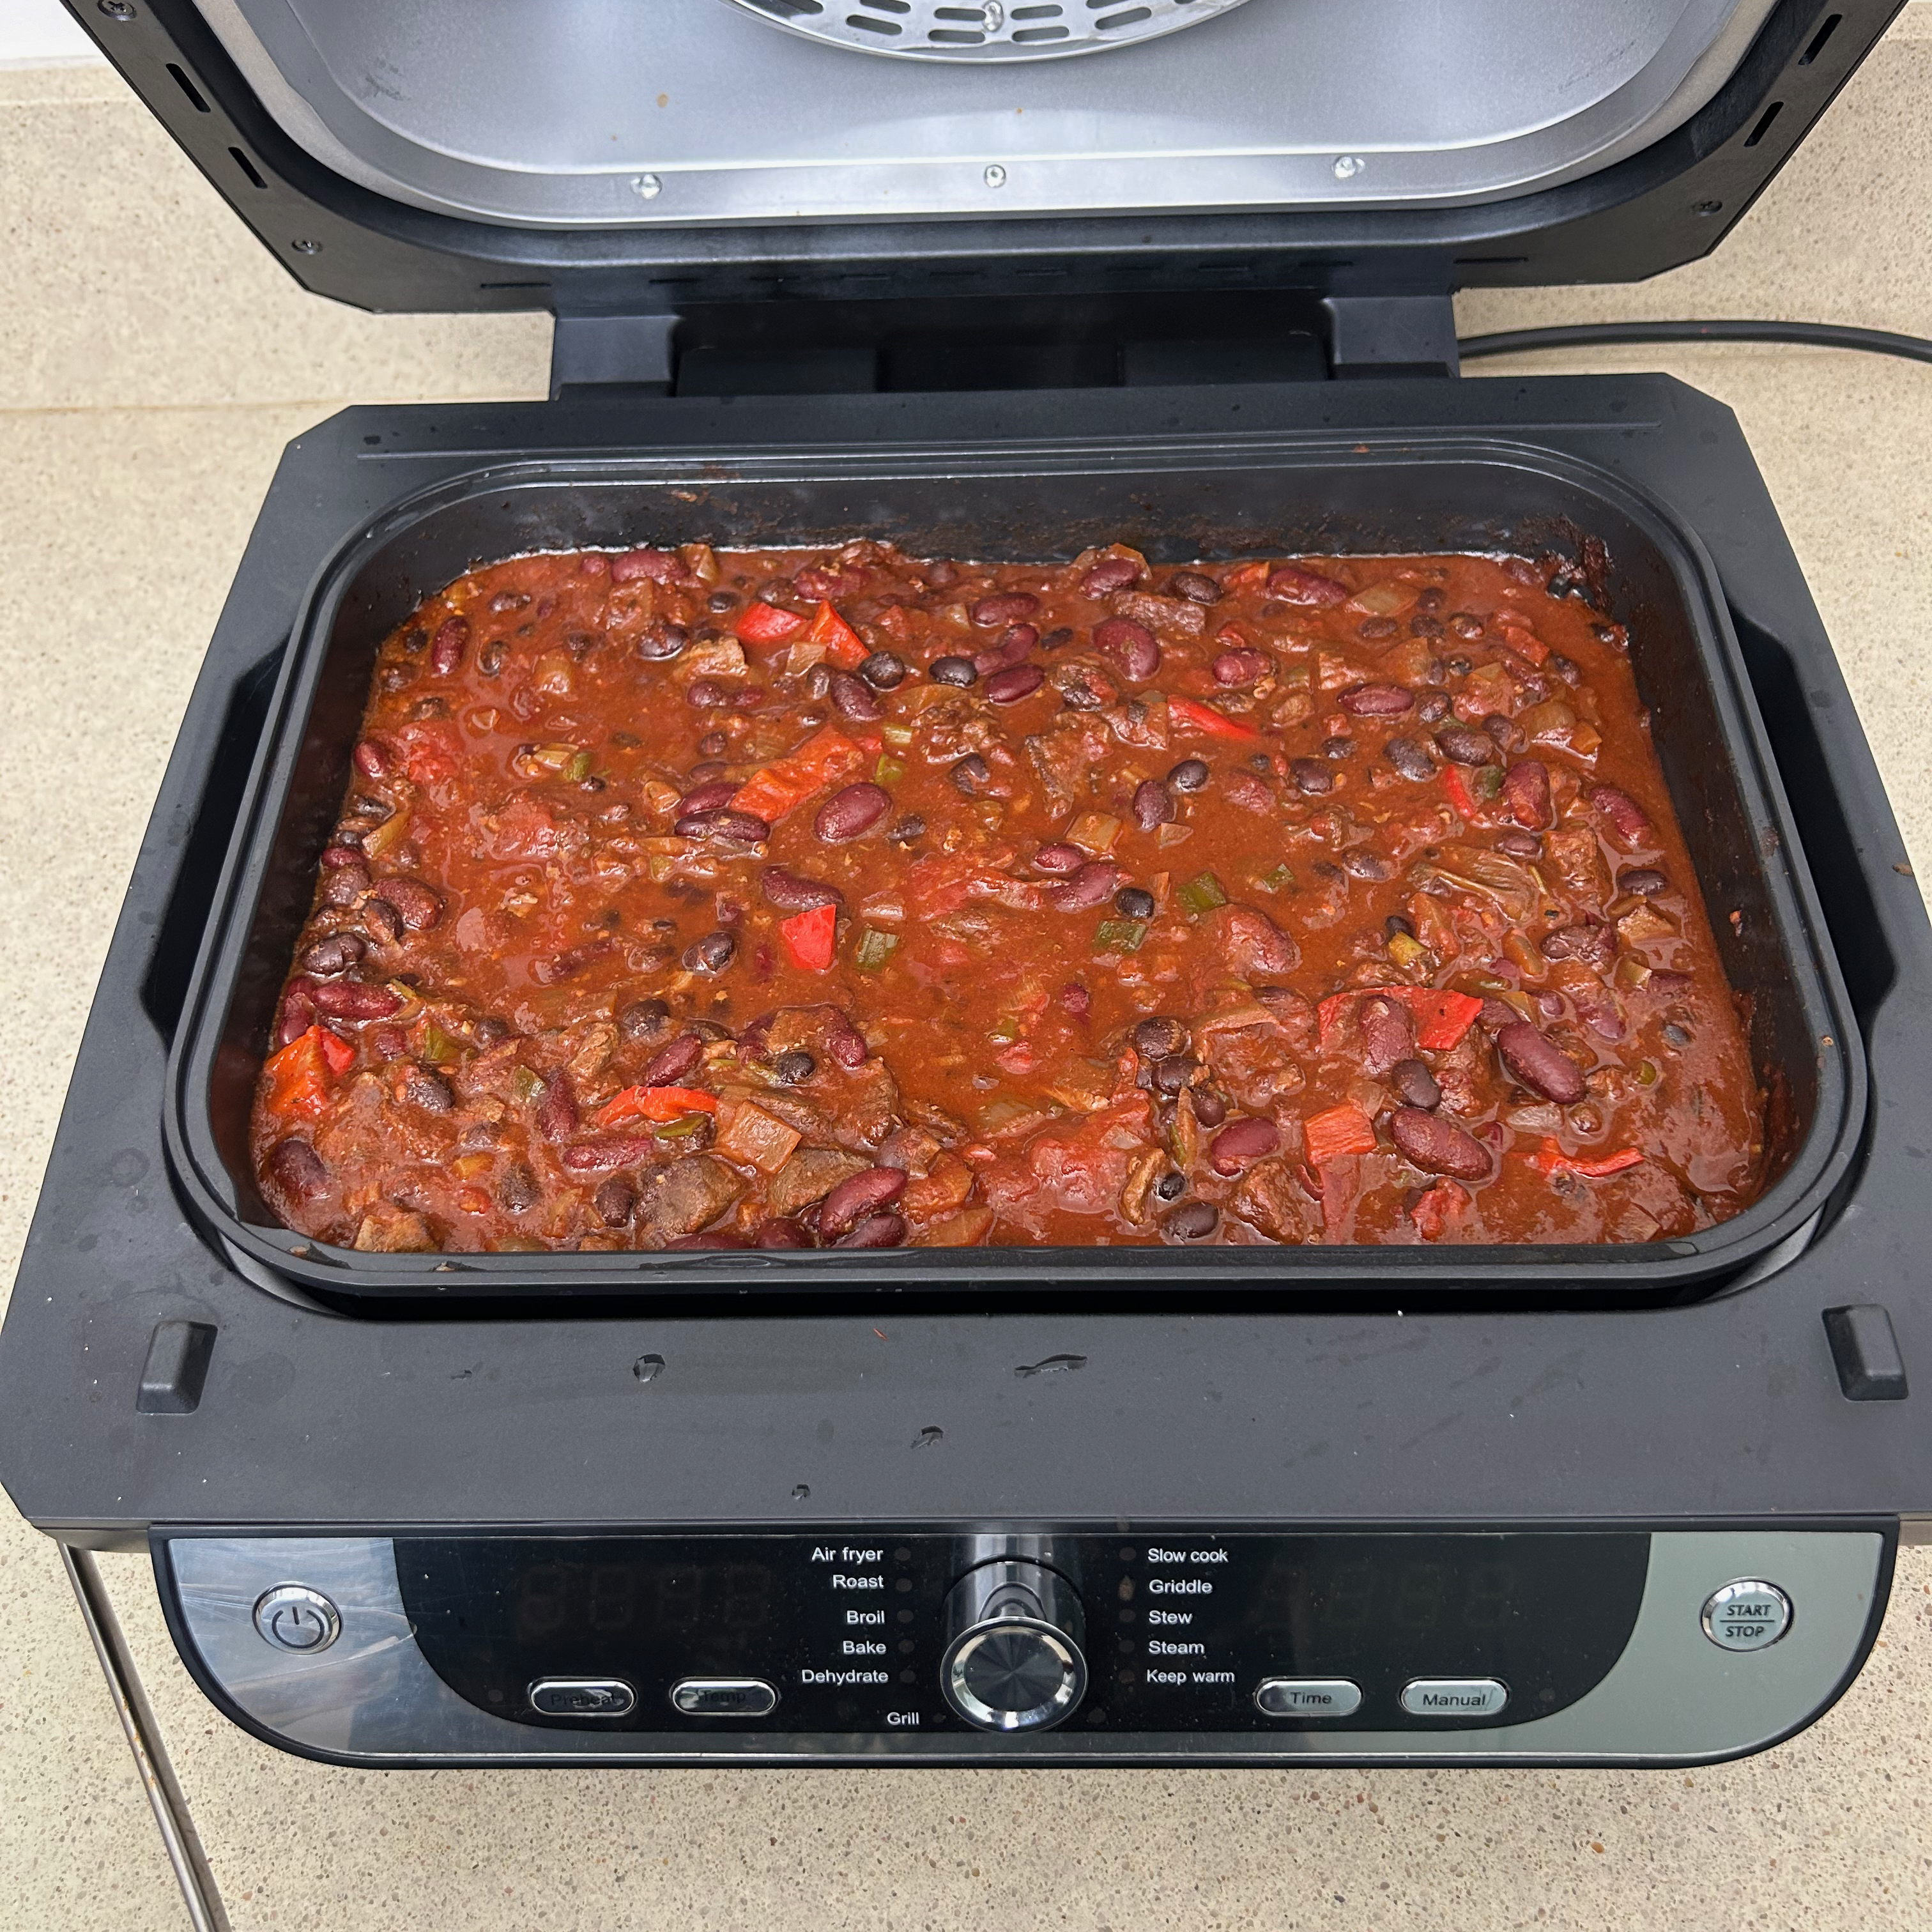
When spooning the chilli out to dish it up, the shape of the cooking pot is a bit annoying. The well for collecting fat and the griddle ridges both trap food and I had to lift the pan and tip it to get the chilli out of these parts.
I didn’t get around to using the stew setting, but I had a look at the preset temp and it’s just slightly hotter than the slow cook function. It’s set at 95C whereas the slow cook setting is 85C. So I envisage it being good for simmering something like a bolognese sauce.
Broil
As I’ve said, this is a traditional grill function. So I popped the grill rack into position and used it to make chilli cheese on toast. There’s no option to preheat, so I set the timer to 10 minutes and immediately added my frozen thick sliced sourdough.
The frozen bread took around six minutes to toast on both sides, then I added the cheese and some chopped jalapeno chilli. The cheese melted in just a few minutes and it was ready to eat within the 10 minute timer. I was pretty impressed with this, given that my normal grill probably takes that long to heat up.
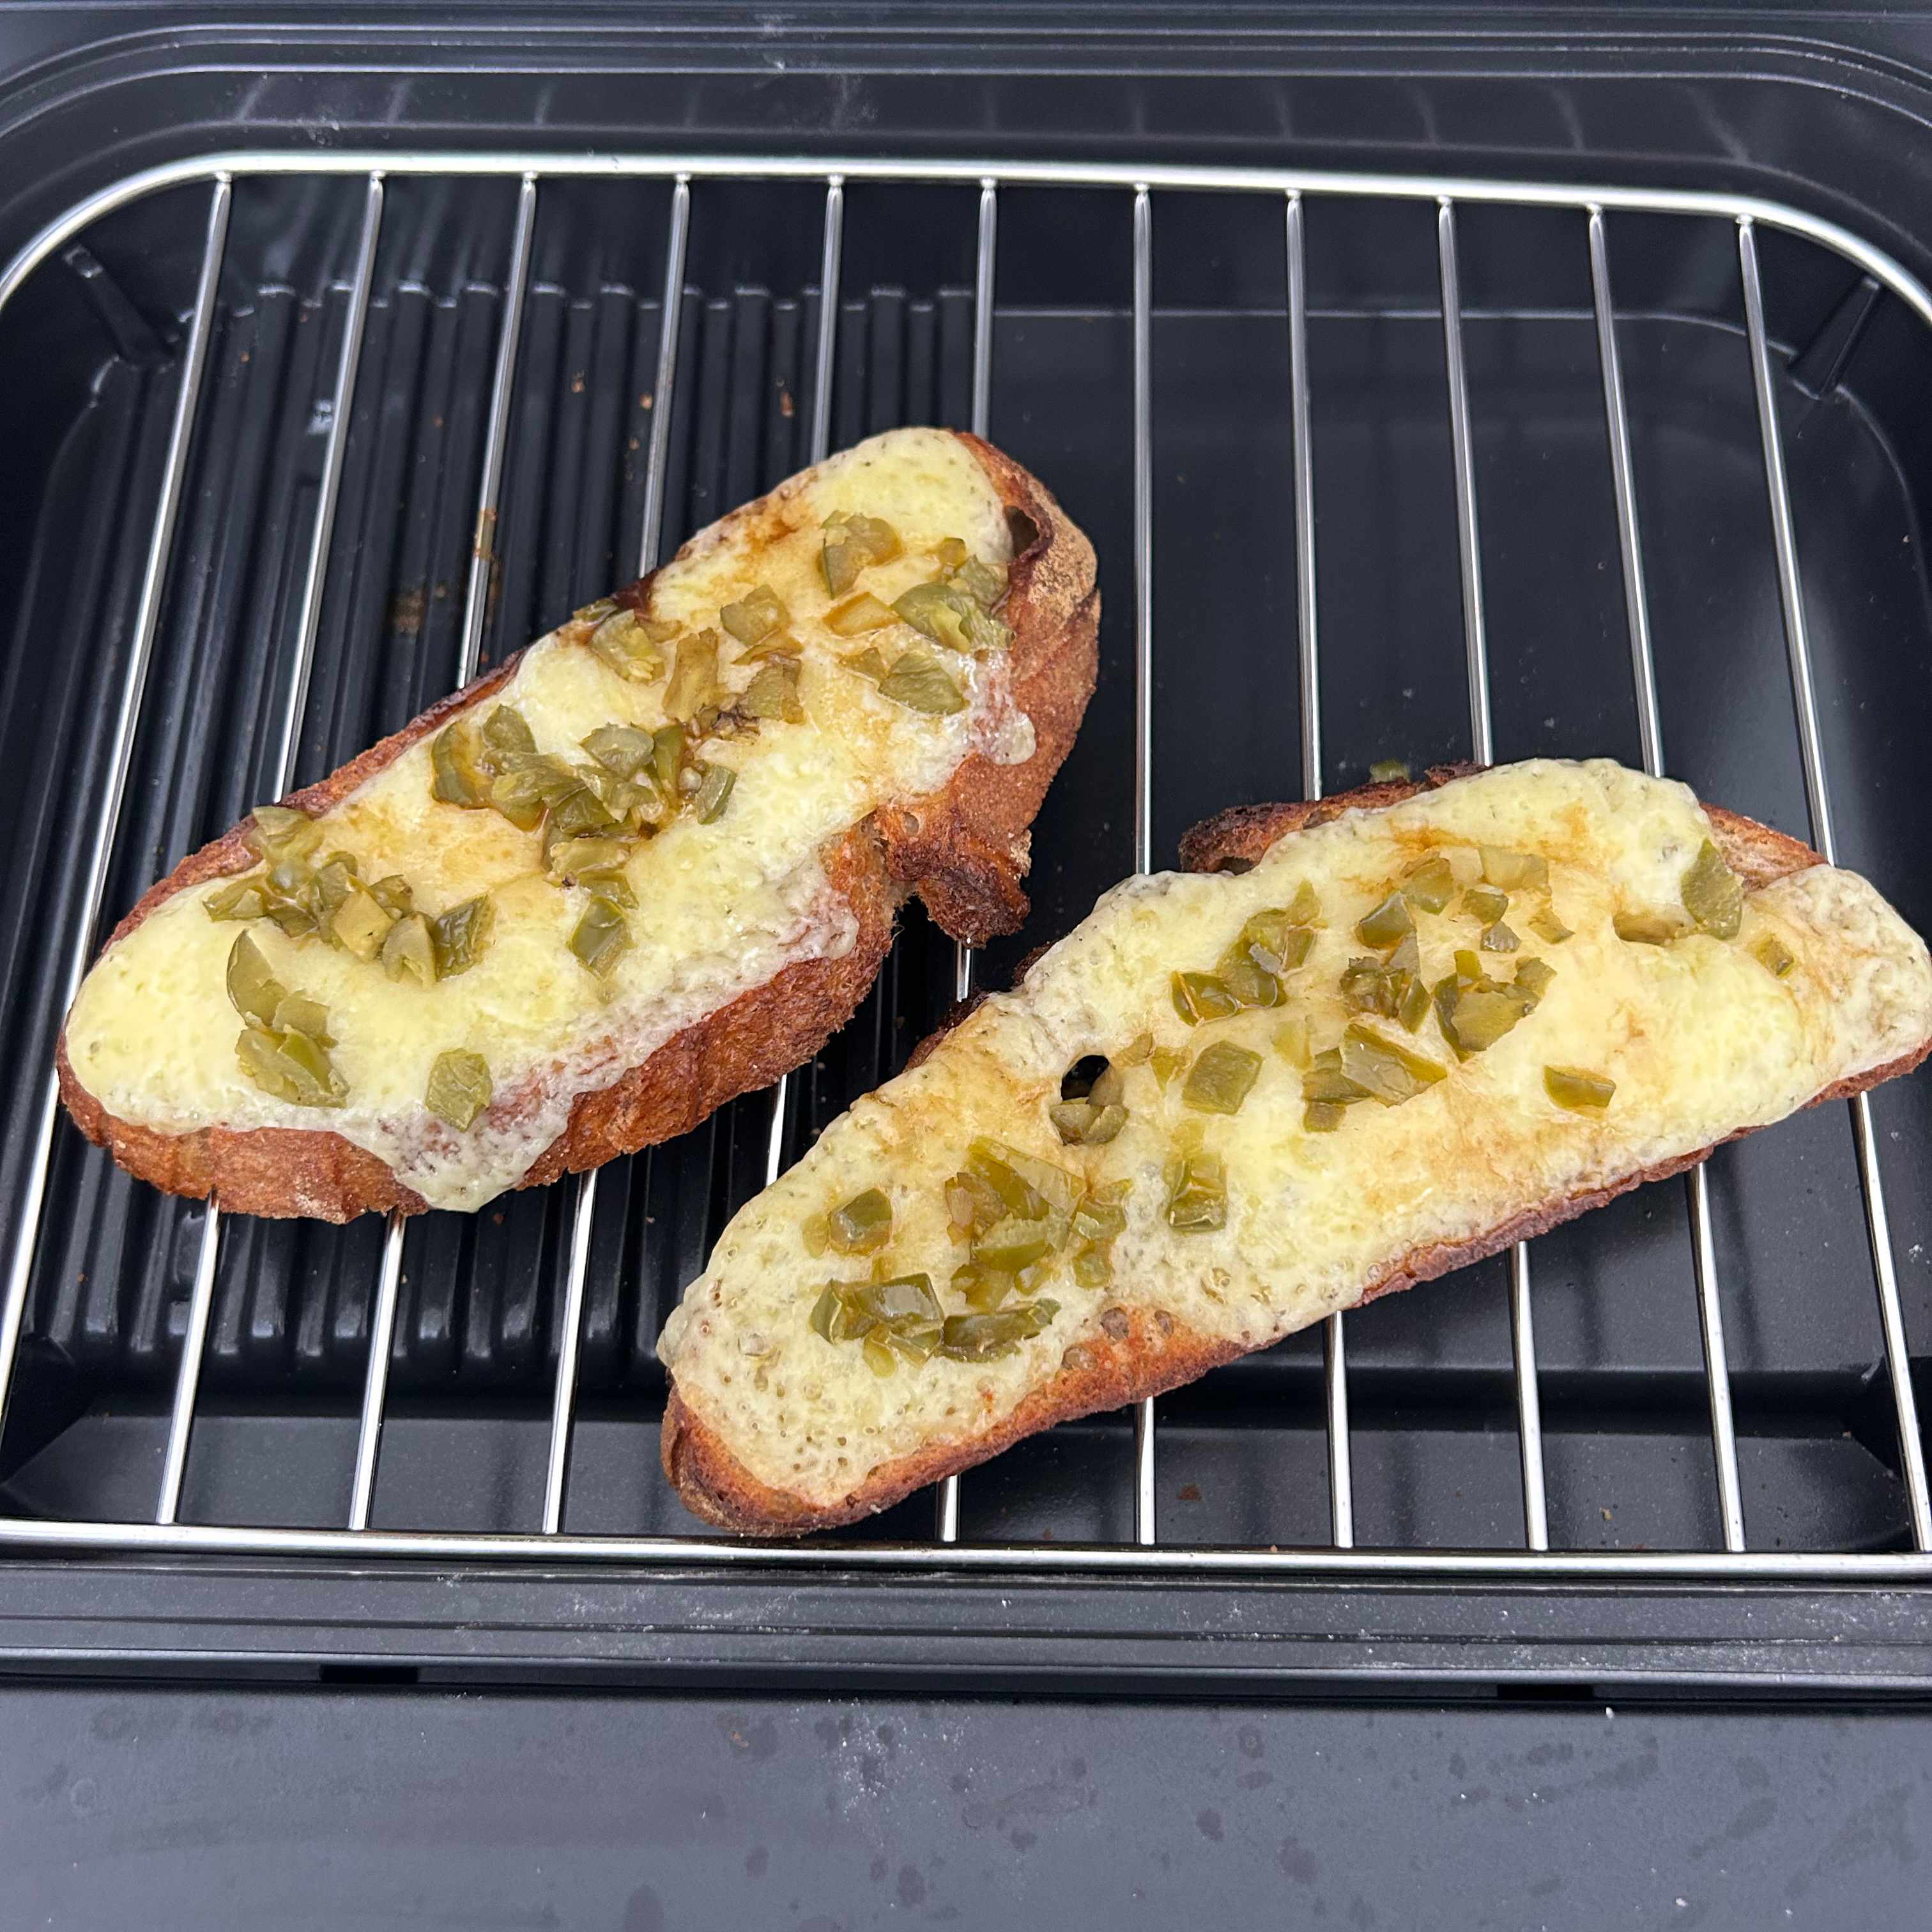
I also used the broil setting several more times to warm and lightly toast the scones that I made earlier. It was convenient and speedy in comparison to using the grill in my oven.
Steam
As with most settings on this appliance, there was very little info on how best to use the steam function, other than that the main lid has to remain open and the glass lid should be used instead. There’s no preheat on this setting, so I poured a mug of cold water into the cooking pot and placed the grill rack into place.
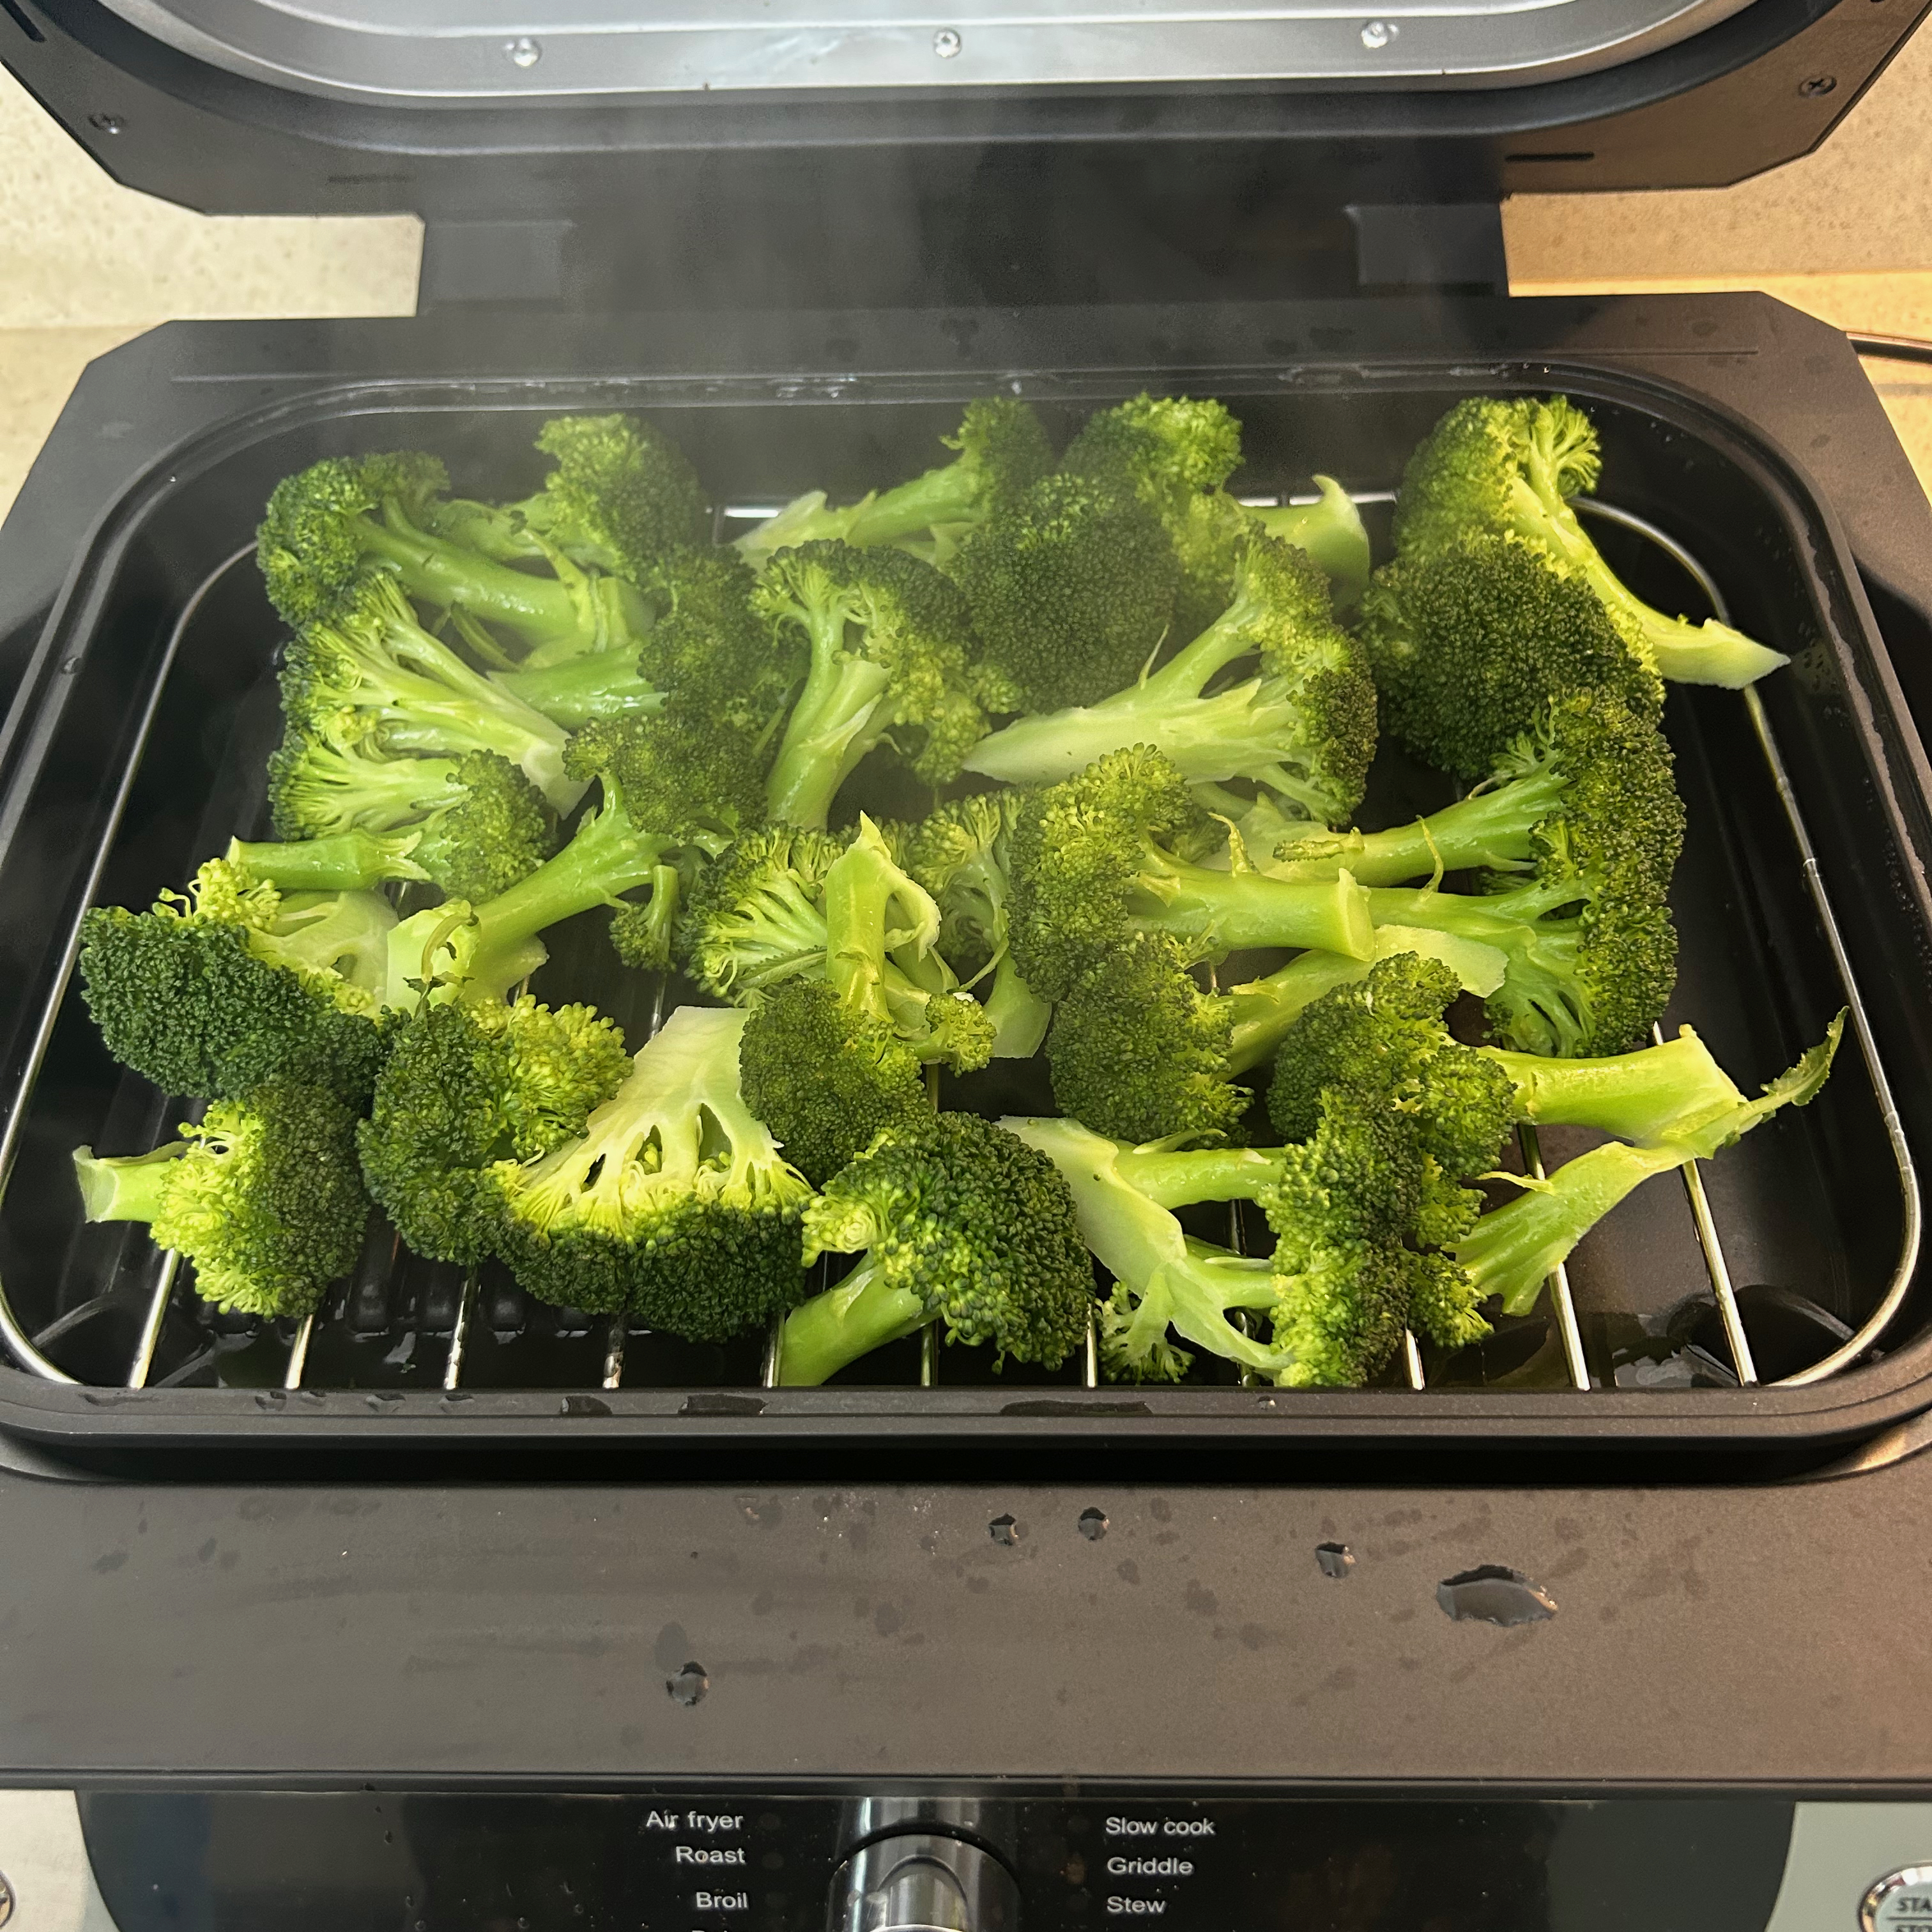
I had to cut my broccoli into large florets so that they wouldn’t fall down the gaps between the wide grill bars. Annoyingly you can’t use the crisper basket for steaming, because it’s too tall and the glass lid won’t fit on when it’s in place.
I kept an eye on the broccoli, opening the lid occasionally to stick a fork into it. It cooked in 12 minutes, which wasn’t too bad given there was no preheat and I started with cold water. But the biggest problem was the amount of steam that escapes from around the edges of the lid during cooking. My kitchen quickly filled with steam and this would put me off using this function again.
Roast
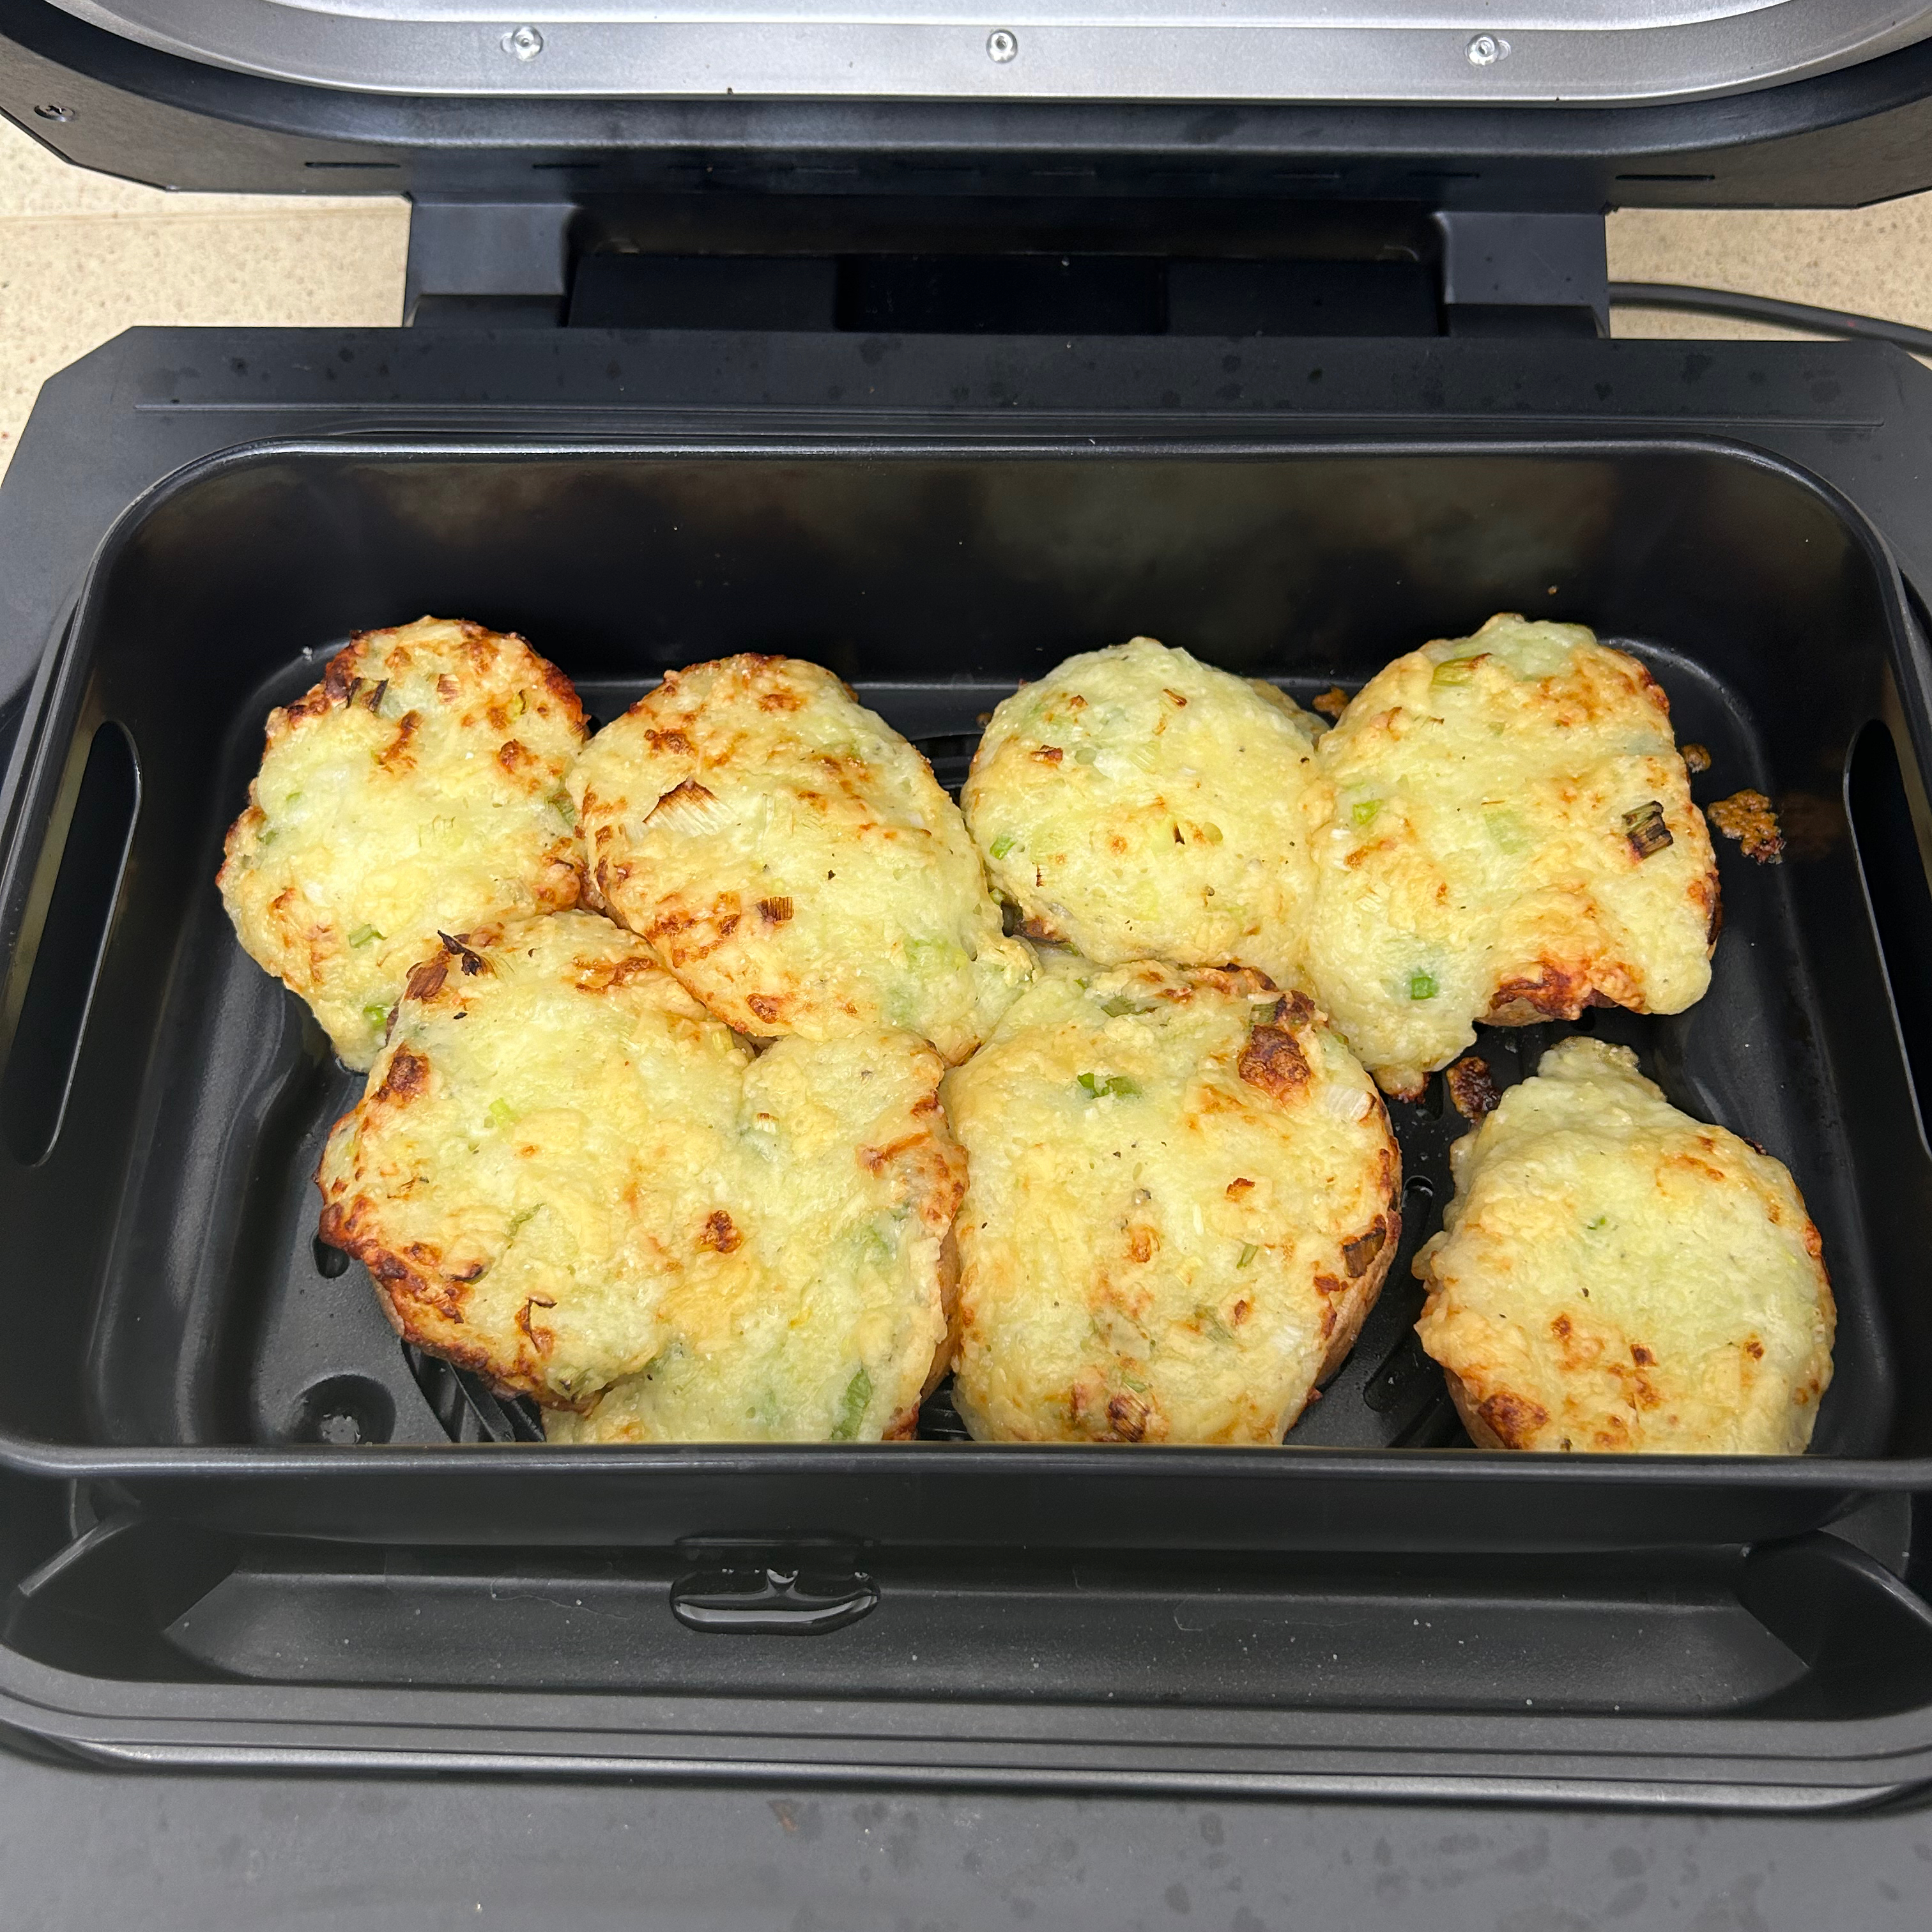
Unlike many air fryers with a roast function, you’d struggle to fit a whole chicken in here to roast unless it’s been spatchcocked. And in the end I decided to try the roast setting to cook and crisp loaded potato skins.
Having softened four potatoes in the microwave, I oiled the skins and roasted them at 205C for 15 minutes until crisp. Then I scooped out the middles and mixed in spring onion and cheddar cheese, before returning this to the skins and topping with more cheddar.

I put them back in on the roast setting for a further 14 minutes until the tops were golden and the skins were crisped. It worked really well and despite merging into one another a bit during cooking, they were super tasty.
Griddle
This function uses both heat from above and below so I imagined it to be quite intense. I left it on the preset temperature which is 230C and allowed it to preheat which took 6 ½ minutes. Once hot I added long red pepper slices that had been lightly oiled.

They cooked beautifully, with a softened, roasted caramelised texture within just eight minutes. I think this function would work well for meats like steak too.
How does the ProCook Air Fryer Health Grill compare to other models on the market?
If you’re looking for a countertop cooker that offers several functions, you should consider a multi-cooker such as the Ninja Foodi 9-in-1 Multi-Cooker OP350UK. Its shape might be different, but this Ninja multi-cooker can still slow cook, air fry, grill, and bake, as well as much more. Its comprehensive manual and included recipe book will suit the more nervous cooks, looking for plenty of guidance.
Alternatively, if you can forego the option to steam, stew and slow cook, you’ll be able to get most of the other cooking functions from a decent multifunctional air fryer such as the Instant Vortex Plus 6-in-1. This single zone air fryer has six cooking functions and is a top performer that’s incredibly intuitive to use, not to mention, very budget friendly at around £100.
Cleaning
All the accessories are dishwasher safe, but ProCook recommends hand washing the main cooking pot and the crisper basket to prolong their life. Plus, there’s a robust scrubbing brush included in the box to make life easier if you’re hand washing.
With its fat well and griddle plate, the cooking pot is a bit of an awkward shape to clean, but it has a good non-stick coating, so I didn’t struggle to remove residues. Everything else was fairly straightforward to clean. The biggest challenge for me comes in avoiding the temptation to throw everything in the dishwasher. Despite knowing it isn't the best course of action for longevity, the dishwasher is still calling out to me on those busy nights, and when the pot is really greasy.
Should you buy the ProCook Air Fryer Health Grill?
On the whole, the ProCook Air Fryer Health Grill does a good job, and it does offer a lot of scope to cook all sorts of foods and meals. If you can get your head around the US terminology on the control panel, and you’re willing to experiment with the various cooking functions, it has the potential to be a workhorse in your kitchen.
However, if you’re not a confident cook, you may be better off with another appliance that comes with more detailed instructions on how to get the best out of it, including cooking charts and suggestions for each function.


