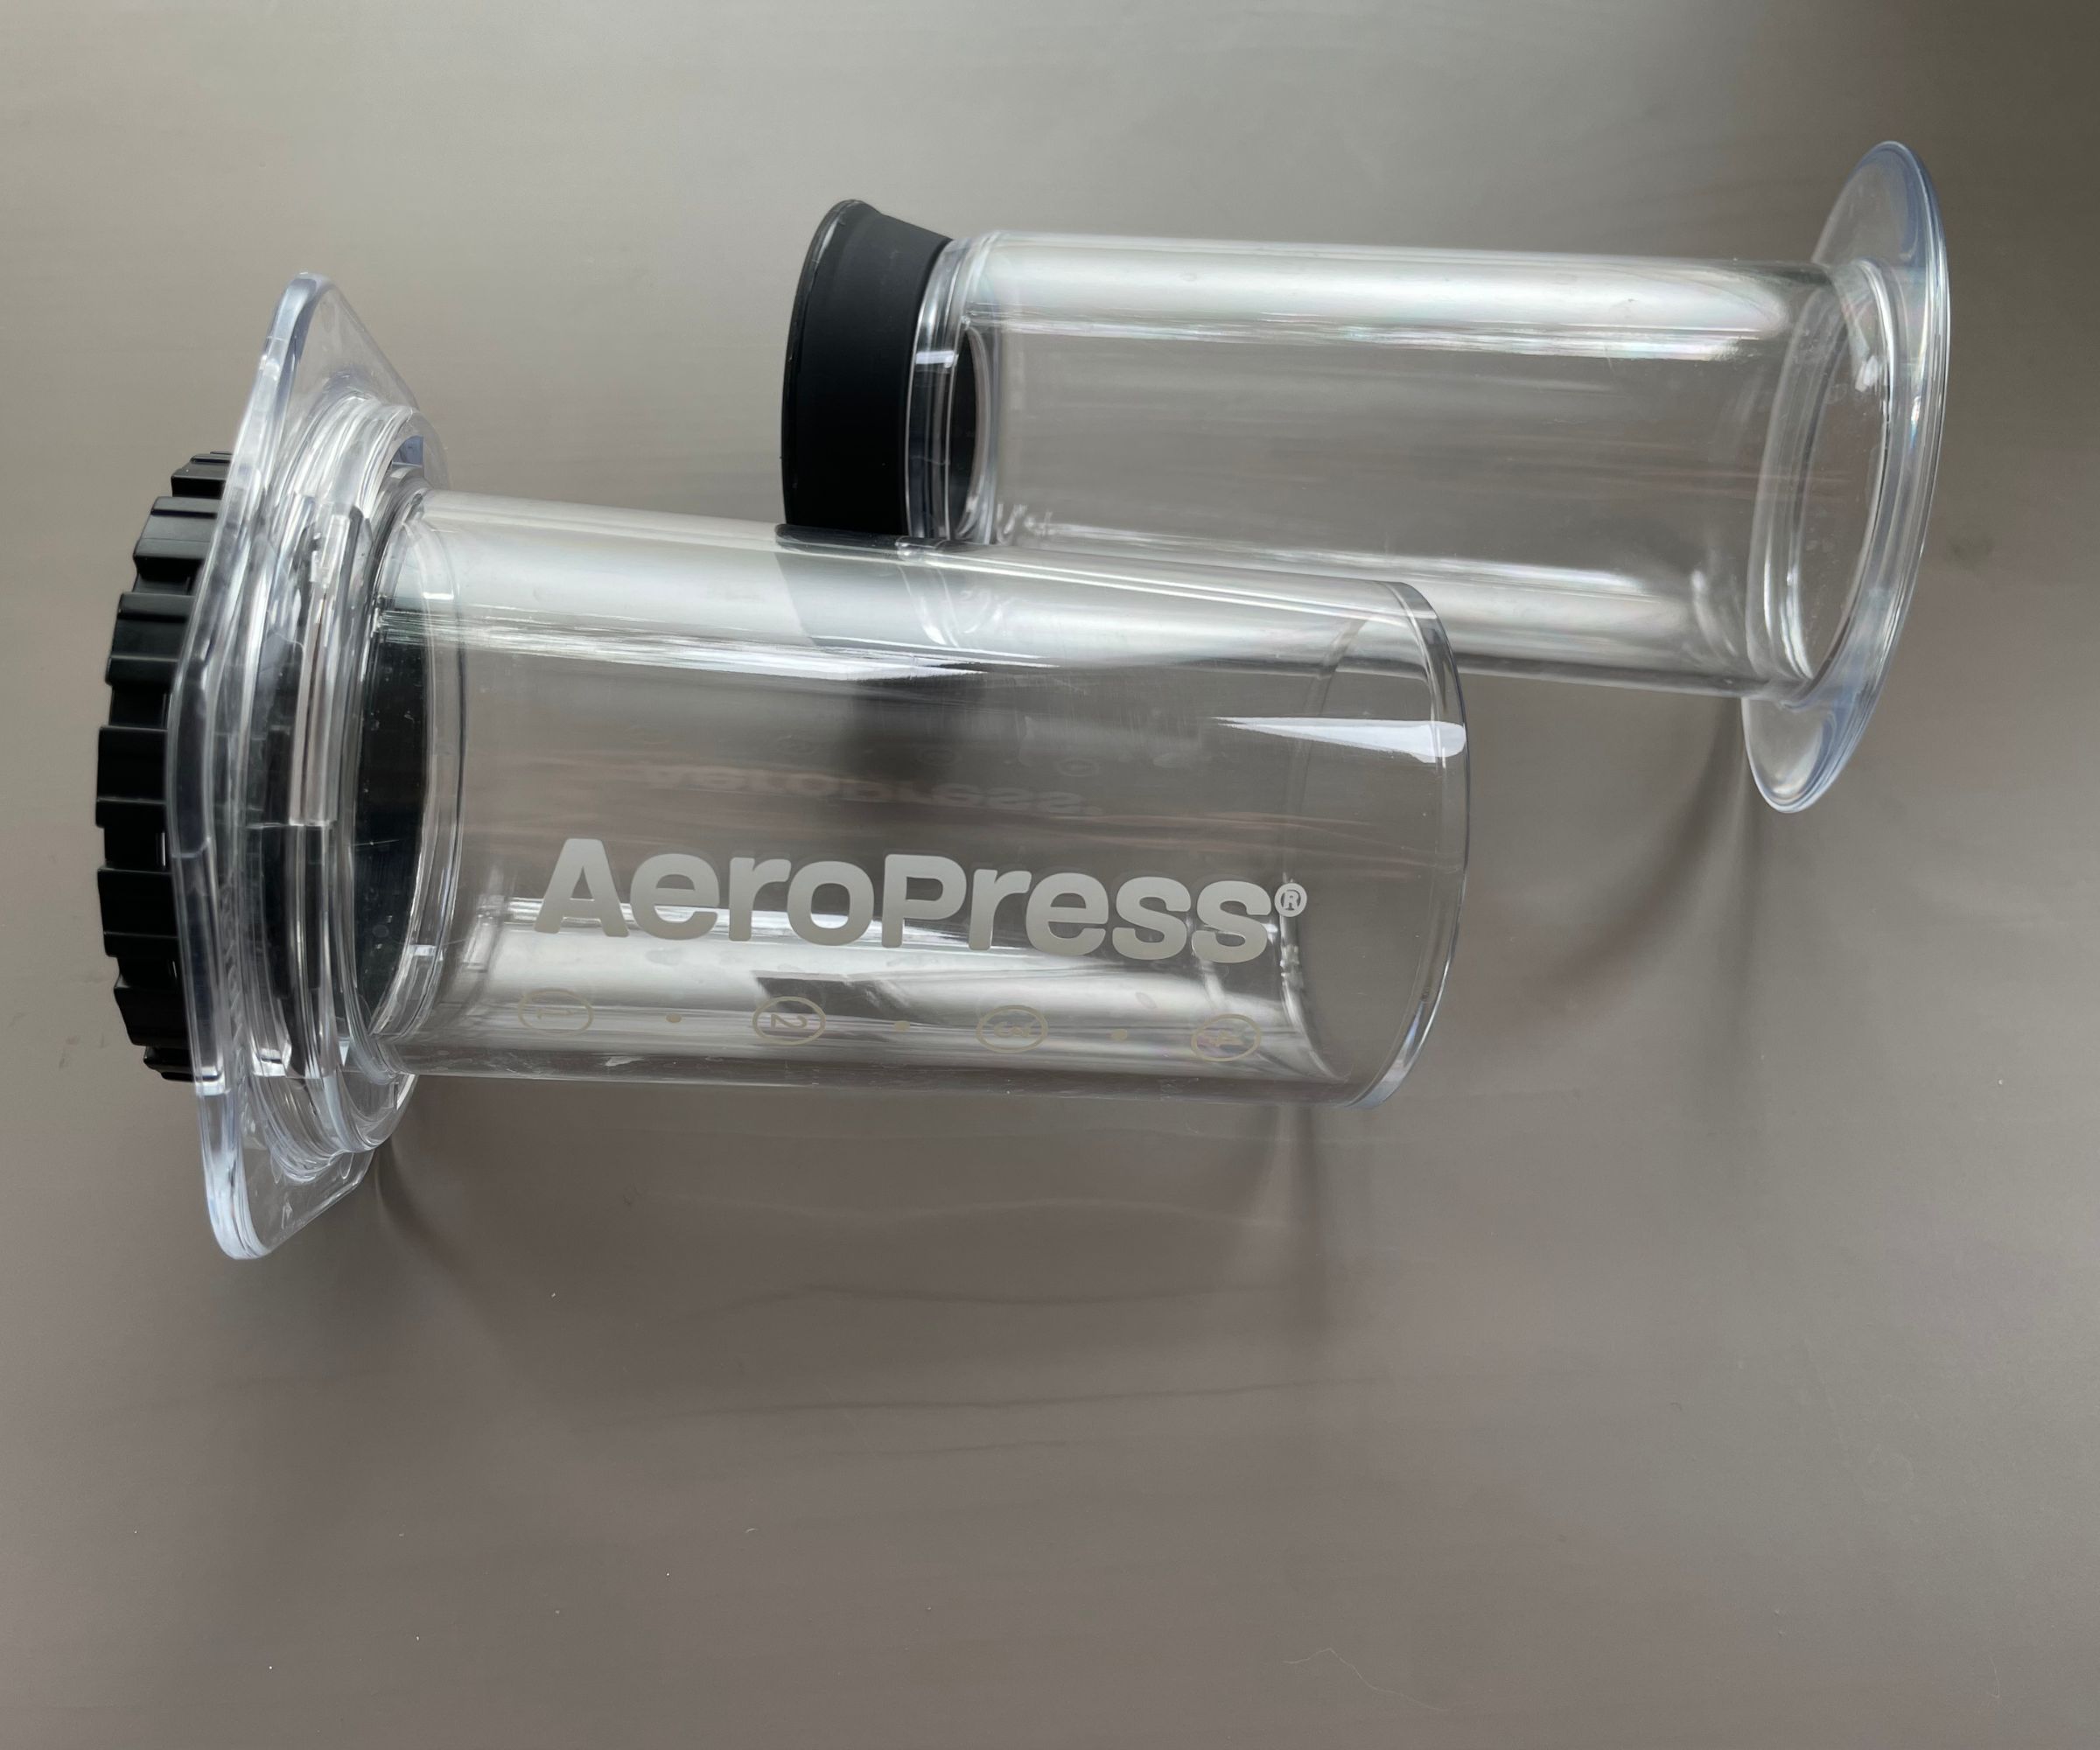
If you haven’t already used one, you’ll have at least heard of the AeroPress. It’s the California-based, Kickstarter answer to modern coffee demands. In amongst a busy, commuting life where days are getting shorter and handbags are getting smaller, it can be hard to find a decent cup of coffee. However, with an AeroPress, your coffee maker is easy to pack away and take with you.
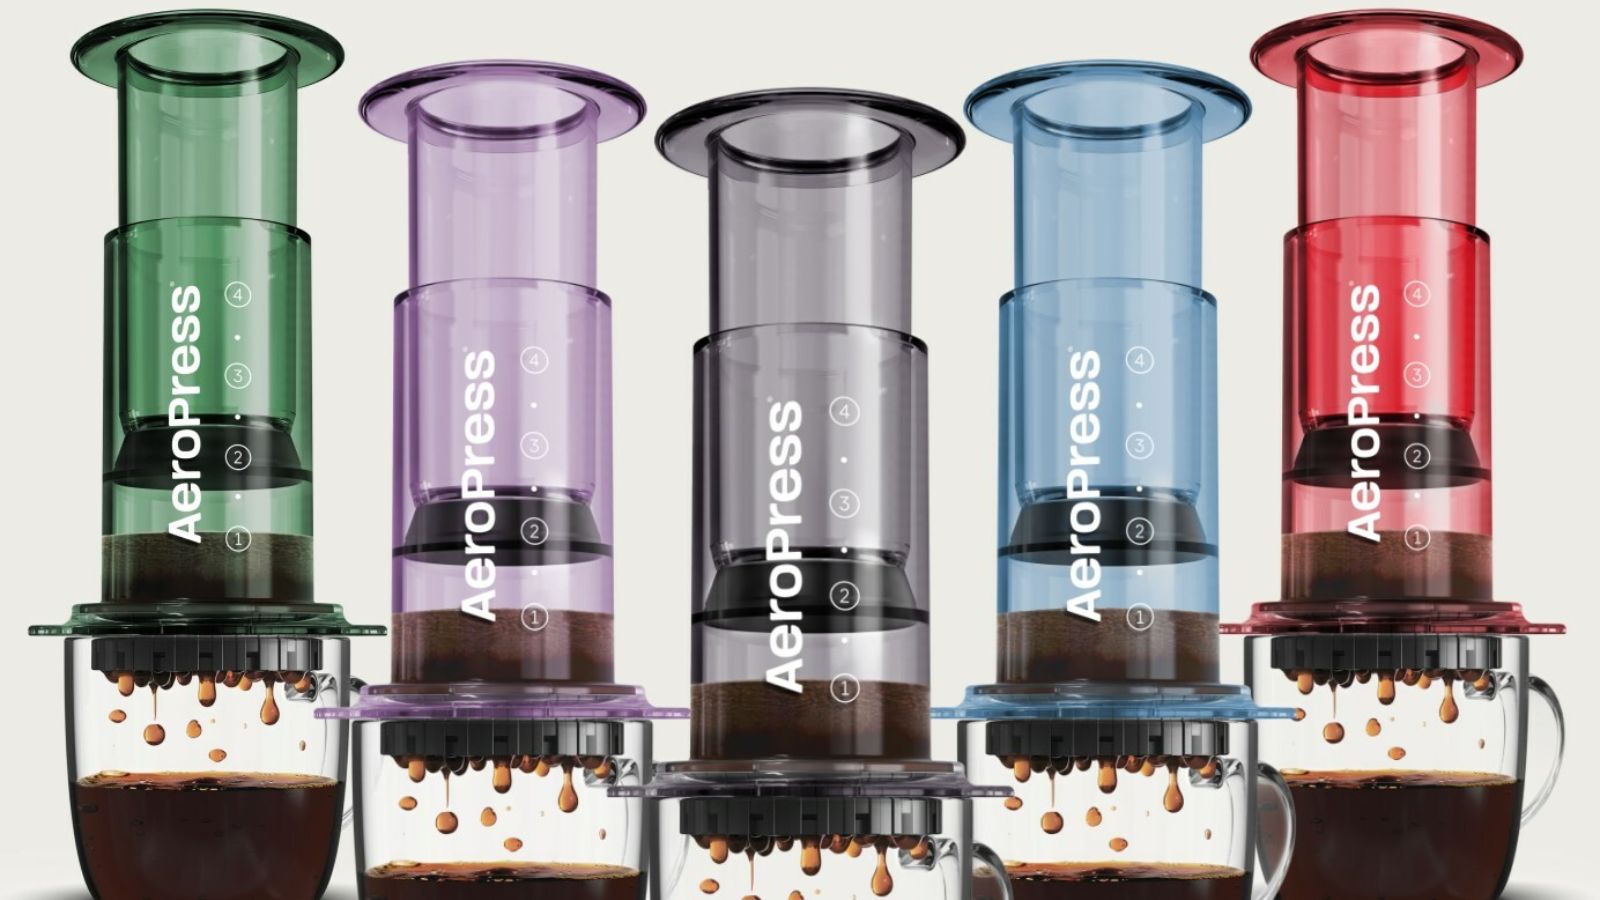
The idea that you could make a coffee as delicious as your local barista’s from an accessory no bigger than my reusable coffee cup would have seemed crazy ten years ago. However, with AeroPress on the scene, not only can you fit one of the best coffee makers on the market in a tiny handbag, it’s available in a range of colours and styles too.
I’ve been particularly excited by the AeroPress original, so that’s the one that I put to the test for you. I've carried this around in my very own handbag for over a year. It's been abroad with me, it's come on long train journeys and is a regular visitor to the office.So, is AeroPress worth the hype? Can a handbag-sized coffee maker ever be any good? Your former barista has the answers.
Specifications
Unboxing
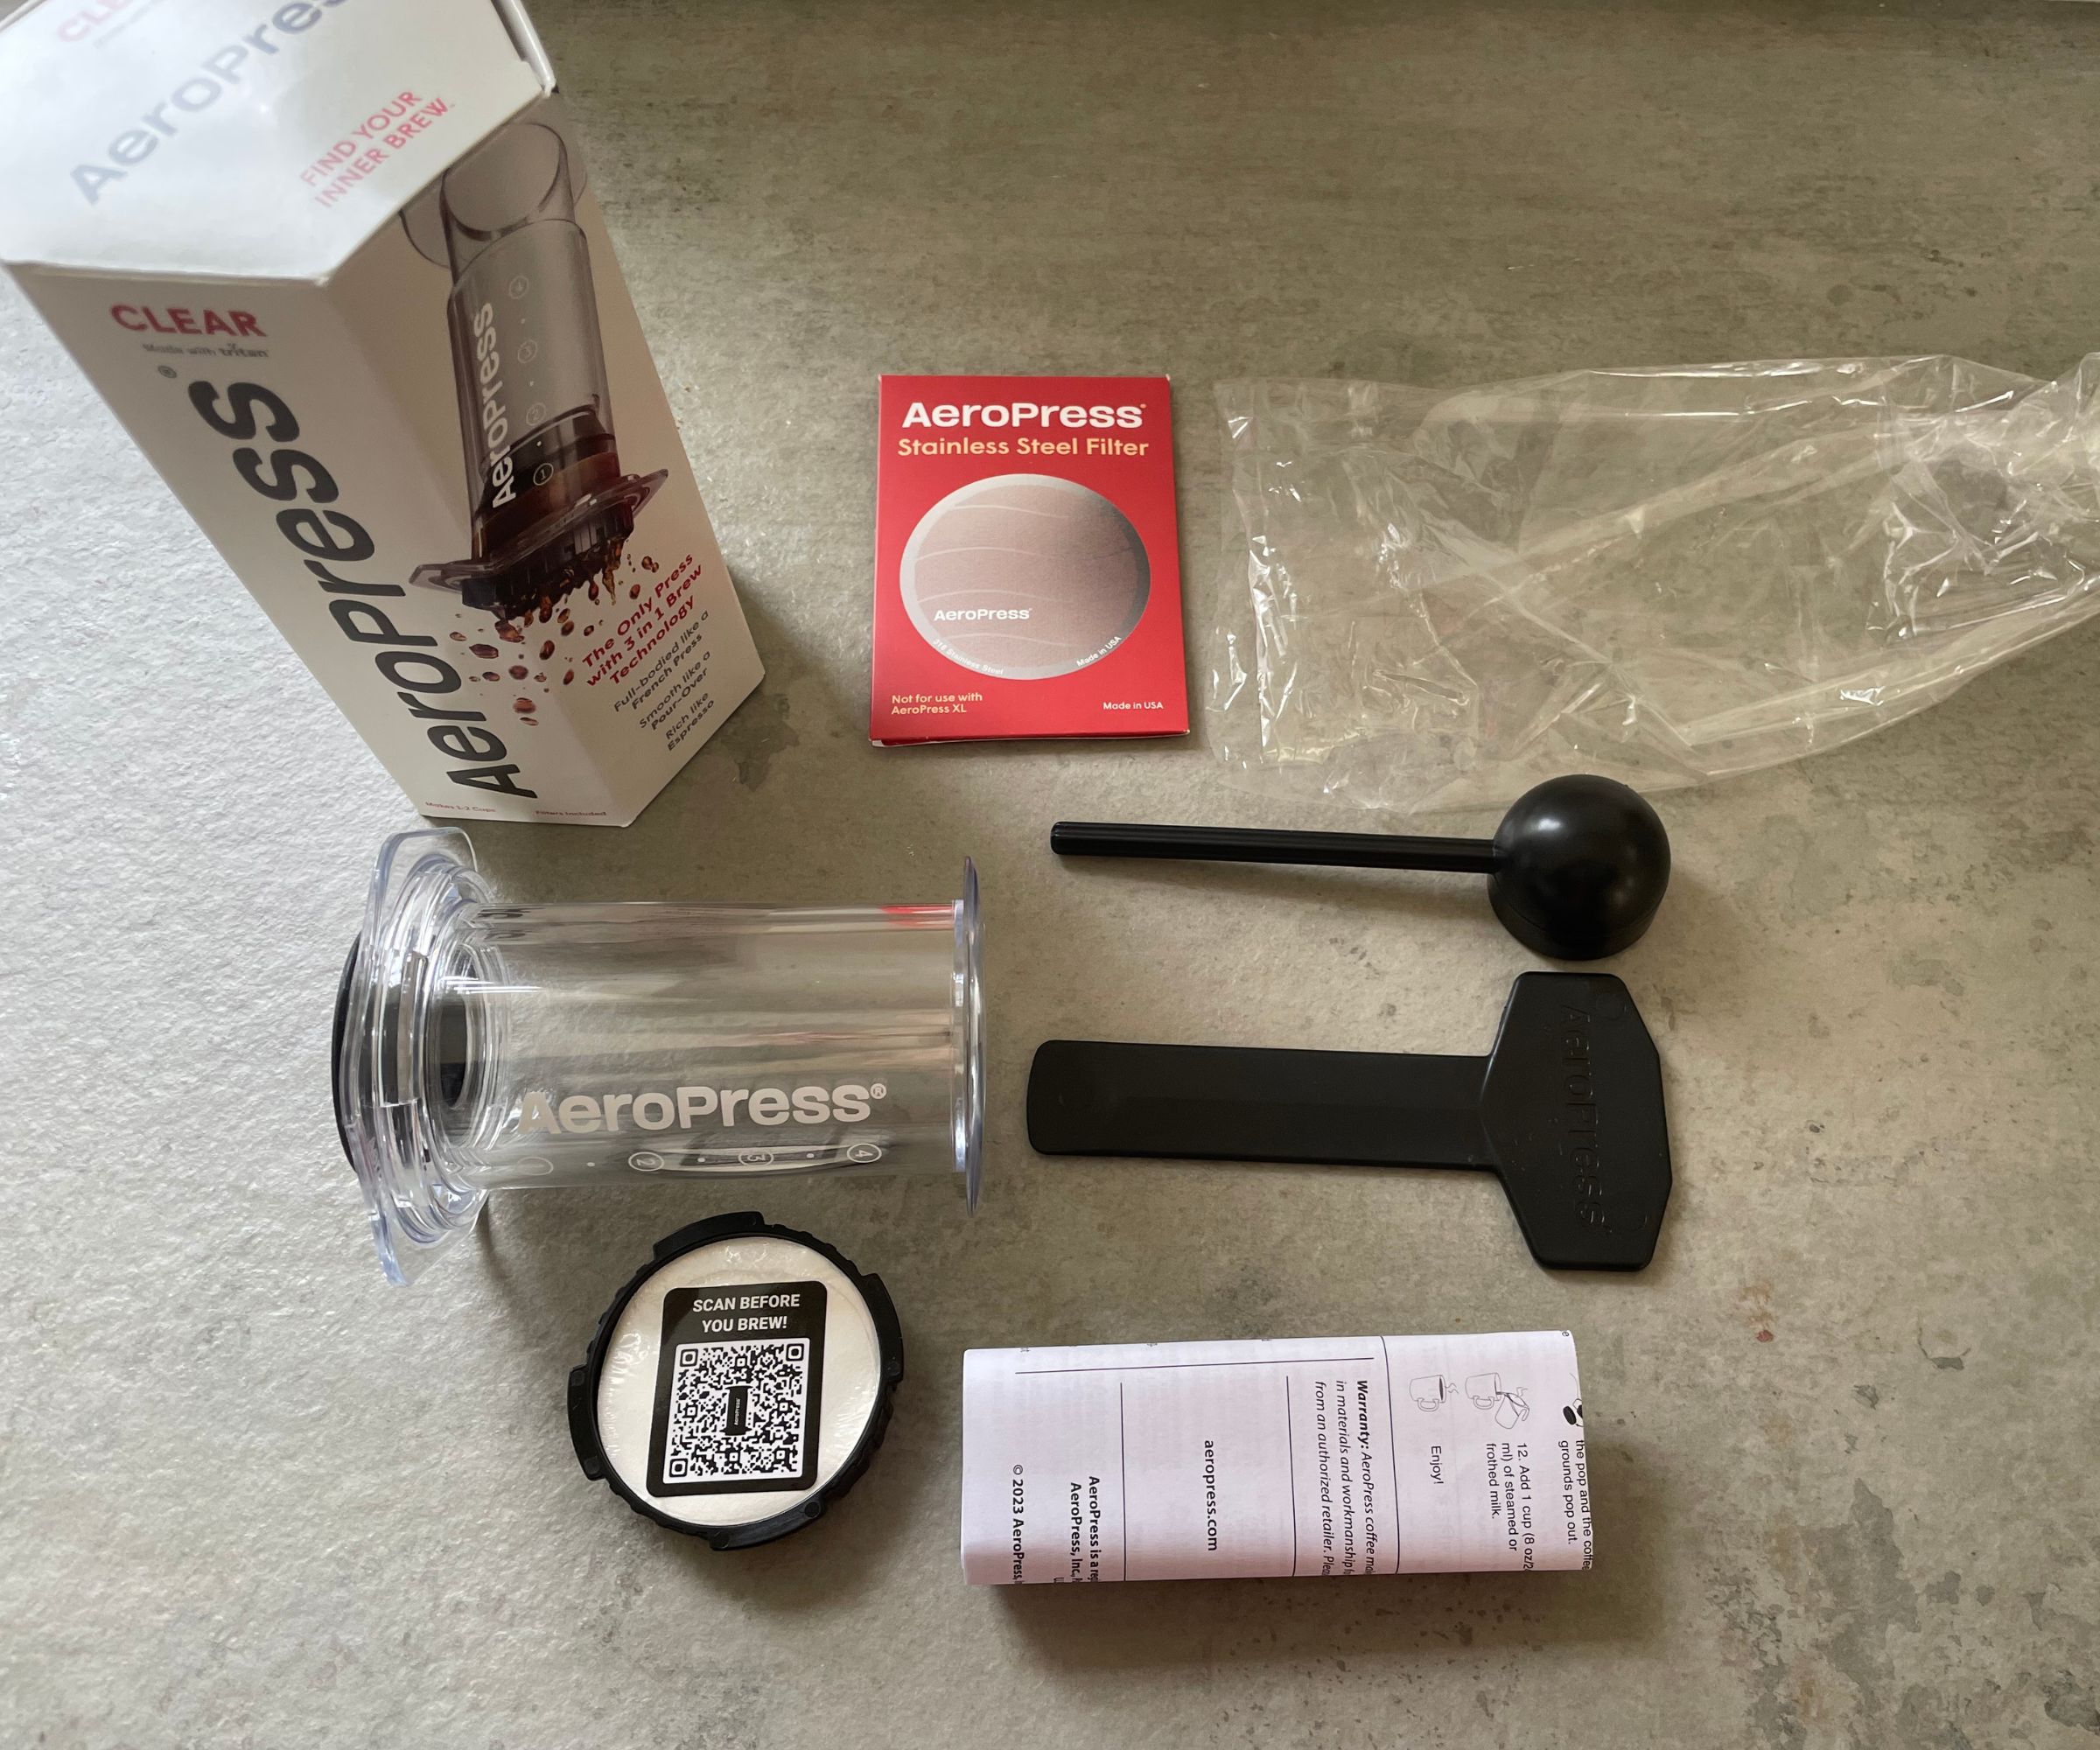
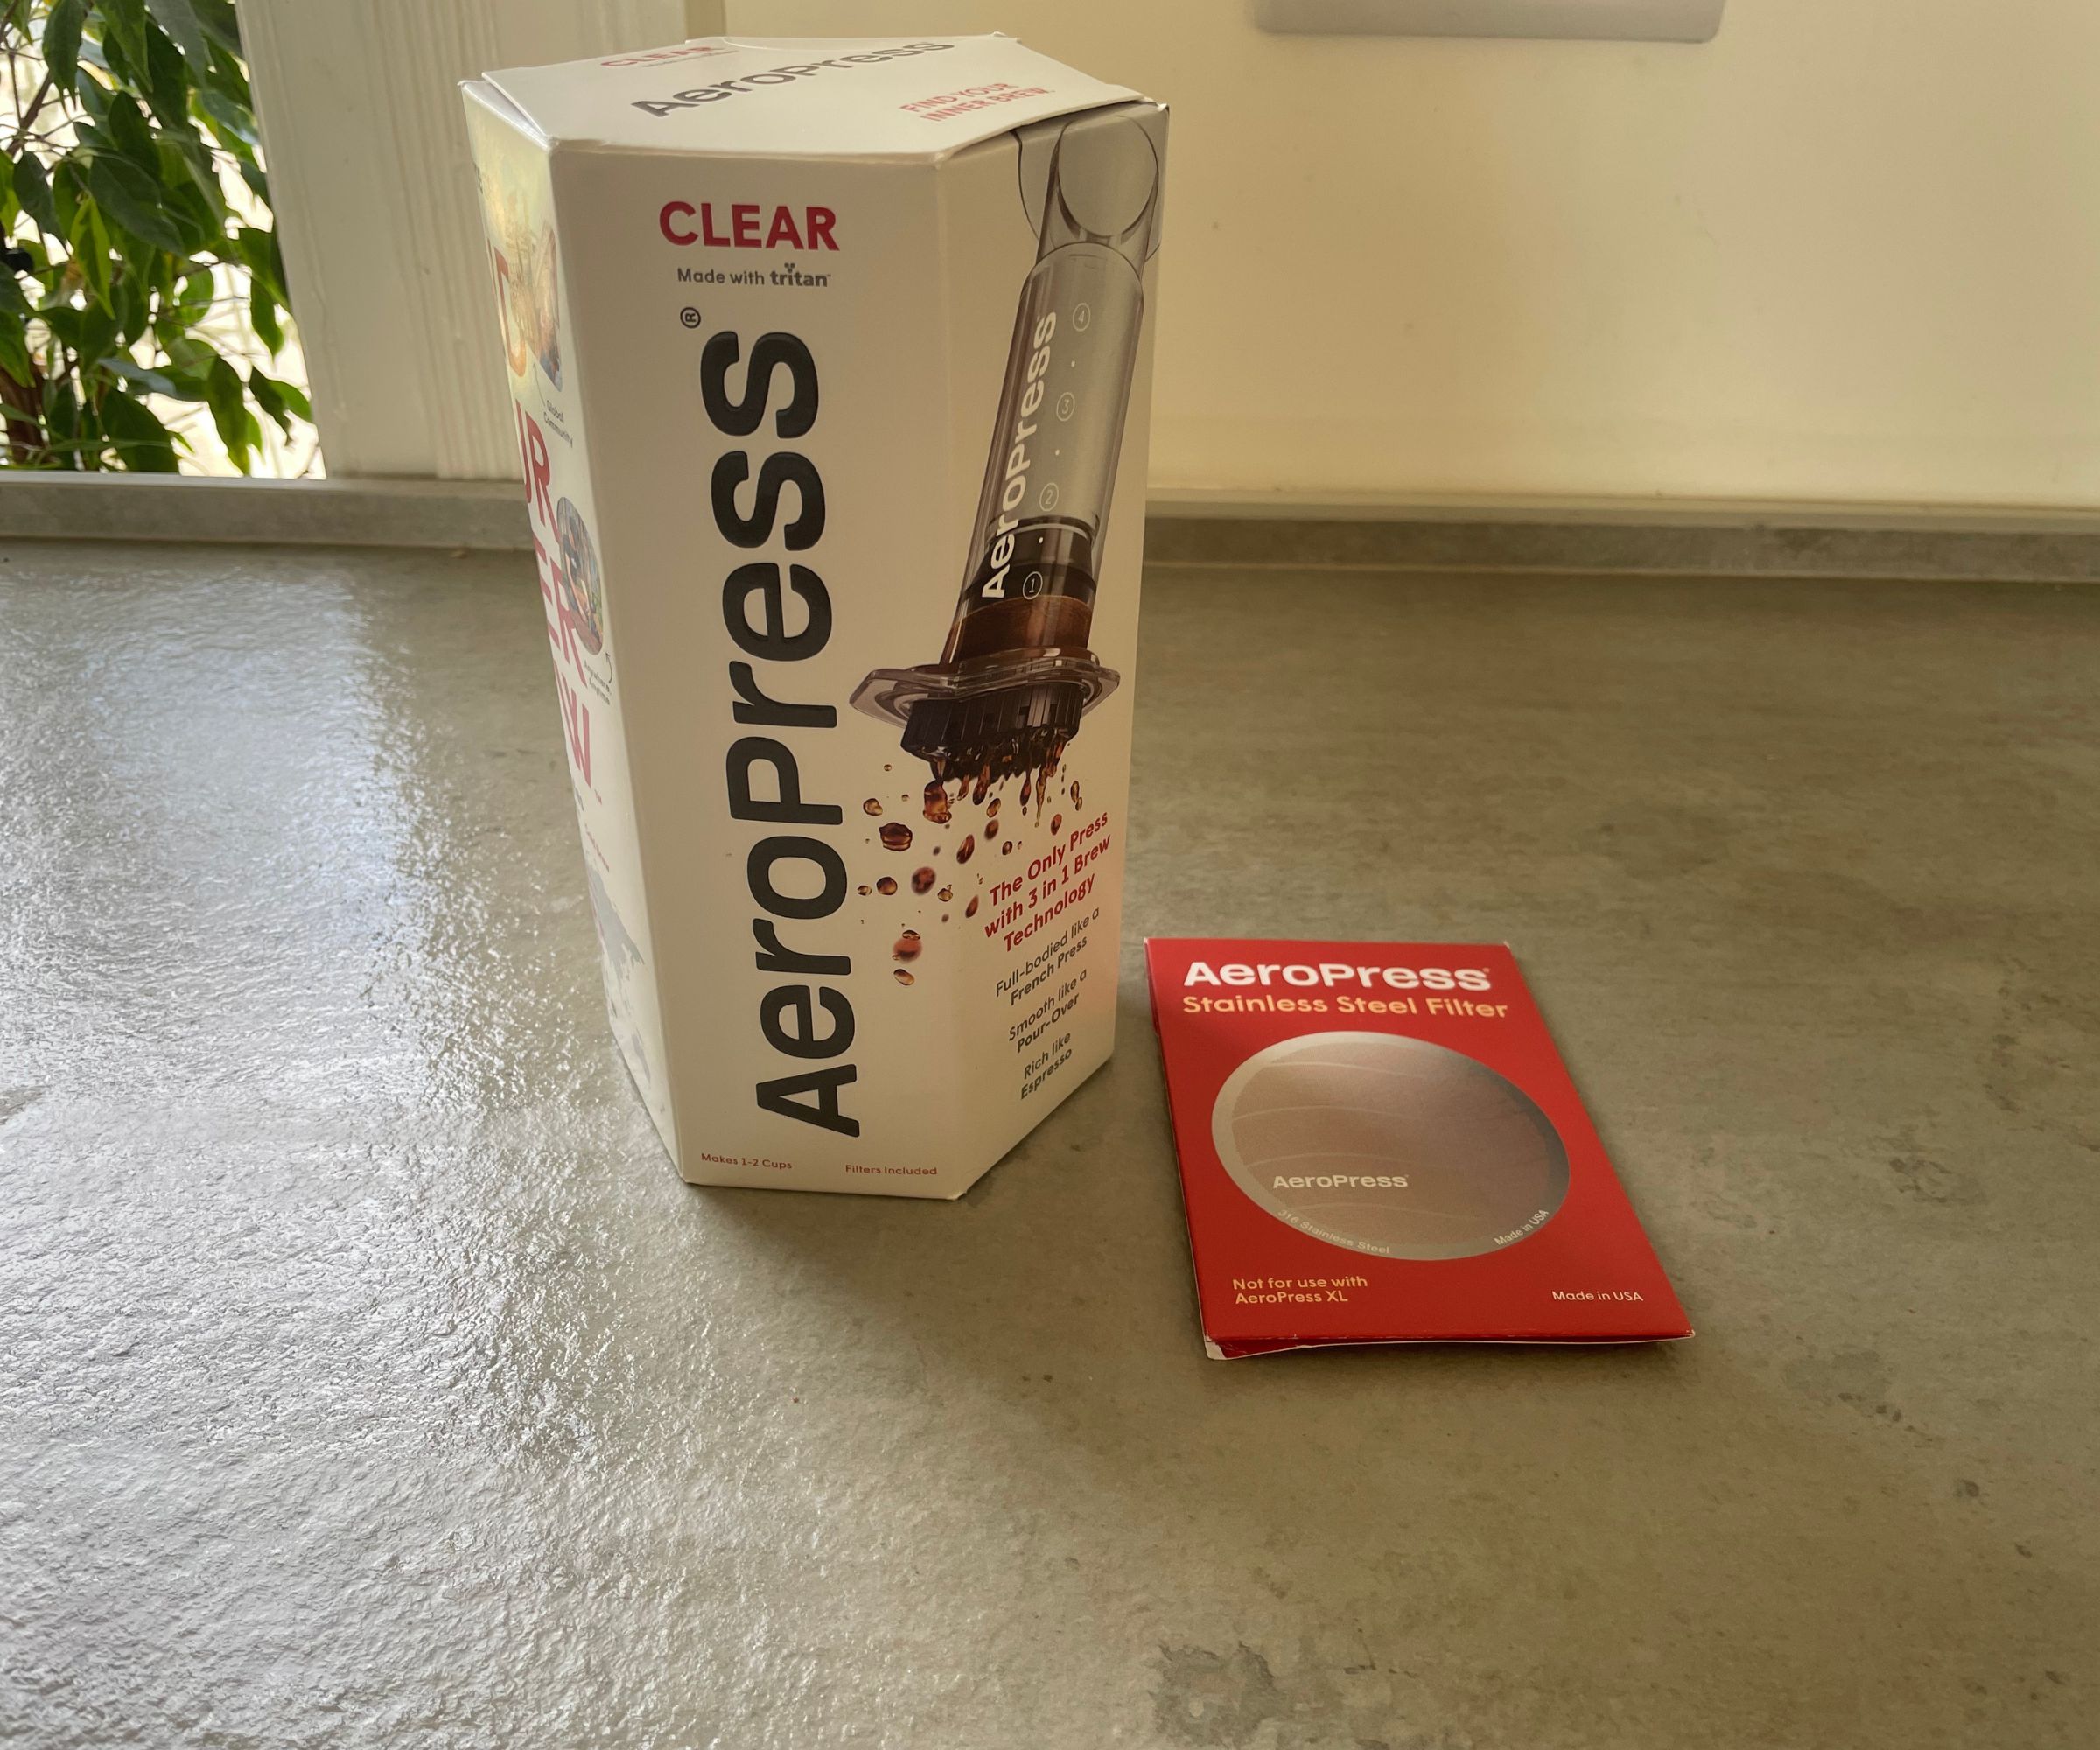
With AeroPress, it was almost love at first sight. I have a soft spot for brands that do their boxes and packaging well, because, to me, it shows that they care about every part of your user-experience. This hexagonal box looks cool. They’ve not just randomly selected any old polygon, the shape reflects the tall, cylindrical AeroPress, which also has a hexagonal plunger. The main box has instructions and suggestions around the outside, although, you’ll get a more detailed paper guide inside.
All the packaging is recyclable, so it can go straight in the cardboard recycling, if you want to get rid of it. Alternatively, you can keep it to store your AeroPress in. It’s small enough to lie or stand in a deep drawer, which is another big advantage to owning an AeroPress. More on that later though.
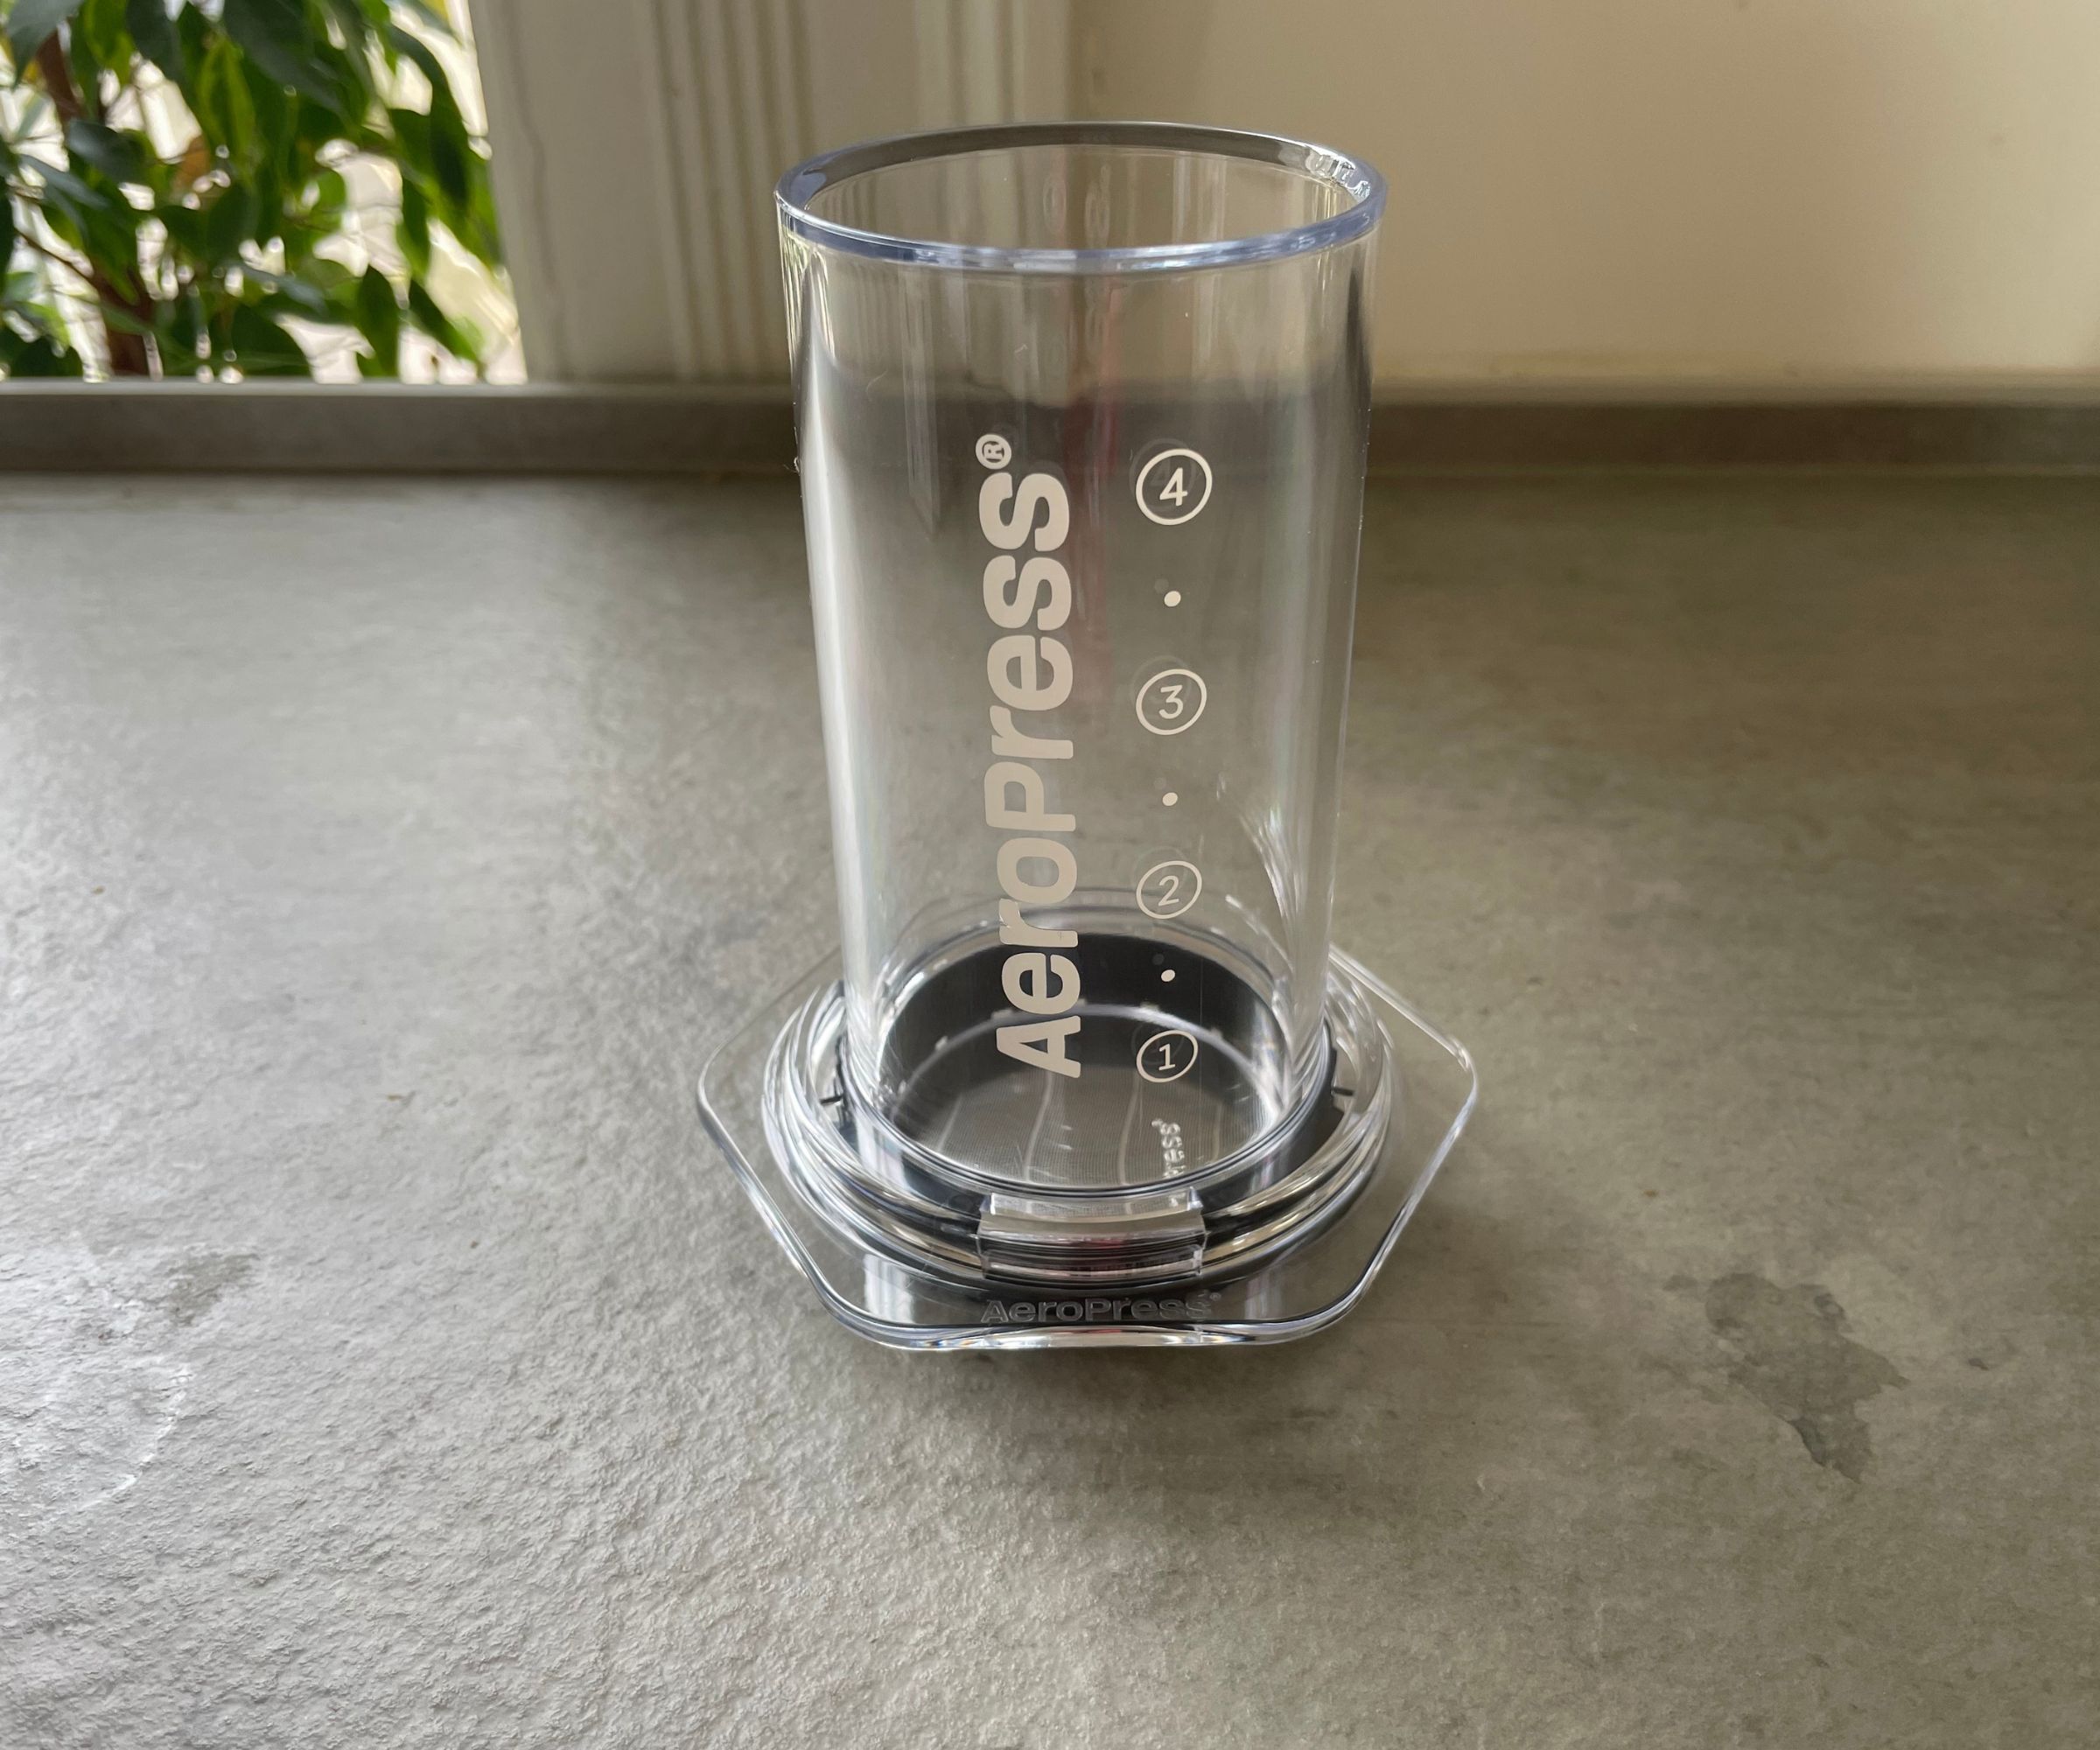
You can see that I tested the clear original AeroPress, which means that mine was made from Tritan, a clear, shatter-resistant, plastic-like material. This means that it’s super lightweight, durable, easy to clean, and also easy to monitor. You can see your coffee inside, so if something looks wrong (or right) it’s easy to fix.
Who would it suit?
The AeroPress has a broad appeal. On a basic sense, it’s compact (perfect if you travel a lot), inexpensive compared to other coffee makers, and really easy to use. That makes this an obvious choice for people who are new to coffee as well as anyone who has a big commute or a holiday coming up and they don’t want to sacrifice on the quality of coffee that they’re drinking.
You can make espresso-like coffee as well as cold brews and Americanos, all of which will be packed with flavour. So, from a technical perspective, this is pretty flawless. Even as a qualified barista, I’d struggle to fault the flavours of any coffee brewed in an AeroPress.
The biggest issues that you’ll face with an AeroPress are capacity and versatility. The Original can really only handle one Americano or a couple of espressos. Even the bigger XL probably isn’t a good go-to for a big and busy family home. The other factor is that this is just a brewing chamber. You’ll need a good kettle, a coffee grinder (or pre-ground coffee), and a milk frother (if you like lattes and cappuccinos). This isn’t dissimilar from cafetière coffee, but it’s worth noting that this isn’t exactly a mini Sage Oracle Jet.
What is it like to use?
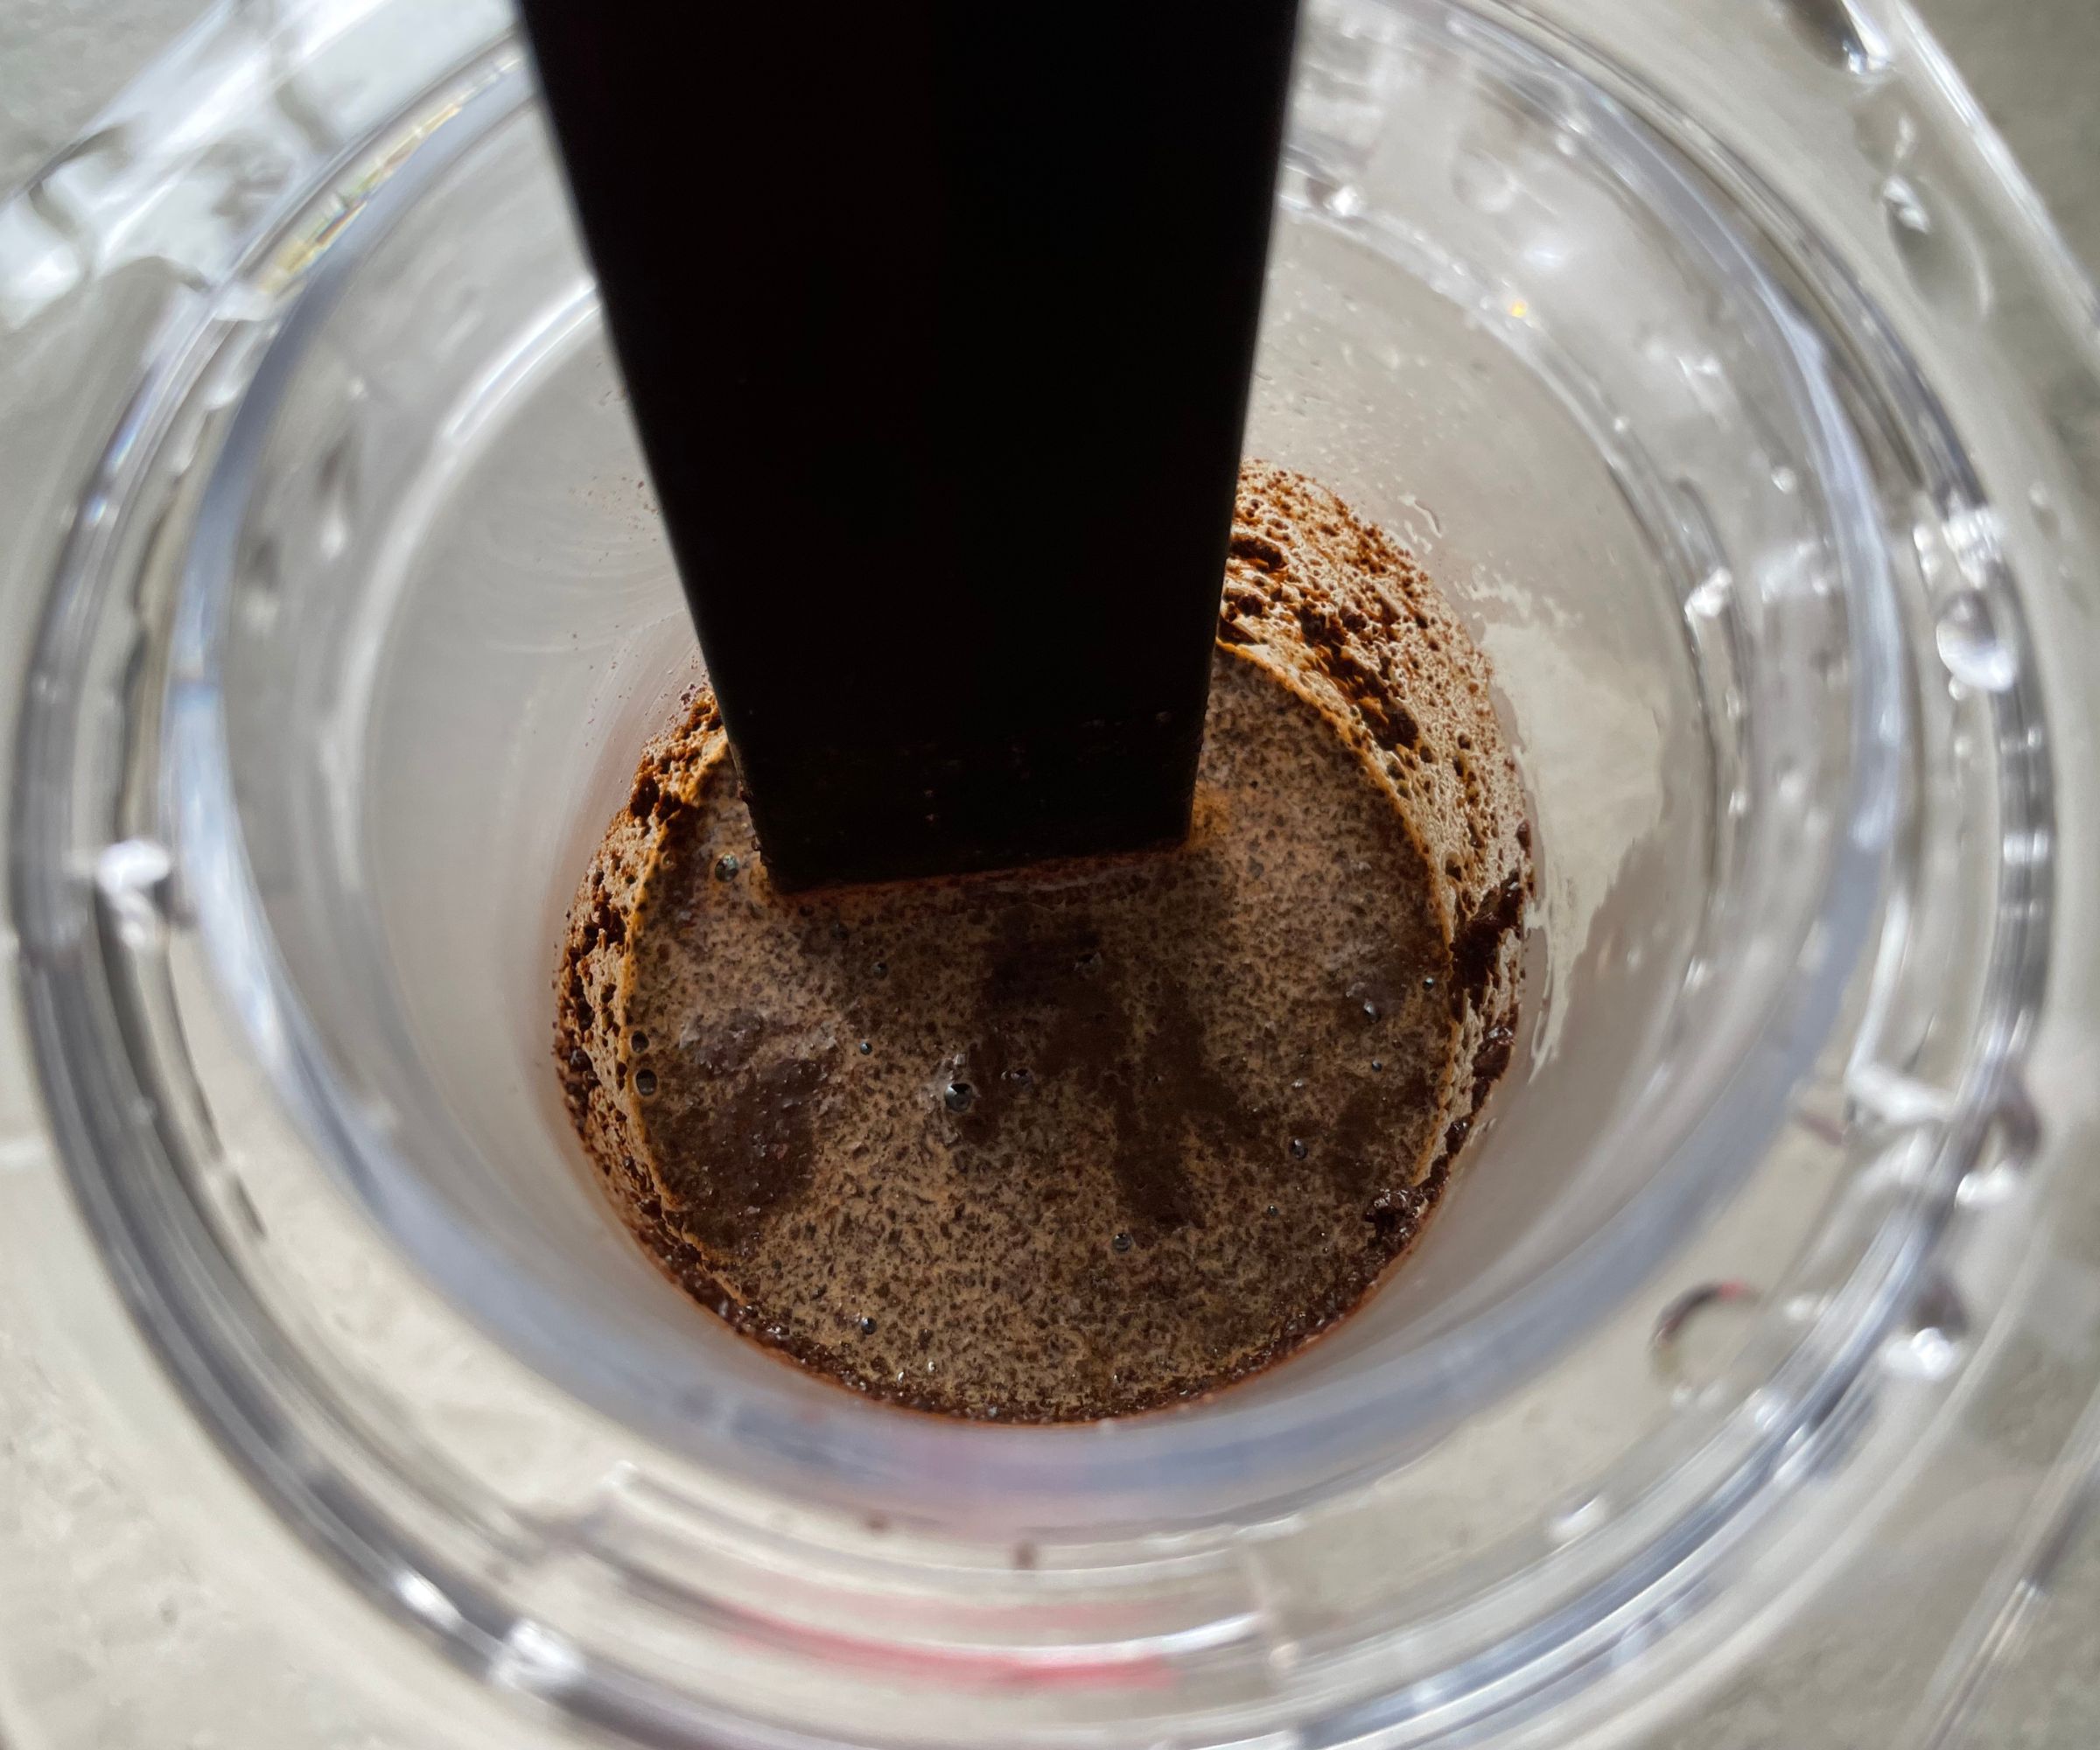
AeroPress sends instructions for how to use this to brew coffee. There are a few different methods, all of which are really simple and they’ll yield some delicious coffee. As long as you have the stainless steel filter (provided) or a paper filter (provided, but you’ll need to buy top ups), you can make a delicious cup of coffee. I ended up using both styles of filters together, so that I could get an extra smooth cup of coffee, but that’s just the way I like it. You could do well with either. I worked my way through the whole menu of AeroPress recipes, so you would know exactly what to expect. Here’s how it all went.
Test 1: espresso
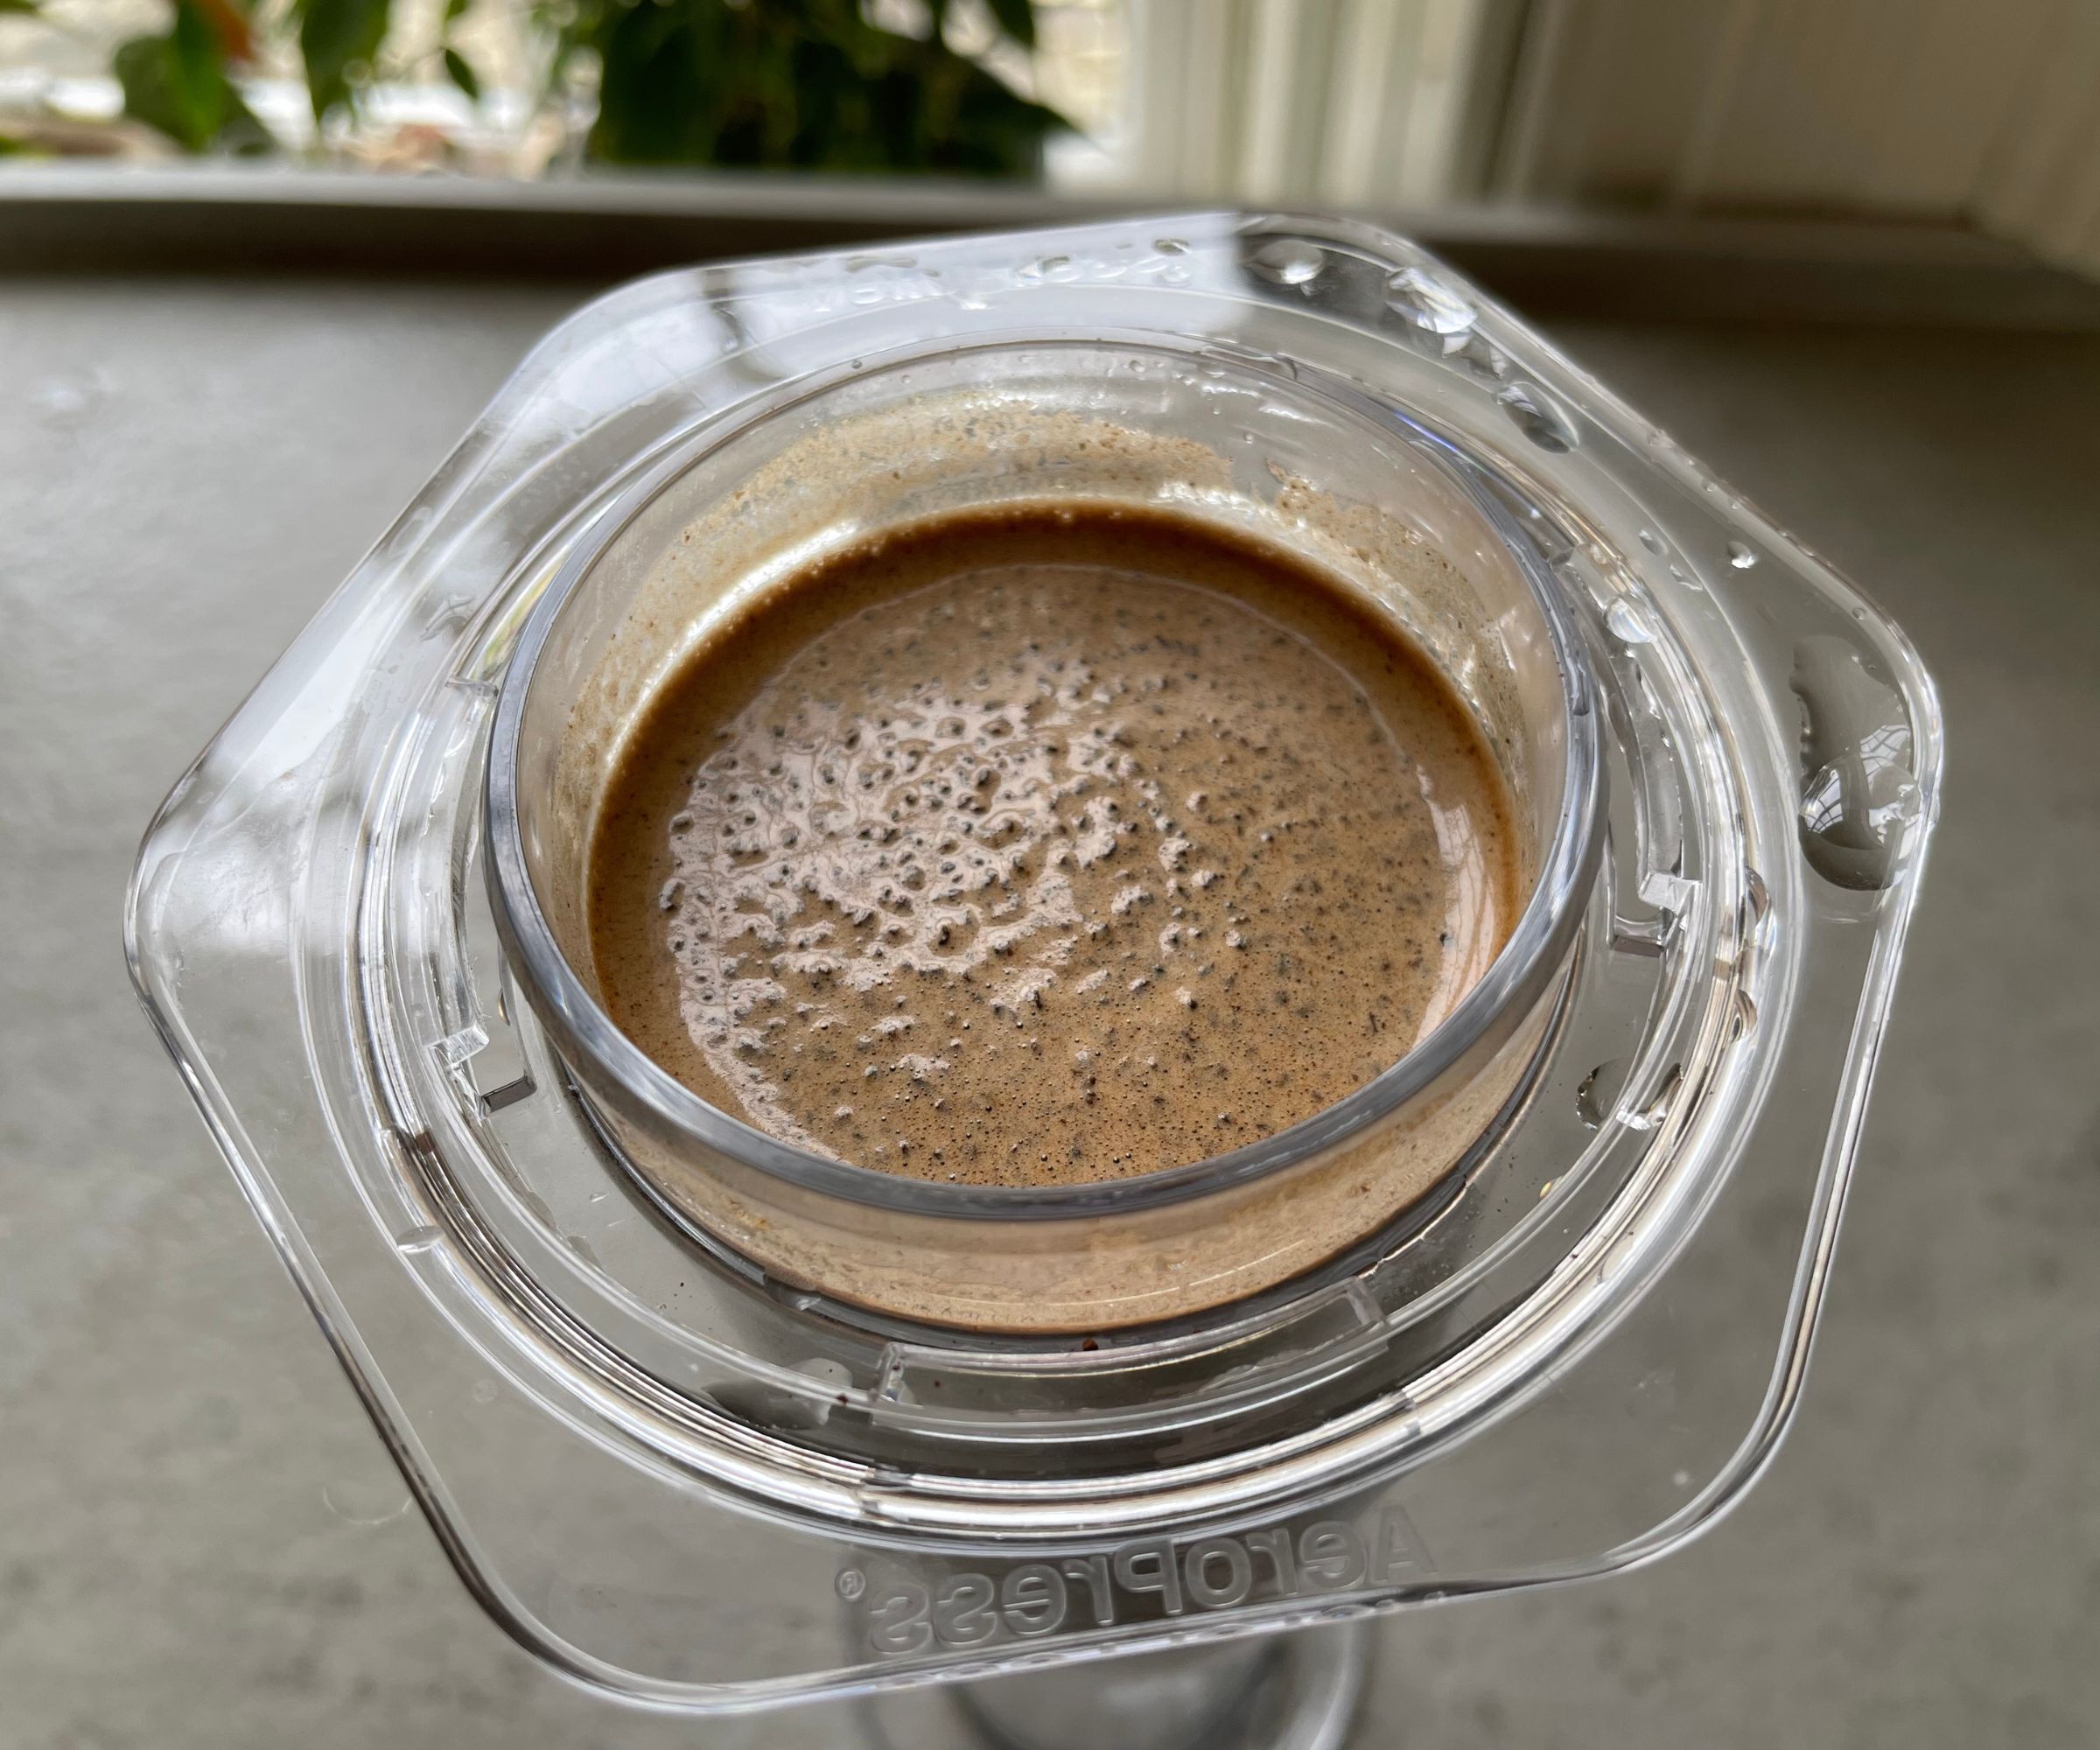
To make a proper espresso, you need really high pressures and temperatures in your brewer. The AeroPress doesn't have a pump or power source that could achieve either of these, so it can't make an espresso per se. What it can make is an espresso-like drink. This is a small, intense, cup of coffee and, to most coffee drinkers, it tastes just like an espresso, which is good news.
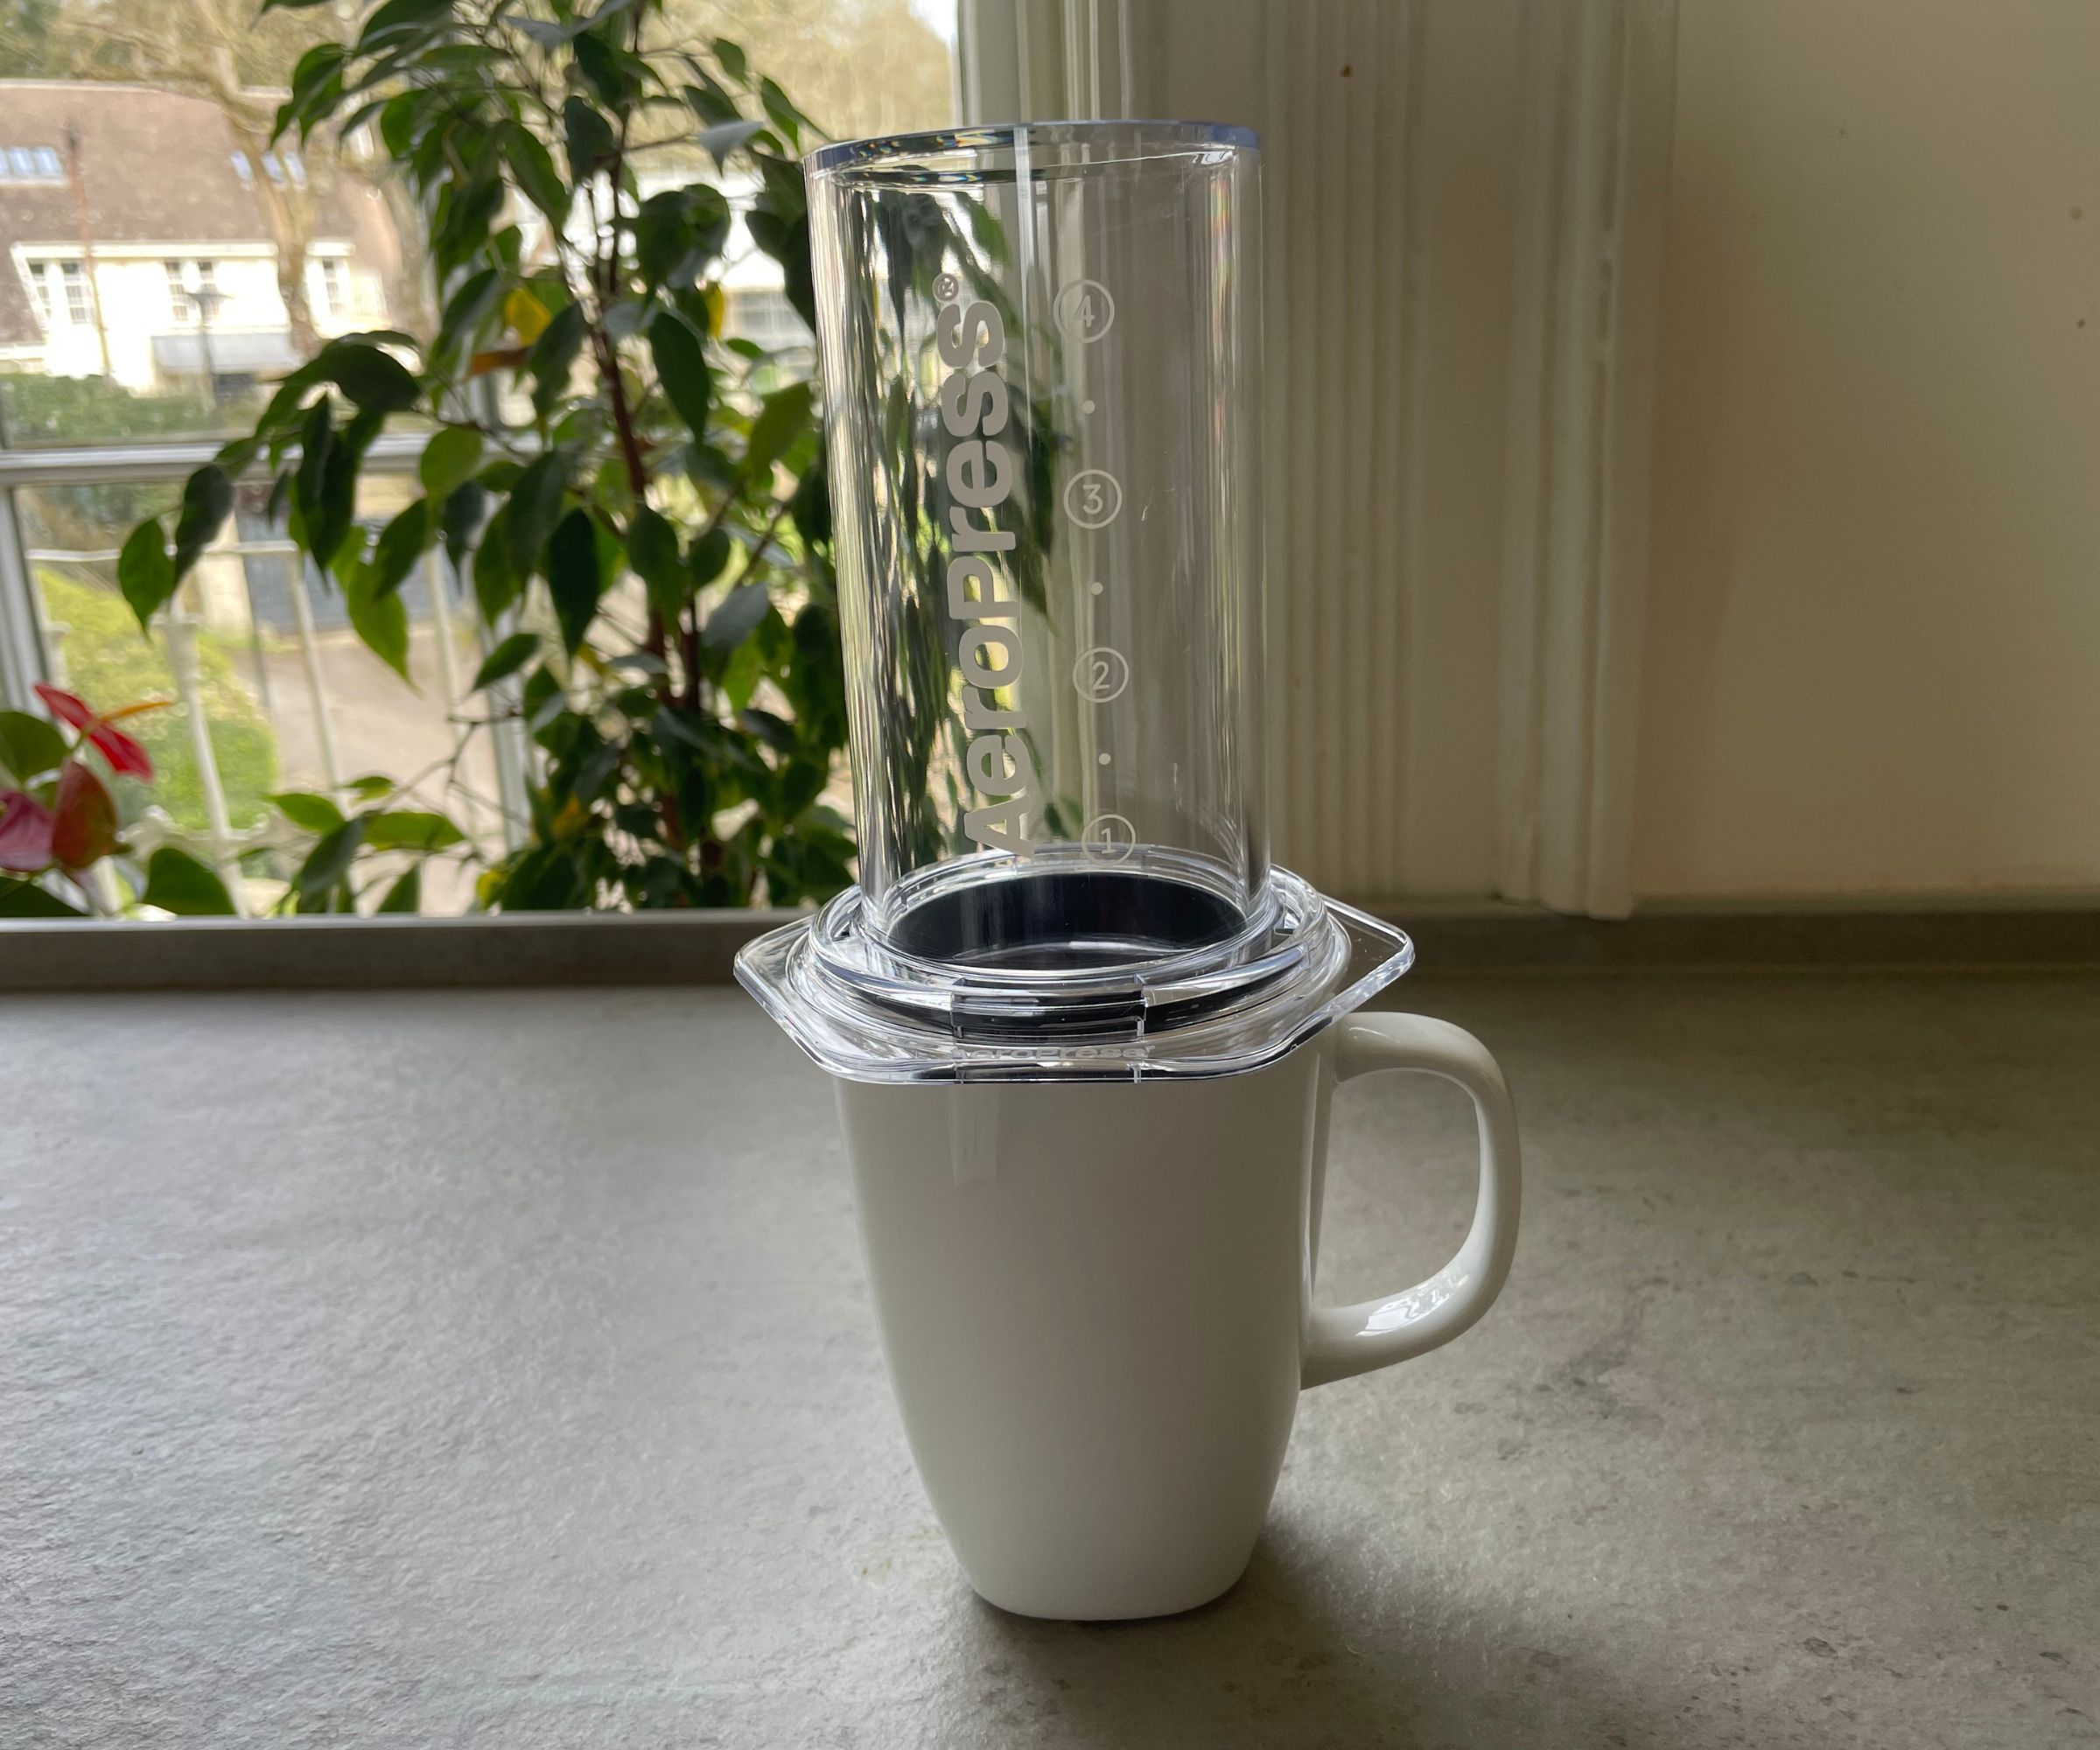
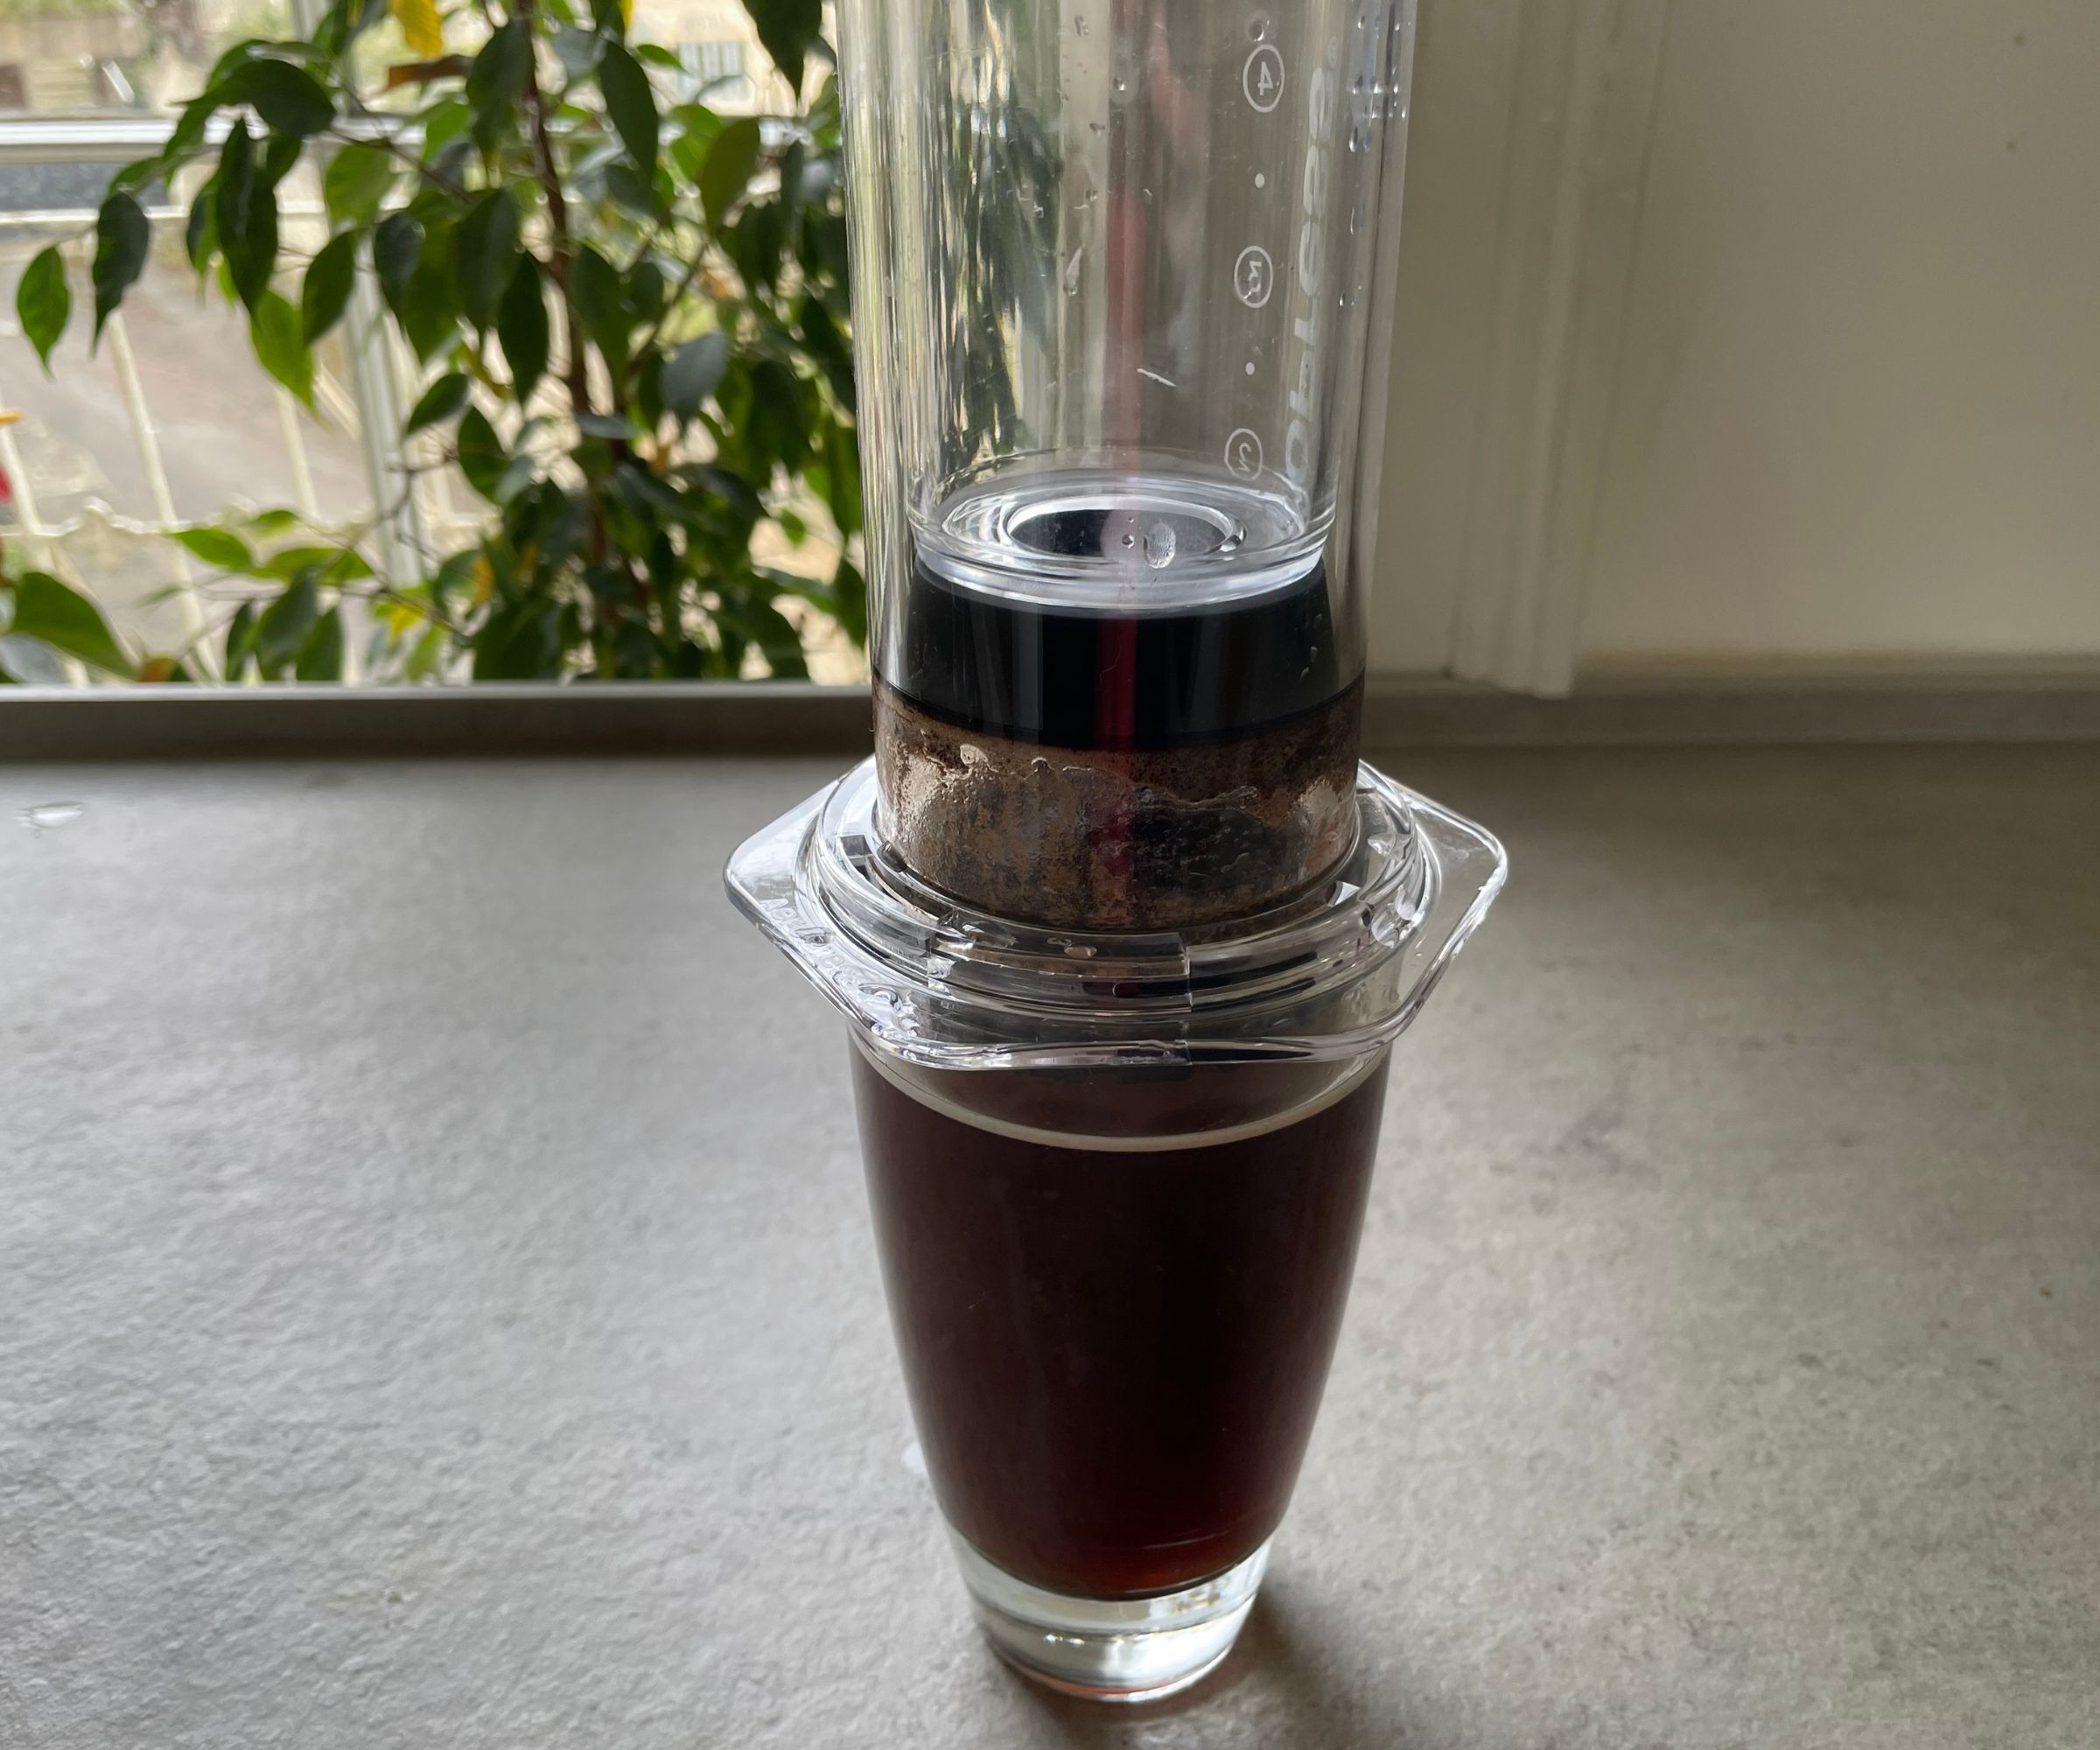
To make one of these, I followed the upside down method. I put the plunger in the main cylinder of my AeroPress, added a scoop of finely ground coffee, and then poured in 50ml of boiling hot water. I let this sit for two minutes, then placed my paper and metal filter on top. I screwed the cap on, turned the AeroPress upside down, and depressed the plunger with my AeroPress sat on top of a coffee cup.
I tried doing this over an espresso cup, but these are a little too small and coffee went over the sides. It's also worth noting that the hexagonal shape won't sit over wider cups, such as cappuccino mugs, very well either. Your average 5oz mug or slip cup will be fine though.
Depressing the plunger was simple. It didn't require as much arm strength as I had prepared myself for and I could see a nice crema (a sign that my coffee oils were well-extracted). The shot had nice, punchy flavours. In spite of AeroPress denying that this isn't an espresso, it tasted a lot like one, which is a great acheivement.
Test 2: Americano
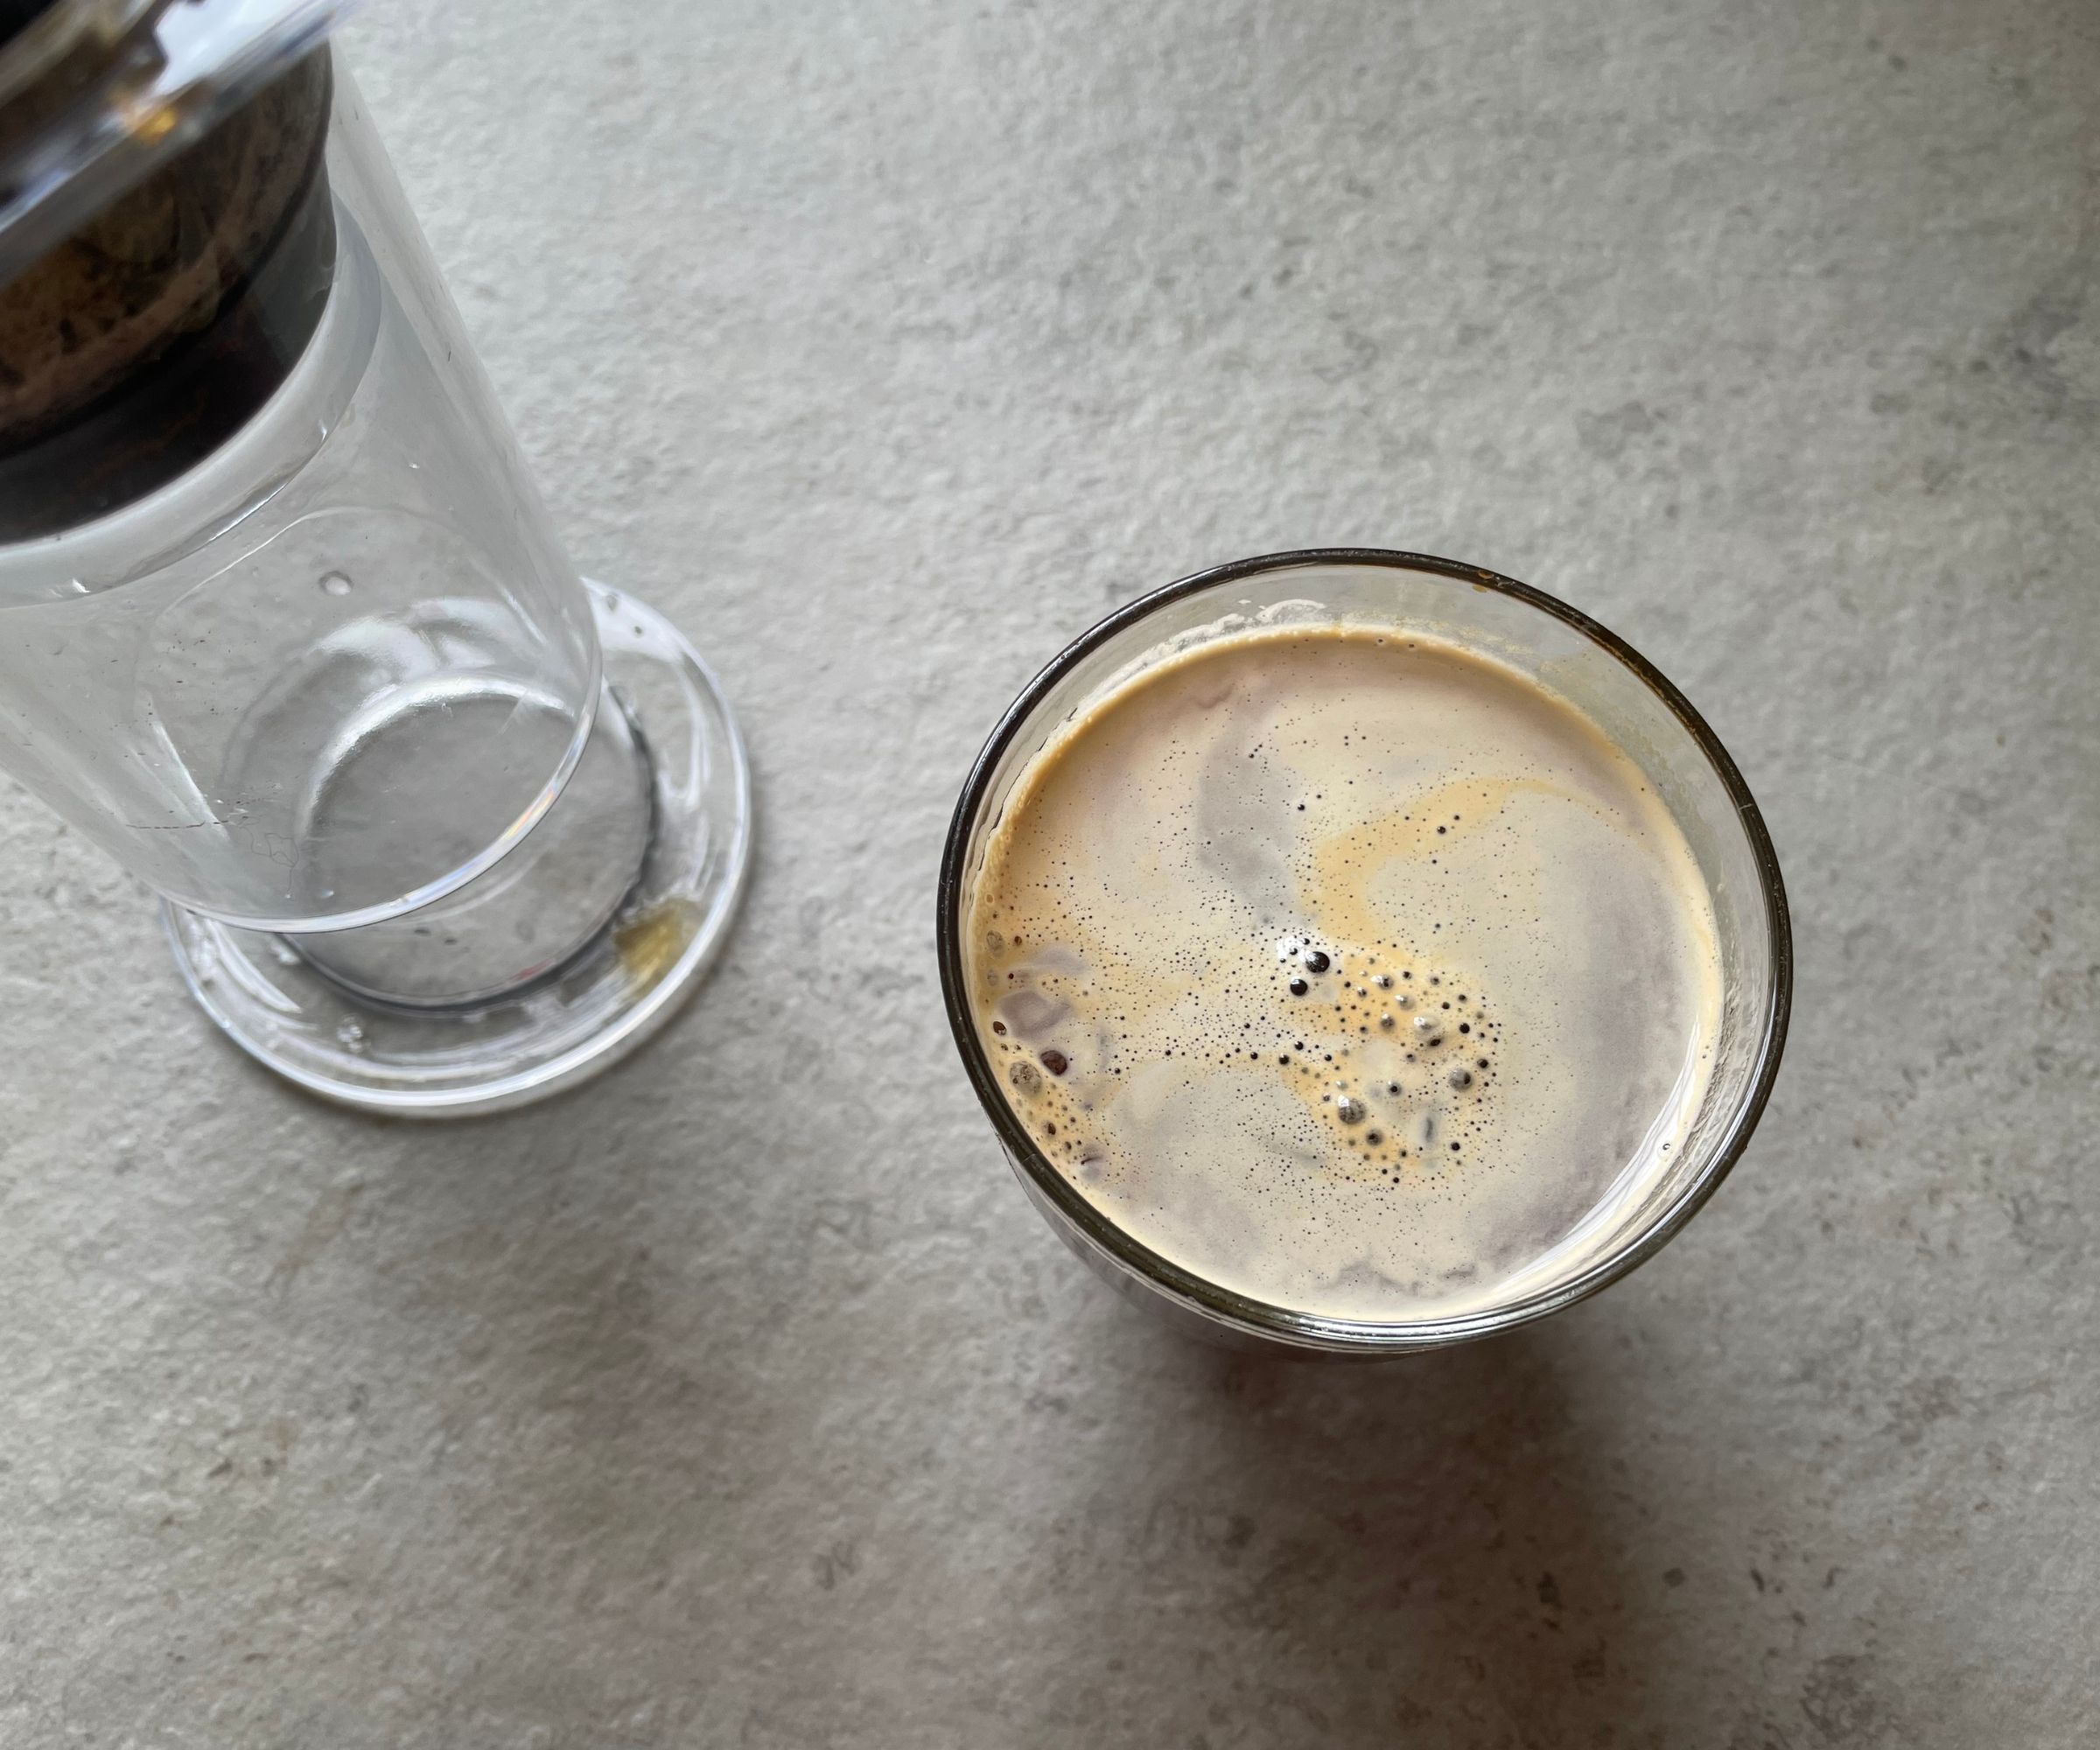
The Americano recipe is almost identical to the espresso recipe, just with 300-350ml of water, rather than 50ml. I let the AeroPress sit, brew, and then I pushed the plunger. Just as with the espresso, I could see a fine crema on top of the coffee. It has good balance, clear flavours, and, in spite of having left it to brew for a while, my Americano was still nice and hot (a full 90 degrees).
Test 3: cold brew
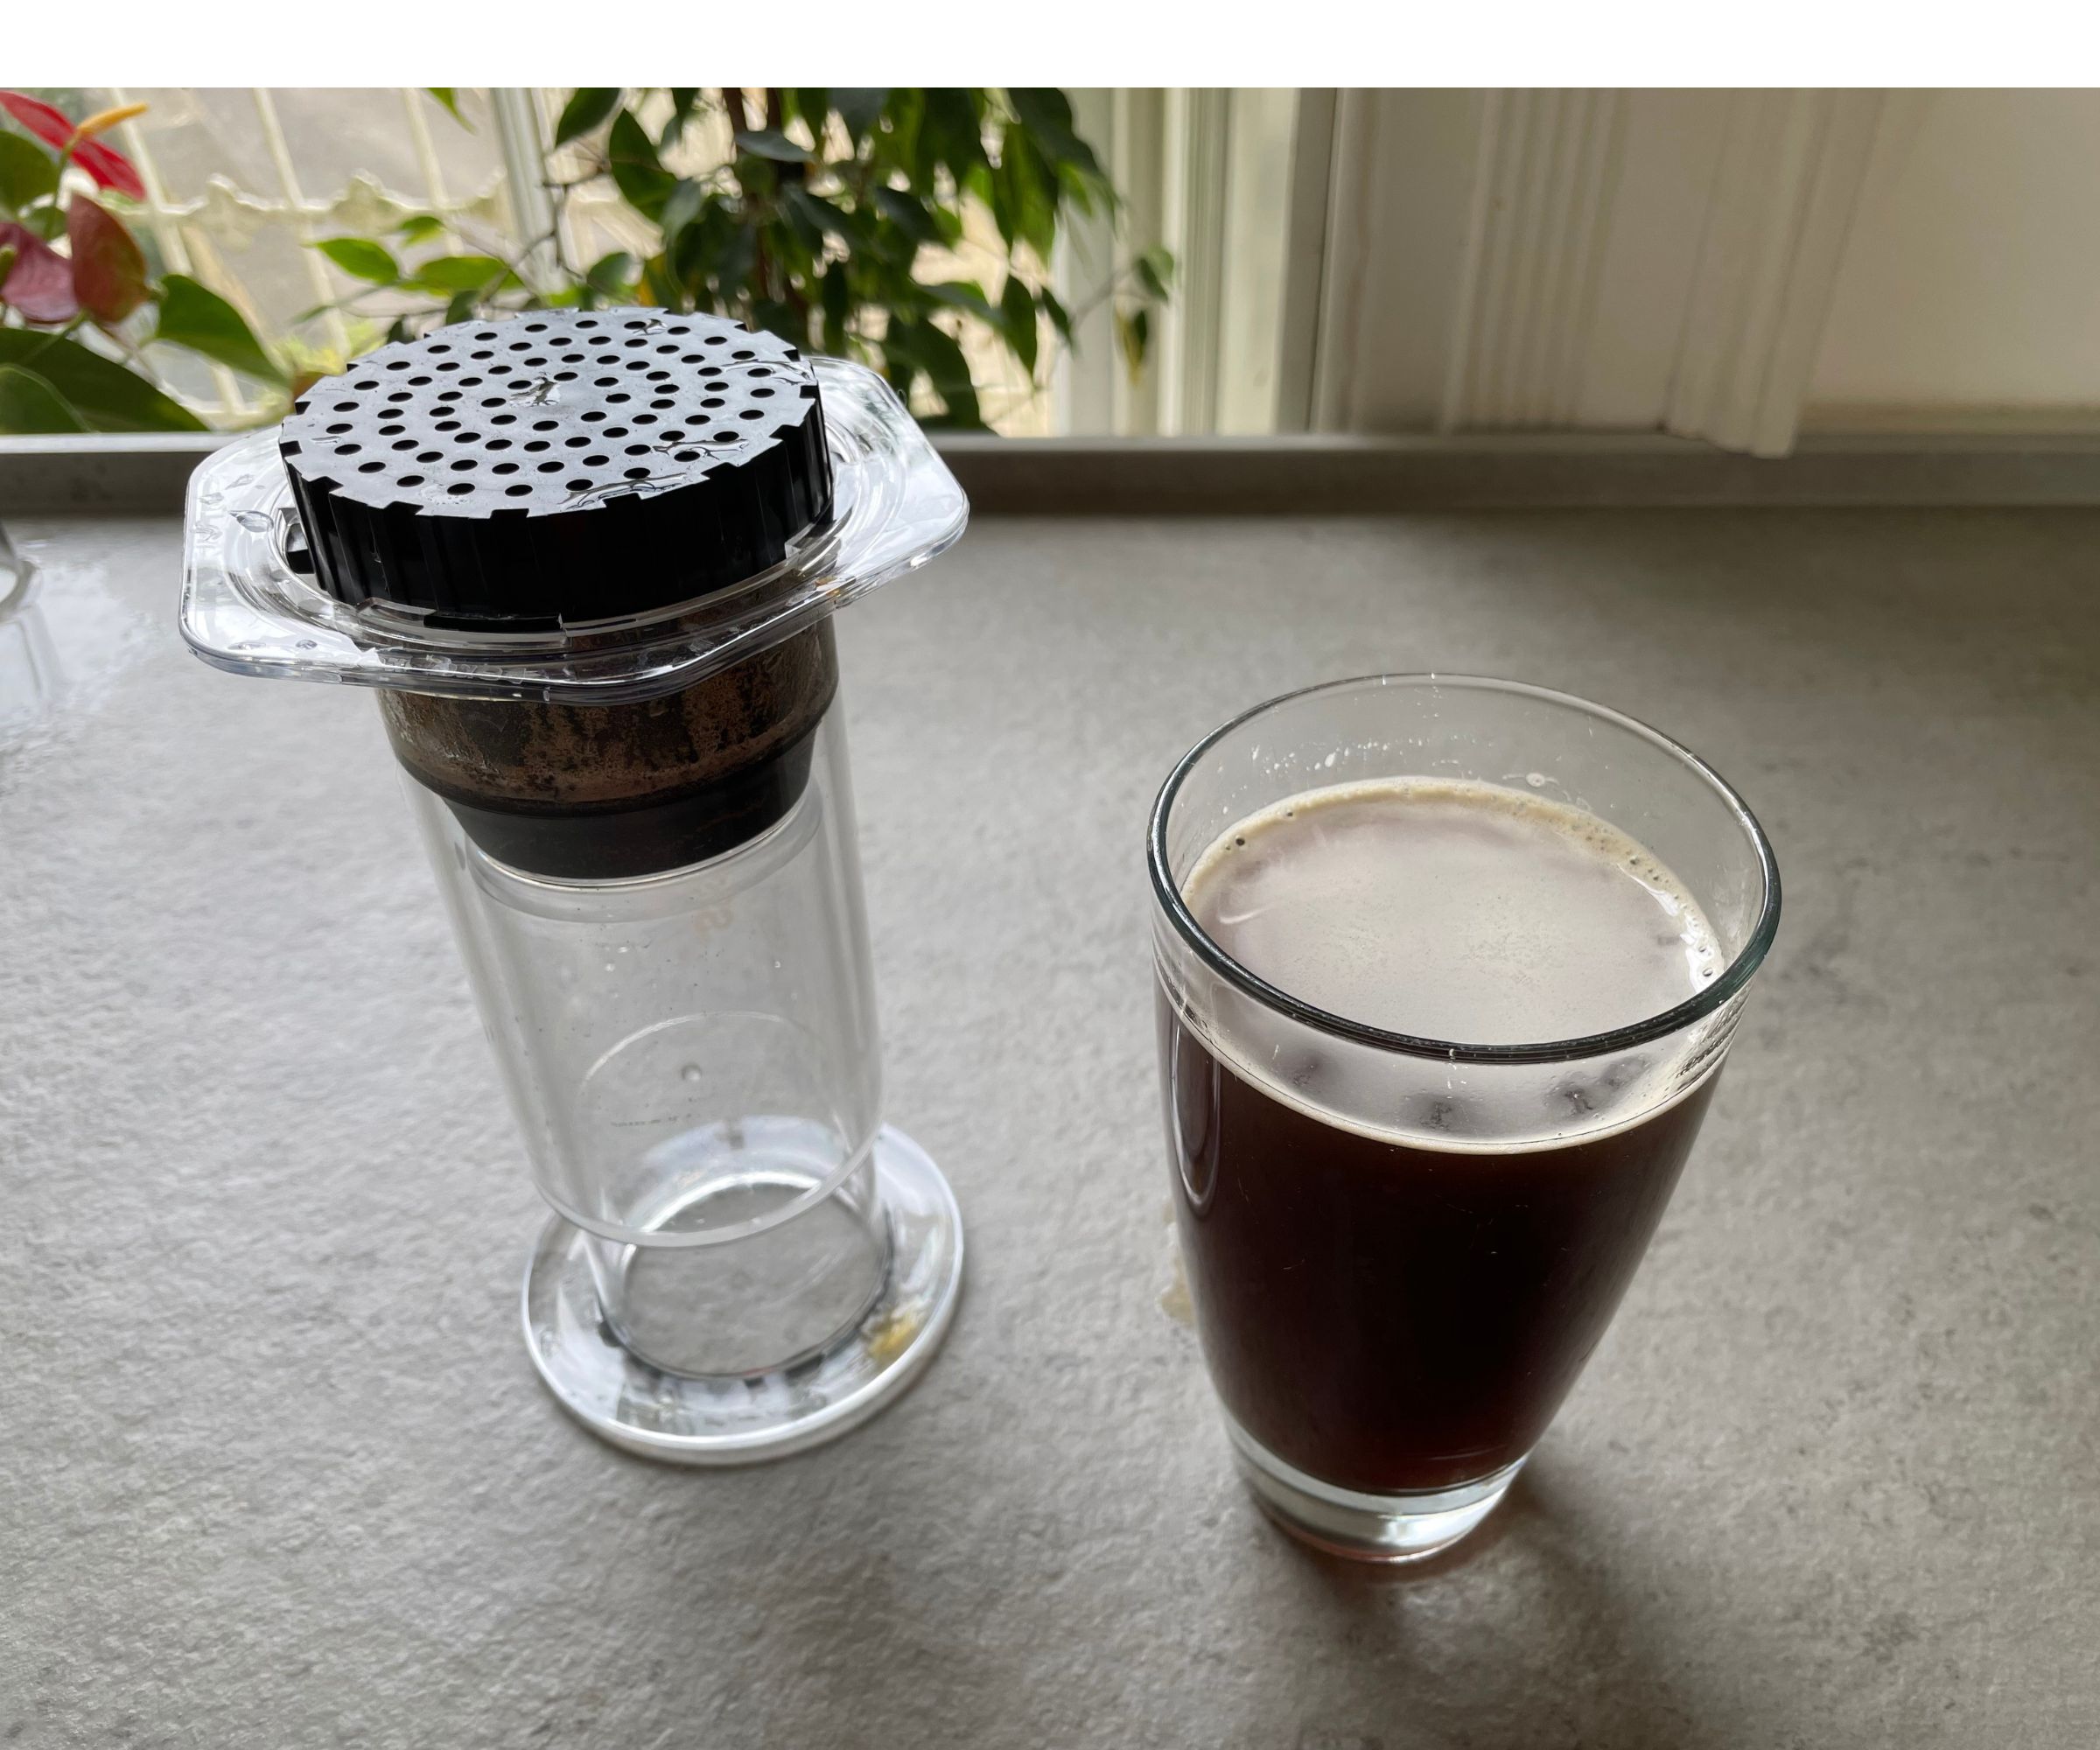
Cold brew coffee has gained a very enthusiastic following over the last year or so, making the AeroPress' capabilities even more exciting. It's a slow brewing process, but you can brew a smooth cold brew concentrate in one of these, which is pretty good going.
You'll want to make an Americano, but instead of adding hot water, add room temperature water. Then, screw the cap on, without plunging, and leave the AeroPress on the side or in the fridge for 18-24 hours. Once that time has passed, you can plunge the AeroPress and you'll extract a cold brew concentrate. This should then be diluted with water or milk to make a cold brew.
Of course, the fact that this is full of coffee makes it a much less attractive candidate for packing in your handbag in the morning, but the cold brew flavours that it extracts are actually great. Mine was mellow, sweet, and really smooth. I made sure to use the paper and stainless steel filter, because I really didn't want any bit to make their way into my cold brew concentrate. Aside from that, the whole process was very, dare I say, smooth.
Test 4: latte

The AeroPress has no milk texturing capacities, so I called on my home milk steamer to make some latte milk. Then, I brewed an espresso and added my latte milk to it. The flavours were good. All of the notes that I picked up in the espresso test still stood up when combined with the milk. Well steamed milk should add some sweetness and richness to your coffee, which is exactly the case here. All in all, I’d say it was a success — just don’t be fooled into thinking that this can actually make lattes.
Cleaning and maintenance
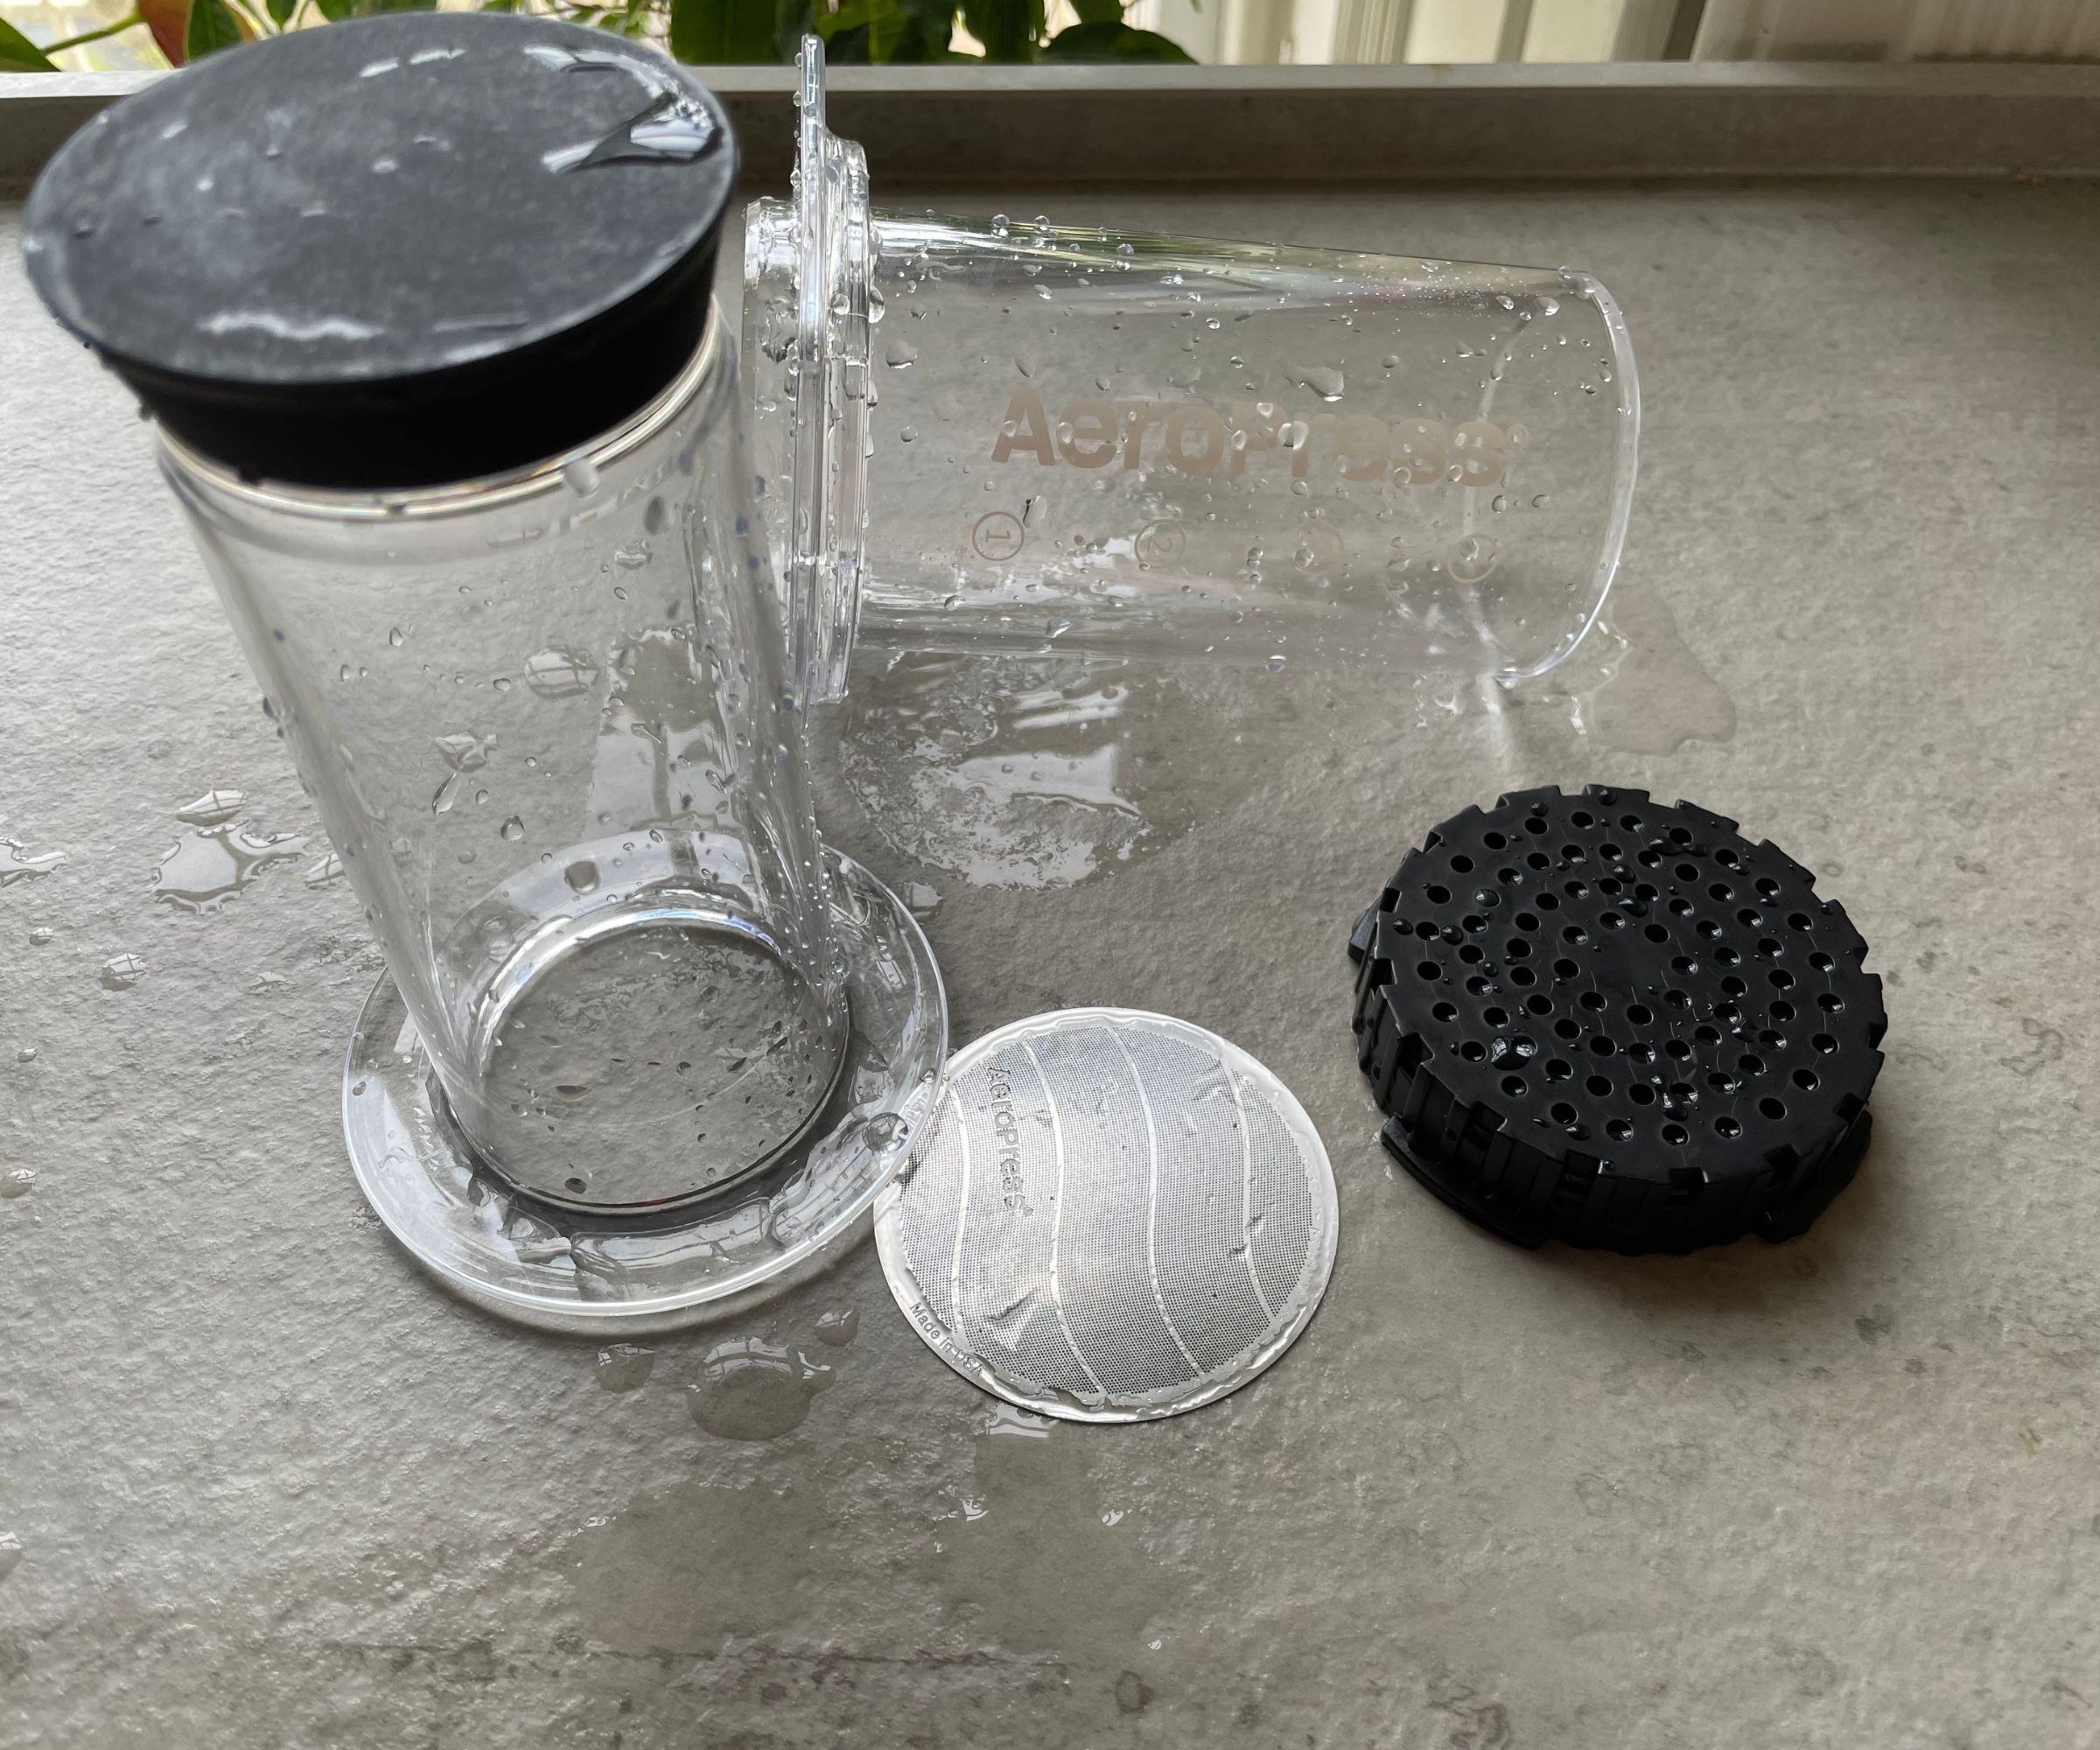
The AeroPress is simple to clean. All the parts are actually dishwasher safe, so you can pop them on the top rack and let your kitchen assistant do the work. If, like me, you want to wash it by hand, you can. In fact, I’d generally recommend that this is what people do, because it’ll inflict a lot less wear and tear on your AeroPress. To wash it by hand, take the plunger out of the cylinder, unscrew the cap, and give all the parts a wash in warm soapy water. If you used filter paper, check whether this can go in the food waste. If you used the stainless steel filter, make sure that you use a fine brush to get in between all the holes. You won’t want any stray coffee sticking there, because it’ll make your next brew taste bitter and acidic. If you need more help, we have a page dedicated to how to clean a coffee maker that's packed with advice.
How does it compare?
The AeroPress has a couple of alternatives, depending on what you’re buying it for. If you like the portable, cord free aspect of the AeroPress, it’s also worth taking a look at the Wacaco Picopresso. This is three times the price, but it’s a jump that’s warranted. The weighty, stainlesss steel body of the Picopresso feels premium. It’s no bigger than a can of cola and almost as easy to drink from. The method is very similar to the AeroPress, except that you have to pump to create 19 bars of pressure inside the Picopresso. It will then extract a delicious espresso. Whilst the AeroPress has more on the menu, the closest it can get to a shot of coffee is an espresso-like drink, whereas this is identical. If I’m giving a gift to a coffee connoisseur and I’ve got some extra money to spend, the Picopresso is perfect. If you’re a beginner or sticking to a budget, the AeroPress is your best bet.
On the other hand, if you like the AeroPress for its simplicity and versatility, but you want a milk frother and a little more technical expertise, you’ll want to look at the Sage Bambino. This might seem like a strange jump, since it’s almost twenty times the size of the AeroPress and more than ten times the price, but stick with me. The Sage Bambino is like a mini espresso machine, but with all the frills and fancy bits stripped out. The coffee it makes is as good as anything else, but you just can’t tinker as much (nor can you in the AeroPress). Of course, as an actual espresso machine, this can make speciality coffee with much richer and more intense flavours than the AeroPress. It’ll also steam milk for your lattes and cappuccinos. So, if you’re taking things to the next level, this is where I recommend that you start.
Should you buy it?
If you need a compact, portable coffee maker for your commute, holiday, or small home, the AeroPress is brilliant. Whilst it can't heat water or texture milk, it is spot-on with extraction and flavours. Give yourself some time to play around with recipes and different coffee beans and you won't regret making this (relatively insignificant) purchase for your coffee station.
How we test
At woman&home, we take our coffee seriously. It's really what you'd expect, because I'm a former barista and a bit of a coffee snob! I like to keep an eye on what's on the coffee market, making notes of the latest releases, and best innovations on the market. As soon as something new or useful pops onto the scene, I'll start my research.
I like to look into all the claims that a brand makes about their coffee maker, so that when they arrive in my kitchen, I can prep a specialised test that'll check all their functions out. Of course, I make every machine cover the basics (espresso, Americano, latte), but if they claim to do more, you'll want to know that they actually do deliver on their promises.
Whilst I like to make detailed notes on the brewing process, flavours, and coffee quality, there are lots of other factors that play into a review. I like to talk about packaging, cleaning, setting-up, and maintaining a machine. I also think it's important to 'shop around', so I'll let you know what else is on the market and whether that makes the coffee maker in question seem like good value.
I don't leave any beans unbrewed, so you should have a good, holistic picture of what the coffee maker is like by the end of my review. However, if you still have questions, don't hesitate to email me. I'm always happy to talk about all things coffee.
You can find out more on our dedicated page for how we test coffee machines.


