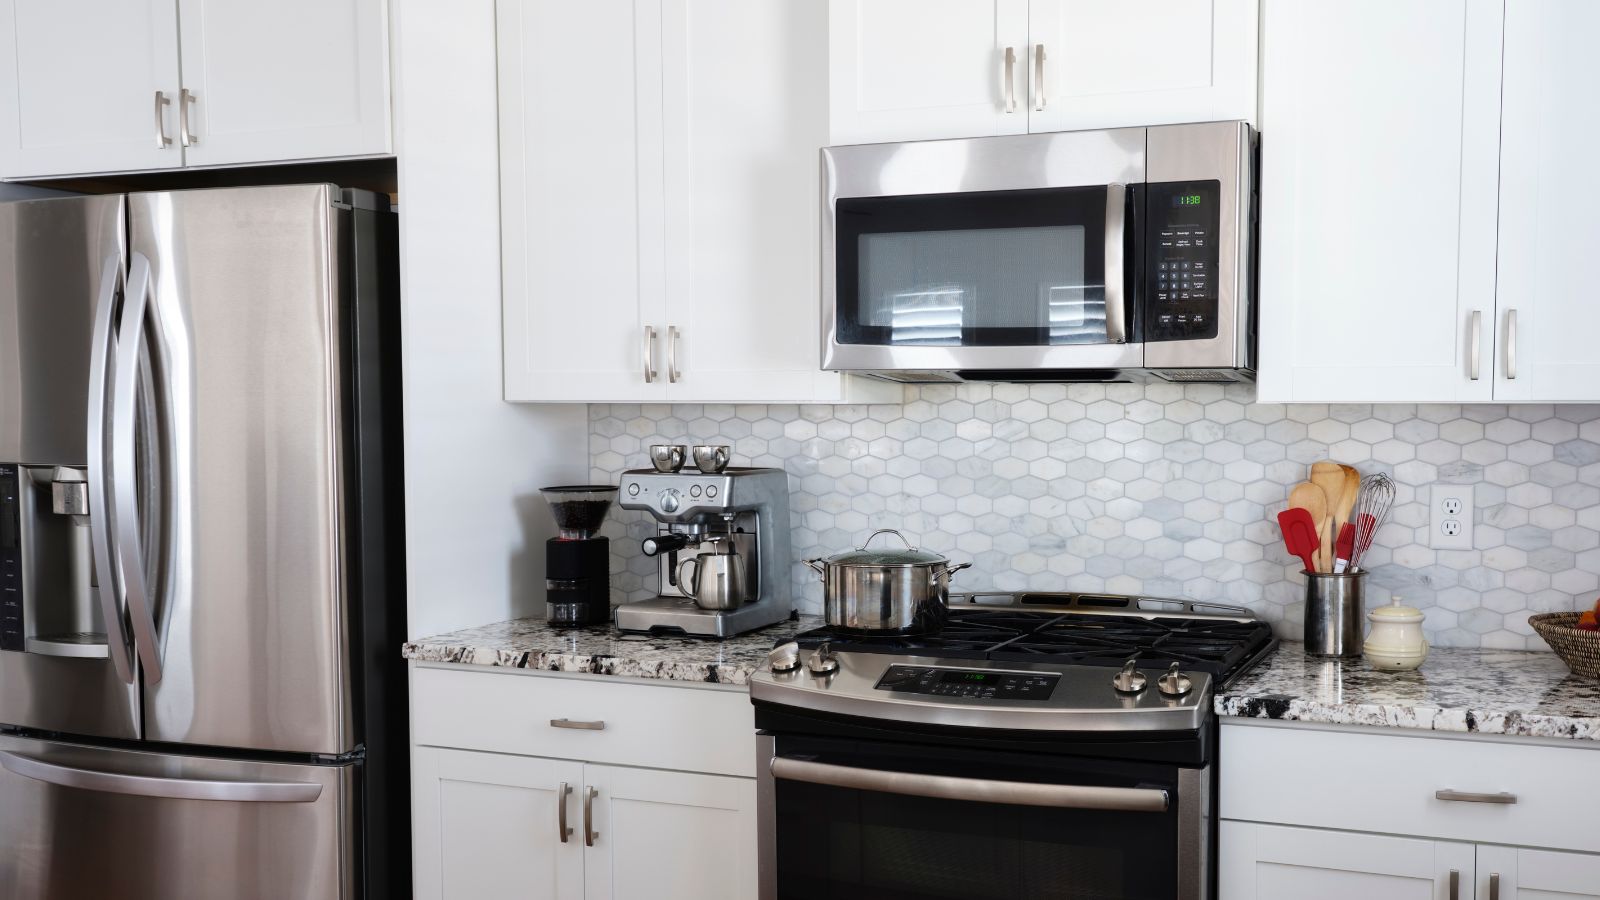
Did you know that your microwave might have a filter? If you have an over-the-stove microwave, the chances are there is a filter in there somewhere, designed to catch any grease and debris from cooking on the stove below before it enters your microwave’s ventilation system and wreaks havoc on it.
While you might be on top of cleaning a microwave, this hidden spot is often forgotten, reducing its efficiency and possibly shortening the lifespan of your microwave, so have you cleaned yours recently, if at all? If not, don't worry, our cleaning experts are here to tell you exactly how.
Our professional cleaners reveal the steps to getting your microwave filter sparkling without damaging it, or your appliance.
How to clean a microwave filter
Just because it is out of sight does not mean that it should be out of mind. Cleaning a microwave filter on an over-the-stove microwave every three to six months (depending on your cooking habits) is a must if you want to get rid of kitchen grease from every nook and cranny.
Otherwise, a build-up of grease can clog the filter, hamper ventilation and cause problems for your microwave down the line.
You will need:
- A plastic bag or container that fits the filter inside
- Baking soda, such as Arm & Hammer, at Walmart
- A fine scrubbing brush. We love the OXO detail cleaning brush set from Amazon
- Dish soap, such as Down Powerwash, from Walmart
- A clean, dry towel
- A replacement charcoal filter, depending on your microwave model

1. Unplug the microwave and remove the filter
Before you can start with these cleaning tips, it is a good idea to unplug the microwave for safety whilst cleaning. With the power shut off, locate and remove the filter itself. This usually looks like a metal or mesh panel on the base of your microwave.
Jonathan Thigpen, professional cleaner and owner of Transparent Cleaning says you will need to ‘apply gentle pressure at the top of the filter to gently remove it.’ There is usually a small button or indent indicating where to press to release the filter.
2. Replace the charcoal filter if needed
Not all microwave filters are the same. Muffetta Krueger, cleaning expert and founder of Muffetta’s Domestic Assistants, points out, ‘It’s often a metal mesh or charcoal filter designed to catch grease and other debris.’
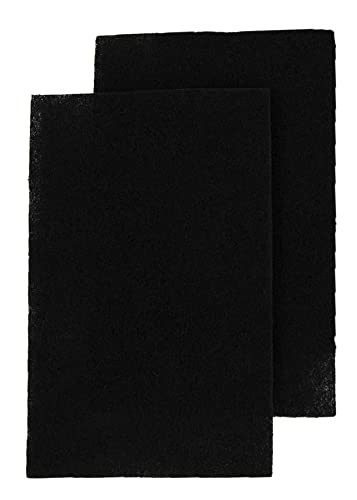
If your microwave has a charcoal filter (a black pad that looks a little like a sponge), this will need to be removed and fully replaced. Check your manufacturer's instructions to ensure you order the correct replacement for your microwave make and model.

These universal charcoal filters, which come in a two-pack, are designed to be cut to size, making them perfect if you are not sure exactly which filters to buy for your microwave's charcoal filter. Charcoal is renowned for its natural odor-absorbing properties.
3. Soak the mesh filter cover
Just as you would clean a range hood, it helps to soak the mesh filter cover to break down grease and make scrubbing easier.
Vanessa Terra Bossart, cleaning expert and owner of Green Terra Cleaning, recommends ‘Filling a sink or plastic bag with hot water and adding a few tablespoons of baking soda. Cleaning with baking soda is an eco-friendly option that helps to break down grease naturally. Let the filter soak completely submerged for 10-15 minutes.’
White vinegar can also help break down grease.
4. Scrub away grime
After letting the grease soften and melt away, you can scrub the remaining debris away.
Taylor Riley, professional cleaner and founder of Boom. Facility Service Advisors, says, ‘You can clean the filter with hot water and dish detergent. Hot water melts grease, reducing its thickness, while detergent breaks down the grease into smaller droplets that can be easily rinsed away. The combination of heat and detergent lifts and removes grease from surfaces.’ A small fine bristle brush can help to get into the small indents in the mesh.
If the grease is still proving difficult to remove, Alex Varela, cleaning expert and owner of Dallas Maids, adds ‘For the cleaning part, I recommend using an effective de-greaser, like Dawn PowerWash [available at Walmart].’
5. Rinse and dry thoroughly
With the grease removed, Alex Varela, cleaning expert, says, ‘Rinse with cold water and let dry. It's important to let the filters dry completely before placing them back in to avoid fire risks.’
Finish by replacing the filter the same way you removed it, pressing it back into place until you hear a click.
Deep cleaning a kitchen and focusing on all of these small areas regularly has a huge host of benefits, from extending the lifespan of your appliances to making a kitchen smell nice, to preventing food contamination. It might seem like a hassle, but it is worth the effort.


