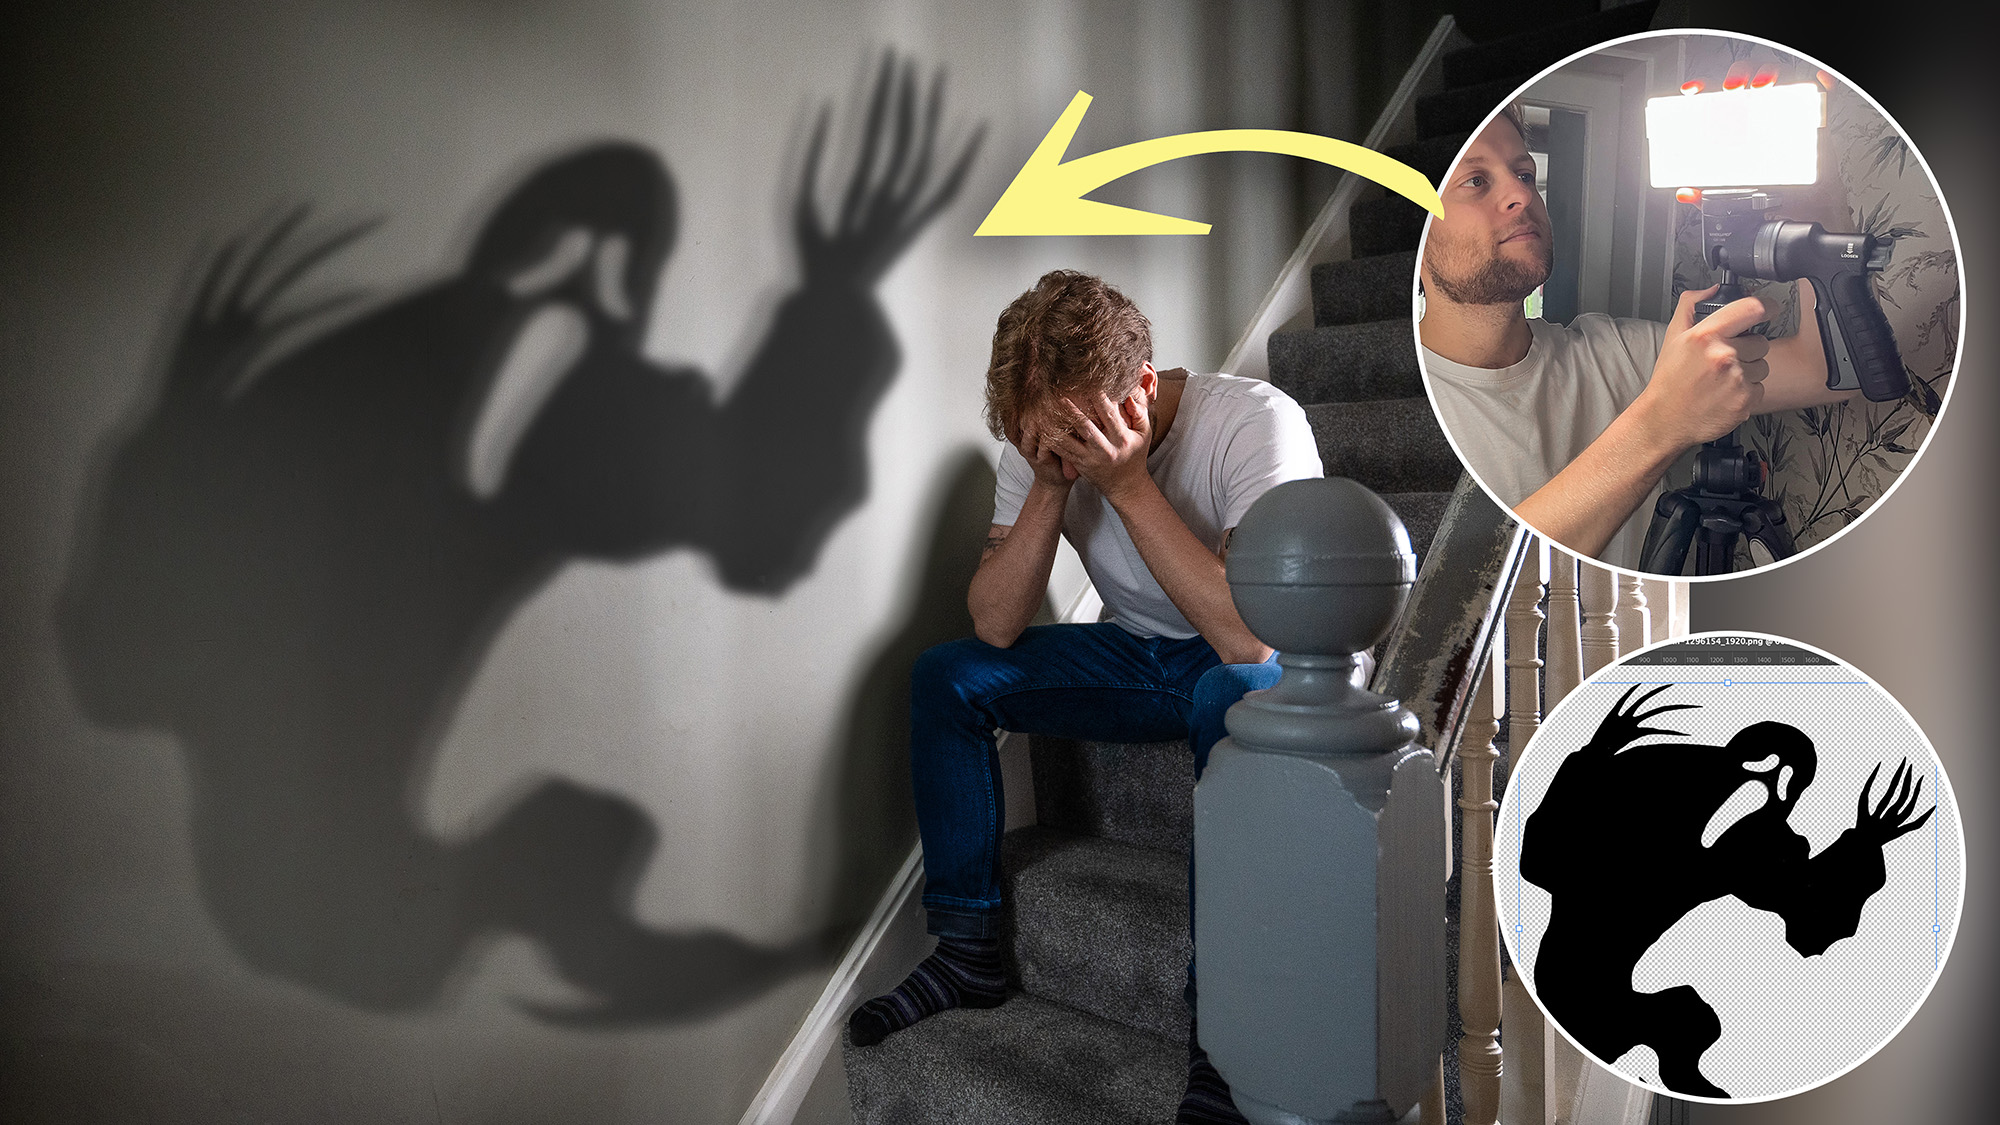
If you're visiting Digital Camera World on a dark autumn night and you come across this terrifying tutorial, you might just feel a creeping sense of foreboding. After all, it's the spookiest time of the year. But perhaps what you're mistaking for unease is a burning desire to do some Halloween-themed photography. This seasonal project is sure to get those creative pumpkin juices flowing. All you need is the best standard zoom lens or the best 50mm lens, a volunteer and layer-based image-editing software like Adobe Photoshop CC or Affinity Photo 2.
The shoot itself is frightfully simple. Frame your image on a tripod, direct a light source onto your subject to create a shadow and fire the shutter. Then capture an identically framed and lit image, without the subject. Post-production is where the magic happens. You create a spooky shadow, which you then project onto the wall, using Photoshop to contort it into a believable position. A few layer masks, a bit of blur and an opacity change later and you've got a horrifying specter shadow troubling your hapless subject.
Read on to find out more, if you're brave enough...
1. Set up your spine-chilling scene
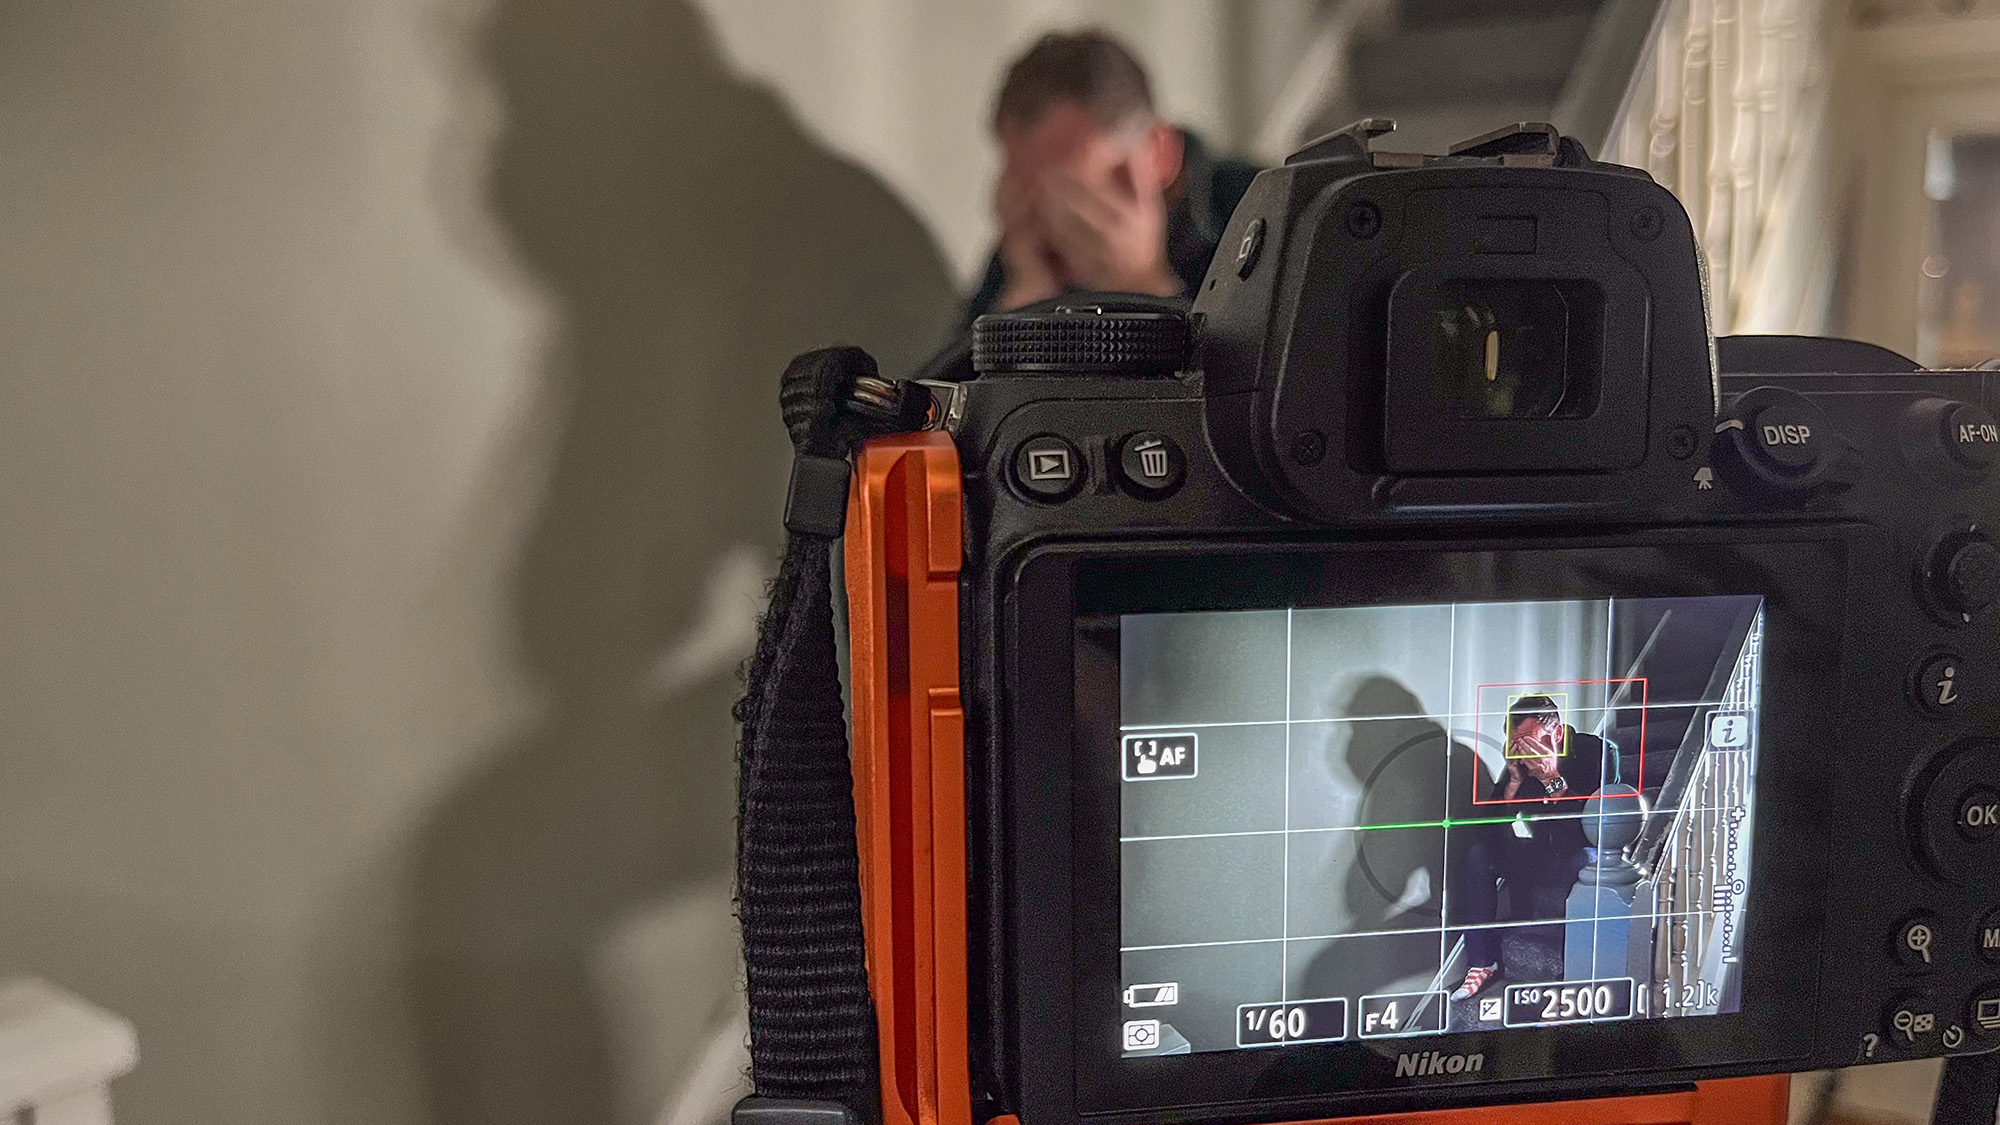
You don't have to position your subject on a set of stairs, but you must set up somewhere near a large, bare wall so you have a blank canvas in which to 'project' your shadowy spirit. The room doesn't have to be pitch black, we shot our image in the middle of the day, but close any doors to minimize light. A tripod will allow you to capture two identical frames: one with your subject and one where they're absent. I shot wide open and boosted my ISO to 2500 so I could reach 1/60 sec, enough to freeze any slight movements from the subject.
2. Cast a creepy shadow
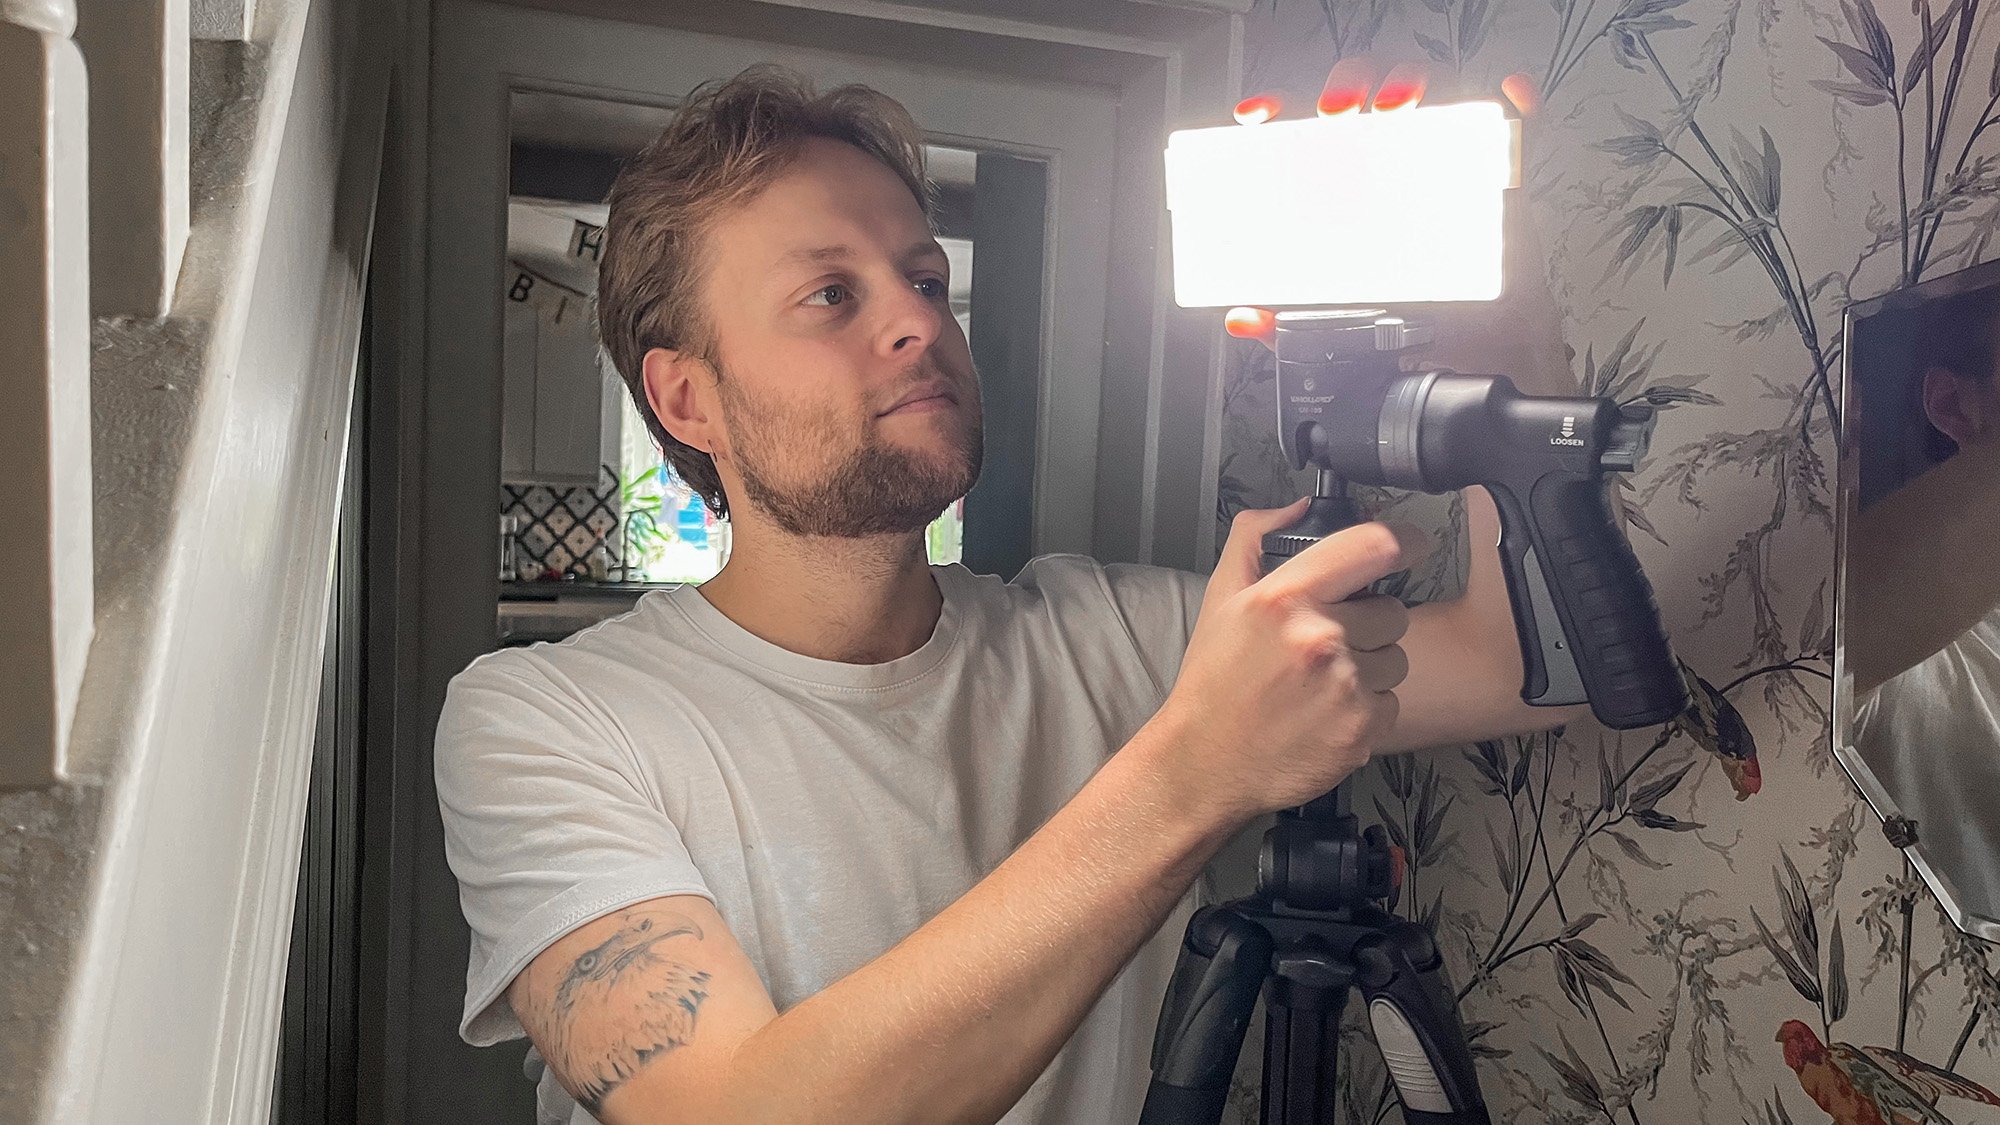
Depending on your location and composition, you could set the shadow behind, to the side or in front of your subject, but whatever you choose, you'll need the shadow from your subject to behave the same. You can control your subject's shadow by directing a flash or continuous light source onto them. I placed a Lume Cube Panel behind and to my subject's left, to cast a shadow in front of them. Use Single-point AF to focus on your subject and take the shot. When you take the second shot, don't change your lighting setup.
3. Create your spooky specter
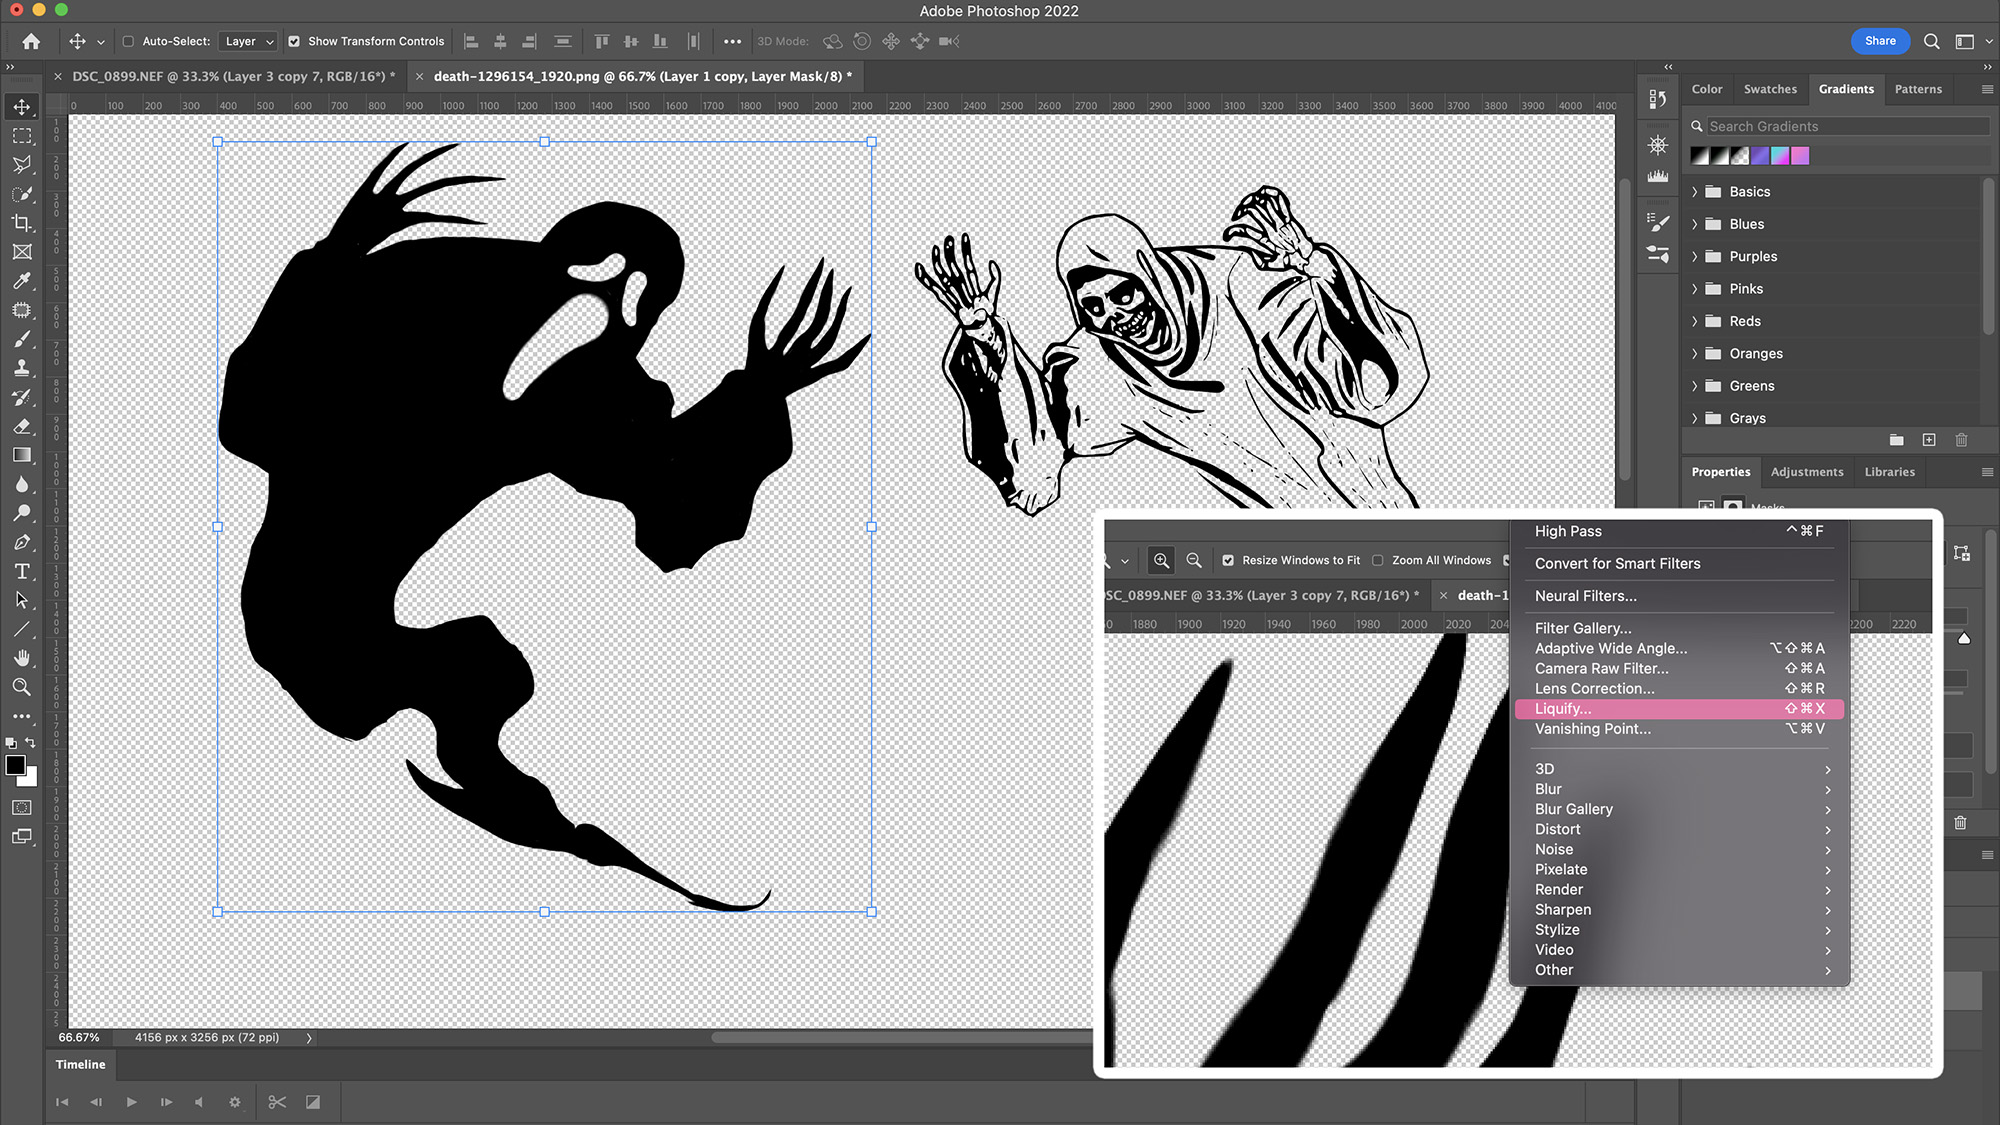
The shadow is a transparent layer painted with a black brush. I used an image from Pixabay (search for 1296154) as a base. Open it in Photoshop and, on a new layer, use a black brush to trace around and fill it. Edit > Transform > Flip Horizontal will flip the silhouette. Select Edit > Transform > Warp to contort your image into a hunched position. Go to Filter > Liquify and use the Forward Warp tool to tease out the fingers to make them look gnarled. Finally, add a layer mask and use a black brush to create the eyes and mouth.
4. Make a monstrous layer mask
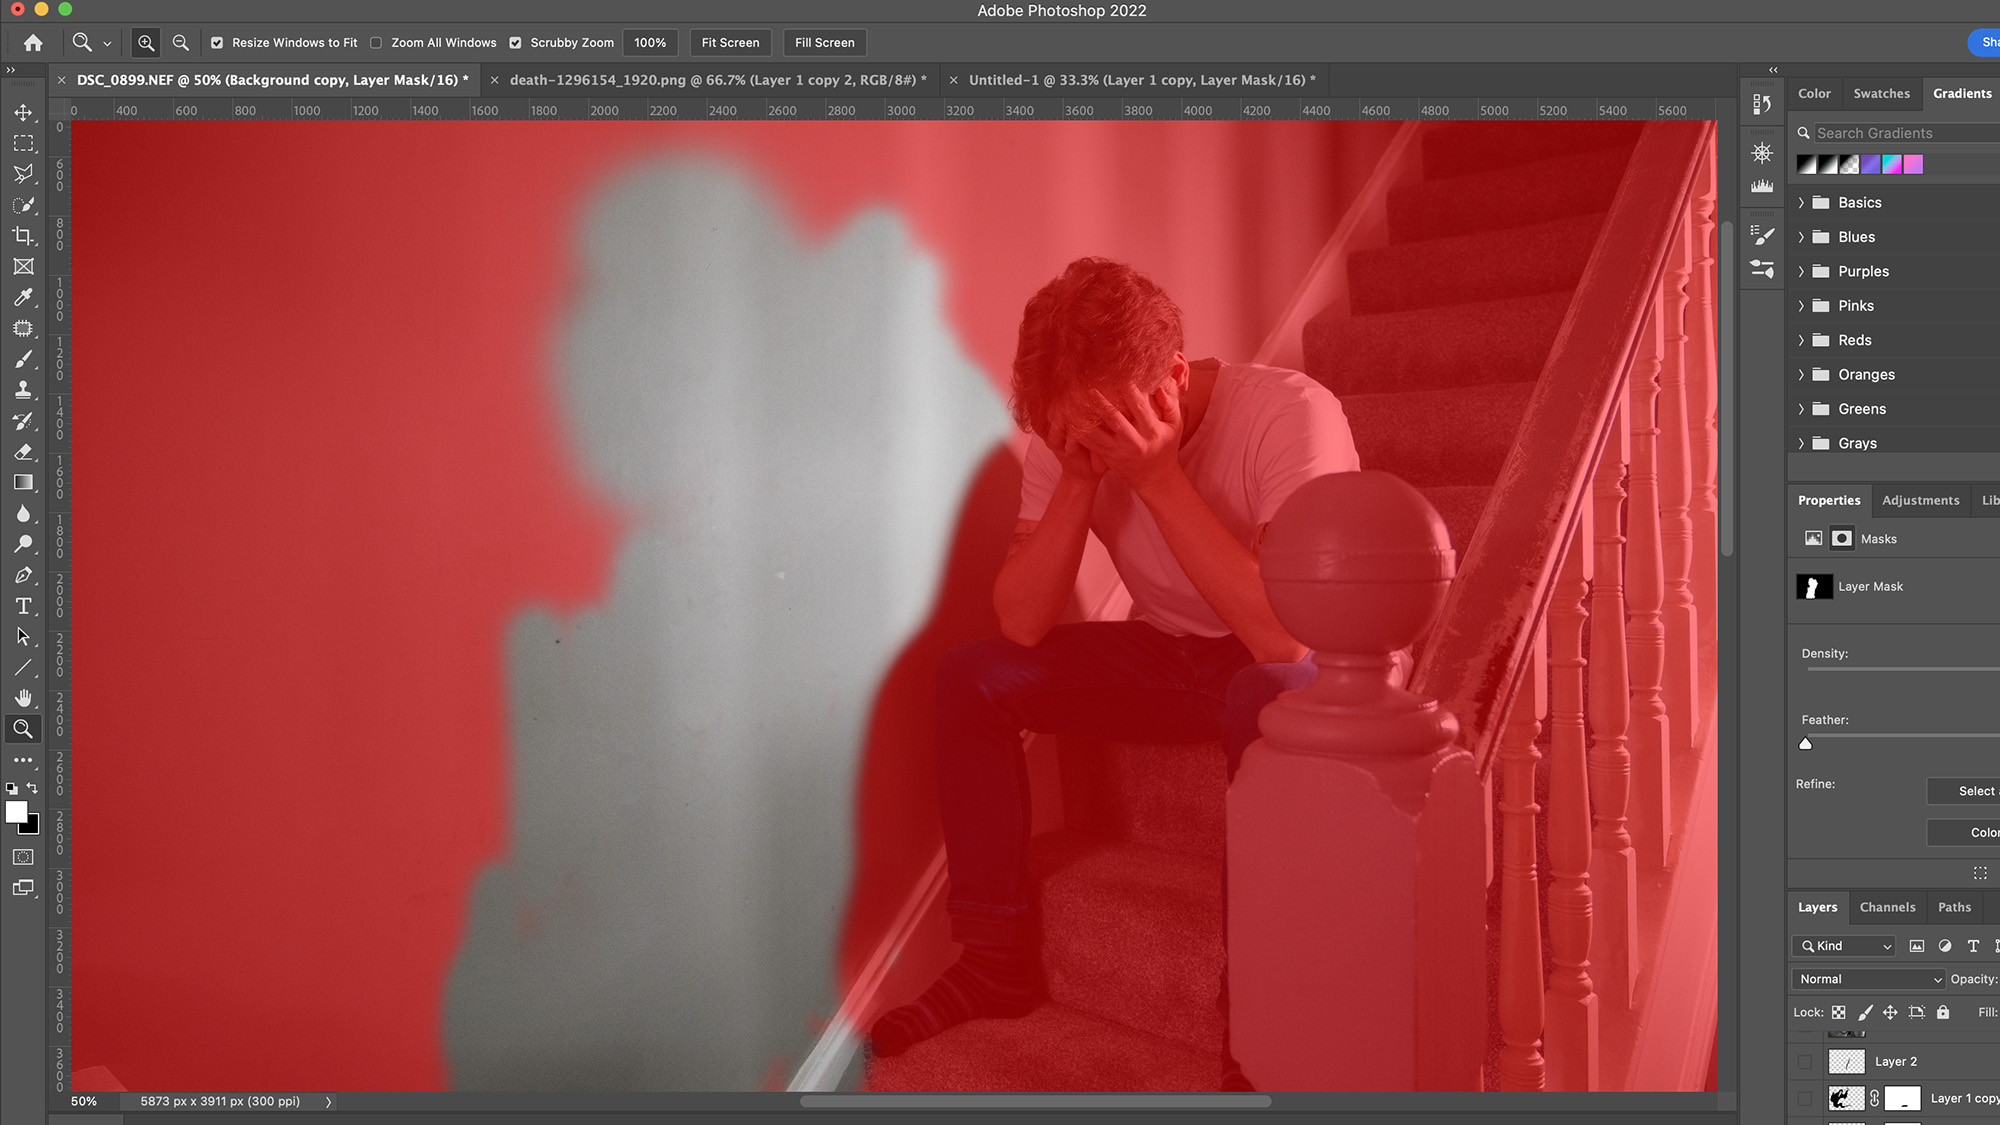
Select your two images (with and without the subject) in Adobe Bridge and perform any necessary tonal edits or profile corrections in Camera Raw, ensuring both images are selected so the edits are identical. Hit Done, select the images again in Bridge and select Tools > Photoshop > Load Files into Photoshop Layers. Select both layers in Photoshop and select Edit > Auto Align Layers. Apply a layer mask to the top (subject) layer and use a soft black brush to reveal the layer below, shaping the shadow as pictured.
5. Add bloodcurdling blur
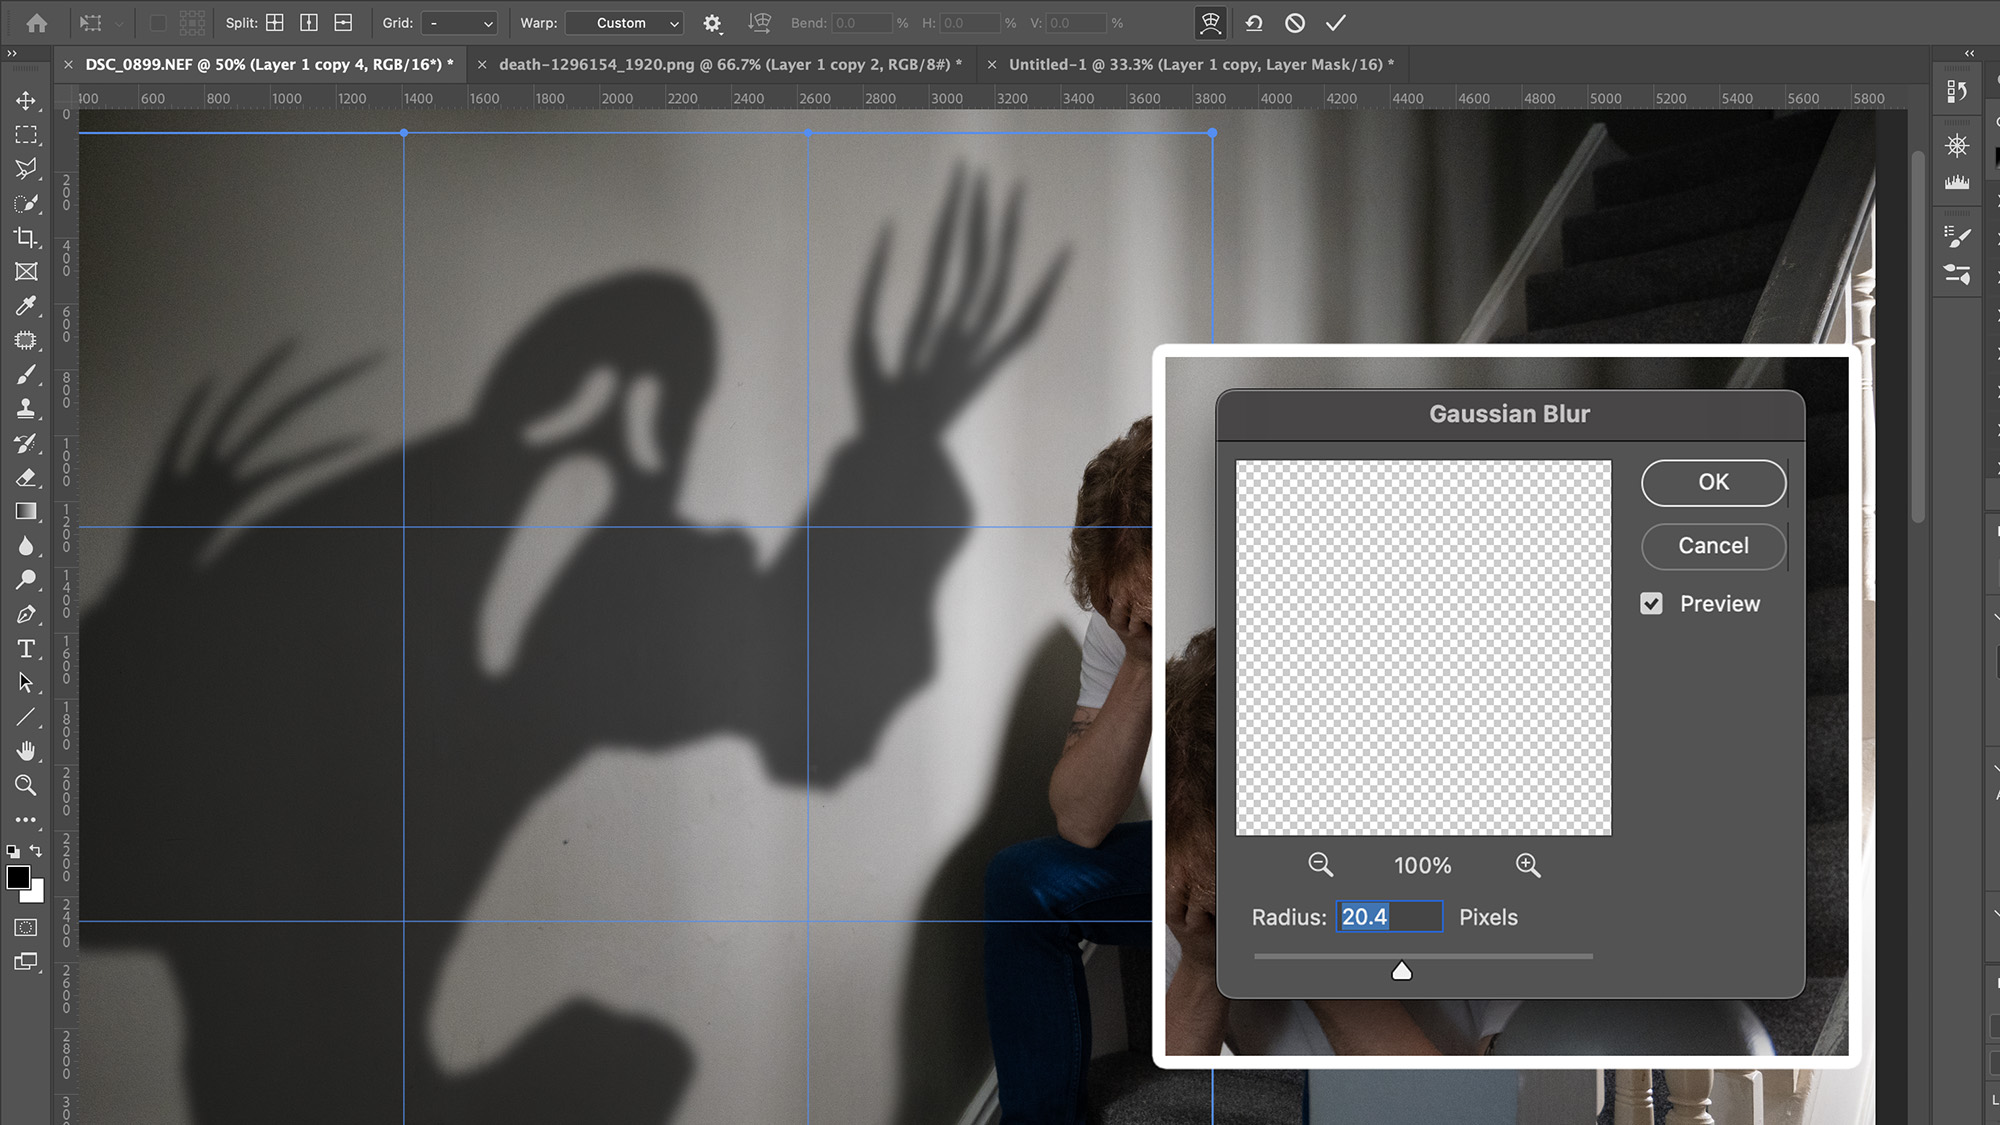
Import your shadow layer into the same document as the two images. Make sure it's the top layer and position it accordingly using as many of the Transform tools as required. We used Scale to enlarge it slightly, Rotate to angle it accordingly and Warp to make it hunch over the subject more. The bottom will need to overlap with the existing shadow on the wall. Reduce the opacity of the layer to match the same shadow (I used 63%). Select Filter > Blur > Gaussian Blur and boost the Radius so the blur matches the shadow on the wall.
6. Tweak the terrifying tones
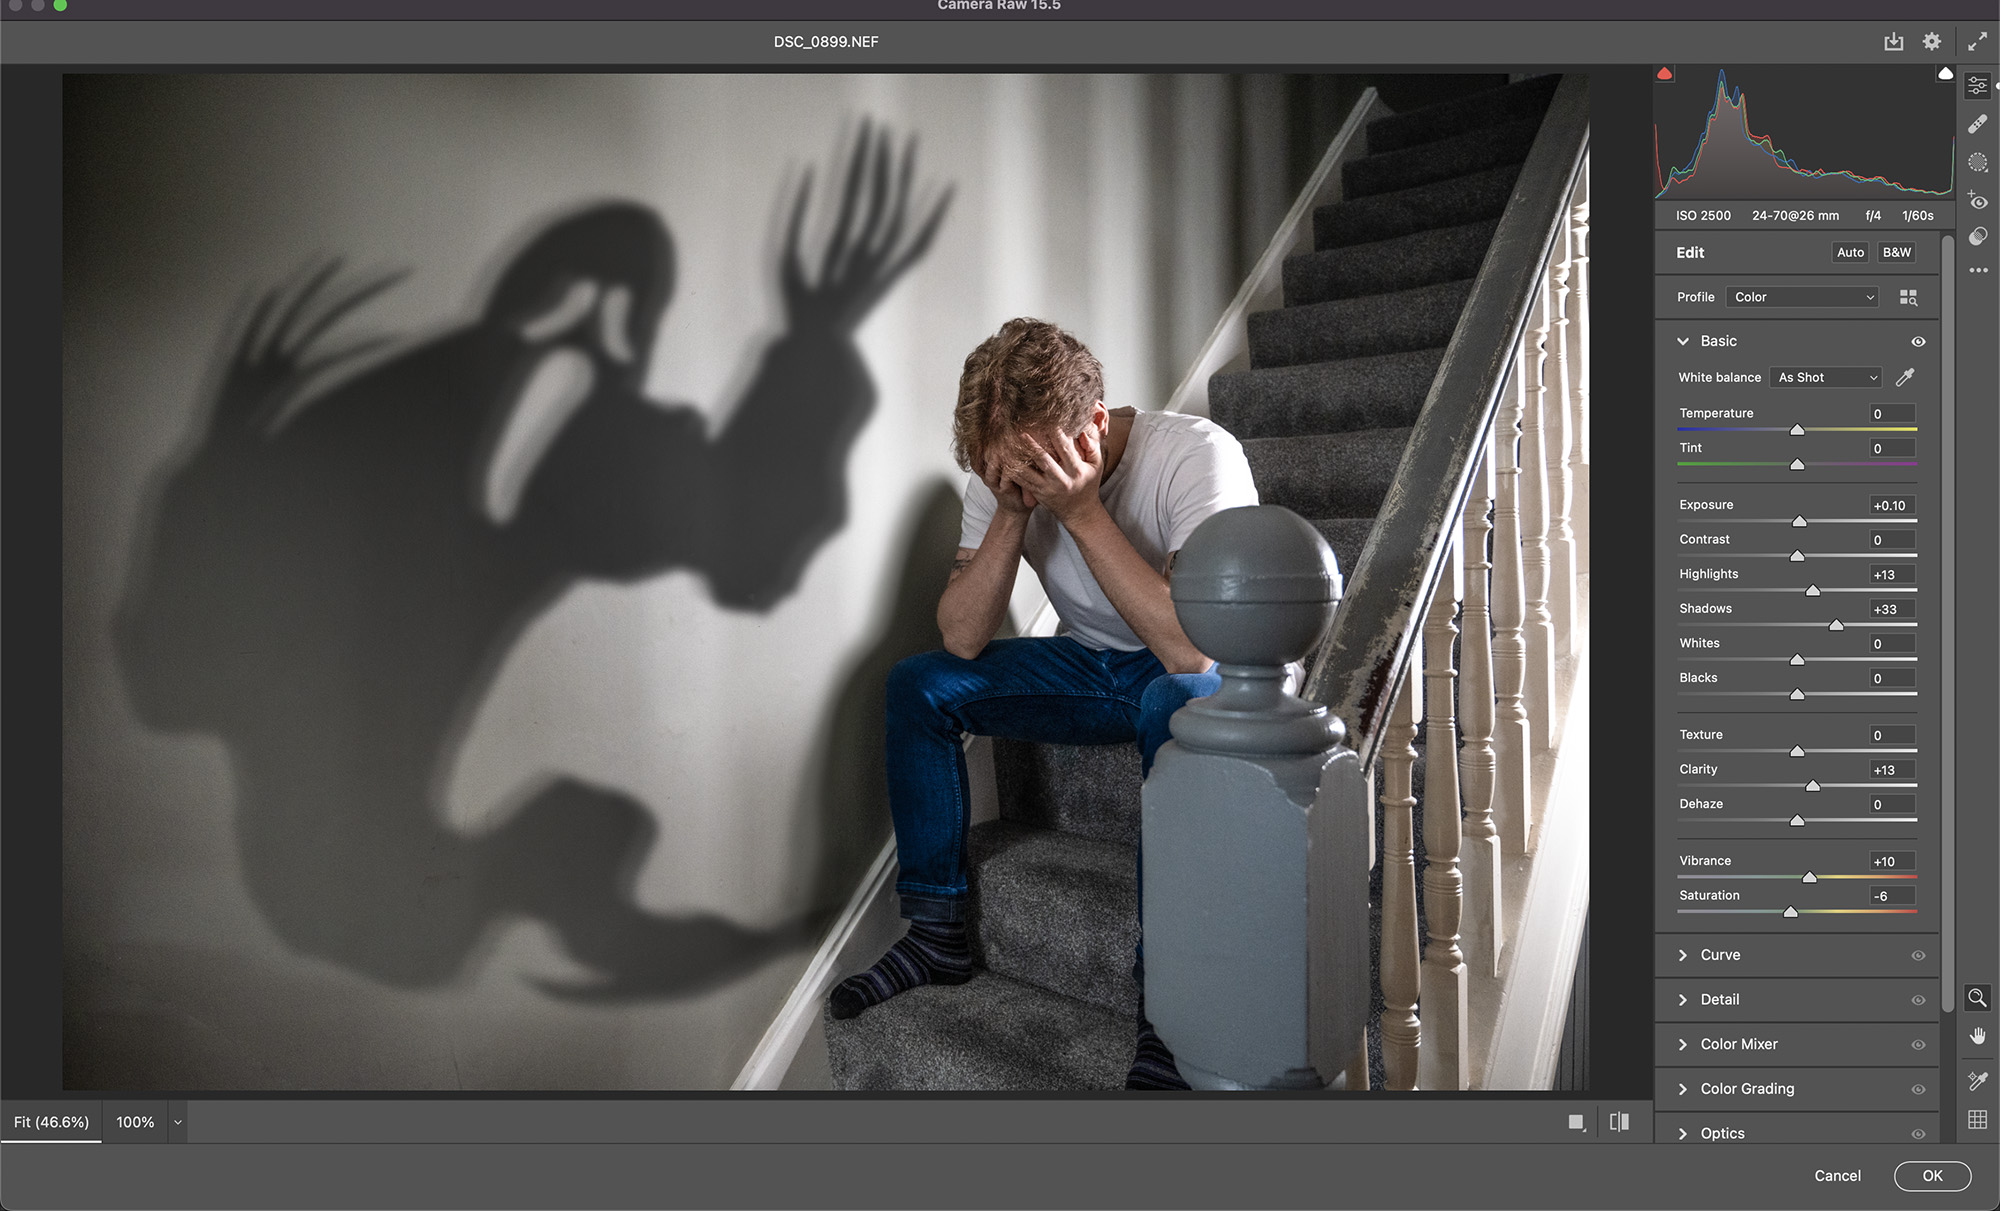
Add a layer mask to the spooky shadow and use a black brush to tidy where it meets the existing shadow in the image (refer to the 'top tip' below to learn more ). Hold Shift+Ctrl/Cmd+Alt+E to make a flattened copy of all visible layers. You may notice that where the two shadows intersect, there's a dark patch due to the opacity of the spooky shadow allowing the other shadow to show through. This can be blended with a bit of dodging and burning. Finish by selecting Filter > Camera Raw Filter and making your preferred tonal edits.
Top tip: Level up your shadow
Pay attention to how the real shadow in your image looks. Mine has a secondary lighter shadow, a bit like a drop shadow, and the further away it gets from the subject, the lighter it becomes. I replicated this by duplicating the shadow layer (Ctrl/Cmd+J), reducing the opacity to 21% and using the Move tool to offset it.
The drop-off was then created by merging the two shadow layers together and applying a layer mask. Select the Gradient tool, click on the gradient color box and in the Gradient Editor window set the color to black (left) and white (right). You can then draw a Linear Gradient across your shadow to simulate drop-off.
If you're interested in spooky portraits you might be interested in the best lens for portraits or the best LED light panels.


