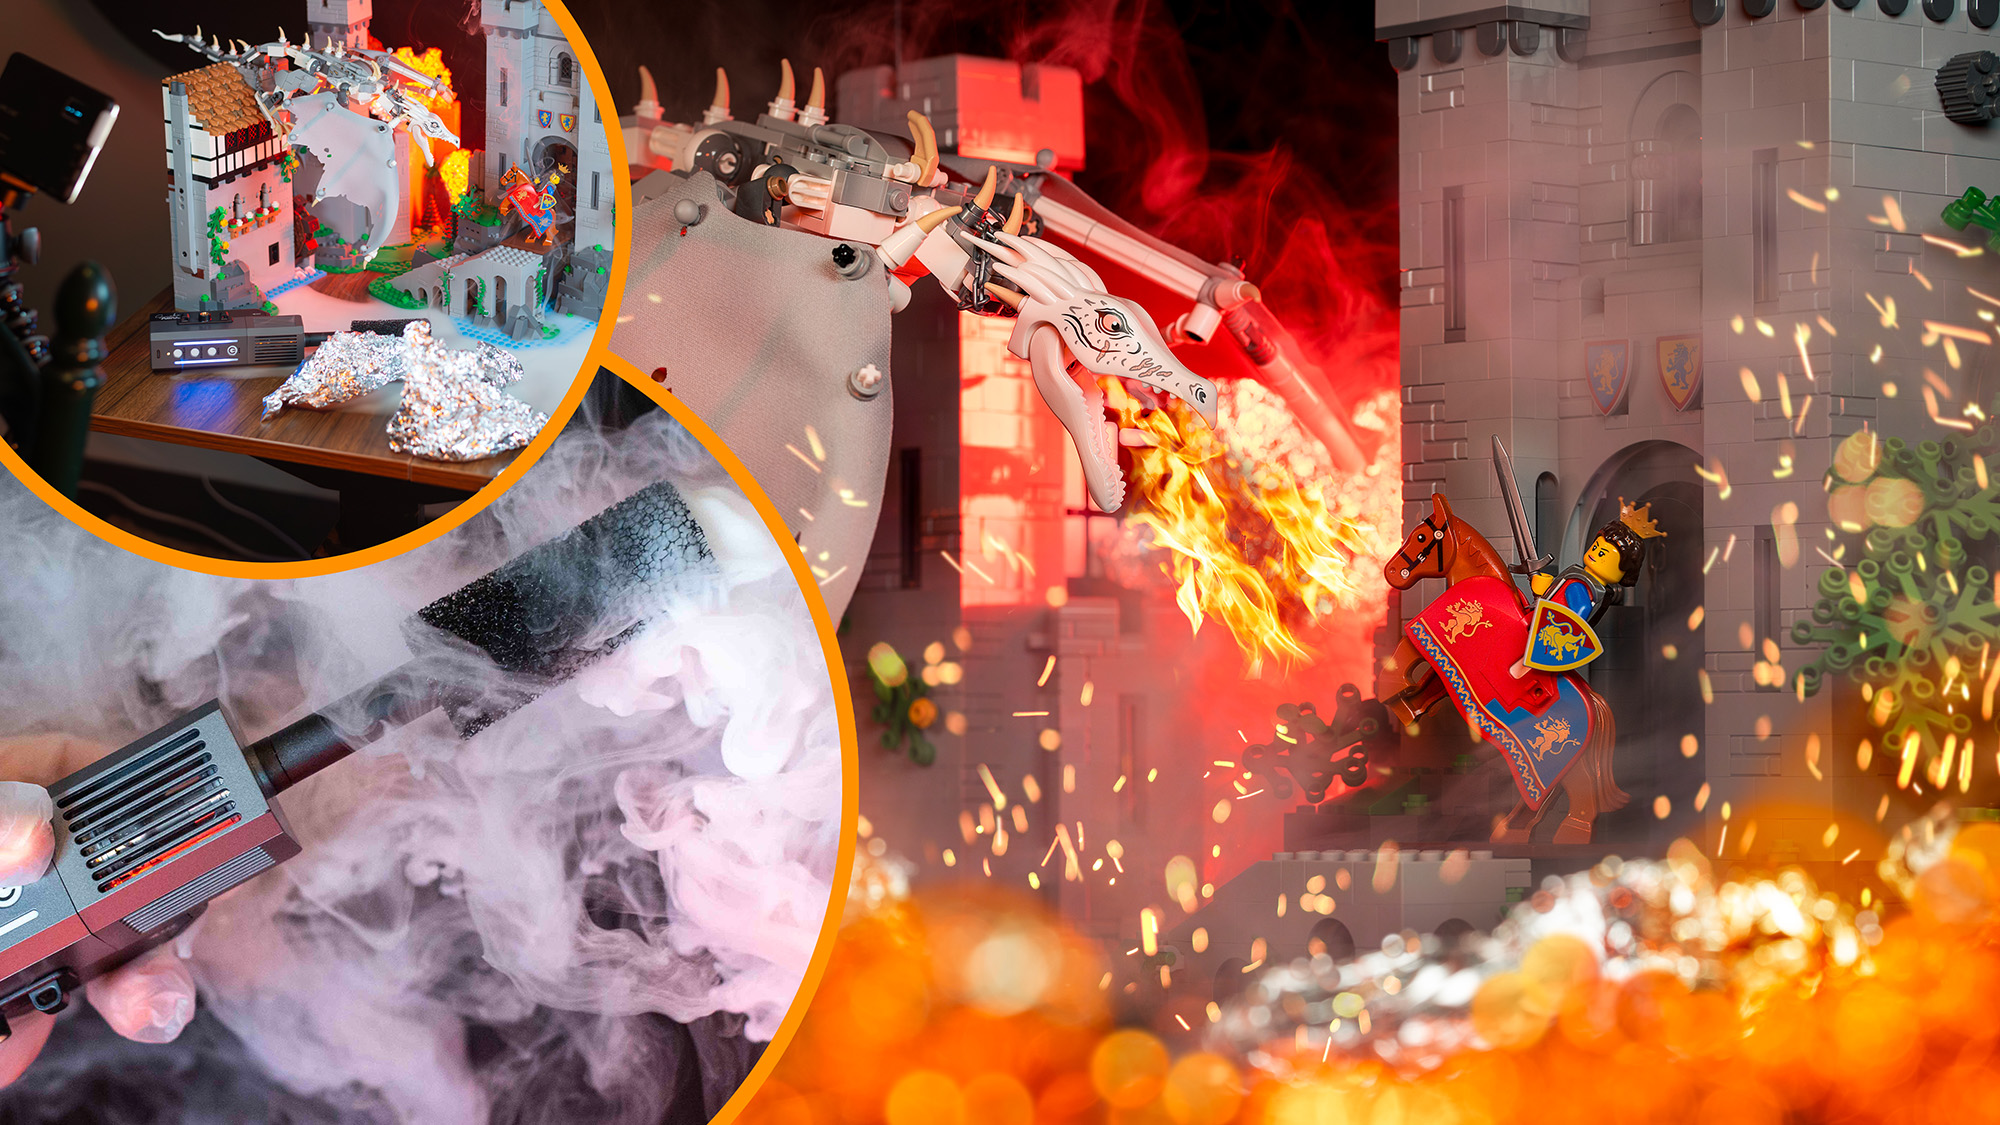
If you're a film buff who dreams of capturing cinematic action sequences, then short of hiring an army of actors, set designers, and a practical effects crew – or embarking on a career as a film stills photographer – cinematic toy photography is as close as you're going to get. So when I decided to capture a queen facing off with a fiery dragon, I attached the best macro lens I could find to my camera and turned to everyone's favorite construction toy, Lego.
I used the Lego Lion Knights' Castle as a backdrop for my fantasy scene, but with a little creativity, you could use any Lego sets or action figures you might have lying around. And while a large set provides you with more freedom, a little creative framing, and out-of-the-box thinking can make even a tiny setup work just as well.
While I used a little bit of Photoshop magic to enhance this image by adding flames coming out of the dragon's mouth and a few embers, the lion's share of the special effects was practical. I used the PMI Gear Smoke Ninja, a portable smoke machine to provide the smoke. While the bokeh, used to simulate flames, is simply scrunched-up pieces of aluminum foil placed very close to the camera, reflecting orange and red lighting from the best LED panels for photography.
The PMI Gear Smoke Ninja
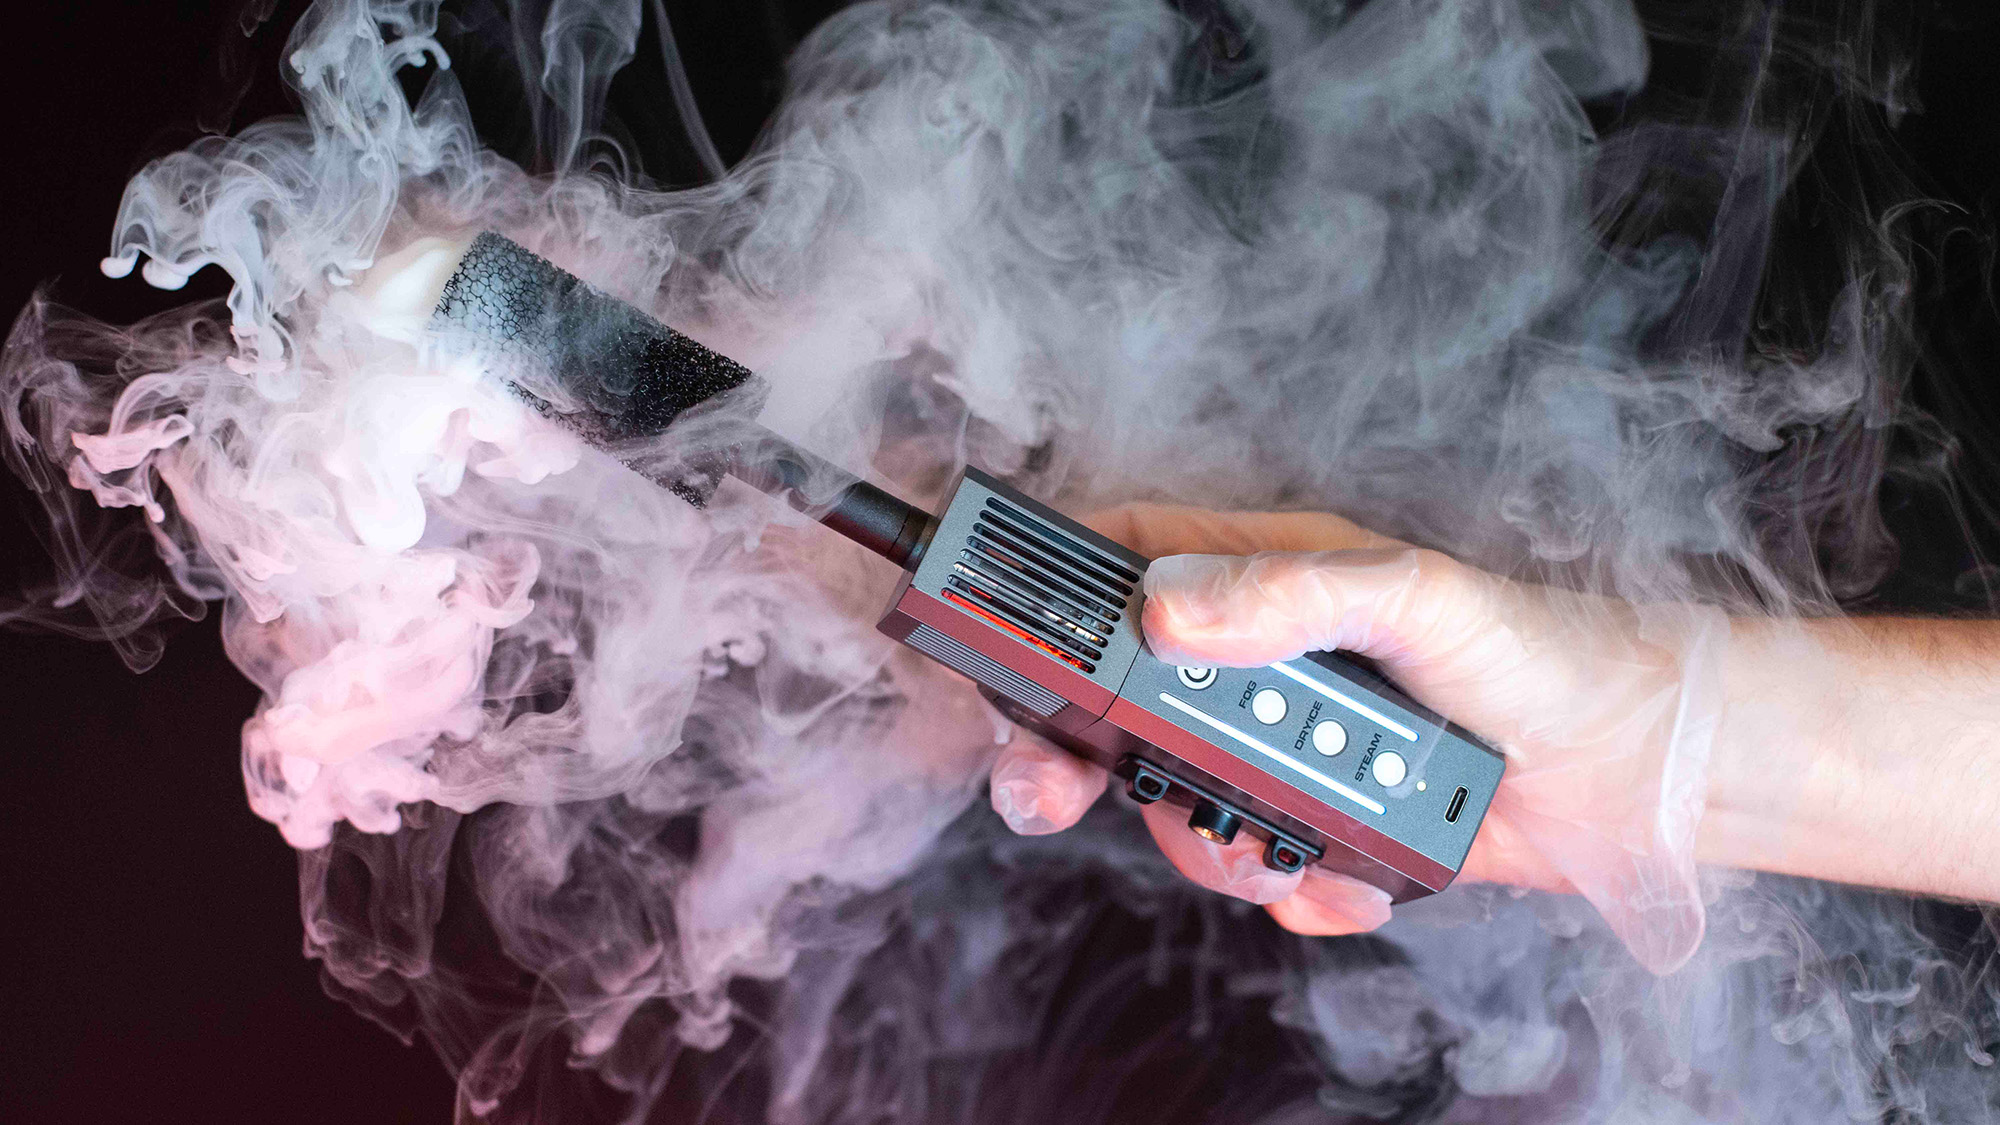
I enhanced my fiery special effects by using the PMI Gear Smoke Ninja. This portable little device is designed for photographers and has three different smoke settings. Its small size and thin nozzle attachment make it ideal for precise toy photography applications. If you have a conventional smoke machine at home, that should work, too. Less is often more, so don't create too much haze as this can hamper image quality.
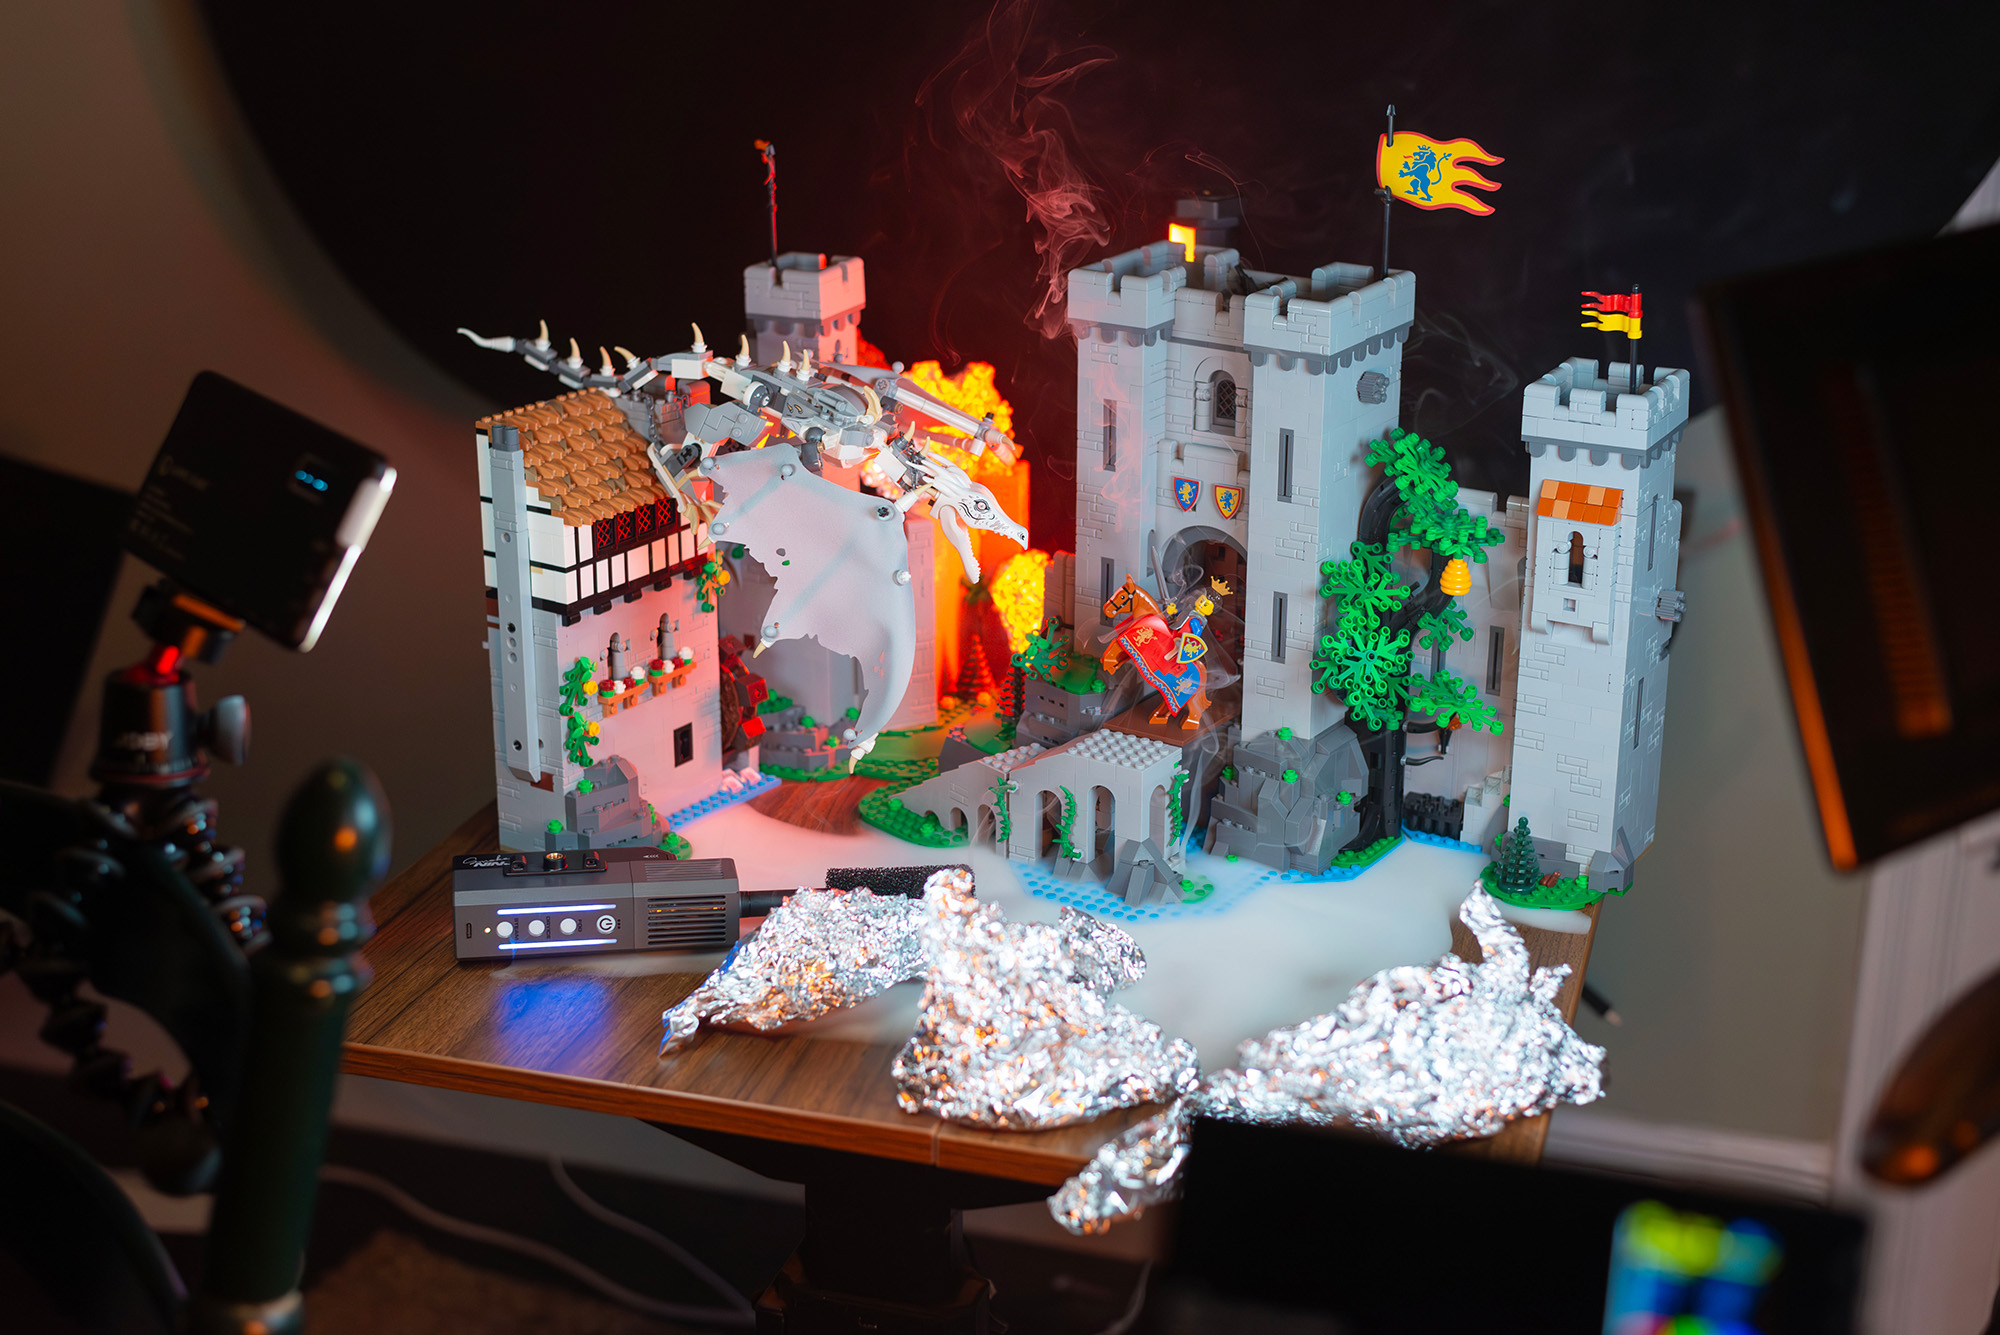
1. Place foil in the foreground
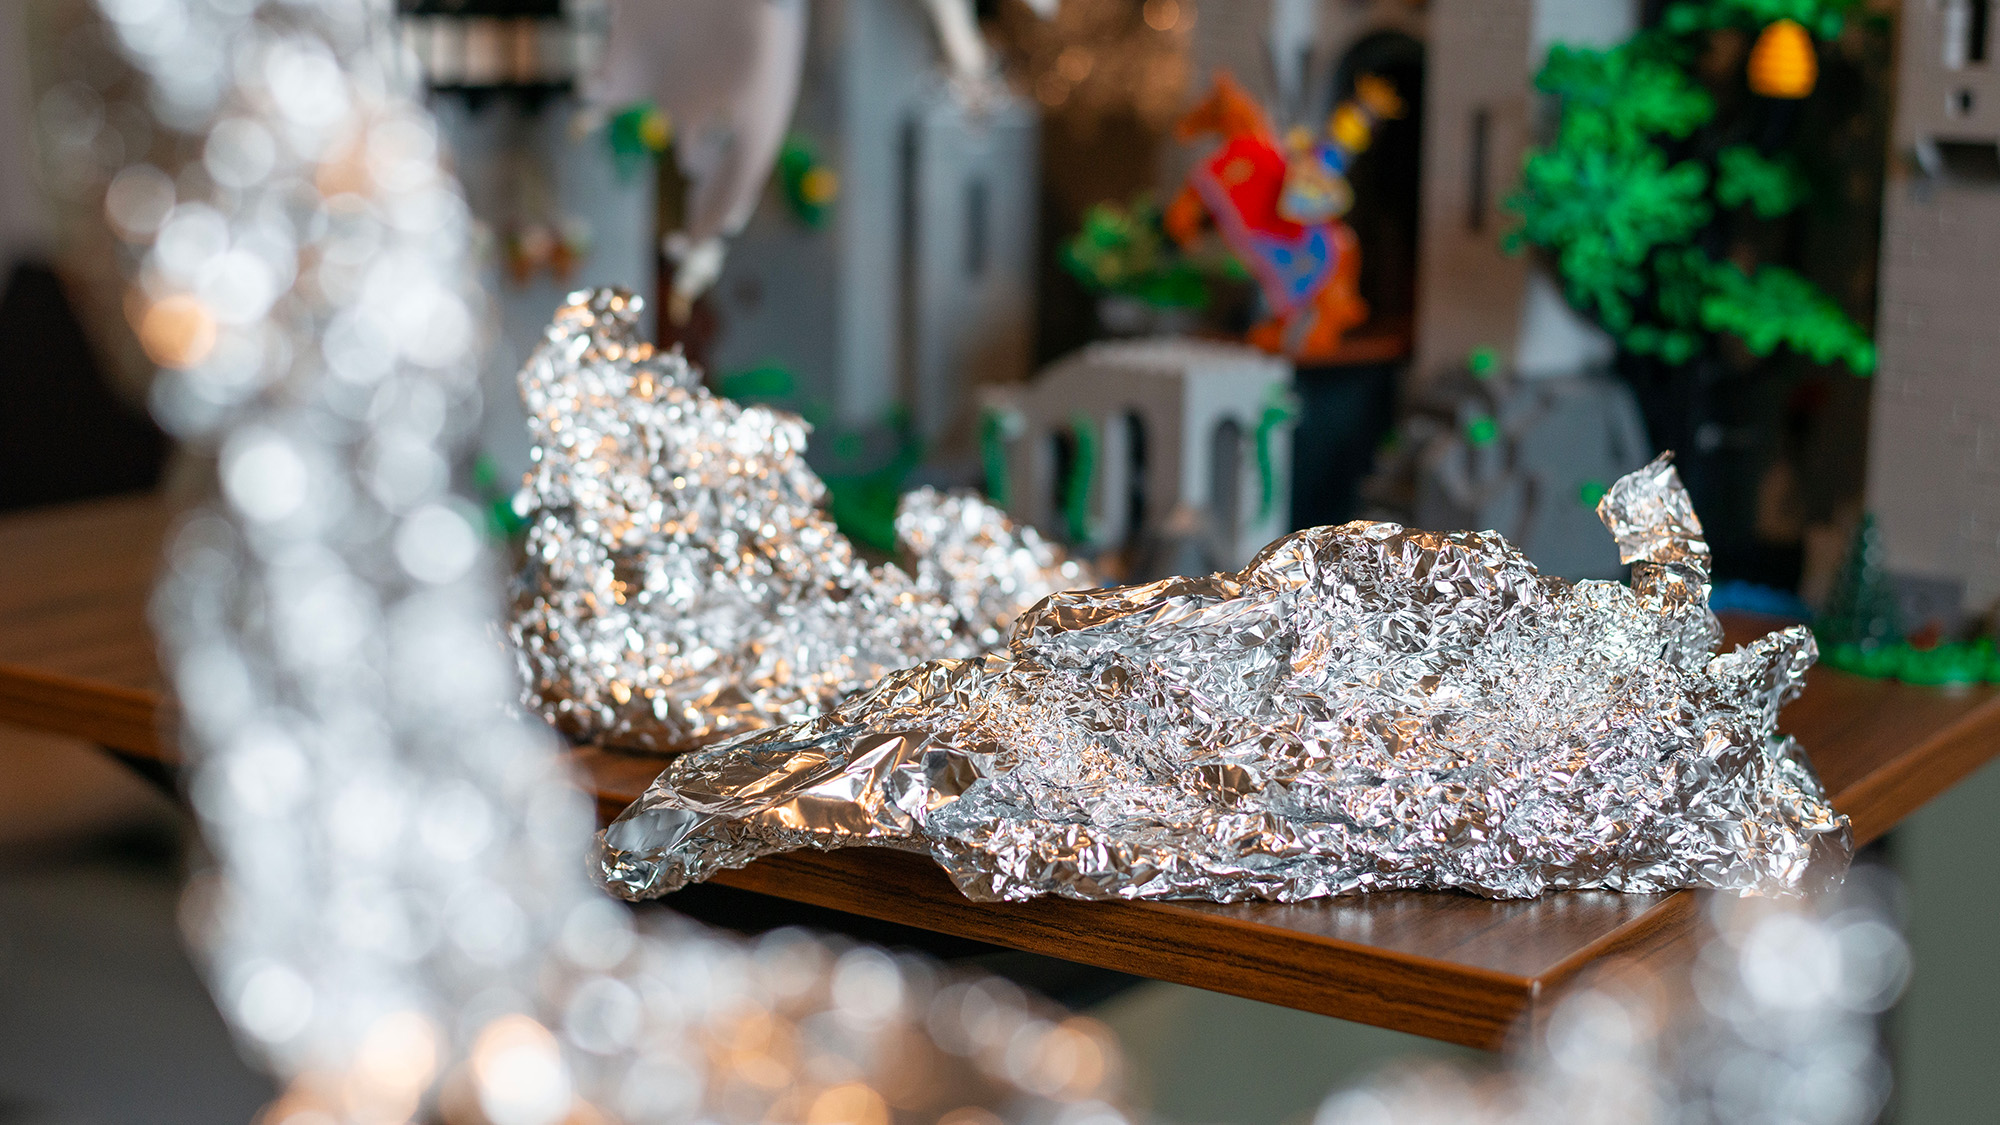
You can use scrunched-up sheets of aluminum foil to reflect light and create bokeh, simulating flames. Ensure the shiny side is on the outside and position the foil far enough away from the point of focus so it's blurred into attractive discs of bokeh. This means positioning it suitably far into the foreground or background (I did both). A neat trick is to set up a couple of layers of aluminum foil in the foreground to create different-sized discs of bokeh. This will add depth to your fabricated flames. I used a tripod to hold the foil in front of the lens.
• Read more: Common tripod mistakes photographers make
2. Illuminate the foil to fake fire
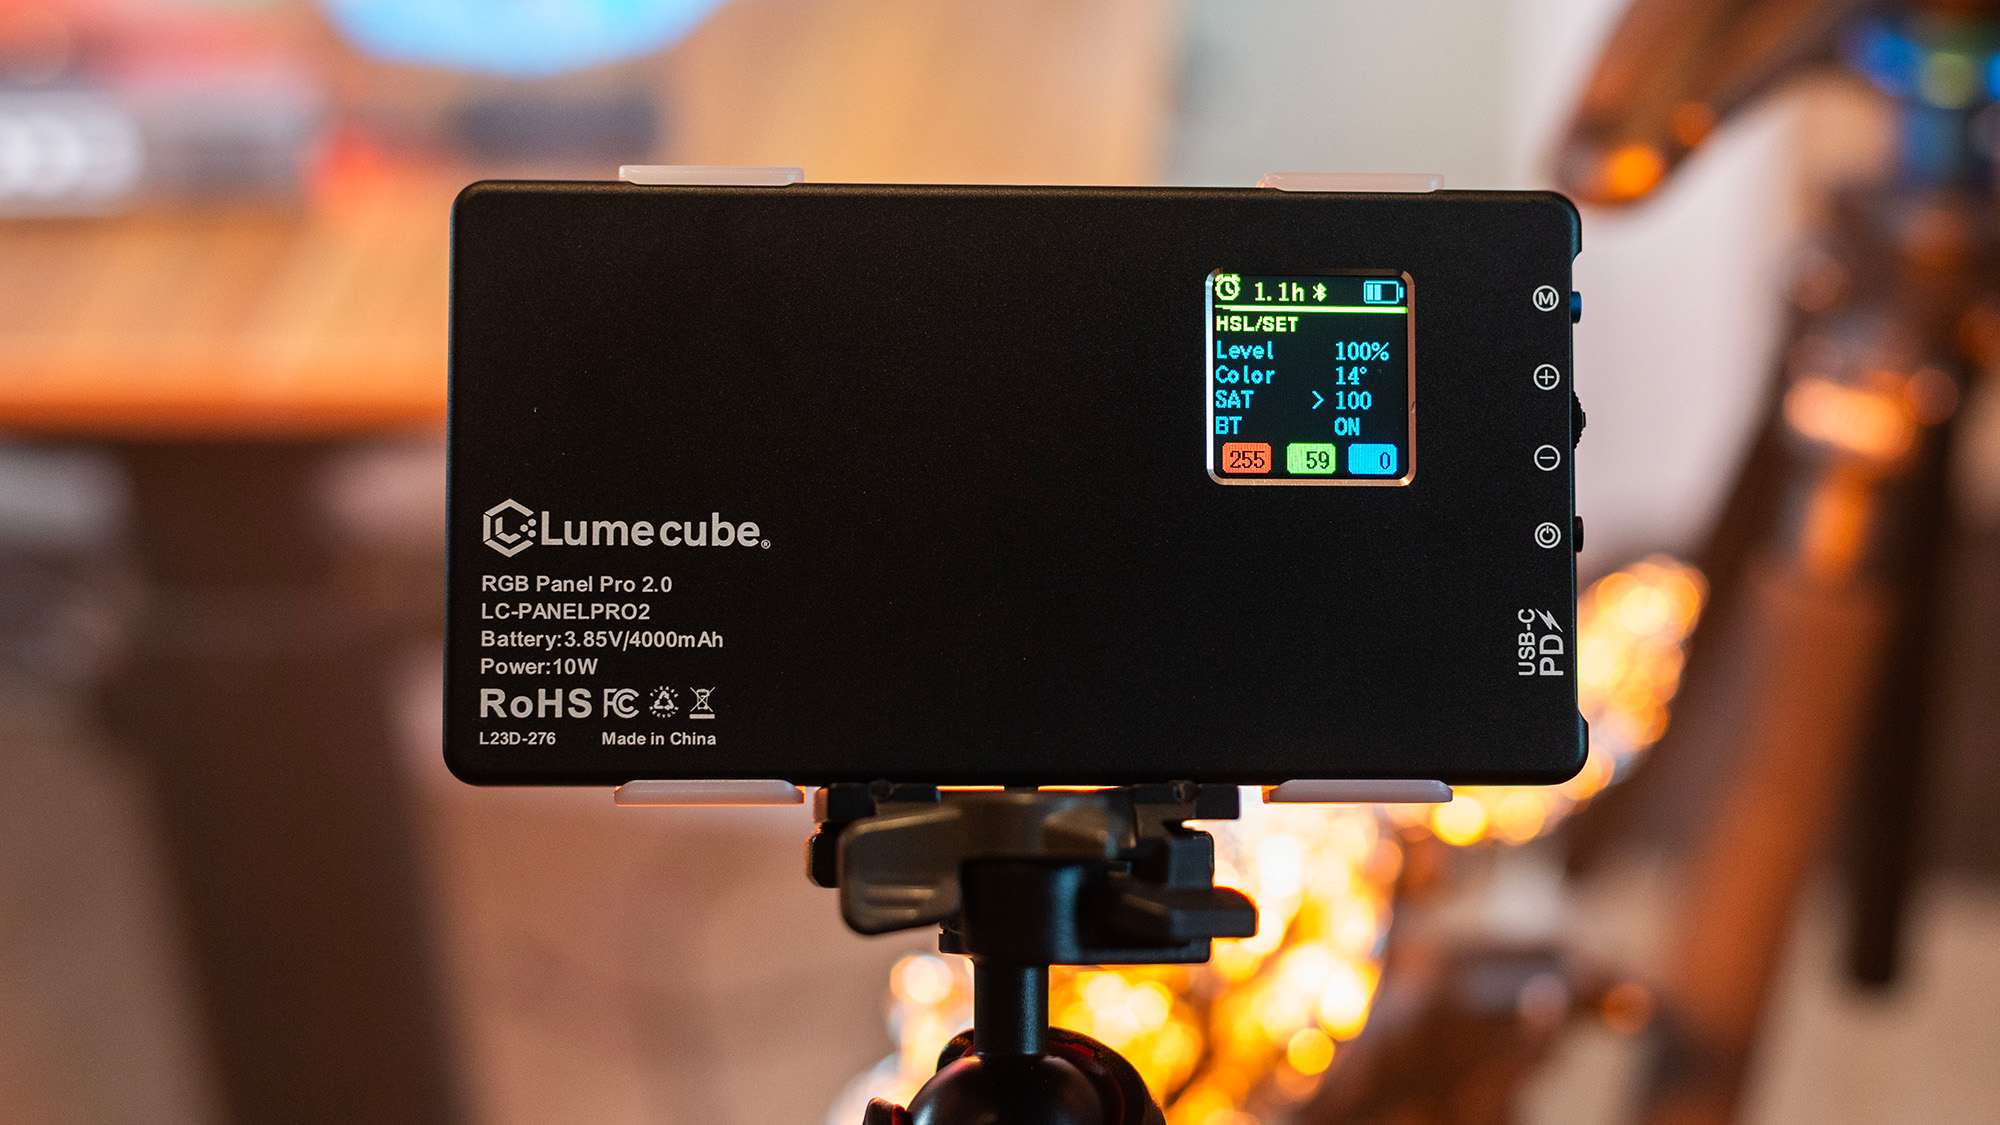
I placed key and fill lights on either side of the setup, directed a red LED light onto the foreground foil and a second red LED light (hidden behind the castle) onto the background foil. LED panels are a great choice as they aren't too bright; otherwise, it's easy to flood close-up subjects with too much light. Models such as my Lume Cube RGB Panel Pro 2.0 allow you to emit various colors. If you don't have colored lights, gels will do. And if you have no dedicated lighting, get creative with torches, lamps, and even the red light on a head torch.
3. Dial in your camera settings
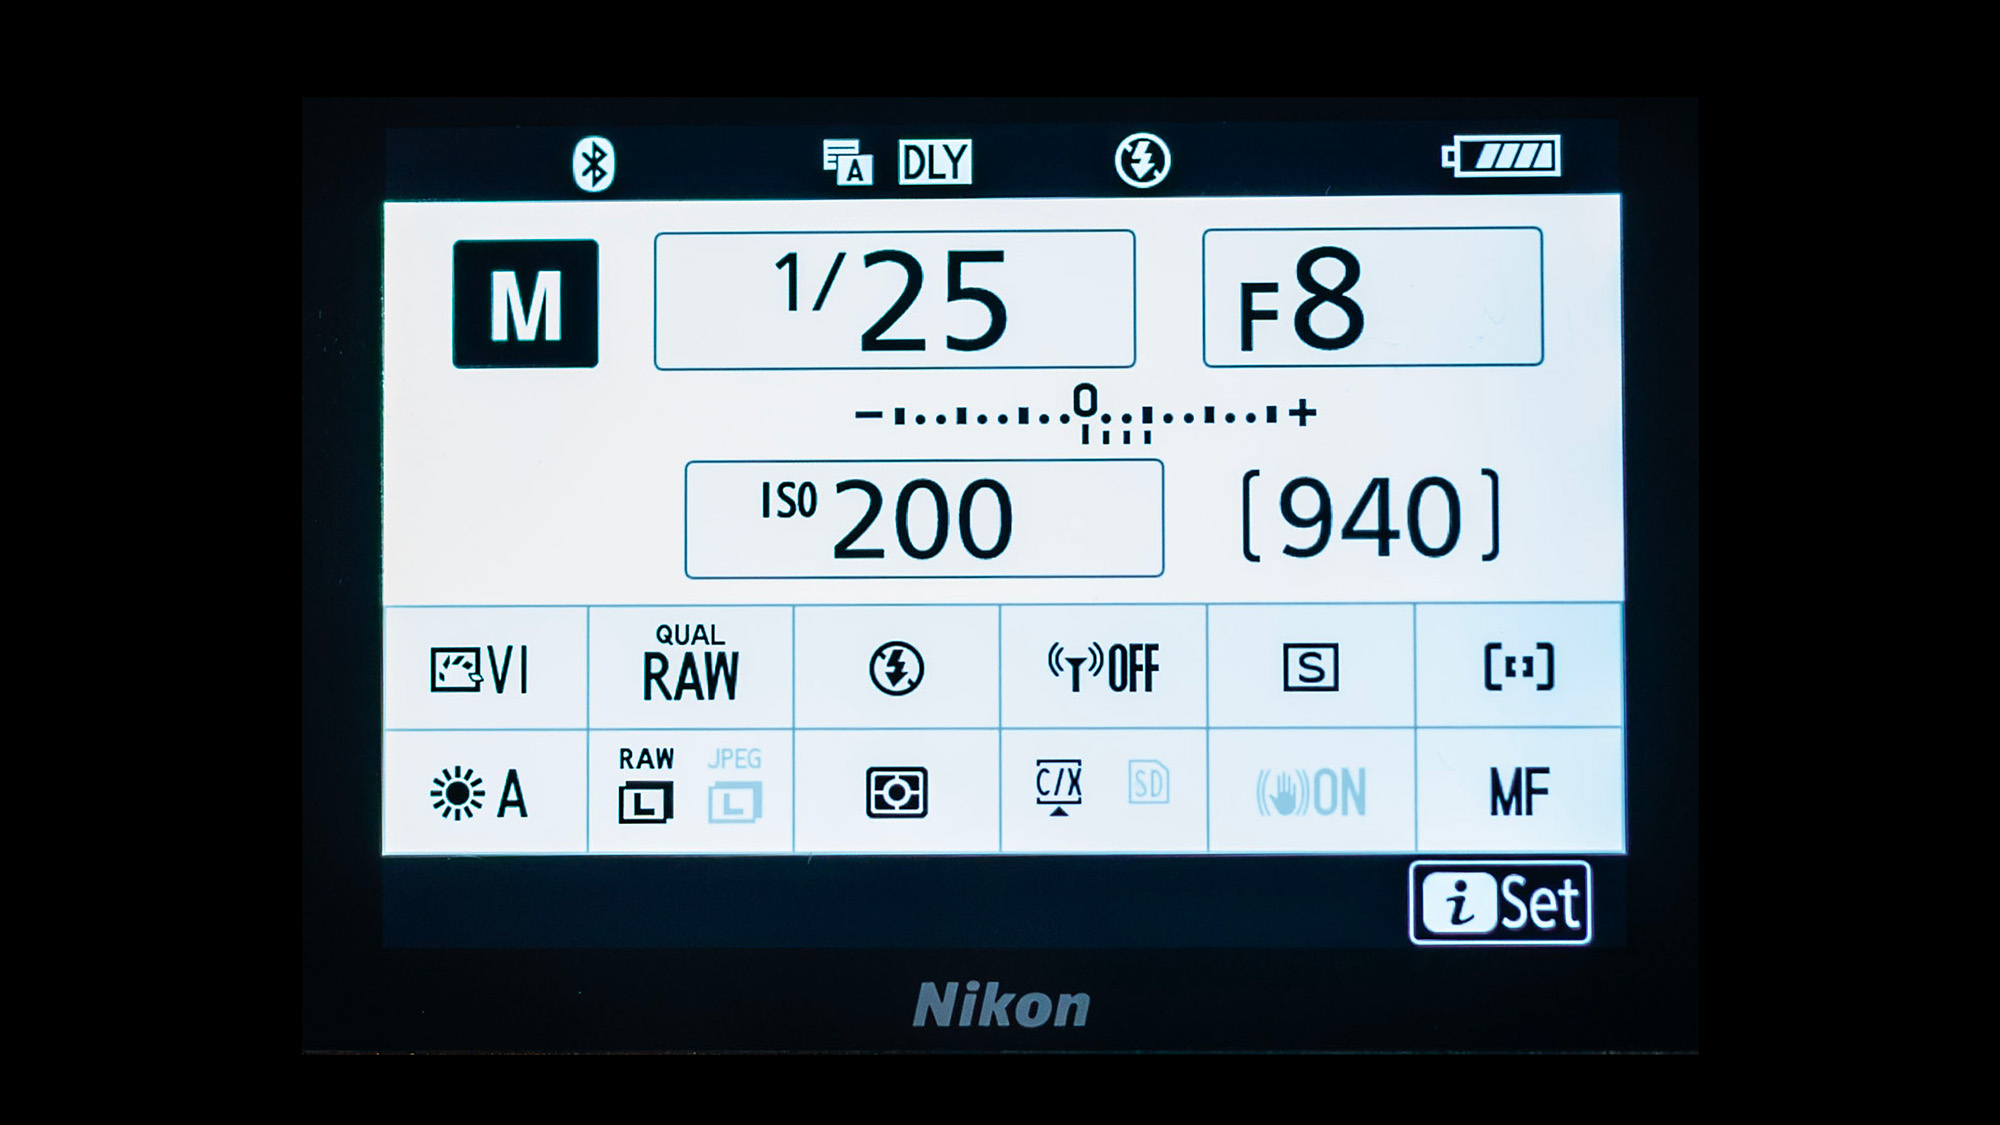
Working on a tripod will allow you to carefully refine your composition and leave your hands free to adjust lighting and operate your smoke machine. As such, you don't have to worry too much about your shutter speed, so long as it's fast enough to freeze any plumes of smoke. Keep your ISO low to retain as much image quality as possible. Macro shooters will often select quite a narrow aperture, but I settled on f/8. This provided a generous enough depth of field to render my subjects sharp while providing plenty of blurry bokeh.
4. Focus on your subject
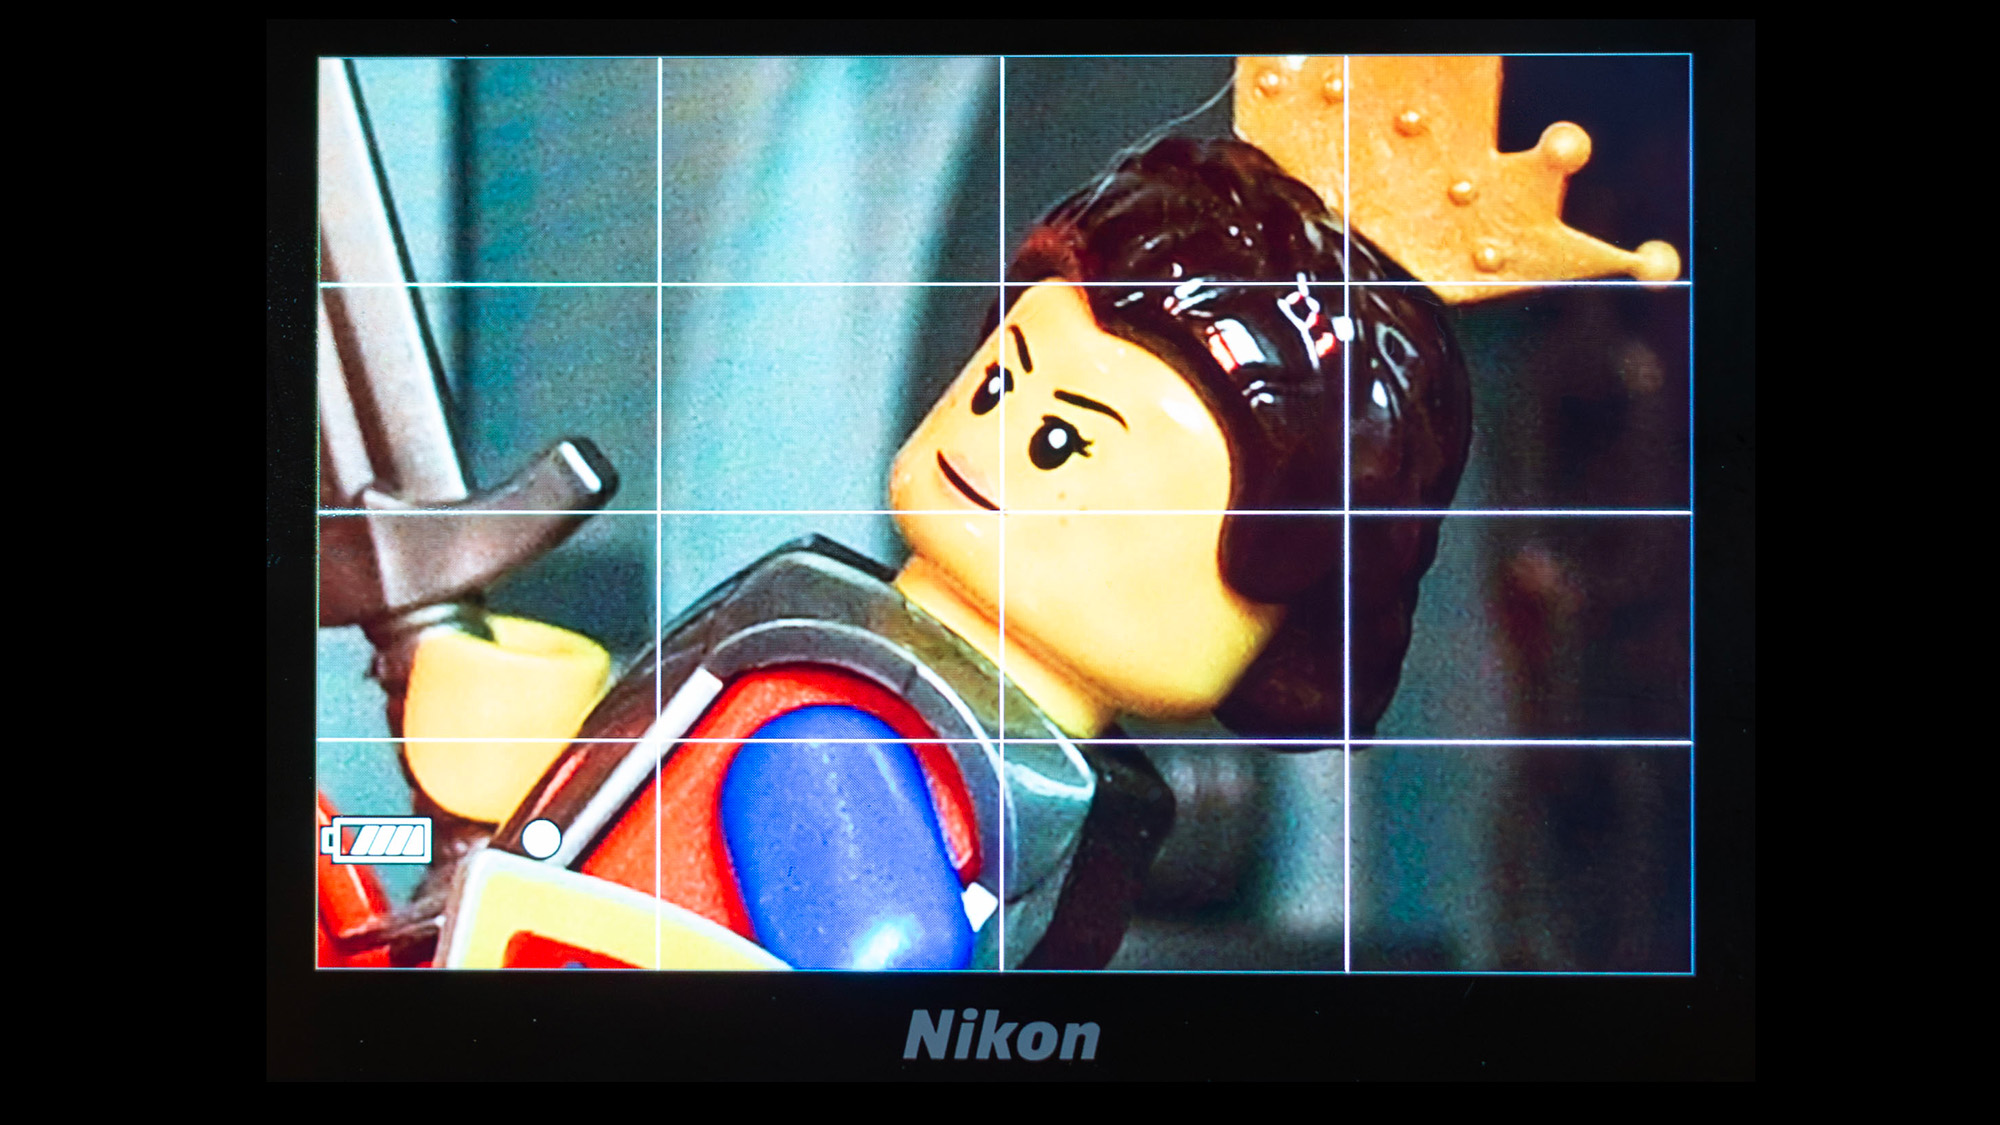
I used a 90mm macro lens, but any close-focusing lens will do the trick. Unless you're using a modern macro lens like the Nikon Z MC 105mm f/2.8 VR S, you might want to avoid autofocus altogether and focus manually. I placed the dragon and queen on the same focal plane, so they'd both be sharp, even with my macro lens's shallow depth of field. When focusing, zoom into live view to really refine your focus. Even if you're using autofocus, it's still best practice to zoom into live view once it's locked on to check critical focus.
5. Add a little smoke
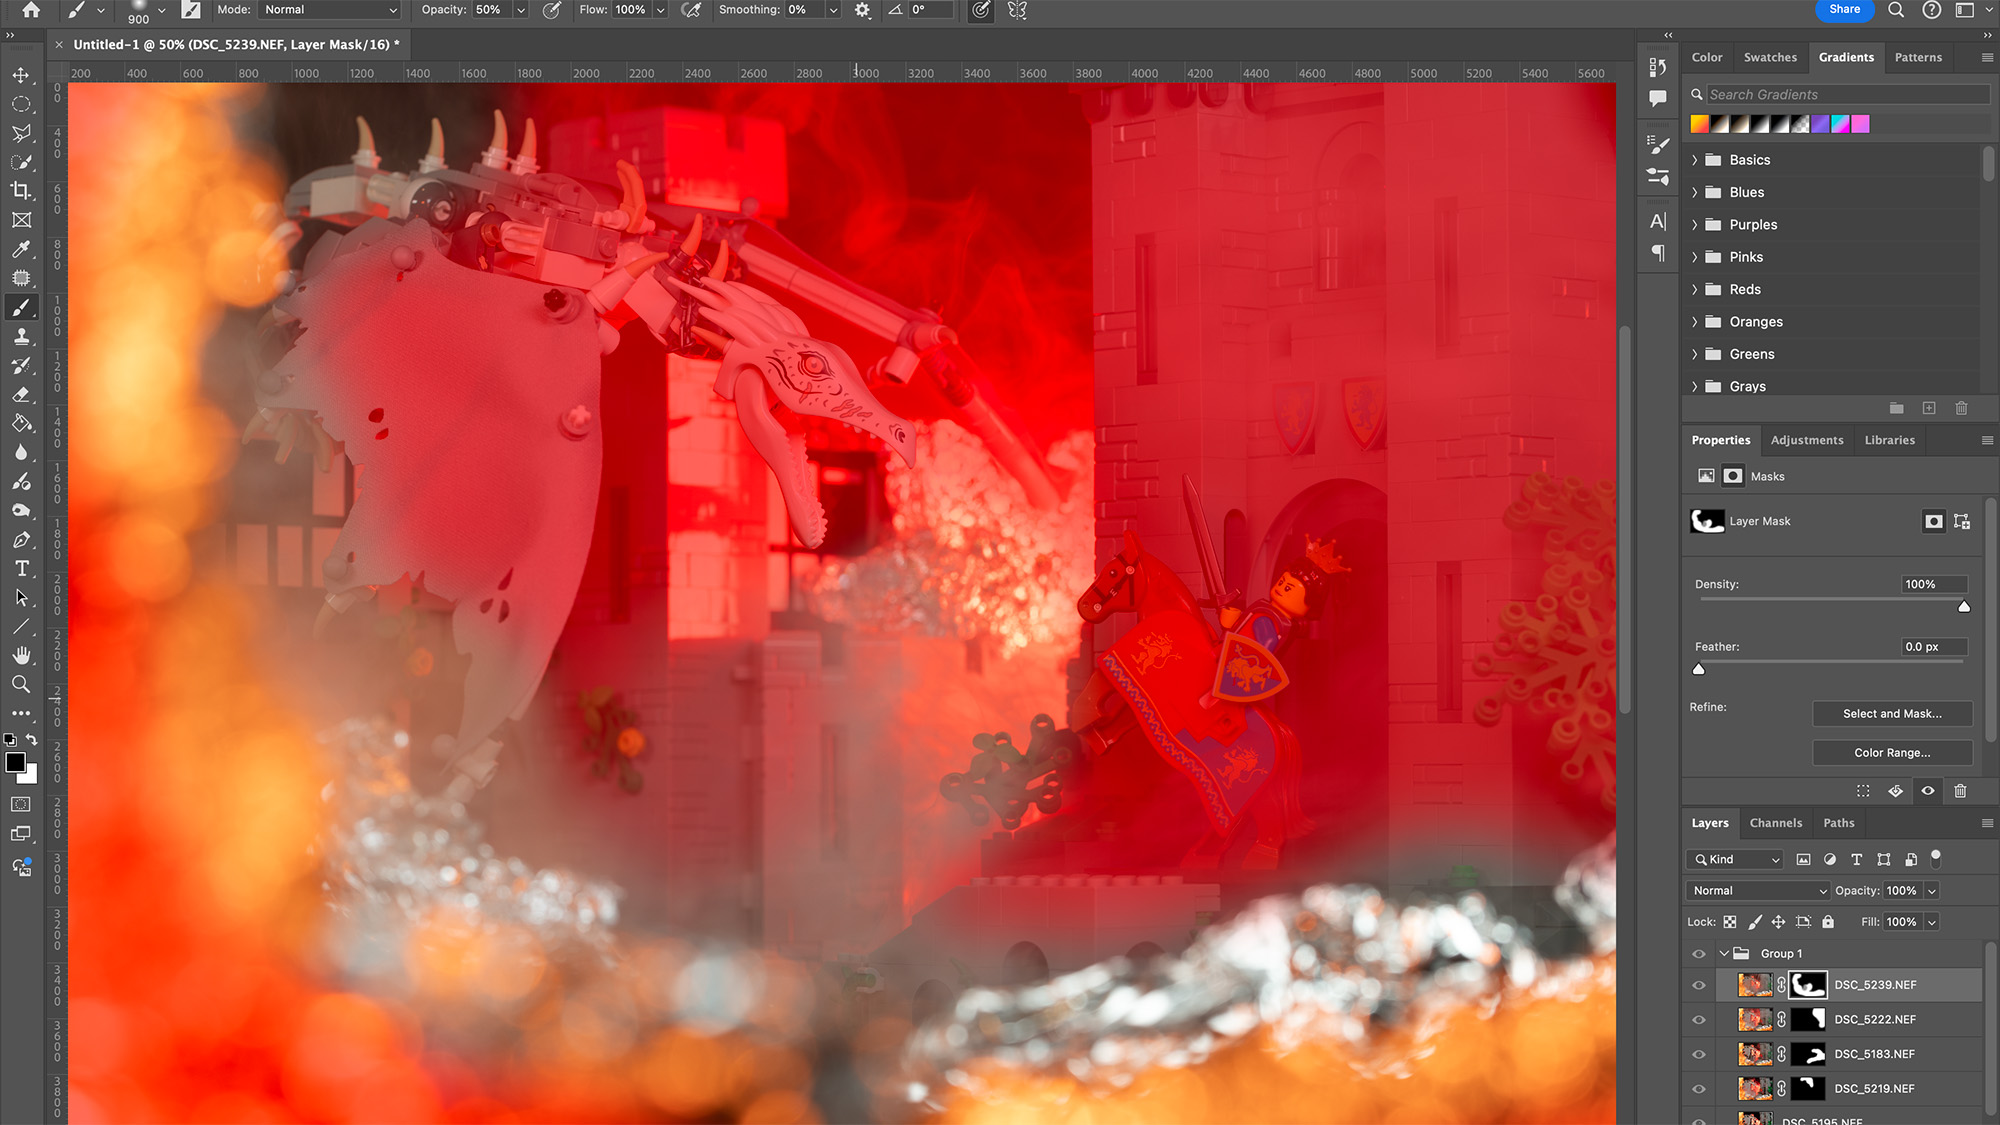
It can be hard to direct plumes of smoke where you want them. Set off your smoke machine, capture a few images, wait for the smoke to clear, and repeat. Then select four or five images with attractive plumes across the frame and open them in the same Photoshop document. Use the best image as your top layer, then place the image with the plume of smoke you'd like to add on top and add a layer mask. Invert it (Cmd/Ctrl+I) and use a soft, white brush to selectively paint the plumes in. Repeat this process with the other images until happy.
6. Finish with a few embers
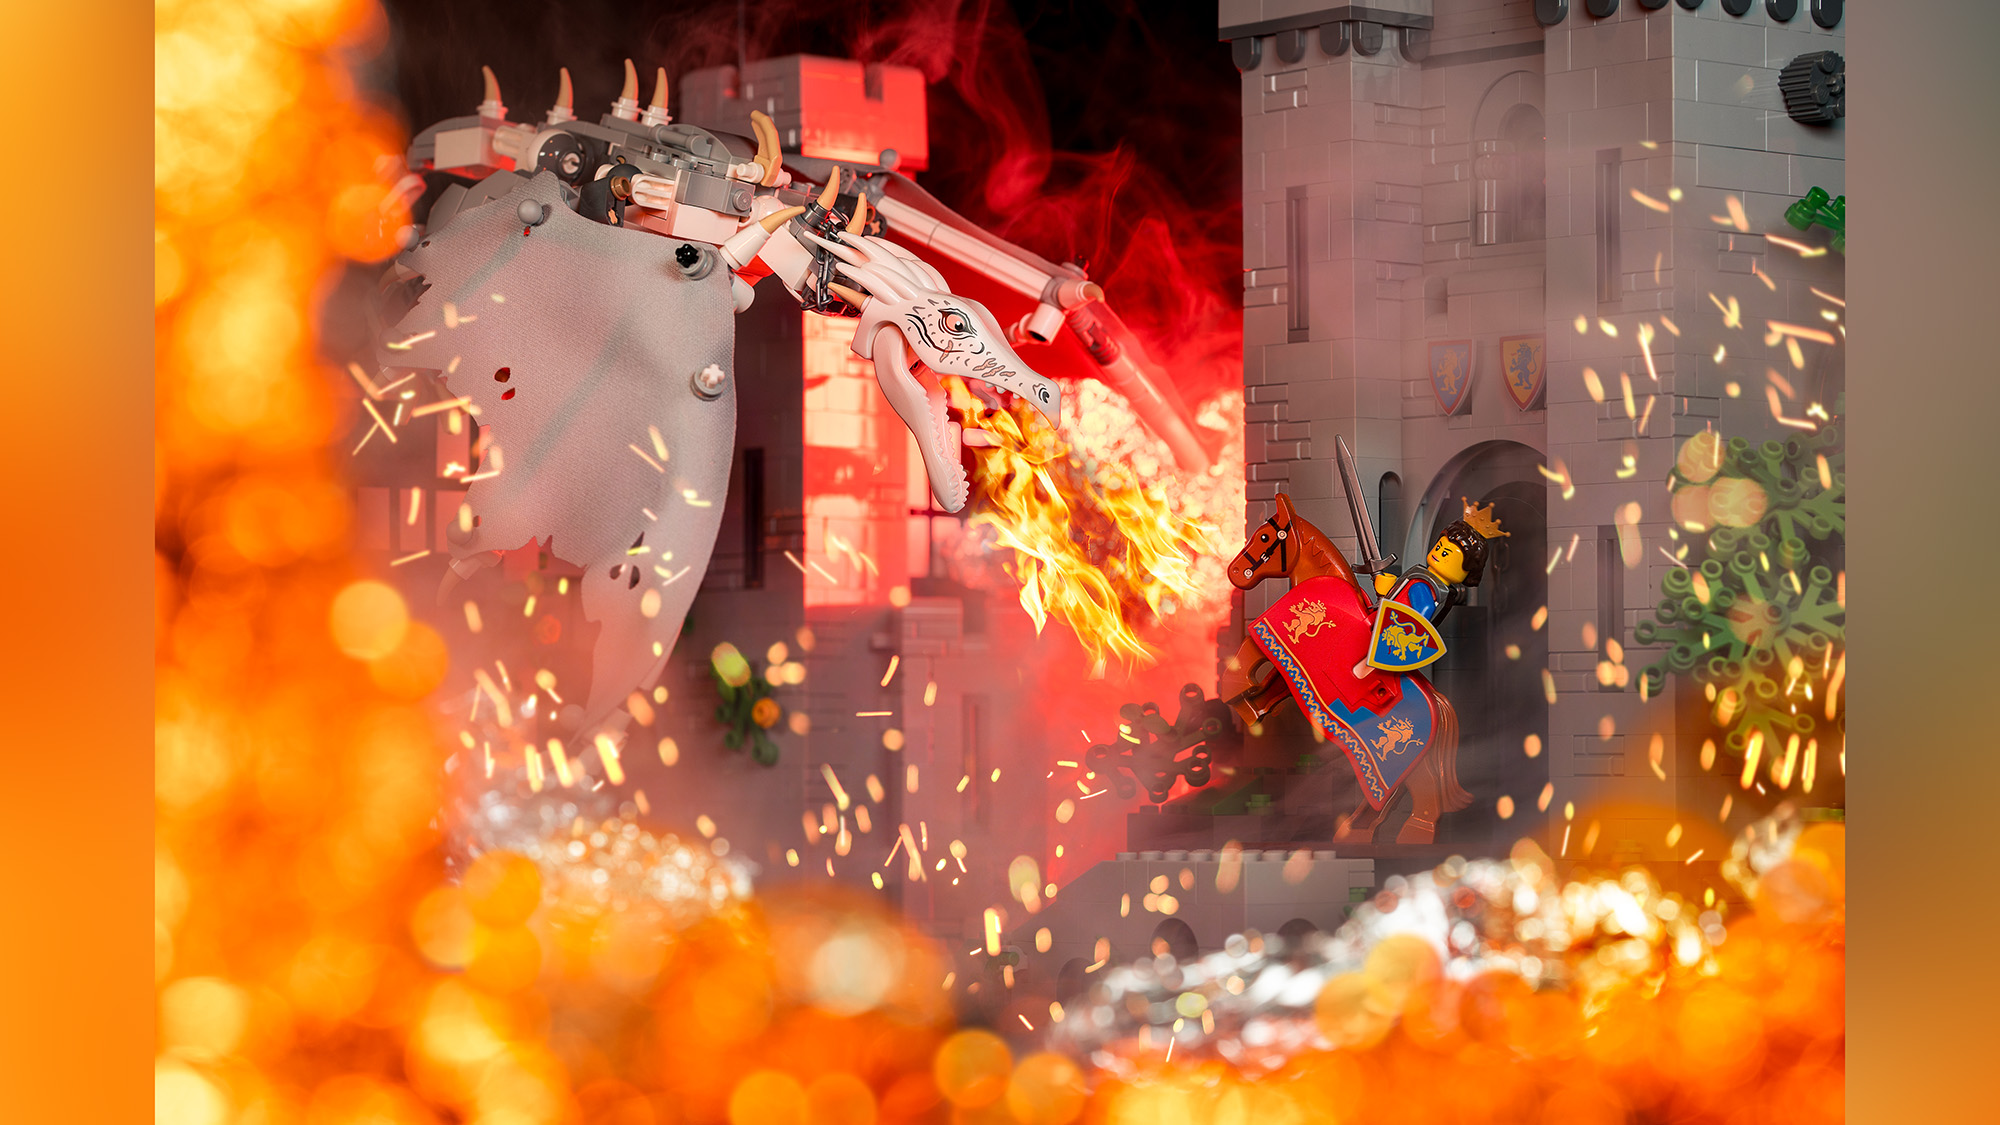
Finish off your fiery scene by adding a few embers in post-production. The easiest way to do this is to visit a royalty-free stock image website such as Pixabay. I used image 3332789. The black background is crucial, because when you've imported it into Photoshop and resized it accordingly, you'll want to change the blending mode to Screen, so the black background disappears. Add a layer mask and use a black brush to paint away the parts of the image you don't want. I used the same process for the fire from the dragon's jaws (4177539).
If you're interested in toy photography, you may also be interested in the best LED light sticks and light wands and the best mirrorless camera.

