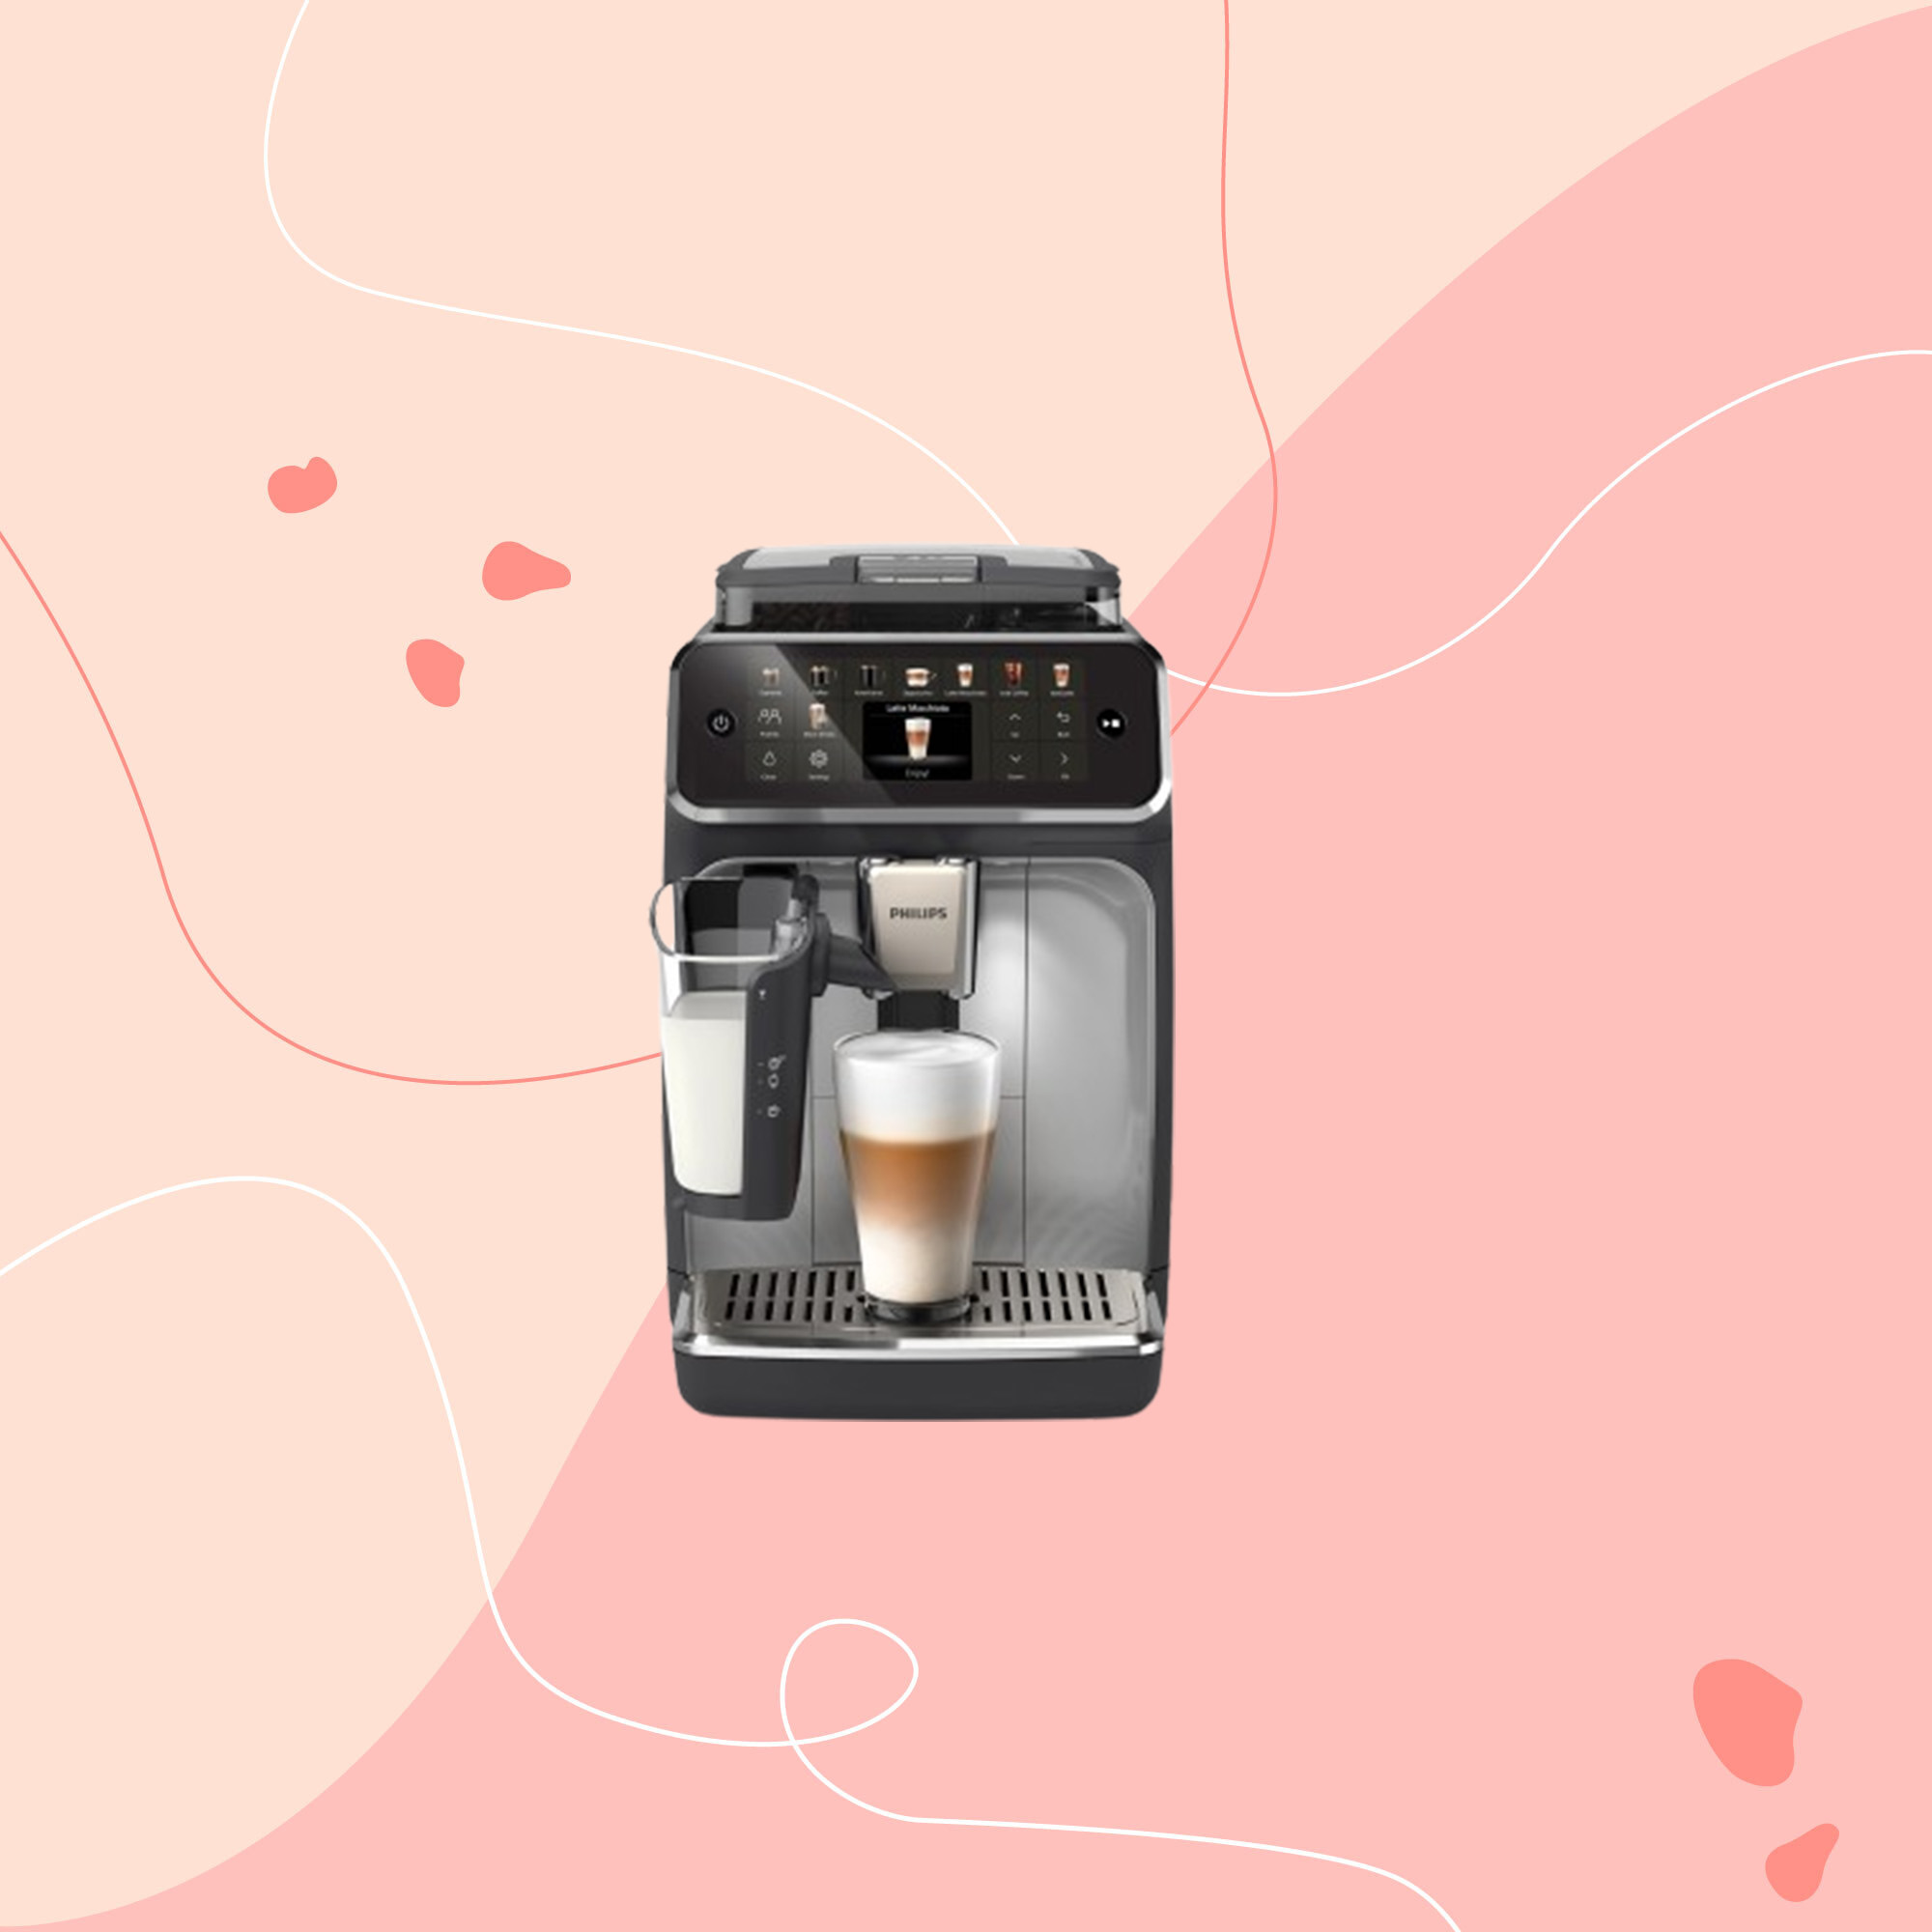
Philips is a huge household appliance brand, that said, it’s not a major player when it comes to coffee machines. However, what it does offer is a small range of automatic bean-to-cup coffee machines called LatteGo, and the Philips 5500 Series LatteGo is the newest and most feature rich of the bunch.
Whatever your coffee preference, most people know that the way to elevate your daily caffeine hit is to brew it with freshly ground beans. Yet very few people have the time nor the inclination to set up a separate bean grinder and go through the motions of grinding coffee first thing in the morning. This is where the best bean-to-cup coffee machines come in, they do all the hard work for you.
With a whopping 20 drinks on the menu, including iced coffees as well as all the usual hot ones, I’m excited to work my way through the list. Scroll down to see if the coffee is good enough to tempt me away from my usual manual espresso machine.
Philips 5500 Series LatteGo Bean to Cup Coffee Machine product specs
- Type: bean-to-cup
- Water tank capacity: 1.8 litres
- Bean hopper: 275g
- Pressure: 15 bar
- Dimensions: H37.1cm x W24.6cm x D43.3cm
- RRP: £649.99
Unboxing and first impressions
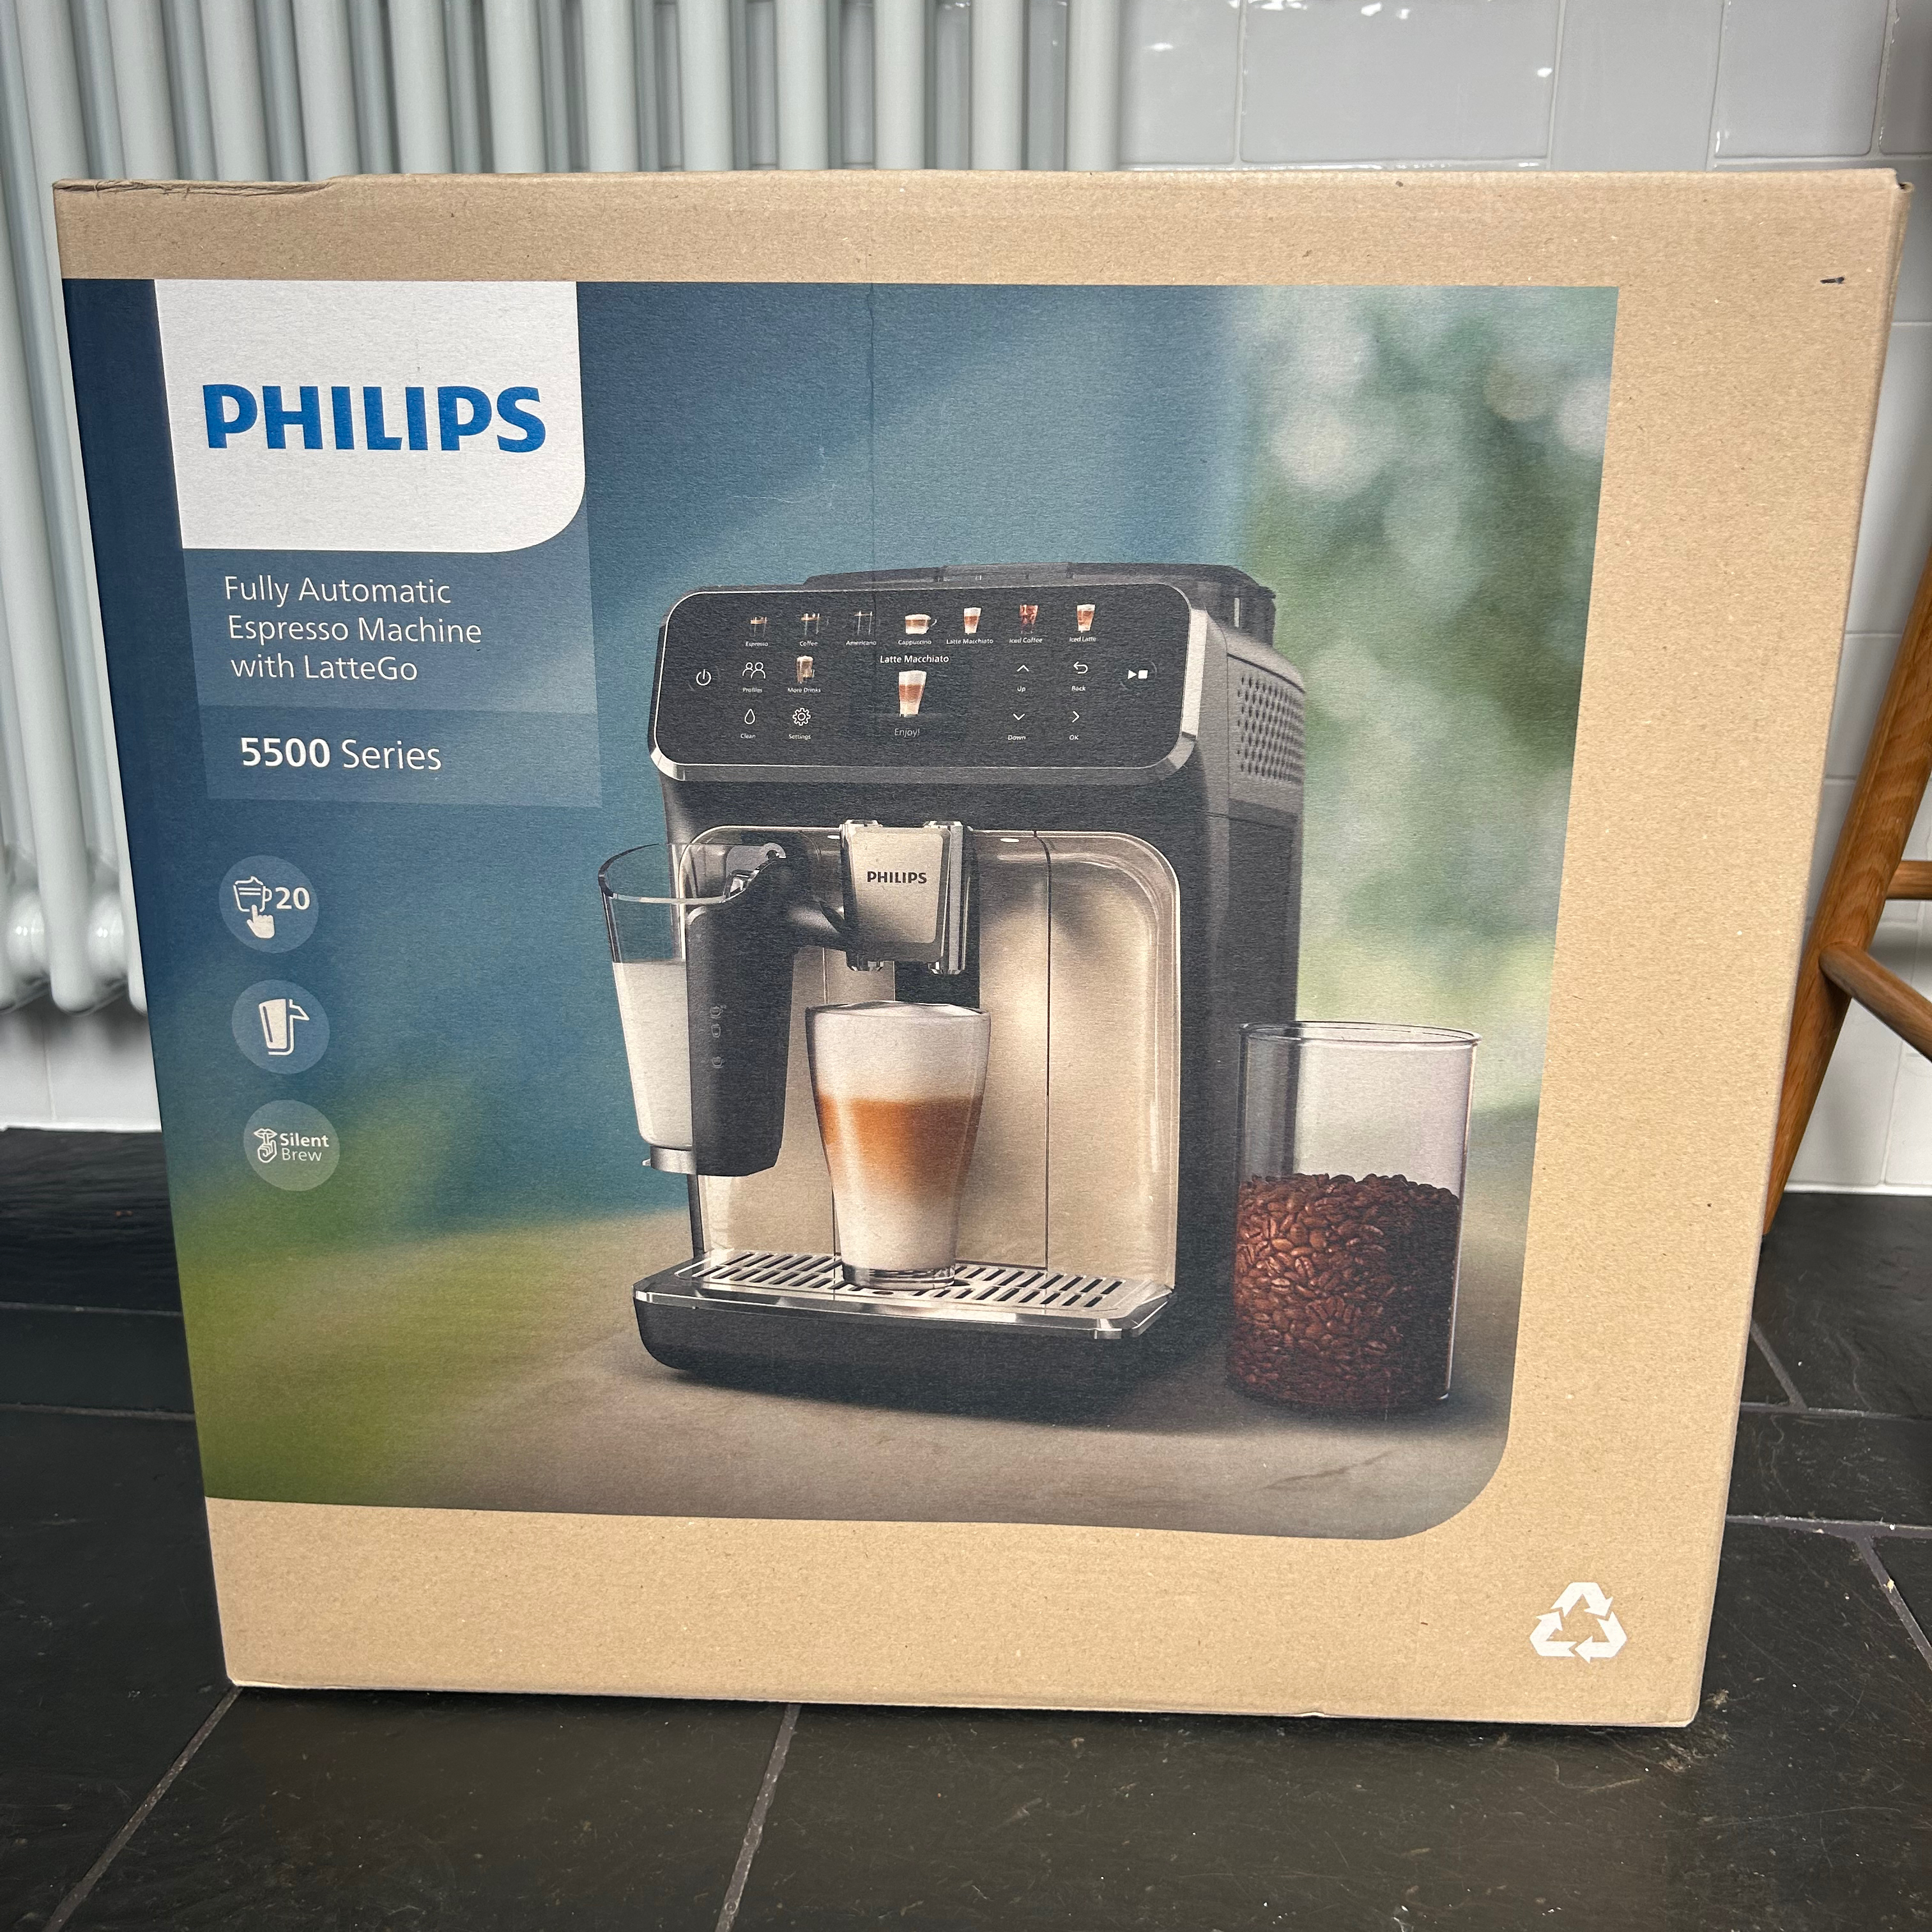
The unboxing process was pretty painless and thankfully, the vast majority of the packaging is cardboard so it can go straight into my recycling bin. The machine comes out of the box almost completely assembled. I just had to pop the lid on the bean hopper and place the drip tray cover into position.
There are a few little accessories in the box such as a water hardness test strip which you can use before setting the water hardness level in the machine settings. You also get a water filter that can be installed into the water tank, this helps prevent limescale build up in the machine. Additionally, there’s a little tube of grease that’s used for maintenance.
A measuring scoop for ground coffee is also included in the box, this is for when you want to use ground coffee, for example to make a decaf drink. One level scoop is the exact amount you need to pop in the pre-ground coffee compartment that’s just in front of the beans container on top.
The other main accessory in the box was the 260ml LatteGo milk container. The milk dispenser is rather unconventional, it pours the steamed milk out of a big tap on the side, so I’m intrigued to see how this works in practice.
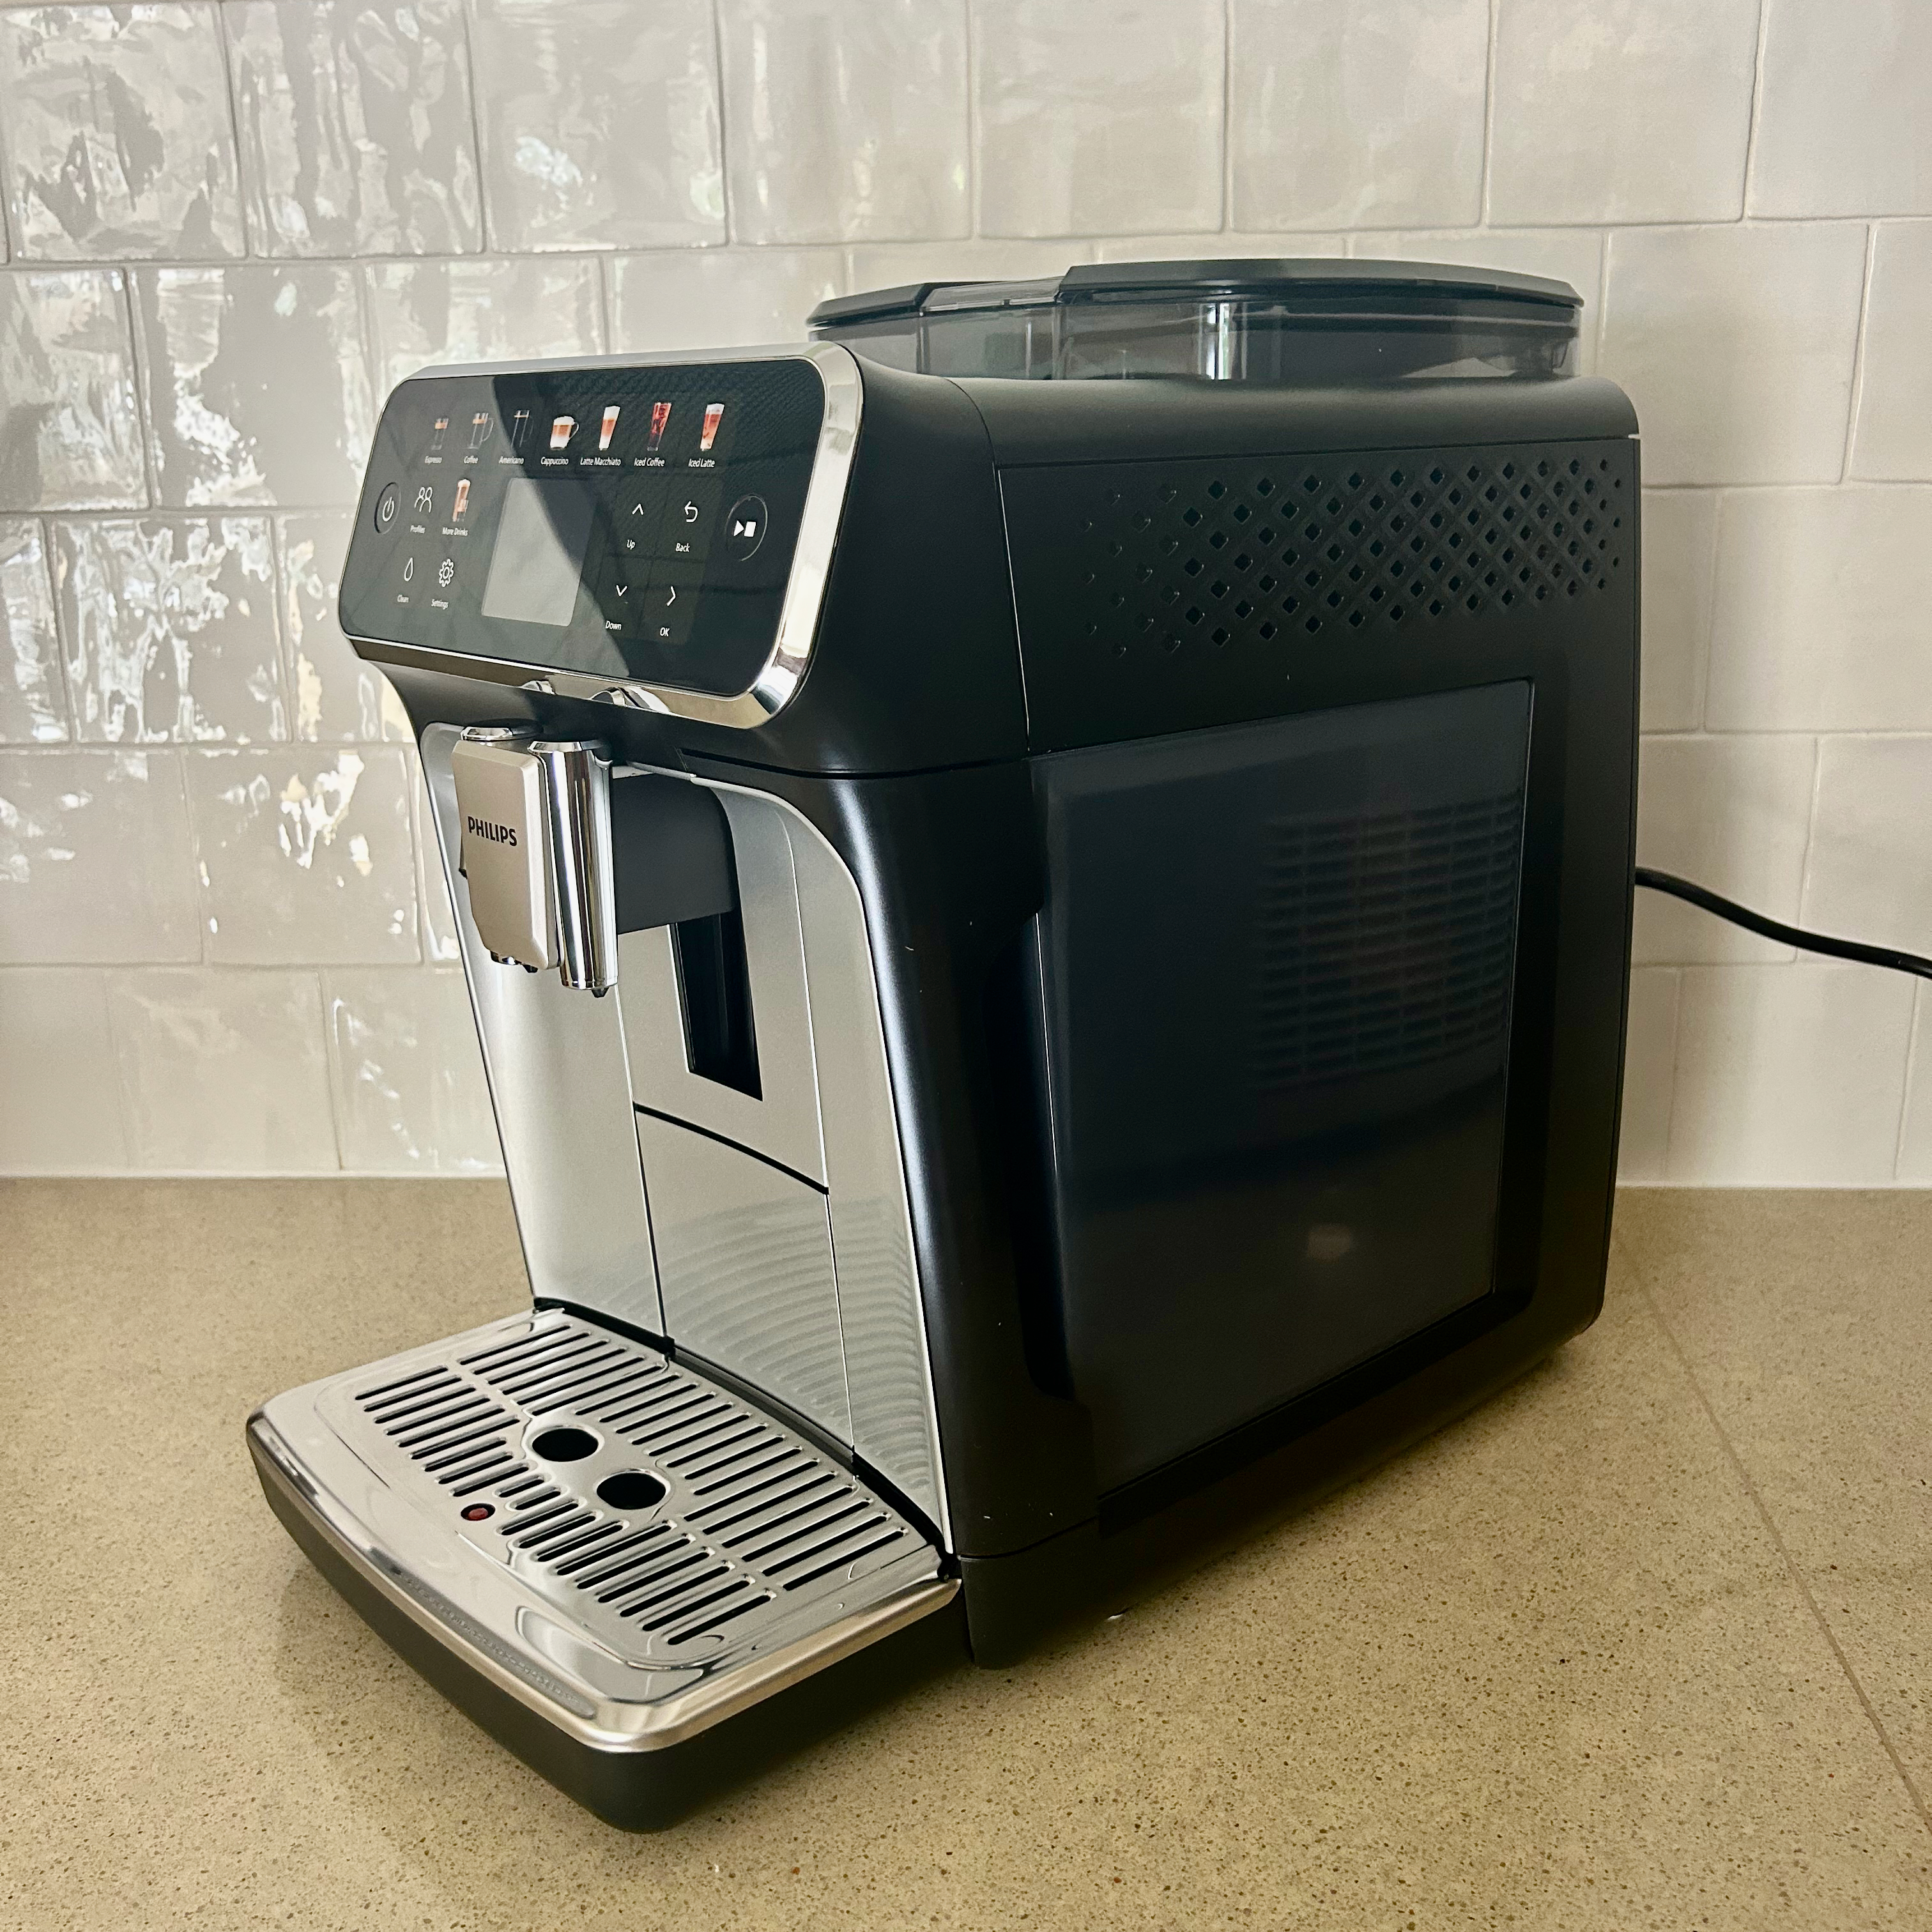
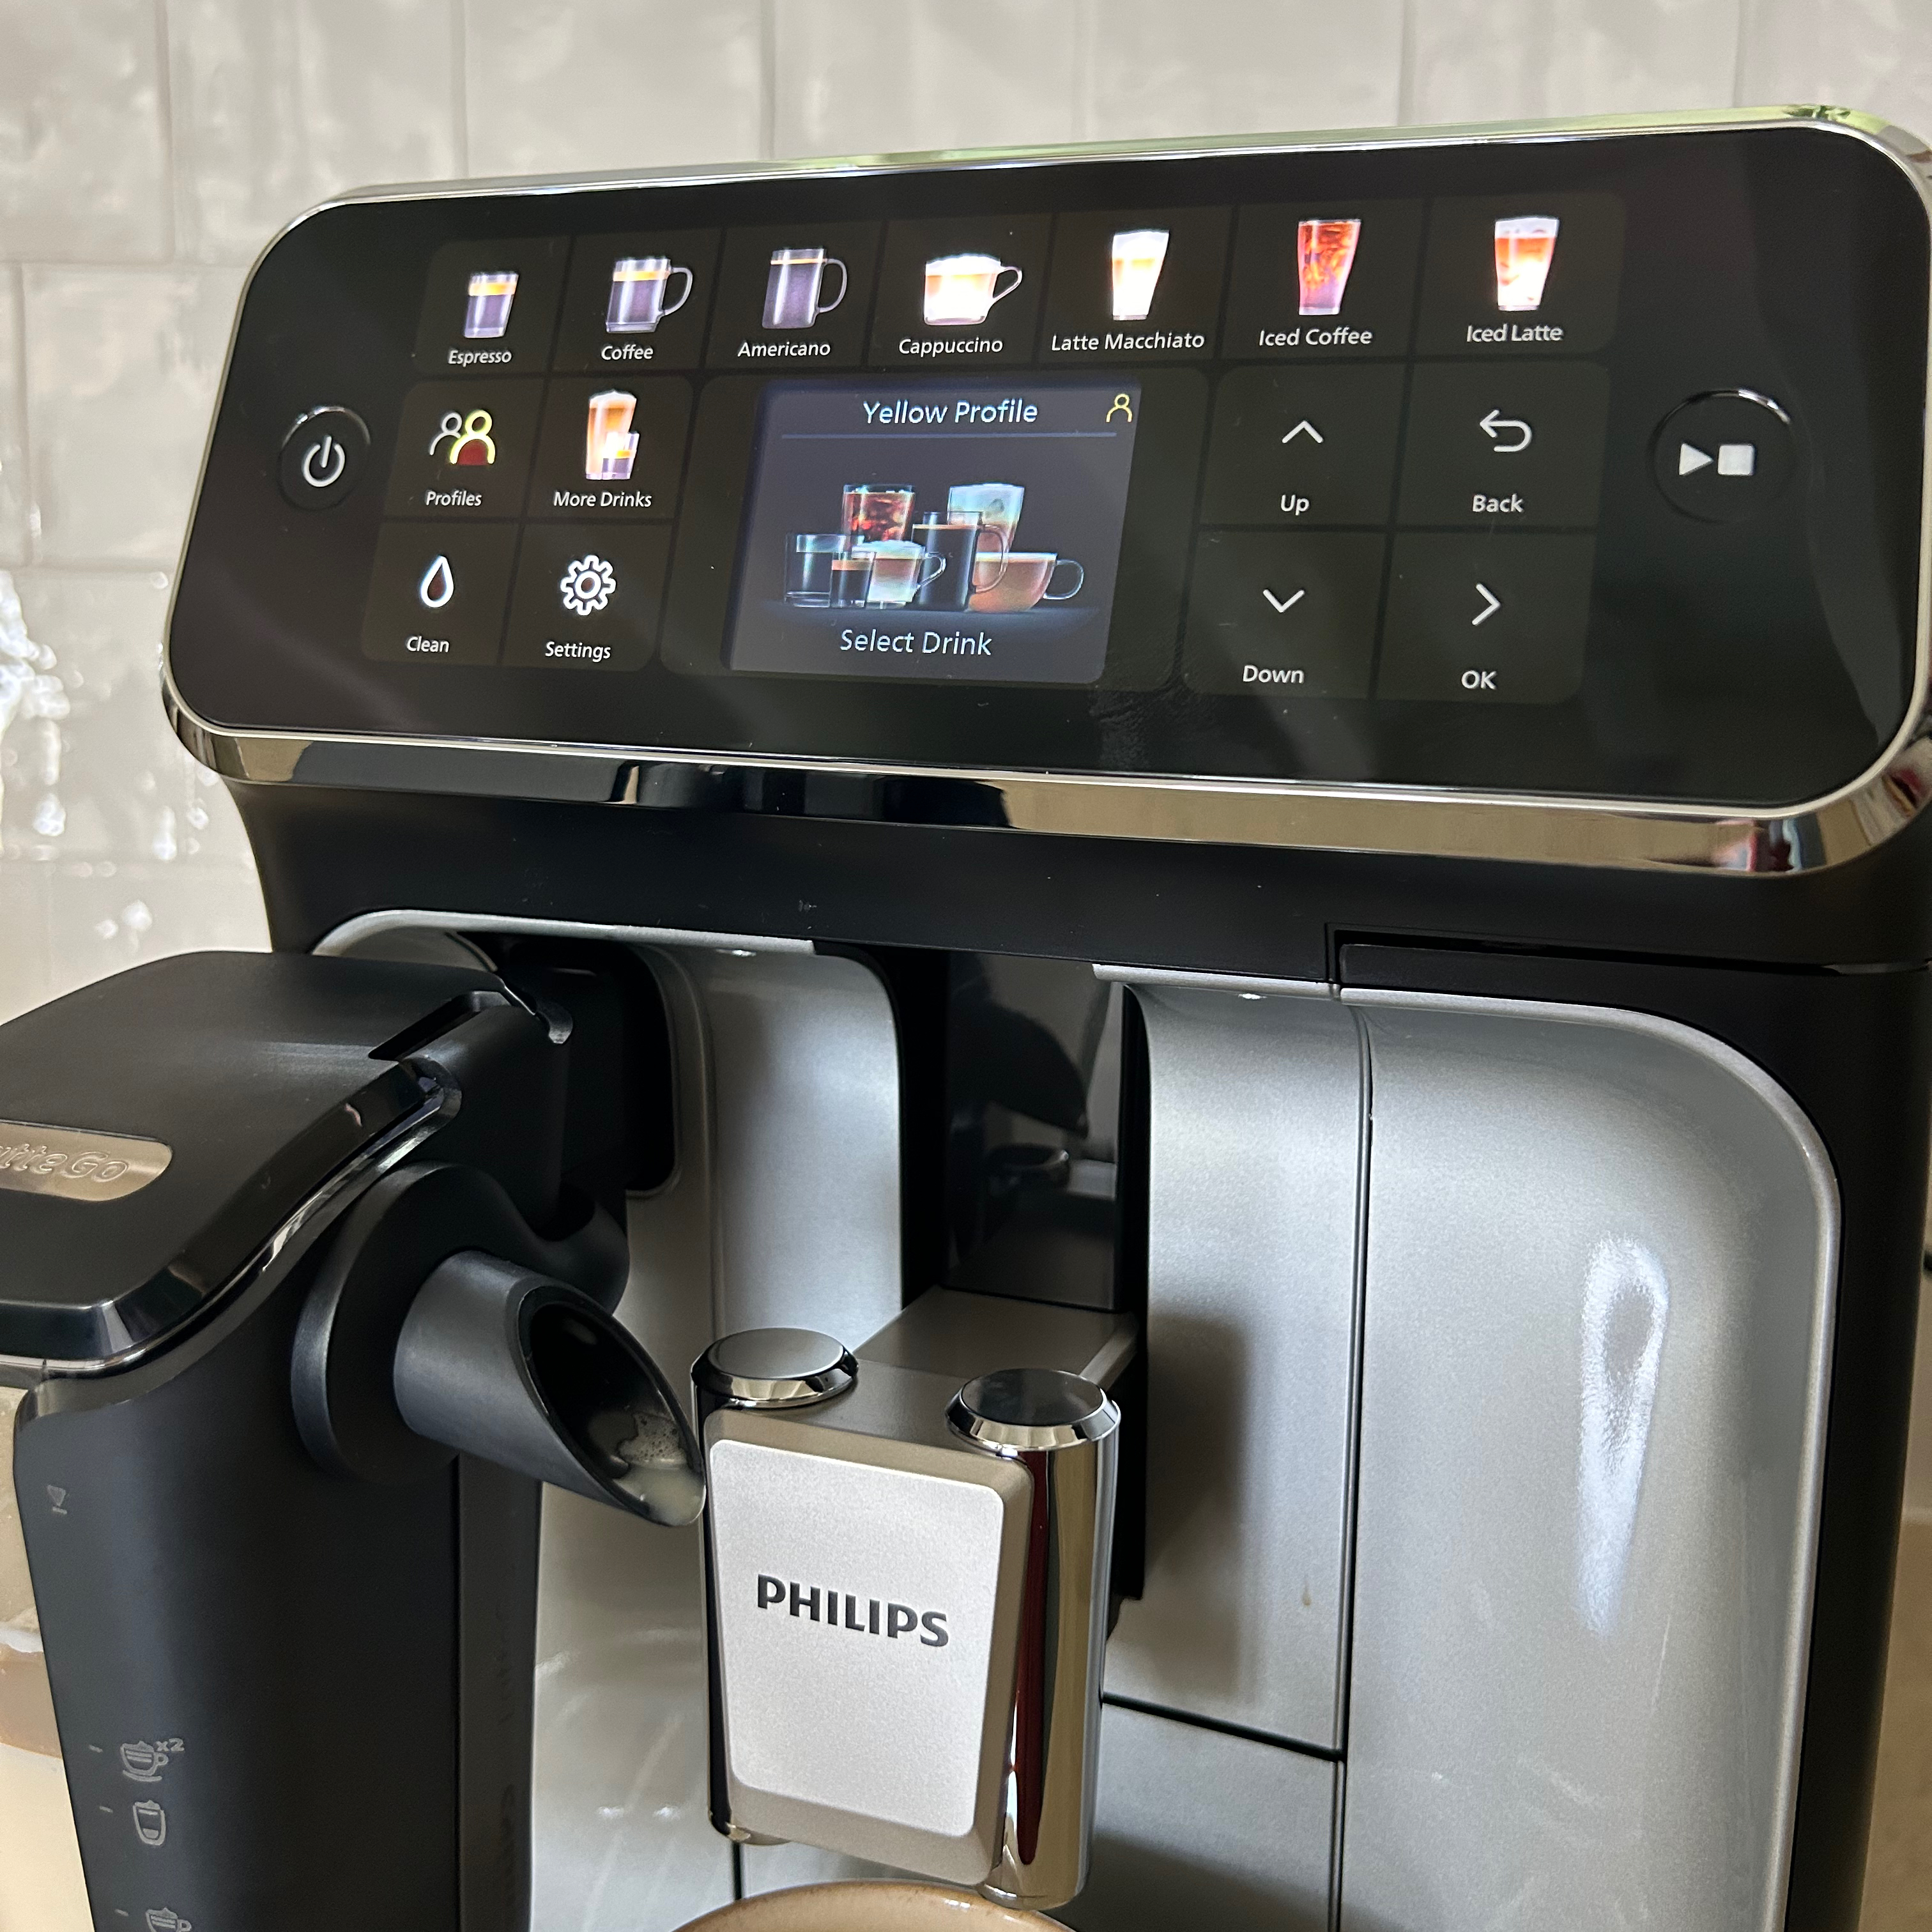
The control panel is very intuitive to use, but the downside is that when it’s switched off, most of the controls are very visible, so it looks more cluttered than the coffee machines that are fully operated via a touchscreen. Another issue I have with it, is that seven drinks are displayed as one-touch buttons, but if your usual favourite drink is within the ‘more drinks’ menu, then these buttons are a bit redundant.
The large water container pulls forward out of the front of the machine. And because you don’t need to access it via the side, you can tuck the coffee machine neatly into a corner if you want to. If it’s not in a corner though, the transparent right hand side allows you to see the water level.
There are 12 grind settings on the adjustable grinder. The manual however advises that it is set up for optimum performance and that you shouldn't adjust the grind setting until you’ve brewed 100 - 150 coffees. I’m not sure I’ll be able to stick to this rule, but let’s see how the first coffee comes out.
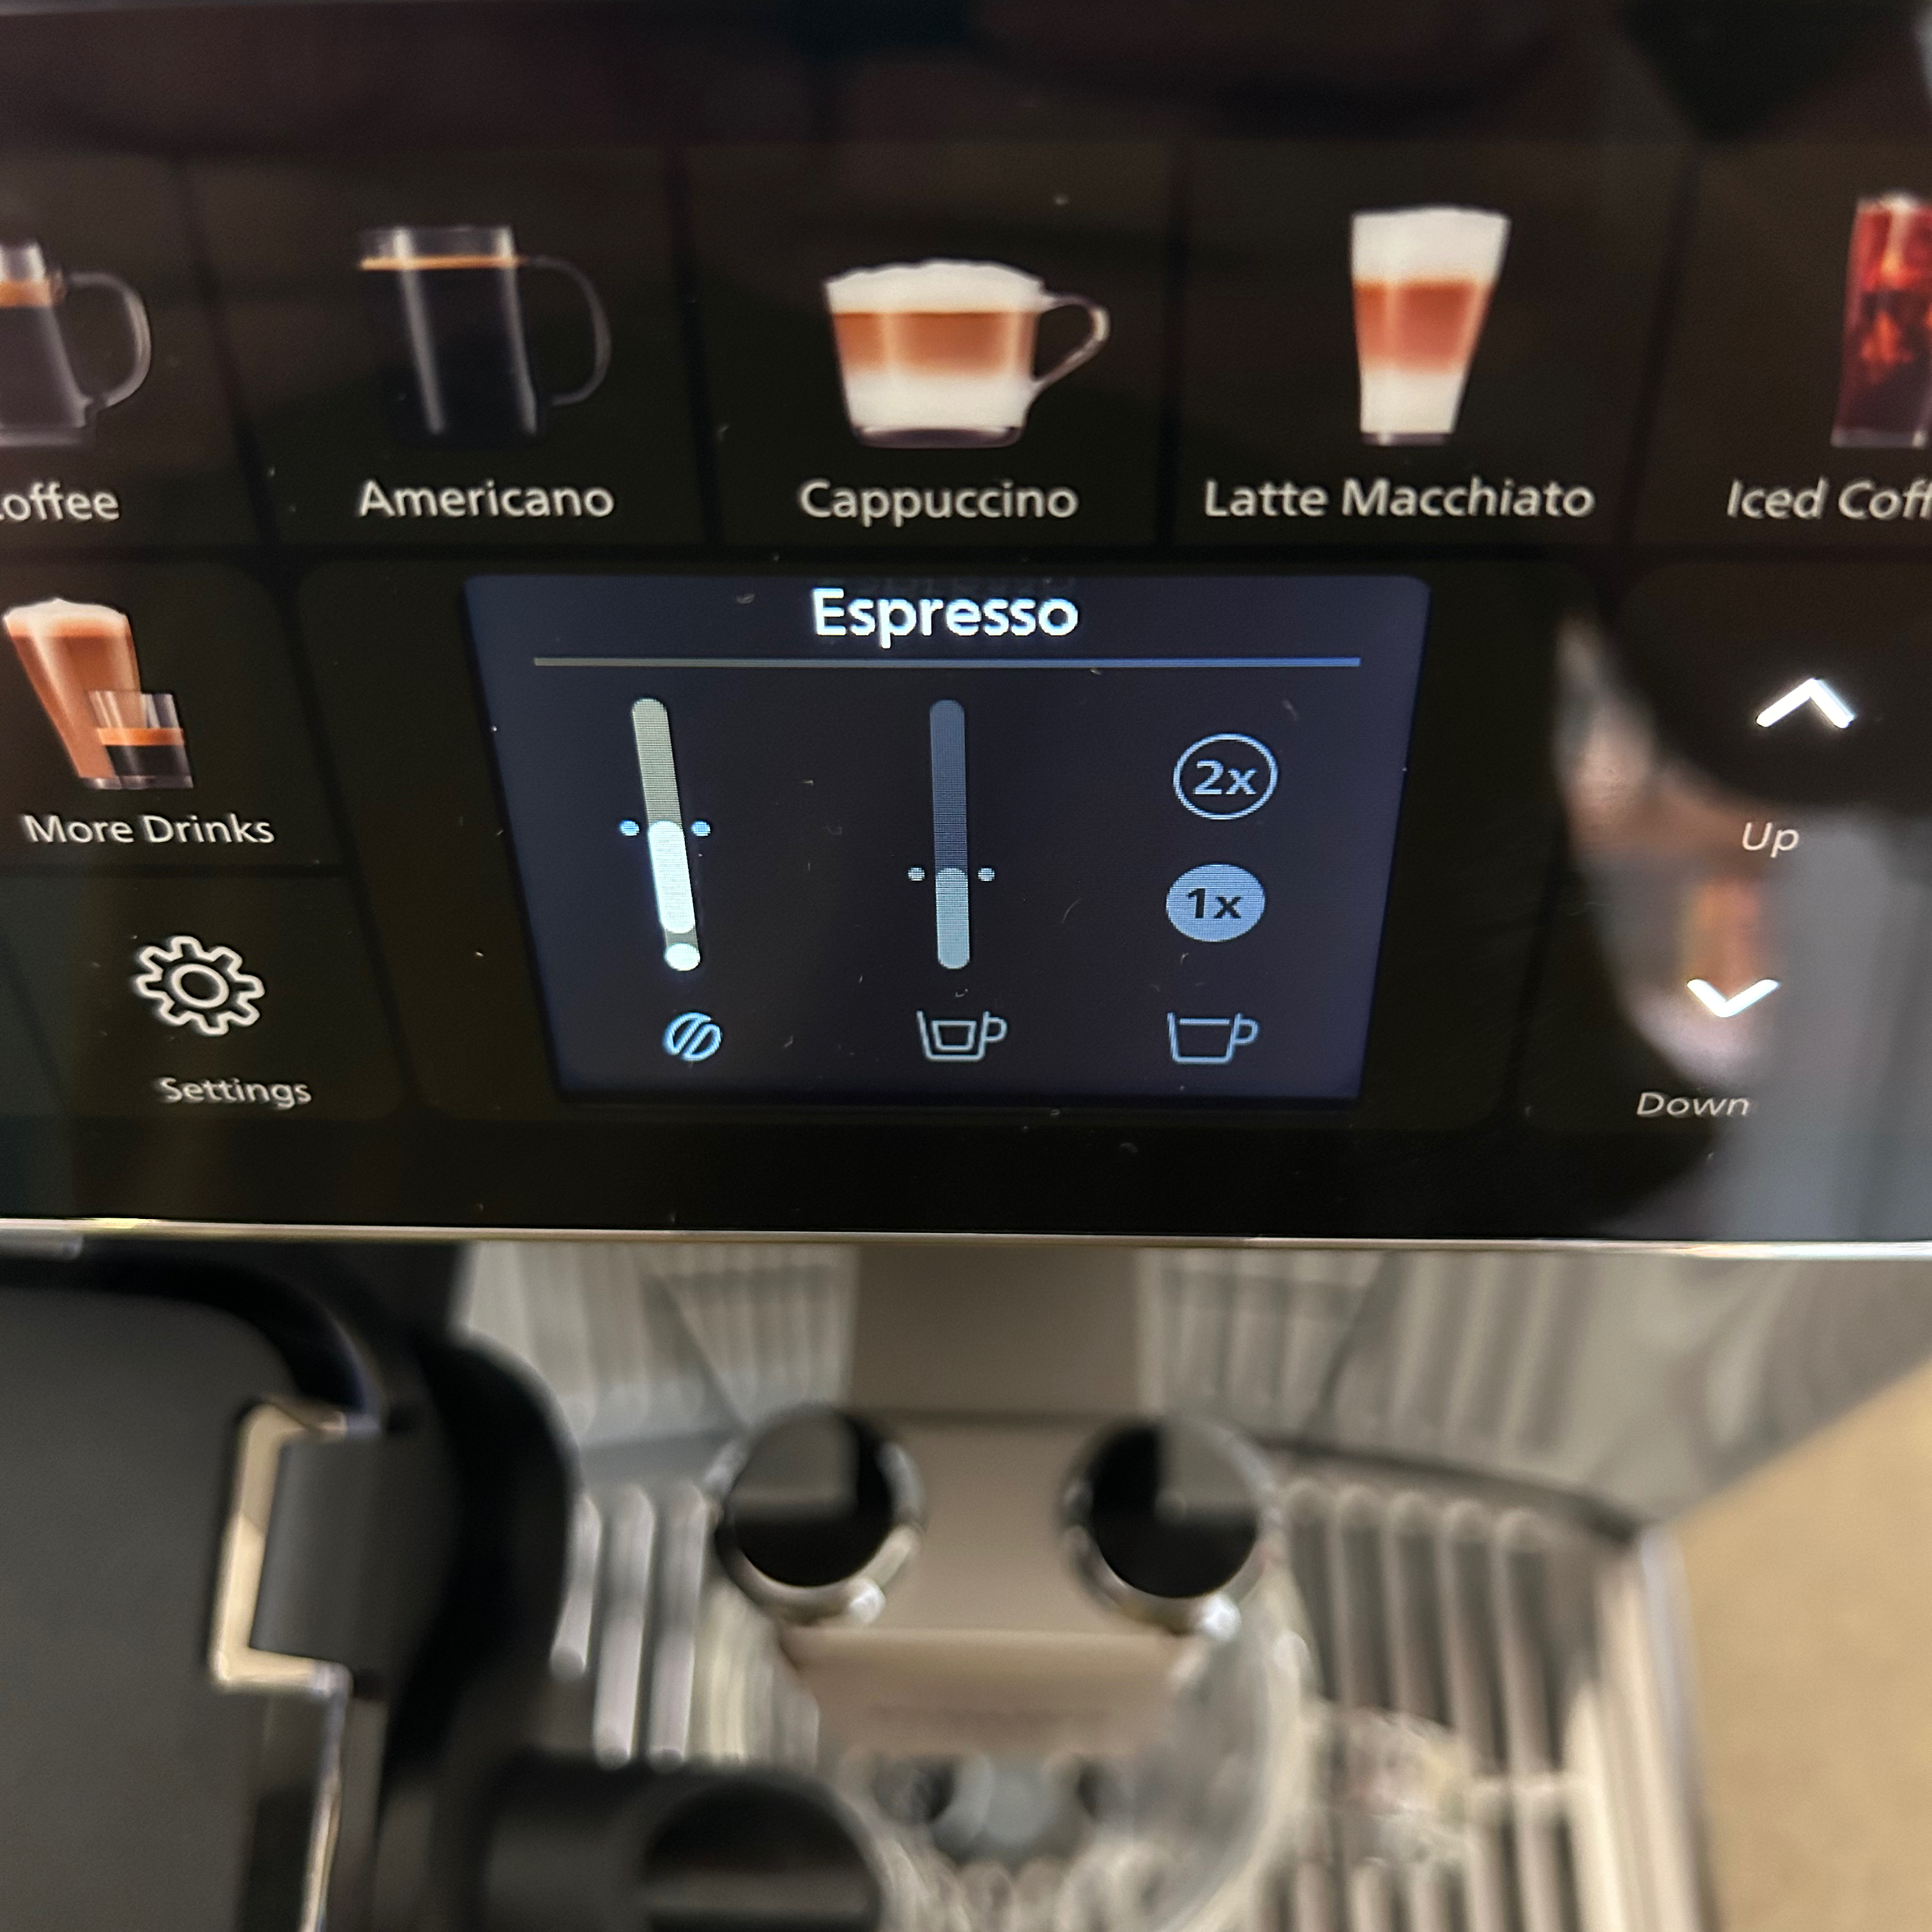
On my first scroll through the menu I noticed lots of adjustable settings including three drink temperature options, five adjustable aroma strengths, as well as easily adjustable coffee and milk volumes. So it’s ideal if you’re quite particular about your coffee and you like to fine tune the settings or indeed the ratios of coffee to milk.
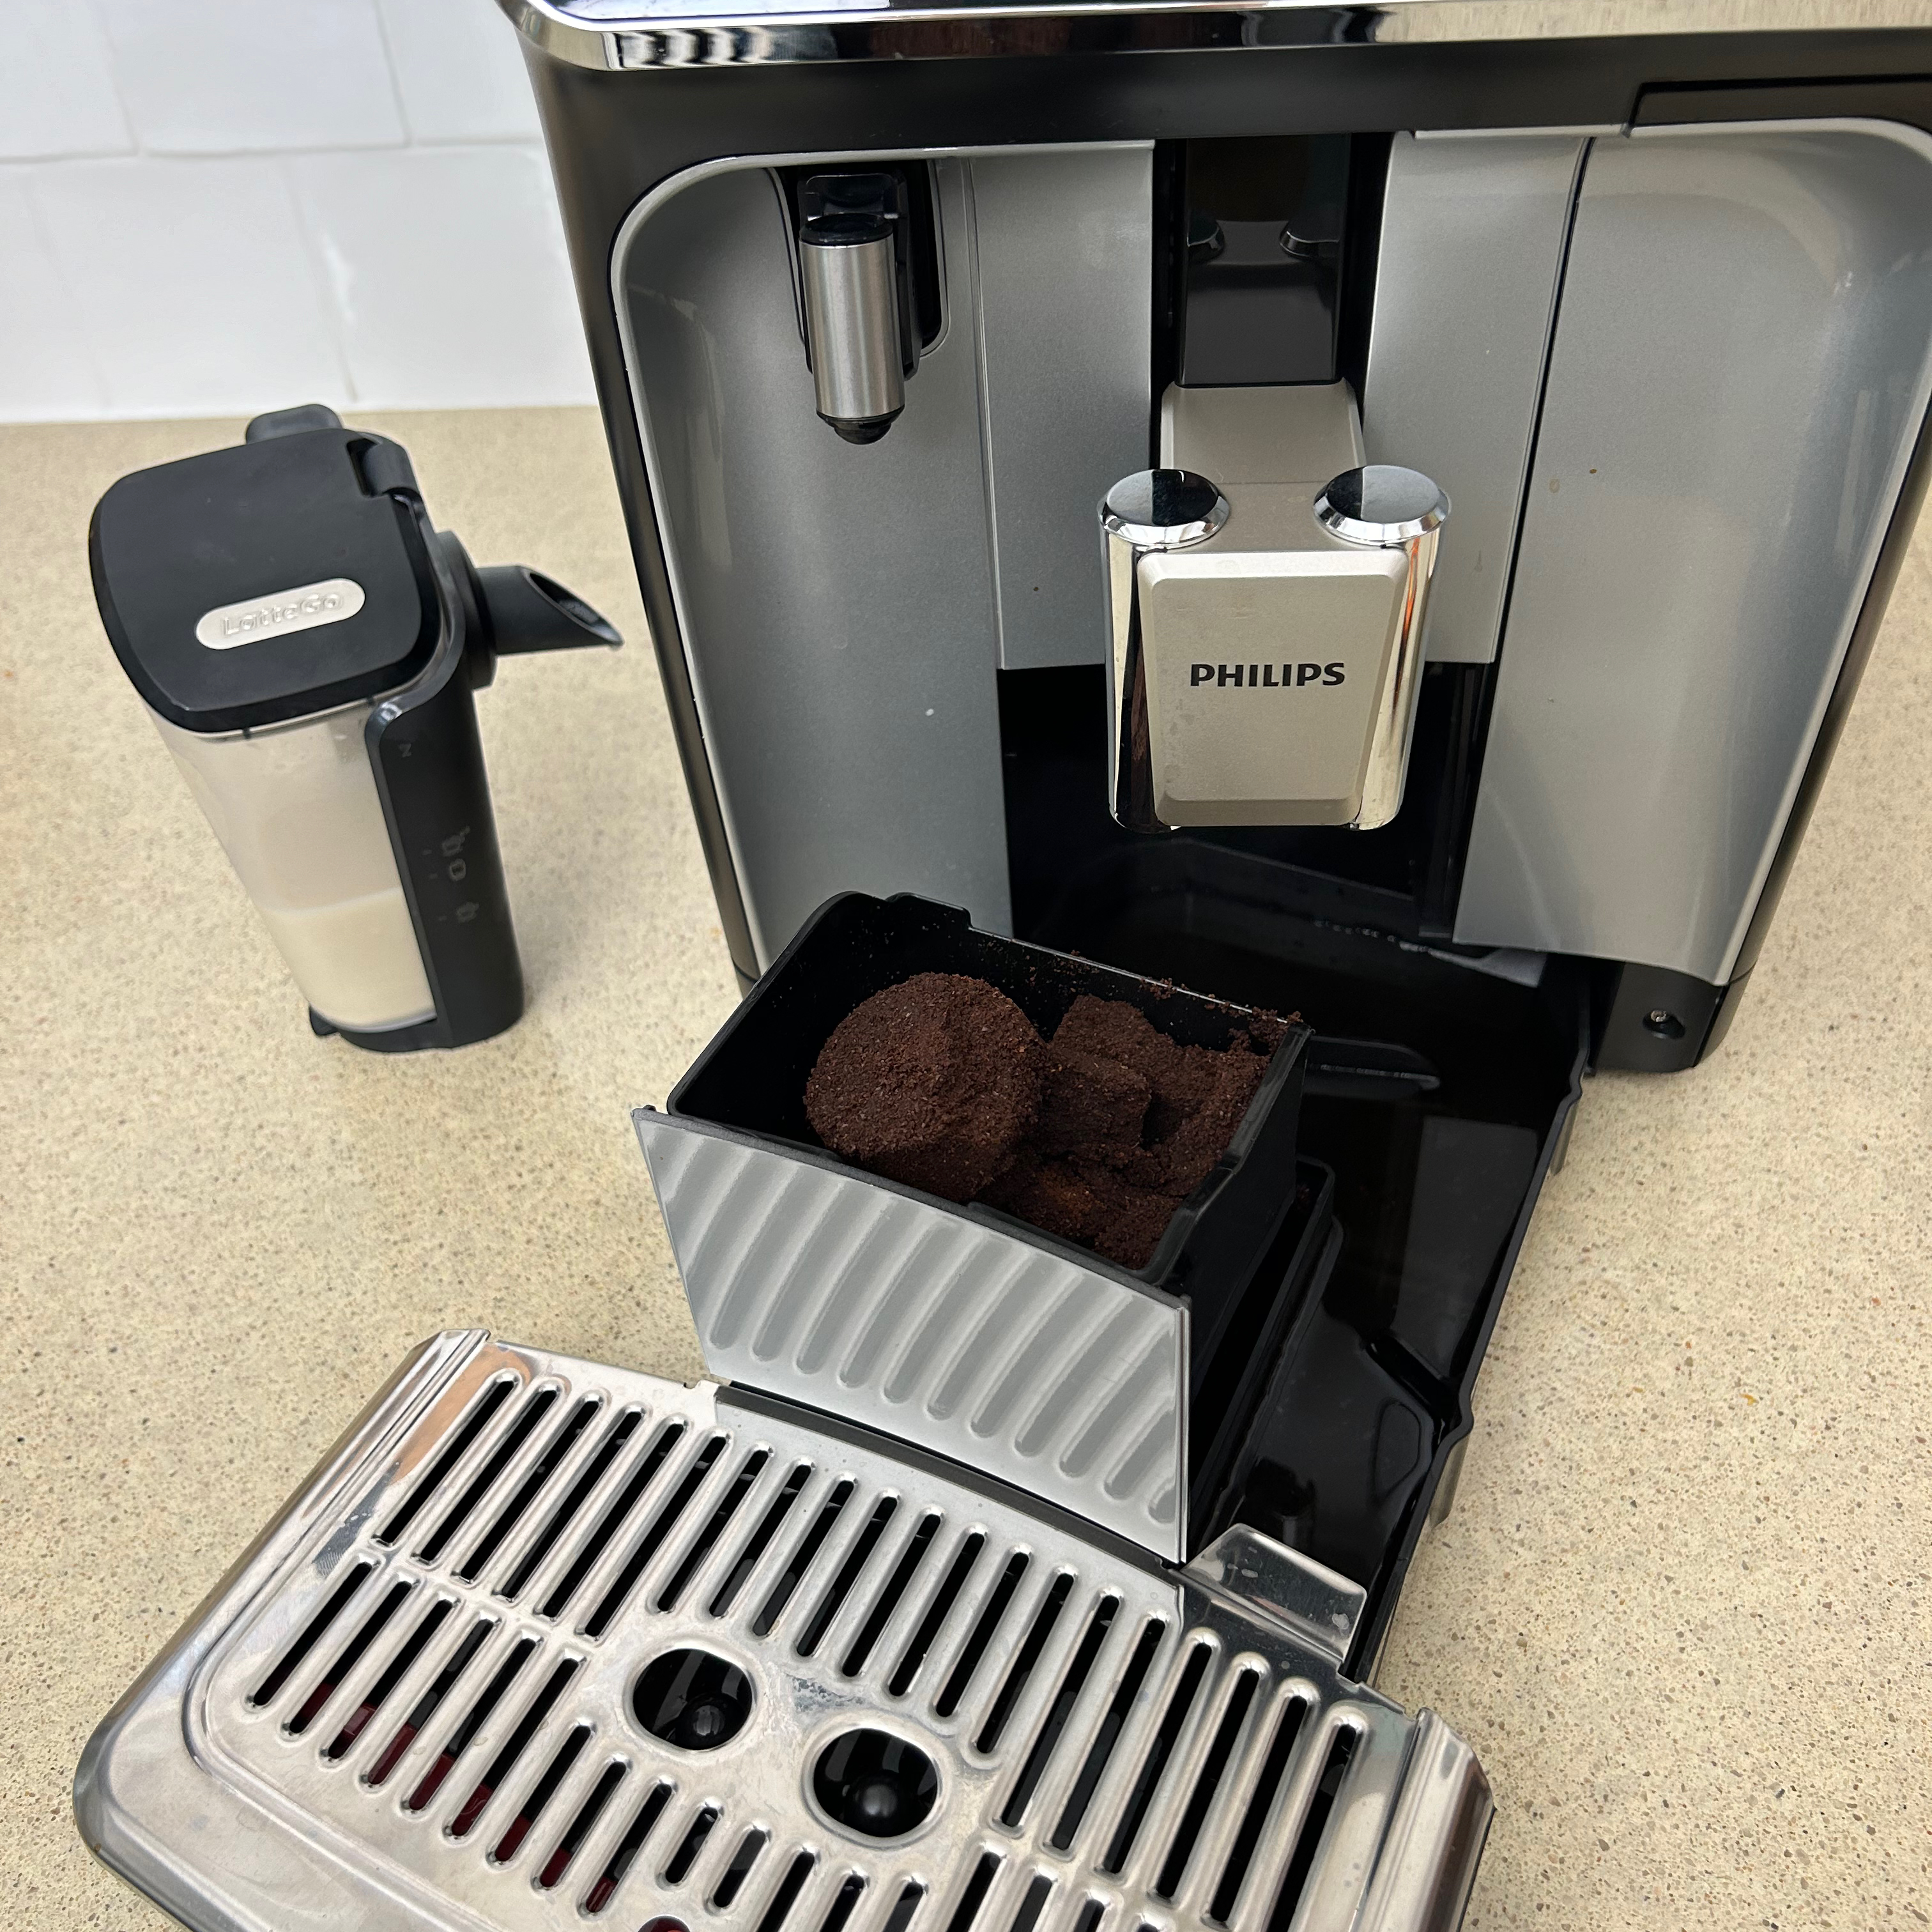
The height of the main coffee spout is adjustable to allow for different size cups. At its highest, you can fit cups up to 14cm, when it’s at its lowest point there’s 8cm clearance. The milk spout is fixed though, so for smaller cups you’ll need to make sure you get the placement spot on.
What is it like to use
After setting up the machine and filling the water container and bean hopper, I dispensed a trial espresso so that I could get a feel for the quality of the espresso for starters. The first one tasted quite weak, so I increased the aroma strength to level four out of five.
Increasing this setting certainly made for a more intense espresso and it also seemed to make the previously very weak crema, a little thicker and more robust. However, the crema still wasn’t quite as thick as I’d hope for so I tried out level five.
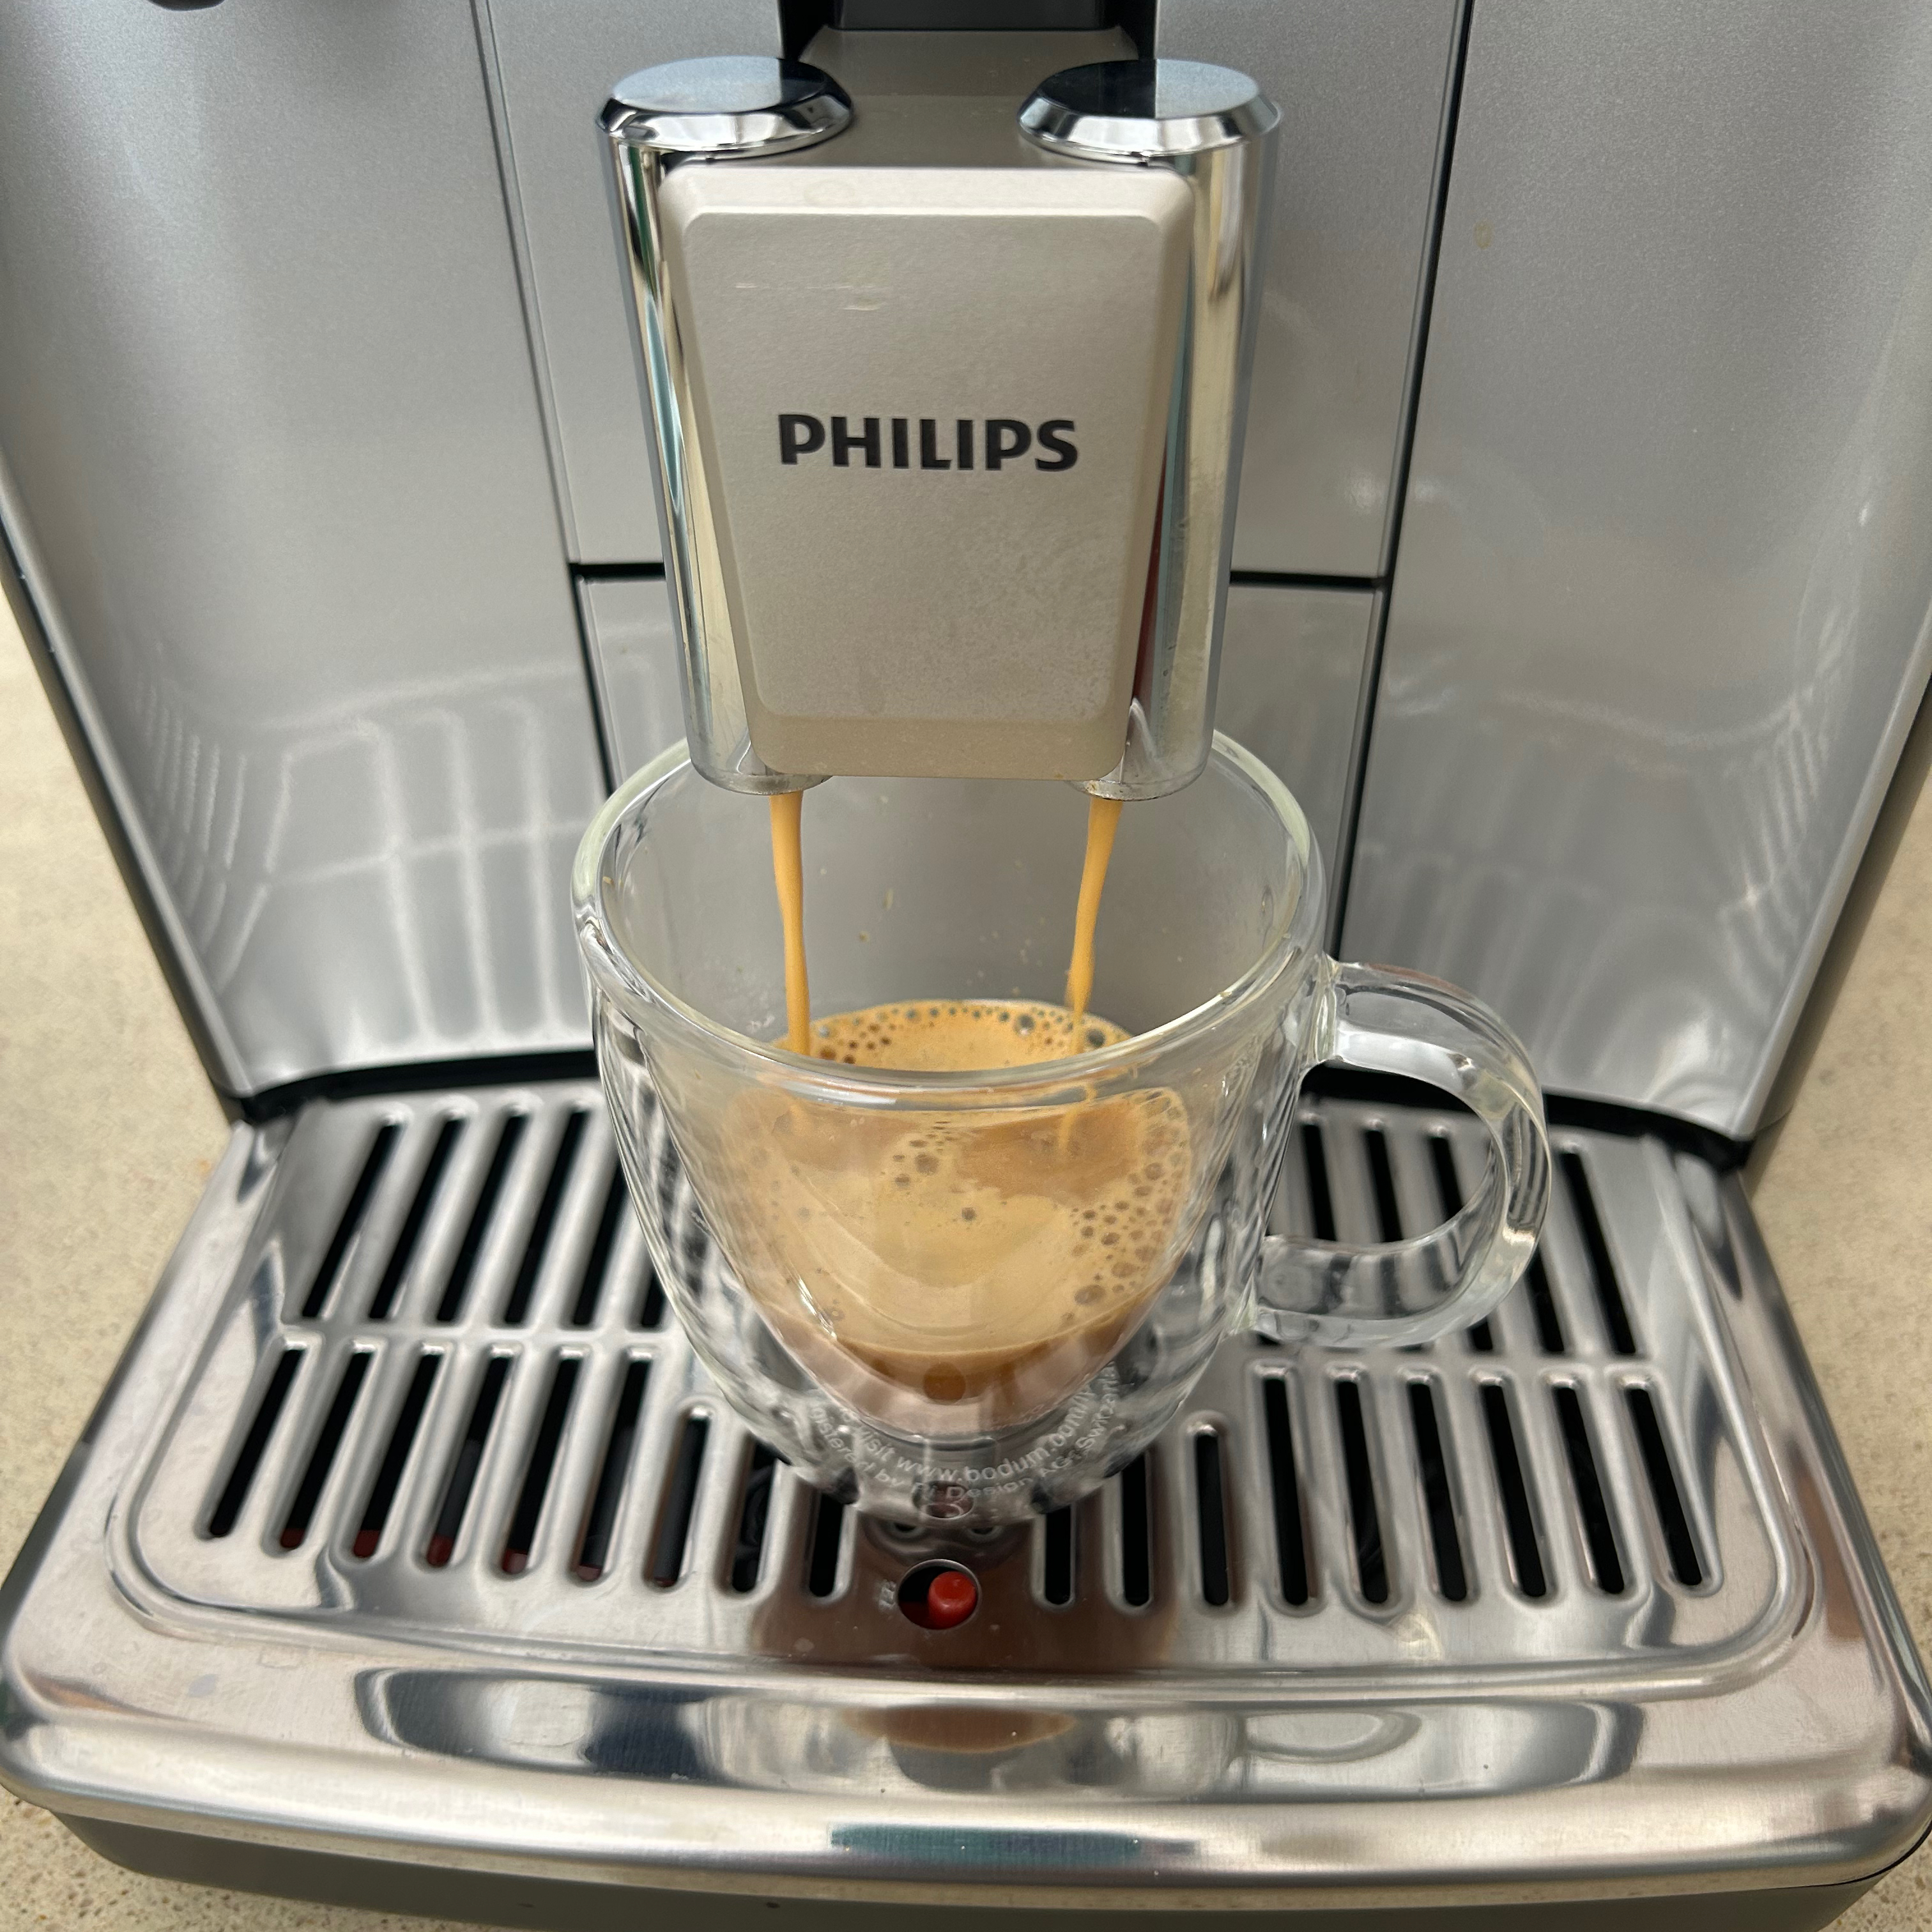
When set to the highest aroma strength level the espresso packed much more of a punch and the crema was still better, though neither are at a standard I’m happy with, so later down the line I know I’ll be itching to adjust the grind size to improve it further.
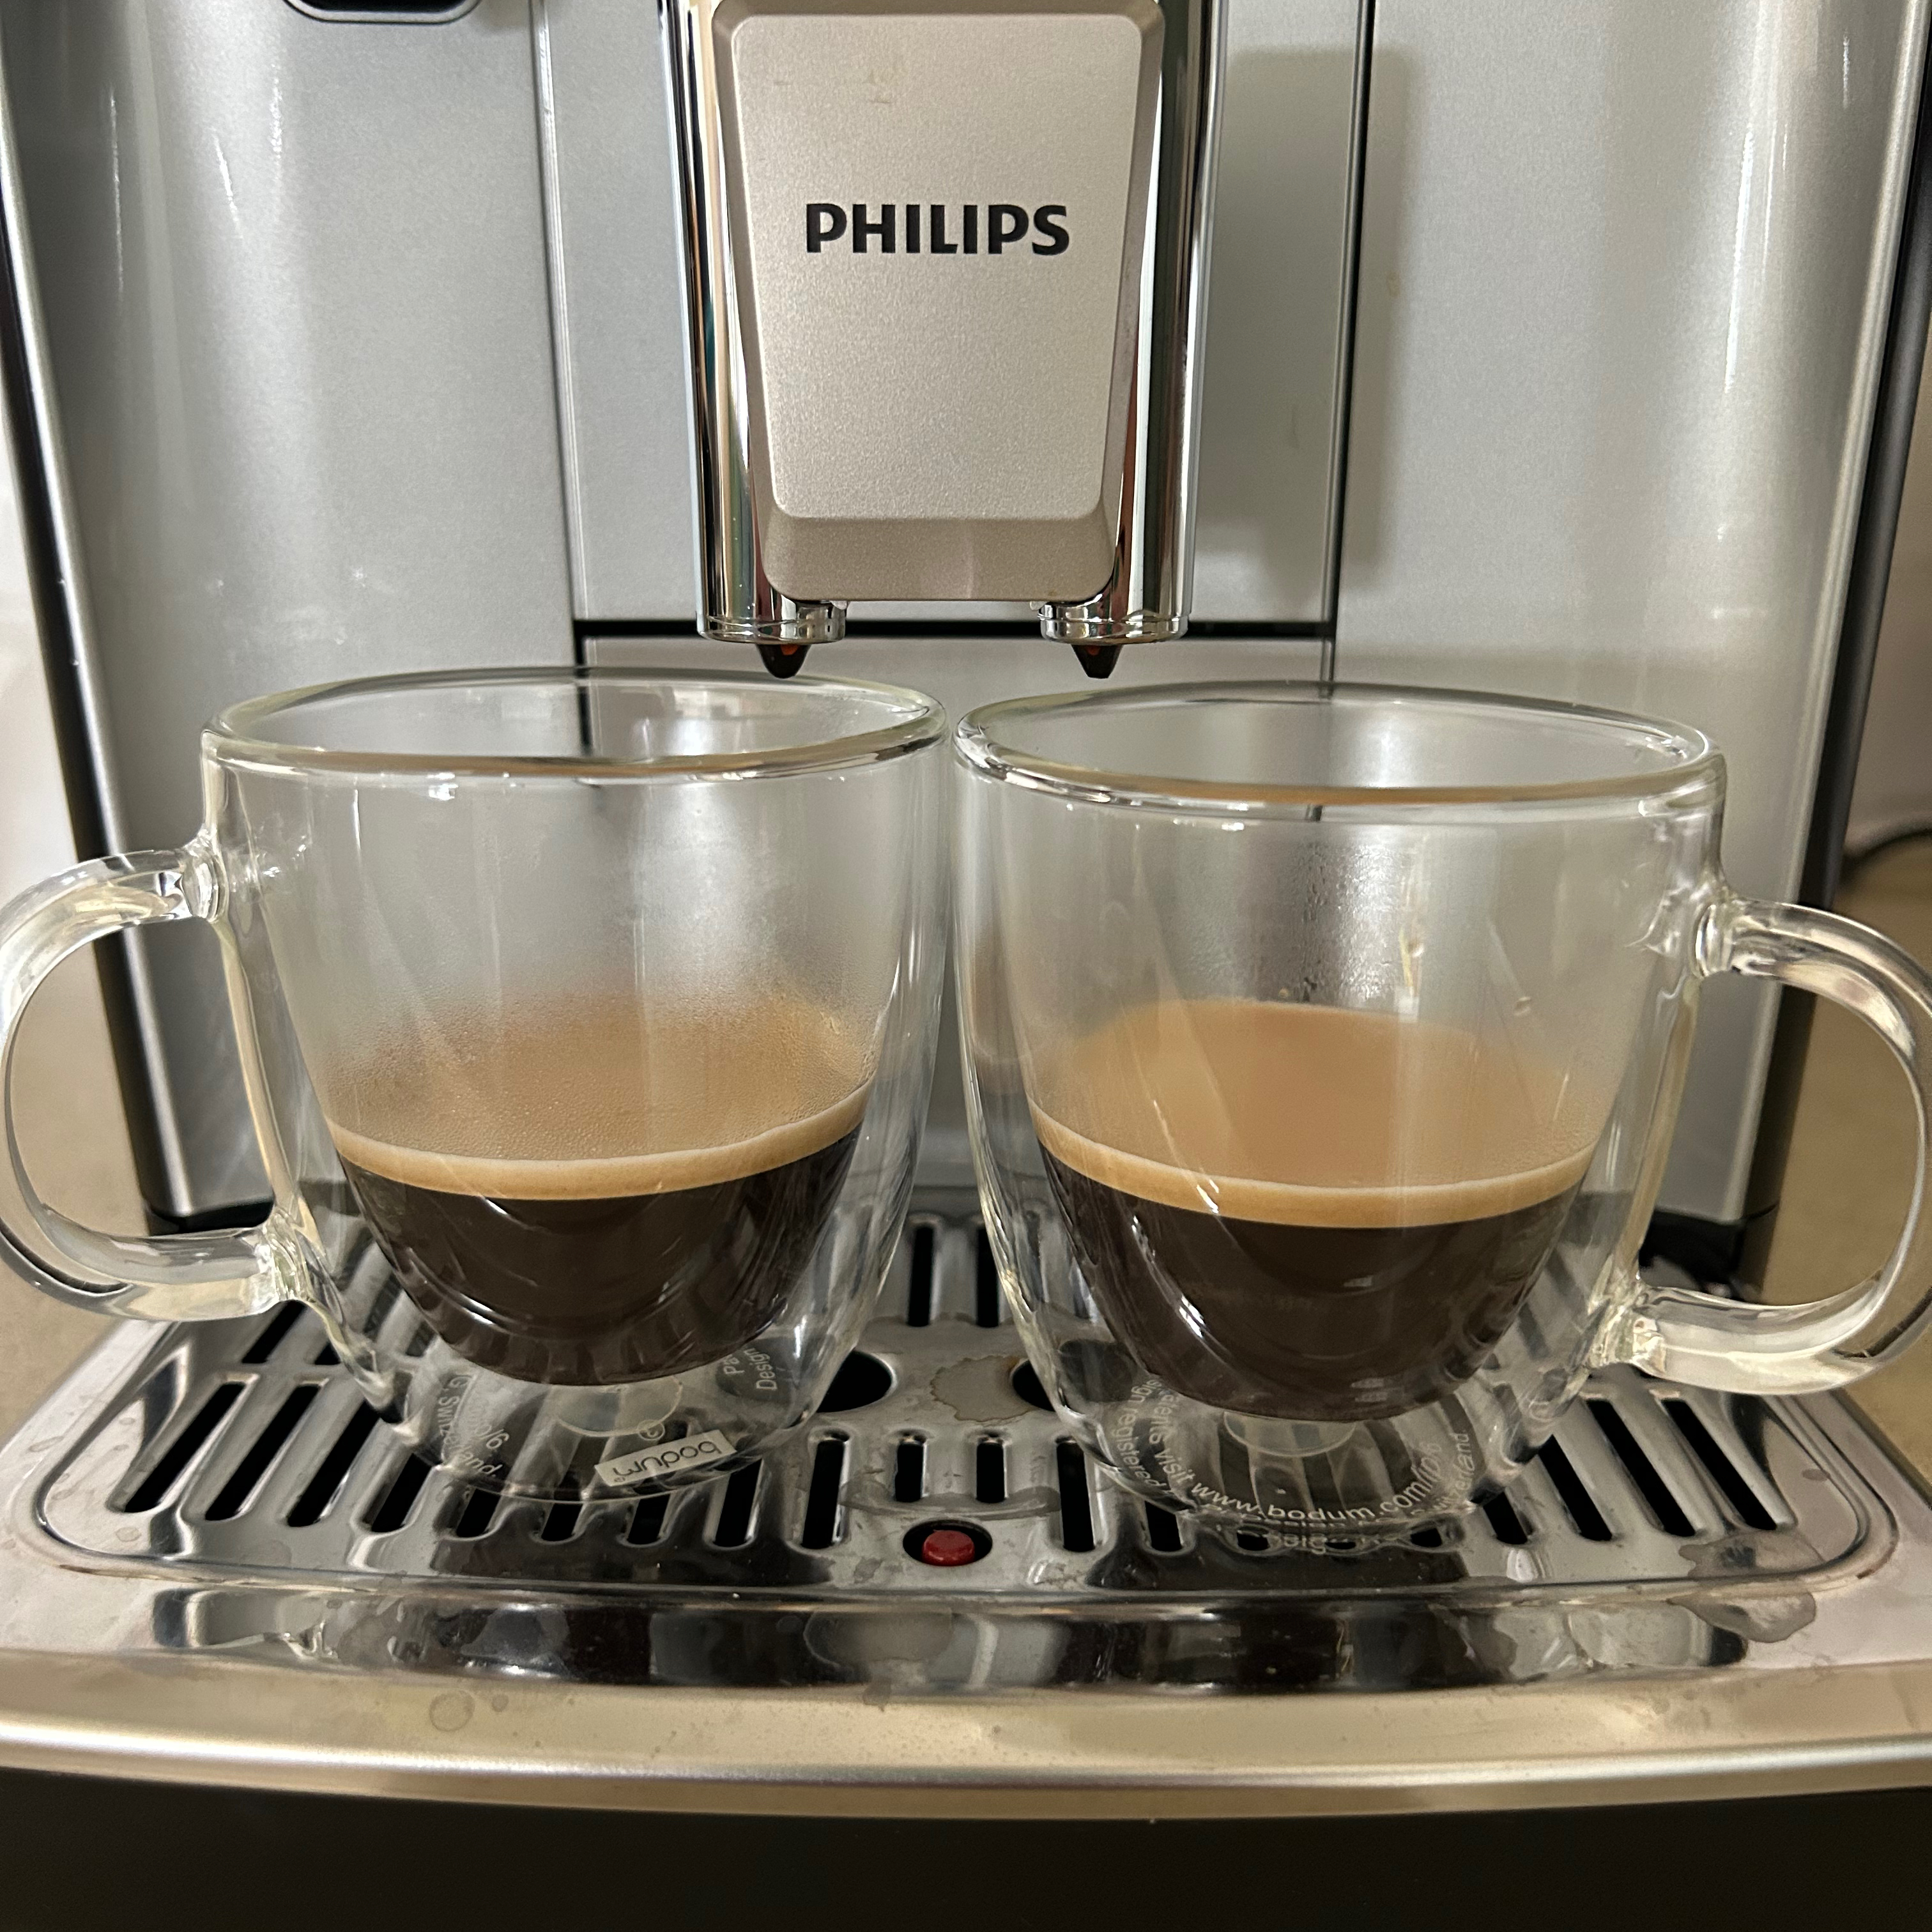
It takes an average 35-40 seconds to brew a 40ml espresso, but the volume can be adjusted from 30-70ml, plus you can add an extra shot if you like. Or, there’s also an option to dispense two espressos simultaneously, simply by selecting two and putting a cup under each dispensing hole.
The foamed milk comes out of the spout like a waterfall. The first oat milk flat white that I made was in a very short little teacup, so I was nervous about the placement of the cup and how well the waterfall of milk would aim into the cup.
The milk successfully made its way into the cup, but for this and every subsequent milky drink, I was wary of the cup placement, so I always felt the need to keep an eye on it until the milk started pouring.
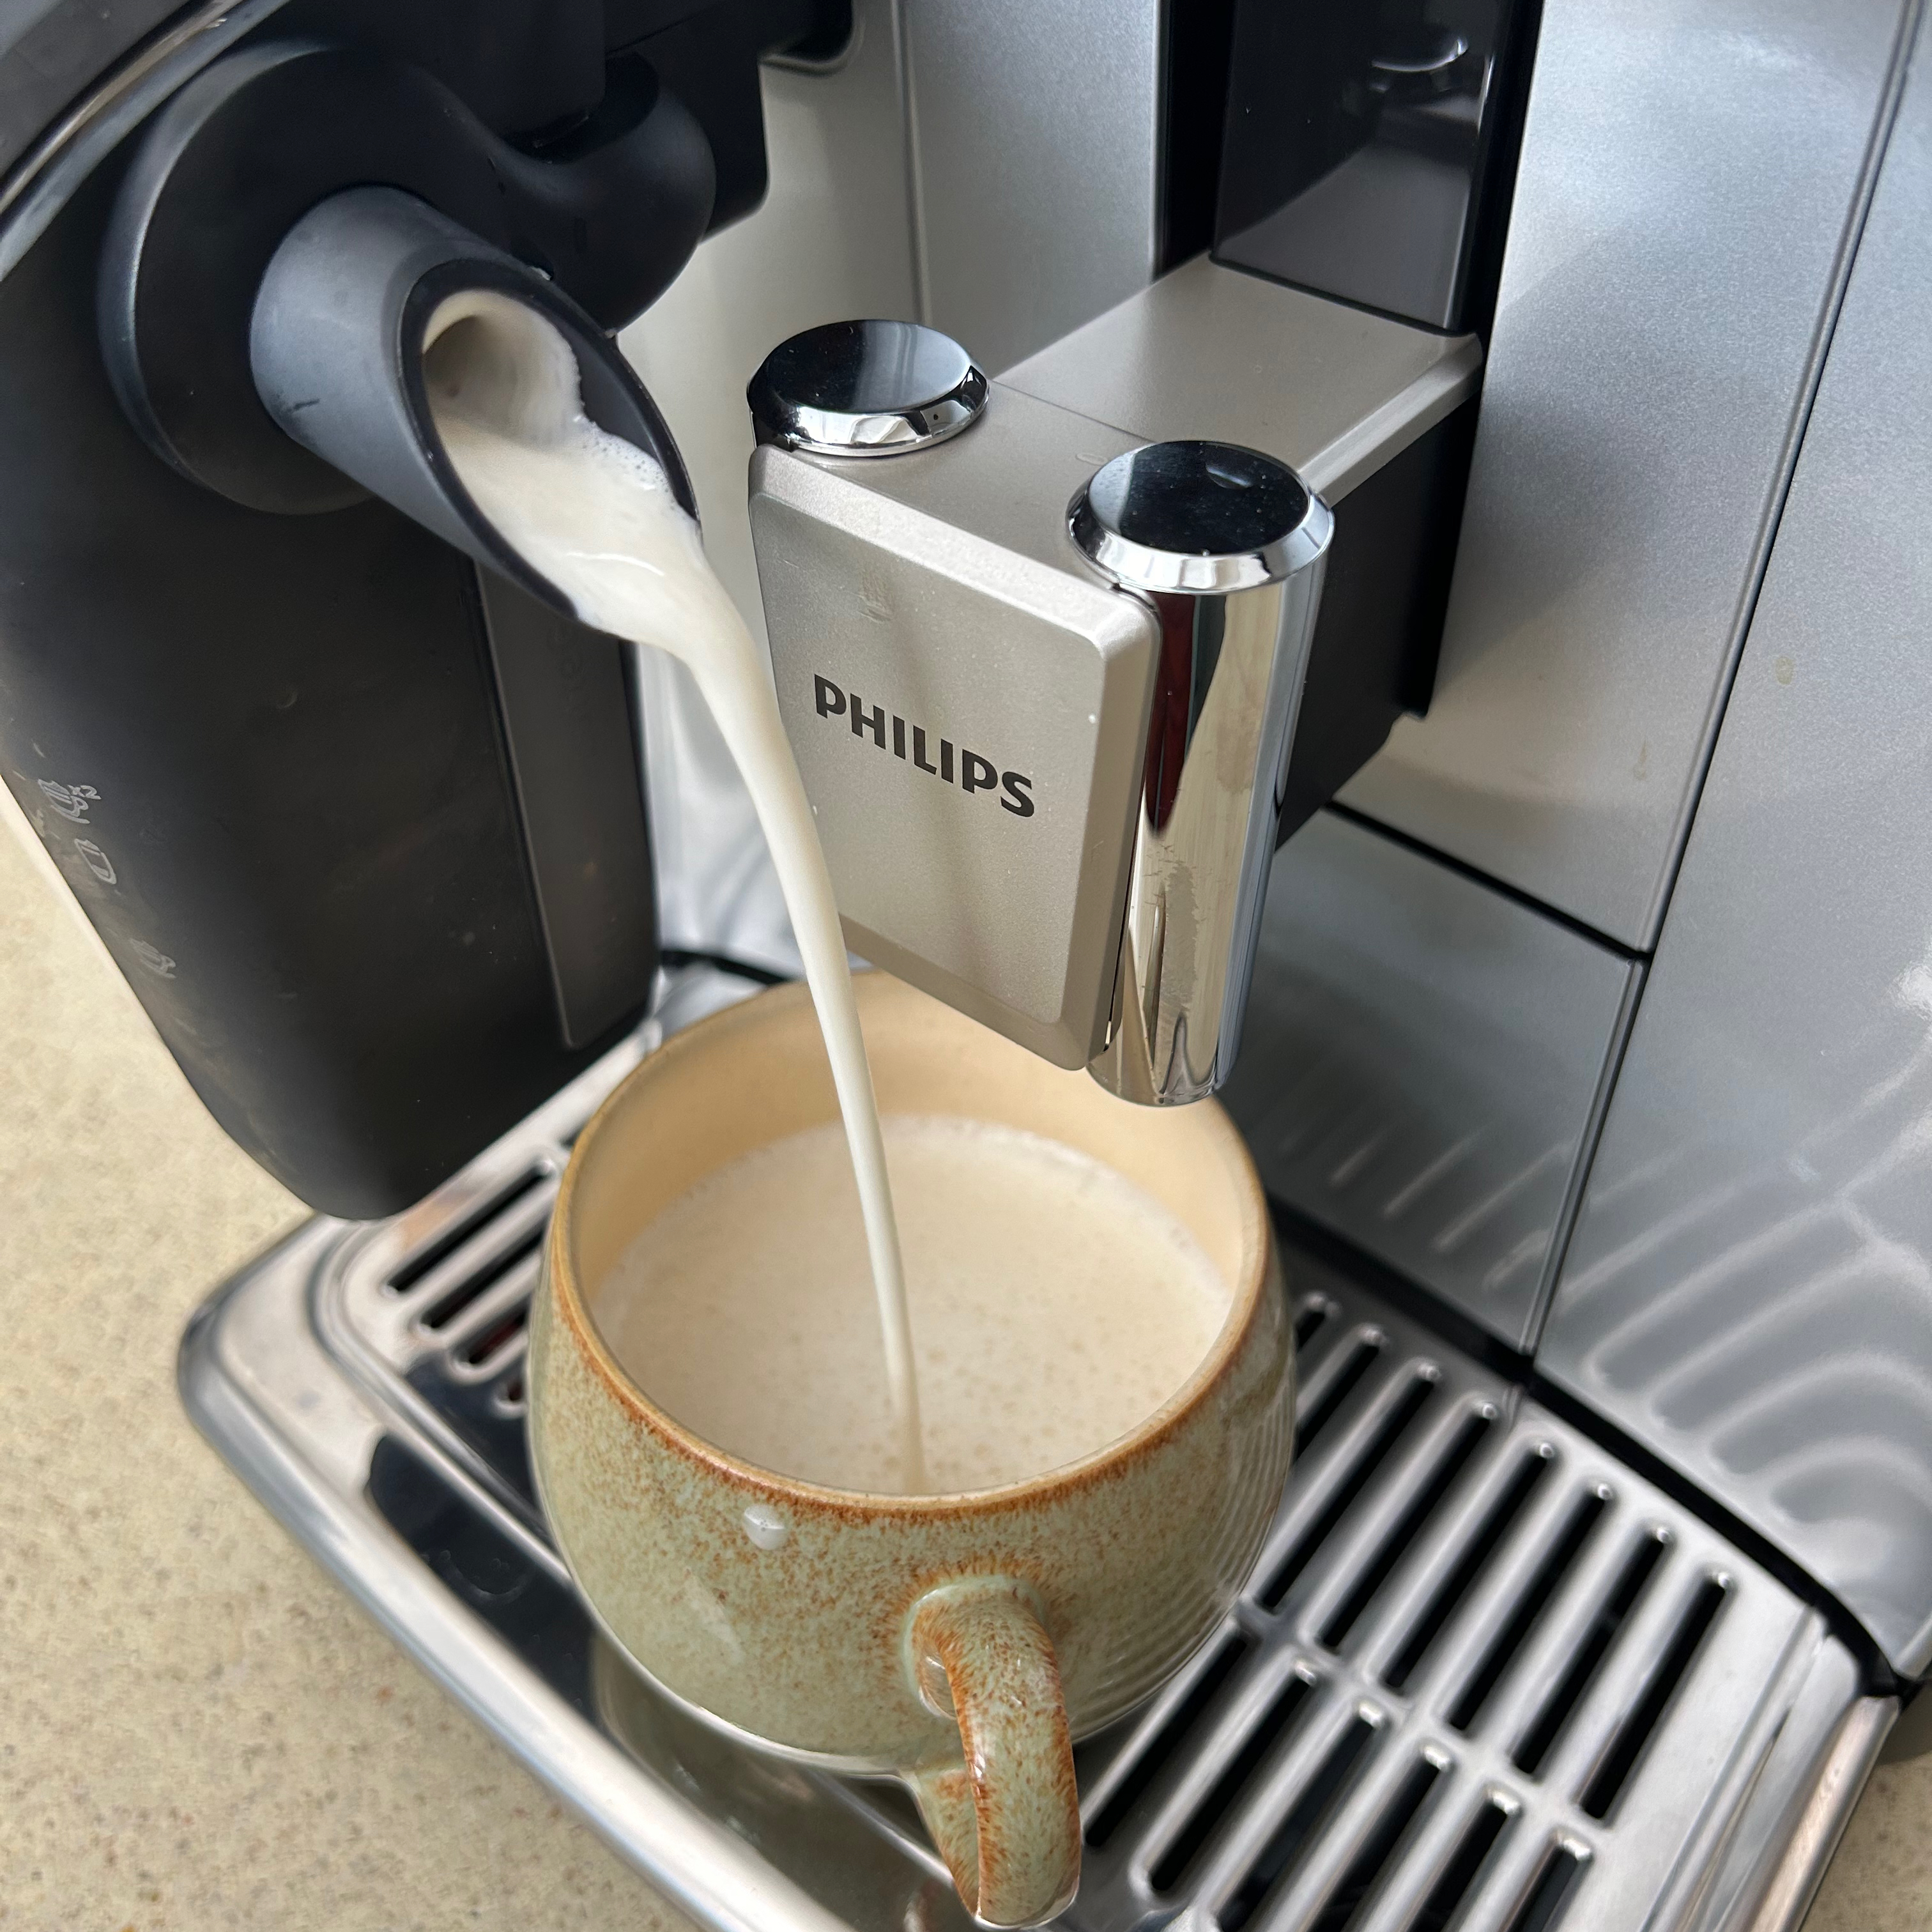
When you first select a drink such as a cappuccino, before the brewing process starts, the screen displays the adjustable settings. So for my first cappuccino I immediately adjusted the preset parameters to include an extra shot of espresso and I upped the milk from 120ml to 180ml to balance out the extra espresso. This drink took around 2 minutes 20 seconds to be made.
Milky drinks are dispensed at around 55C on the medium temperature setting. This was a bit cool for me. I also noticed that sometimes, when making milk based coffees for two people, the second drink poured was hotter than the first by at least another 5C.
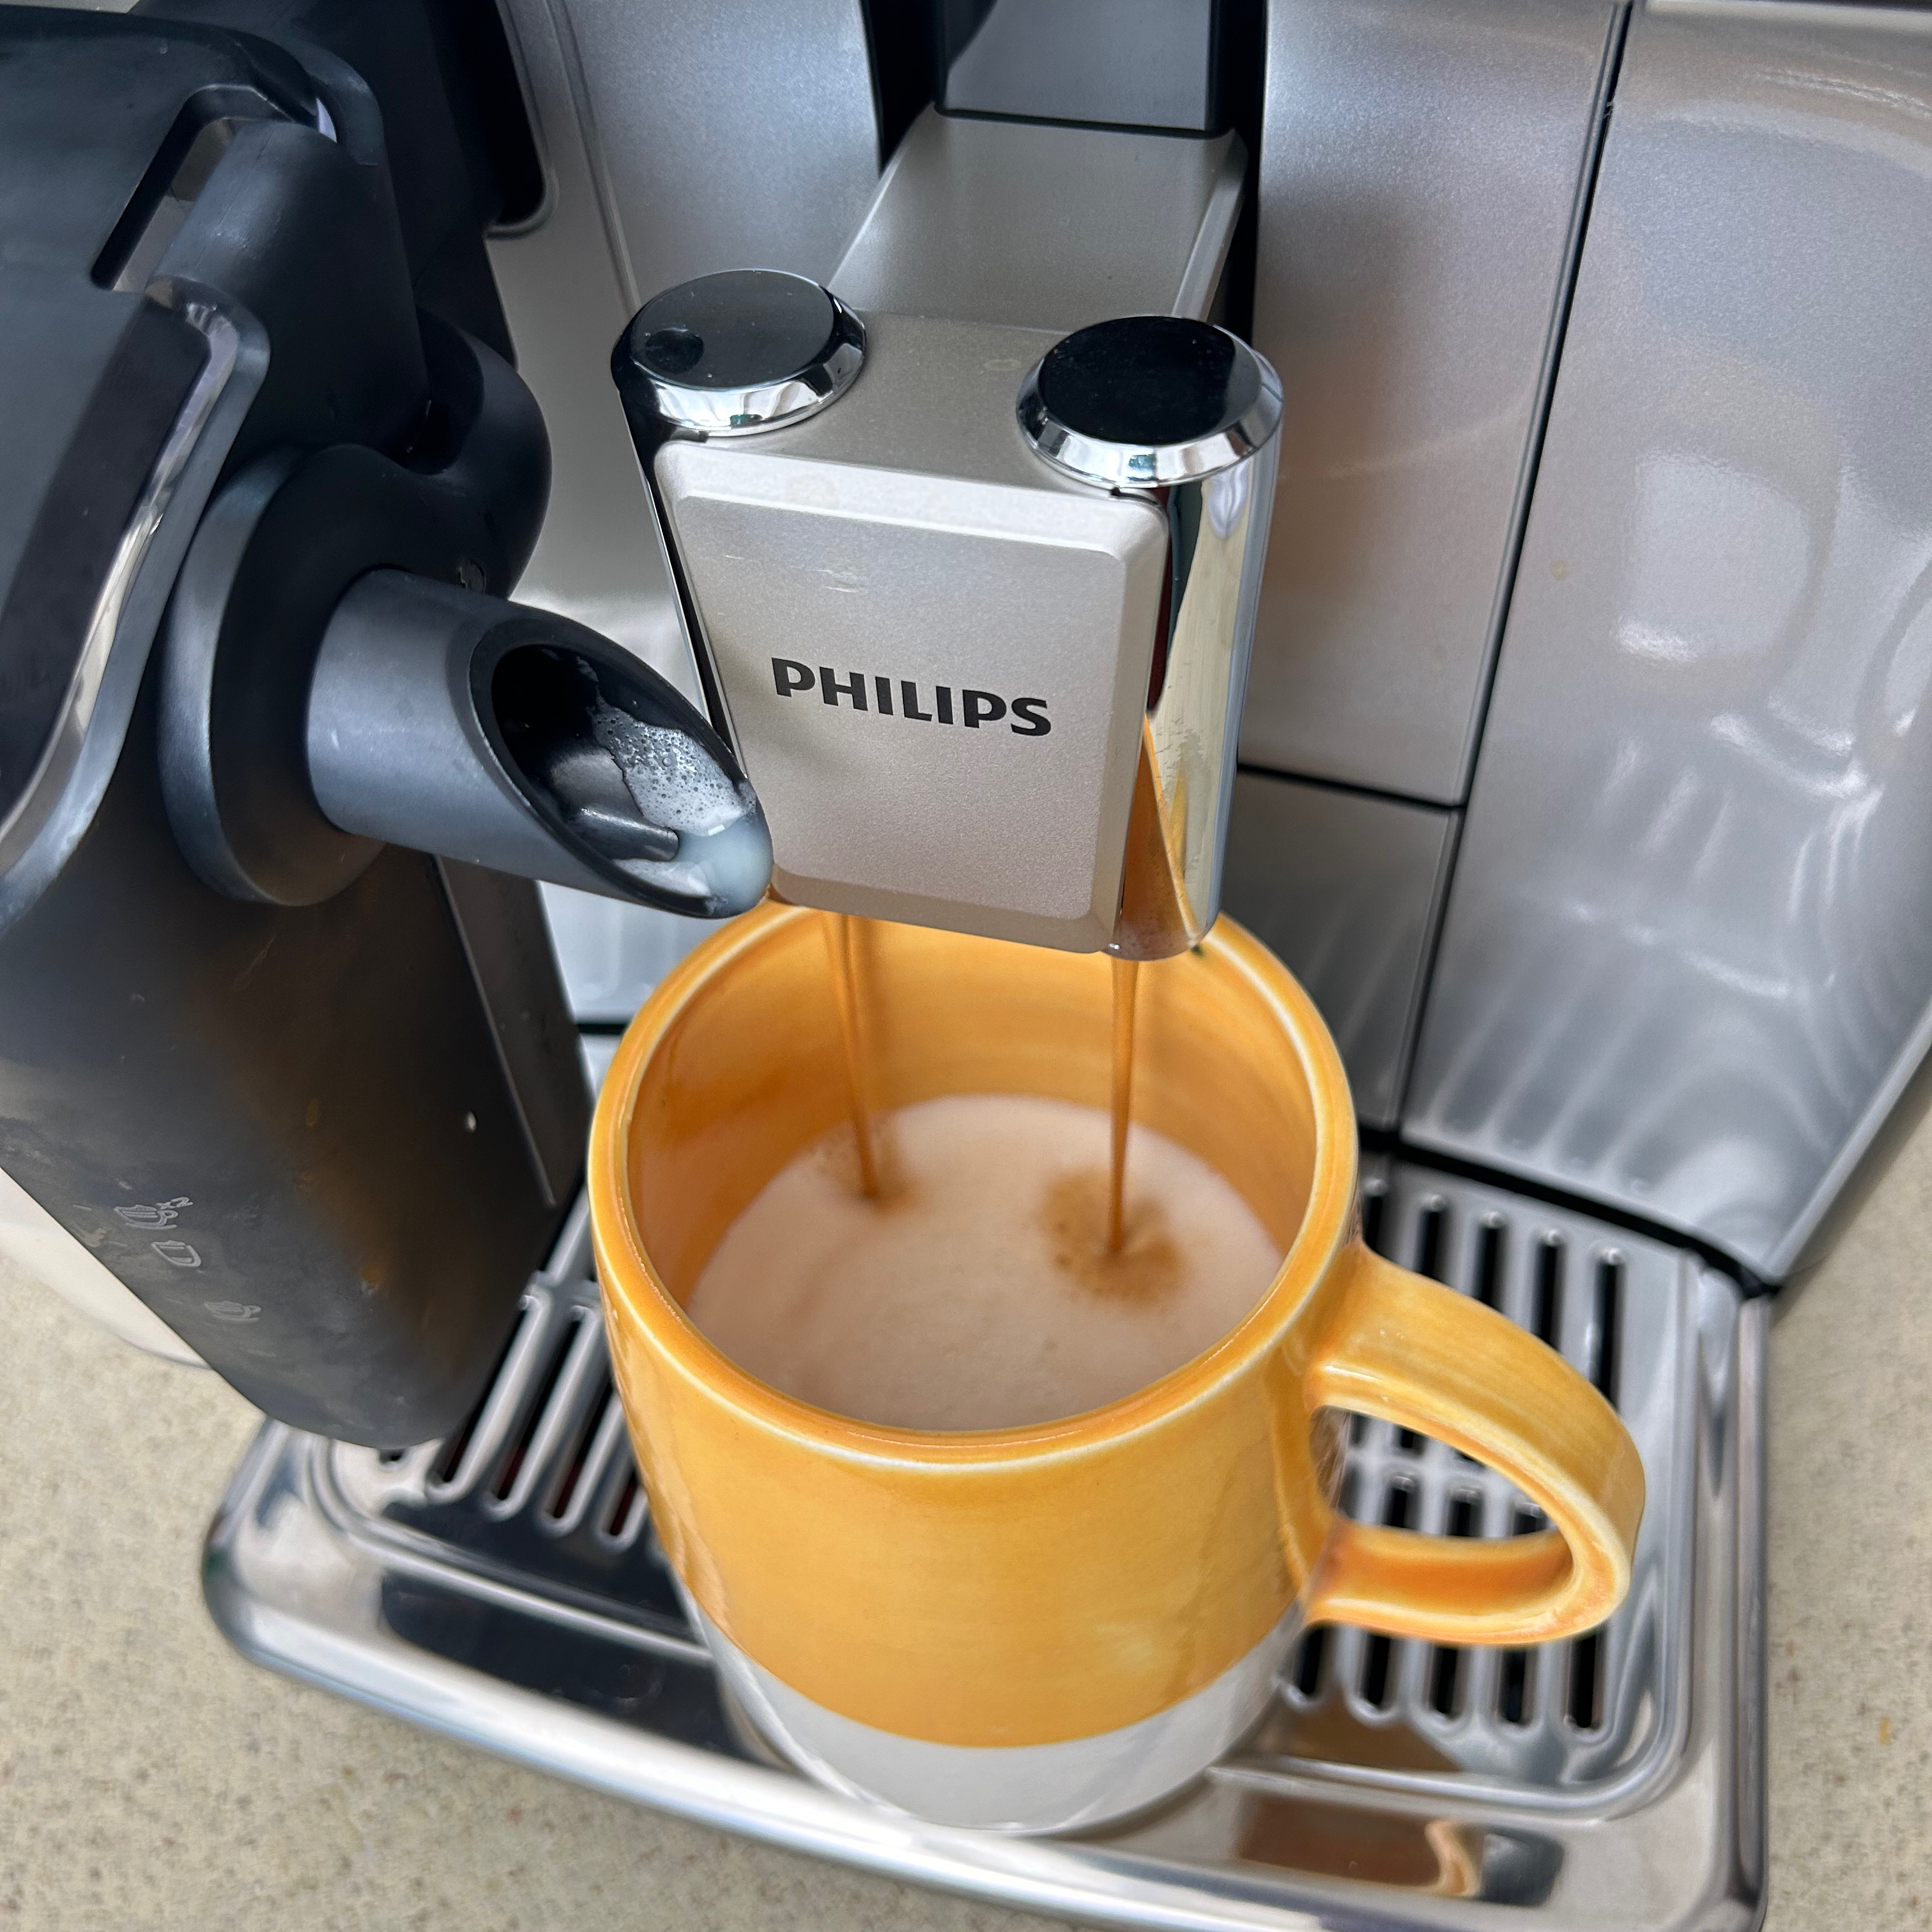
It took just seconds to figure out how to adjust it up to the higher temperature option in the settings menu. And in making this adjustment, the screen displayed a quick tip - turn on the start-up rinse function in order to boost the temperature of the first coffee - so initially I just turned this on instead of increasing the coffee temperature.
I was quite surprised that switching on the start up rinse increased the temperature of my first coffee by around 5C. However, it does mean that when you first switch it on in the morning, you have to wait around one minute for it to complete this initial heat up and rinse phase. In comparison, when the start up rinse was switched off, there was virtually no wait between turning the coffee machine on and being able to select a drink.
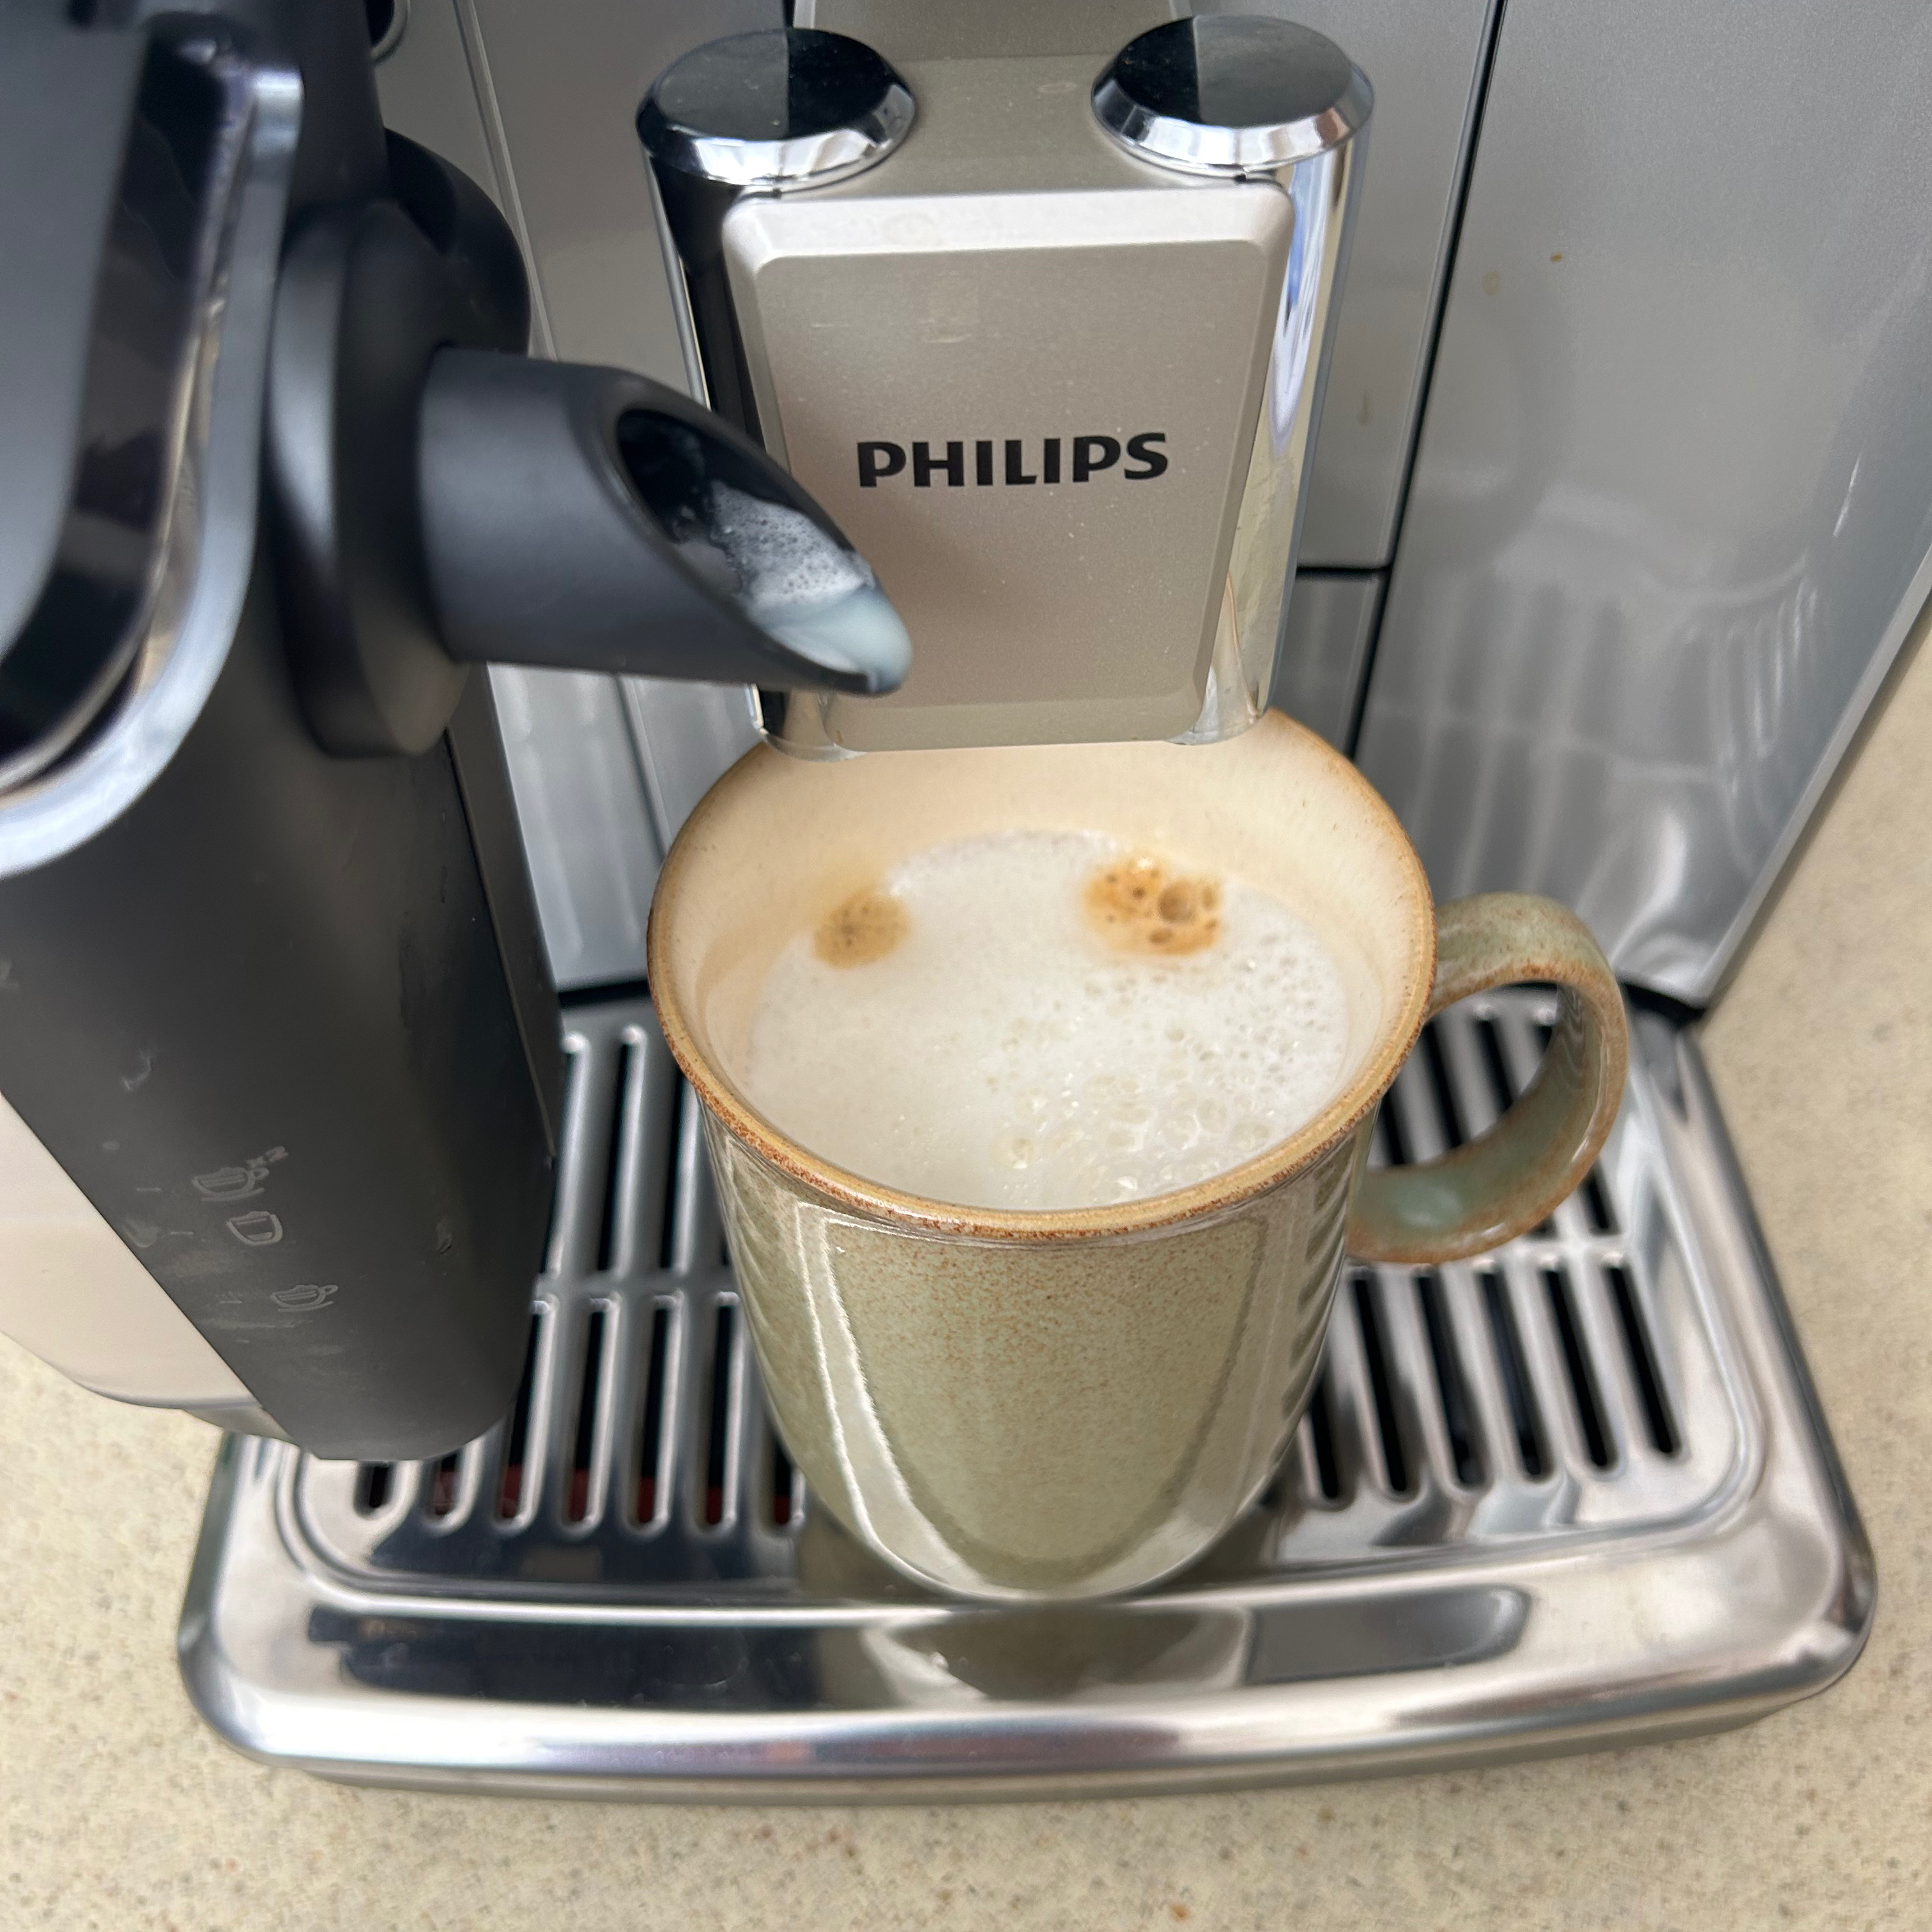
With the start up rinse on, as well as the temperature set to the highest setting, my morning cappuccino or flat white, was still no hotter than 60C. So if you’re someone who likes an extra hot option, this could be a sticking point.
A latte dispensed in around a minute and a half, but most people will want to adjust the volumes as the preset volumes only filled about two thirds of a mug. Meanwhile my flat white took two minutes with increased coffee and milk volumes.
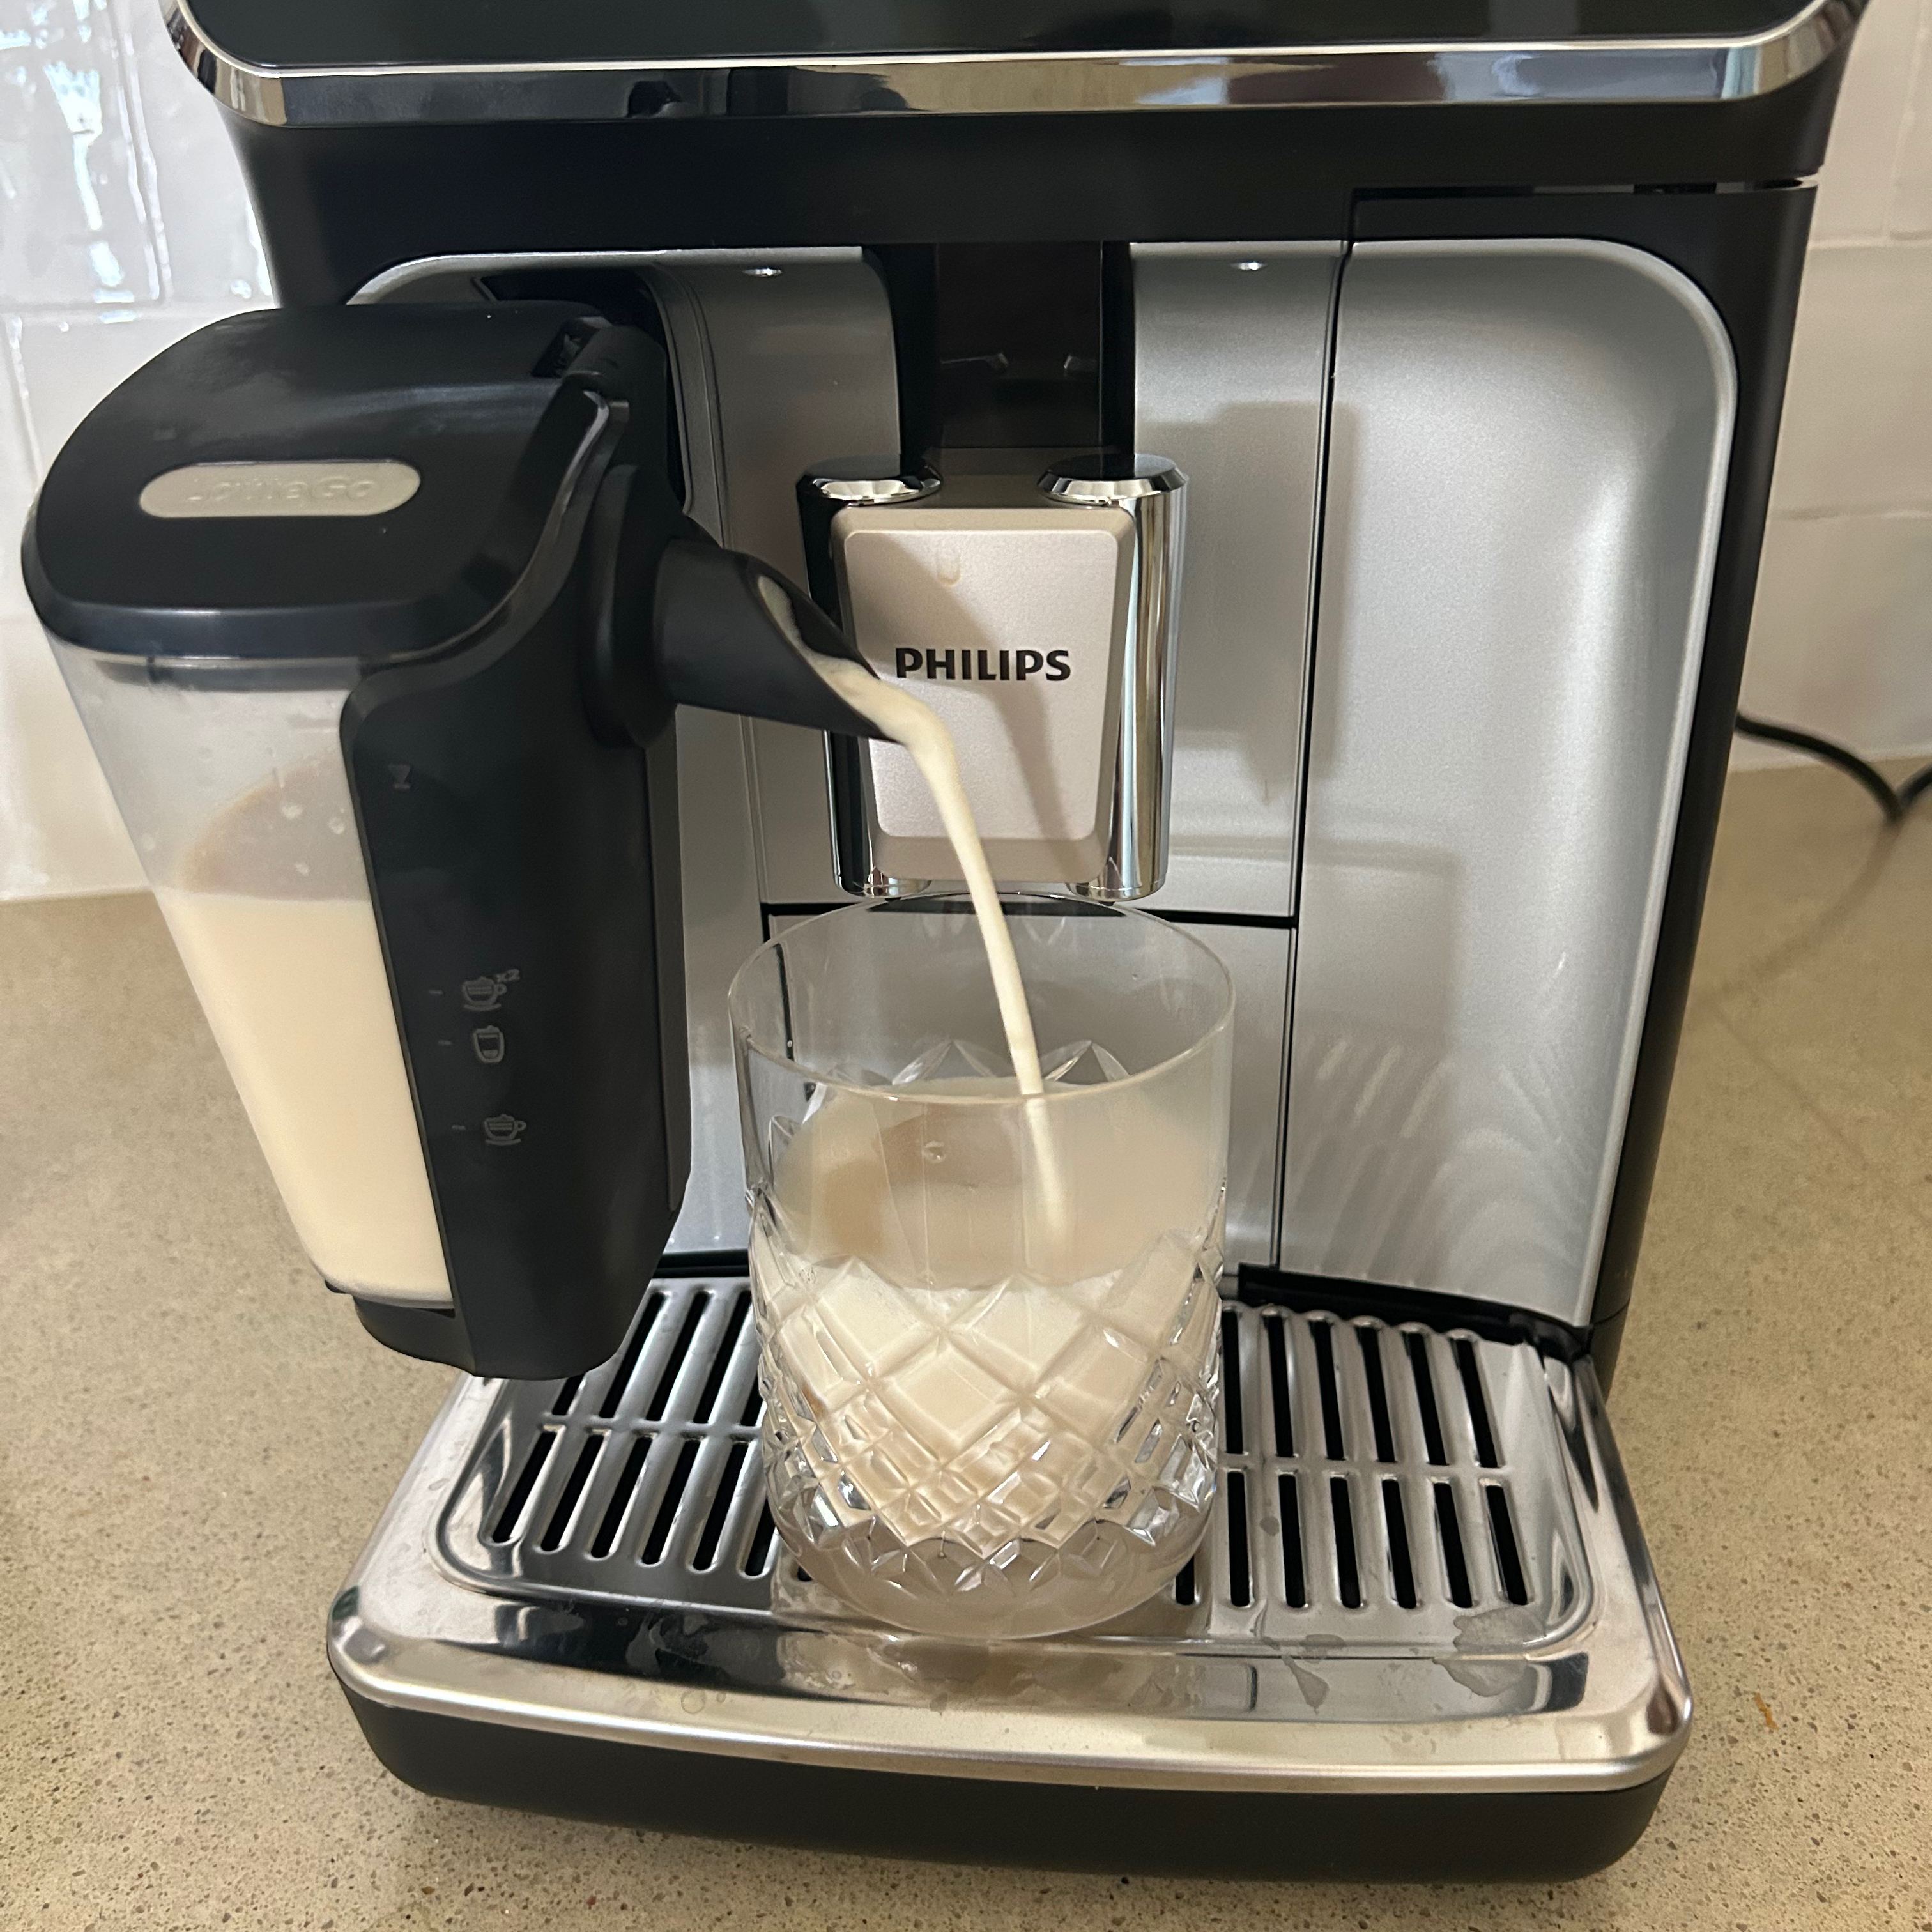
Safe to say, I very much enjoyed playing around the coffee and milk volumes to get the perfect balance to suit my tastes. However, the milk texture isn’t adjustable and it’s far from the silky microfoam that I’d expect on some drinks. Any foam produced tends to be a bit bubbly.
After about three days of trying really hard to follow the rules and not fiddle with the grind size, I couldn’t help myself. Some of the drinks were tasting watery and I needed the espresso to be more robust and rich. So I started decreasing the grind size to improve the drinks.
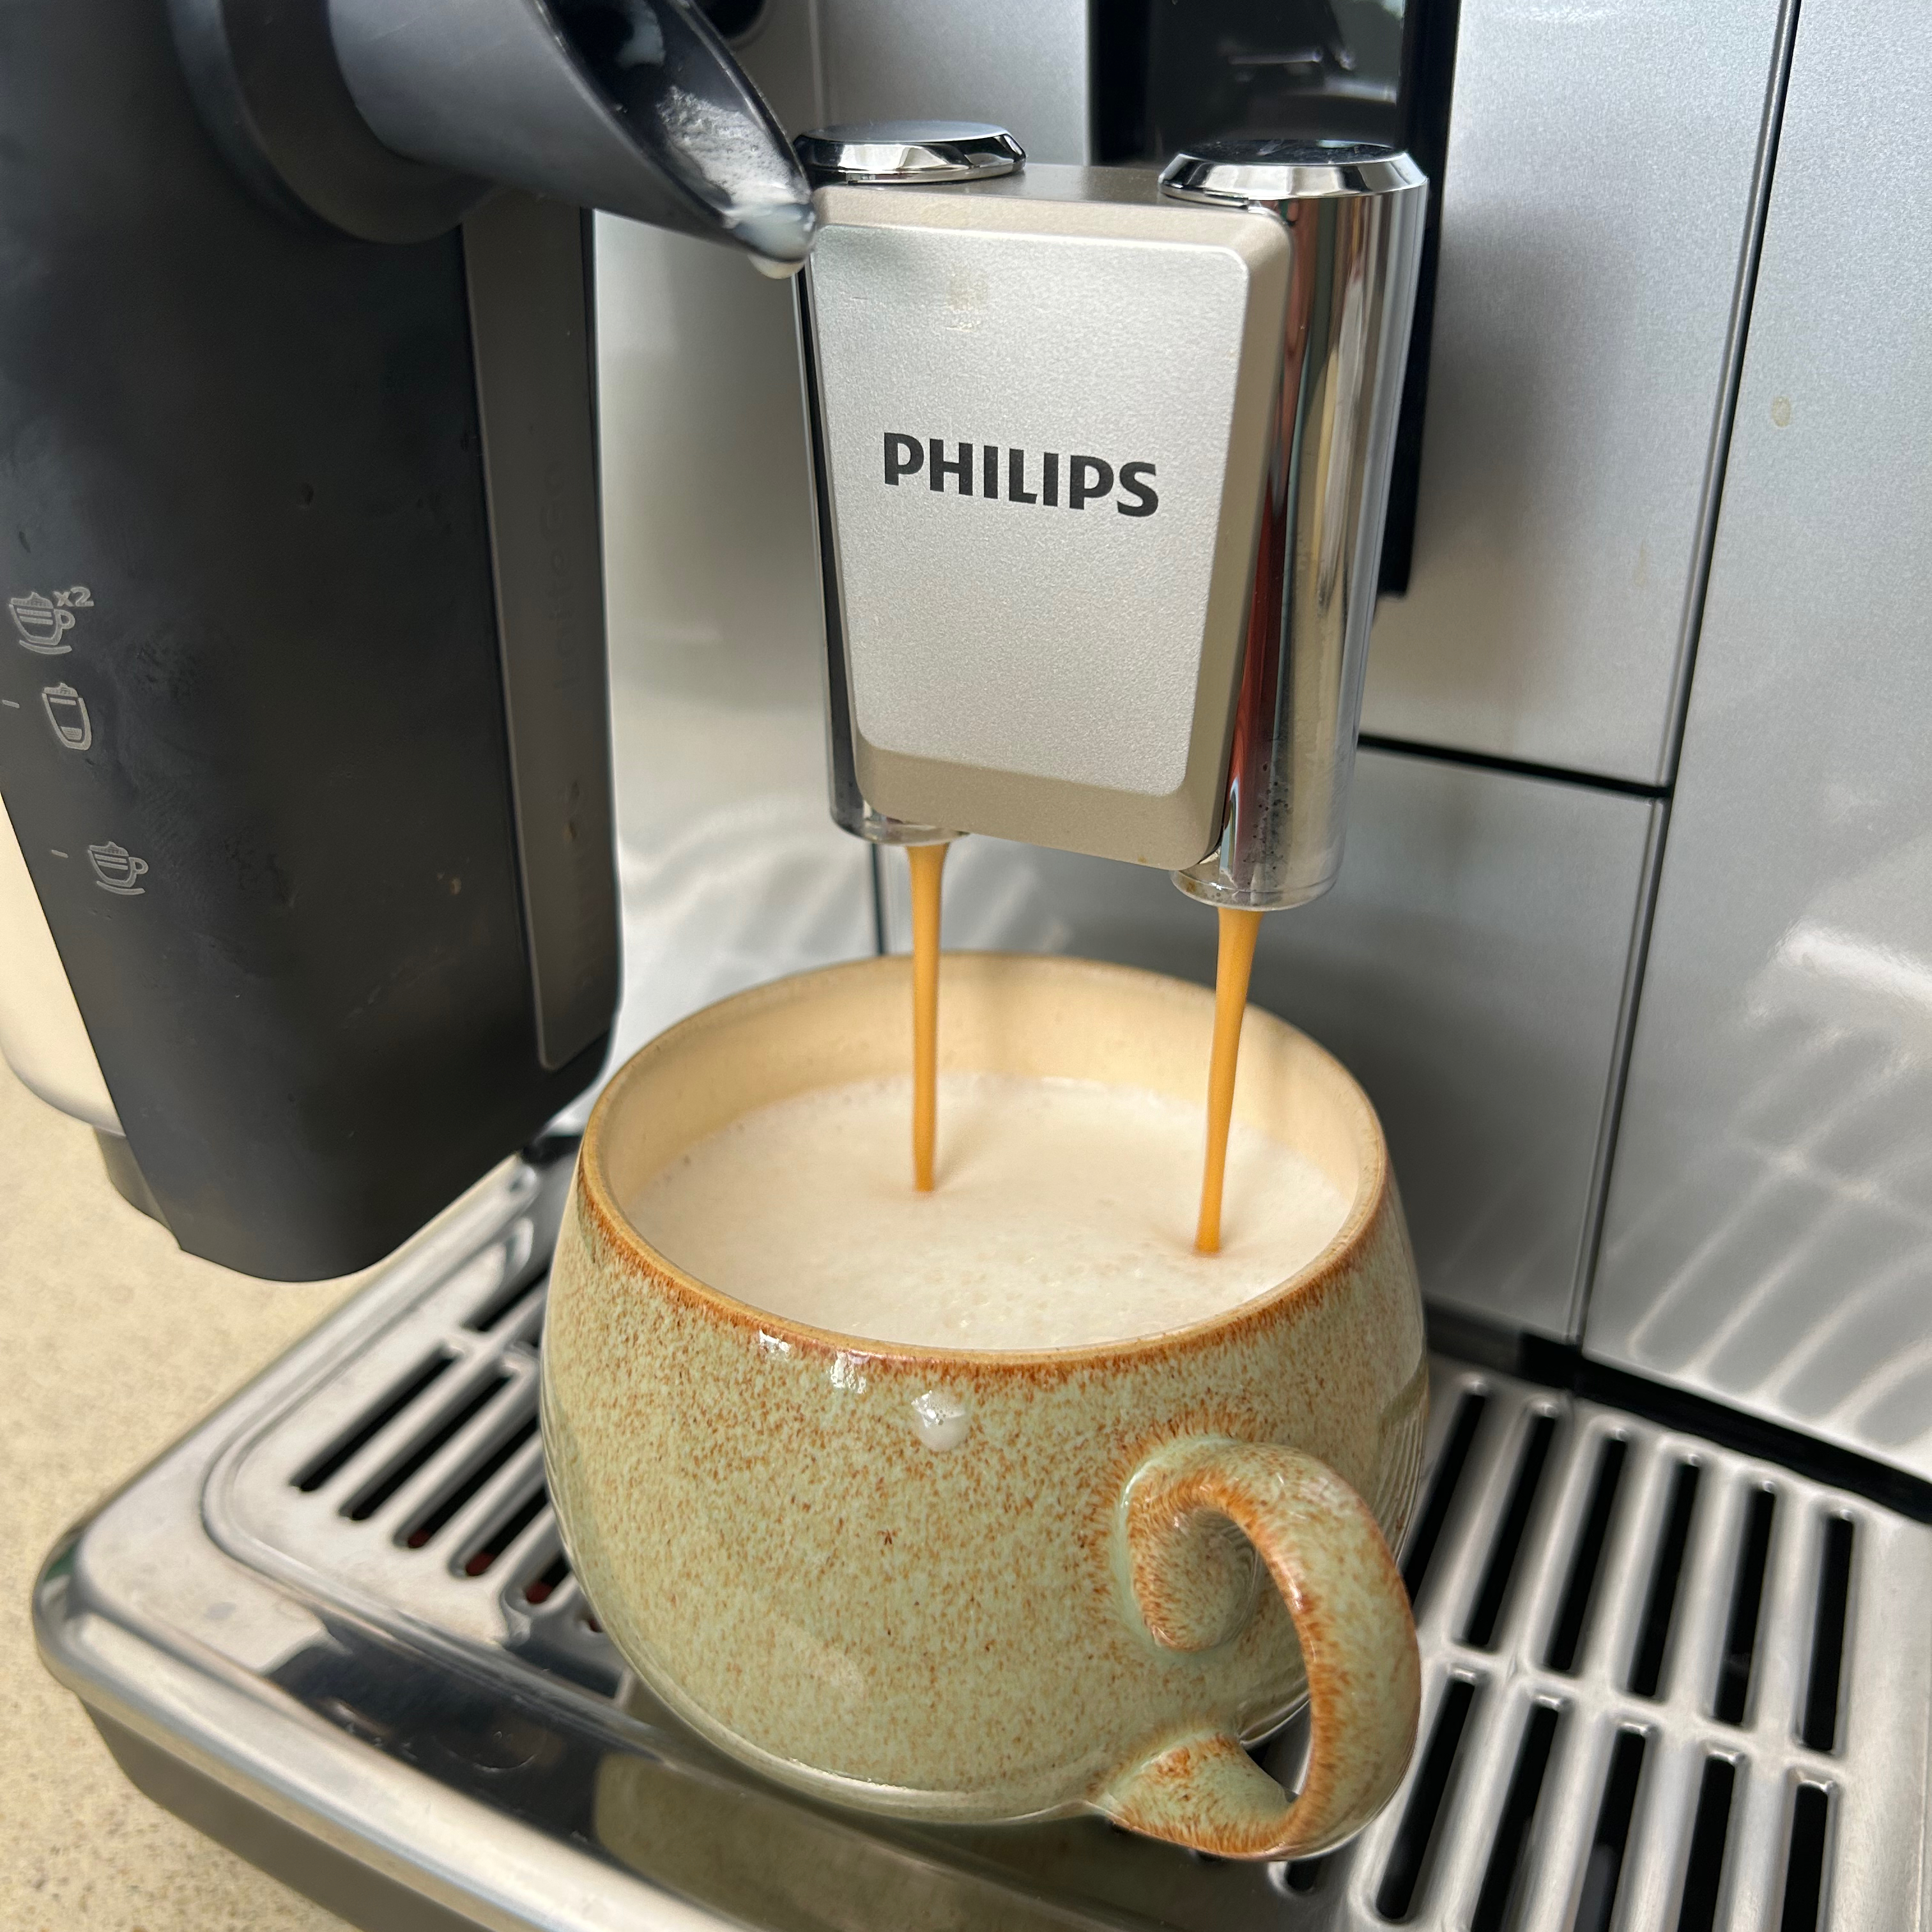
I ended up decreasing it by several notches over a few days until I was happy that it was brewing a well-rounded tasty espresso with a rich crema. This then improved the flavour of all the drinks on the menu.
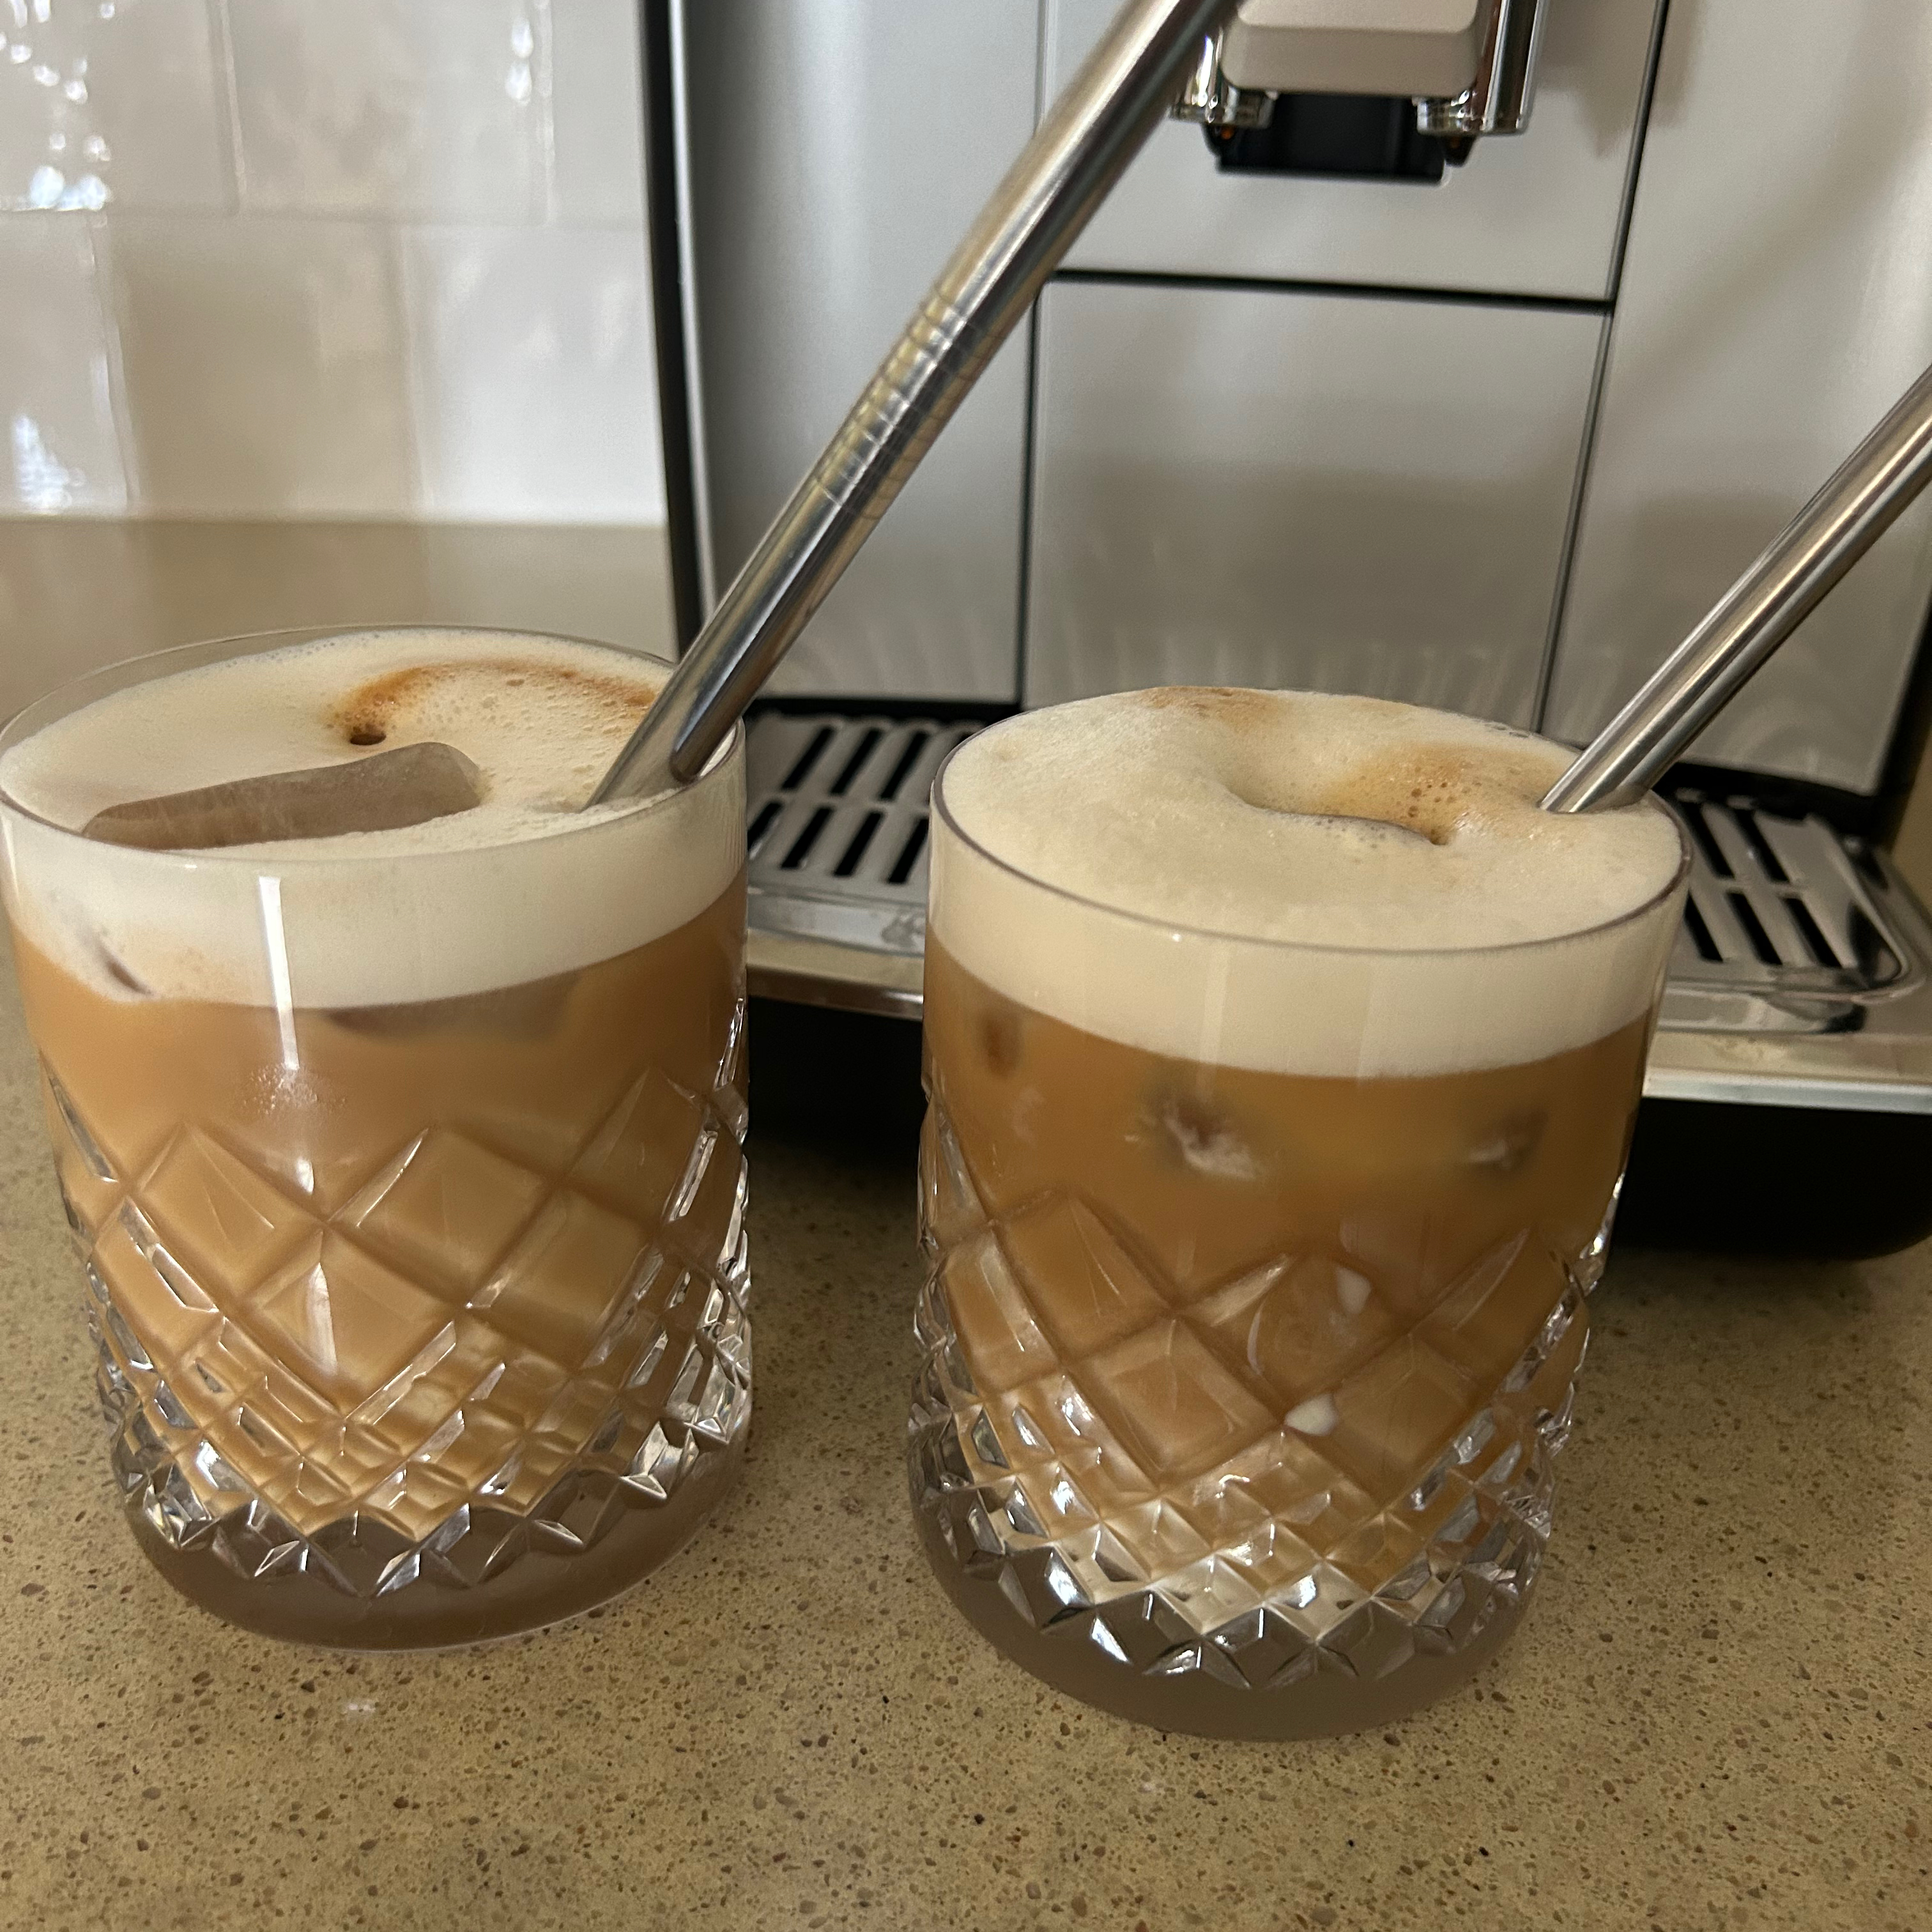
An iced latte dispensed in 1 ½ minutes. Before it starts pouring the drink it tells you to add 6-8 ice cubes to the glass, then the coffee and milk are dispensed on top. I left it for a couple of minutes before taking the temperature and by this point it was 16C and the ice cubes had all but melted. So if you like it really cold, you’ll need to add extra ice. I added a couple of extra cubes to each glass and that was enough to chill it down nicely. It was a really enjoyable drink on a hot day.
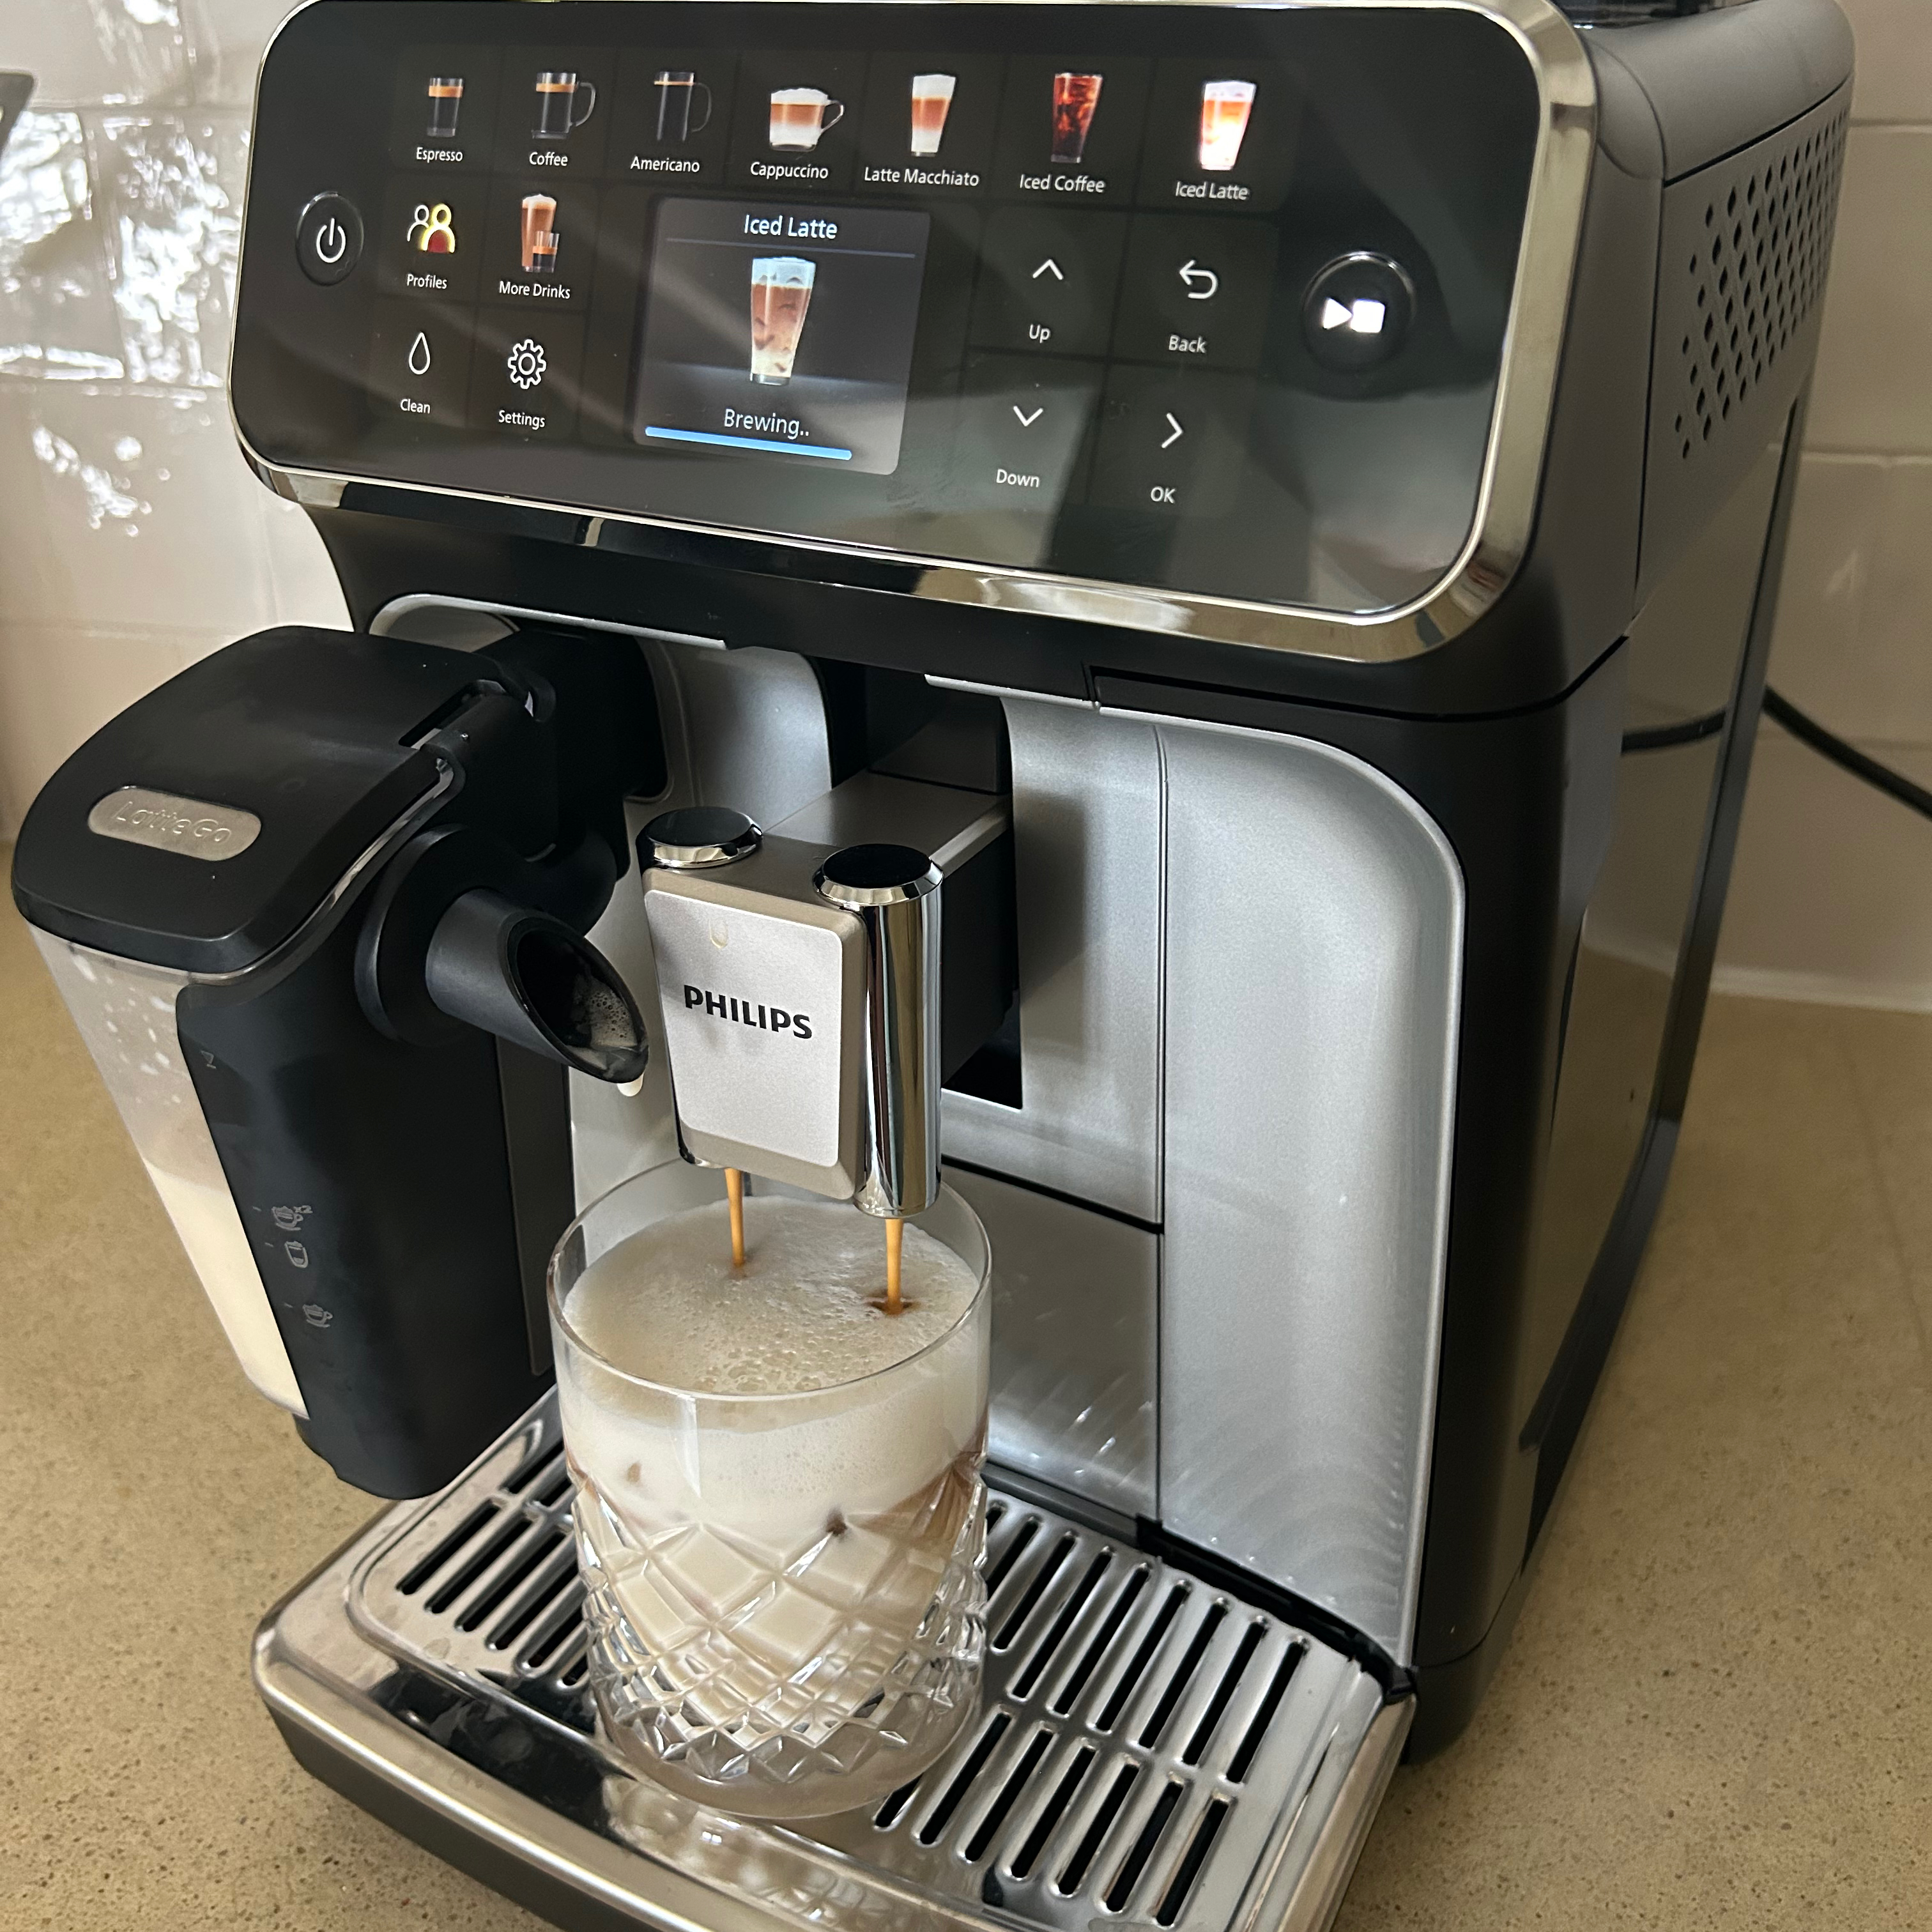
I sampled several of the iced drinks, and it’s worth pointing out that they are quite warm when dispensed, so they rely heavily on the ice cubes in the glass to chill the drink down. But it’s great to have this option if you enjoy a cold coffee.
As a big fan of sleep, I generally avoid drinking coffee beyond about 11.30am, so I always welcome the option to make a decaf. And I particularly enjoyed being able to make tasty afternoon iced coffees during a spell of warm weather. Once you’ve chosen your coffee, you simply decrease the aroma setting until it displays the ground coffee symbol.
Then, you add a scoop of ground coffee and it’ll brew your drink as normal using the ground coffee you’ve added. With some other machines I’ve tried, there have been issues with the coffee machine not detecting the ground coffee, but this worked perfectly every time.
When the milk container isn’t attached, hot water can be dispensed from the spout. You have the option to adjust the volume between 100 - 300ml and the temperature can be adjusted too. I dispensed 250ml on the highest available temperature setting.
It filled my mug pretty fast and once full I took the temperature of the water, which was 80C. This is cooler than is recommended for black tea, but my builders tea brewed up just fine nonetheless.
What's it like to clean?
The LatteGo milk container is the thing that needs cleaning after every use. There’s a quick rinse that you can get the machine to do automatically, I found this especially helpful if I was planning to pop the milk container back in the fridge for later. Then at the end of the day, I gave it proper wash in the sink, or in the dishwasher if I was in a rush.
Unlike the milk container, the coffee grounds and drip tray don’t need emptying and cleaning every day. I think most people, like me, will just do it when prompted by the screen. The frequency of the prompt will obviously depend on how many coffees you make a day, but in my house it asked me to empty it every 3 days or so.
Helpfully, the manual includes a table detailing how often all the various parts will need cleaning. And like all automatic coffee machines, it is something you’ll need to keep on top of to maintain optimum performance.
Similarly, it’ll need descaling and a message will appear on screen when this is due. It’s an automated process, but it’s worth pointing out that if you fail to use Philips descaler, you will void the warranty.
How does it compare to similar models?
I have to mention the De’Longhi Rivelia here, it’s probably my favourite automatic bean-to-cup coffee machine that I’ve reviewed. It’s roughly the same price as the Philips and is available in several muted colours. The incredibly intuitive colour touch screen menu offers 16 hot drinks to choose from. However, it lacks the iced coffee menu, which could be a deal breaker for some. That said, it can make exceptional coffee.
At the time of writing, the machine sitting at the top of our list of the best bean-to-cup coffee machines is the Sage Barista Express Impress. It’s around £100 more expensive than the Philips and requires you to be a lot more hands-on. So it’s best suited to those who enjoy playing barista and don’t want to be restricted to the options available on a pre-defined drinks menu.
Should you buy the Philips 5500 Series LatteGo Bean to Cup Coffee Machine?
Automatic bean-to-cup machines are always pricey and given that this is the top of the range bean-to-cup coffee machine you can get from Philips, I think the price is fair.
It offers a great selection of hot and cold coffees and I love that there are plenty of customisable settings. For me, one of the biggest downsides is that it’s not the best looking bean-to-cup coffee machine I’ve had on my worktop. The control panel looks busy and I’d prefer it was less cluttered.
In terms of coffees, it did, admittedly, take me a good week of messing around with the settings to get it to produce coffees that I was happy with. And even then, they weren’t quite to the standard that would tempt me away from my manual espresso machine.
With that being said, if you want a hands-off machine with a huge menu of drinks, I’d say it’s a good choice, especially based on the customisable settings that make it easy to tinker with the drinks and save your bespoke coffee recipe to your profile.
About this review, and the reviewer
After completing a Home Economics degree, Helen went on to work for the Good Housekeeping Institute and has been reviewing home appliances ever since. She lives in a small village in Buckinghamshire in the UK, where she reviews all sorts of home and garden appliances using her wealth of experience.
As a regular coffee drinker, Helen loves to review coffee machines. For this review she had the Philips coffee machine on loan and during that time she packed away her usual manual espresso machine and set this one up in her kitchen instead. She didn’t just stick to her usual daily coffee though, instead trying multiple drinks from the menu.


