
This week I have been mostly playing Jurassic World Evolution 2.
Last month I became a rat mum IRL. This week, I am mother to genetically-spliced, man-eating, prehistoric abominations. Bit of a step up in the world, but life... uh, finds a way.
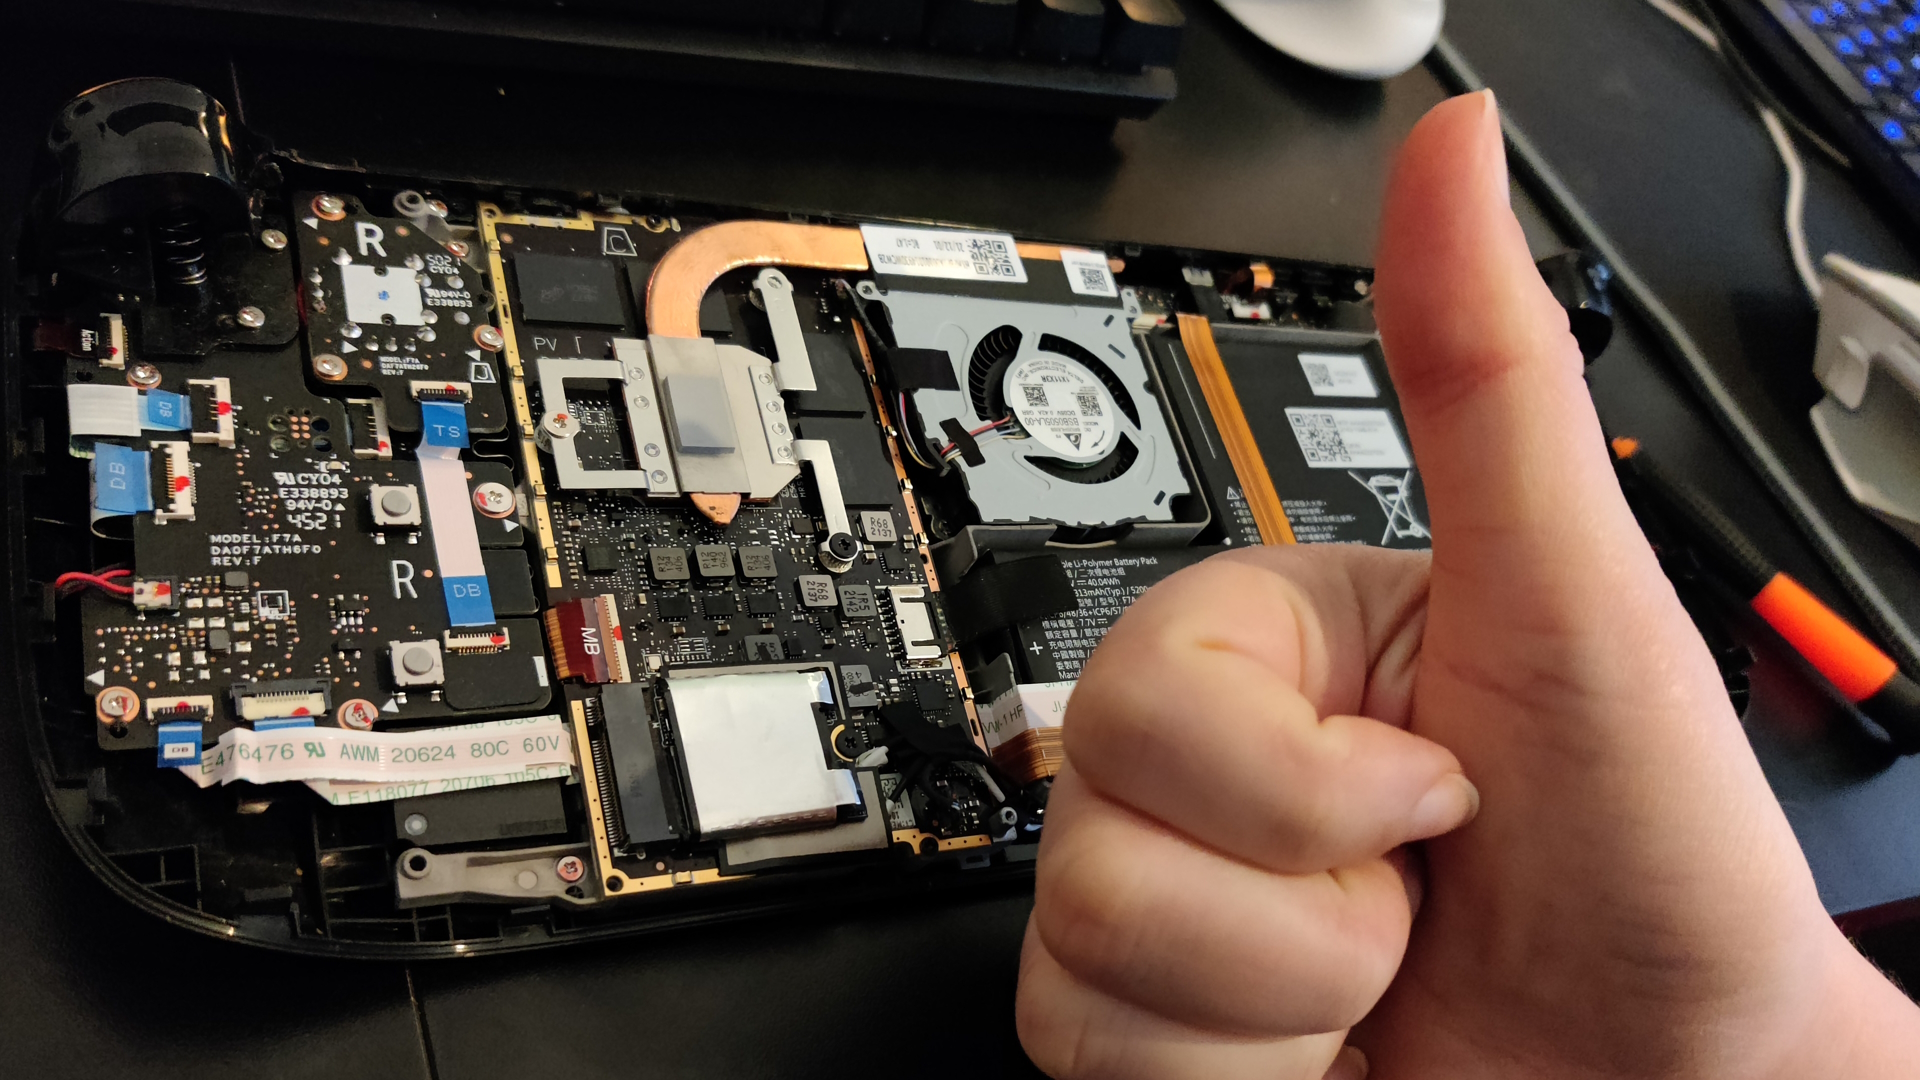
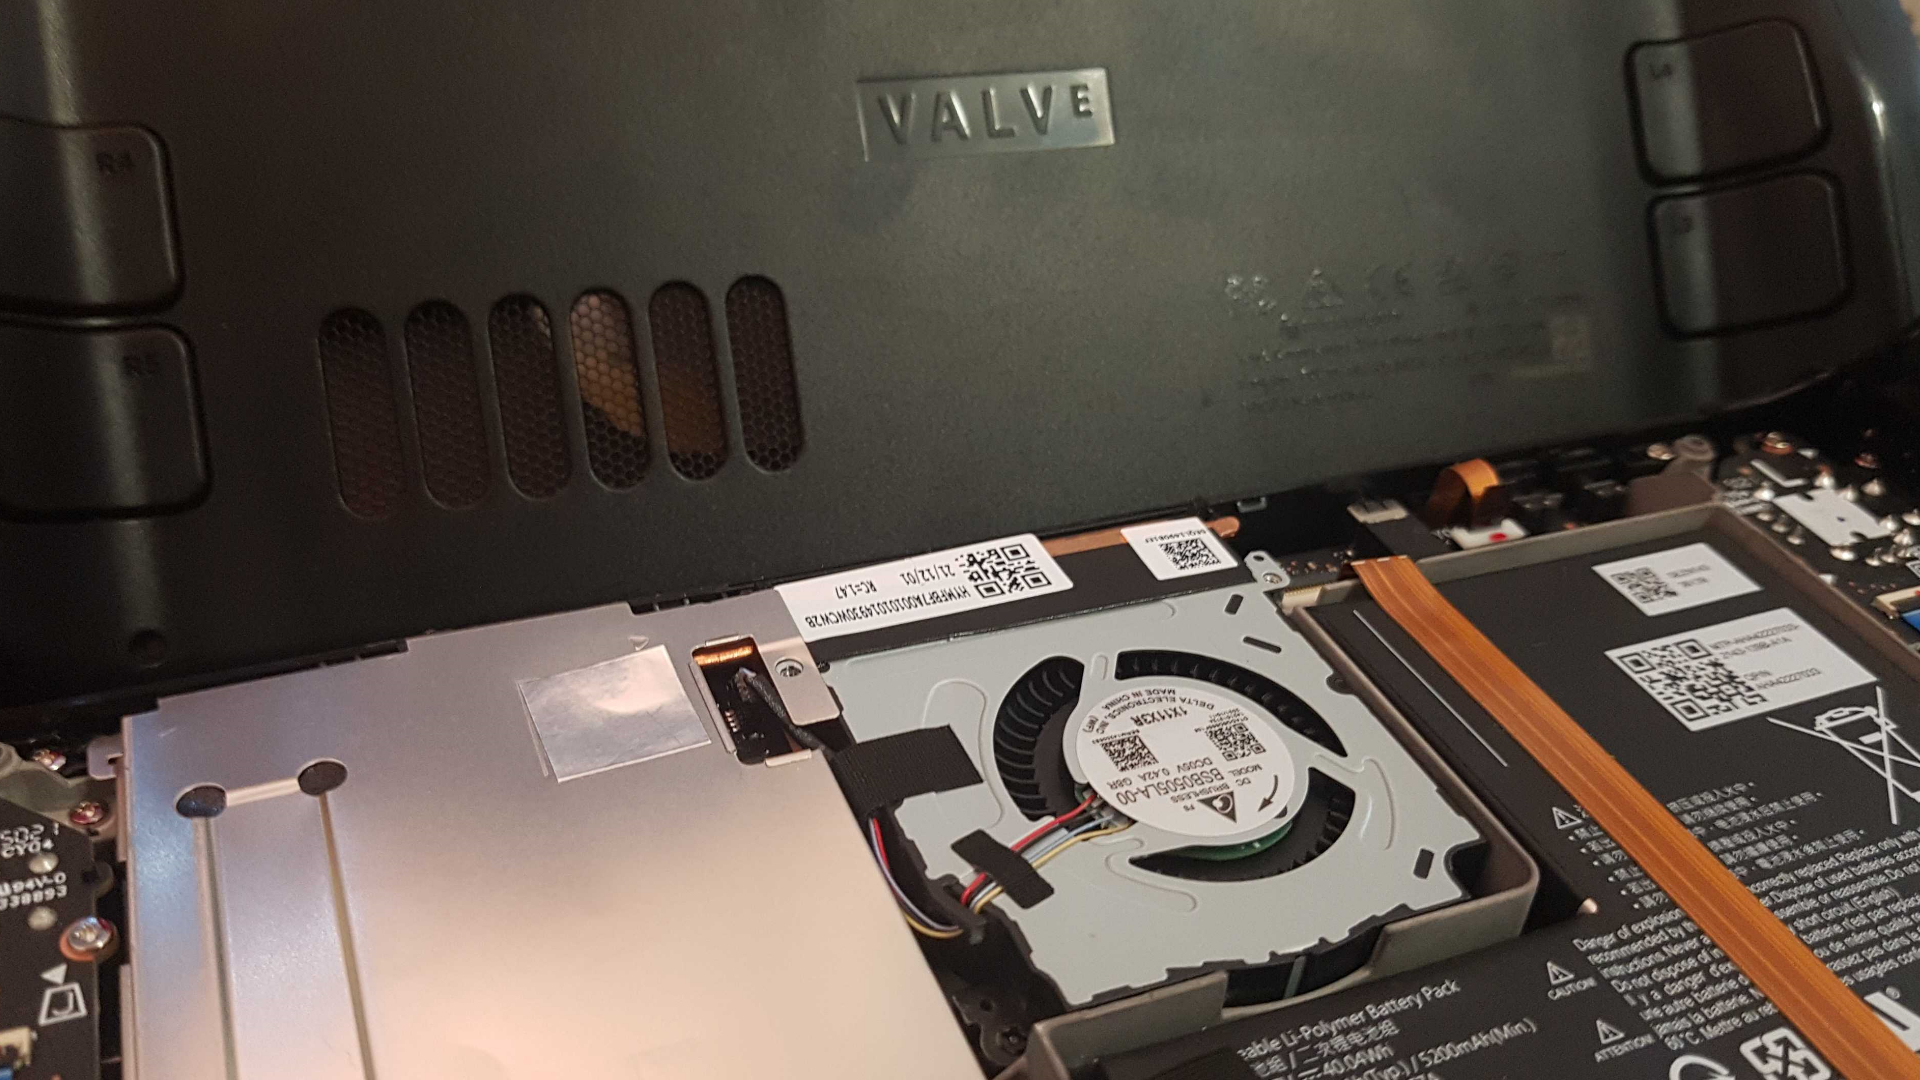
This month I have been mostly testing Steam Deck SSDs.
As you're about to discover, the simple process of swapping out the Steam Deck's SSD has the power to totally dissolve your ego.
I'll get a proper how-to up soon on how to upgrade the Steam Deck SSD, video and all, but first I must complain into the ether about how me and my Windows-baked neurons made upgrading the Steam Deck SSD an utter nightmare, despite it being a relatively simple process end-to-end.
I'm blaming myself for this, not Valve or Linux. Me. I take full responsibility for the stupidity displayed below. And as for anyone looking to upgrade the Steam Deck SSD, take this as a warning.
So there I am. Steam Deck in one hand, three Sabrent Rocket 2230 NVMe SSDs in the other. I'm raring. Ready to void my warranty and get down to the details with some testing. I get them out ready and head on over to the Steam Deck recovery page to get a handle on how to flash SteamOS. Sounds simple enough.
I familiarise myself with a bunch of potential processes on the YouTubes, and land on one I reckon I can modify to suit my needs. Those needs owing to a distinct lack of the 8GB USB necessary for reimaging the Deck. Even if I could find my external drive it's USB Type-A, and of course I don't have an adapter with which to plug it into the Steam Deck's USB Type-C port.
What I do have, however, are those three sweet NVMe drives and an M.2 adapter with a USB Type-C connection. So, it turns out I do have everything I need, tweezers and all…
Queue my clever Windows brain.

"Hey, why don't you just get the Steam OS recovery image onto the NVMe drive, jam it straight into the Steam Deck and boot from there? Yeah, that'll work."
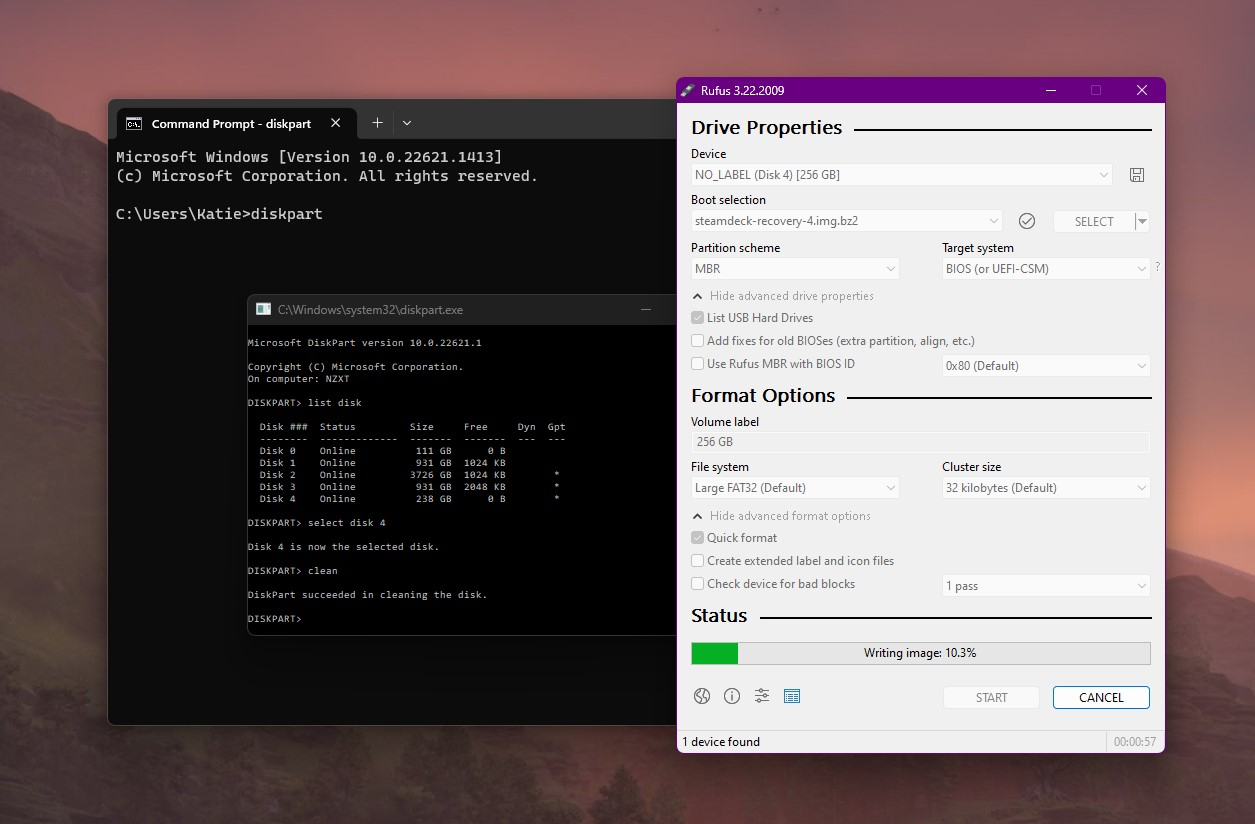
So off I go, initialising and formatting one of the 2230 drives through my Windows PC, and sticking the recovery image onto that using Rufus. All the other steps I follow word-for-word, but with little knowledge of file formatting I had just assumed that, pulling my Steam Deck out of battery storage mode, I would just be able to hit the "boot from the frickin' drive that's in you" button.
No such luck. After an hour of staring at the Steam splash screen—that's before I even see the boot menu—I'm starting to worry. Have I messed up the drive I'm meant to be testing? Is the review Deck ok? Oh, God. I'm so fired.
I turn it off and on again, and ask someone to come stand near me; often that alone has the power to get things working. I finally manage to get to the boot menu after setting my buddy Rufus on another one and plugging it in with the adapter. Maybe I can just flash it now and it will overwrite the obvious botch job I did on the one inside the Steam Deck. Again, no dice.
In my haze of confusion, I'm there formatting drives that don't need formatting.
So I try swapping it out for another drive I've decided to pre-format, for reasons. Little did I know the Steam Deck would do all that good stuff for me. But eventually I clocked that no one in the videos I'd been watching ever formatted a drive. In my haze of confusion as to why the Deck refused to boot from its own internal drive, I'm there formatting drives that don't need formatting.
I realise now that I'd been muddling up my walkthroughs, too, and if I'd cloned my Steam Deck SSD onto the new drive, I'm pretty sure it would have booted up no questions asked.

Thankfully my partner sits me down and teaches me a little trick to undo all my formatting sins and begin anew, which I now pass on to you:
Command Prompt > diskpart > list disk > select disk [insert number] > clean
You're welcome.
The last step sees me pop the blank drive inside the Steam Deck and flash the recovery image using the adapter. Everything goes off without a hitch, and I'm left stunned at my own idiocy. Evidently my coffee never kicked in that day.


