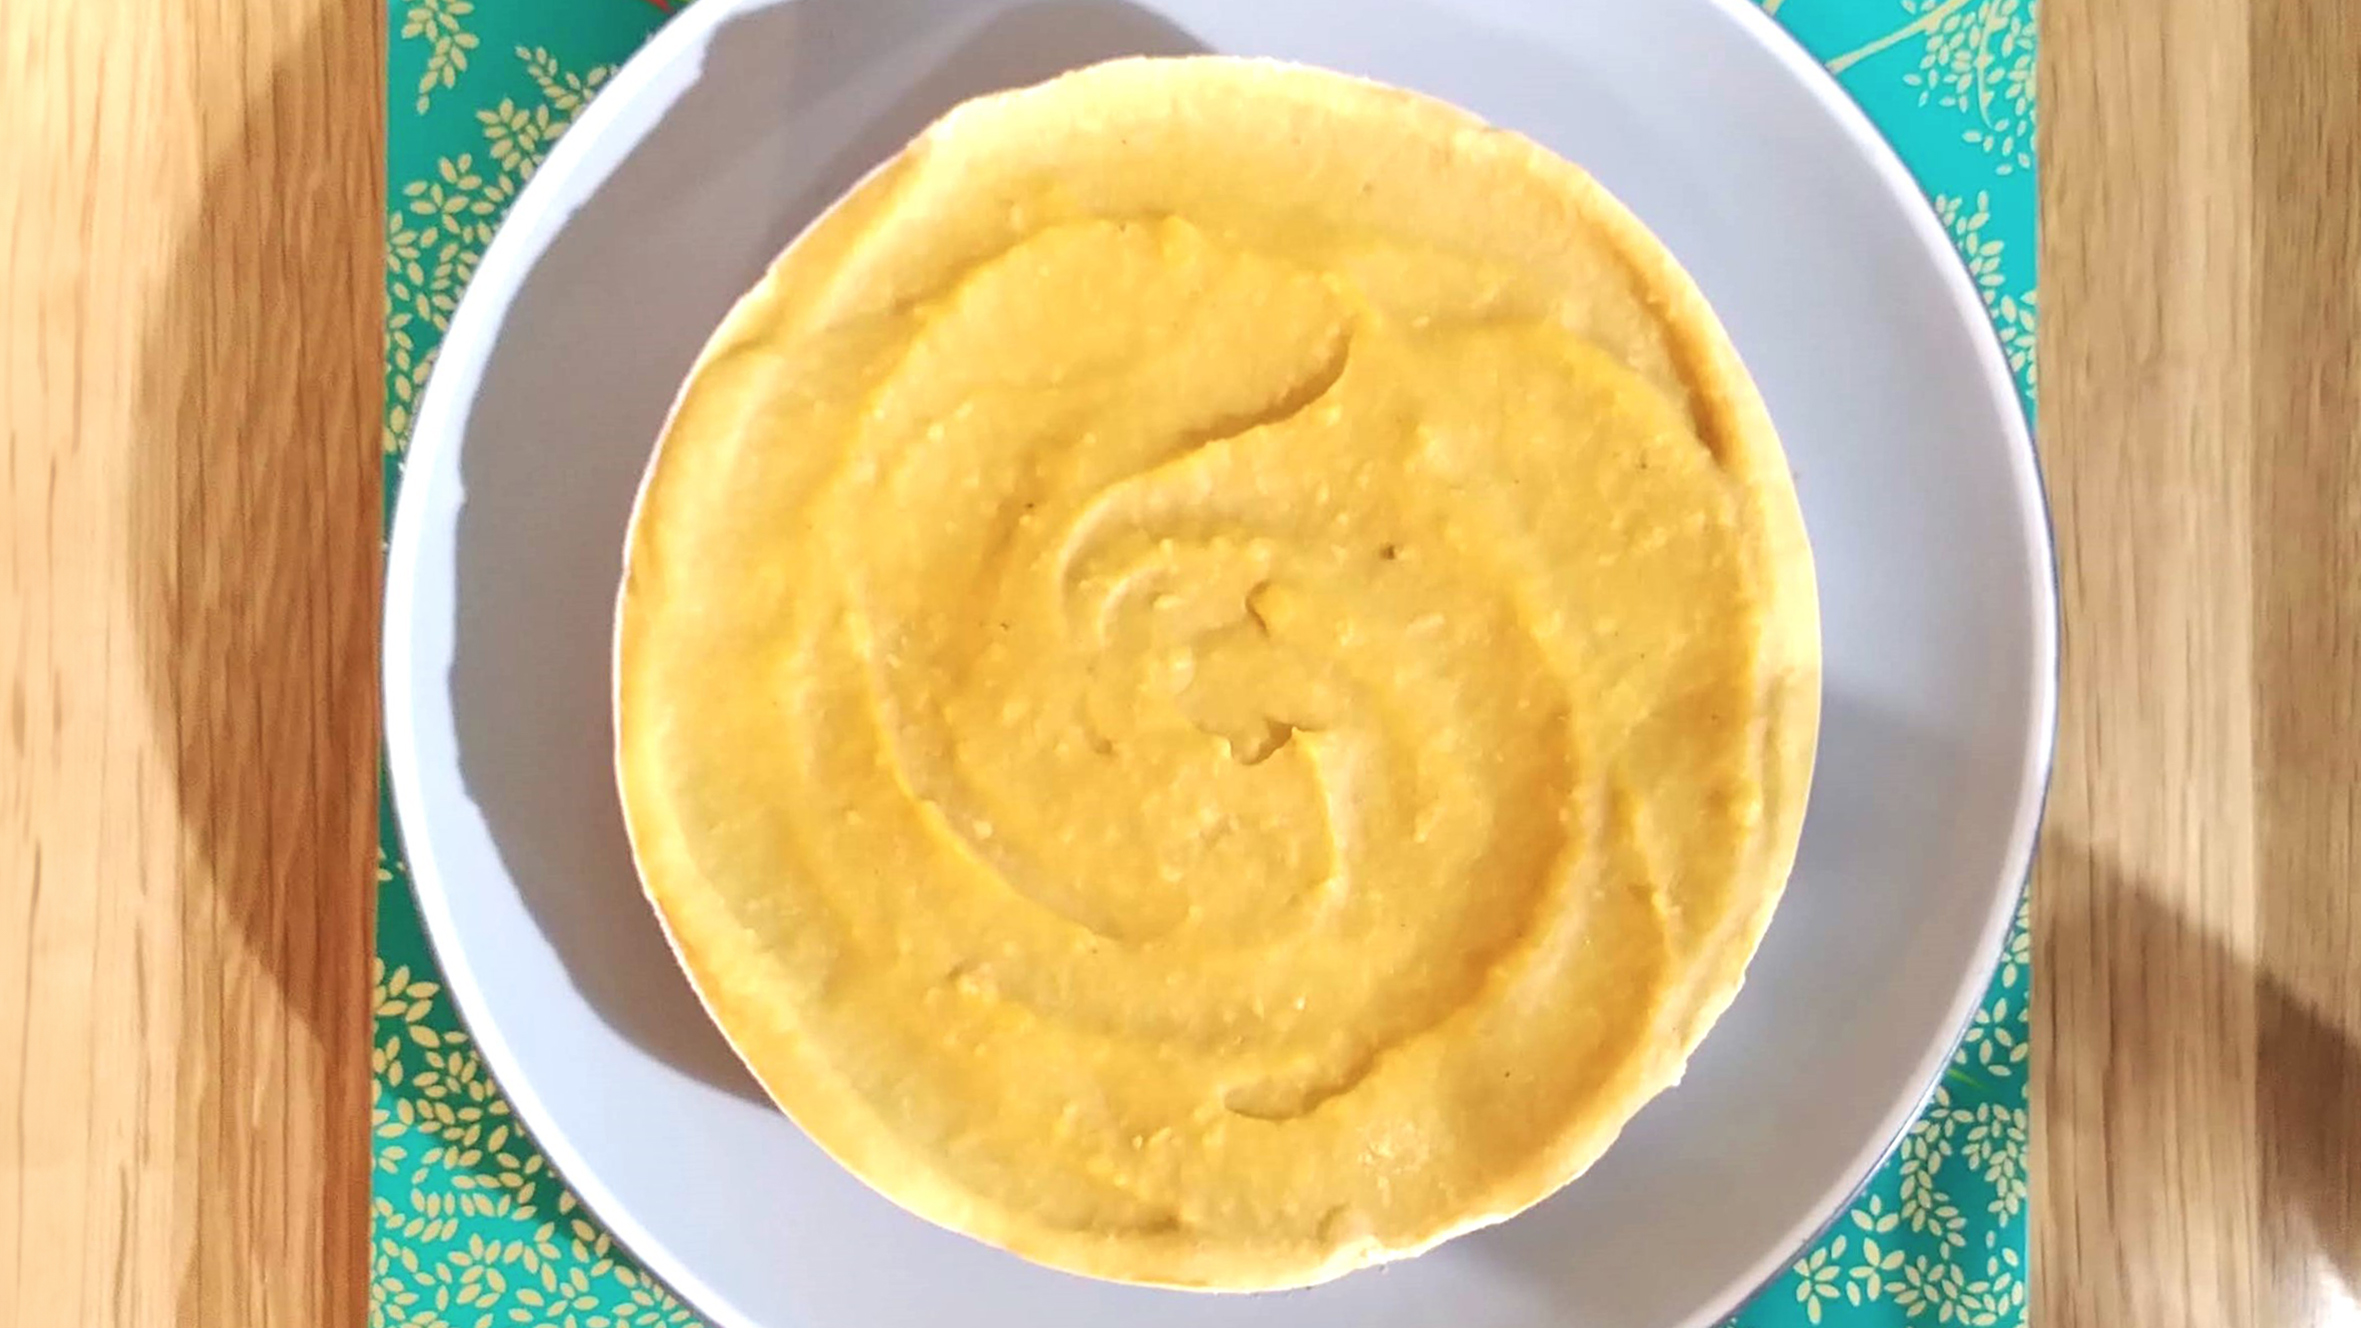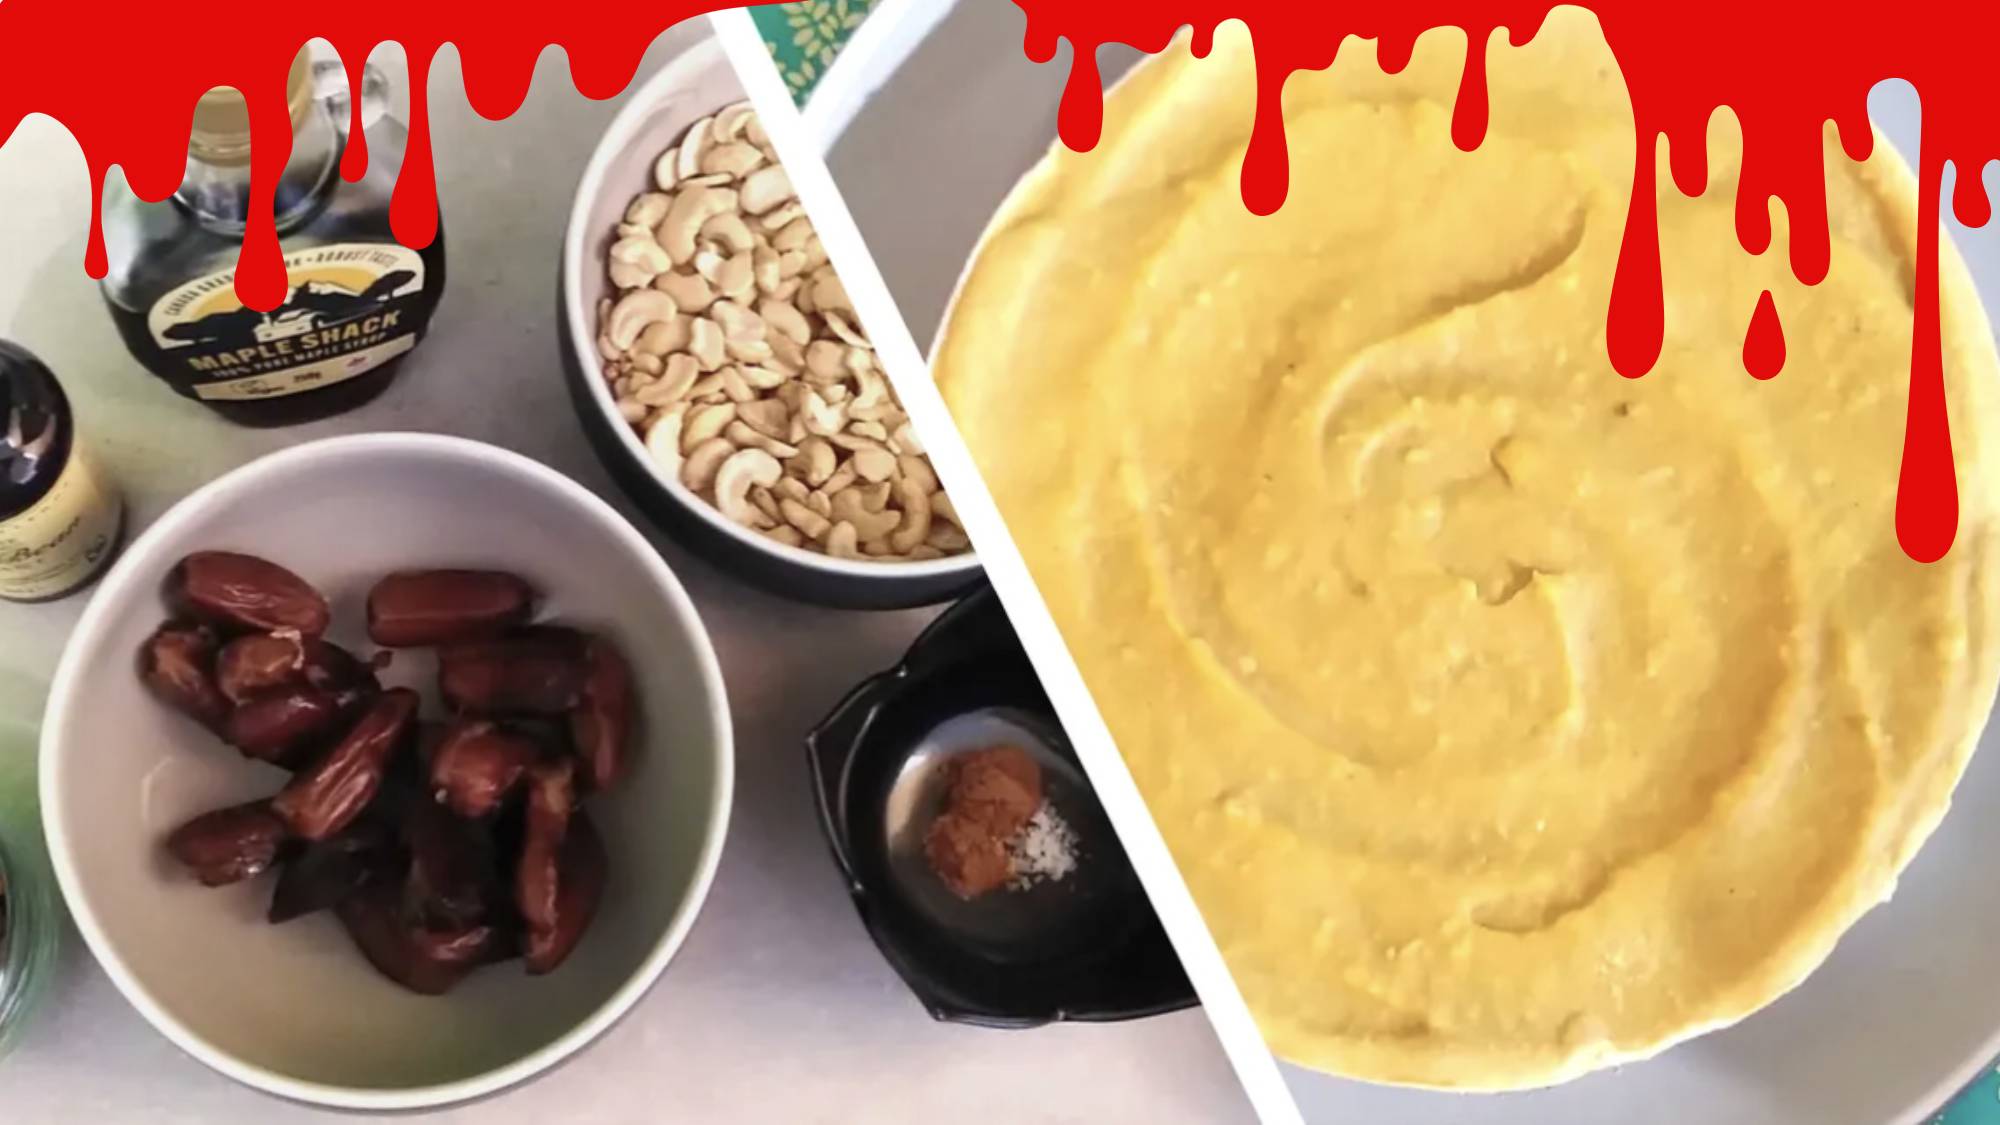
Halloween Week is here, which means it's the perfect time to get creative in the kitchen with pumpkins and spices. You don't need to be an experienced baker to whip up something tasty either - you can make a smooth and creamy vegan pumpkin spice cheesecake using only a blender and your freezer.
This no-bake pumpkin cheesecake recipe is from Nutribullet's website, and I prepared it using the Nutribullet SmartSense blender I'm currently testing to see whether it's worthy of a place in our roundup of the best blenders. It certainly worked well for this project, even when dealing with small quantities.
Before we get going, I should note that this recipe relies on a lot of nuts - particularly cashews for the filling - which are very expensive, so I only made a half quantity. Luckily I happened to have a 5in loose-bottomed cake tin, which worked perfectly for this adjustment. If you'd rather not go to town with pecan and walnuts, I've suggested an alternative base below. The ingredients list below is for a full-sized cheesecake.
Ingredients
- 120g walnuts
- 100g pecans
- 240g pitted dates
- 300g raw unsalted cashew nuts
- 2 tbsp lemon juice
- 125ml canned full-fat coconut milk (or oat cream)
- 3 tbsp coconut oil
- 2 tbsp maple syrup
- 115g pumpkin puree
- A pinch of sea salt
- 1/4 tsp pumpkin spice (or more)
- 1 tsp vanilla extract
- 1/4 tsp ground cinnamon
Method
First, soak the cashew nuts in hot water for at least an hour. If you need to speed up the process, you can put the bowl containing the nuts and water in the microwave for two minutes on high, covered. Be very careful when removing the bowl from the microwave and tip the nuts into a colander to drain. You can cool them off faster by rinsing with cold water.
I live in the UK where canned pumpkin puree isn't readily available, so I made my own by peeling a small pumpkin, removing the seeds, chopping it into cubes, and then microwaving it in a covered dish for about four minutes until it was soft enough to puree in the blender.
Pumpkin spice is also hard to find in the UK, so I made a small batch following a recipe from AllRecipes, which uses a blend of cinnamon, nutmeg, cloves, and ground ginger.
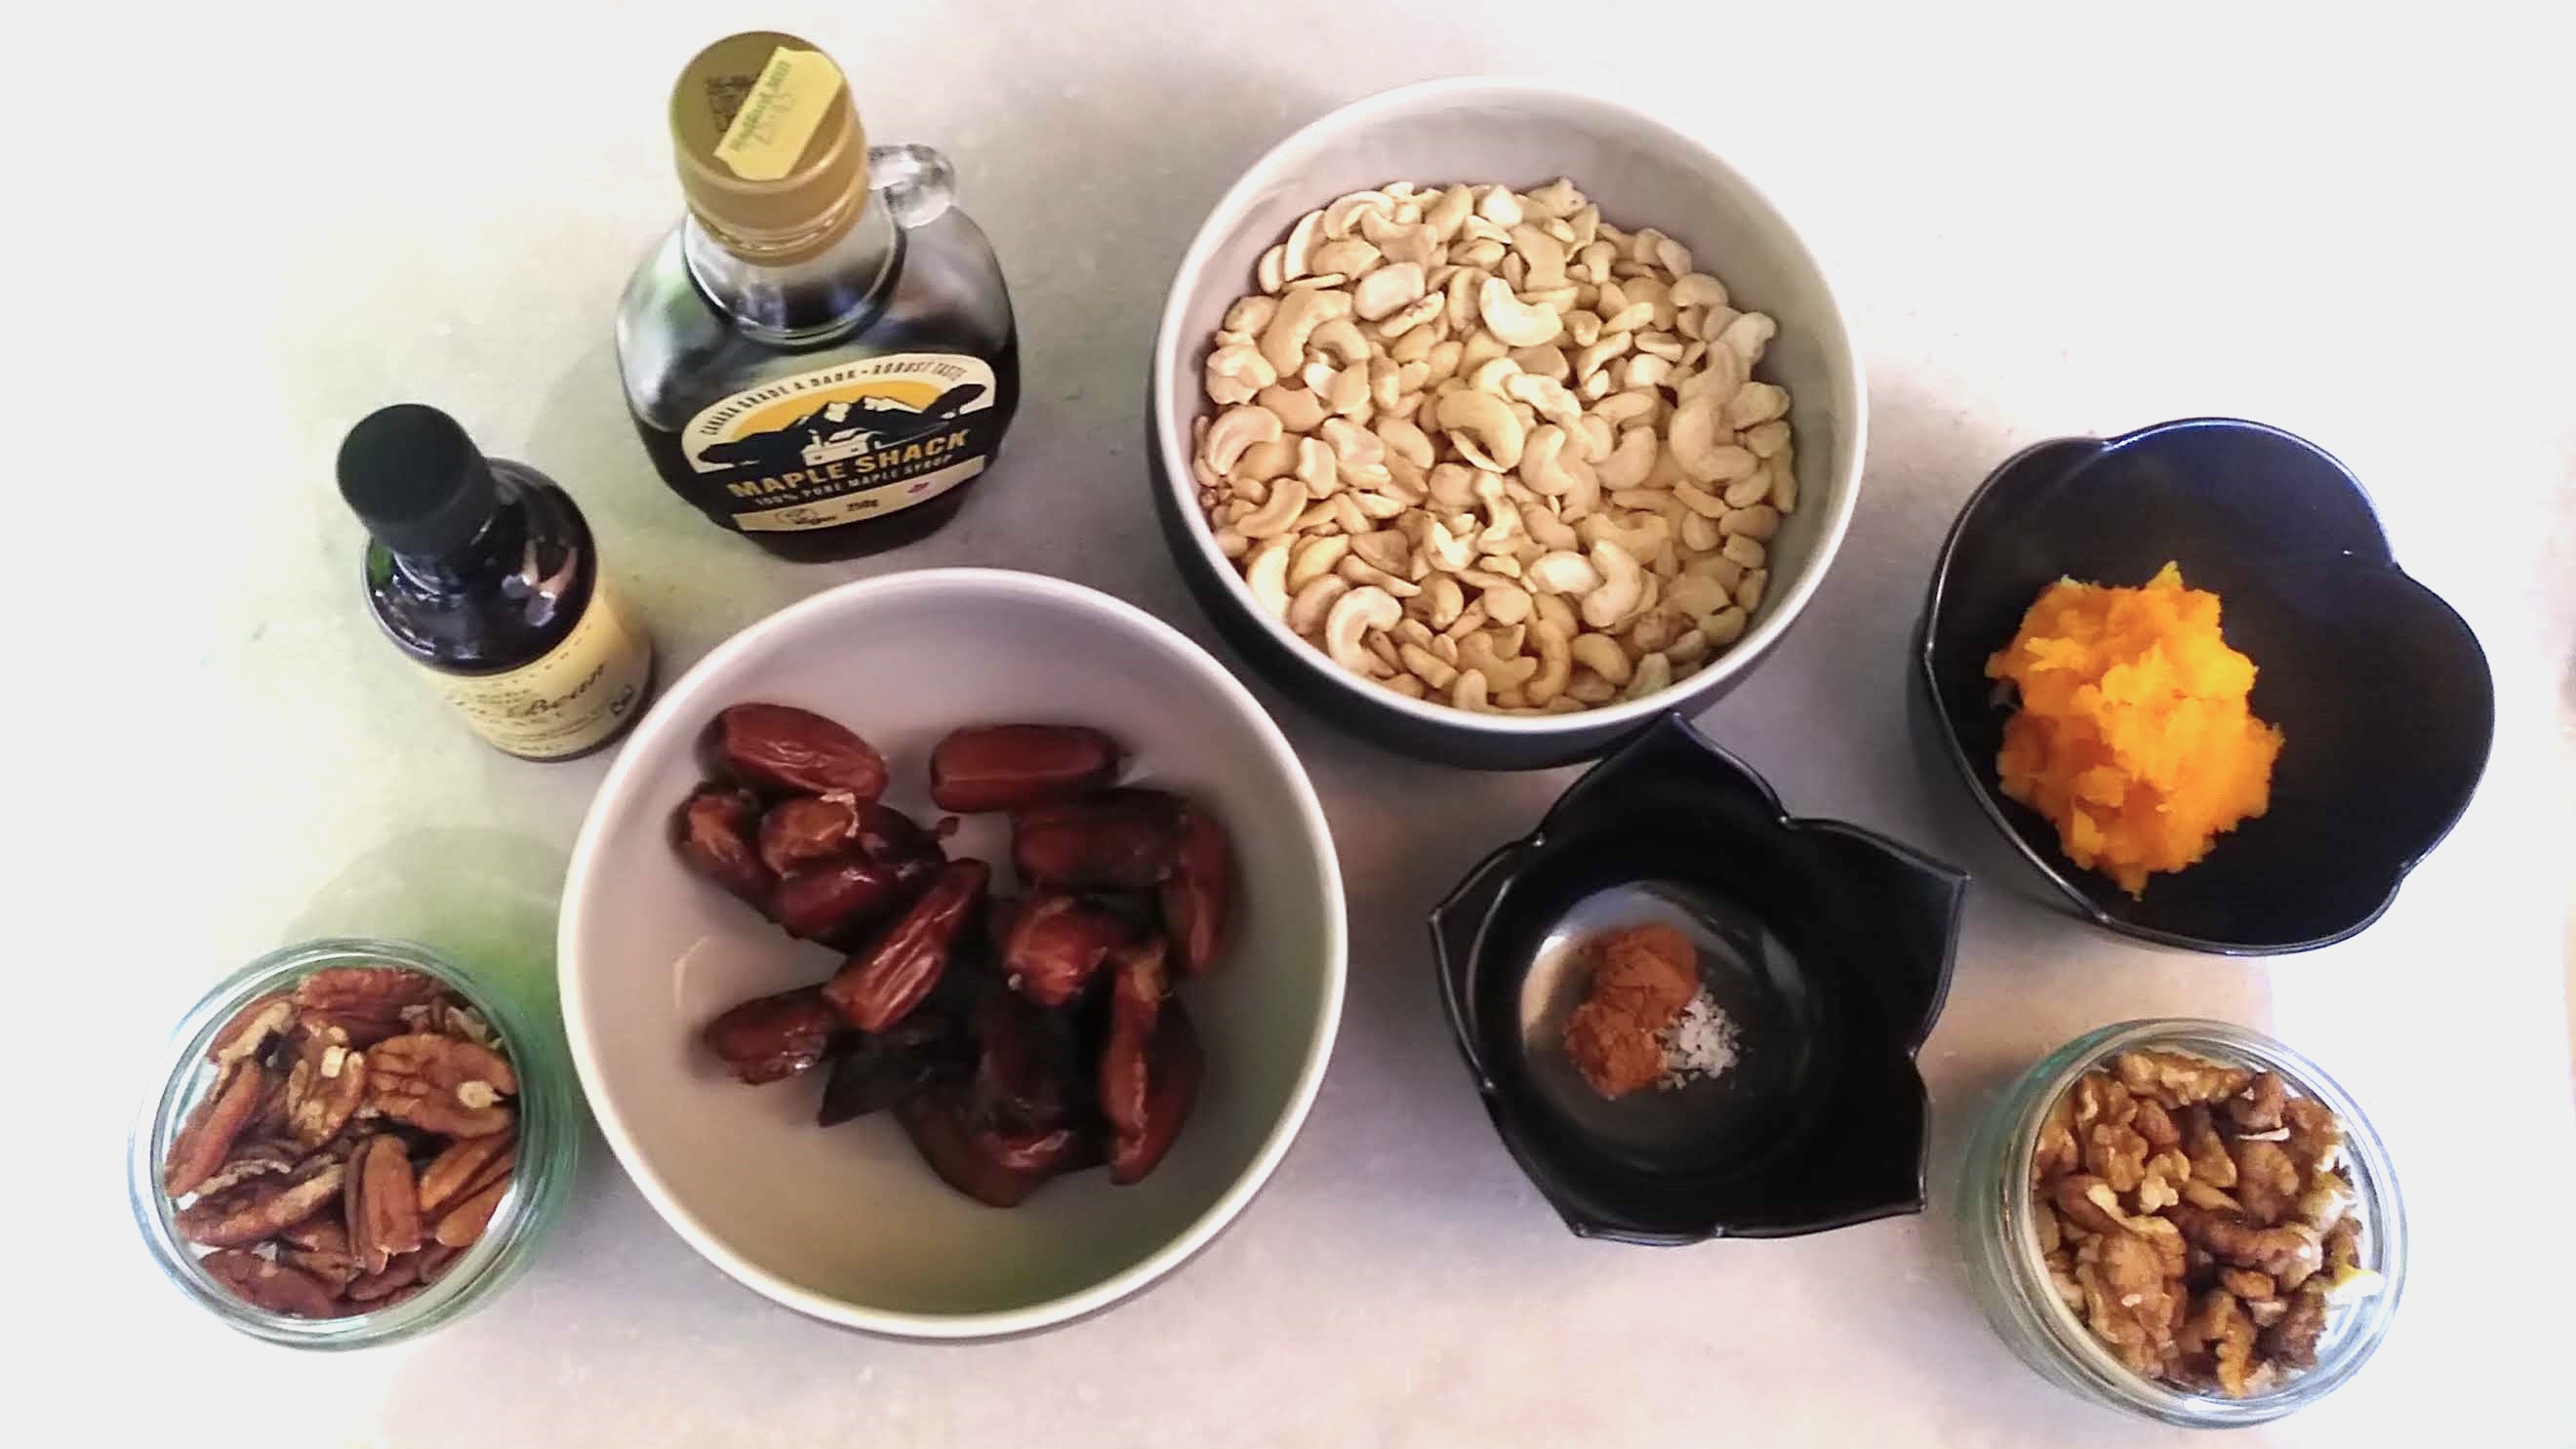
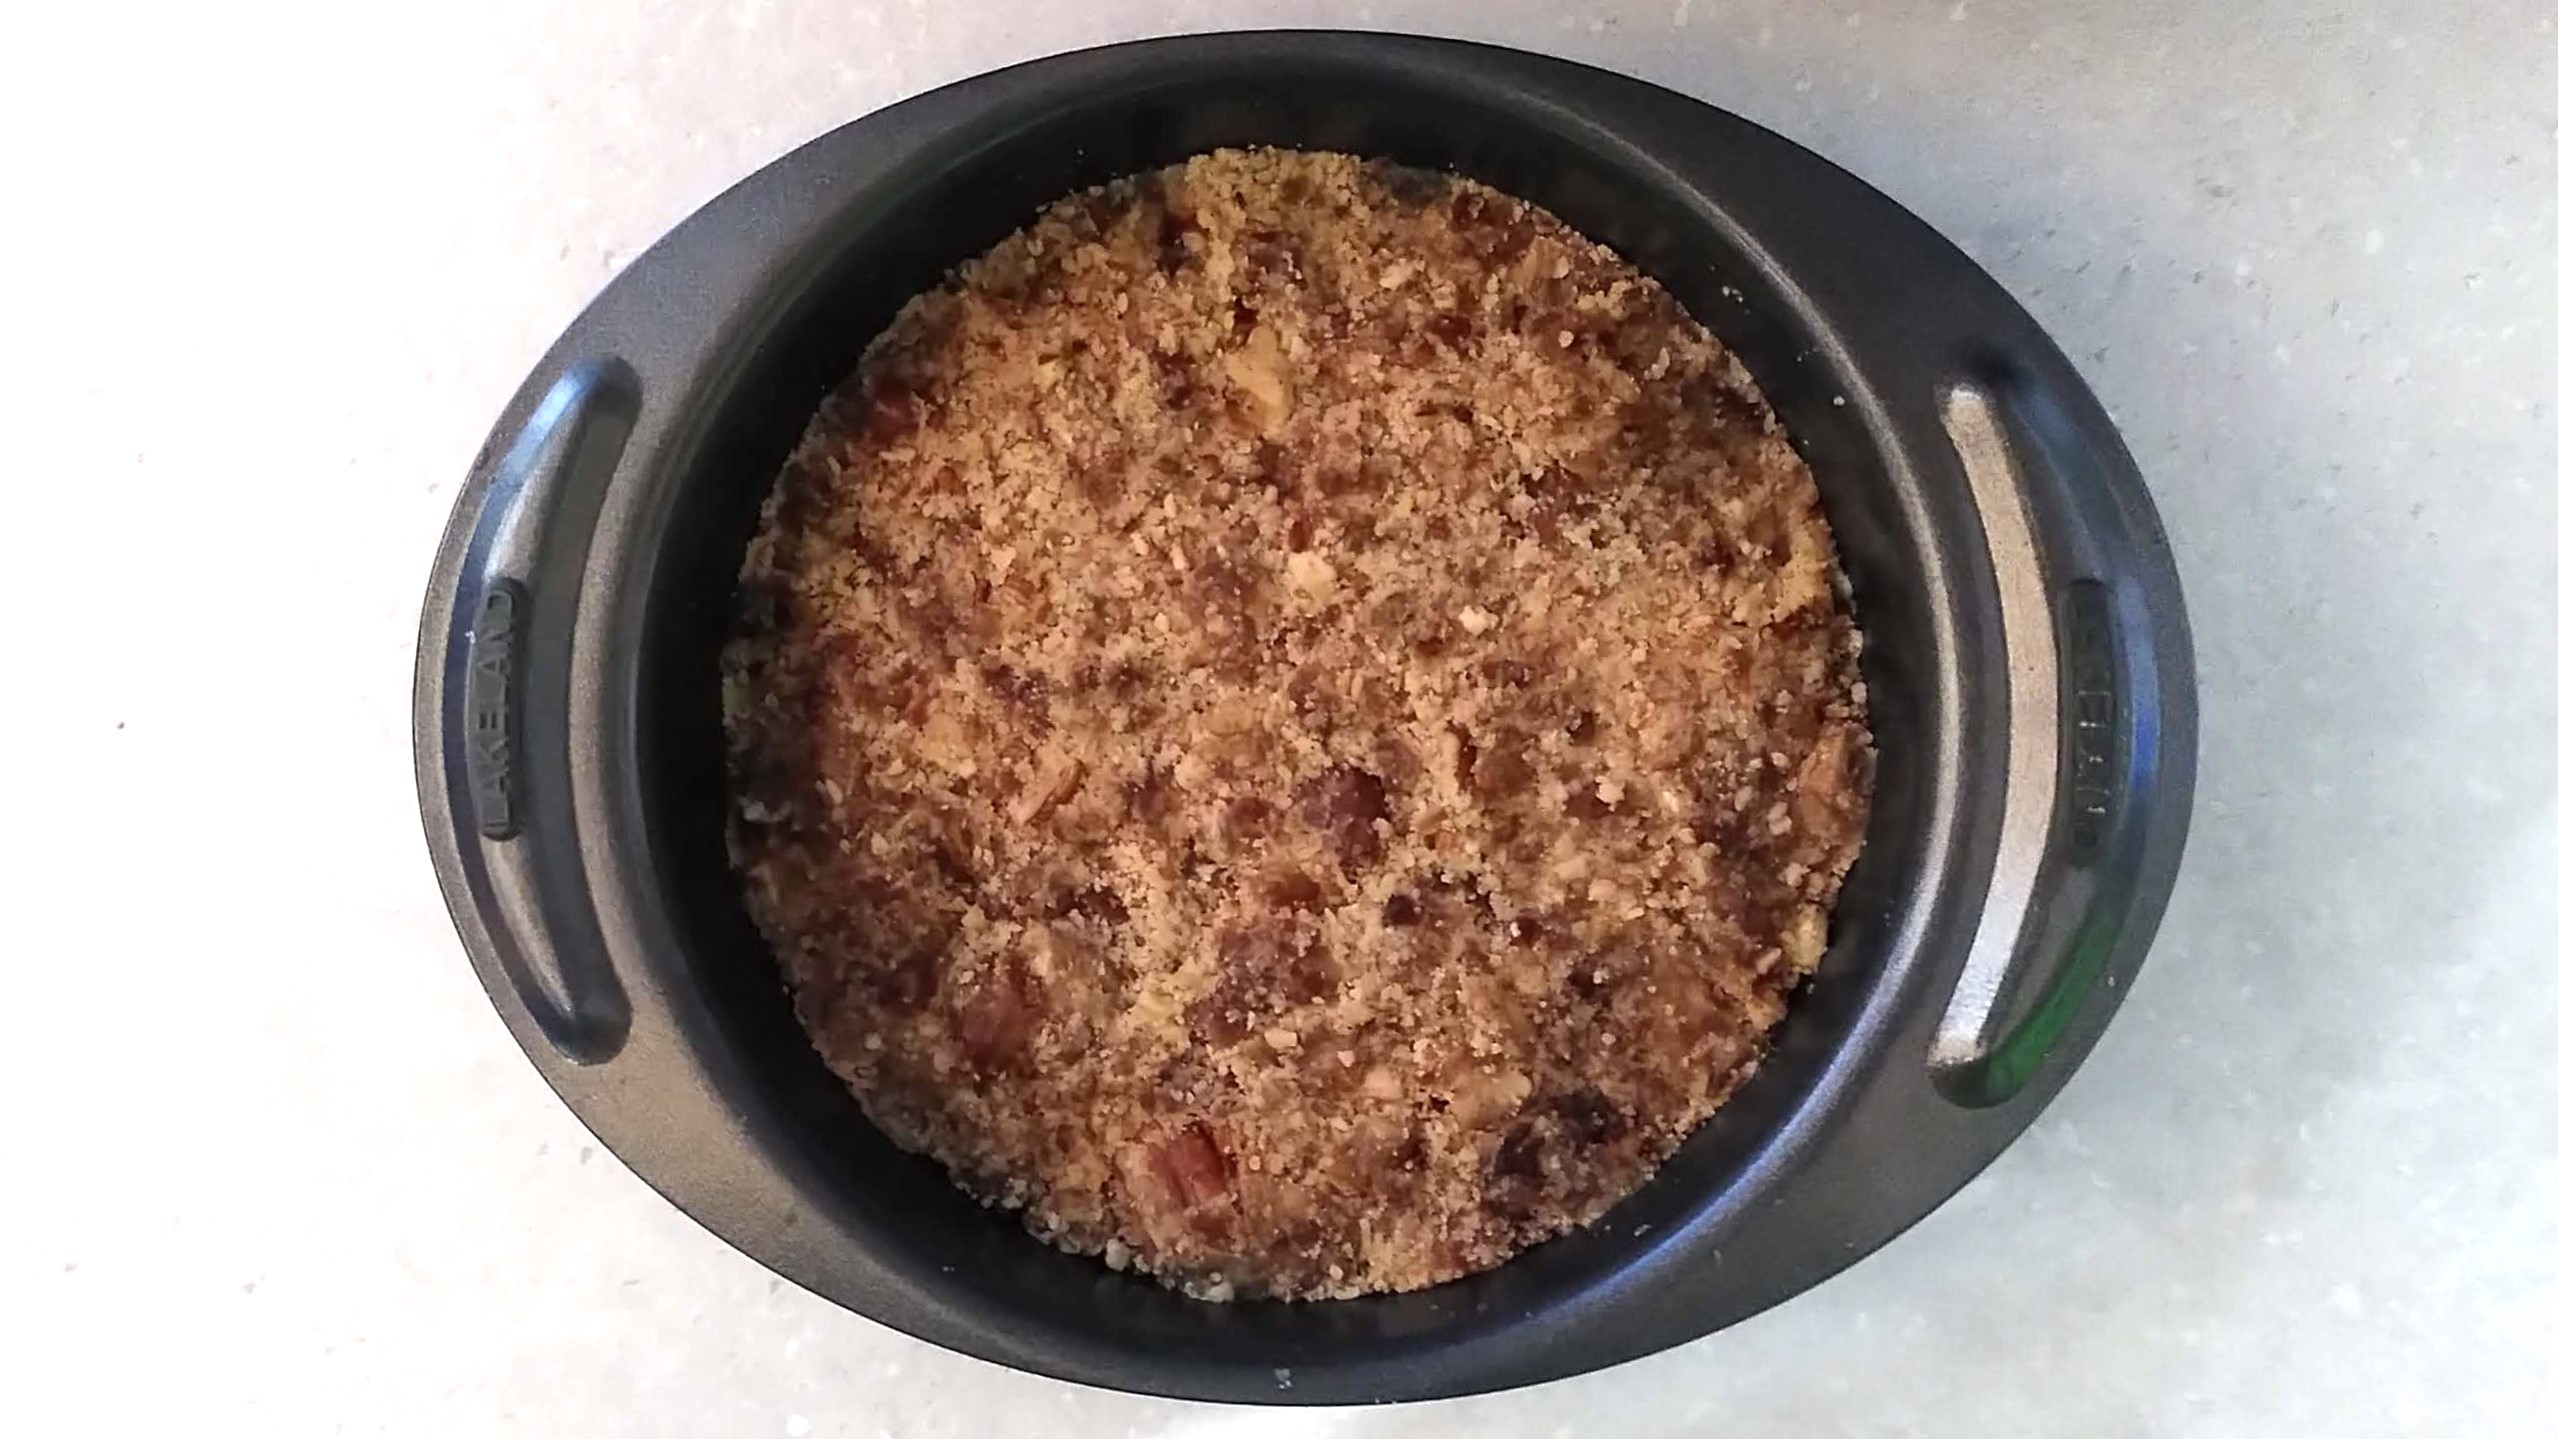
Once you've got everything ready, tip the walnuts and pecans into your blender and pulse to finely chop them. Even though I was using a small quantity, the Nutribullet SmartSense blender did an excellent job without leaving any whole nuts behind.
Tip the chopped nuts into a bowl, then use the blender again to chop the pitted dates. I chopped mine relatively coarsely, but your cheesecake's base will hold together better if you can blend them to a paste.
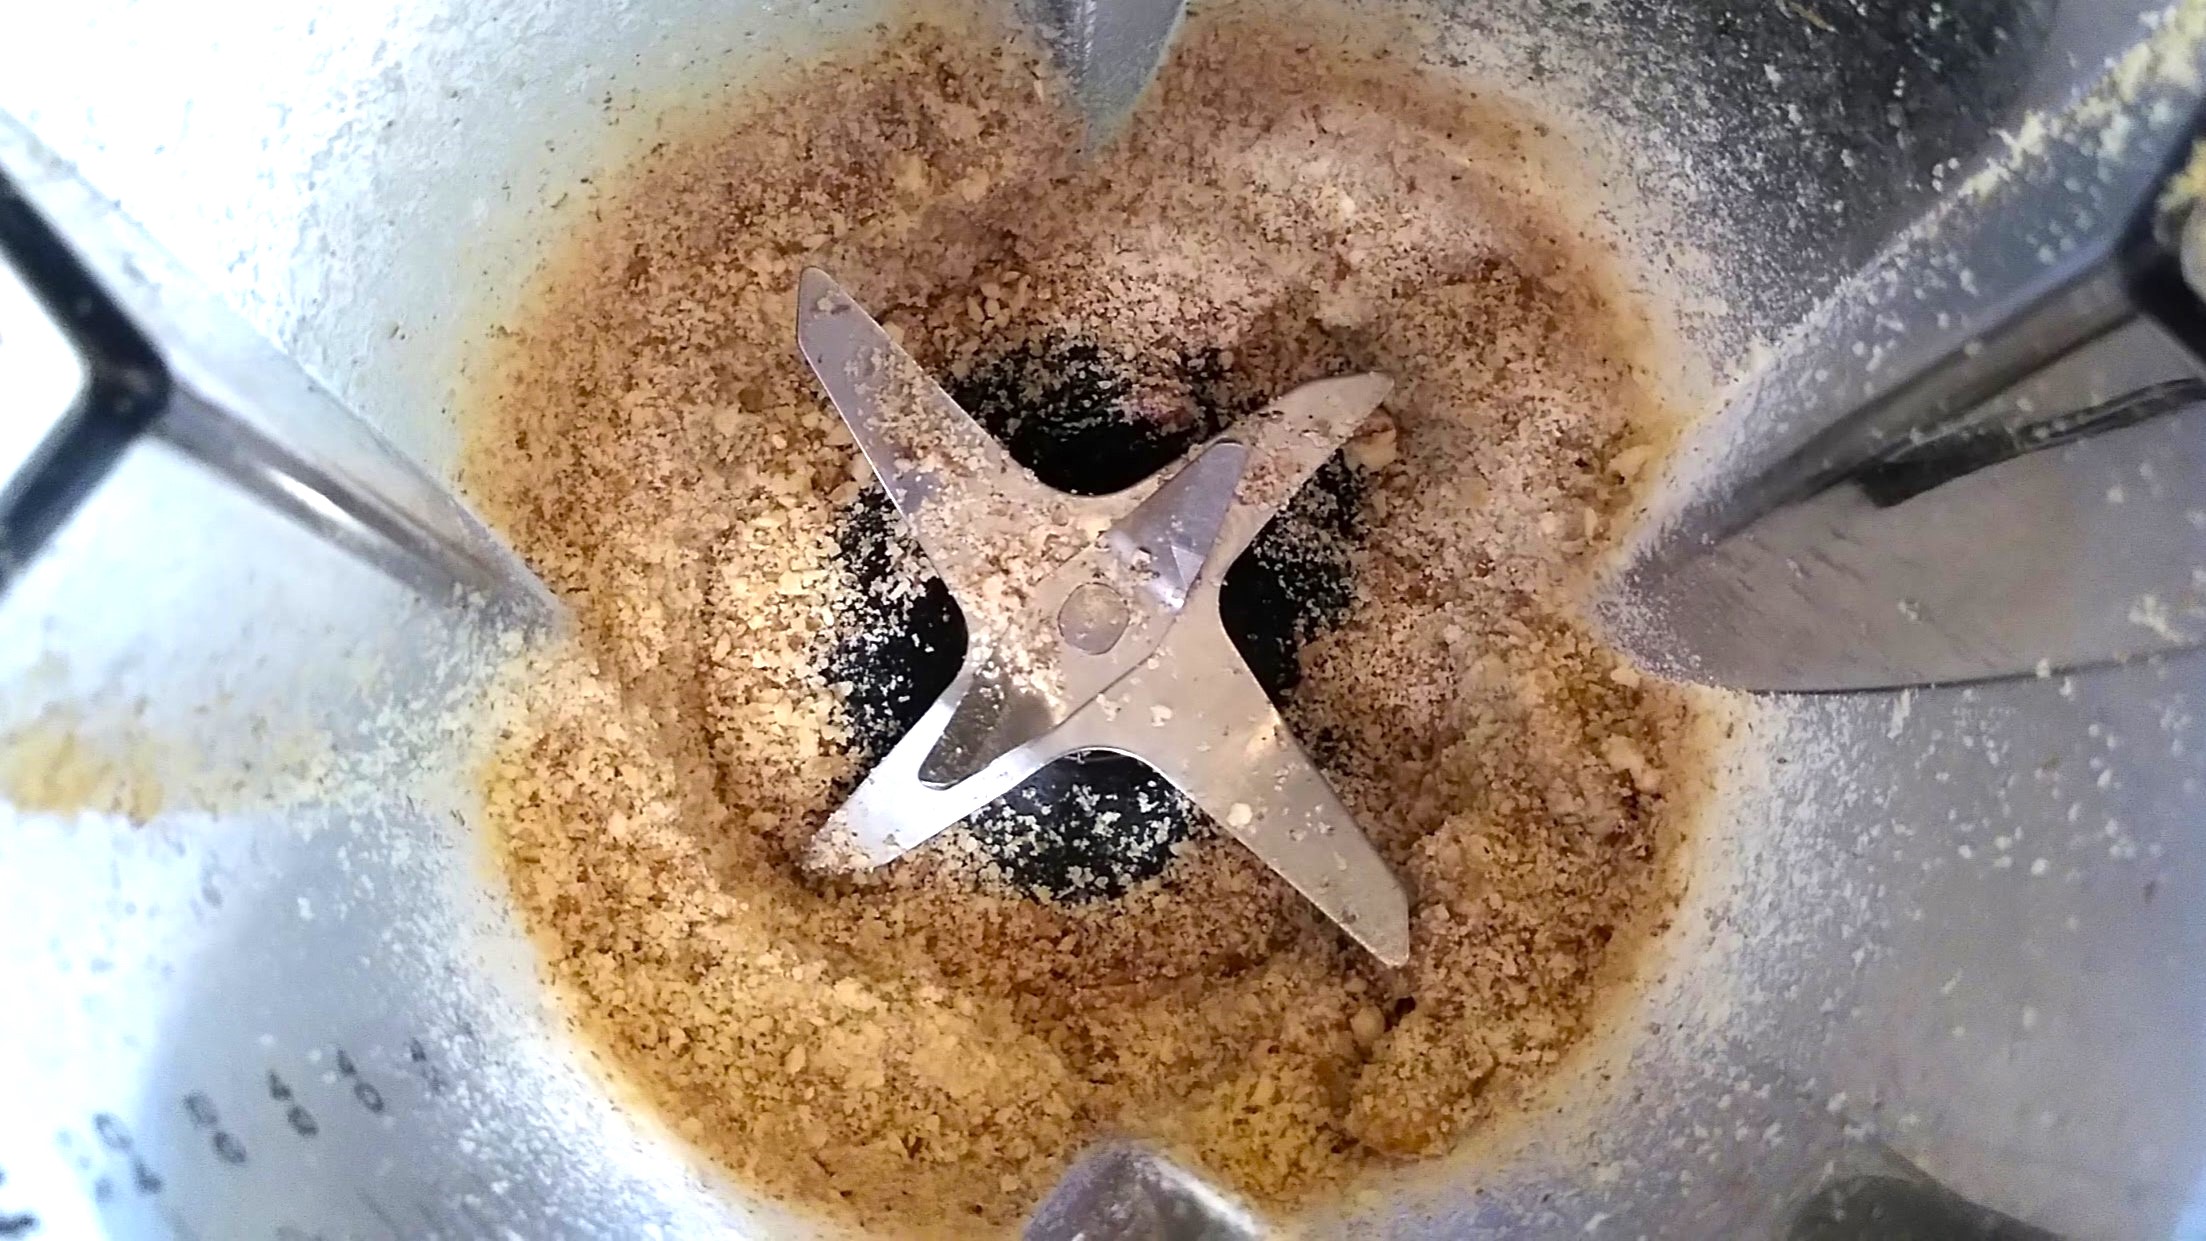
Now mix the chopped nuts and dates together (it should feel like a dry dough) and press the mixture into the bottom of your cake tin. Press down firmly to avoid it crumbling when you cut the finished cheesecake.
You could also make a more traditional cheesecake base by breaking vegan ginger cookies into crumbs (Nairn's Stem Ginger Oat Biscuits would work well), then mixing them with melted vegan spread and pressing that firmly into the bottom of the tin.
Clean out your blender, then add all the remaining ingredients (the recipe on Nutribullet's website lists sea salt twice for the filling, which is presumably an error) and blend until completely smooth with no pieces of cashew remaining.
I found that my finished cheesecake tasted quite strongly of coconut milk, and the flavor overwhelmed the pumpkin spice. Next time I make it, I will use much more spice (halving the recipe meant my whole cheesecake only contained 1/8 teaspoon) and substituting the coconut milk for oat cream, which has a more neutral taste and should give the finished dessert the same texture. The cheesecake is frozen so it doesn't have to set.
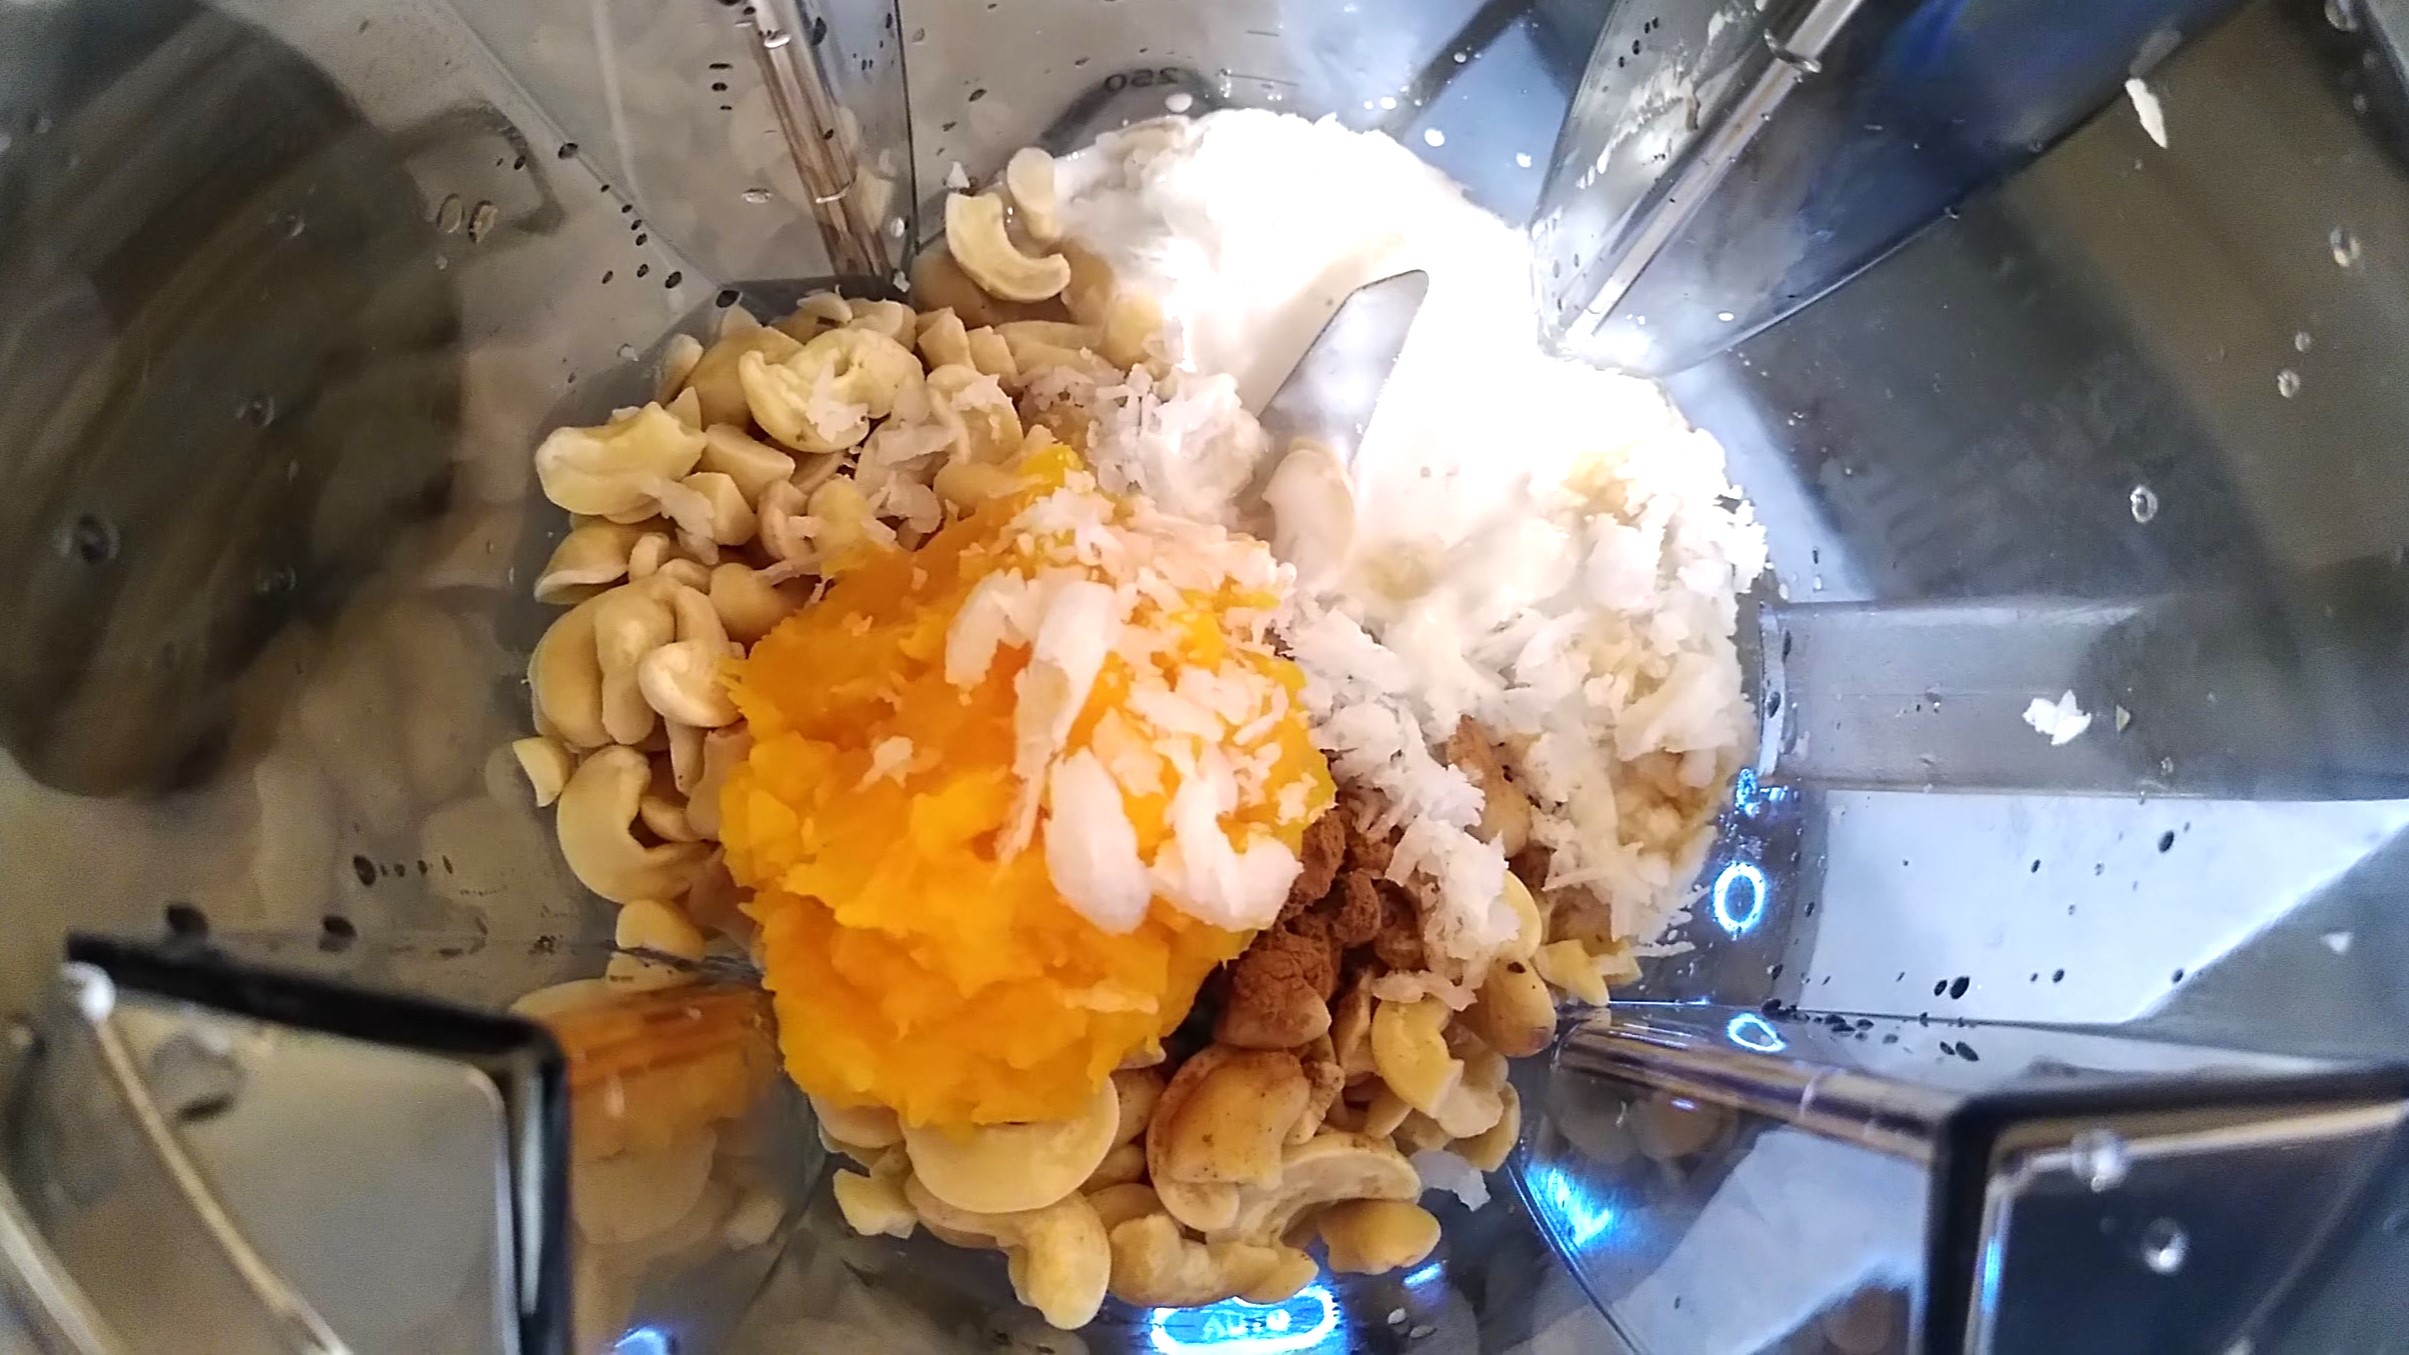
You might also choose to add more pumpkin puree to give more flavor, and enhance the orange color so it's closer to the photo on Nutribullet's website.
Once the mixture is nice and smooth, taste it and add extra spice, maple syrup, lemon juice, or salt if you think it needs it. The pecans, walnuts and dates in the base have quite a strong taste, so don't be stingy with the flavors in the filling. When you're happy, pour the creamy mix onto the cake tin and spread evenly over the base.
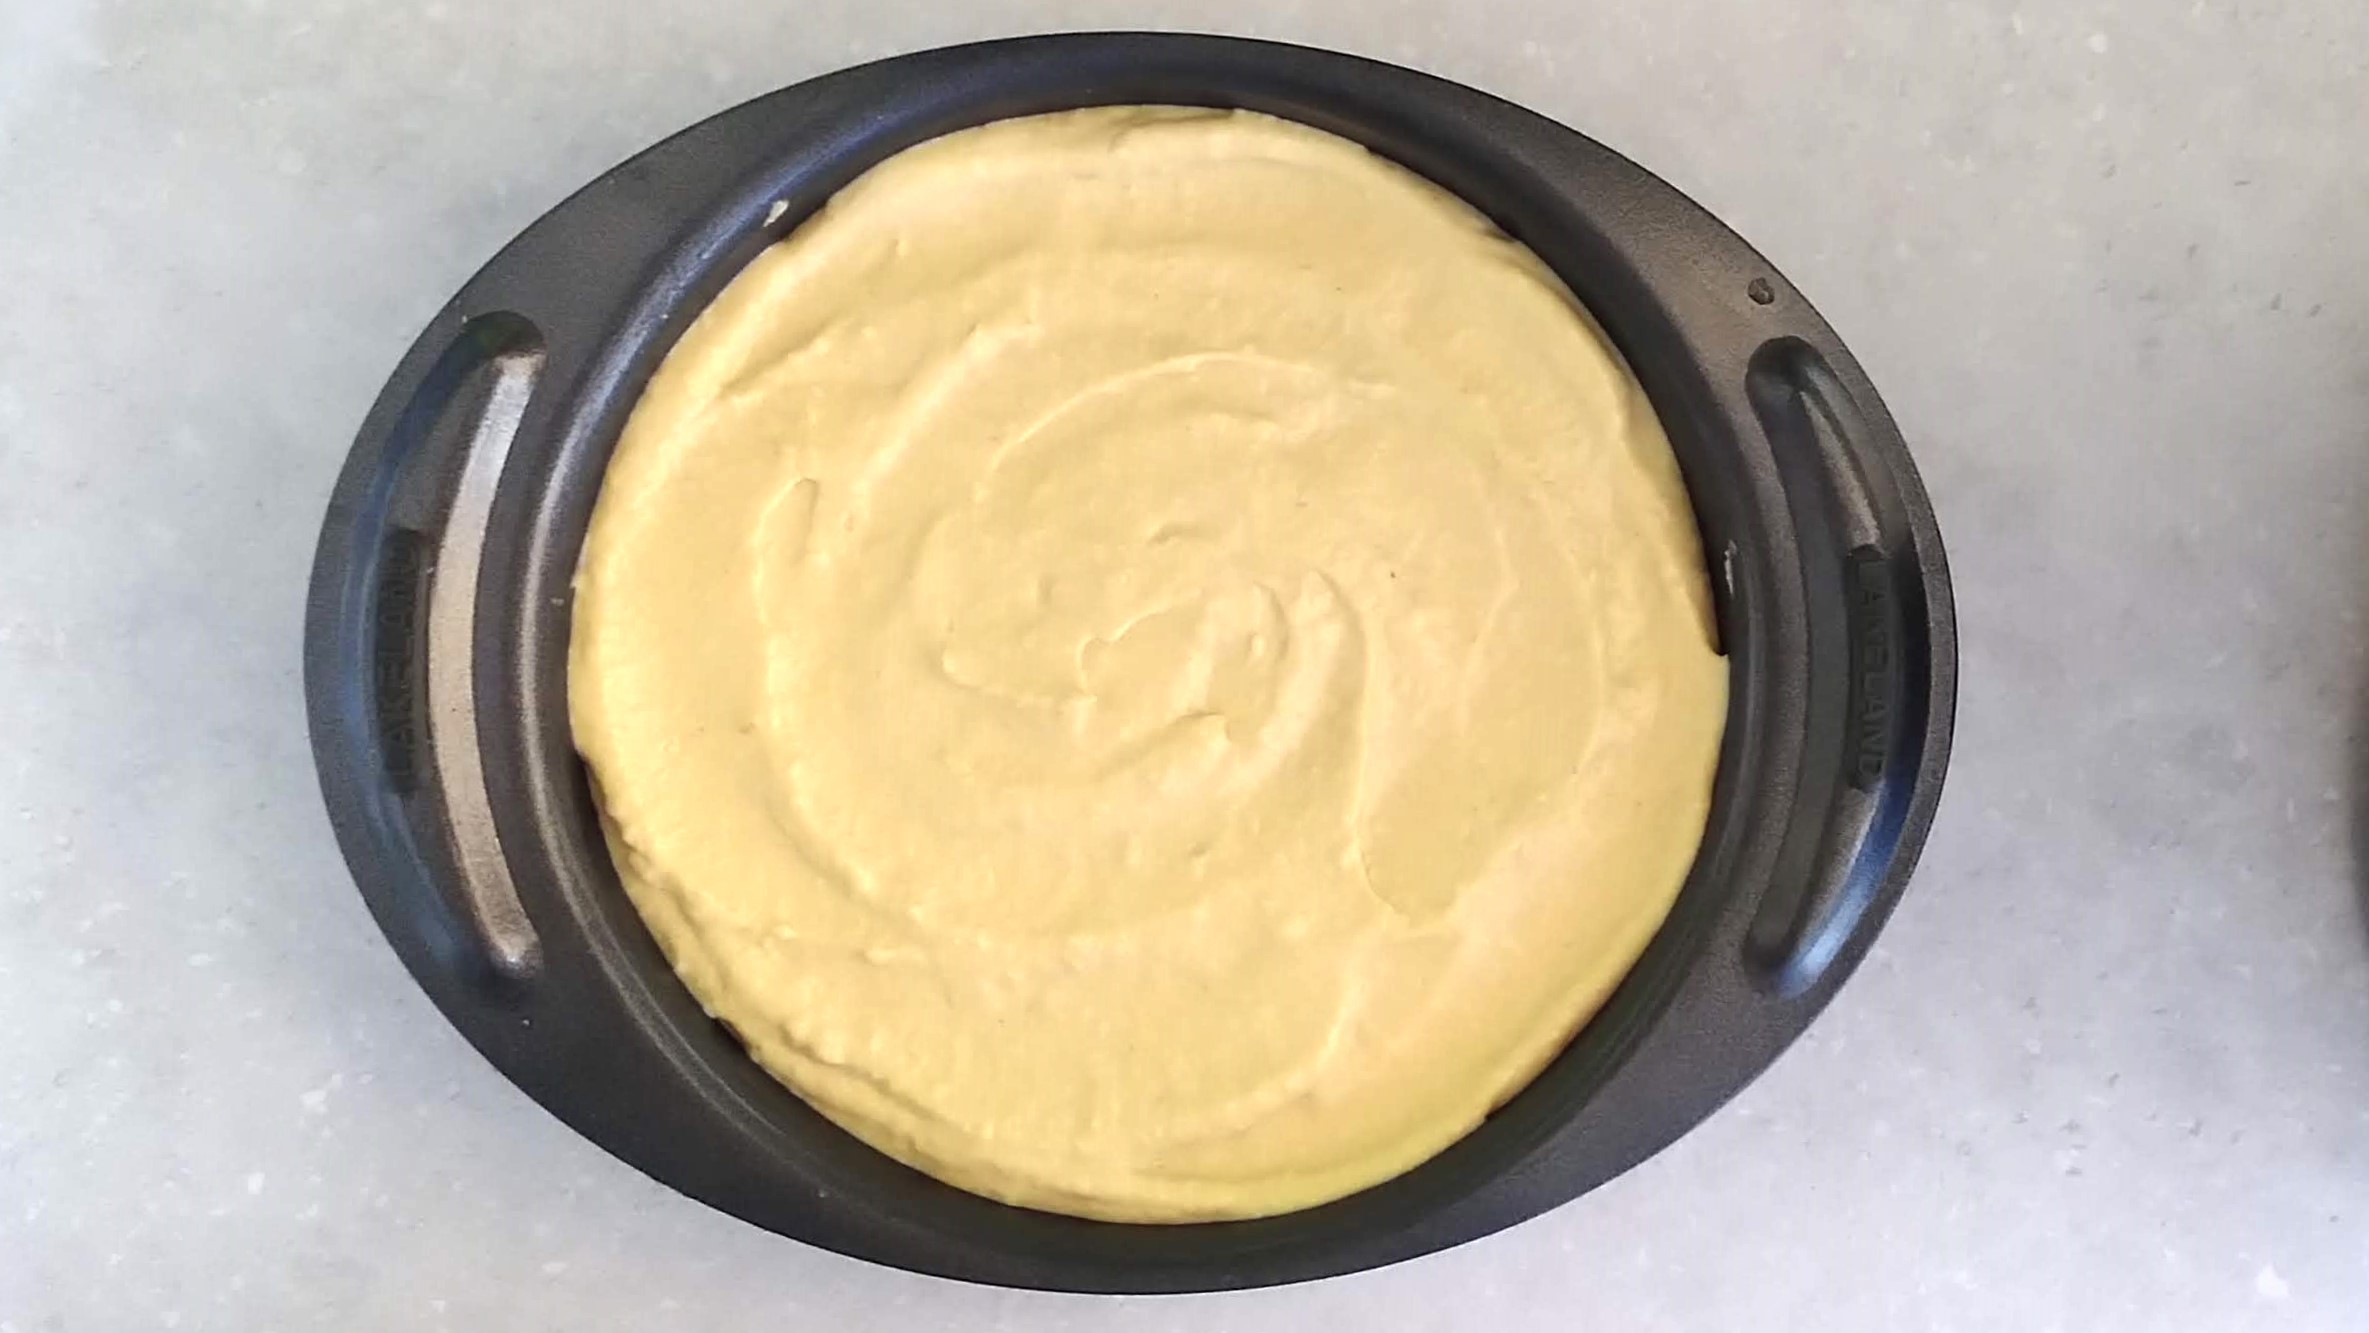
Finally, pop the cheesecake in the freezer for at least four hours before serving. If you struggle to push the base out of the tin, soak a tea towel in warm water and hold around the edge of the tin for a moment until it loosens.
I found it easiest to cut the cheesecake with a knife warmed in a cup of hot water, which helped ensure neat slices. Bon appetit, and happy Halloween!
