Now that February is here, a lot of us keen gardeners are getting a head start on seed sowing for earlier blooms. A common problem, though, is finding sufficient space for indoor sowing. But I've just stumbled across one of the best space-saving solutions: a seed snail.
At first, this might sound a little bizarre, but a seed snail is a hack that allows you to sow seeds indoors without taking up lots of surface space. Essentially, it consists of a spiral roll of potting mix to sow seeds in a compact space. Gardening with Ish's TikTok video below demonstrates this.
The best part is you don't need lots of materials to make it work – you can even use some cardboard or padded envelopes (like these compostable ones from Amazon) you already have at home. Depending on the size of your seed snail, you can sow double the amount of seeds a single seed tray would allow. Here's a step-by-step guide to creating one, with advice from a gardening expert on how to make it work.
How to Make a Seed Snail
Be aware that there's room for seed sowing mistakes with making a seed snail, the biggest being spacing. Even though this is a space-spacing hack, you should still make sure each seed has sufficient room to germinate, root, and grow within your seed snail.
Before getting started, you will need:
- Seed starting compost, like this from Amazon
- Flexible wrapping, for example cardboard or padded envelopes (from Amazon).
- A pencil or dibber, like this one from Lowe's
- Seeds
1. Lay Out Your Wrapping Material
The first thing to do when making a seed snail is lay out your wrapping material, i.e., the vessel to turn into a spiral.
You can use padded envelopes, like Ish, or simply repurpose cardboard and newspaper.
'Making these is a good way to repurpose all that packaging material that you get when you order things online,' says sustainable and urban gardening expert Annette Hird.
'The one thing to be aware of is that cardboard would deteriorate from all the moisture, if left for too long. So, it would be better to use this method with seeds that germinate quickly, like fast-growing flowers,' she adds.
Bubble wrap (like this roll from Amazon) is also a good material that won't start to rot and can even provide some extra insulation for seeds. Although it may be one to avoid if you're planning to sow seeds without using any plastic.
The key to laying out the material is to ensure you have a long rectangular strip. The longer it is, the bigger your seed snail will be and the more room you'll have for seed sowing.
2. Put Down Compost
The next step in making a seed snail is putting down a layer of compost for the seeds to be sown into.
A special seed starting compost (like this one from Amazon) is a good choice, packed with essential plant nutrients and good drainage to encourage germination and support early growth.
But you can also use a general well-draining multipurpose compost (like this one from Lowe's).
If you want to take this DIY to the next level, you can even try making your own compost to use.
Put down an even layer, around half an inch in depth, making sure it's spread across the entire length of your material.
3. Roll Up Your Base
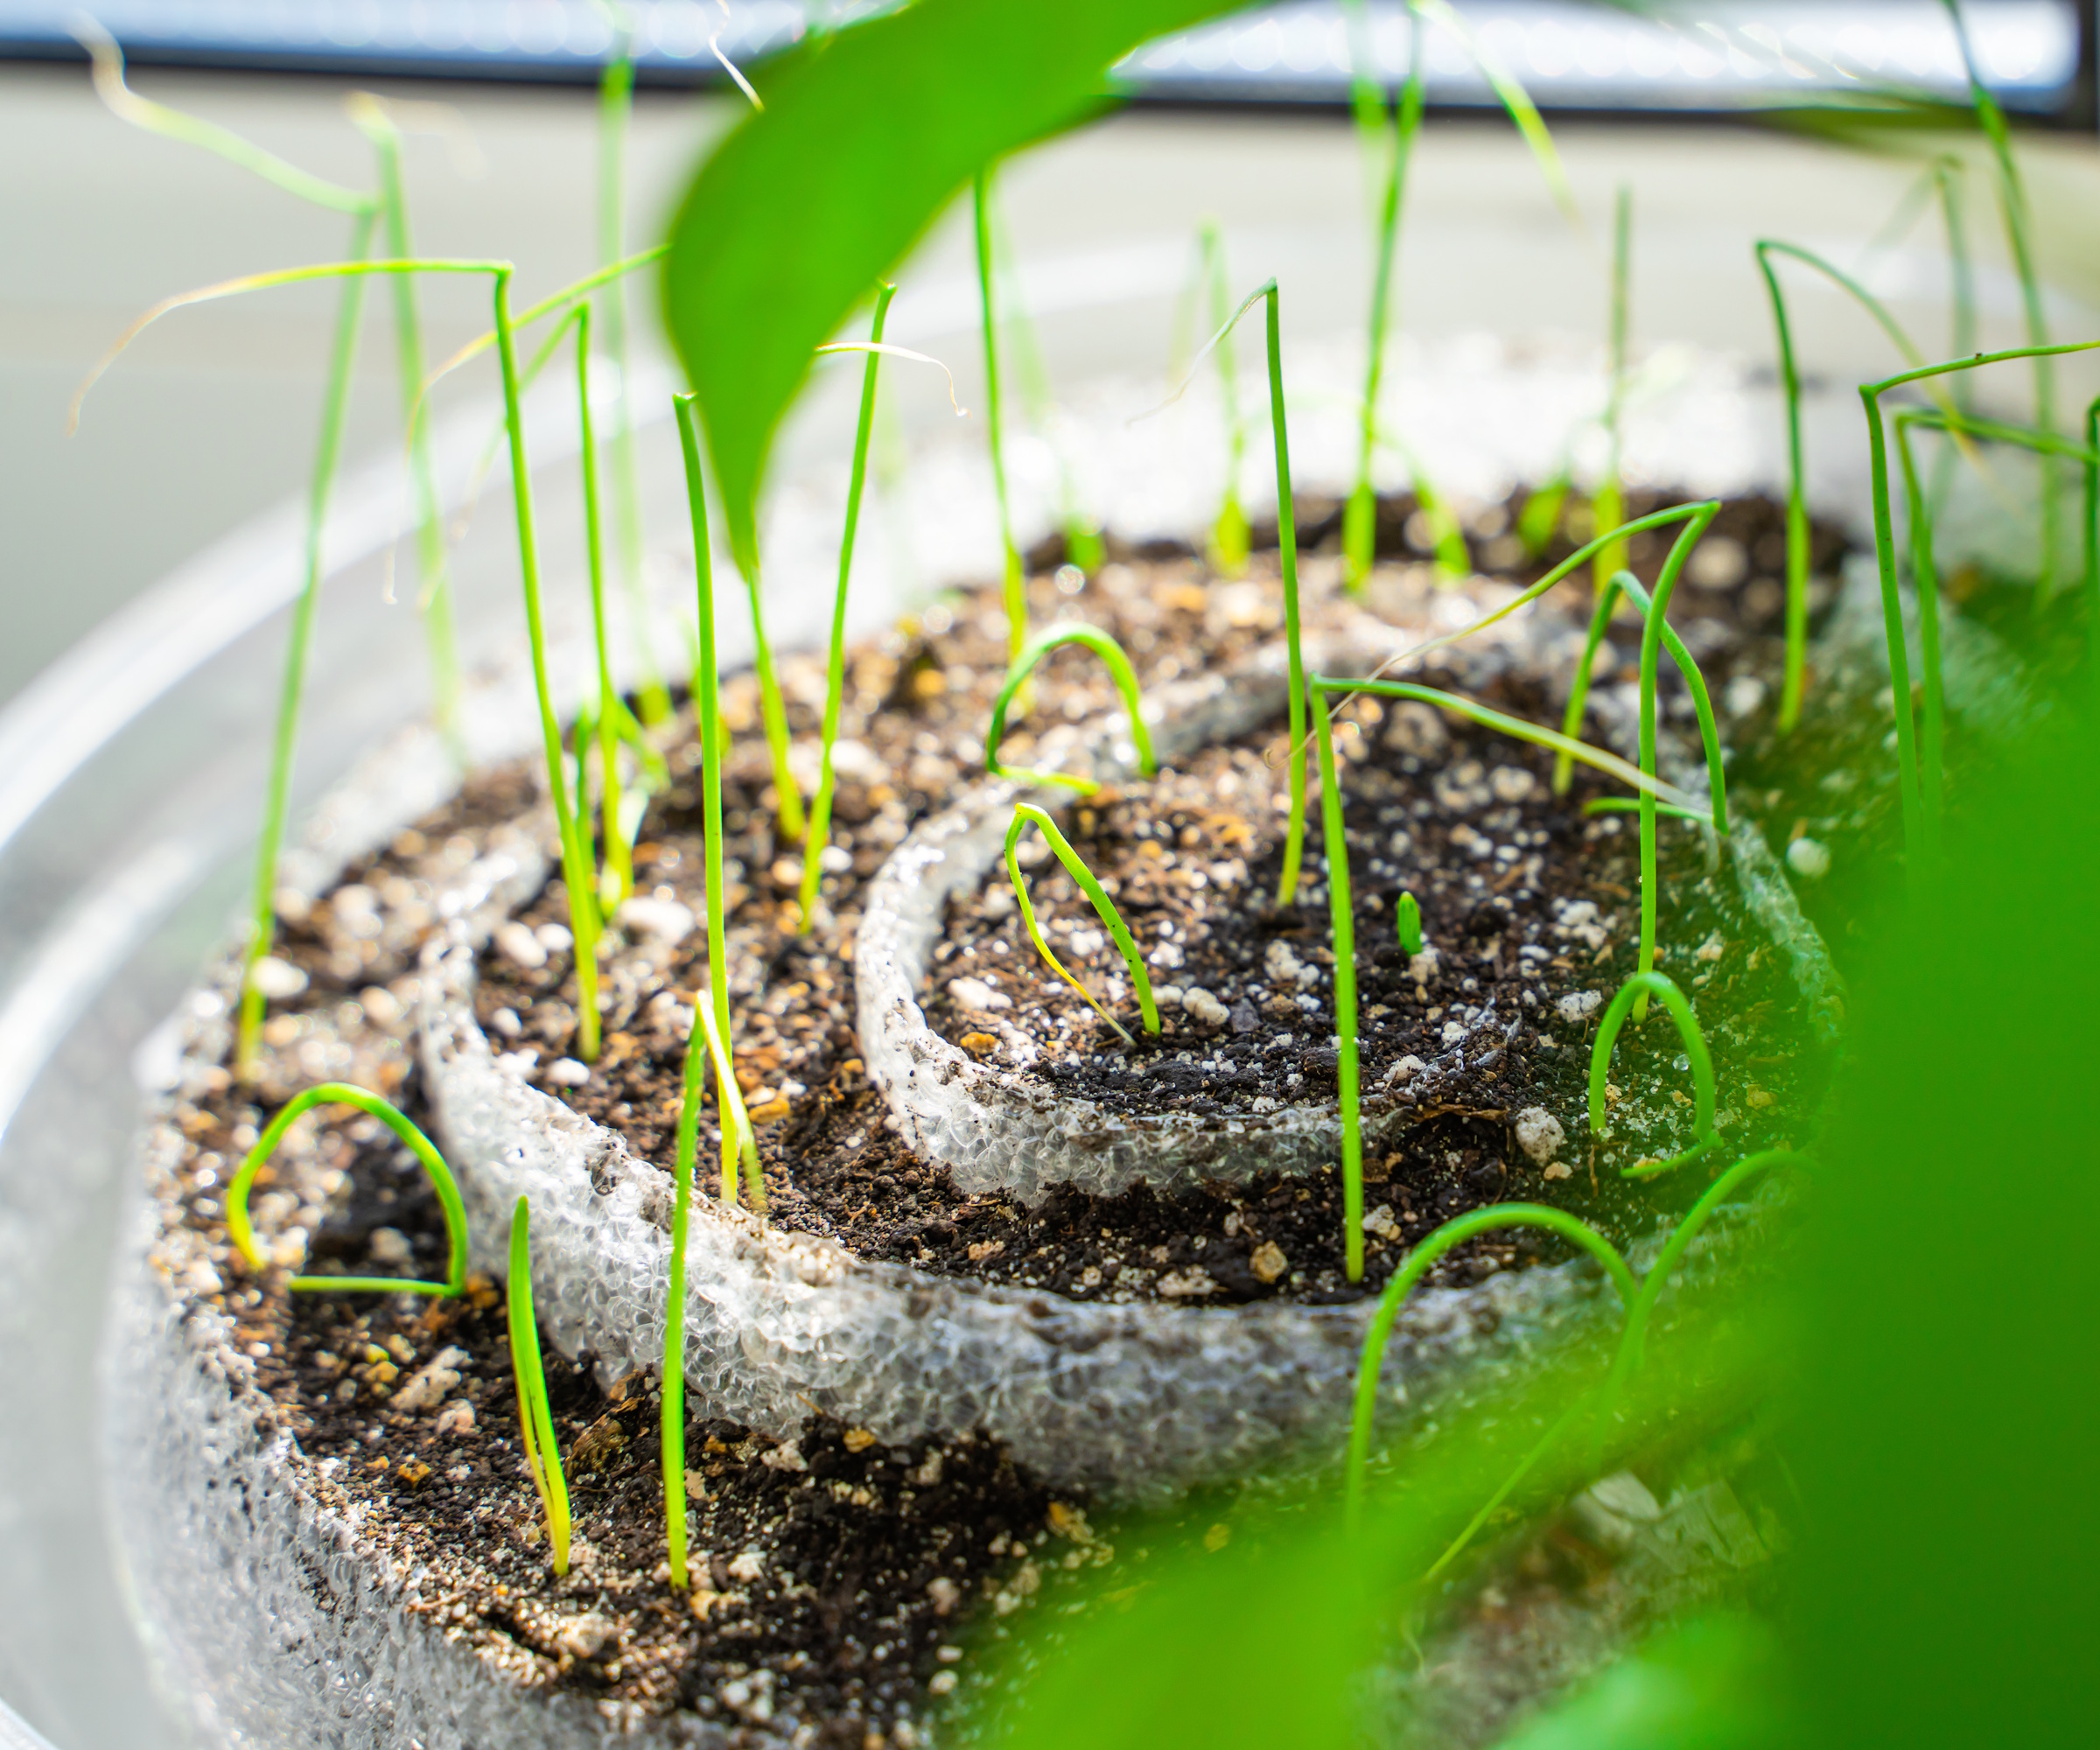
This is where the seed snail formation is created.
'Roll it up to make a snail, or spiral. Stand it up and you have little pockets between the layers of cardboard,' says Annette.
When rolling your spiral, make sure not to do it too tightly so the compost isn't squeezed out. Leave as much space as you can for seed sowing in each pocket.
It will then need to be held together either with rubber bands or twine (from Amazon), or simply by placing it in a nursery pot to hold its shape.
'It's much easier to pile your mix on top of the cardboard rather than filling tiny pots, so it saves time and space,' Annette notes.
It also requires far less compost than filling lots of pots, reducing the use of resources.
4. Sow Your Seeds

With your seed snail constructed, you can start sowing your seeds in each of the pockets.
Due to the nature of a seed snail being small and compact, this can be a fiddly task, especially if you're working with tiny seeds.
Like Ish, you can use a pencil to make several holes along the spiral, or you may wish to employ the help of a dibber (from Burpee) – an essential gardening tool designed to poke precise holes in soil for seed sowing.
Take note of the instructions on your seed packets for information on how far apart and how deep the holes need to be, before covering the seeds with a thin layer of compost.
You may also find our tips on how to germinate seeds useful at this stage. For example, it can be a good idea to soak thick-coated seeds to soften them before sowing.
5. Water Your Seed Snail
With the seeds sown, you can now give them a generous watering and wait for them to sprout.
Of course, don't forget to keep your seed snail somewhere bright and warm to encourage germination. You may want to use a seedling heat mat (from Amazon) to help speed up this process.
'It's then easy to separate the little seedlings once you're ready to plant them out, without too much root disturbance,' says Annette. 'Just lay the snail on its side and carefully unroll it to lift each seedling out.
'This would be good for seedlings that don't like their roots disturbed too much, in particular,' she adds.
FAQs
Can I Plant My Seed Snail into the Ground?
It isn't wise to plant a seed snail directly into the ground because the seedlings won't be spaced correctly for full growth, and the material may not decompose, depending on what you've used as a base. Instead, a seed snail offers a space-saving solution for starting seeds, with the intention to then separate them and plant with more space at a later date.
Once your seedlings have reached a sufficient size for planting out, you'll need to separate your seedlings without damaging them. You may find that a little bit of water can help loosen them.
Shop Seed Starting Essentials
This stainless steel dibber can be used for sowing seeds, planting out seedlings, and even bulb planting. It measures 11.5” long including a 6” handle.
This set of 10 seed starter trays each have 12 cells and a humidity dome to support seed germination.
This seed starter compost is a special, well-draining, nutrient-rich blend to support germination and early growth.
This seedling heat mat warms the root area 10-20°F above room temperature to aid germination and early growth.