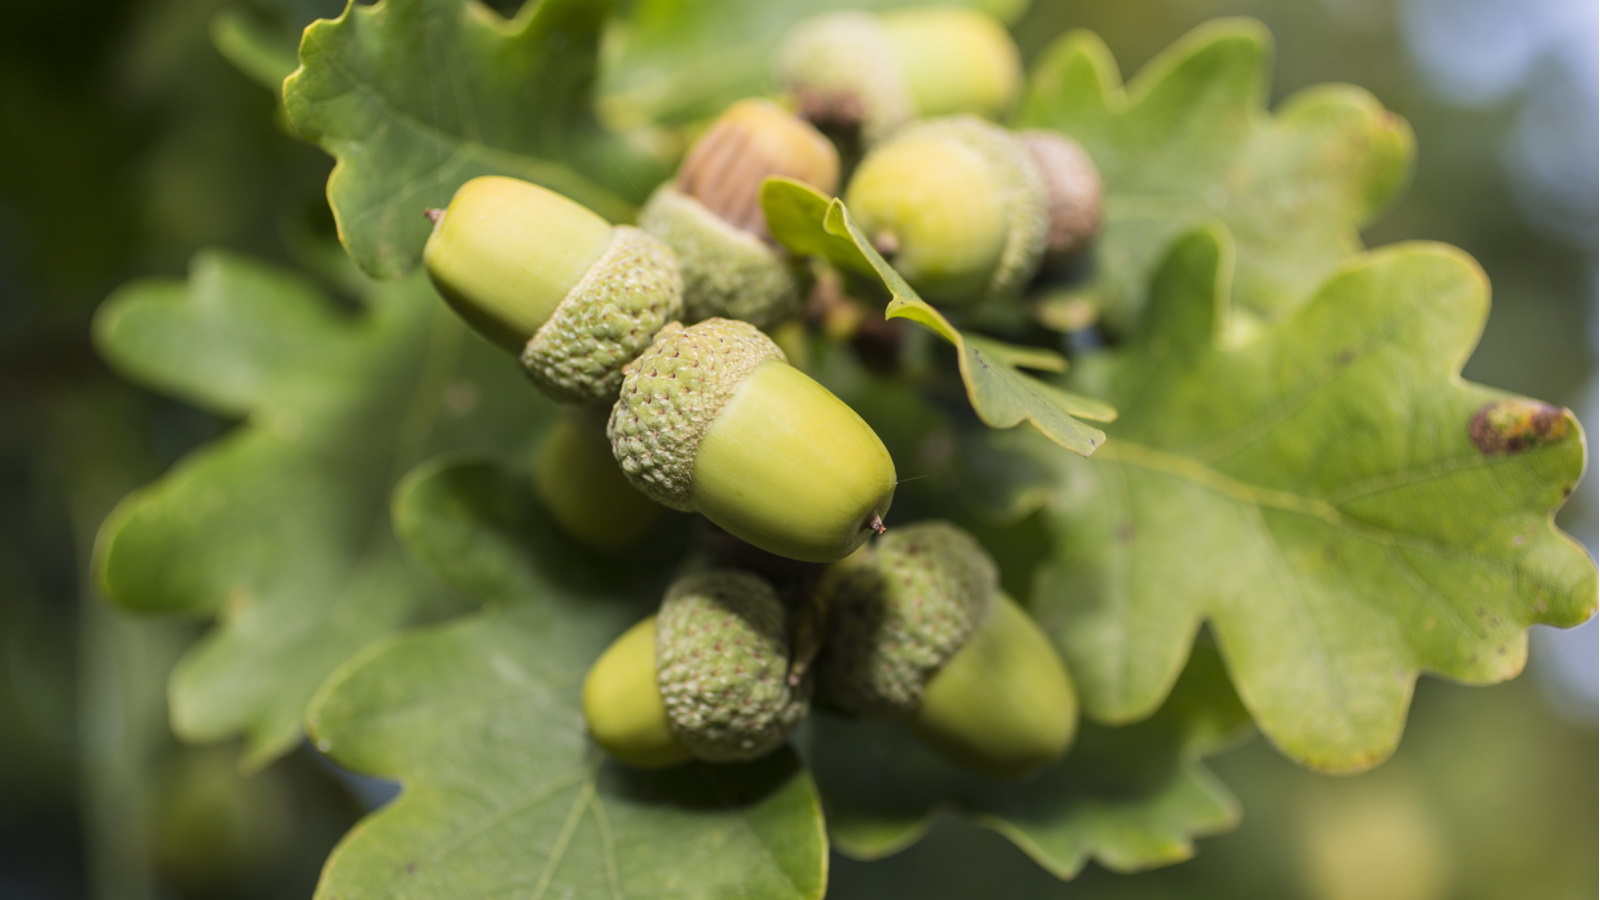
Propagation is one of my favorite things to do. It's a rewarding feeling to be able to multiply your indoor and outdoor plants, and I love to share my propagations with friends and family. That's why I decided to take on the challenge of multiplying something I haven't done before - an oak tree.
While it can sound daunting to propagate a tree, I've found it's actually quite straightforward. Just like it's possible to grow a tree from a branch, you can also grow an oak tree from an acorn. Through hydroponic gardening, you can easily take this fruit of the oak tree and use it grow a brand new one for no cost. This is good news if you're a fan of the shapely foliage of oaks and want to have more in your backyard.
Of course, trees take a very long time to grow, so it's best to not go into acorn propagation with too high expectations. It will take years and years for your oak tree to grow and mature, but watching it put on growth each year all from a tiny acorn is simply part of the joy. Here, I've put together an expert guide to growing an oak tree from an acorn so you have all the information you need to start your very own quercetum.
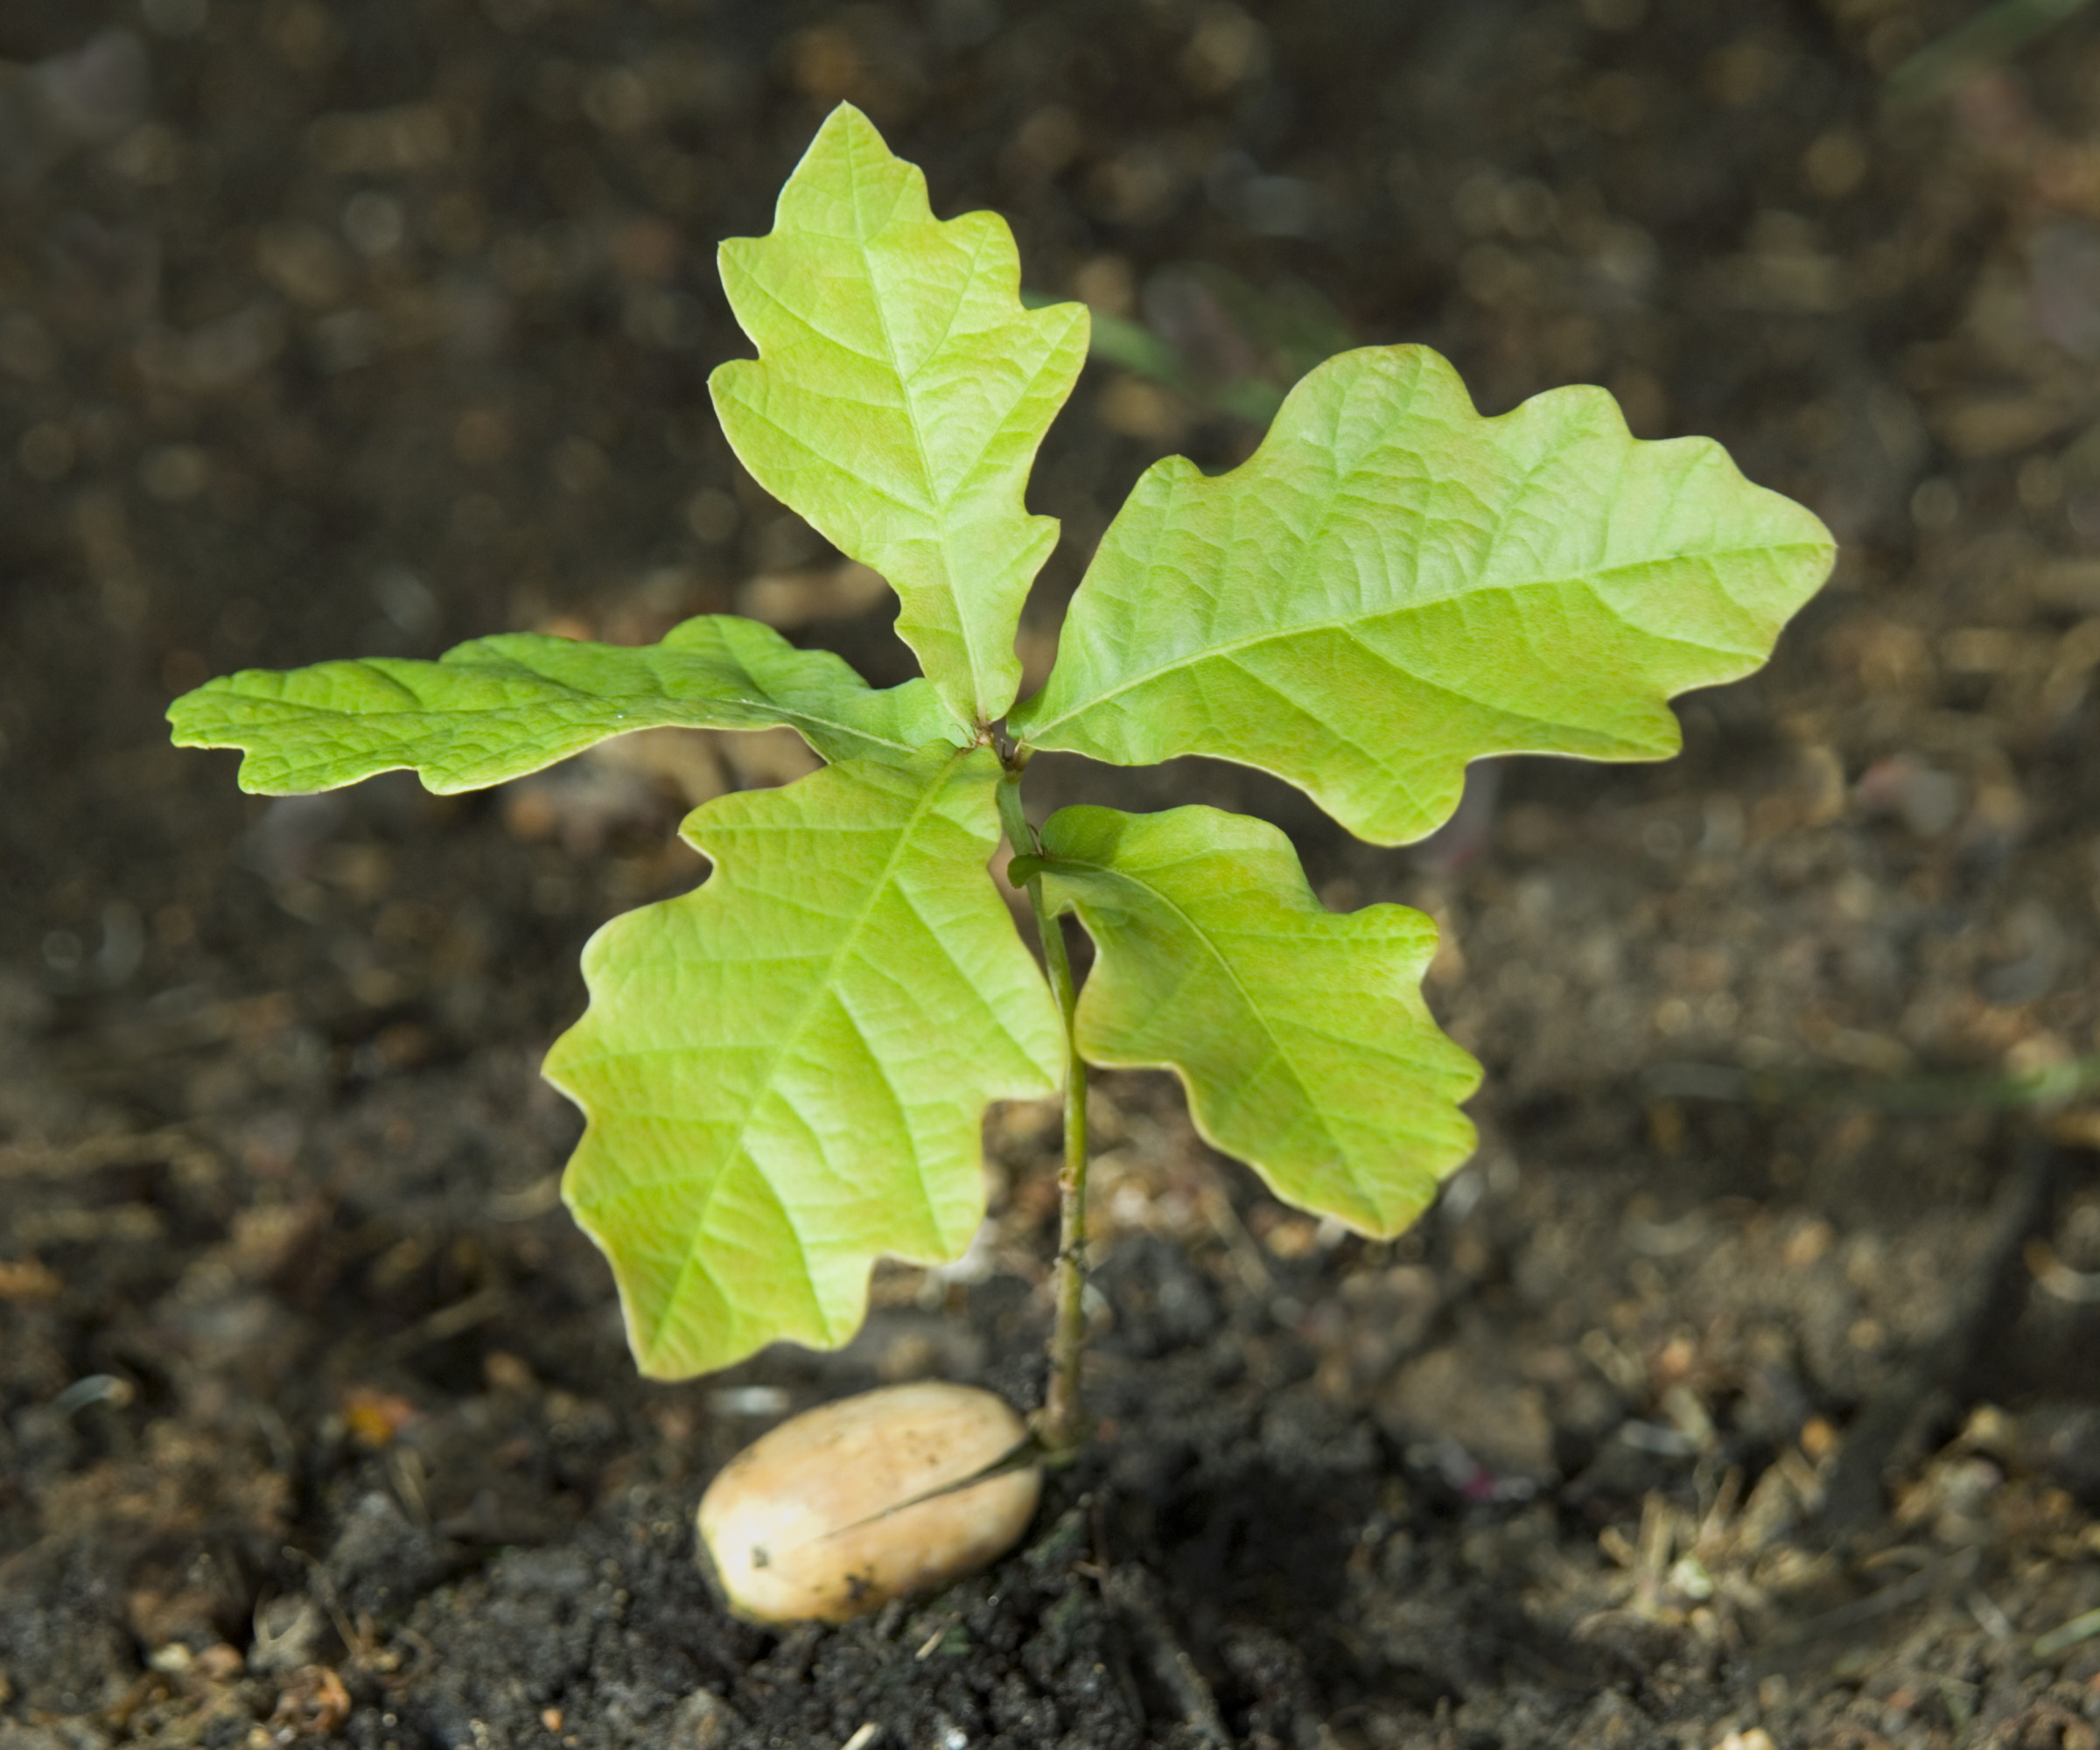
How to grow an oak tree from an acorn
With hundred of types of oak trees to choose from, you can try growing a range of varieties from different acorns. The below guide will work for most acorn types and just requires some patience and persistence to see results.
1. Gather acorns
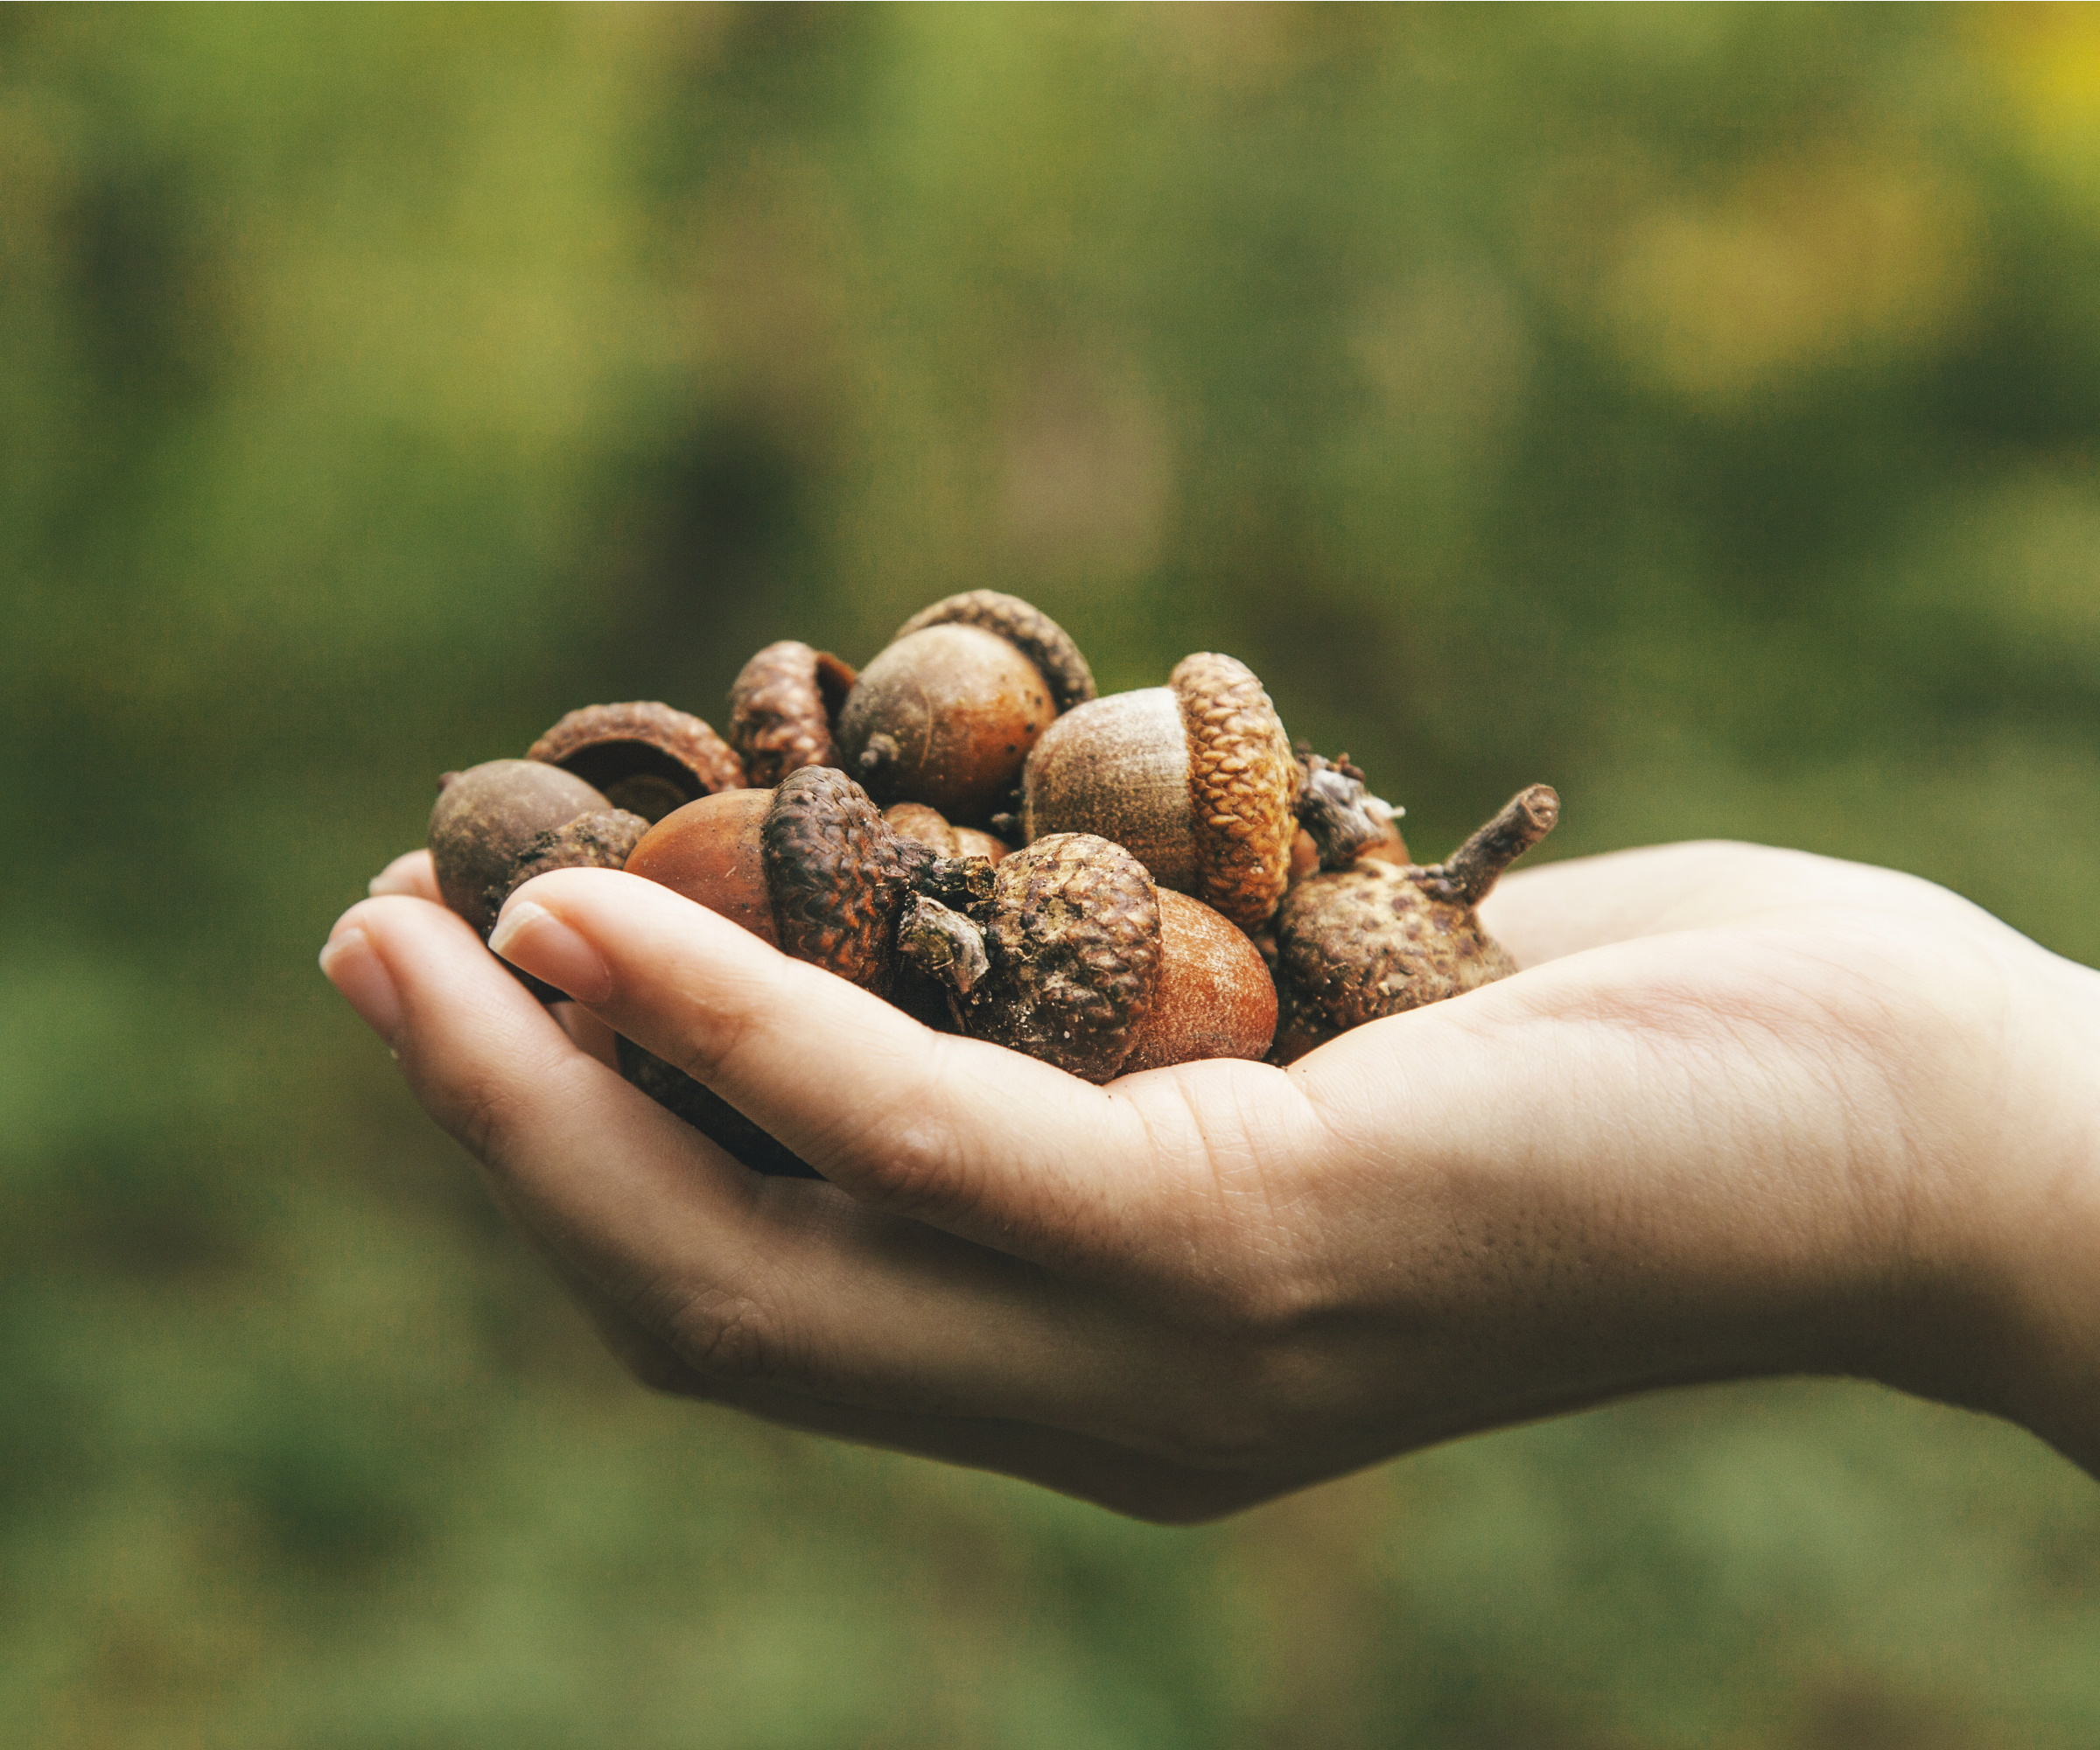
The first step is gathering the acorns you want to propagate from. Unlike collecting seeds where you source them from the plant itself, you should gather acorns that have already started falling. Those attached to the oak trees are unlikely to be mature enough to work with.
This is best done as part of your fall gardening checklist, where you will observe acorns that have started turning from green to brown or are already entirely brown. This is the stage at which you should select which types of oak you want to grow, too - this Northern Red Oak Tree from Fast Growing Trees is a beautiful option for gardeners in US hardiness zone three to zone eight. My acorn was gathered from an English oak.
'Do a float test by putting them in water - only keep the ones that sink, as those are the viable ones,' advises tree expert Evan Torchio. The acorns that float are unlikely to mature, so it isn't worth working with them. A sinking acorn is a sign of heavy moisture content, meaning they're in a fit state to germinate.
It's wise to collect a few acorns at one time as it isn't guaranteed all of them will germinate. Aim for the ones that have a smooth surface without holes or cracks.
2. Soak acorns for 48 hours
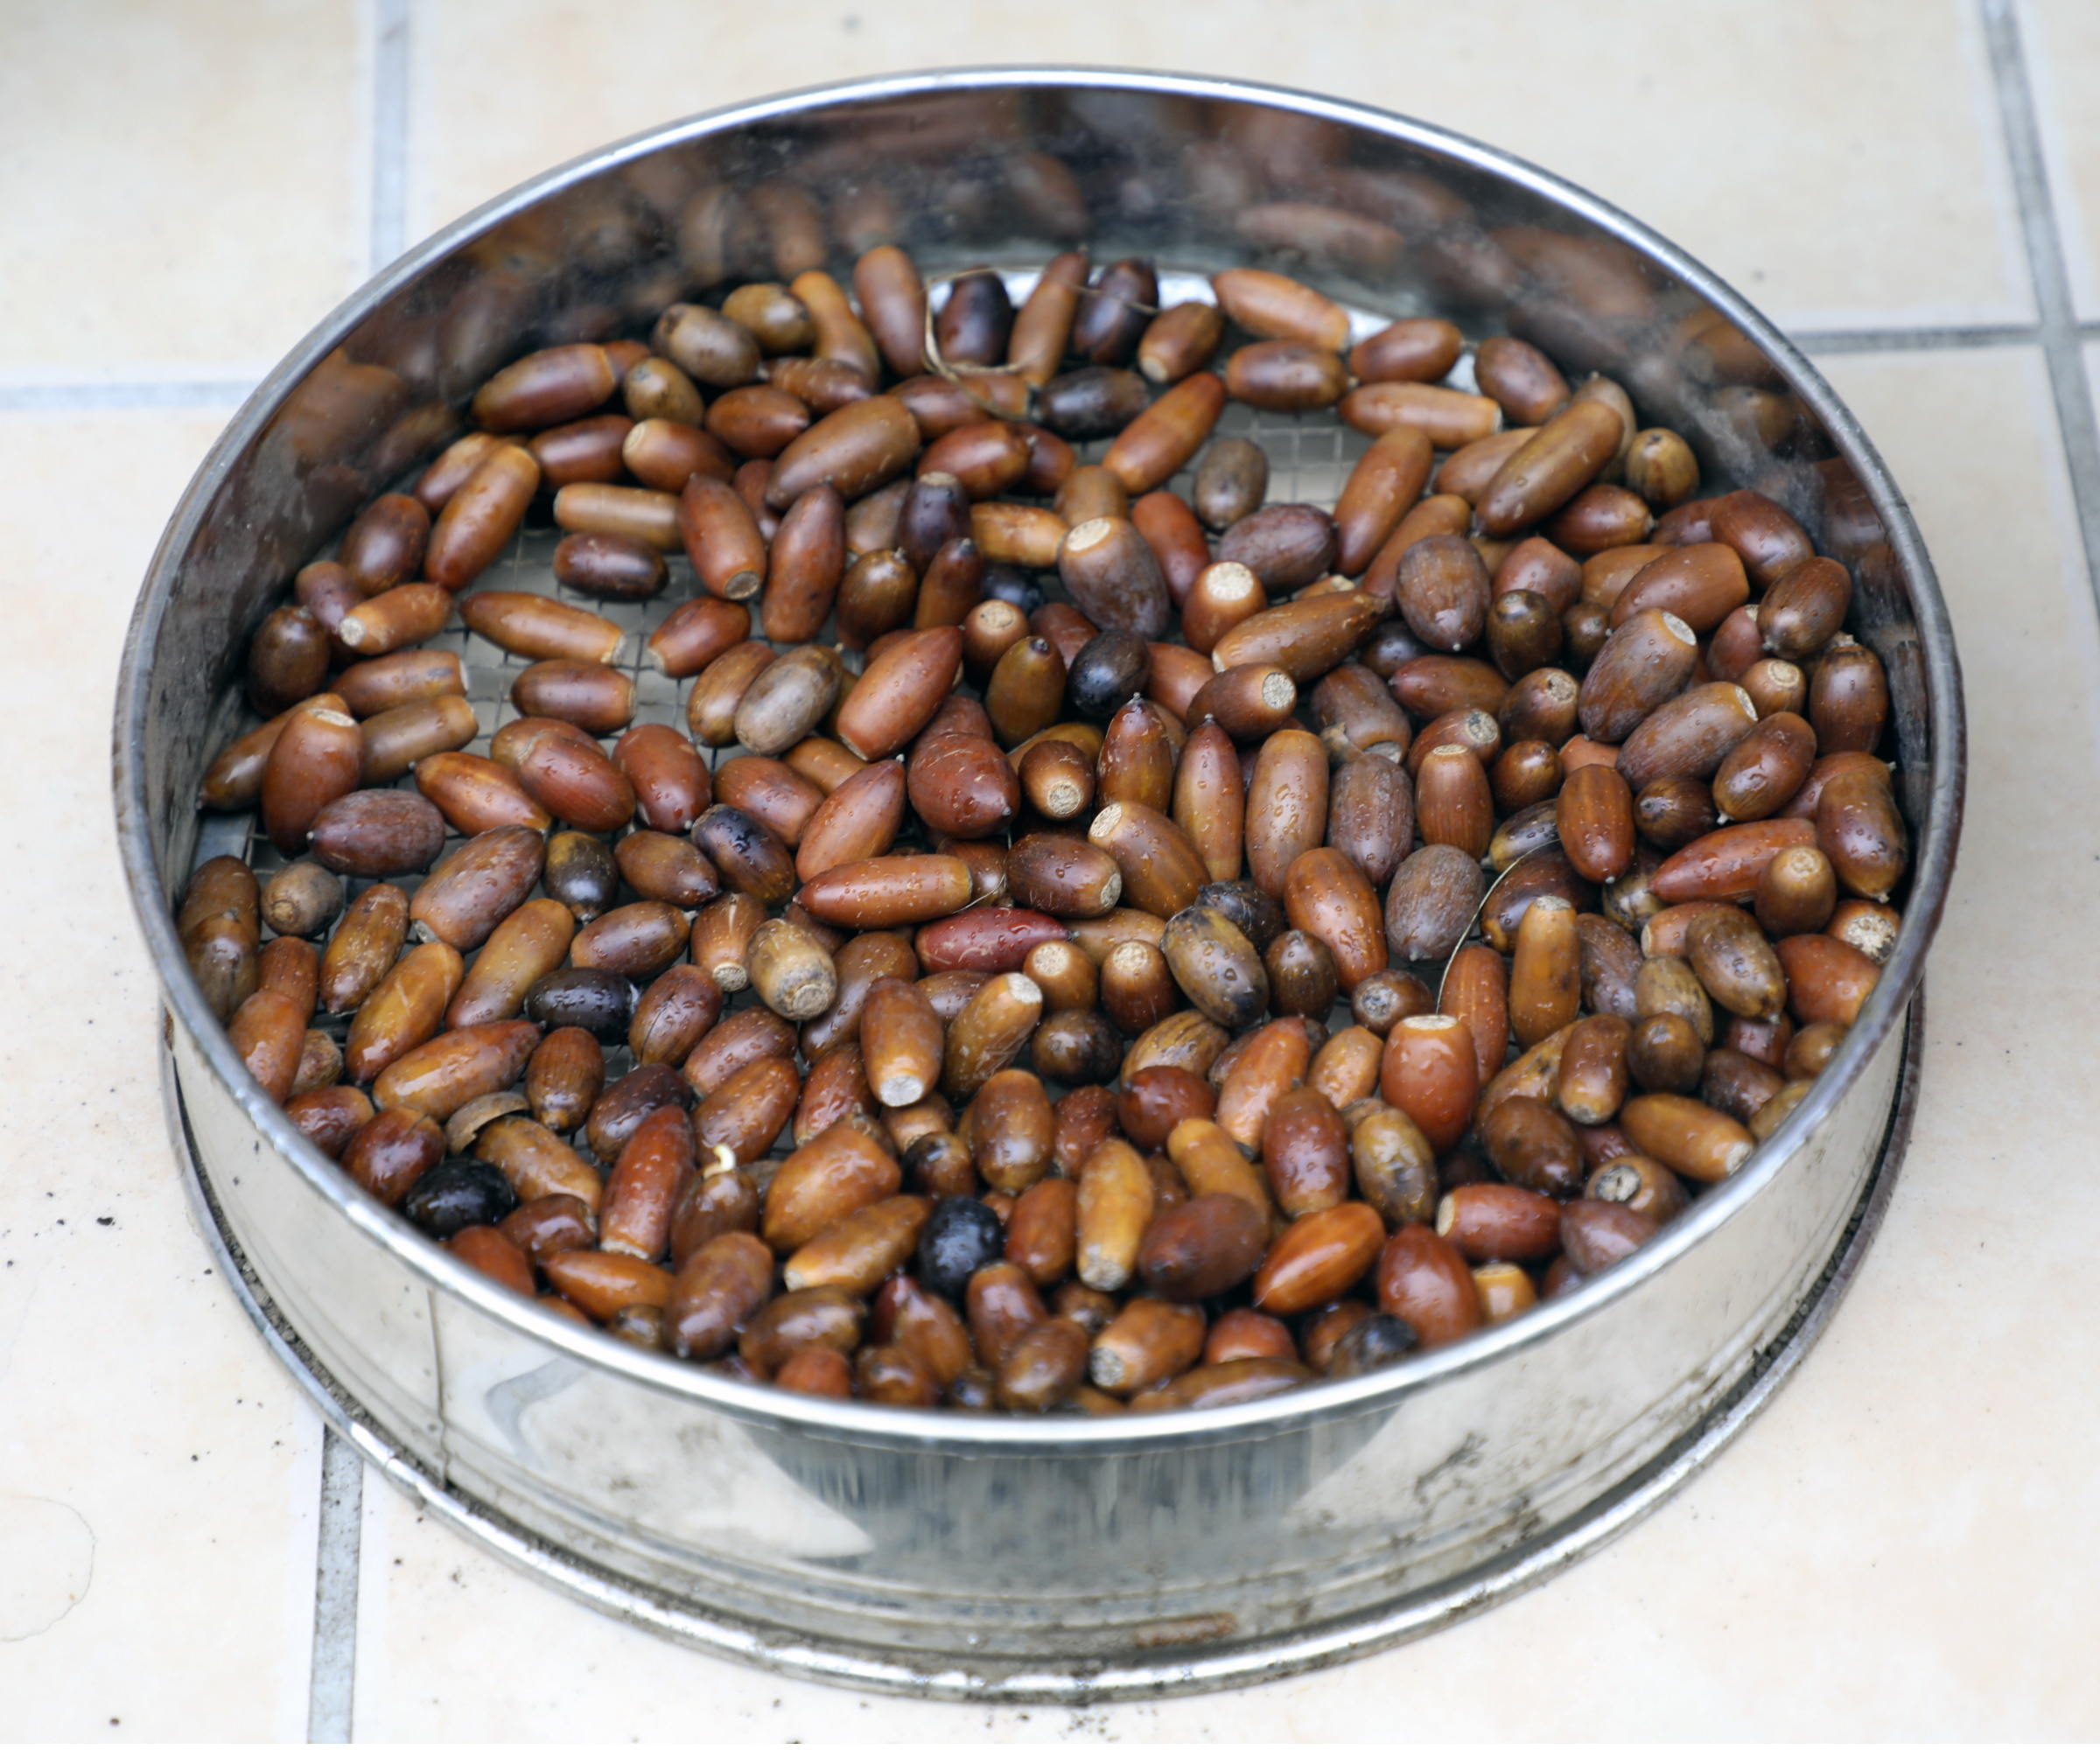
Once you have your acorns, you need to prepare them for germination. Unlike the easiest houseplants to propagate from cuttings, it isn't as simple as setting your acorn up for rooting.
Soak your acorns for around 48 hours. This helps trigger root development by changing their growing environment and activating their enzymes.
You can simply soak them in a bowl, like this one from Walmart, but it is best to do this indoors. Just like seed sowing mistakes, trying to germinate acorns in outdoor temperatures can be tricky.
If your acorn has a cap on it, make sure to also remove this at this stage. If the cap doesn't come off, it's another indication that your acorn may not be mature.
3. Prepare your acorn for stratification
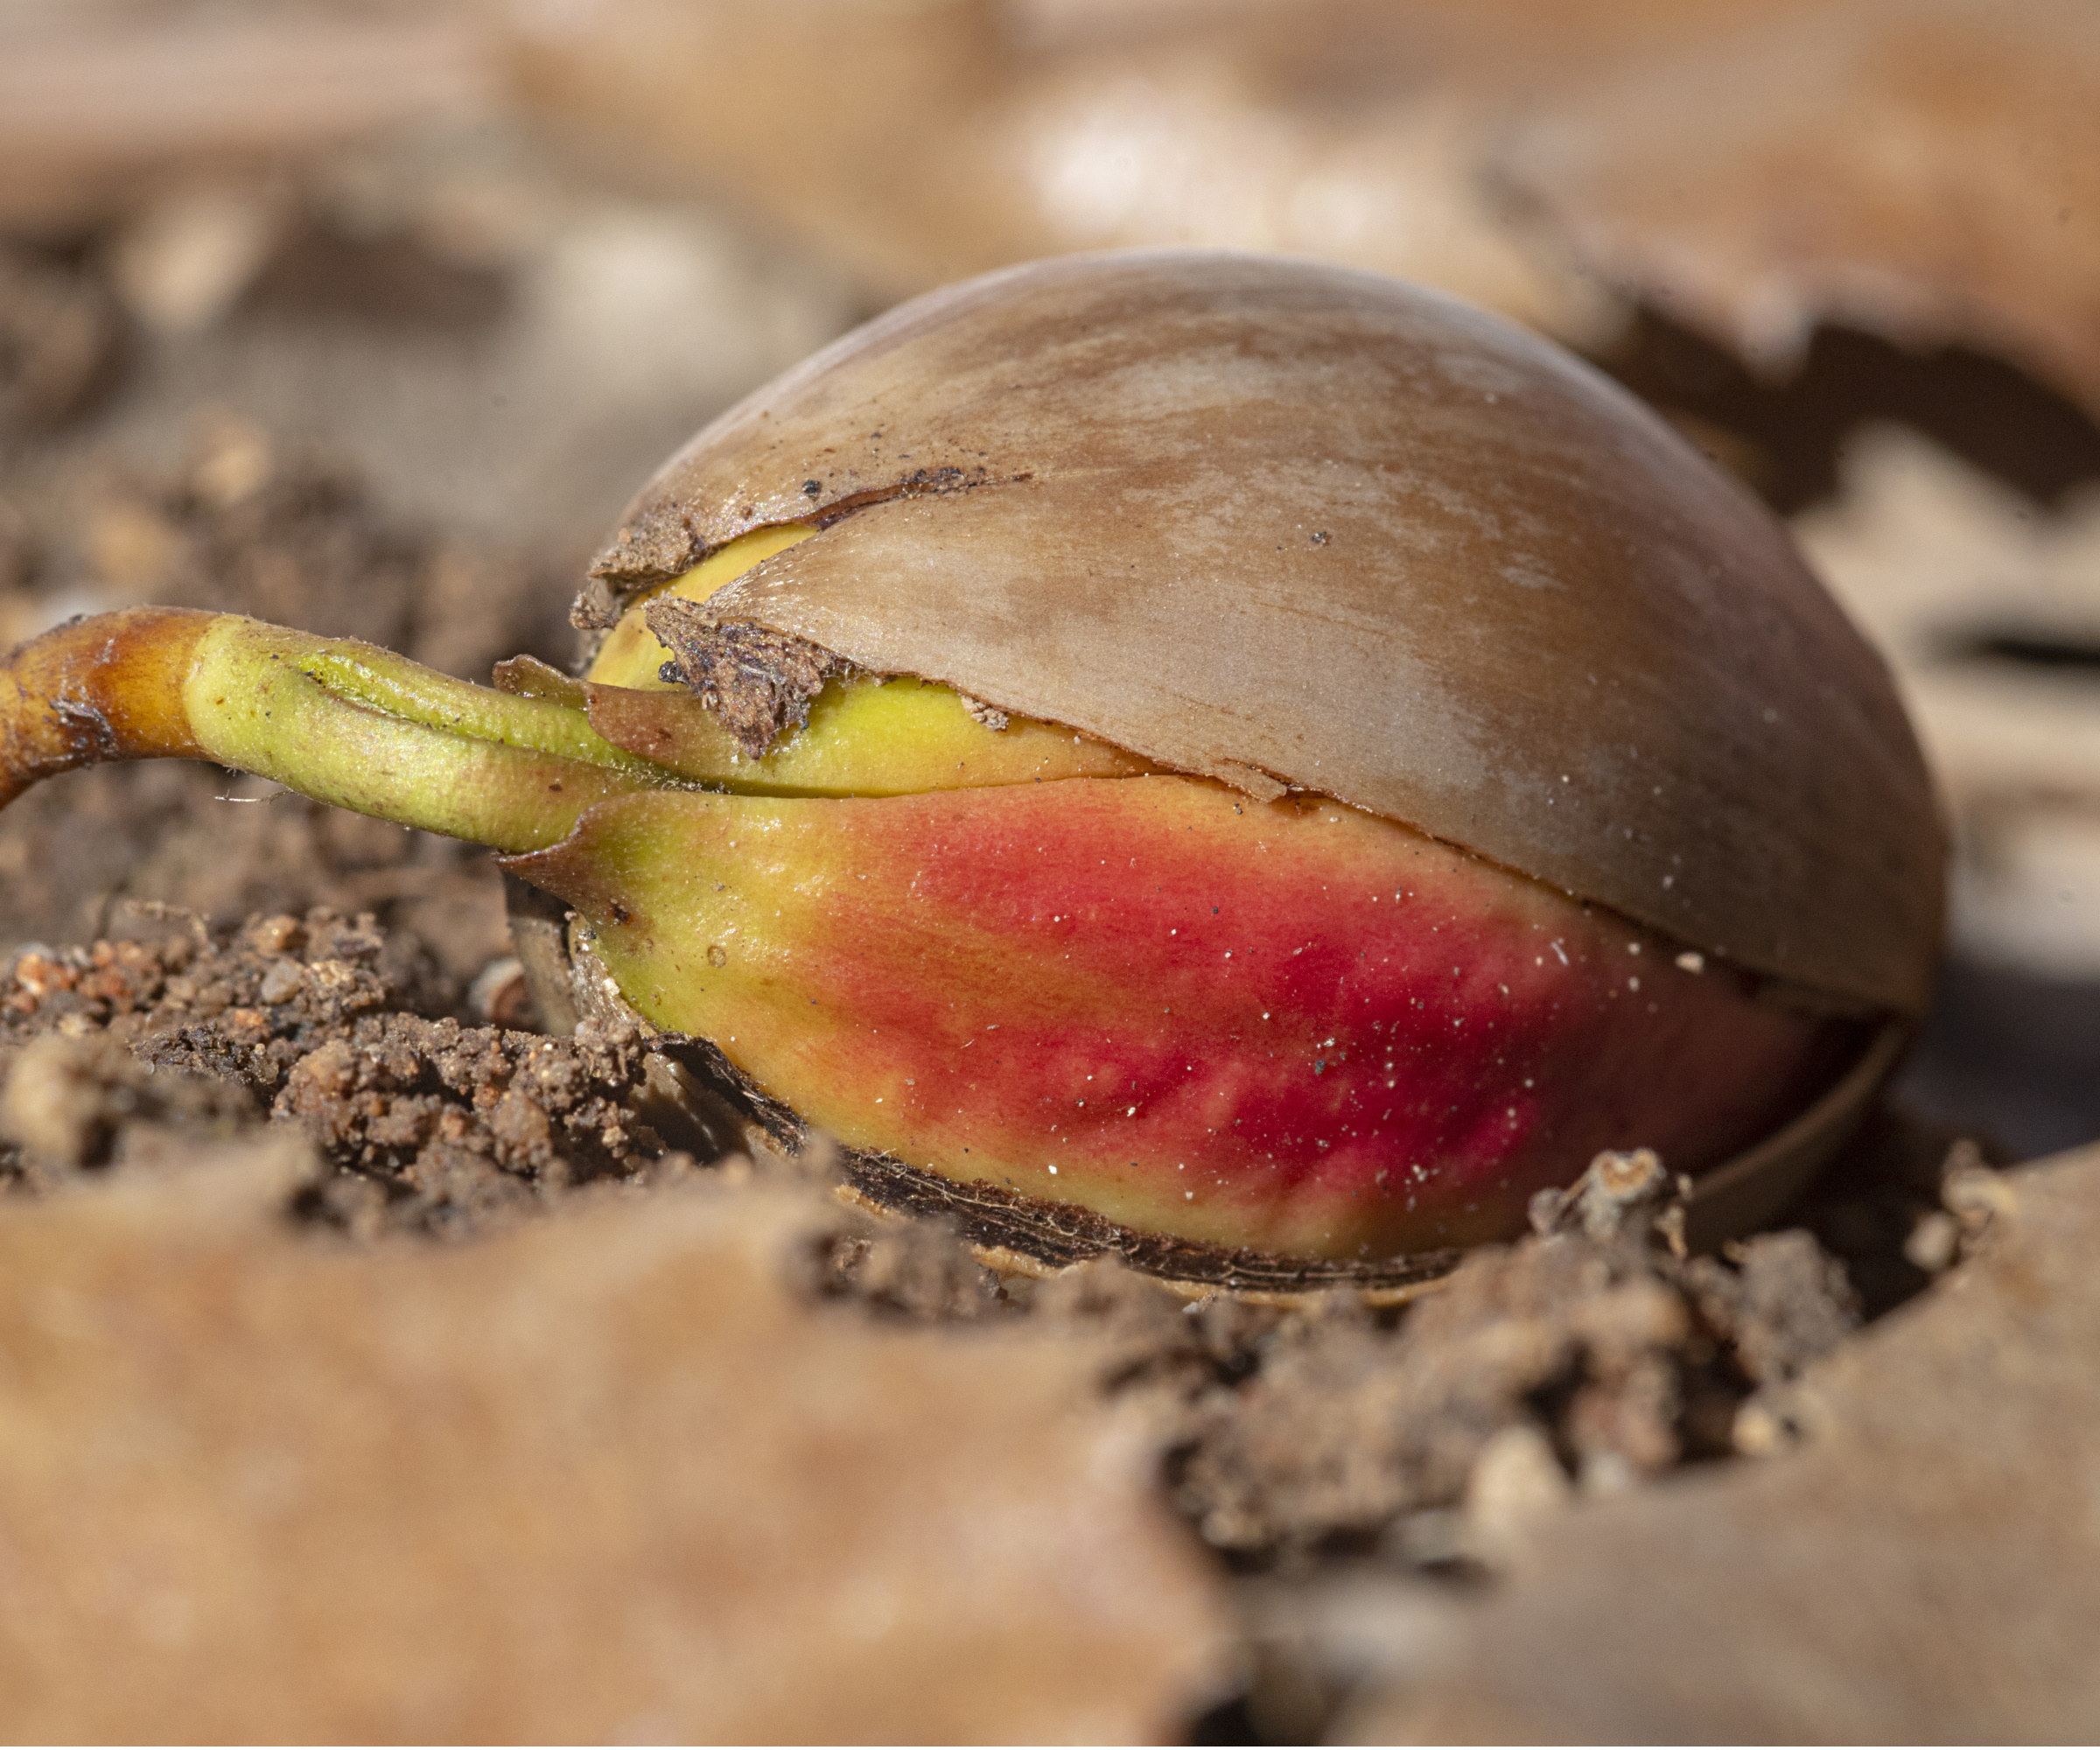
After letting your acorns soak, it's time to prepare them for seed stratification. This is the process of tricking the acorns into thinking it is winter (their dormant season) by keeping them in cold conditions.
I kept my acorn wrapped in a small piece of damp paper towel, placed inside a sealed freezer bag. Depending on the variety you're growing, you may need to then place this in your fridge - North American varieties need this, for example.
'Six to eight weeks of cold stratification (a period of chilling under 45°F) will kickstart germination,' says Evan.
Make sure to check your acorn every few days to check the moisture level and observe if they acorn has sprouted a root. Take care not to let the paper towel become too wet, but don't let it dry out either - moisture is essential for germinating acorns, just as it is for seed germination.
After this period of stratification, your acorns should have developed a small root. Taking it out of the freezer bag places it in a warmer temperature that tricks it into thinking its growing season has begun.
4. Submerge the tap root in water
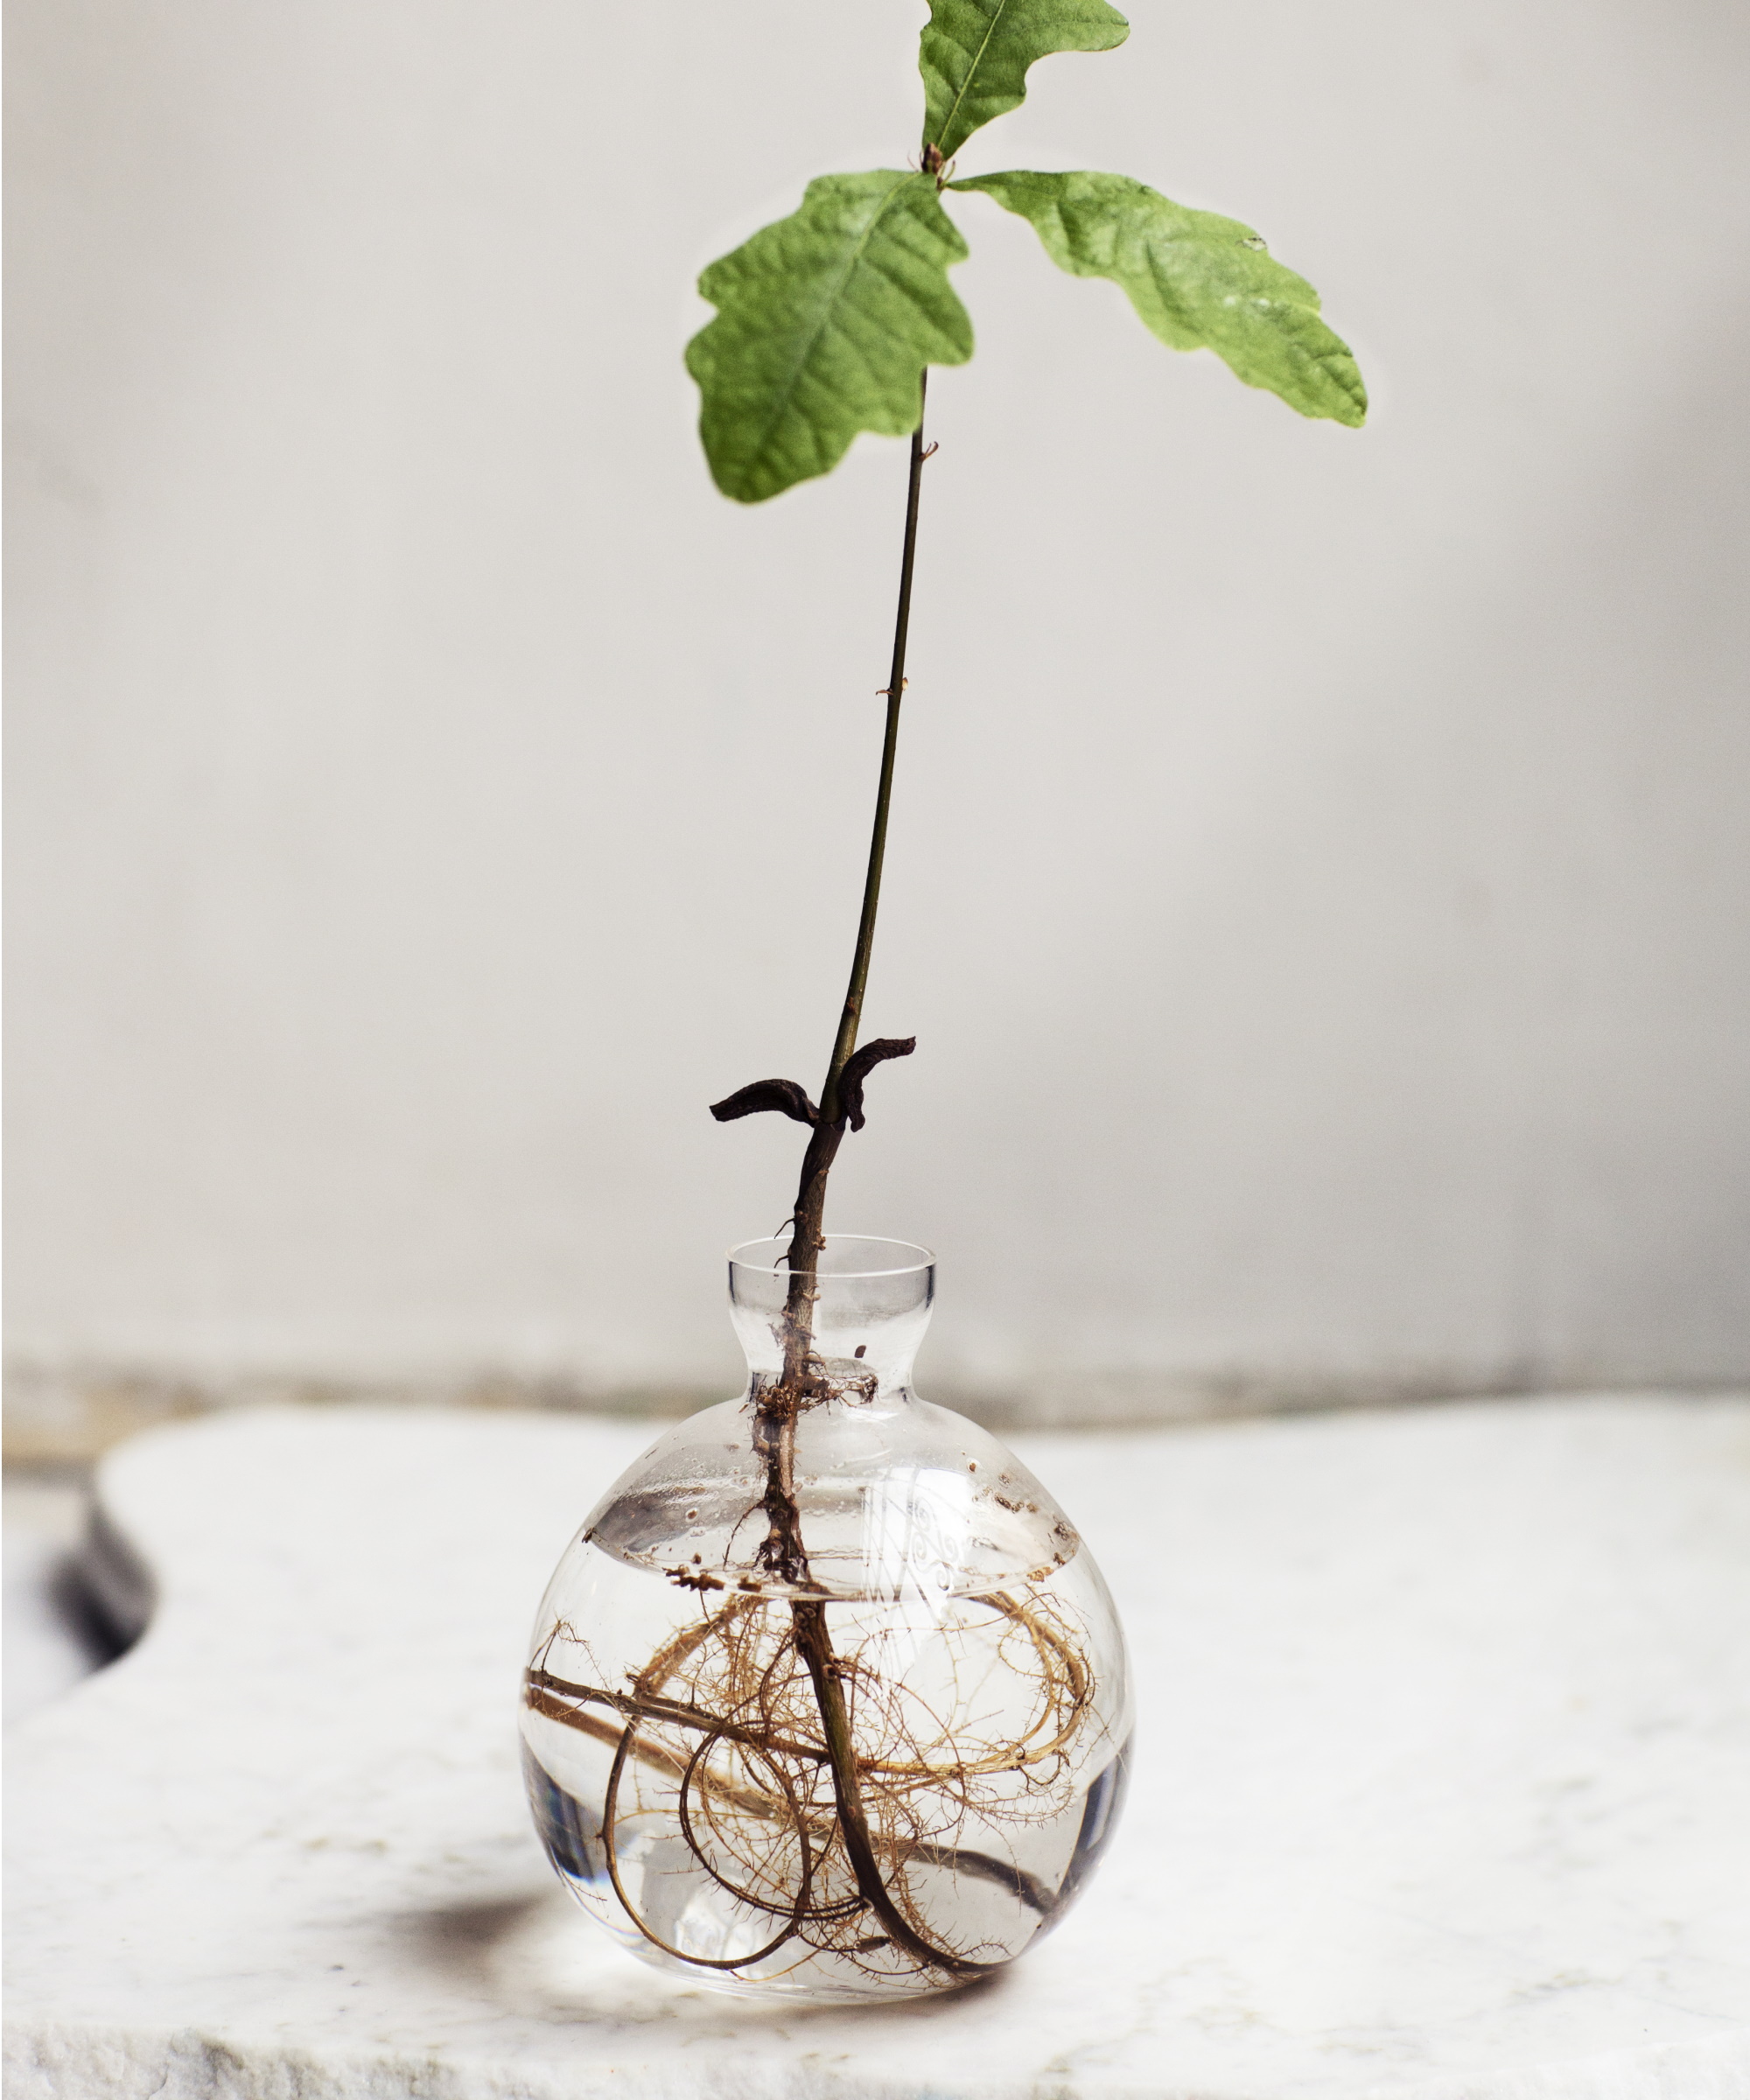
The root that has emerged at the bottom of your acorn is a taproot. I waited until this was around 0.6 inches long to then set up my acorn propagation station.
There are plenty of indoor growing systems you can use to set up your acorn, but the key is to keep the acorn dry and the roots submerged in water. I use one like this acorn sprouting vase from Amazon which elevates the acorn above the water, holding it in place - plus, it's a pretty design that allows you to make a feature of your propagation and observe root growth.
This is where patience is required, as your acorn can stay in this set-up for up to a year long. In that time, don't make water propagation mistakes by ignoring it. You still need to provide care for your acorn while it develops roots.
Change out the water regularly to keep it clean and make sure to top it up so the roots don't dry out. I also moved my rooting acorn to a brighter windowsill than it's previous position (although, still out of direct sunlight) and noticed roots start to grow at a faster rate.
5. Transplant your oakling

As your acorn roots, you will notice the acorn itself become smaller as the nutrients are being used up for root growth. After a robust root system has developed, and you have a shoot or two growing from your acorn, it's time to transplant your seedling, or oakling.
'Once your acorn starts rooting, plant it in a container where it can grow for a while, since oaks develop a deep taproot that doesn't transplant well. Try to avoid moving it once it's more than a few inches tall - oak seedlings are delicate and prefer to settle in from the start,' Evan advises.
As Evan notes, it's best to start growing your oakling as a tree for pots, and you should choose your pot carefully. One with drainage holes, like these flower pots from Amazon, is ideal as it allows excess water to flow away and prevents issues of root rot. You can also use this potting mix from Amazon to plant your oakling and might choose to add leaf mulch.
Make sure to climatize your oak tree to outdoor conditions to harden it off. Start by putting it outside during the day and bringing it indoors at night until temperatures are warmer. You can then continue to provide optimal care for your young oak tree and watch it get bigger and bigger.
'With a bit of protection from critters like deer and rabbits, your oak should get through its first winter and be well on its way to becoming a sturdy young tree,' says Evan.
FAQs
Can you gather acorns from public spaces?
Gathering acorns from oak trees is a fun thing to do and it provides you with material to propagate and grow a new oak tree. However, you should always check local regulations around colleting acorns from public spaces, such as a park. Different local regions will have different guidance and restrictions on this.
Can you plant acorns directly into soil?
Yes, it is possible to propagate oak trees by planting acorns directly in soil. To do this, you need to place the acorn on top of some potting mix after stratification and keep the soil at a consistent moisture level. Just like propagating in water, you'll eventually see shoots appear.
Watching my acorn propagation develop into a young oak tree is something I will be able to enjoy for years to come as it grows larger and matures. As your new oak tree grows bigger, you can start to think about moving it into the ground. Fall is the best time to plant trees, and you should wait until your oakling is at least 15 inches tall to plant it out.
If you have a smaller outdoor space to work with, you might want to consider alternative trees for small gardens to grow.


