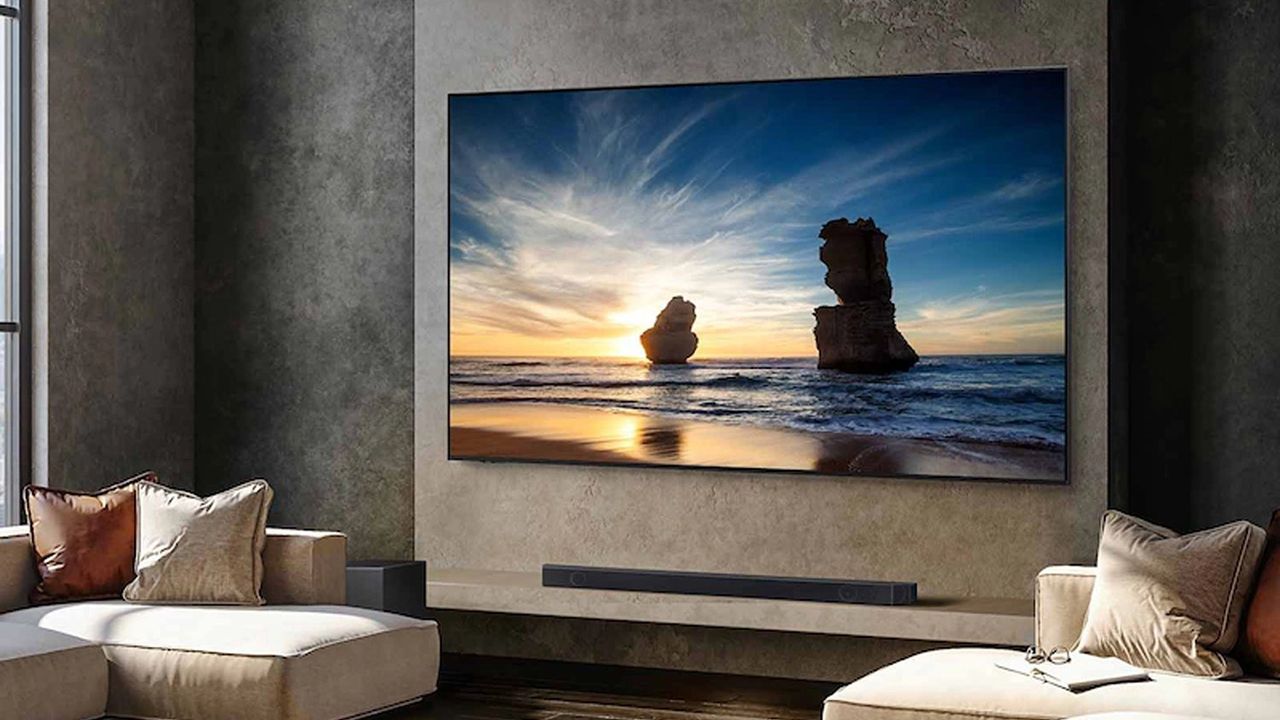
I’ve spent a third of my life testing and reviewing TVs, and I’ll let you in on a secret: TVs don’t arrive looking their best right out of the box. In fact, most of the time, they look downright bad after the initial setup process.
So, for nearly 12 years now, I’ve come up with a bit of a ritual after I finish unboxing and setting up a new TV. There are three settings I change before I run any tests or watch any movies, and after taking these steps, I’m much closer to understanding the limits of a TV’s performance.
Whether you saved cash by choosing an ultra-affordable QLED or you splashed out on one of the best TVs money can buy, take a few minutes to run through these three steps and see what you think. You might be surprised by how big of a difference it makes.
1. Disable the energy-saving setting
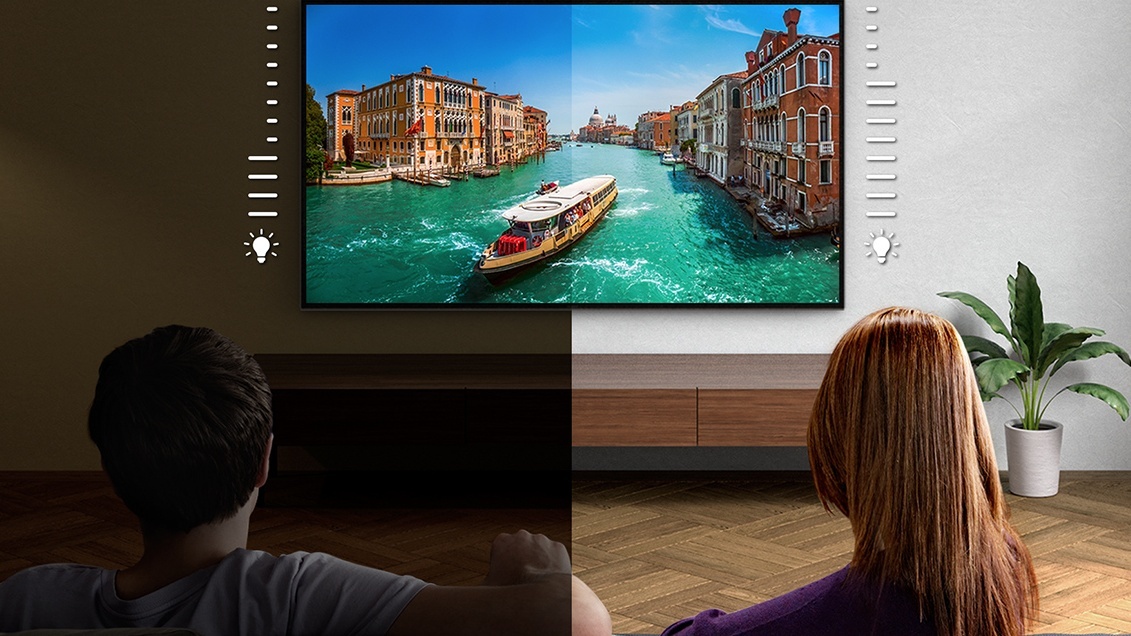
In most cases. a brighter picture can make for a more cinematic experience.
In most cases, a brighter picture can make for a more cinematic experience. However, almost every TV on shelves today arrives with an ambient light sensor enabled that automatically adjusts the overall brightness of the picture based on the room's lighting conditions. If you're OK with slightly higher energy use, I recommend disabling this setting altogether.
To disable Eco mode (also known as Brightness Optimizer), check your TV's settings menu for options like Power and Energy or Energy Saving. Some TV-makers place their power-saving switch in the TV's Brightness menu, while others keep this option tucked away in a more generalized submenu.
For some OLED TVs (like the newest LG OLEDs), this option is located in a menu dedicated to OLED maintenance. You can find LG's OLED Care submenu within the General tab.
Additionally, in some cases, Eco mode is an entire picture mode in and of itself. In this case, it's worth switching to a new picture mode. TVs arrive with several preset picture modes, but if you're looking for accuracy, it's easy to narrow your choices down.
2. Choose a new picture mode
Once you've said "thanks, but no thanks" to your TV's energy-saving option, it's time to get down to the real game-changers. If your TV didn't default to an energy-saving picture mode, there's a good chance it defaulted to Standard, Vivid or Dynamic.
Of these three, it's best to avoid Vivid mode and Dynamic mode. Standard is typically the closest of the three to reference accuracy, but I nevertheless avoid it.
If you really like your TV's Standard picture mode, go ahead and use it. (I'll keep my grumbling to myself at your next soirée, I promise.)
However, if an accurate, cinematic presentation is important to you, root around your TV's picture mode menu for one of the following: Filmmaker, Cinema, Movie or Theater (sometimes Theater Day or Theater Night on Hisense TVs). These days, Sony's most-accurate picture mode is labeled Professional, but on older Sony TVs it was labeled Custom.
Here's a key thing to remember, though: Your TV will probably switch into an altogether different picture mode when it detects HDR content. In these situations, Filmmaker will still be available, while the accurate picture modes listed above will feature an "- HDR" suffix.
If the HDR content on the screen is mastered for Dolby Vision and your TV supports Dolby Vision, your list of picture modes will probably include something like the following: Dolby Vision Bright, Dolby Vision Dark and Dolby Vision IQ.
Of these, I recommend avoiding Dolby Vision IQ. It usually enables the TV's ambient light sensor, which we've already determined isn't always the best-looking feature.
3. Disable (or adjust) motion-enhancement settings
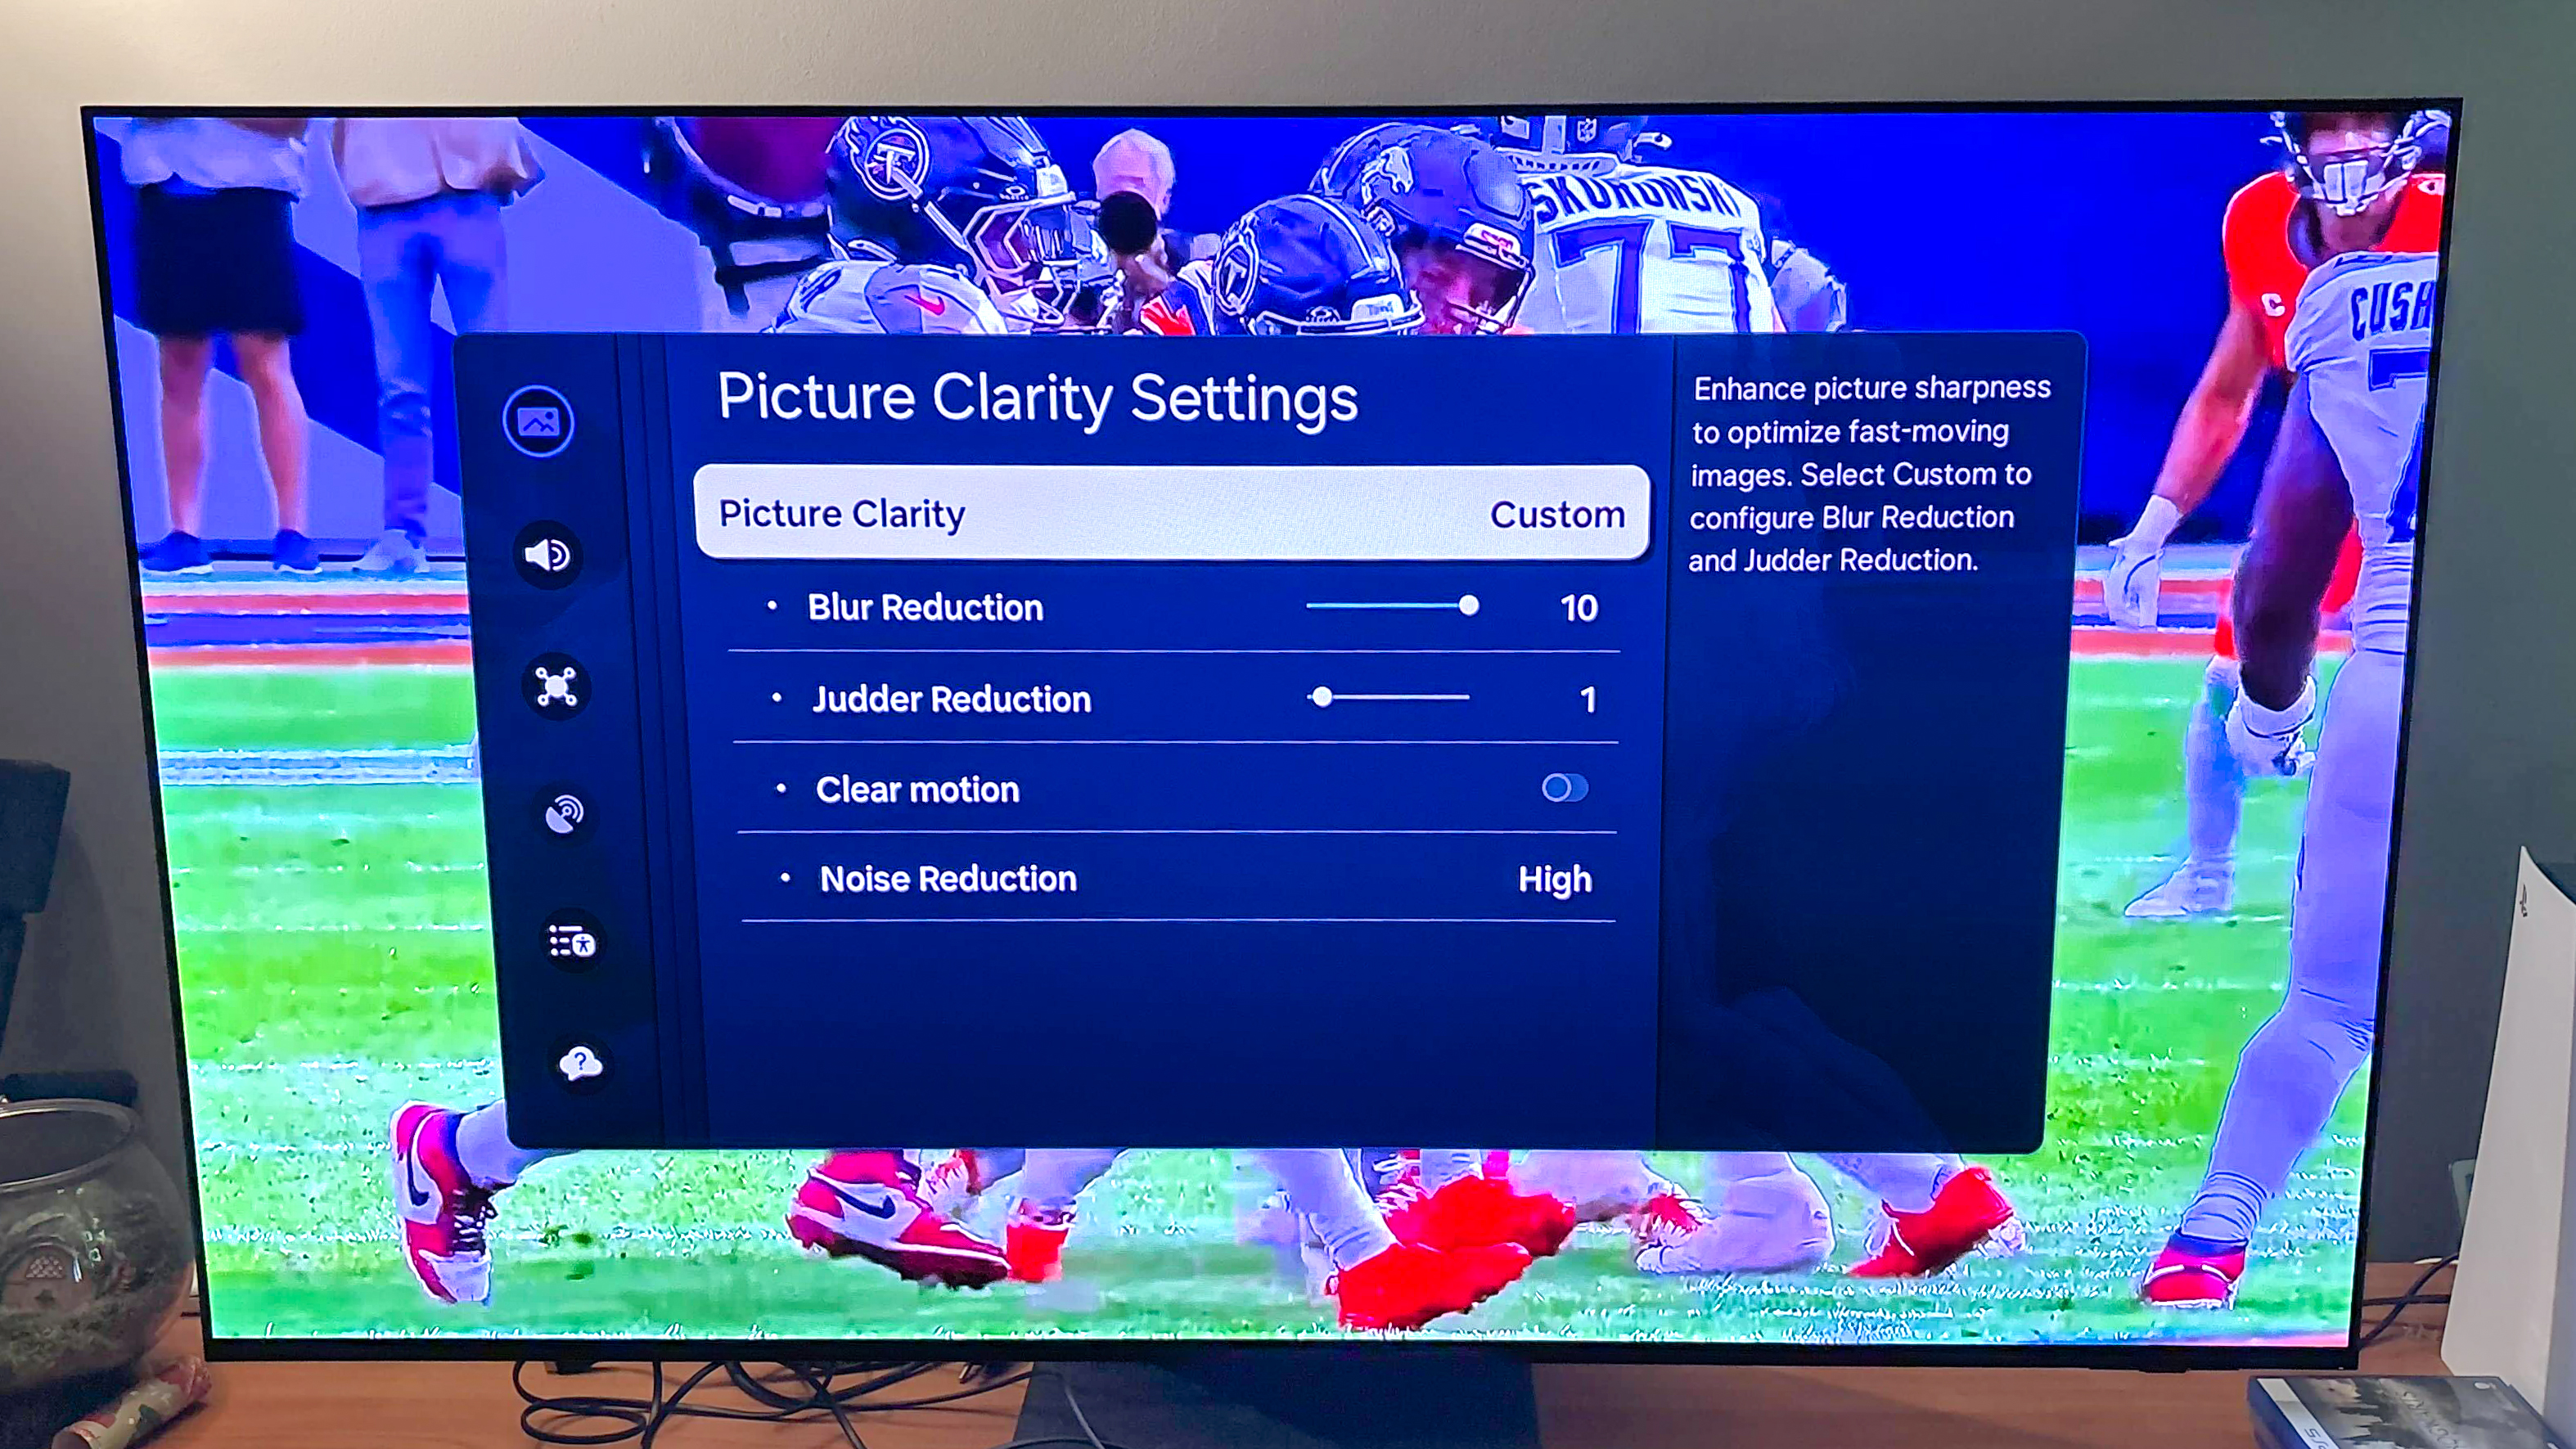
If you've ever turned on a hotel TV and wondered why everything looks artificial, it's probably not solely the result of cheap TV hardware. Chances are, that TV's motion-smoothing setting is enabled.
The simplified explanation for this garish-looking effect is this: Motion-smoothing settings often interpolate extra frames in between the standard 24 frames per second in which movies and shows were originally shot. This can make certain shows look bizarre and unnatural. Sports broadcasts can more easily adapt to certain motion-related settings, in large part because many sports are broadcast at 60fps.
Motion smoothing can make certain shows look bizarre and unnatural.
But if you're not choosing a picture mode that already disables these settings by default, I recommend keeping them off — or at the very least set low — during most shows and especially movies.
You can usually find these settings within the Picture menu, but sometimes they're buried even deeper within a submenu marked Motion or Clarity. Depending on the brand (and when you bought your TV), there may be several motion-related options to choose from. If these are granular settings and you're interested in keeping them on, start at the lowest level and work your way up.
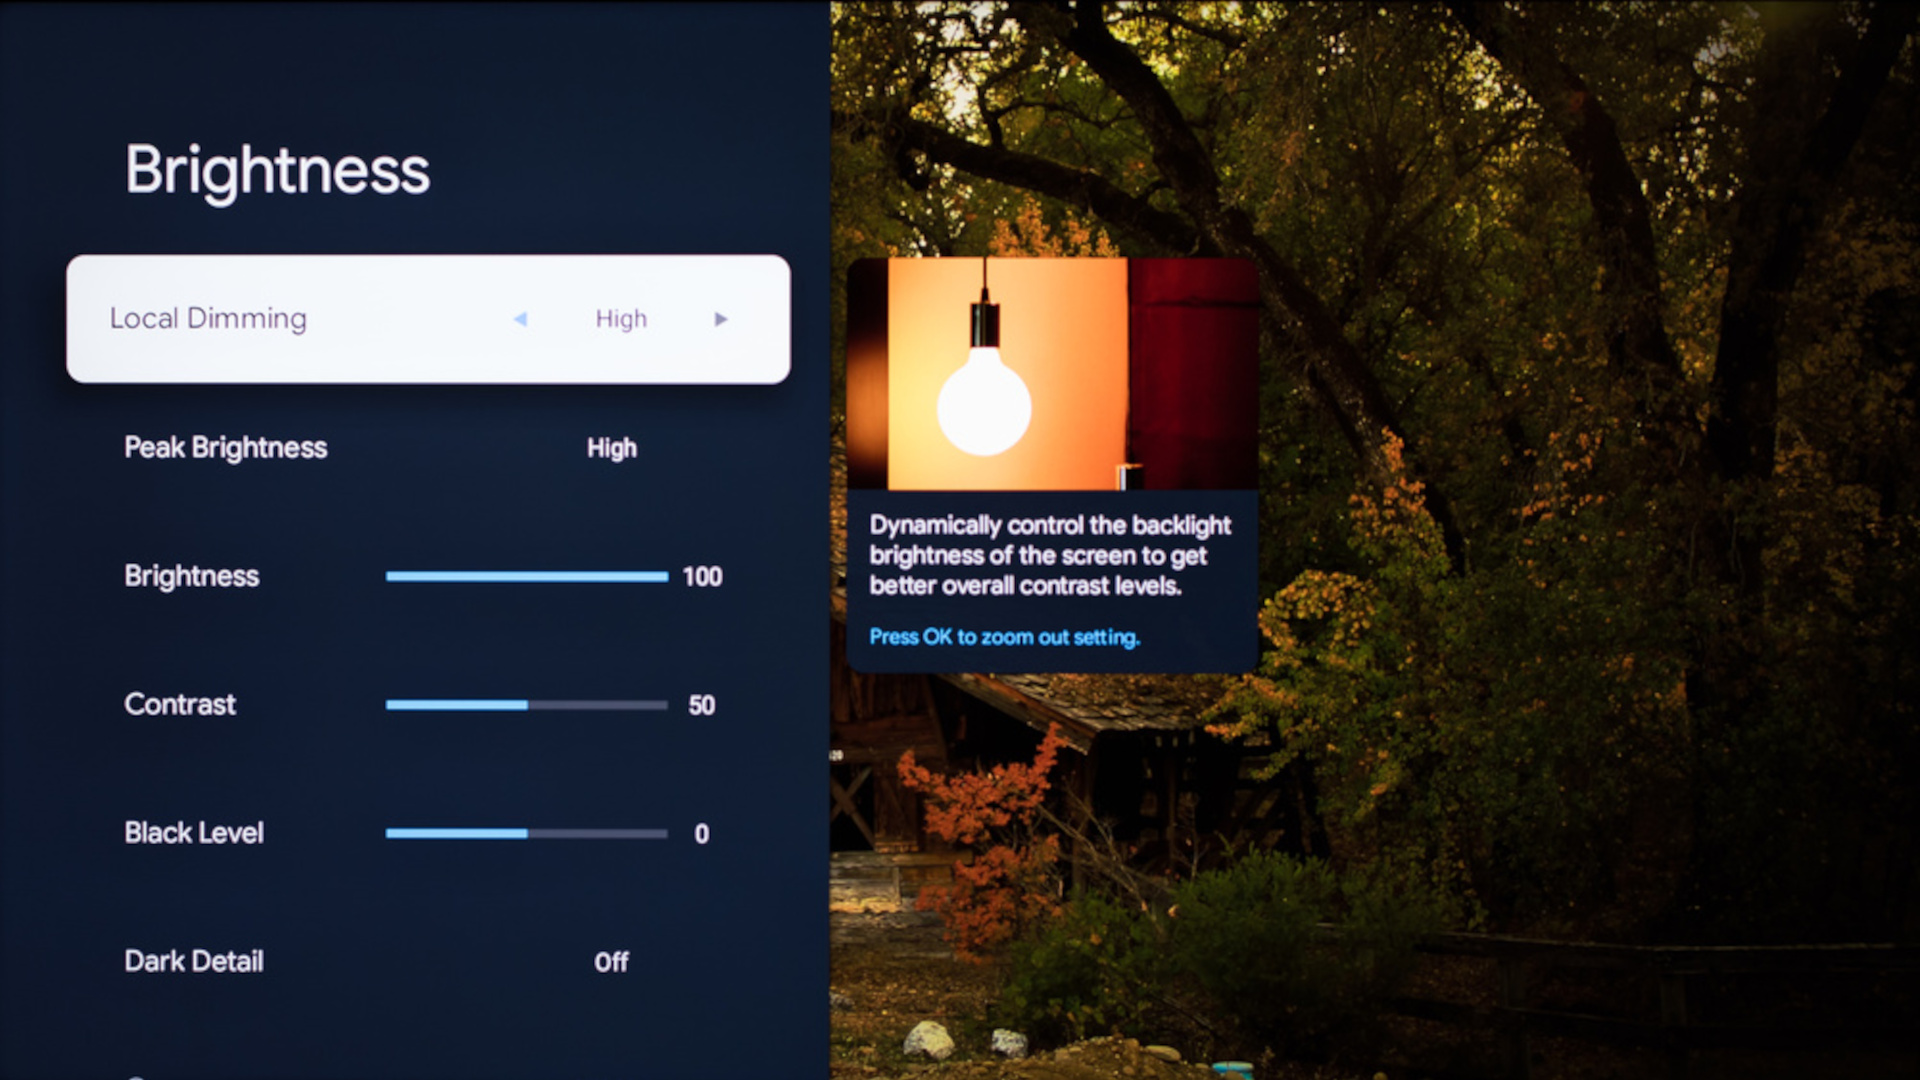
Once you've taken care of these three steps, you may feel emboldened to tweak even more settings to your liking. For instance, most Mini-LED TVs with local dimming functionality arrive with the dedicated Local Dimming setting fixed to Low. Higher settings typically result in a brighter, punchier picture.
In the testing lab, these three steps are just the beginning for me. Play around and see what looks good to you, and remember: You can always change settings back.

Follow Tom's Guide on Google News and add us as a preferred source to get our up-to-date news, analysis, and reviews in your feeds.

.png?w=600)