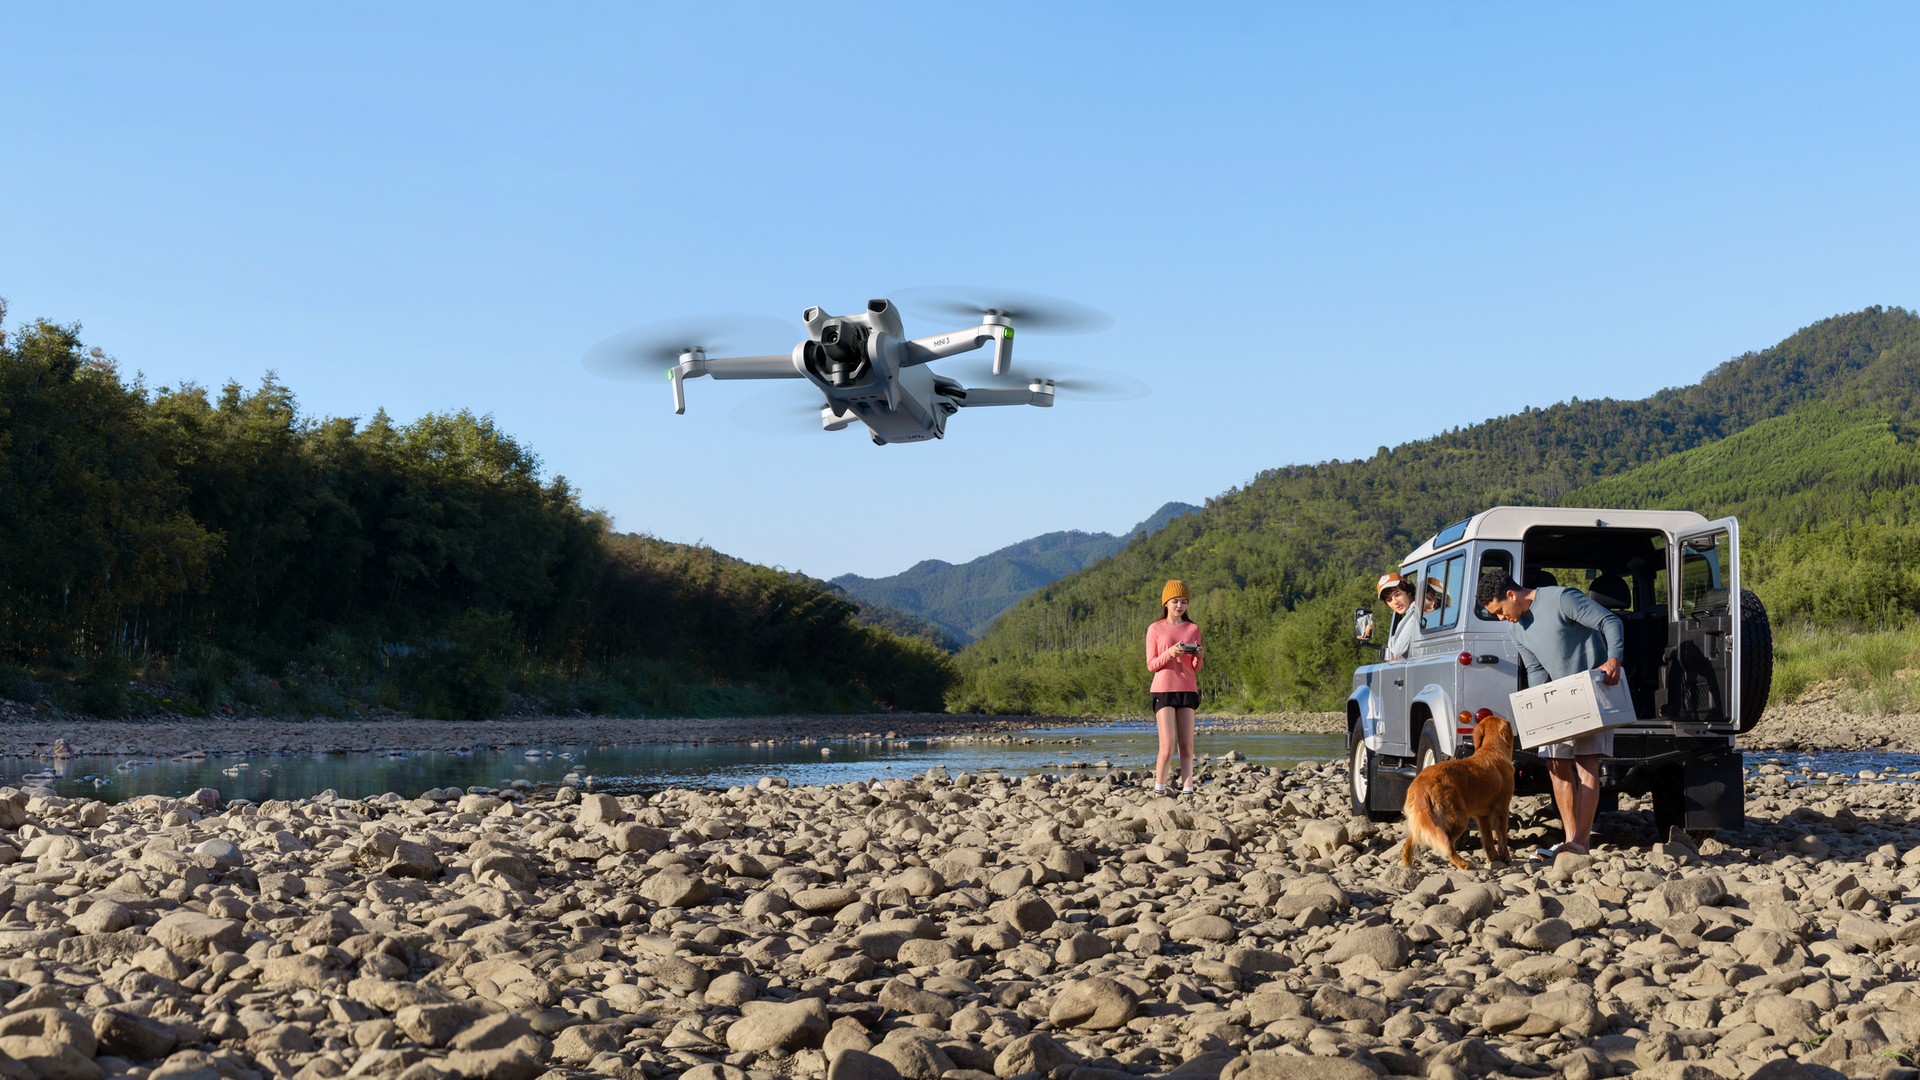
So you’ve just bought one of the best beginner drones for yourself, and you’re as happy as Larry even though you haven’t even flown it yet because the thought gives you the heebie-jeebies and your mouth is drying up just thinking about getting the thing up in the air.
Will it crash straight into the nearest tree the first time you take off? Or worse, will it simply fly off into the distance on its own, never to be seen again? By their very technological nature, most of the best drones are expensive to buy, and the last thing you want is for your new pride and joy to crash and burn on its first outing.
These are valid concerns that affect even some experienced drone pilots but get this, the moment the drone lifts off the ground and just hovers in the air on its own with your thumbs off the controllers, your pulse rate will immediately slow, and you'll simply marvel at how brilliant modern technology is.
Today’s drones – even cheap drones – are so reliable that any crashes that do occur are almost always a result of pilot error. But we’re here to help you avoid that scenario, so if you’re a newbie, read these beginner drone flying tips to get you started and stay safe while flying. And remember the number one rule of drone flying – don’t panic!
(Also, it'd be best to freshen up your UK Drone Regulation knowledge before you start flying.)
1. Before taking off
Once you’ve linked the drone to your phone app and before starting the motors, check to see how many satellites the drone has found. In this day and age, it should locate in excess of 10 satellites for every flight, no matter where you are in the world. GPS satellites link to the drone-like invisible marionette strings that help keep the craft in a fixed position when hovering while simultaneously logging its flight path and guiding it back to the pilot in an emergency. Also, check the battery level on both the drone and the controller and don’t take off with at least 30% of the battery level.
2. Take off
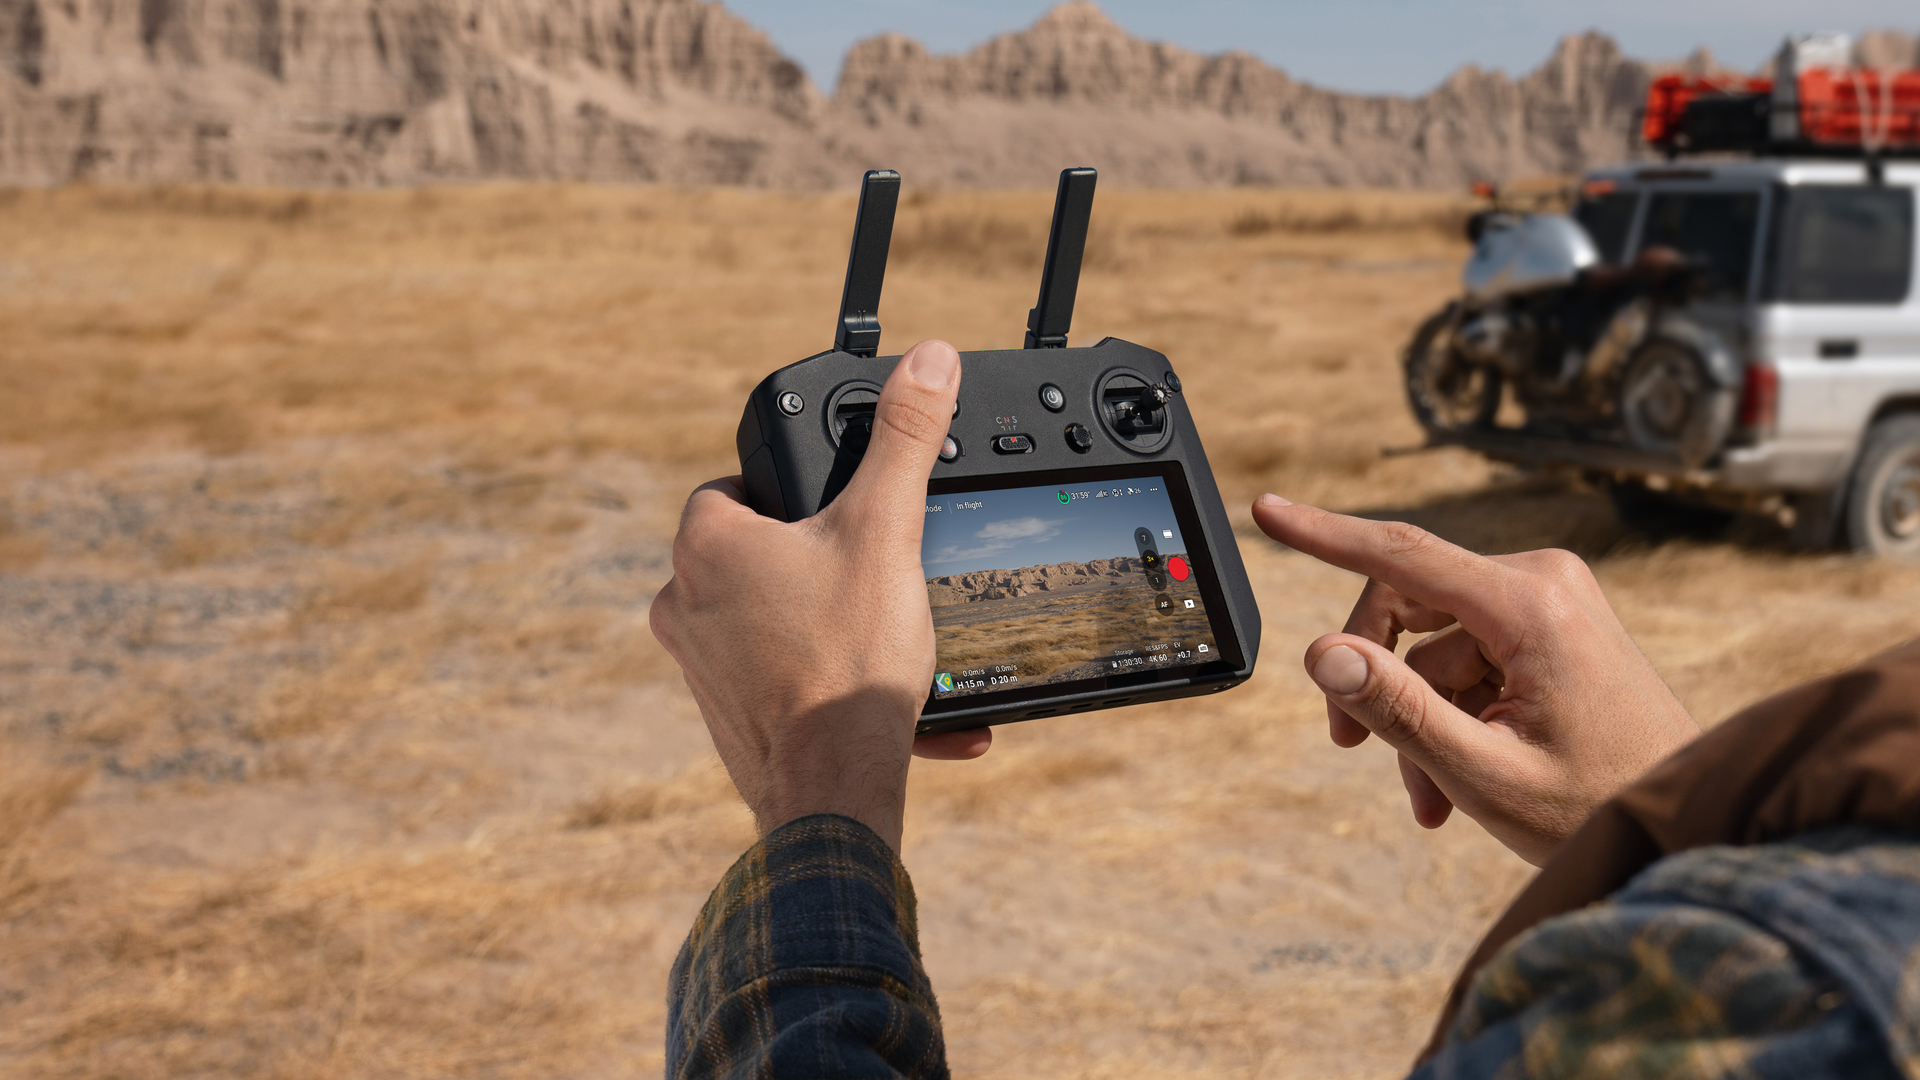
All professional drone pilots will perform some basic left-right-forwards-backwards, up and down manoeuvres immediately after take-off, usually at just beyond head height. This is to ensure everything is working correctly. Also, letting the craft hover for a while after take-off allows it enough time to record its GPS position so it can more easily find its way back to you if you ever need to hit the return-to-home button.
3. Keep the drone in line of sight
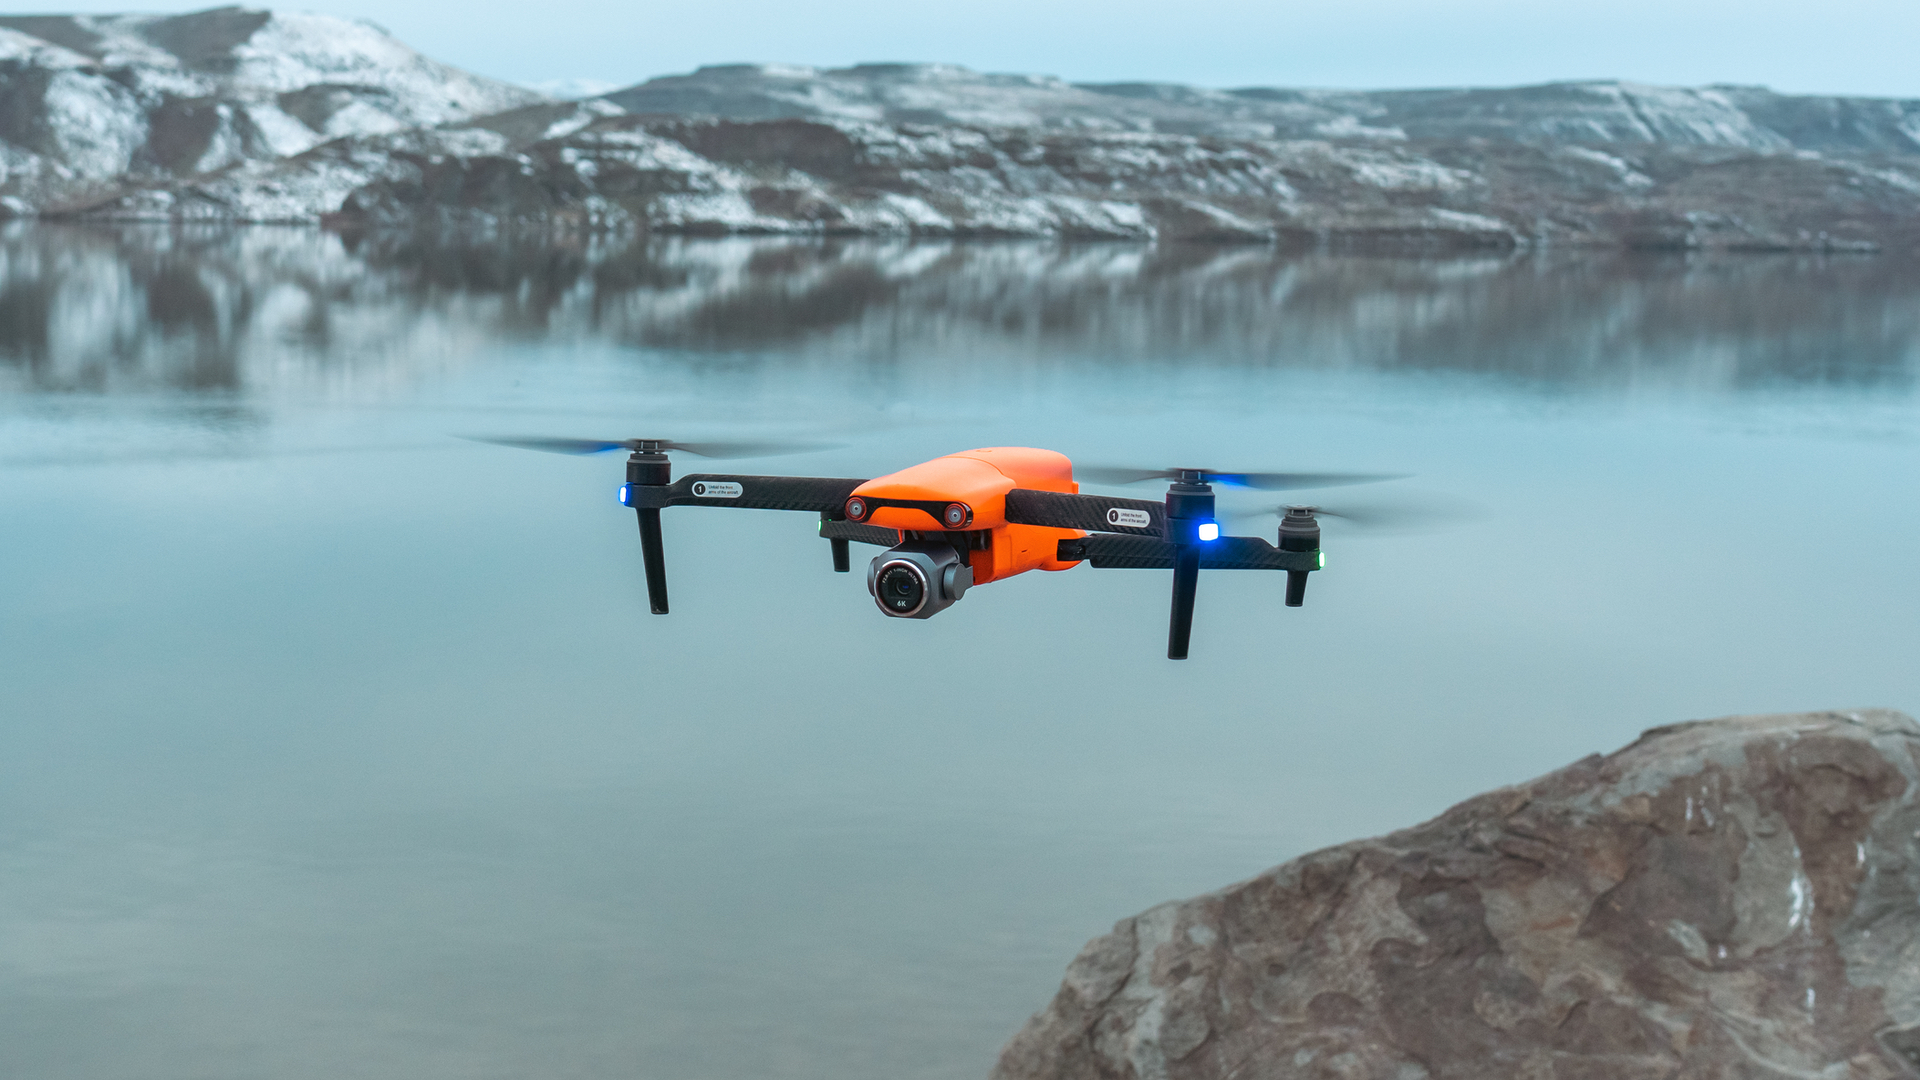
The law states that you must always keep your drone in line of sight. This means you should be able to see it with the naked eye at all times. Yes, there are many videos of drones flying up to 10 miles away from the pilot, but chances are that most of these long-range flights were illegal. Either that or the terrain was so remote it was safe to do so.
In the main, your average flight should almost entirely involve watching the drone in the air and not the live stream coming from the drone's nose-mounted camera. Yes, you will need to glance at the phone display when composing a video shot or lining up for a still image, but always make a point of regularly looking up to see where the drone is positioned in the sky.
4. Monitor the drone’s flight parameters
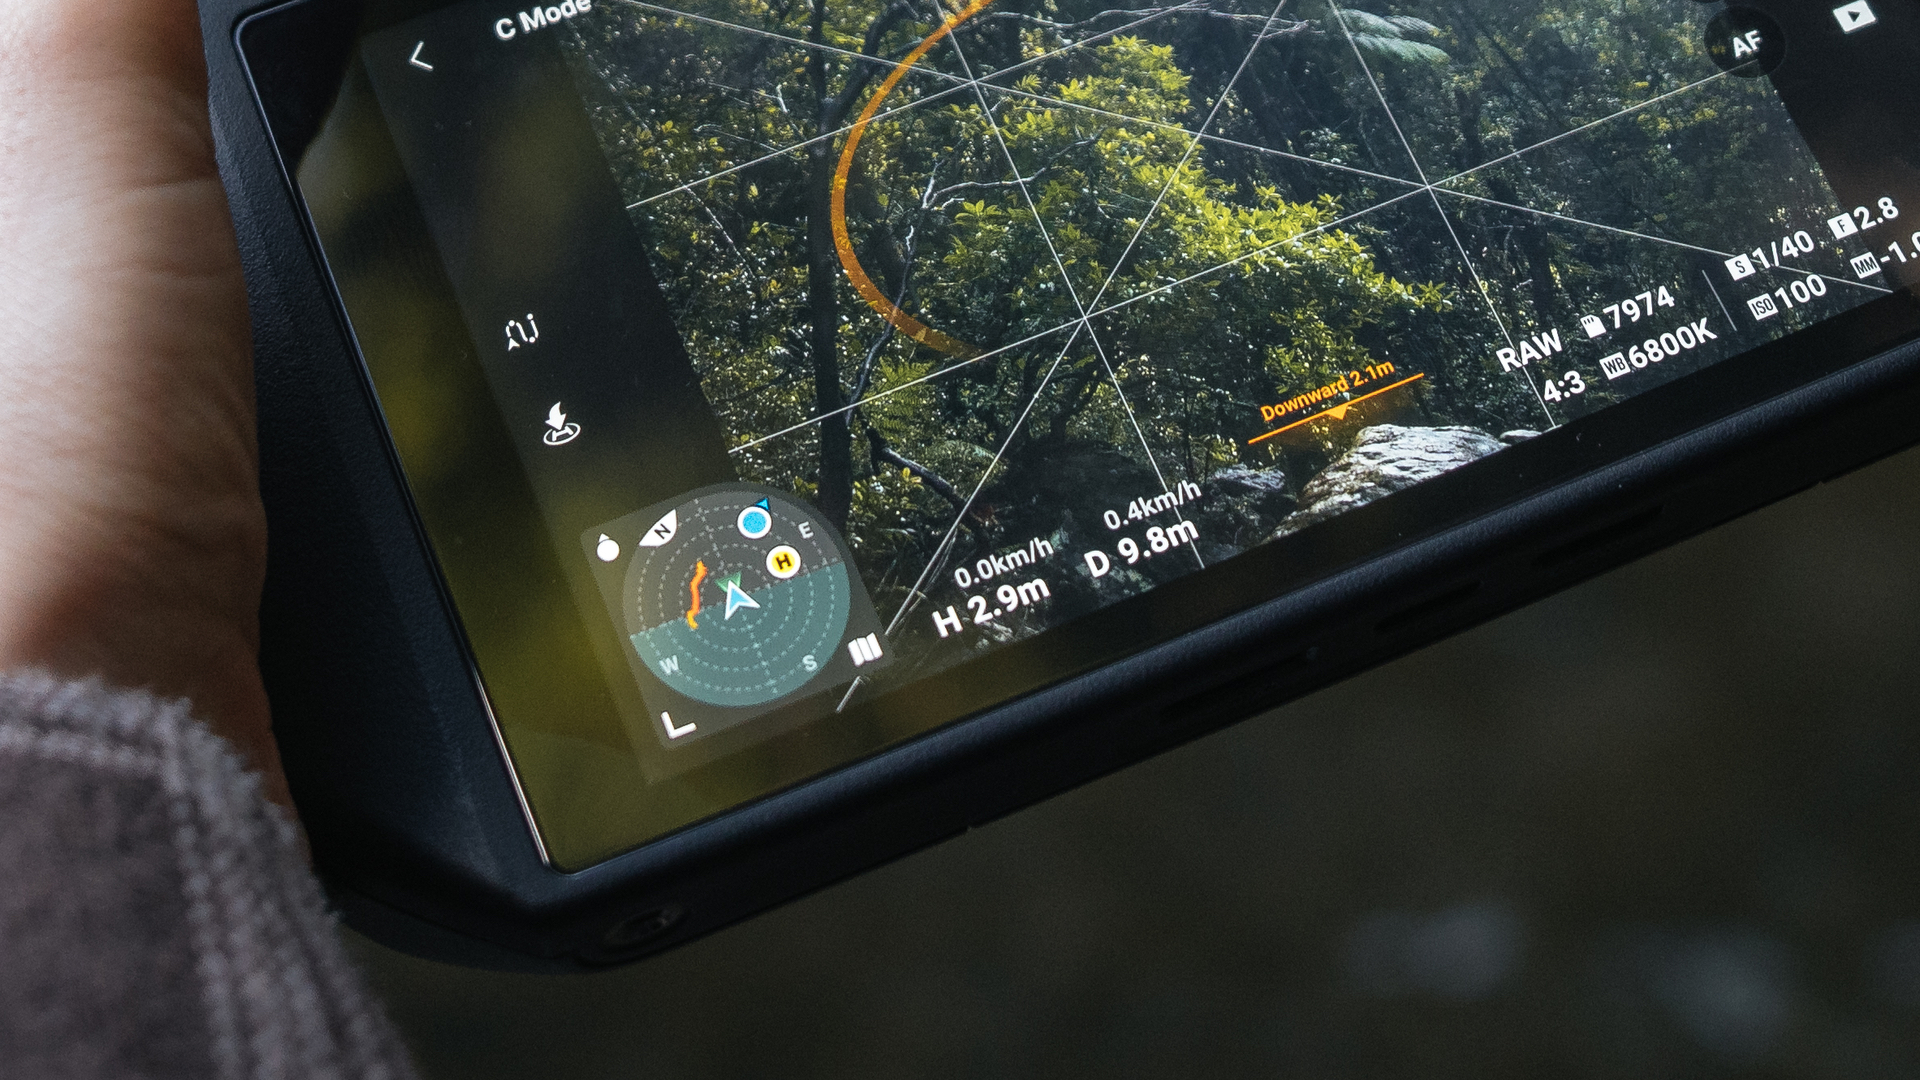
Along with keeping an eye on the drone and looking at the live video stream, it’s just as important to check the drone’s in-flight parameters from time to time. This includes battery percentage, altitude, speed, distance and the number of satellites the drone is logged on to. When it comes to battery percentage, it’s best to present a threshold of about 30% – in the settings menu – so you have plenty of warning to get the drone back in time. This should still give you around 20 minutes of safe flying time.
5. Keep an eye on the drone’s orientation
All drones can fly in any direction and in any orientation, and this is one of the most confusing aspects of drone flight and one that catches us all out from time to time, especially when the drone is a few hundred feet away, and you can’t tell which way it’s facing. In fact, incorrect orientation is responsible for the vast majority of accidents.
Here’s a classic scenario… You’re flying your drone to an area of interest that’s several hundred feet away. The drone is now a small spec but still visible to the naked eye. However, after several different manoeuvres using the phone screen to set up a good shot, you’ve lost track of the drone’s orientation, and when you bring it back using what you think should be reversed on the control stick, it appears to slowly descend in the distance.
What’s actually happened is that the drone is heading in the opposite direction away from you, and the nearer it gets to the horizon, the lower it appears to be flying, giving the impression that it’s about to collide with the ground, a tree or a building.
So how do you get out of a pickle like this? As soon as you realise you’ve lost orientation, stop controlling the drone and take it up to about 100 feet so it’s clear of any tall trees. As long as you have enough battery power, nothing will happen to the drone, so consider it a safe place to be.
The next thing you need to do is hit the return-to-home button that most modern drones are equipped with. Once tapped, the drone will head to a predetermined altitude and fly back to you, even landing automatically within just a few feet of its original take-off point. Just be sure to set a return-to-home altitude of at least 80 feet so the drone can clear any tall trees on its way back.
Alternatively, you could also try the following method. Most modern drones – especially those from DJI and Autel – will have a little map in the corner of the phone screen with a triangular icon that depicts the drone’s orientation. Adjust this triangle so it’s pointing either away from you or towards you, and use either the forward or reverse stick to start moving the drone again. While doing this, check to see if the drone’s camera feed is showing any landmarks you can recognise. Be patient, and the drone will eventually make its way back to you.

6. Don’t fly near trees and other obstacles
Trees eat drones, so fly well above them. If flying at tree height, be mindful of how far the drone is from them, especially if you’re some distance away where depth perception will be affected. In fact, if you plan to fly in areas with lots of obstacles like trees and buildings, make sure you’re using a drone with built-in obstacle avoidance.
Most modern DJI drones are equipped with at least forward obstacle sensing, while prosumer models like the DJI Mavic 2 Pro have all-around obstacle avoidance. Obstacle avoidance works by automatically stopping the drone as soon as one of its sensors detects a solid object.
However, obstacle avoidance doesn’t work well with trees because of the many gaps in the foliage, so best avoid flying near them. Similarly, obstacle avoidance doesn’t work in ‘sports’ mode since the drone would be flying too fast for it to stop in time.
7. Don't fly near airports of any size
It stands to reason that you should never fly near an airport, no matter how small. In fact, most DJI drones will refuse to take off if within a restricted zone. If flying near a small, irregularly used private airfield that doesn’t share the same flight restrictions, always be mindful of aircraft in the vicinity.
Many DJI drones are now equipped with AirSense, a feature that gathers flight data that’s sent automatically by nearby aircraft. However, in the UK, some private light aircraft are not included, so use your ears, and if you hear a plane nearby, bring the drone down to a safe altitude or preferably land it as soon as possible, as the plane may be on a landing approach or about to take off.
8. Don’t fly near nesting birds
Bird strikes are quite common when flying drones, and they are not always the mistake of a pilot. Since many birds are territorial, they will protect their airspace by dive-bombing an encroaching drone. This is especially prevalent during the nesting season. Thankfully, most birds are simply inquisitive and keep a distance, but some have been known to make an impact with a drone, and this is the worst-case scenario since not only will the drone crash down from a height, but chances are the bird will be injured by the spinning props, and that’s not something you’d want to be responsible for.
9. If videoing, fly at lower altitudes
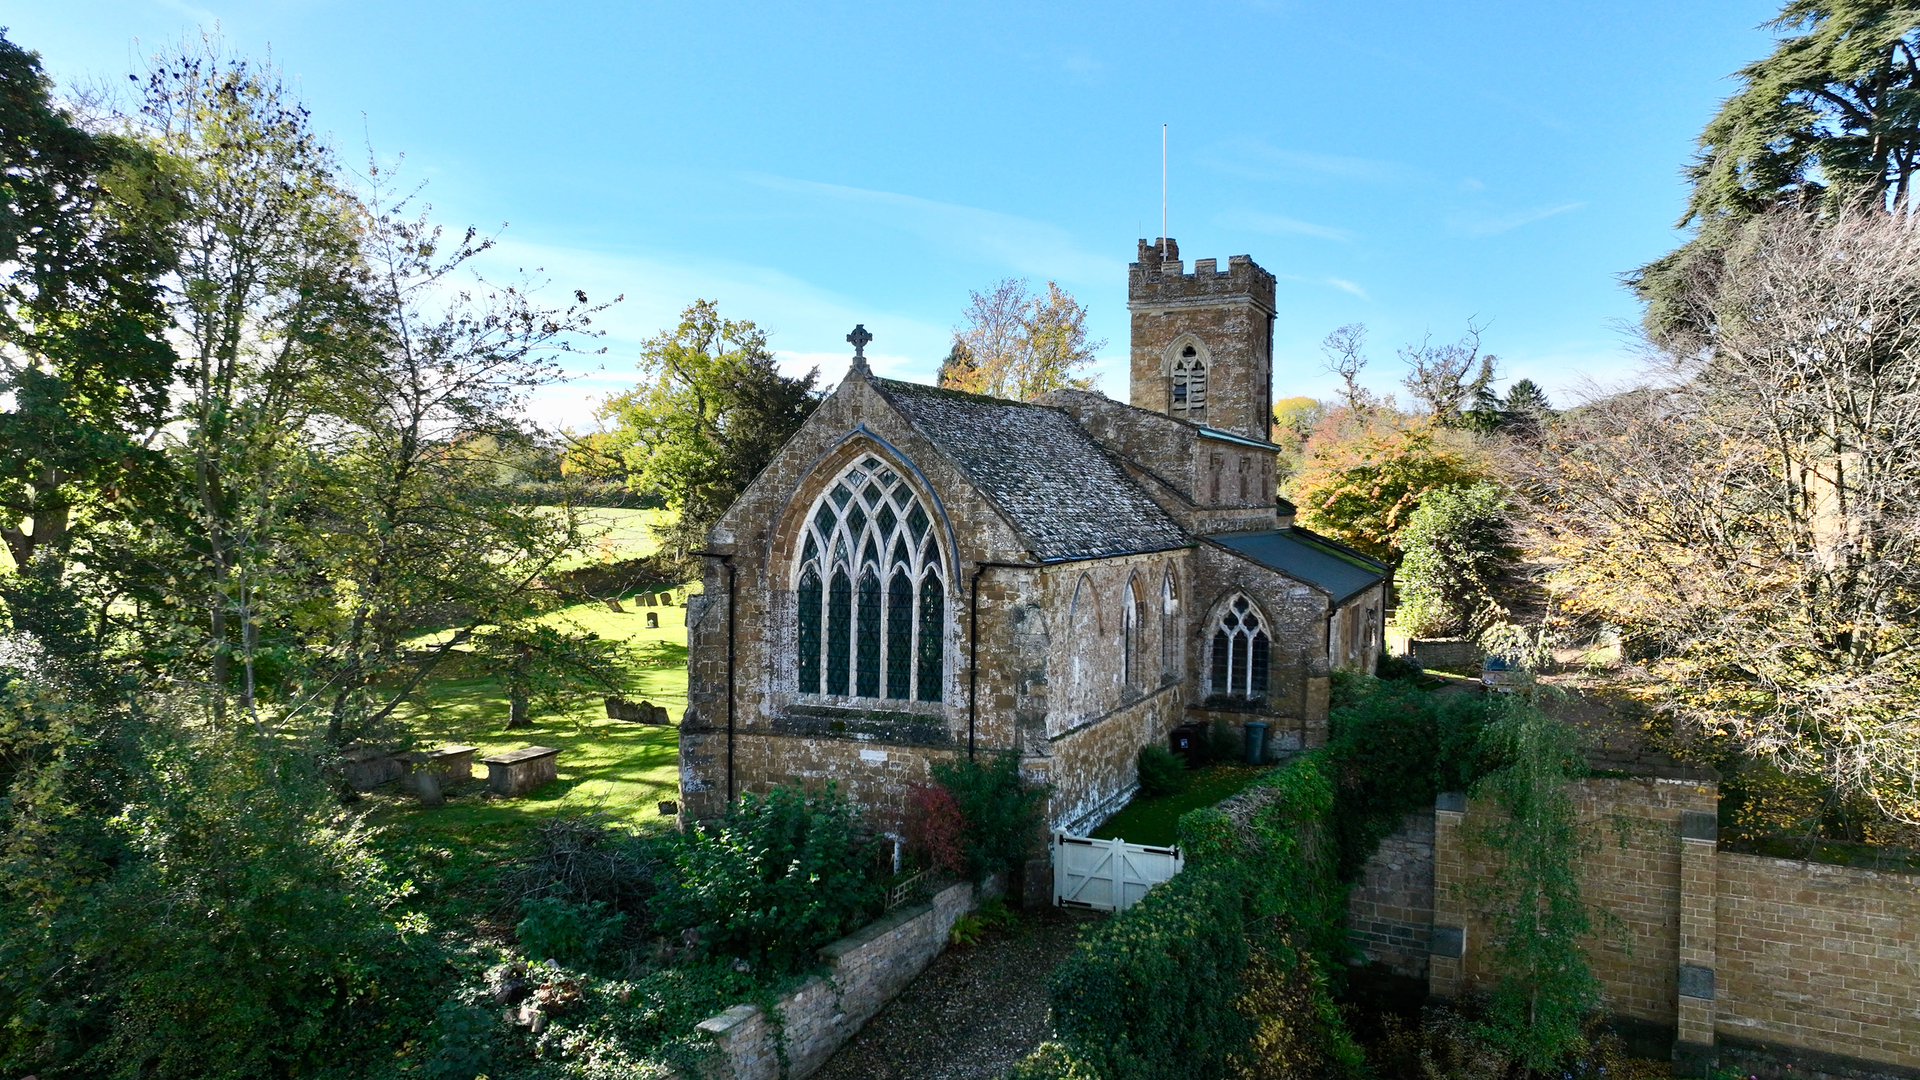
Drone laws state a maximum altitude of 400 feet from the ground where you stand, and this applies to everywhere in the UK and most other countries. If shooting video of your holiday, it’s best to hold a relatively low altitude of 50 to 100 feet because the footage is much more striking from these heights. In fact, you will probably get the most sensational footage by shooting from just a few meters above head height.

10. Keep it slow
If shooting video, remember to use gentle input on the control sticks so the resulting footage looks smooth and cinematic. In fact, the only time fast footage works well is if scooting low across a wide field or using an FPV drone to shoot spectacular bird’s-eye footage that speeds low over a mountainscape. If you want to know how to get the most striking video out of your drone, head over to our handy guide to the 5 top tips to improve your drone video footage.


