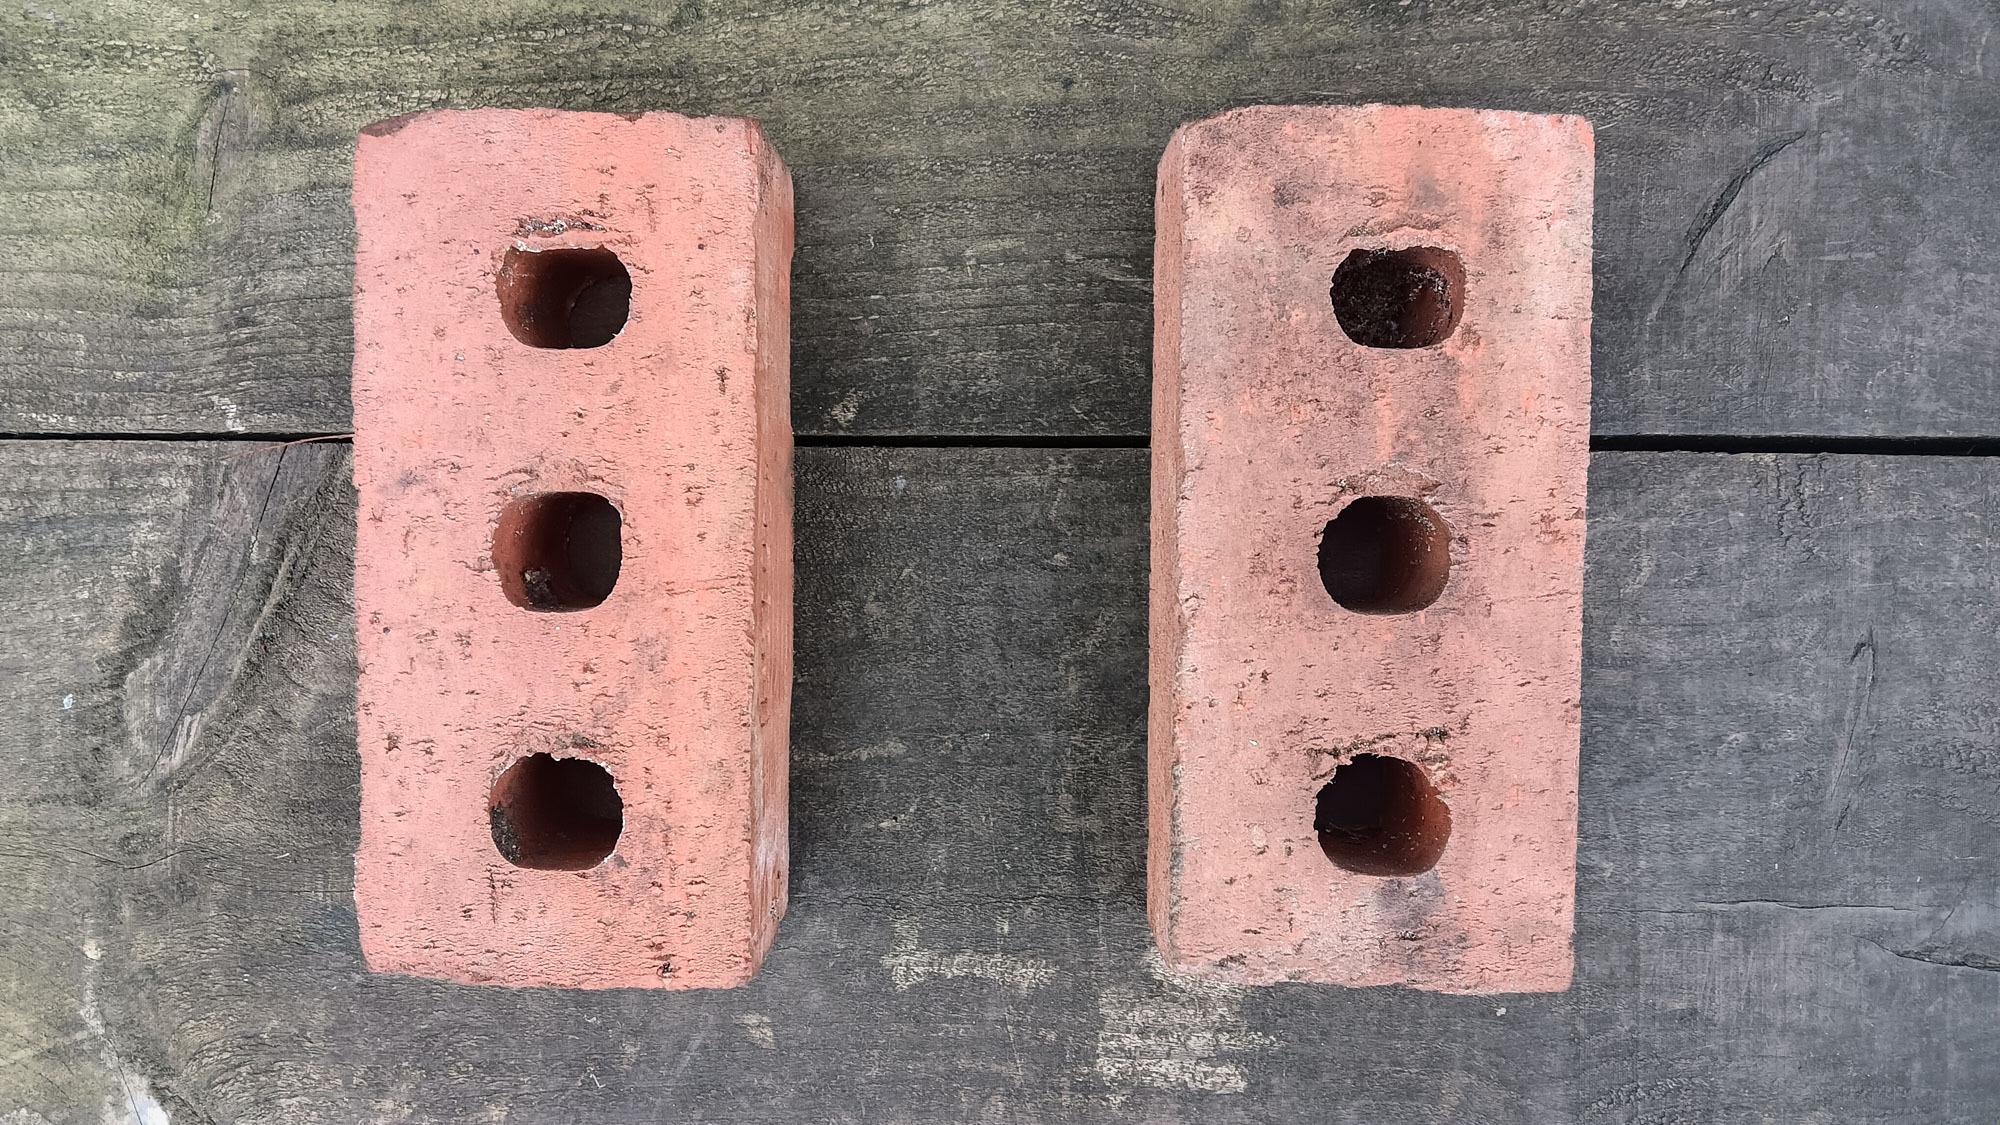
After demolishing an old shed that was no longer water- or mouse-resistant, I decided to declutter the graveyard of a mess at the end of my yard. While some items were beyond reuse, I was left with a pile of old bricks that I was reluctant to dump at my local landfill center.
So I grabbed my mobile and sent a WhatsApp message to my street’s community group, asking if anyone could use my unwanted hardcore. A quick "ting" later, one neighbor said she’d take two bricks. At this rate, it would take quite some time to get rid of the pile!
After a few moments, the lovely Jacqueline met me in my front yard, and I greeted her with two bricks, still covered in cobwebs. There are not many things I can think of doing with a couple of old bricks, but Jacqueline explained her reasoning behind her mini haul, and I thought it was so ingenious that I’m sharing her hack.
How to save your container plants this winter

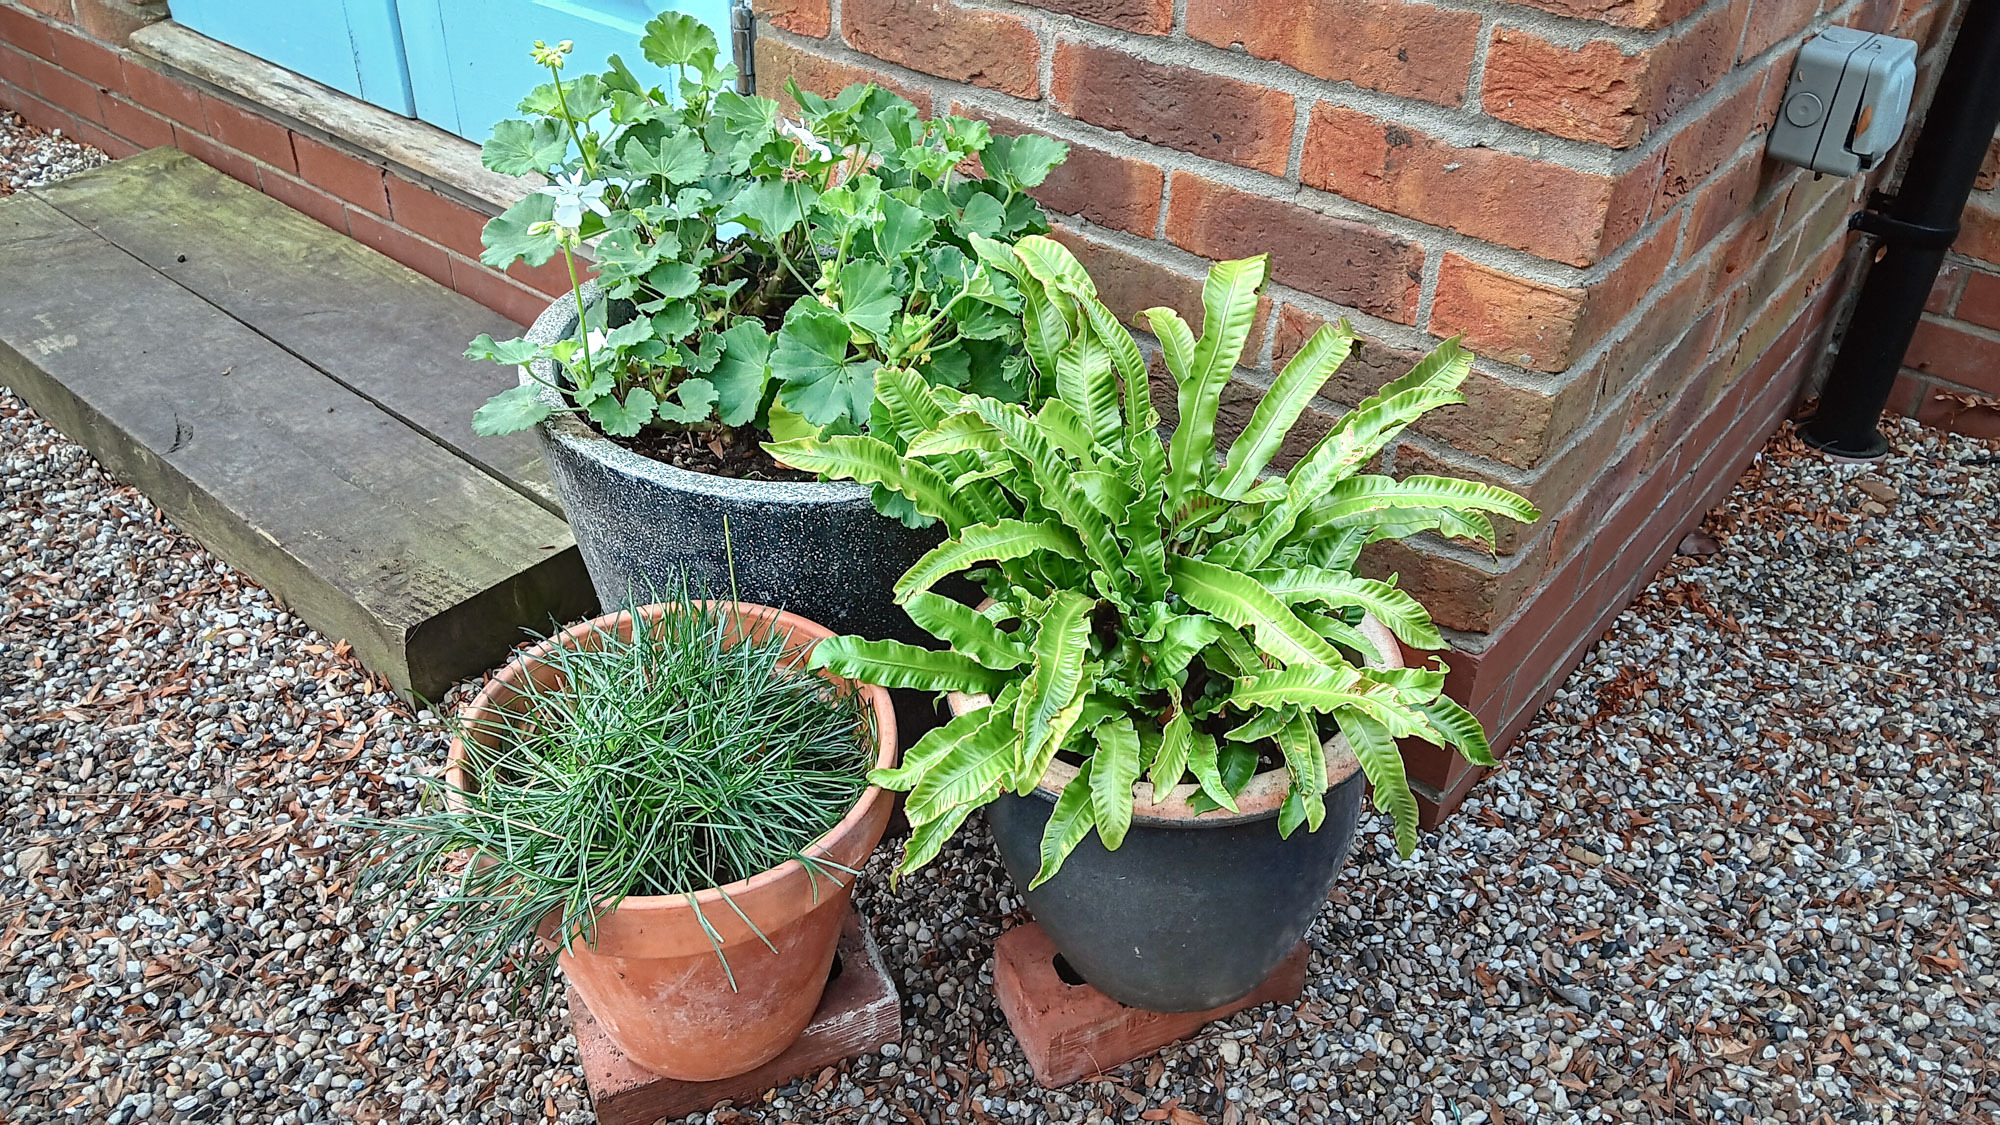
Like me, Jacqueline has green fingers and enjoys spending time in her yard. Apart from tending to plants in her flowerbeds, she also has a collection of plants in containers. It was here that she was going to use the house bricks.
When adding plants to containers, one key piece of advice is to add crocks to the bottom of the pot. This is not purely to reduce the amount of compost that’s added to the container but to assist the drainage so that the plant’s roots don’t become waterlogged. The bricks work in a similar manner.
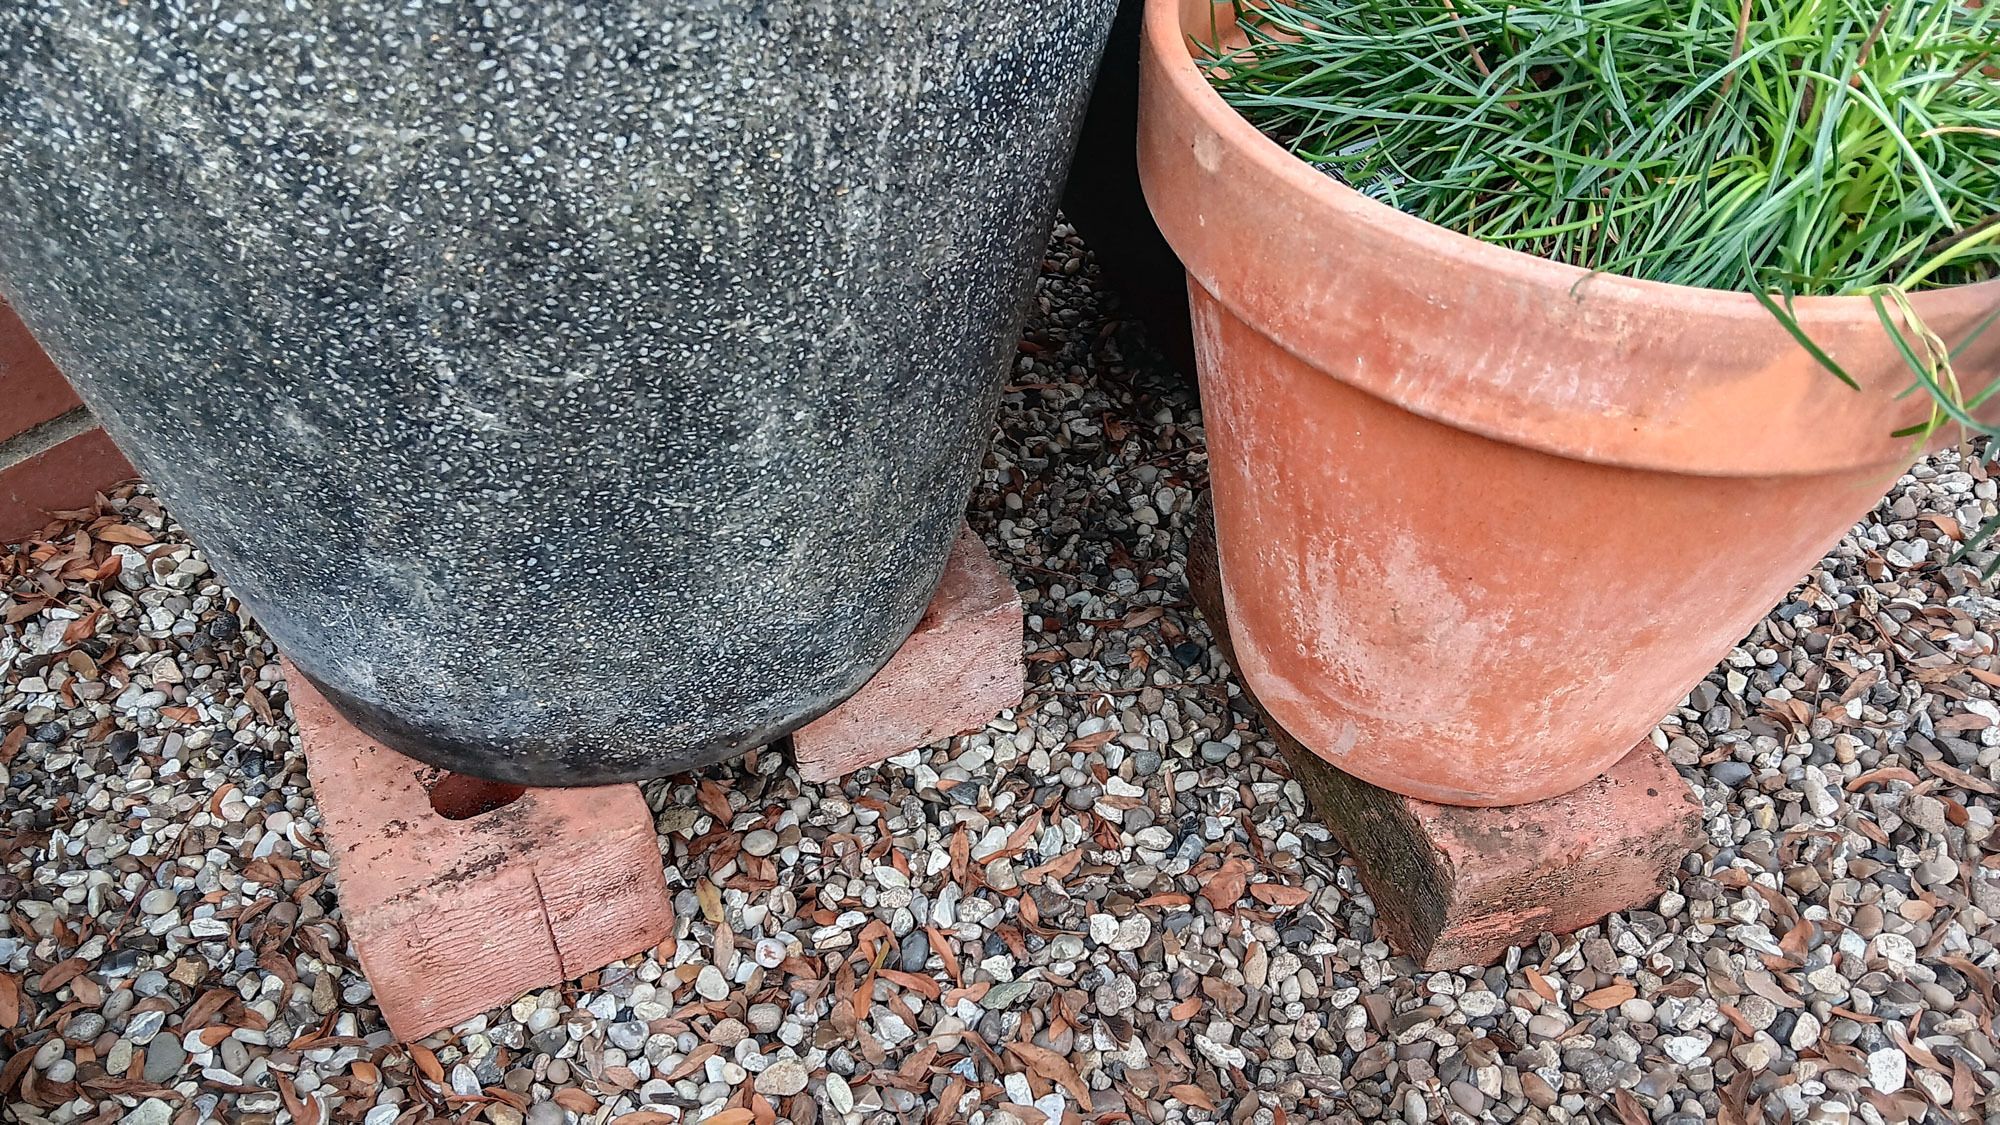
Adding bricks underneath your container pots raises them up with the aim to improve drainage and prevent root rot. During fall and winter, we experience more rainfall than in the spring and summer, and plants can struggle if they are surrounded by excess water. There is also less sunlight and heat to dry out the soil.
Lifting the pot up will help the water drain more freely — just be careful not to cover the drainage holes with the bricks; otherwise, the hack won’t work. It’s also a good time to check those crocks in the bottom of your pots to ensure that the drainage holes aren’t blocked.

I made sure I wore my best gardening gloves for the task when I was lifting the pots, and I also got out a stiff brush to clean up the bricks and the pots at the same time.
Apart from using bricks to raise the container pots off the ground to encourage better drainage, it can also prevent water pooling and freezing around the base of the pot. I don’t have too much of a problem with this, as most of my pots sit on free-draining gravel. However, if your pots sit on paving or concrete, you might experience more of a problem. Freezing water can cause wear and tear on planters, so lifting them up will help to extend their life during the colder months.
What can you use apart from bricks?
I don’t mind the look of bricks supporting my container pots, as my garden is rustic, but if you want a more pleasing aesthetic, you could invest in pot feet. They do look easier on the eye, but if you’ve got a lot of pots, it can get expensive, especially if you go for terracotta and decorative options.
However, if you have a large display of containers within a group, one trick is to use bricks under those pots at the back of the display, then add pot feet at the front, under the pots where the bases are on display.
What is root rot?
Plants don’t like getting a soggy bottom. If the roots are exposed to too much water, they deteriorate and die. This is not just a problem with outdoor plants; it’s a common problem with houseplants, too, if they have been overwatered.
Patch Plants explains that while plants love water, they also love air. A plant will struggle when it gets so wet that there’s no longer any space for air to circulate around the roots. The roots then become a feeding frenzy for bacteria and mold, which eat the roots, destroying the plant.


