Another day at Tom’s Guide, another fitness challenge, and this one involves yet another fresh take on the plank exercise.
We can’t seem to get enough of the plank right now, having clocked up over 14 of the best plank variations to try, with some being more successful than others. This time, I decided to tackle the Chinese plank every day for one week, accumulating seven minutes a session.
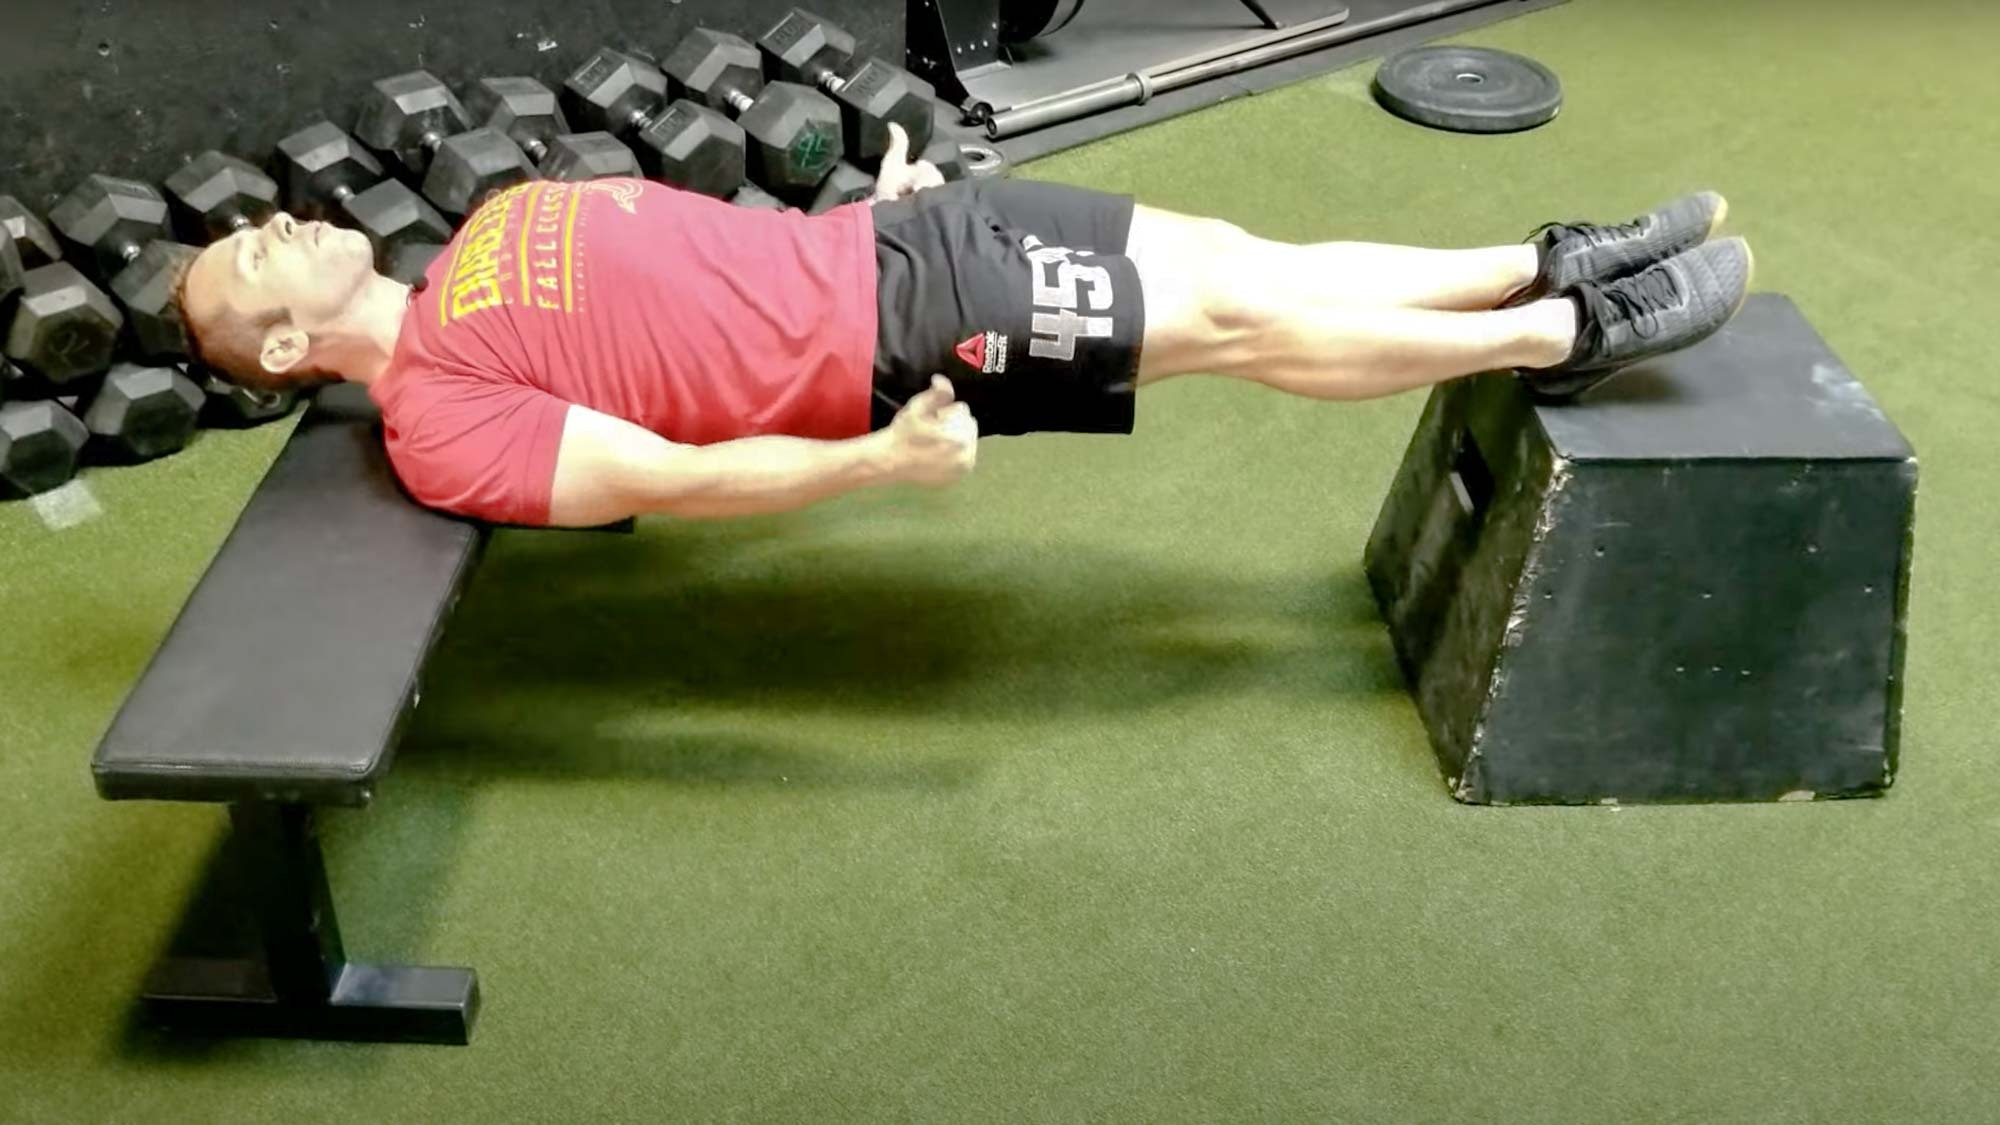
If you’re unfamiliar with the move, it involves laying on your back in the supine position, with your upper back and heels supported on a bench or similar and the rest of your body unsupported. Below, I cover how to do the Chinese plank and what happened when I tried it every day for a week — here’s what went down (it’s killer).
What is a Chinese plank?
The Chinese plank flips convention by turning a standard plank upside down — you’ll be facing upward when you do it. Grab two study surfaces, like exercise benches or boxes, and your body weight. That’s it.
A conventional plank primarily strengthens muscles across the front of your body, including your abs, shoulders, arms, chest and quads, as well as your glutes, lower back and hamstrings. It’s a pretty strong all-rounder. Now flip that on its head, and the emphasis shifts to the back body instead.
This variation is isometric, meaning static, and targets and strengthens the core and posterior chain muscles, including the Latissimus Dorsi (lats), erector spinae, glutes, hamstrings and calf muscles. You’ll need to ensure your heels and shoulder blades are supported throughout, but if you do it correctly, there are plenty of benefits.
How to do a Chinese plank
Here’s how.
- Place two benches (or similar) opposite each other
- Start with your shoulder blades rested on one bench, then place both heels on the other so that you’re laying flat and facing upwards
- Tuck your chin slightly toward your chest to ensure a neutral neck position
- Point your toes and squeeze your core, glutes and quads, driving your hips upward
- Keep your spine neutral so you don’t hyperextend through your lower back. Hold, and breathe.
I did a 7-minute Chinese plank every day for a week — here are my results
I'm still recovering.
Day 1
As I mentioned, we’re no strangers to plank variations at Tom’s Guide, but I hadn’t tried this one before. I decided to aim for 7 sets of 60-second holds, starting with 30-second holds on the first day. It’s easy to get caught up in these challenges, but I wanted to ensure I didn’t overdo it too early.
Quick side note — I don’t recommend doing these every day. I know, I know, I should practice what I preach, but seriously, your body needs to rest and recover to build strength and grow muscle. We test these exercises to report on our experiences rather than recommend others follow suit.
Days 2 and 3
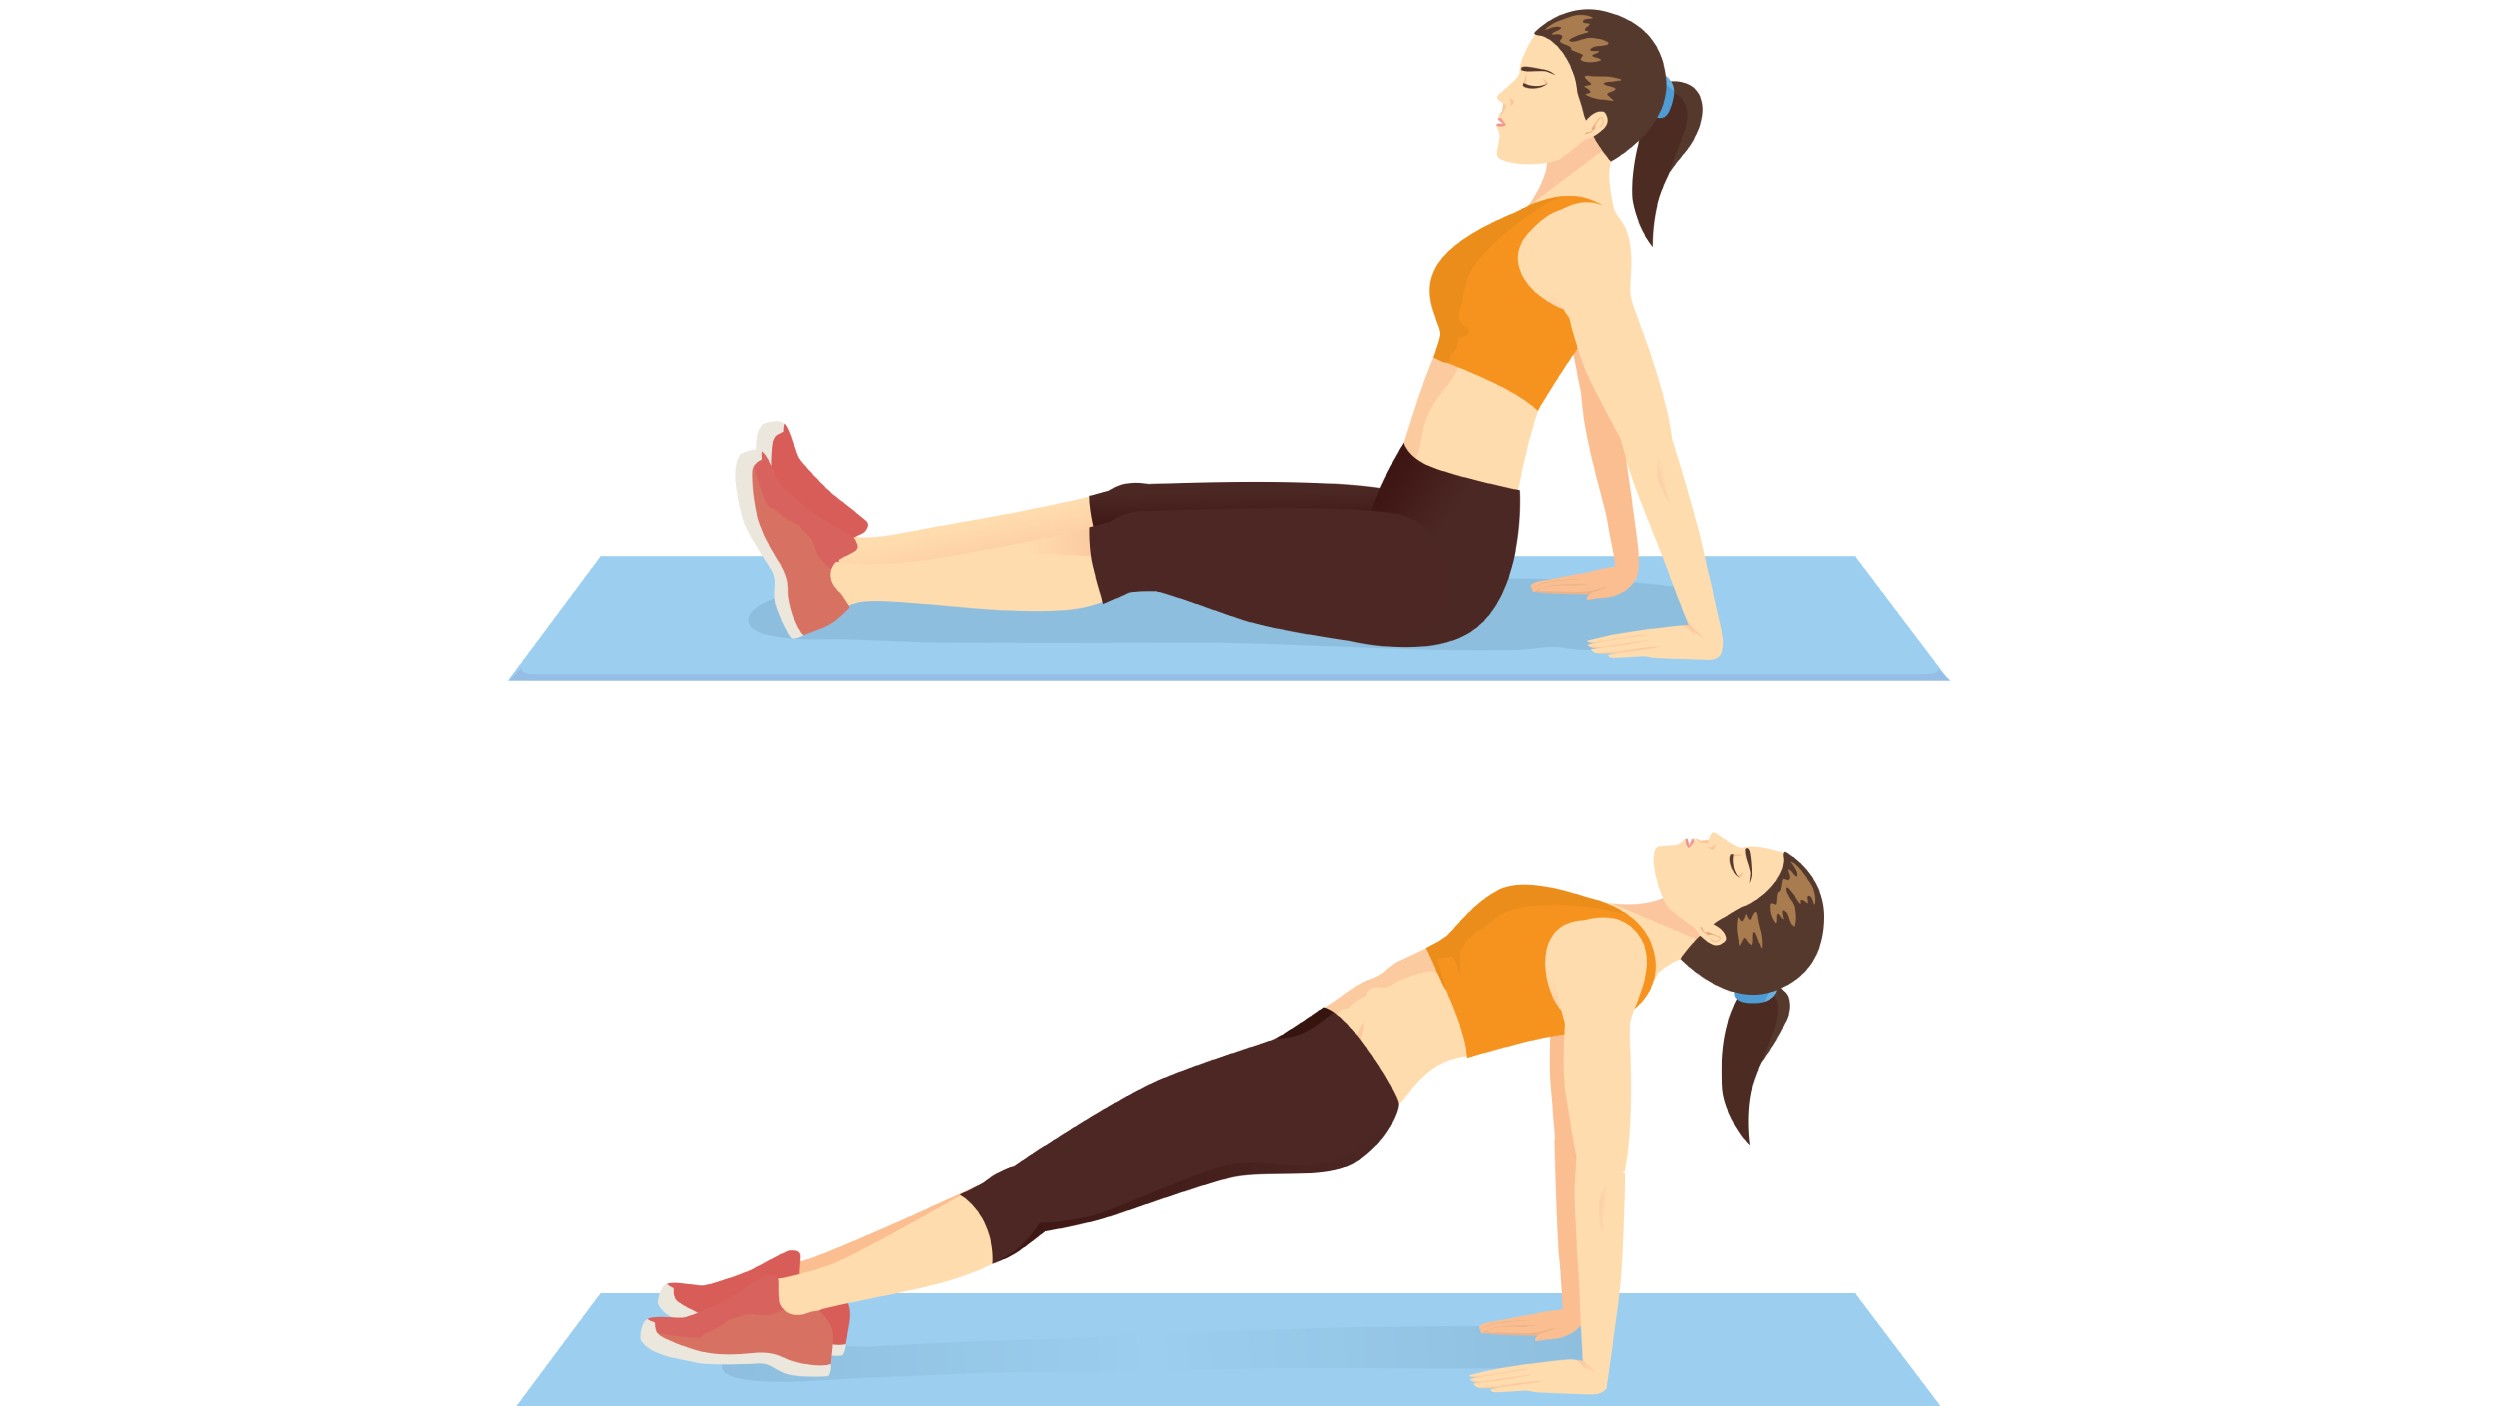
Like the 12-minute reverse plank (see below), this plank requires a supine (upward-facing) position. If you suffer from sciatica and lower back pain, I wouldn’t recommend trying the move until you’ve cleared it with a relevant medical professional.
After day one, the muscles down the back of my body felt torched. Compound contraction is crucial during Chinese planks — you’ll need to squeeze as many muscle groups as possible and activate your hips, glutes and core to keep your hips lifted and spine neutral.
Common mistakes include lowering your bum toward the ground or lifting the hips too high, placing more pressure on your spine. I spent most of the time focusing on maintaining a straight line from head to toe and counting down the timer, obviously.

Days 4 & 5
By day four, I was starting to find my groove, despite the deep, growing burn in my core and glute muscles. At this point, I extended to 60-second holds for 7 sets.
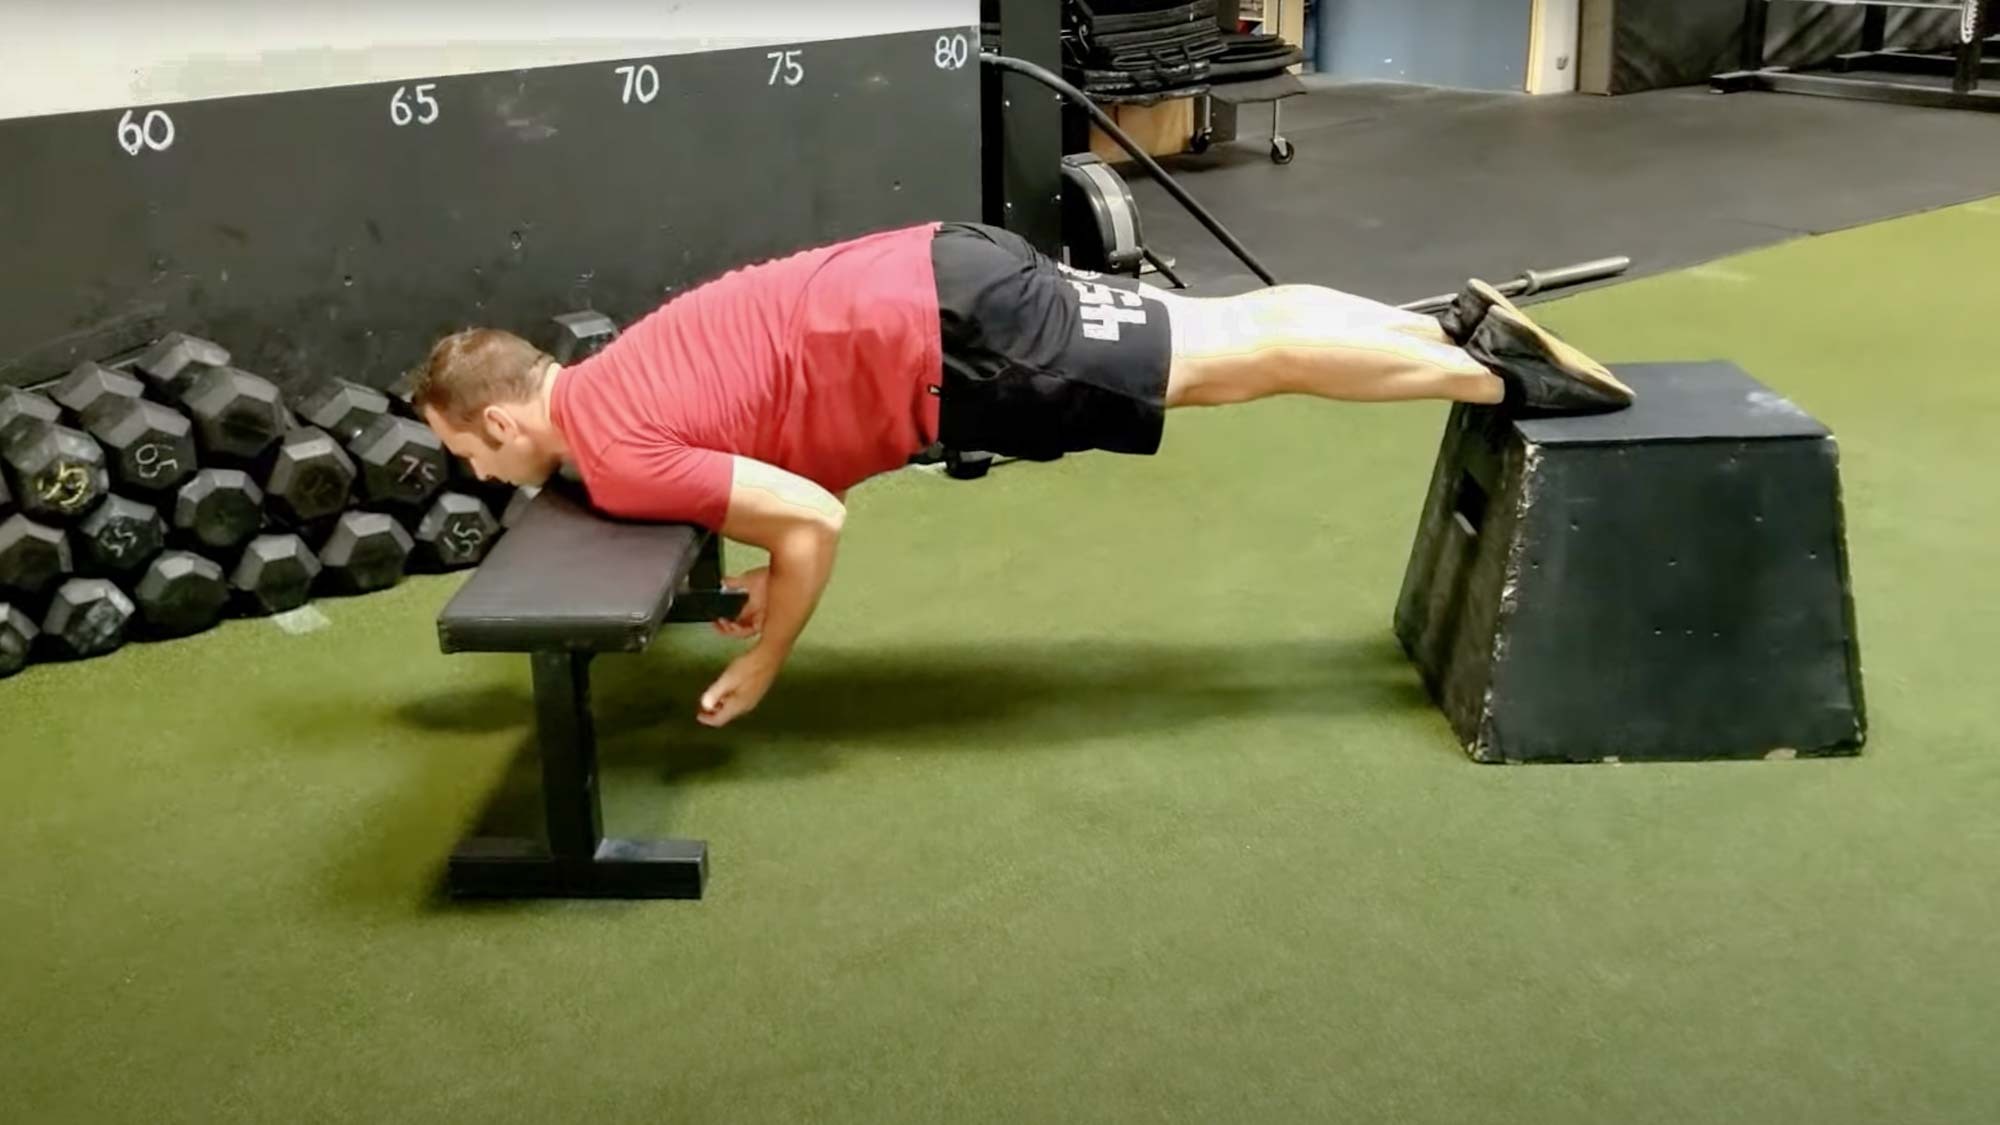
I get bored quickly — what can I say? On day five, it was time to switch things up. The prone Chinese plank involves resting the fronts of your shoulders on the bench, and your chin sits over it, unsupported. The tops of the feet press down into the opposite bench, and from here, slightly lift your bum and engage your core muscles.
Prone planks shift the emphasis toward the front of the body and demand core engagement to prevent hip dipping. I found it much harder to breathe from this position (why would anyone choose this option?) and resumed the regular Chinese plank for my last two days.

Day 6
Still keen to play with the variables available, I held one of the best adjustable dumbbells to my quads. Unless you have experience with planks of any kind, I wouldn’t recommend trying this, and if you do, start light and build up foundational strength using your body weight first. Adding weight sent my muscles into overdrive, and I had to focus on deep, controlled breathing to hit the 7-minute mark on day six.
Day 7
By day four, I was starting to find my groove.
With the end in sight, I quickly reflected on the week. The toughest plank challenges I’ve tried have been supine position planks, and I left both the reverse plank challenge and this effort feeling satisfyingly fatigued. Muscles tired, I kept things simple for the remaining minutes and hit the finish line with more vigor than the first few days.
If you’re interested in other Chinese plank variations, you could try playing around with your arm position — resting your elbows on the bench activates more of your arms, shoulders, traps and rhomboids, for example — or lifting one leg off the bench at a time.
You could also experiment with moving the benches further apart to progress the move, but make sure you can still press down through your shoulders and heels if you choose this variation, and if your hips drop, move them back together. Whichever you go for, remember to breathe. You’ll also need to practice full-body contraction, which I detail in this 10-minute RKC planks challenge.
Verdict
Chinese planks were definitely one of the juicer plank challenges I tried, but they’re not suitable for everyone. If this one’s off the table for you, try bodyweight glute bridges and build up toward weighted hip thrusts. You’ll recruit and strengthen the same muscle groups, and the upward thrusting of the hips involves a similar movement pattern and glute engagement.
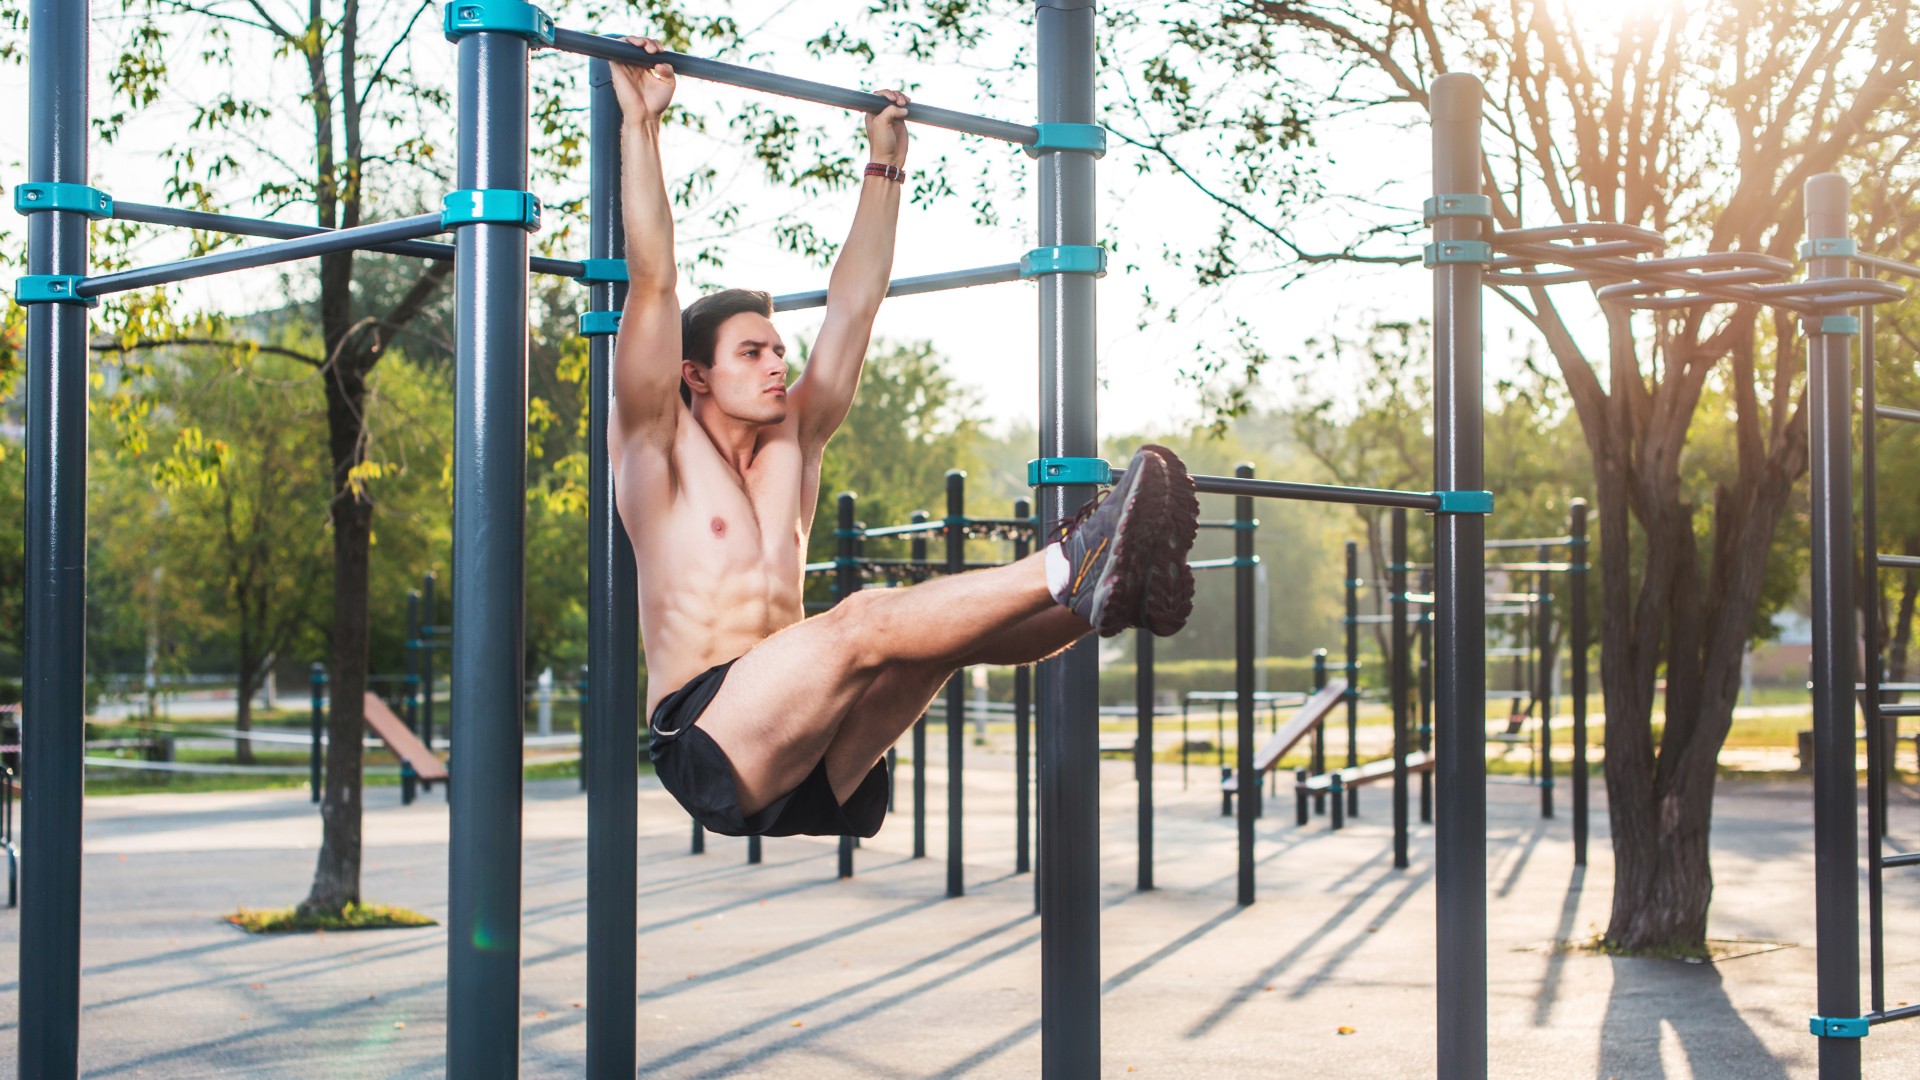
I added this one move for hip flexor pain to the end of my sessions and coupled it with a dead hang (see image below) to stretch my arms, shoulders and lats afterward. For other upper-body stretches and workout ideas, here are more TG-approved recommendations below.


