
An awesome custom keyboard doesn't have to cost hundreds of dollars. In fact, I built my favorite keyboard for only $100.
This build is perfect for anyone who wants to get into the custom keyboard world without emptying their wallet. Keep reading for the complete guide to this fun, easy budget keyboard build.
The $100 custom keyboard build
You only need a handful of parts for this build: the case kit, switches and keycaps. Here's a quick overview of the cost:
- Case kit: $38
- Switches: $26
- Keycaps: $36
- Total: $100
The case kit
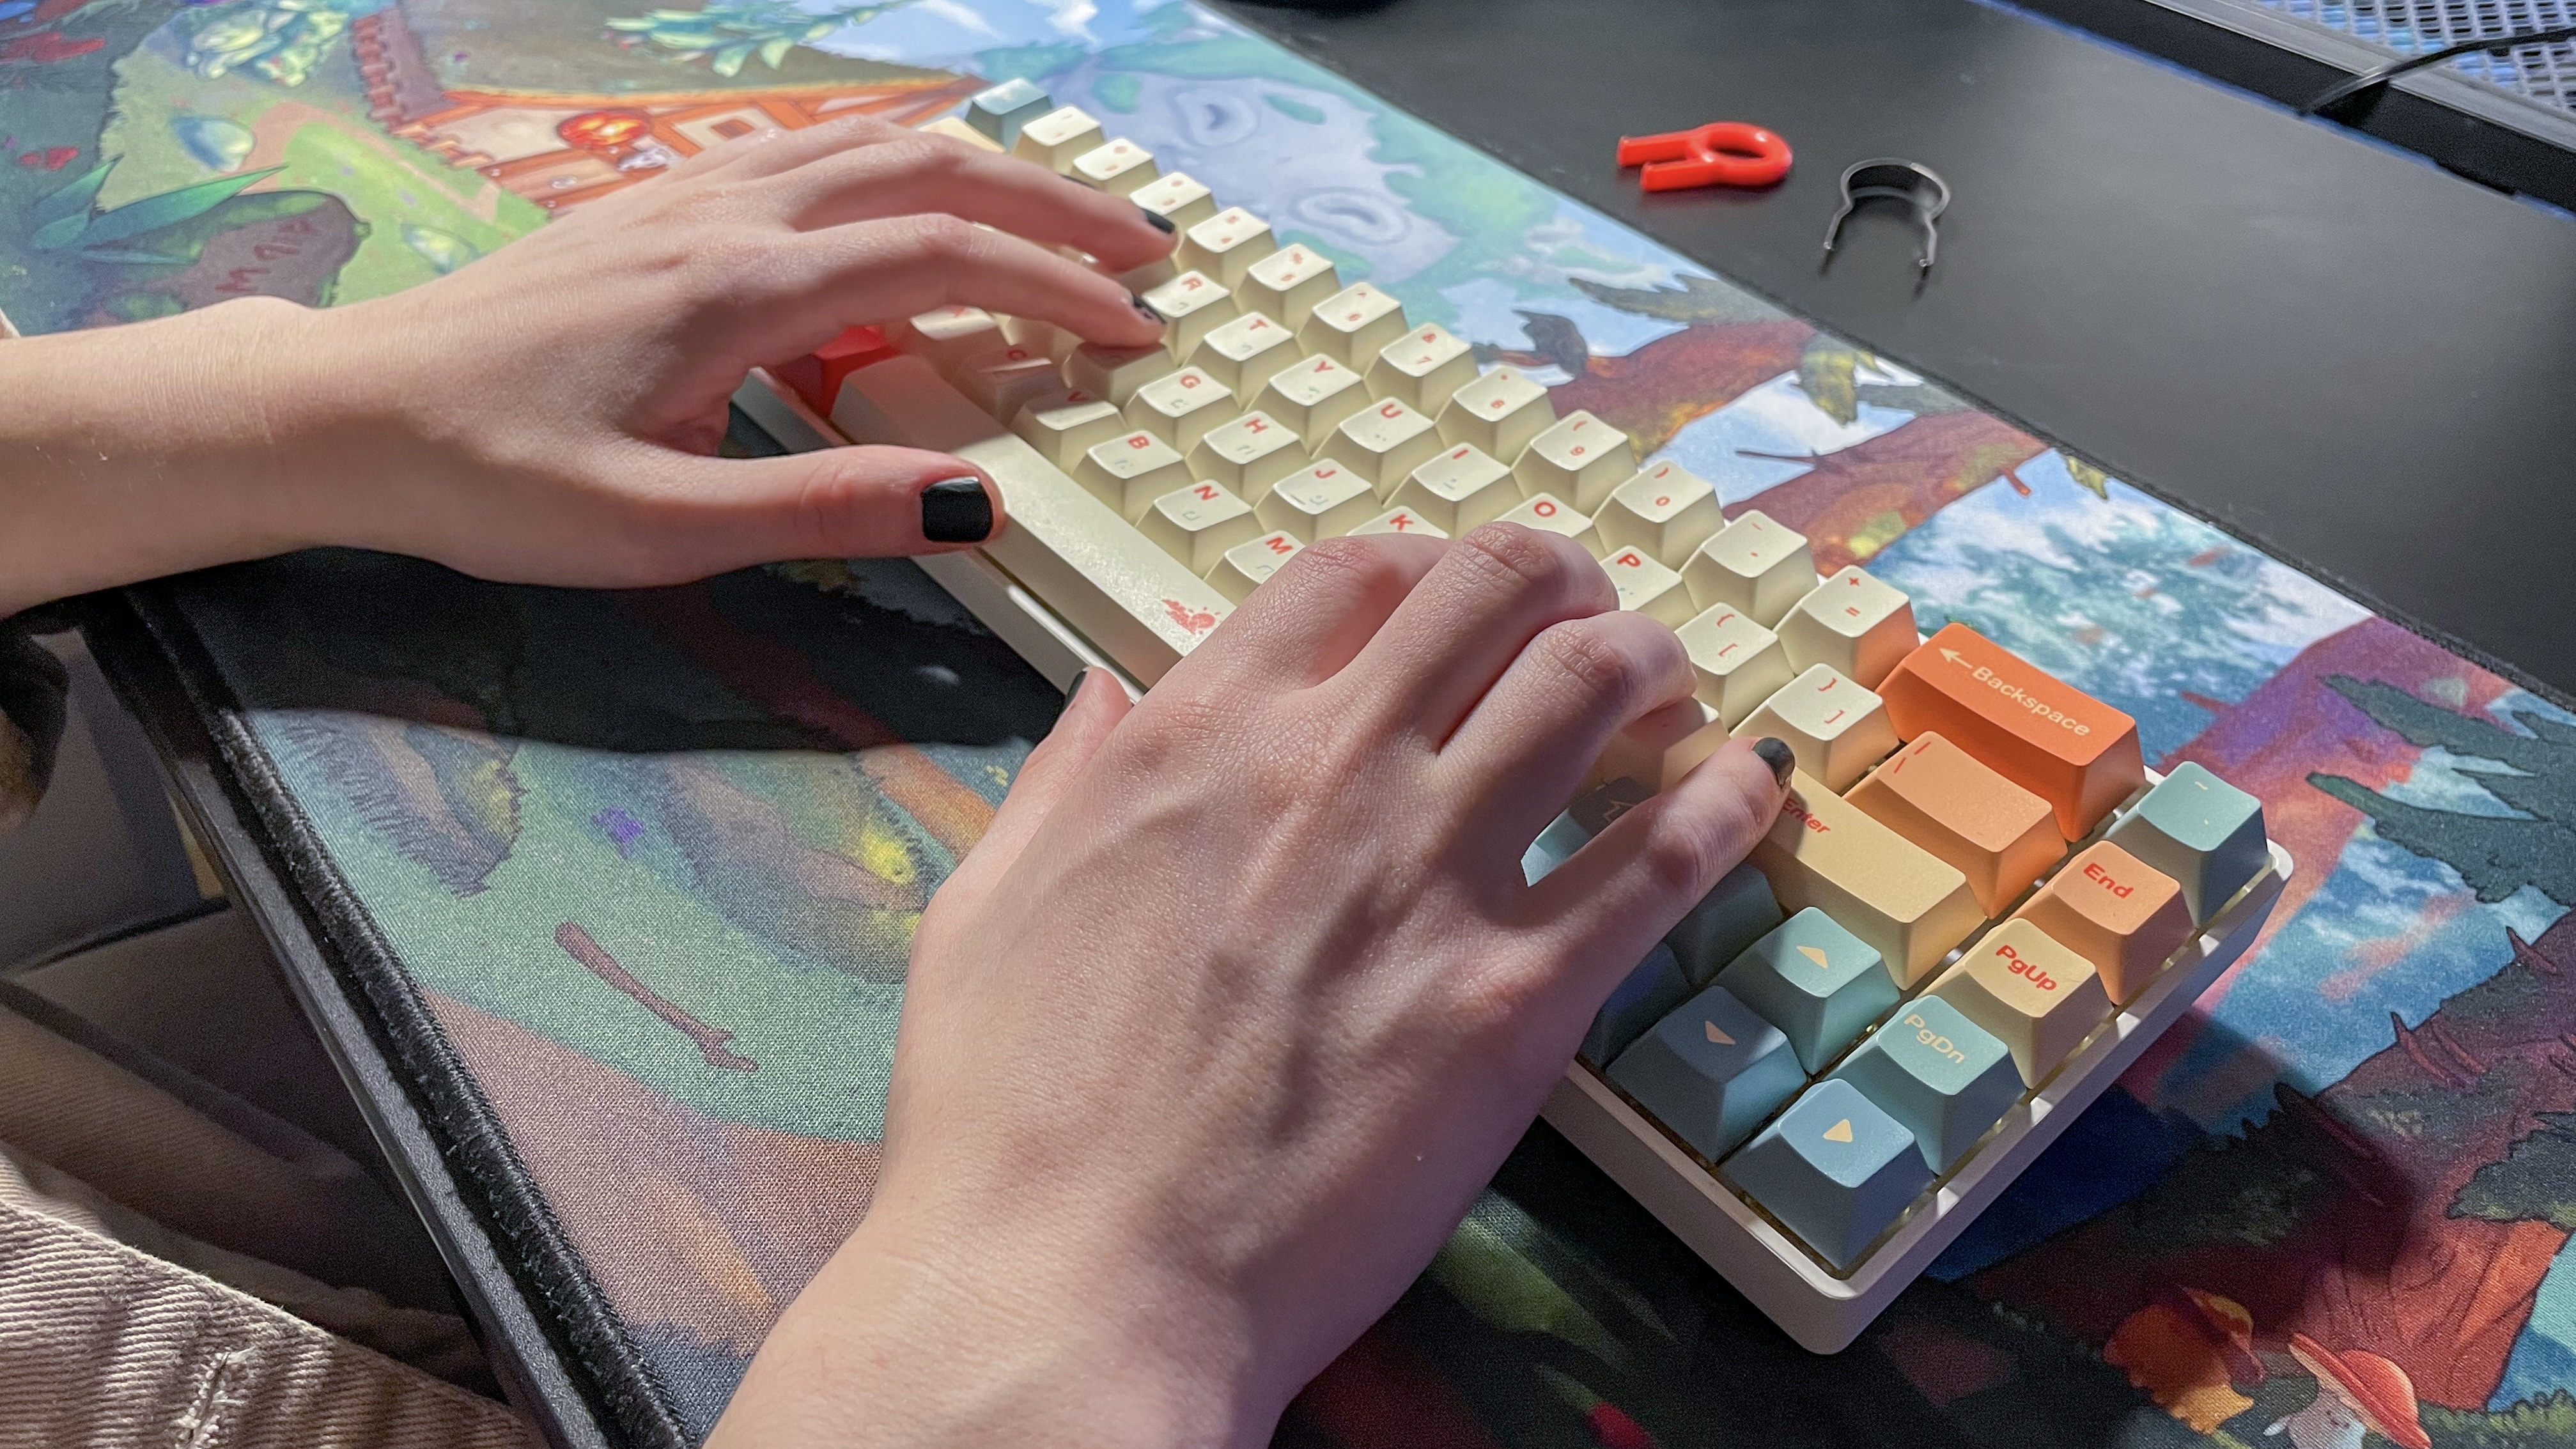
The base of your keyboard can be one of the most expensive parts, but not with this build. I used the CIY Tester 68, a pre-built kit that includes the ABS plastic case, PCB, silicone padding, mounting plate and stabilizers. This is a great option for beginners since a pre-built case kit makes the build process much easier.
The Tester 68 only cost $38 and it's wireless. You have the option to use Bluetooth 5.0 or the included wireless 2.4GHz USB dongle. It would be nice if this keyboard was rechargeable, but the two AAA batteries usually last about 3 months for me. I have two of the Tester 68 and both have held up well through 2+ years of use.
This kit is perfect for a budget keyboard build. It's hot-swappable and supports 3 and 5-prong switches. The main difference between the two types of switches is their mounting method. 3-prongs clip into the keyboard plate while 5-prongs use two additional legs to provide stability.
The switches
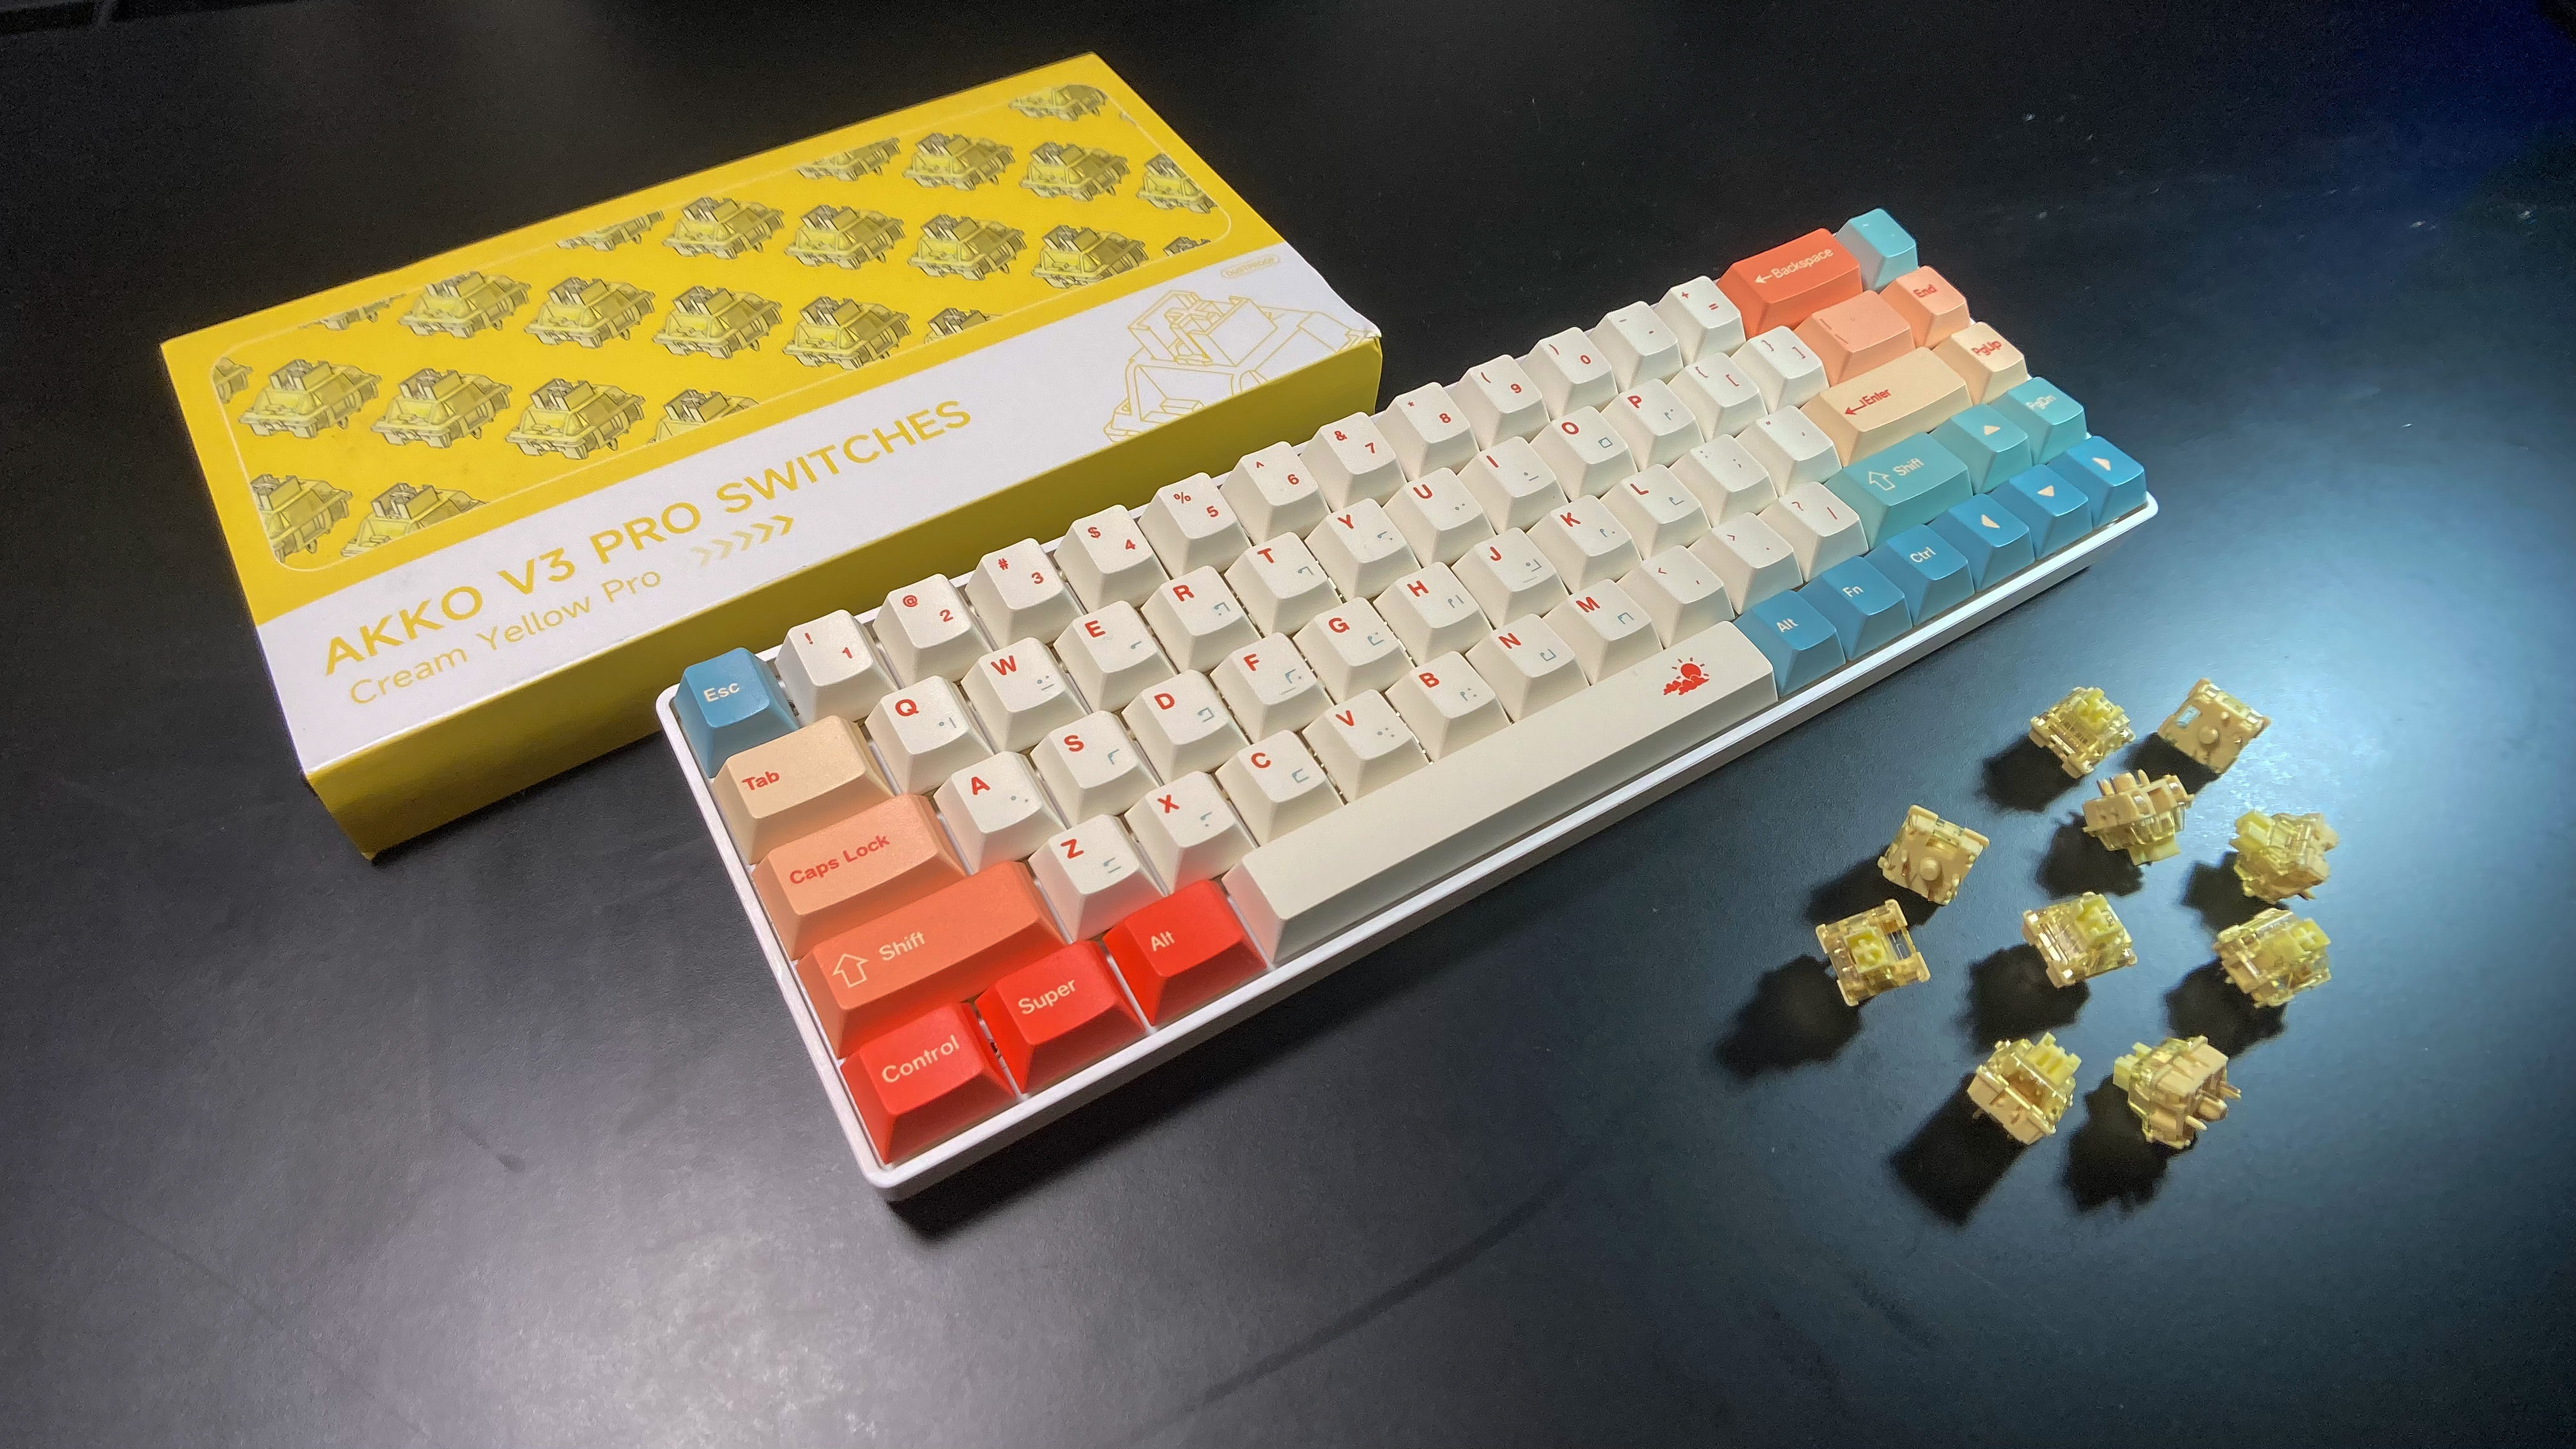
You don't need to splurge on switches to build a keyboard with a terrific sound and feel. For this build, I chose the Akko Cream Yellow Pro V3, one of the top budget-friendly linear switches. I love this switch because you can fill an entire 65% size keyboard for only $26 and it sounds fantastic. The Cream Yellow Pros deliver a nice, smooth typing experience, too.
Be careful that you get the right quantity when you're buying your switches. The Akko Cream Yellow Pros are sold in packs of 45 switches for $12.99 each, so you need two packs to fill the CIY Tester 68.
The keycaps
The keycaps are my favorite part of any mechanical keyboard build. This is where you get to add your own personal flair to the keyboard. For this build, I went with a set of Cherry profile keycaps from GamaKay. They're priced at $35.99, which is in that $30-$40 range I recommend for budget builds.
The build in this guide will work with any standard keycap set. If you do pick a different set from the one I used, the only thing to keep an eye out for is different key shapes, or "profiles."
Most prebuilt keyboards use the OEM profile, so if you want a familiar typing experience go with that profile. Cherry profile is similar to OEM but features slightly shorter keys, which can improve ergonomics. In addition to the Cherry profile, I highly recommend XDA profile keys — they have a wide, flat top which can be very comfy for typing.
The tools
There are two tools you'll need for this build: a keycap puller and a switch puller. Keycap sets usually include a plastic keycap puller for free. The Tester 68 also comes with a metal switch puller. So, you shouldn't need to buy extra tools.
Just in case you do lose a tool or anything goes missing, you can find a basic keycap puller for $6 on Amazon. I also recommend the Glorious PC switch puller, which goes for $8.99.
The build process: 3 basic steps
The assembly process for this budget keyboard build is easy and straightforward. It's a lot like putting a LEGO set together. The steps below should take about 30 minutes or less.
Step 1: Install switches
Get started by unpacking your Tester 68 kit and your switches. You can put any switch in any port on the keyboard, so installing the switches is a simple matter of popping them into place.
That said, you do need to be careful. Take a look at the bottom of your switches — they have one wide plastic piece in the middle, two plastic legs and two metal prongs. Line up the prongs with the two narrow holes on the south edge of a switch port in your Tester 68.
The switch should snap into place with a little bit of force. If you have to press too hard, you are probably putting it in backwards. If that happens, use your switch puller tool to remove the switch, bend the prongs straight again, and give it another try.
Step 2: Pop on keycaps
The next step is installing your keycaps. Simply line up a keycap on top of the stem of one of your switches. Gently push down on the keycap until it pops onto the switch stem and presses the key all the way down.
It may be helpful to use a photo for reference so you don't accidentally put a keycap in the wrong spot (it happens to the best of us). Don't worry if you have some keycaps left over. The Tester 68 is a 65% keyboard, so it doesn't use the number pad or function keys.
Step 3: Test each key
When you're done building, take out the Tester 68's USB dongle and plug it into your PC (you can also use the FN+Win shortcut to enter Bluetooth pairing mode). Connect your keyboard and pull up a blank text box. Check out the handy Monkeytype tool for your test run — it's free and it will even tell you your typing speed. (Alternatively, you can simply use a blank Word document.)
Press every key on your board and make sure it registers on screen. This will verify that your switches are all plugged in correctly. If any aren't working, remove the keycap and pull out the switch. Usually, a prong simply got bent when you plugged it in. If you straighten out the prong and reinstall the switch, it should work normally again.
Why I love this budget keyboard build
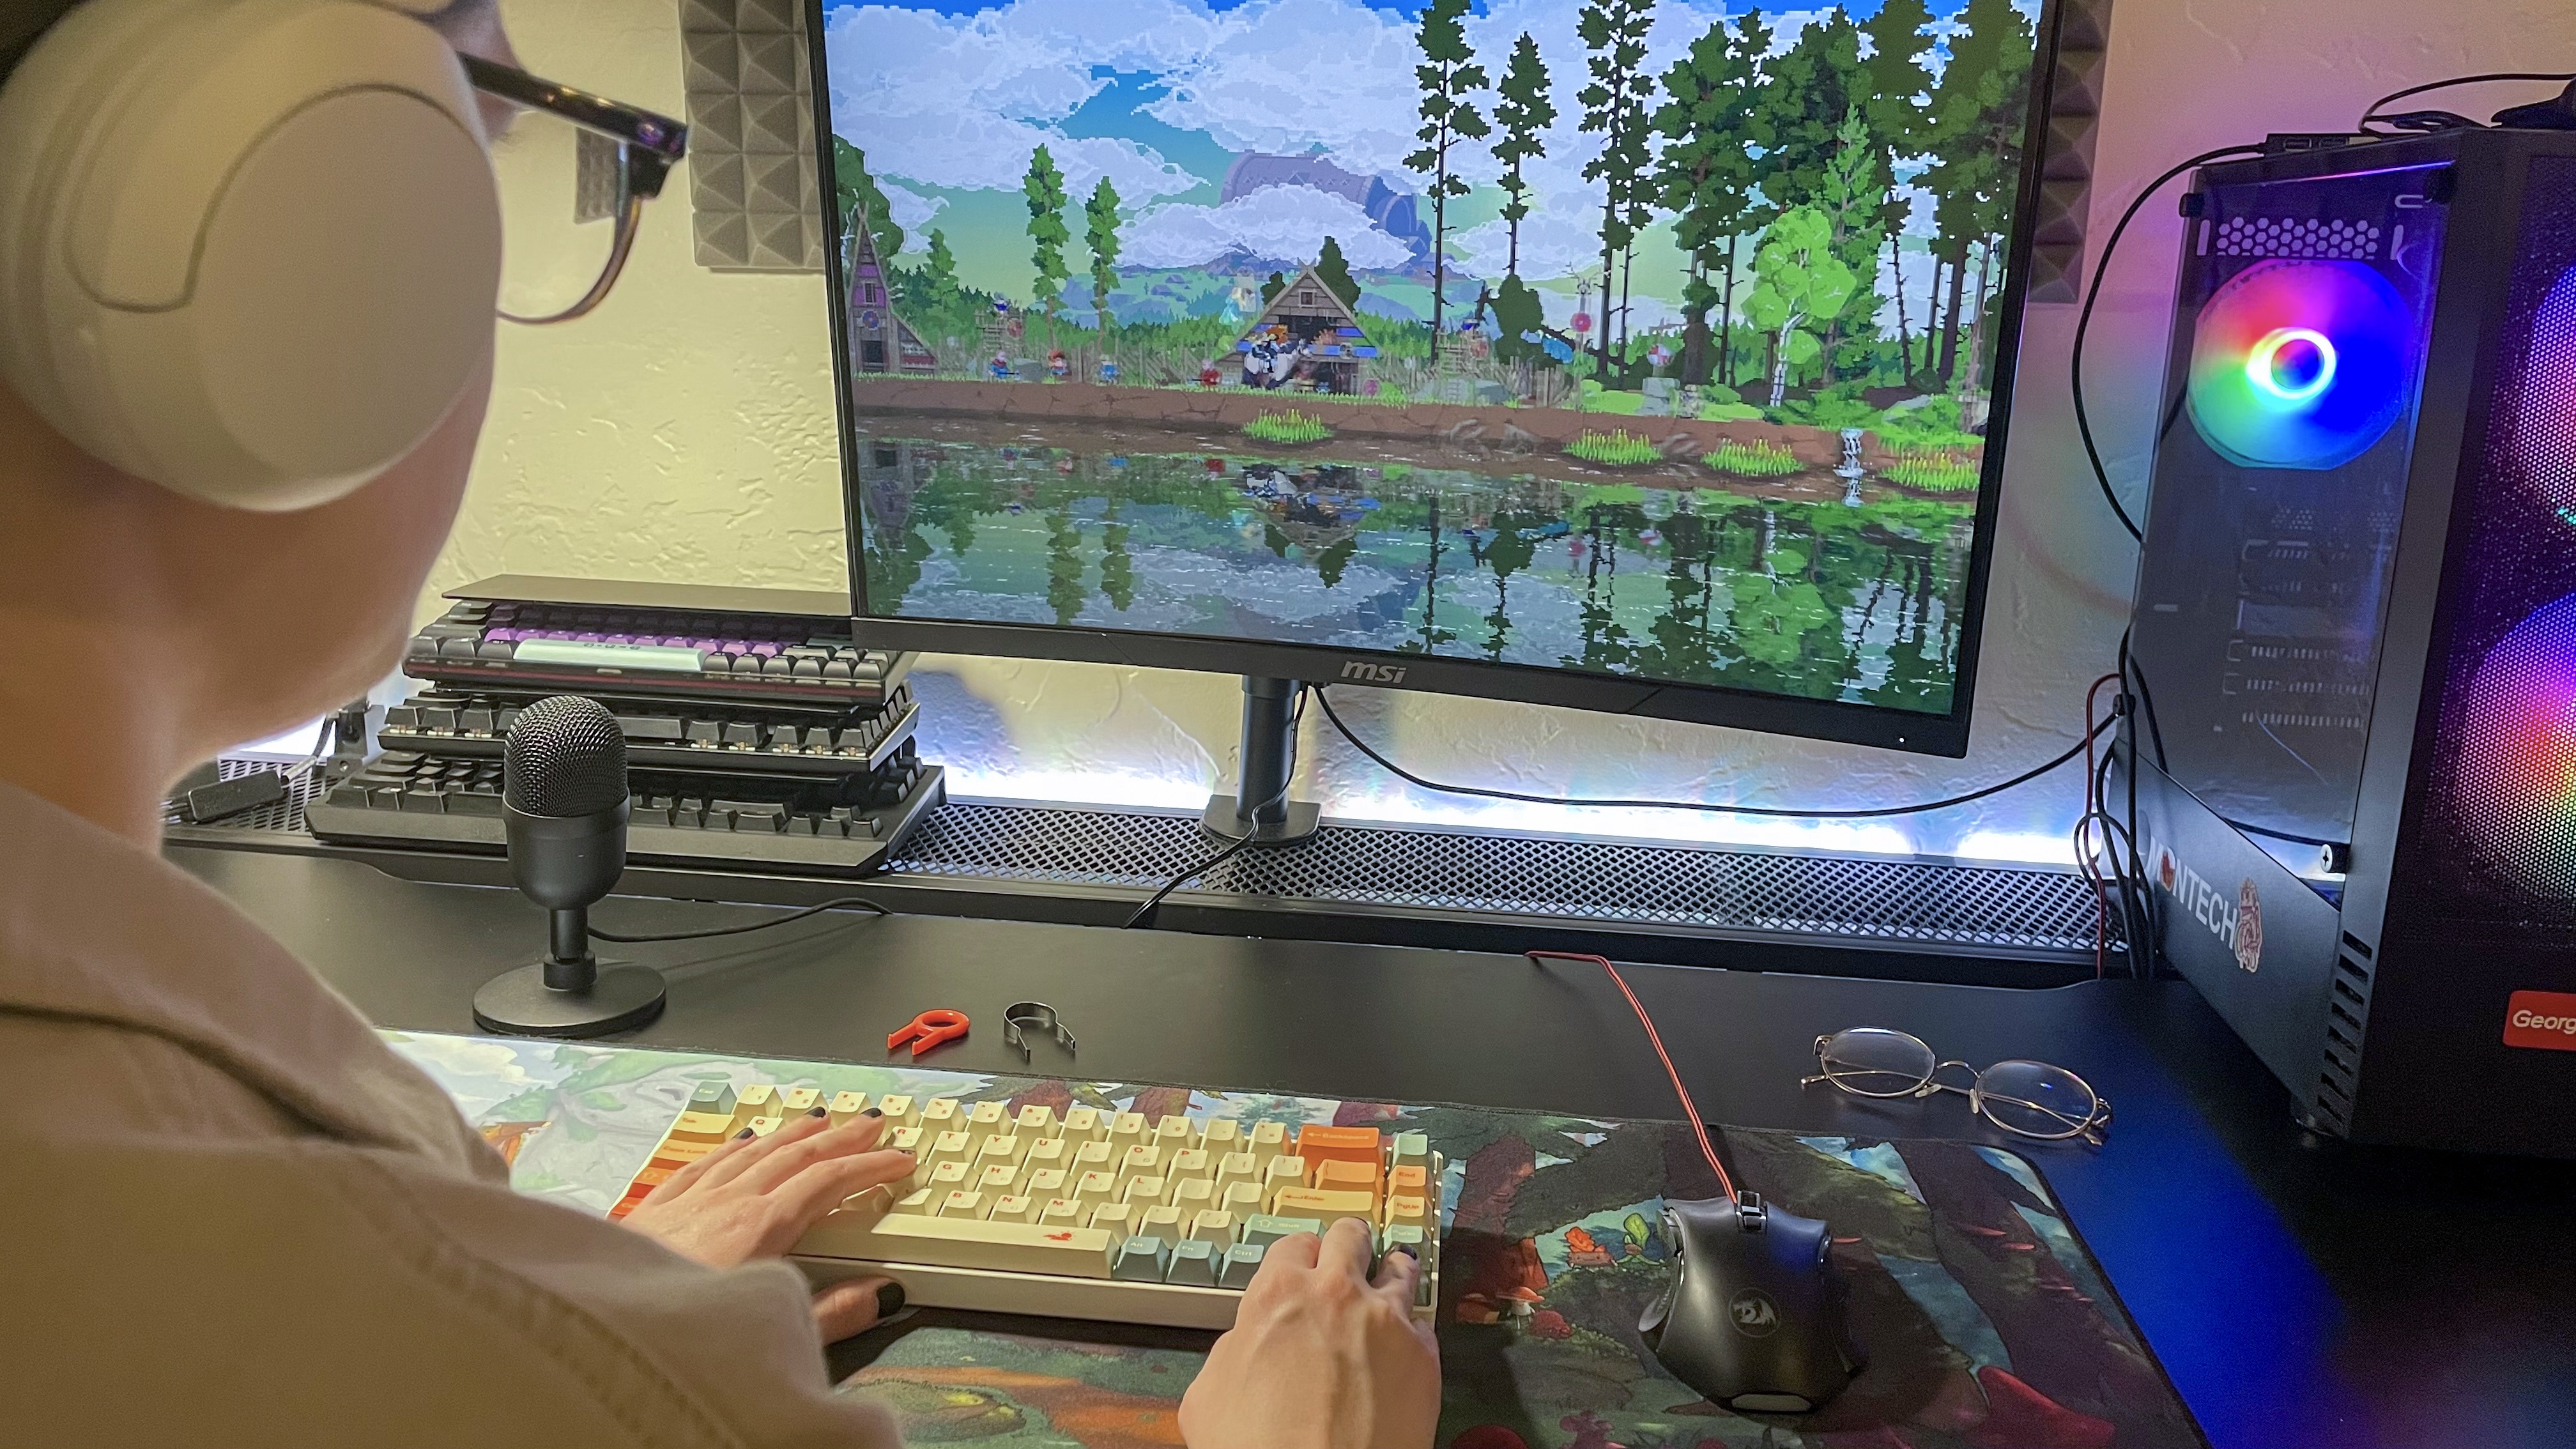
I often get questions from friends about how they can get started building custom keyboards. I always recommend a basic build, like the one featured in this guide. This budget keyboard build gets you a lot of value at an entry-level price while still giving you a platform you can upgrade down the road.
The CIY Tester 68 is also a compact keyboard, which makes it great for travel. It's small and light enough to toss in your backpack and take on the road to school or the office.
You can find plenty of cheap pre-built keyboards online today, but there's something special about building one yourself. You get to make a board that's completely unique to you and your work or gaming style. Customization is one of the best features of mechanical keyboards overall. Plus, you learn how your keyboard actually works. Building custom keyboards is a super fun hobby, so hopefully this budget-friendly build helps you give it a try.


