For upcoming animation No Dogs or Italians Allowed, one of the major challenges for the whole production was that of compositing the shots together. The film is made up of stop-motion, photography and live-action material, and bringing all of these elements together into a single, harmonious sequence required plenty of forward planning and careful thought throughout the process.
To give a feel for how complex the shots were in terms of sets and production, here is a brief breakdown. The live shots were made in Ughettera, Italy, with classic cameras and drones. We also created Alain’s workshop in Foliascope for other live shots.
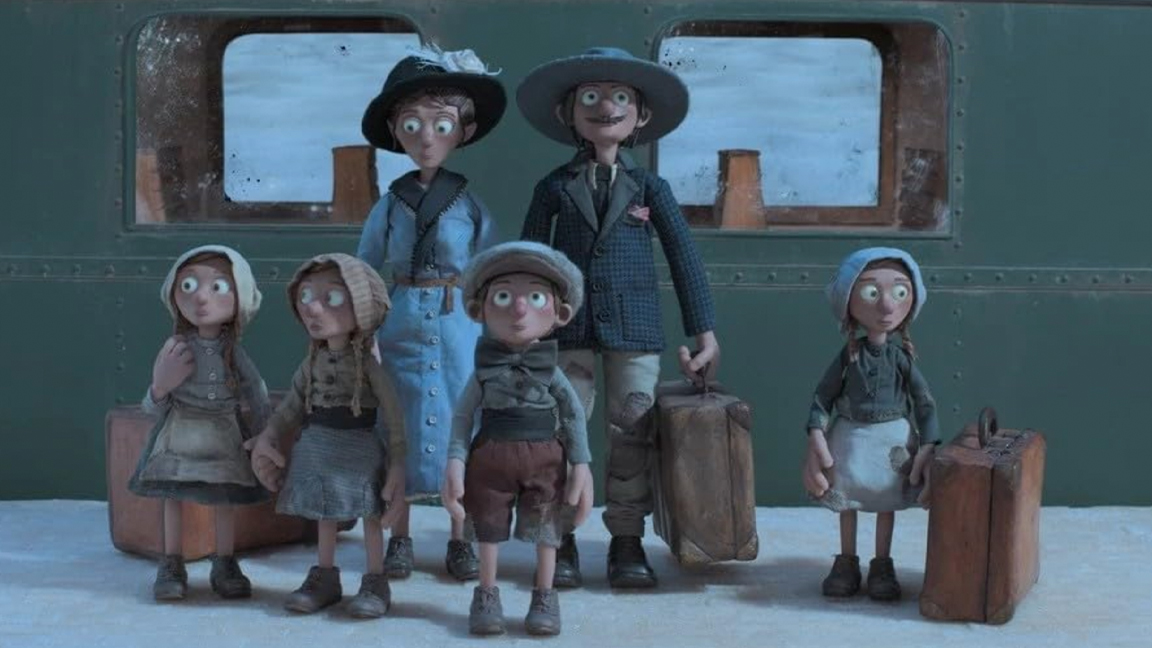
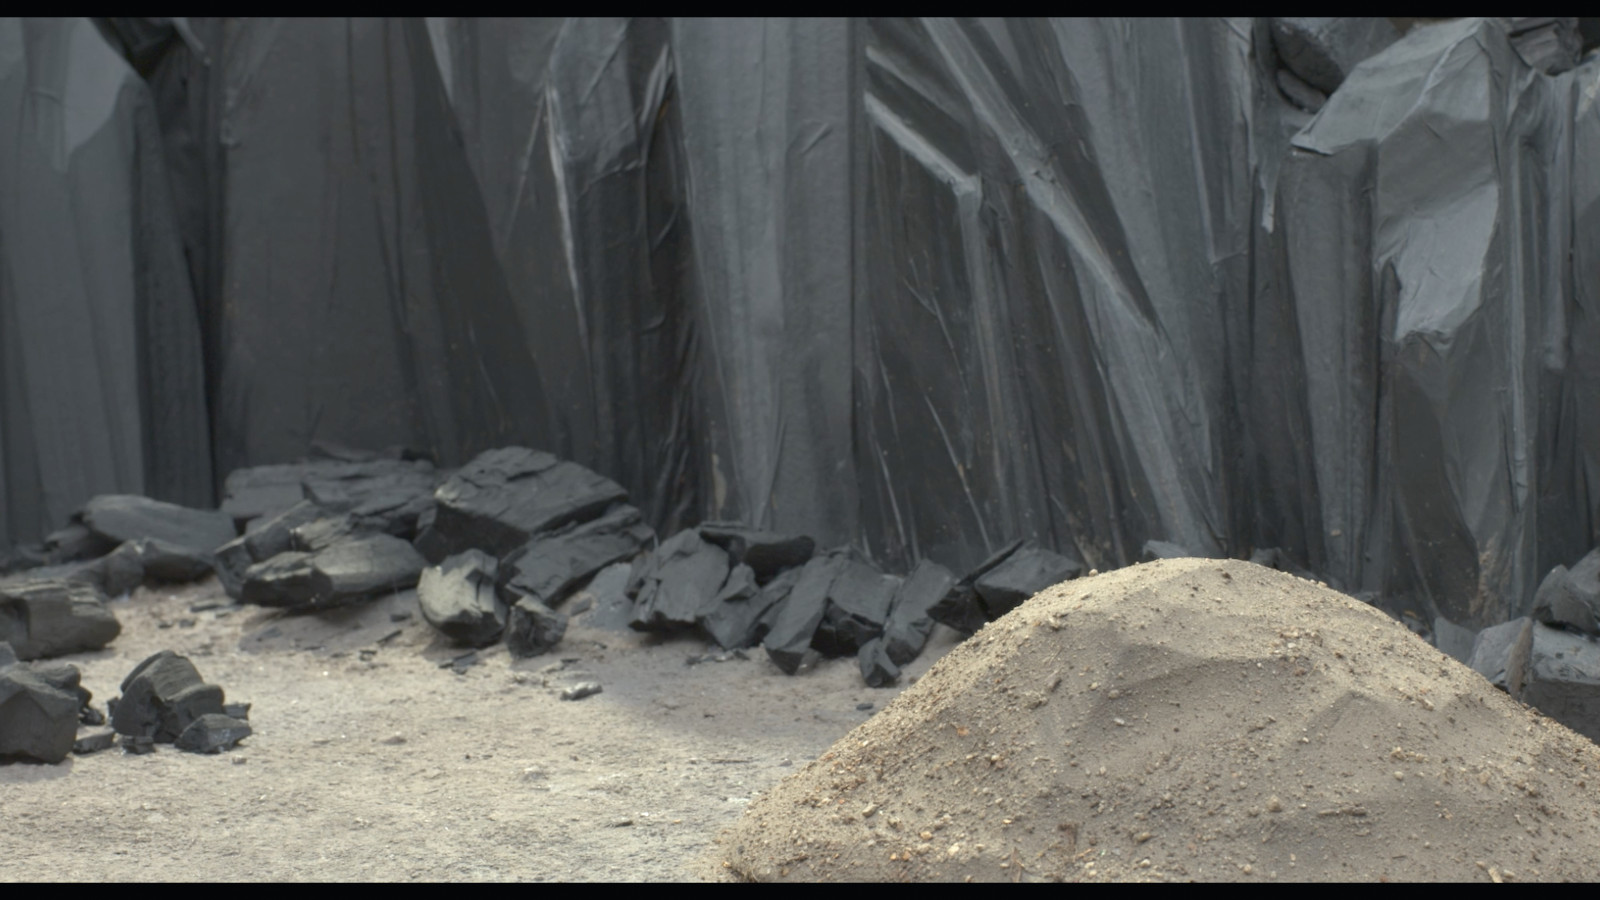
The Hybrid shots create a link between Cesira, his grandmother (puppet), and Alain the narrator (live-action). Meanwhile, our stopmotion world was created using sugar, pumpkin, broccoli, coal, cotton and chestnut. The difficulty wasn’t just in the fact that there were a variety of different scenes to take into consideration, but that those scenes were made up of different cinematic disciplines and animation styles.
To help with all of this we decided to carry out a variety of simple compositing tests using DaVinci Resolve Studio and Fusion Studio. By compositing everything together at an early stage, we had the ability to make the correct decisions on-set and ensure we captured exactly what we needed from each set and shoot.
Making No Dogs or Italians Allowed
Below we will unpack our pipeline and workflow for compositing all of those shots together for our animated film. Follow along and hopefully pick up some tips.
01. Getting the right shots
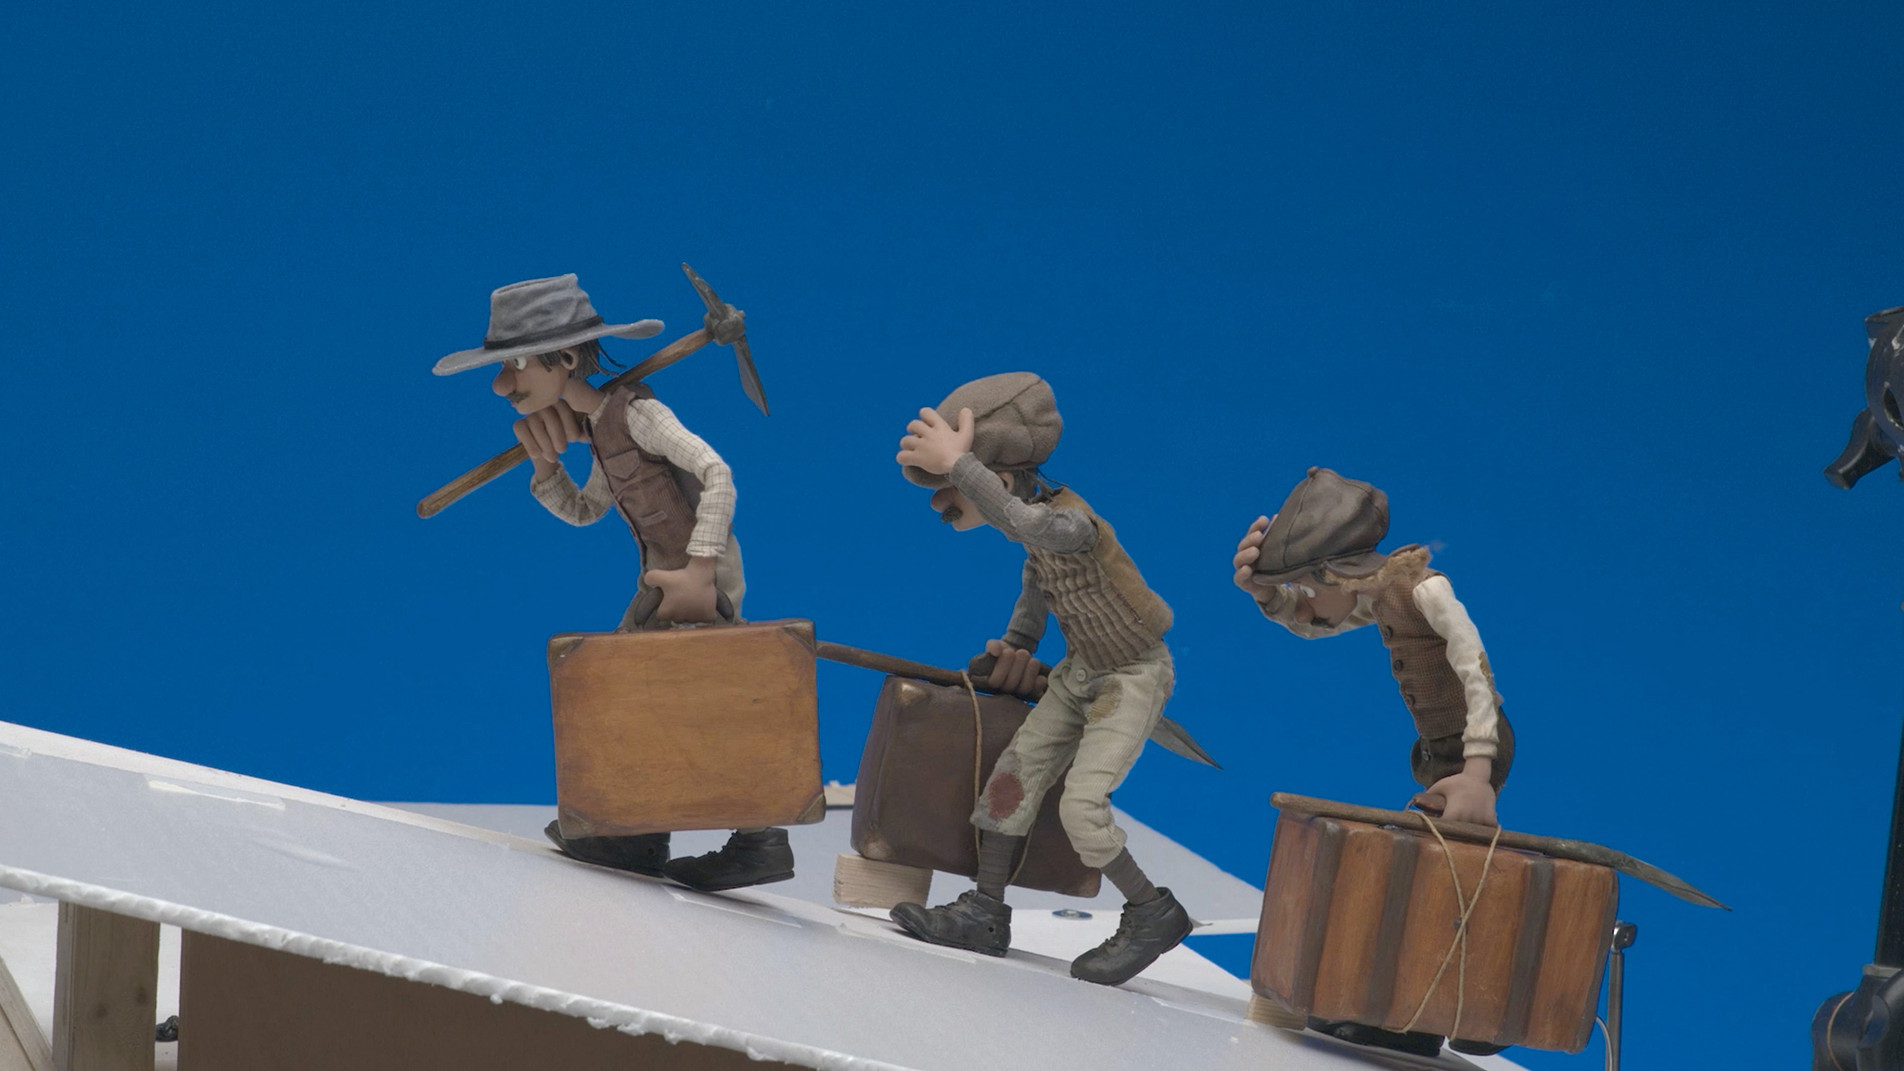
One of the key considerations when trying to ensure a successful composite is the individual shots that will contribute towards the final output. For complex films with lots of layers, including in this instance stop-motion, photography and live action, it’s vital to get everything planned out ahead of time.
We carried out a number of compositing tests ahead of time to ensure, as much as possible, that we got the right shots the first time. In general, you’ll have foreground and background elements, and some of these will have transparency or need keying out. For transition or camera moves, we make different kinds of pre-comp in DaVinci Resolve to adjust the duration of shots.
02. Capturing in the correct format
Once you know what shots you need, it’s time to work out how you’re going to capture them. Knowing what you want to achieve in colour grading and compositing will determine the amount of data you need to capture, and whether that needs to be in high dynamic range. For this film, we wanted everything to be in Float so we could maximise the edits that were possible afterwards. We decided to shoot with Canon SLR cameras and use the RAW format, which could then be converted.
03. Float workflow
Once we have the images in RAW format, we need to get them into something that’s workable with DaVinci Resolve and Fusion Studio. This means we have to convert the images as soon as they are exported from the shooting sets.
To do this, we designed a Float pipeline based on OpenEXR and chose the ACES system to manage all the colorimetry. All of this conversion is not ideal and is indeed a bit cumbersome, but it does give us a huge amount of flexibility in post to make all the adjustments and composites that we need to.
04. Rigging and backgrounds
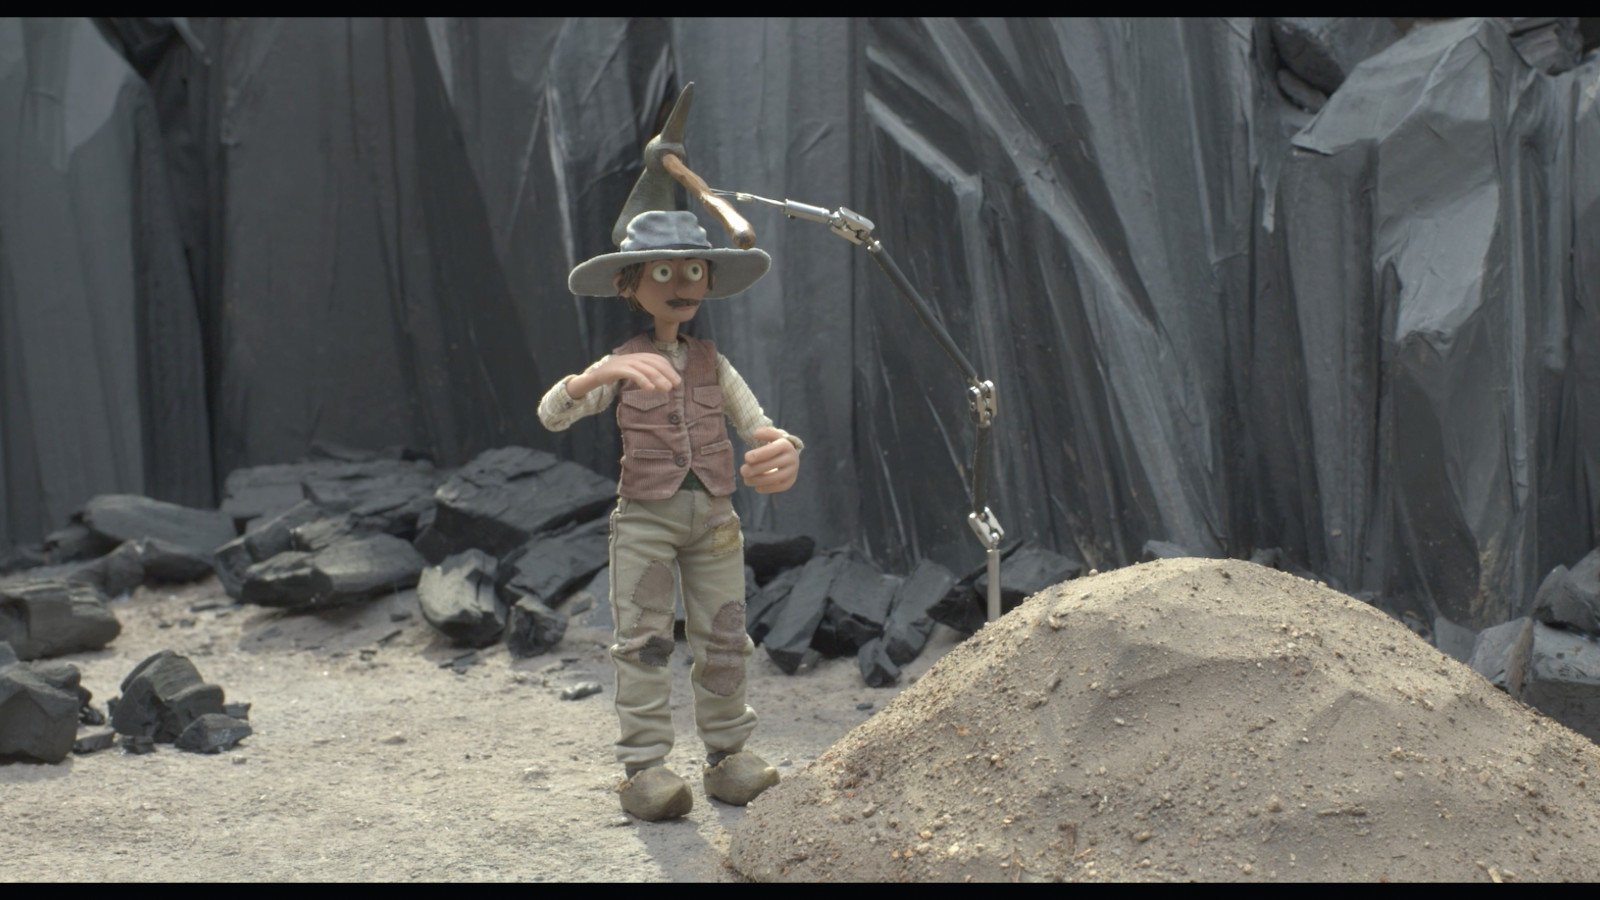
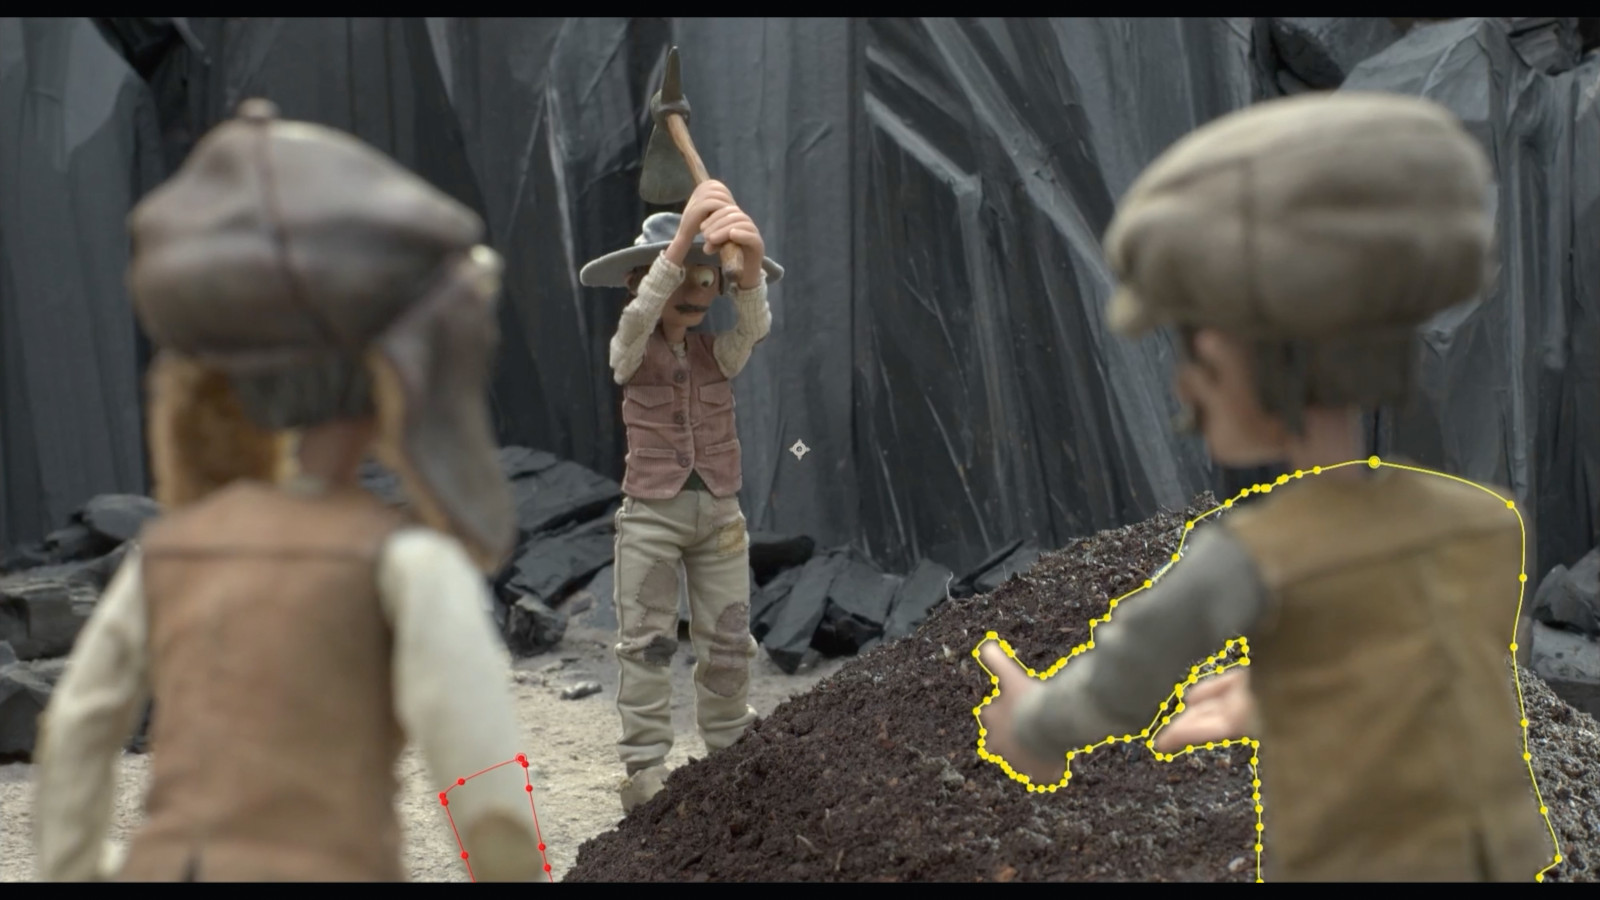
Our project relied heavily on blue and greenscreens to help us merge shots together. To do this, we used several key and tracking tools to prepare the job for assembly. We work a lot with keyers including Ultra Keyer, Delta Keyer, Luma Keyer, Primatte and the associated matte tools to remove green or bluescreens.
With clean plates, these are great at removing what we need from the shots. To fix the characters, animators use some rigging systems on-set, and for rotoscoping we use Polygon and Paint. We also use Tracking with Tracker, Planar Tracker and Camera Tracker.
05. Assembling the shots: the theory
Our elements are now all ready to put together. When using this type of reconstruction workflow, we’re really thinking about how we can piece everything back together again to introduce depth and an increased level of cinematic interest. In essence, it’s here that we prepare the structure of the various elements and reconstruct several levels of depth.
It probably goes without saying, but all of these individual shots must be captured from roughly the same sort of angle. The closer they are to each other, the easier they will be to merge together into a single, coherent shot.
06. Assembling the shots: in practice
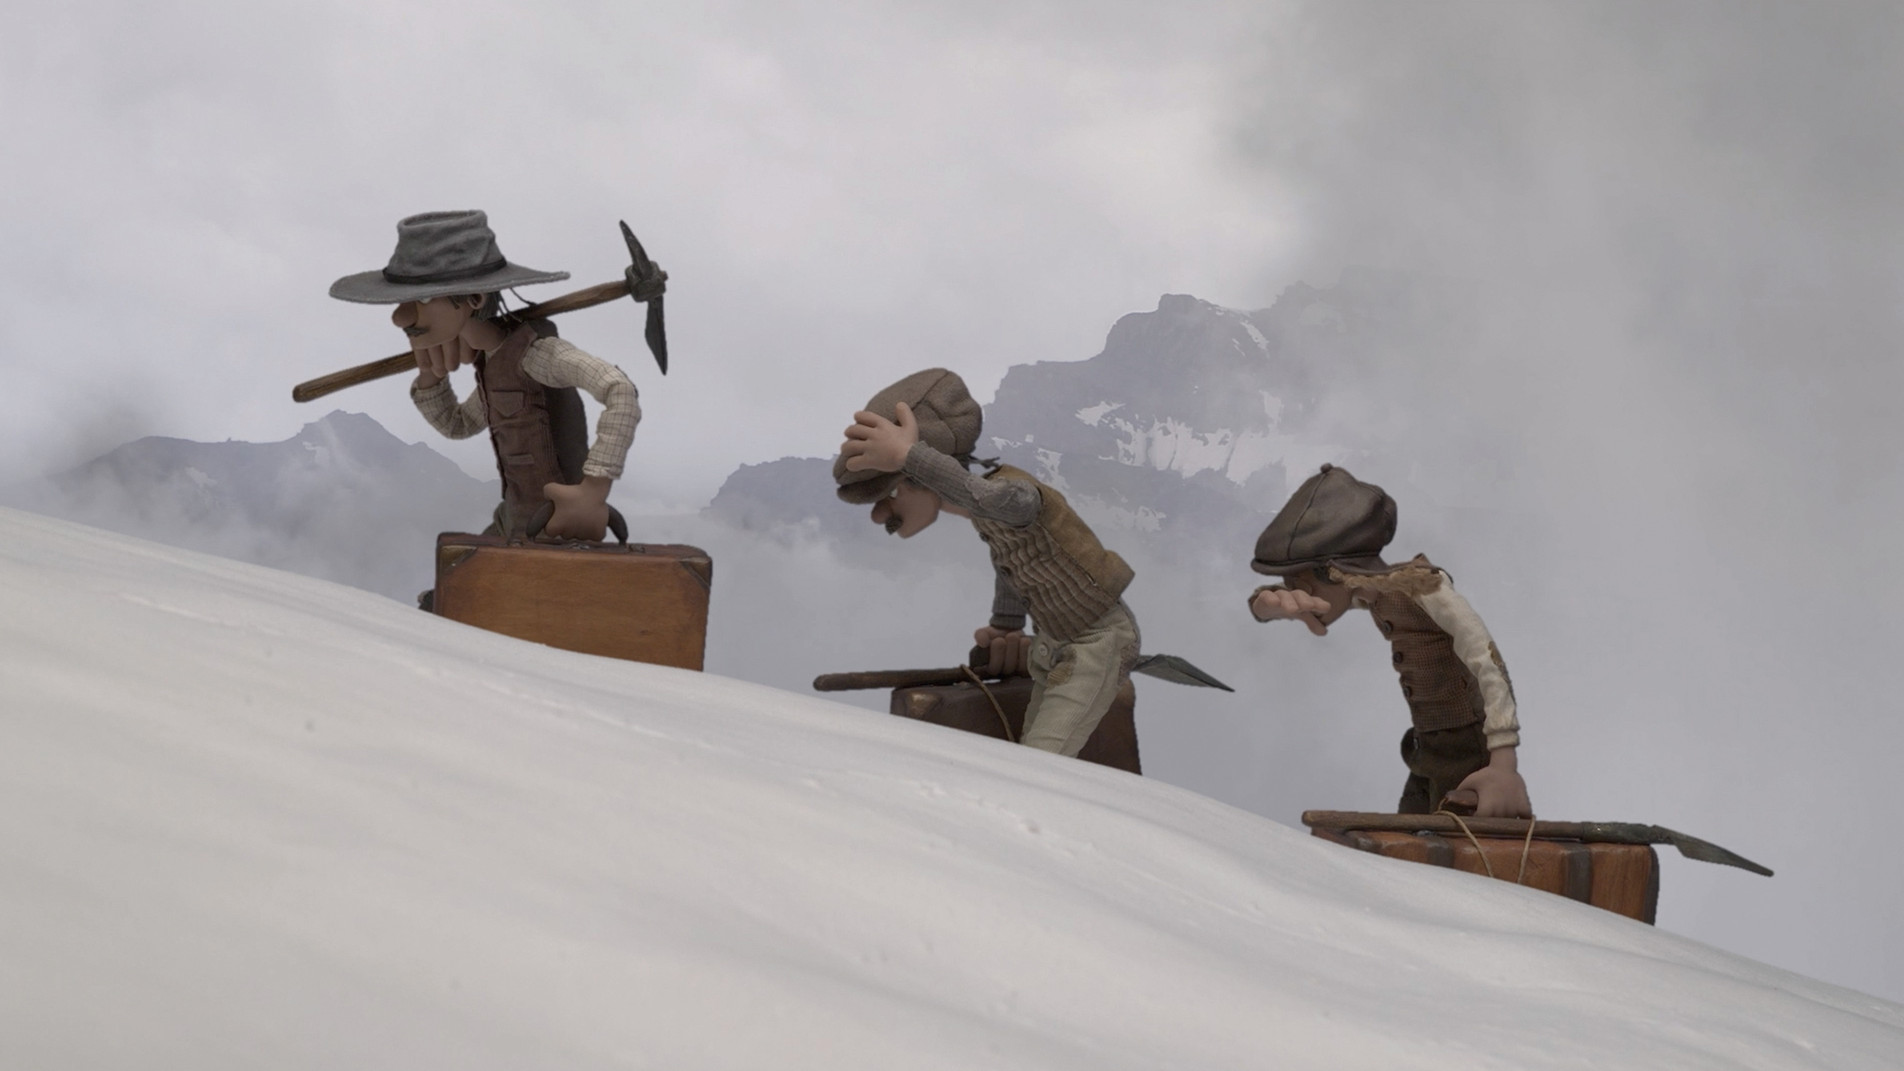
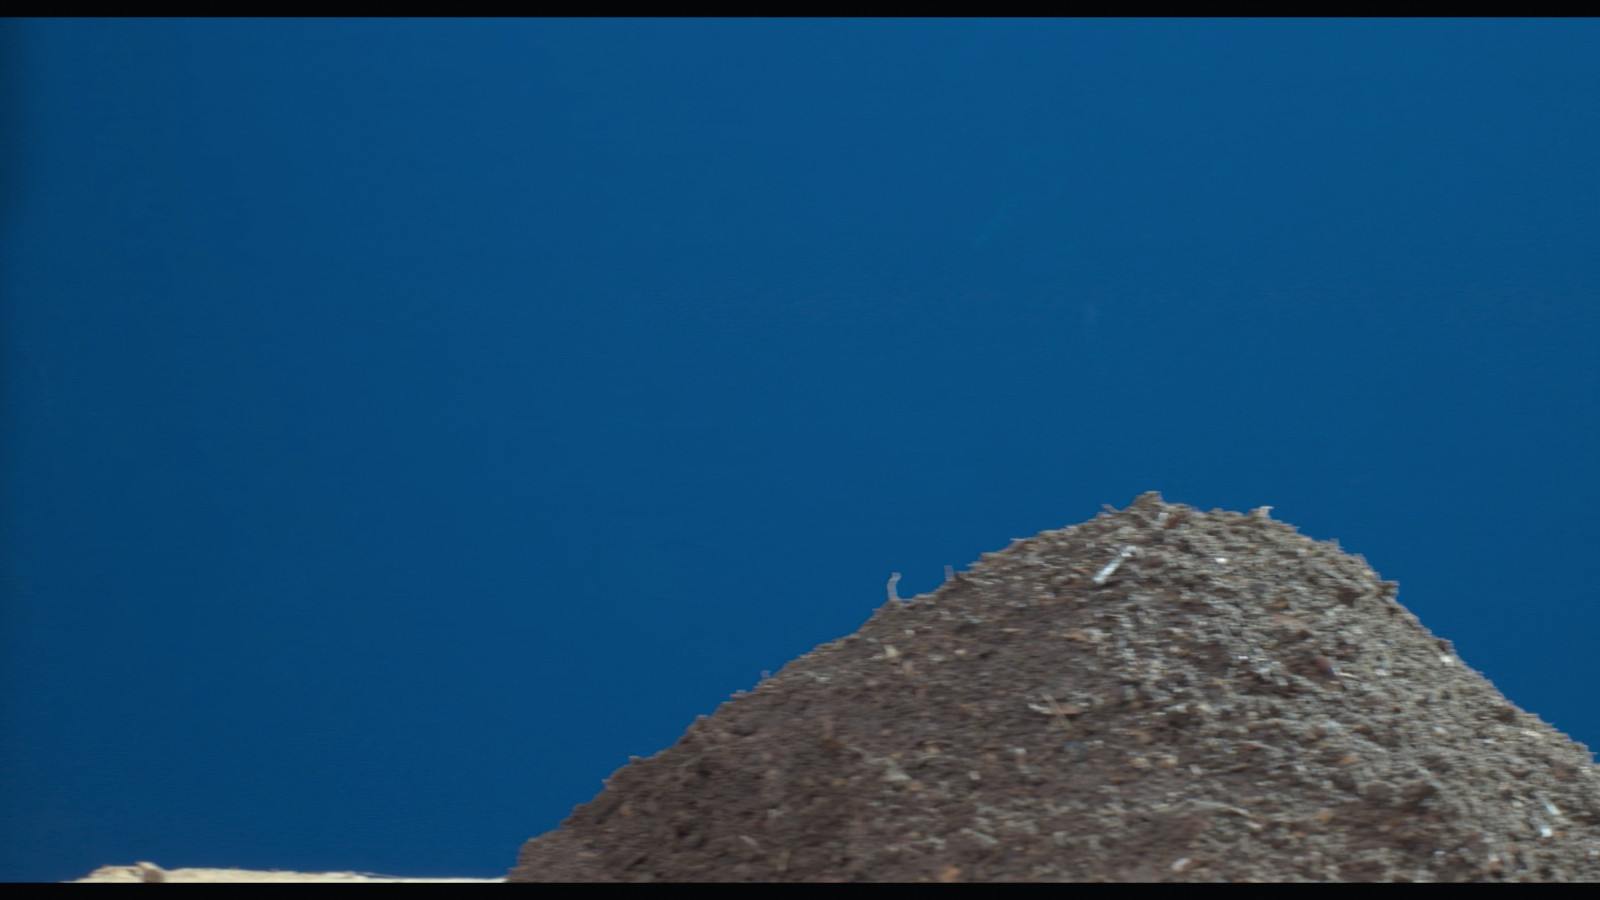
For the shot of our three characters walking up the side of a mountain, we had the foreground shot, the characters, the mountain, and the sky all as separate layers that needed compositing together.
We did this in Fusion Studio using tools like Transform, Resize and Merge. It’s amazing what can be achieved with a few simple tools. We loved working with Fusion Studio for our compositing as the powerful node-driven interface is particularly helpful for organising complex edits and composites.
07. Colour correcting and grading

With the shots composited together, we’re now ready to apply some colour correction and colour grading to our layers to try and tie everything together into a shot that looks like it was taken with a single camera. In reality, the steps of colour correction and compositing are often done side-by-side or to-and-fro in a project, but for this tutorial we’re making them in order.
Using DaVinci Resolve, we applied Exposure, Colour Corrections and Colour Curves as well as Brightness and Contrast. It takes a good eye and a good knowledge of colour theory to bring all this together.
08. Using post-production effects
Alongside colour correction and grading we also applied a variety of post-production effects to the scene to give it a more cinematic appeal. This mainly took the form of adding depth of field into the shots. This is one of the things that can be lost from a shot when every plane (the foreground, mid, and background) are broken down into their individual elements. It’s fairly straightforward to introduce them back in with blurring and defocusing tools. These will help to focus the viewers’ eyes to the areas we want them to look.
09. Adding the final VFX
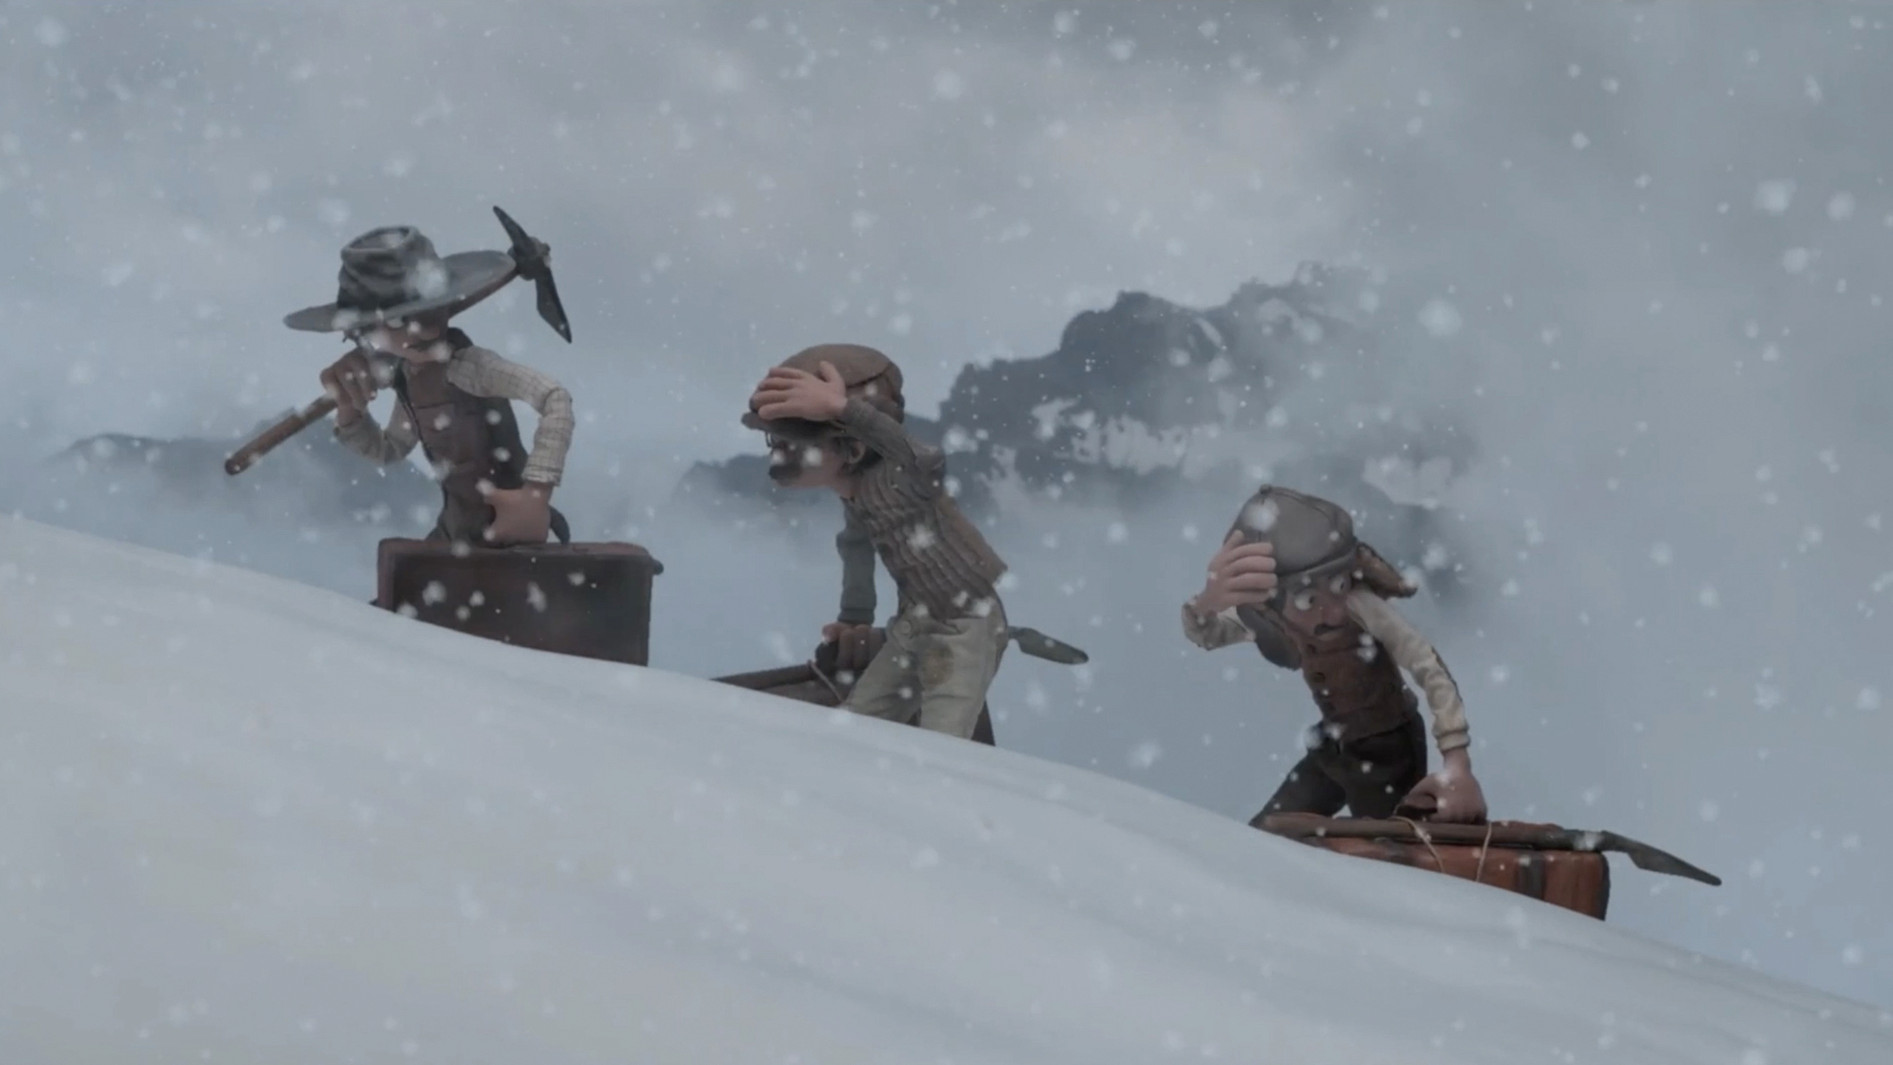
And now we reach the stage where we’re able to add in some interesting final effects that will help to push the film’s cinematics to a whole new level. For example, in the shot on the mountainside we decided to add in some animated clouds and an array of snowflakes.
Alongside the audio and sound effects, we created a beautifully immersive experience for the film’s viewers. For these final elements we used Grid Warp, Perspective Positioner and Particles.
Behind the scenes: tips and advice
There were a few more considerations we had to take into account behind the scenes while bringing this film to life. Here's two pieces of advice:
Schedules
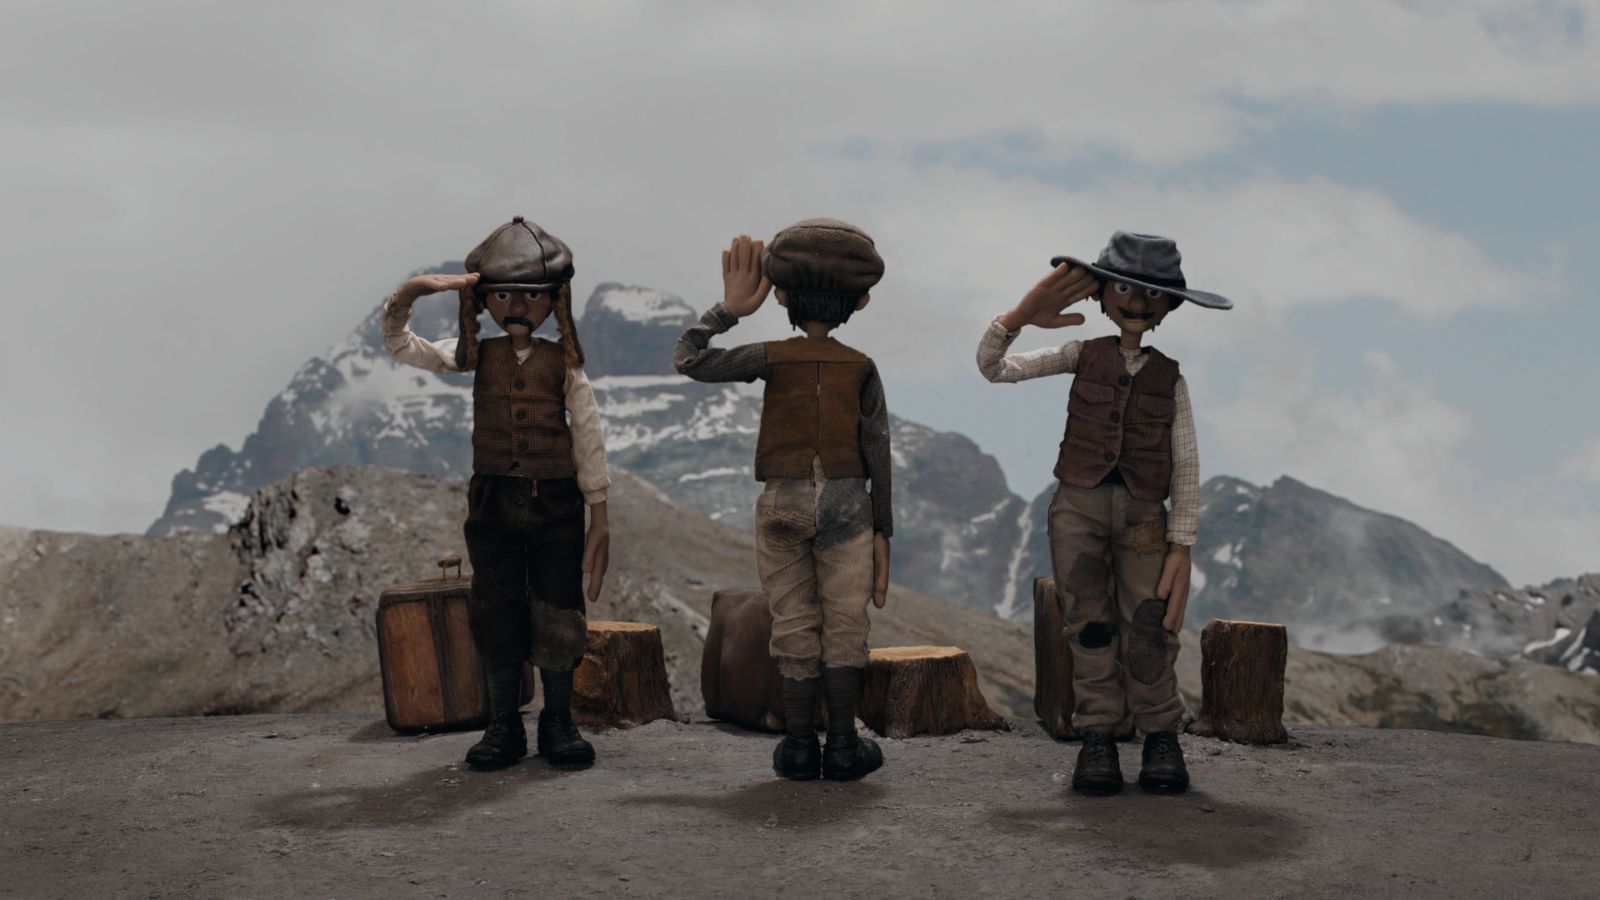
To stay in budget we decided to build big sets used for a lot of shots. For characters, we decided to make only three types of puppets (women, men, and children) and a limited number of puppets, making it a challenge to schedule shooting due to availability. For hybrid shots, we had to play with the stop-motion schedule and Alain’s availability as an actor.
ACES workflow
We shot in RAW, but this isn’t a format suitable for postproduction. We convert CR2 files to EXR as DaVinci Resolve can handle ACES in different formats throughout the chain. During production, we use Fusion studio and Resolve to export different files. Lighter ProRes files are used during offline editing, while we use OpenEXR/ACES files in Float 32-bit for compositing and colour grading.
Get more tutorials in 3D World
This content originally appeared in 3D World magazine, the world's leading CG art magazine. 3D World is on sale in the UK, Europe, United States, Canada, Australia and more. Limited numbers of 3D World print editions are available for delivery from our online store (the shipping costs are included in all prices). Subscribe to 3D World at Magazines Direct.


.png?w=600)

