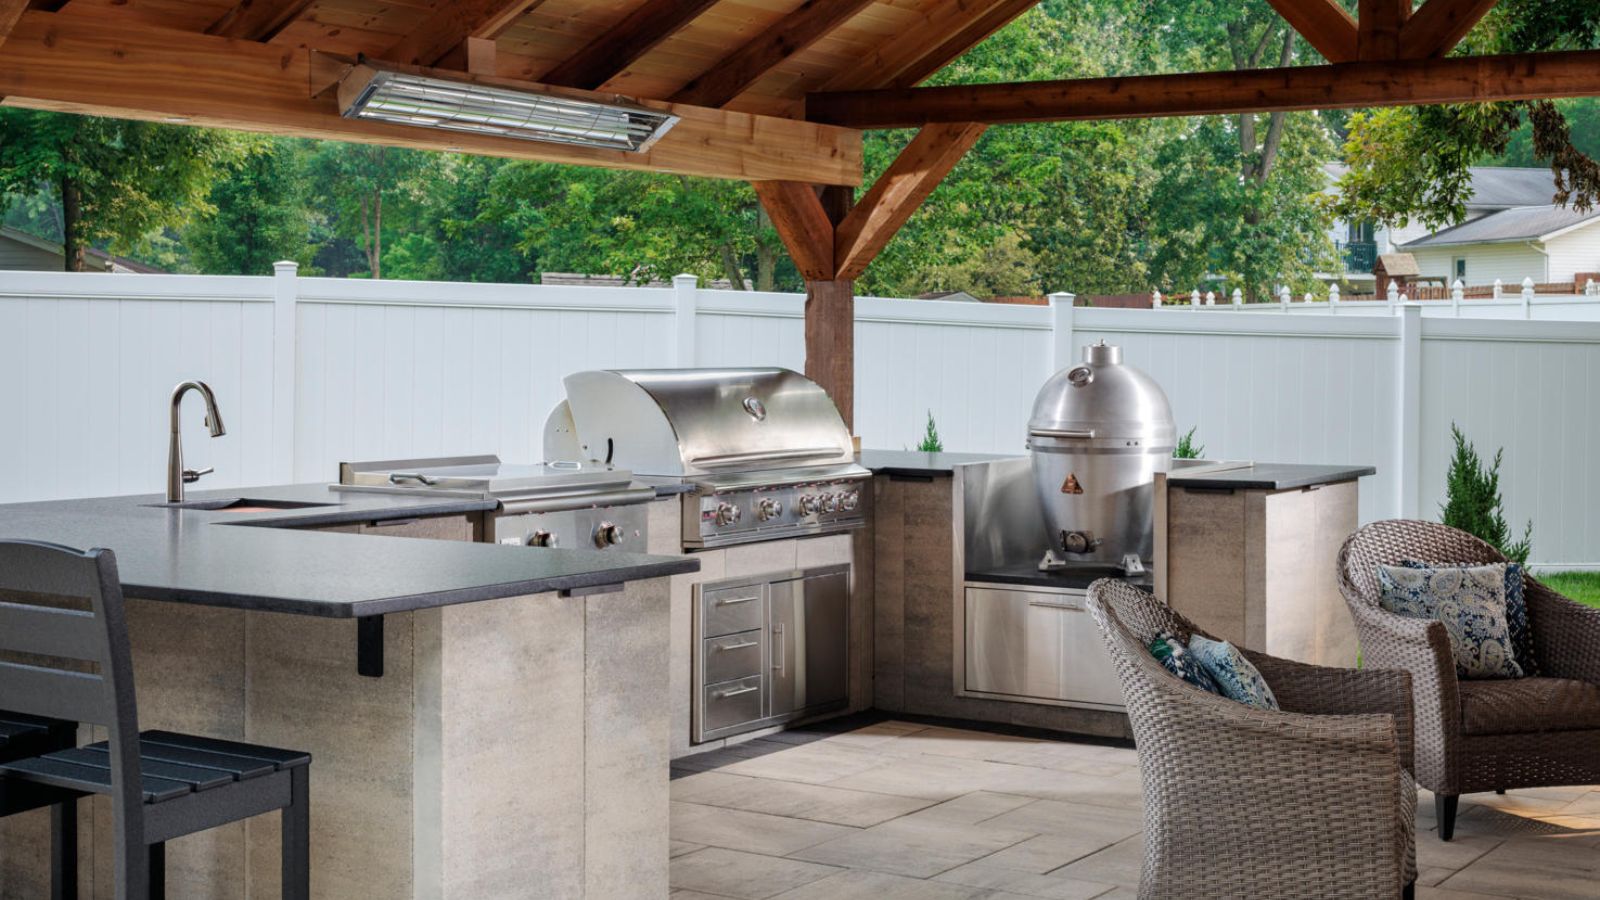
When the temperature begins to drop, taking the time to winterize your outdoor kitchen will ensure it stays in great condition throughout the colder months. By protecting your appliances, countertops, and water lines from the elements, you can ensure that everything will be ready to fire up when spring rolls around again.
Skipping this essential step can result in costly issues such as burst pipes, rusted appliances, and weather-worn surfaces – problems no homeowner wants to face when warmer days return. Thankfully, winterizing your outdoor kitchen is a simple process, our experts say.
Whether you have a small grill or a full outdoor kitchen, these winterizing tips will help protect your space until it’s time to fire it up again.
Winterizing an outdoor kitchen
Joe Raboine, VP of design at Belgard, explains that winterizing is essential for protecting your outdoor kitchen investment from the elements. 'By doing this prep work, you will ensure your outdoor kitchen is ready to go as soon as the weather gets warmer,' Joe says.
The key steps, he adds, include draining water lines, cleaning appliances, shutting off the gas, and covering both materials and appliances to shield them from harsh winter conditions.
Why should you winterize an outdoor kitchen?
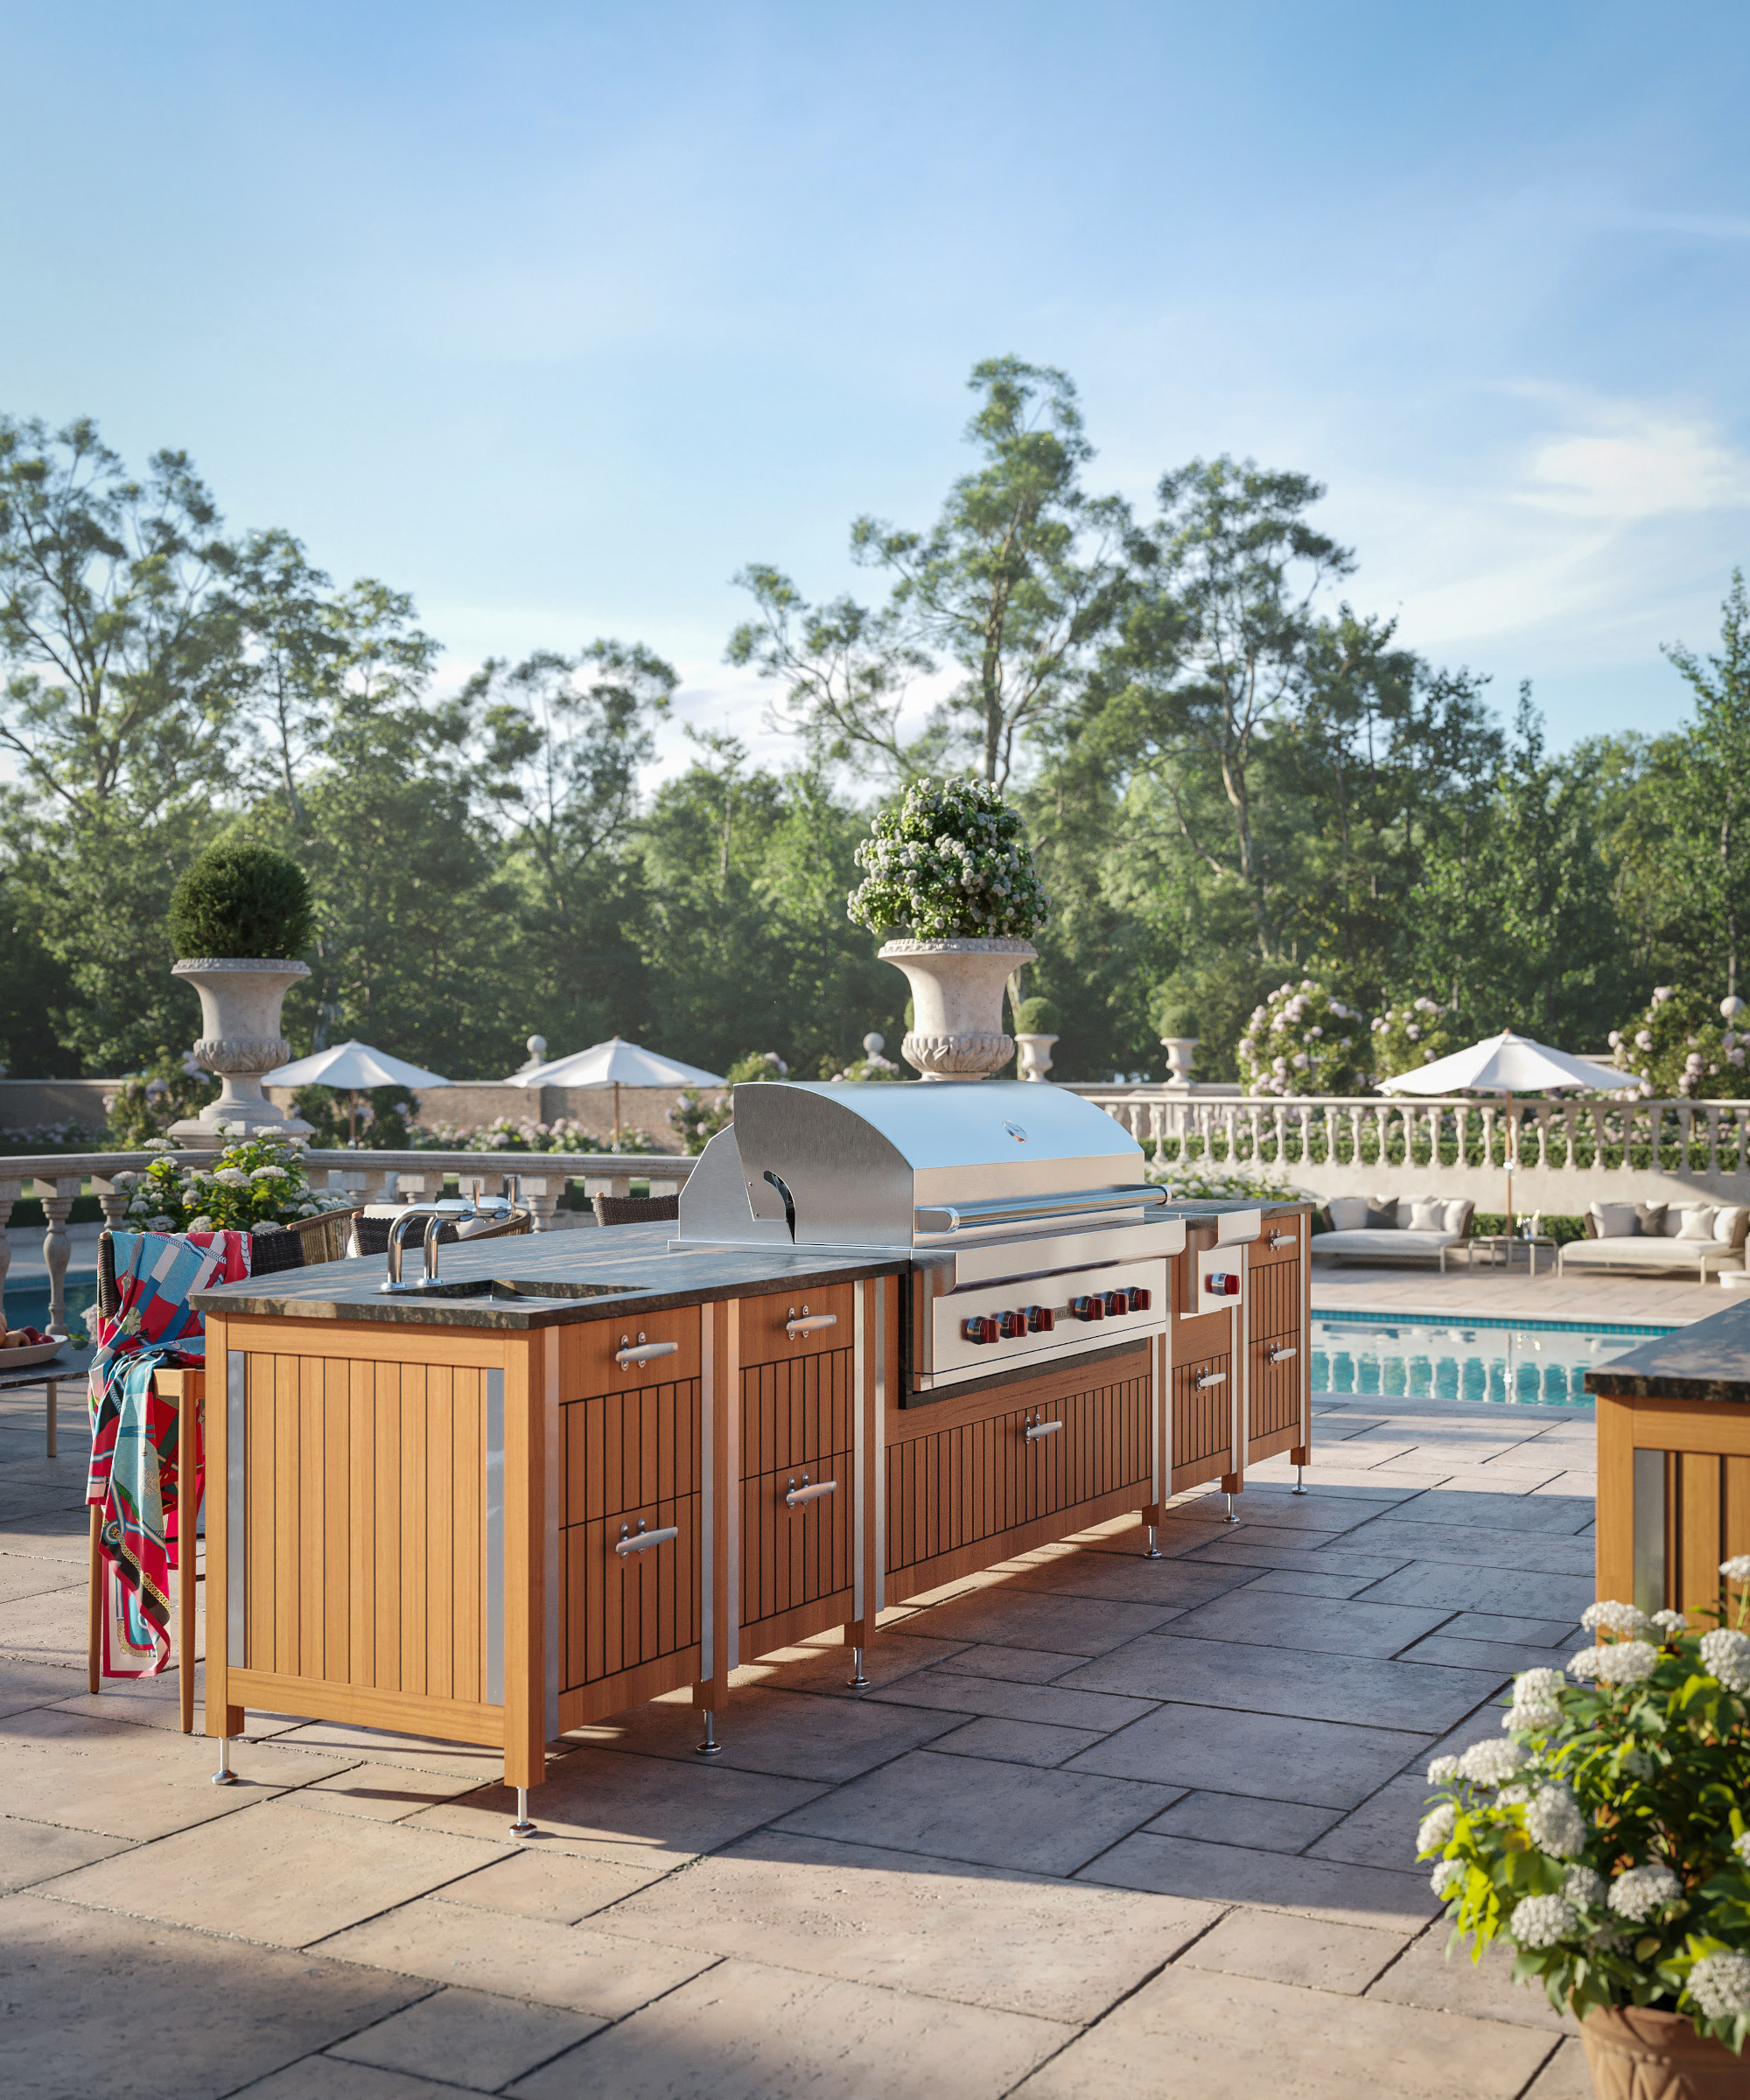
Your outdoor kitchen is a valuable extension of your home, and winterizing it ensures you’ll be able to enjoy it for years to come. Without protection, freezing temperatures can wreak havoc on appliances and surfaces, causing everything from burst pipes to rust and deterioration. The harsh elements of winter can also easily shorten the lifespan of your kitchen if left unprotected.
Beyond the financial investment, winterizing your house and outdoor area helps maintain the appearance and functionality of your outdoor kitchen. From protecting delicate appliances to shielding countertops and cabinets, taking preventive steps now will save you from headaches and costly repairs at a later time.
When should you winterize your outdoor kitchen?
Timing is key when it comes to winterizing outdoor spaces, and understanding your climate is the first step. Glenn Lewis, president of Mr. Appliance, says you should try to complete the process before the first freeze. 'In areas with extreme winters, the best option is to start winterizing your outdoor kitchen in the late fall, before the first freeze, to prevent any issues with pipes freezing or appliances malfunctioning in the winter,' he explains.
In milder climates, homeowners may be able to enjoy their outdoor kitchen throughout the winter months, but Glen Lewis suggests paying close attention to local weather patterns. 'Even in areas with more temperate winters, sudden cold snaps can cause unexpected damage if your kitchen isn’t ready,' he warns.
A step-by-step guide to winterizing an outdoor kitchen

Step 1: Clean the Kitchen Thoroughly
The first step in the process is to deep clean your outdoor kitchen. Start by removing any traces of leftover food, scrubbing down all surfaces, and ensuring appliances are spotless. This helps prevent rust, mold, and other damage during the colder months.
Now is the time to wash all counters and remove stains, clean refrigerators, and give upholstery a spruce. You'll also want to vacuum out any pesky bugs, so it's worth getting your hands on a quality, cordless handheld vacuum cleaner.
All prices correct at time of publication.
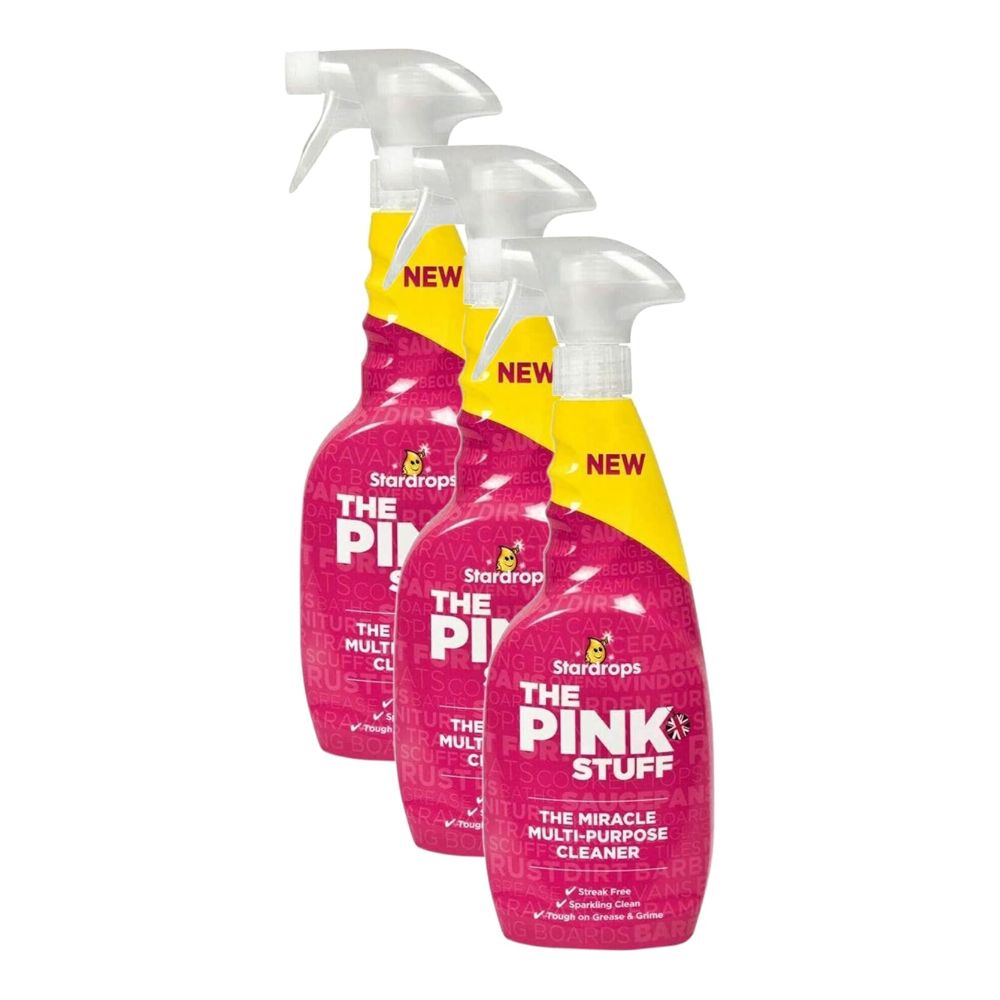
The Pink Stuff is known for making light work of greasy surfaces and kitchen-related messes. This three-pack of sprays will help you conquer even the messiest of outdoor kitchens.
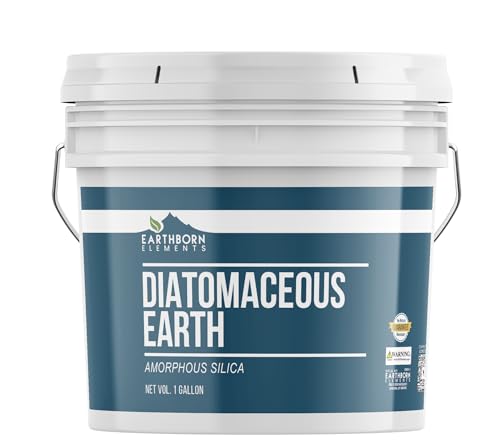
Say goodbye to unwanted critters by sprinkling this diatomaceous earth around areas where pests tend to gather. This natural, non-toxic powder works by dehydrating insects and beetles. Wear a mask to avoid inhalation.

The pivoting design of this vacuum helps reach deep into hard-to-access spaces, making it ideal for removing dirt and debris from countertops, grills, and even under appliances.
Step 2: Turn off and drain water lines
One of the most important steps in winterizing your outdoor kitchen is dealing with the water lines. As Leslie Chapus, VP and co-founder of Azenco Outdoor, explains, 'Water left in pipes can freeze and expand, leading to burst pipes, leaks and costly damage.'
To avoid this, be sure to shut off the main water supply and drain all faucets, sinks, and any outdoor appliances like ice makers and refrigerators.
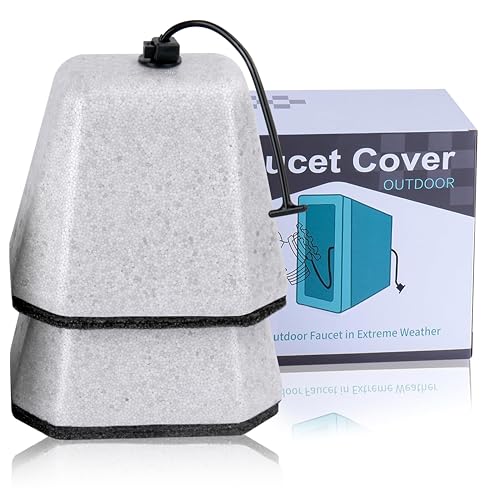
Easy to install and designed to withstand the elements, this insulated faucet cover provides essential protection during the winter months, keeping your outdoor plumbing safe.
Step 3: Shut down gas and power
In addition to draining the water lines, shutting off the gas supply to your outdoor appliances is an essential step. Grills, stoves, and other gas-powered equipment are vulnerable to cold temperatures, and leaving gas lines active could result in a serious safety hazard. Begin by turning off the main gas supply to all outdoor appliances to avoid any risk of gas leaks or damage over the winter months.
Propane tanks should always be disconnected and stored in a well-ventilated, dry area for winter. While outdoor storage is generally safe, make sure the tanks are kept out of direct contact with snow and ice to prevent rust and pressure fluctuations. If storing outdoors, choose a covered, shaded spot away from harsh weather.
Now is also a good time to inspect gas and water lines for any wear or damage.
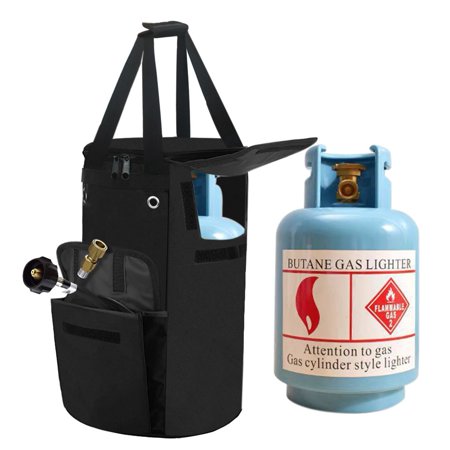
Durable and practical, this zip up bag ensures your propane tank stays secure and protected, whether you're on the go or storing it at home.
Step 4: Cover and protect appliances
To safeguard your outdoor kitchen appliances, covering them is a must. Protective covers can shield grills, sinks, and cabinets from snow, ice, and debris. It will also help prevent them from rusting.
Joe Raboine suggests this simple tip: 'Leave refrigerators unplugged and slightly open to help air circulate and prevent moisture issues.' If you choose to fully close the refrigerator, make sure to check regularly for any signs of mold or moisture.
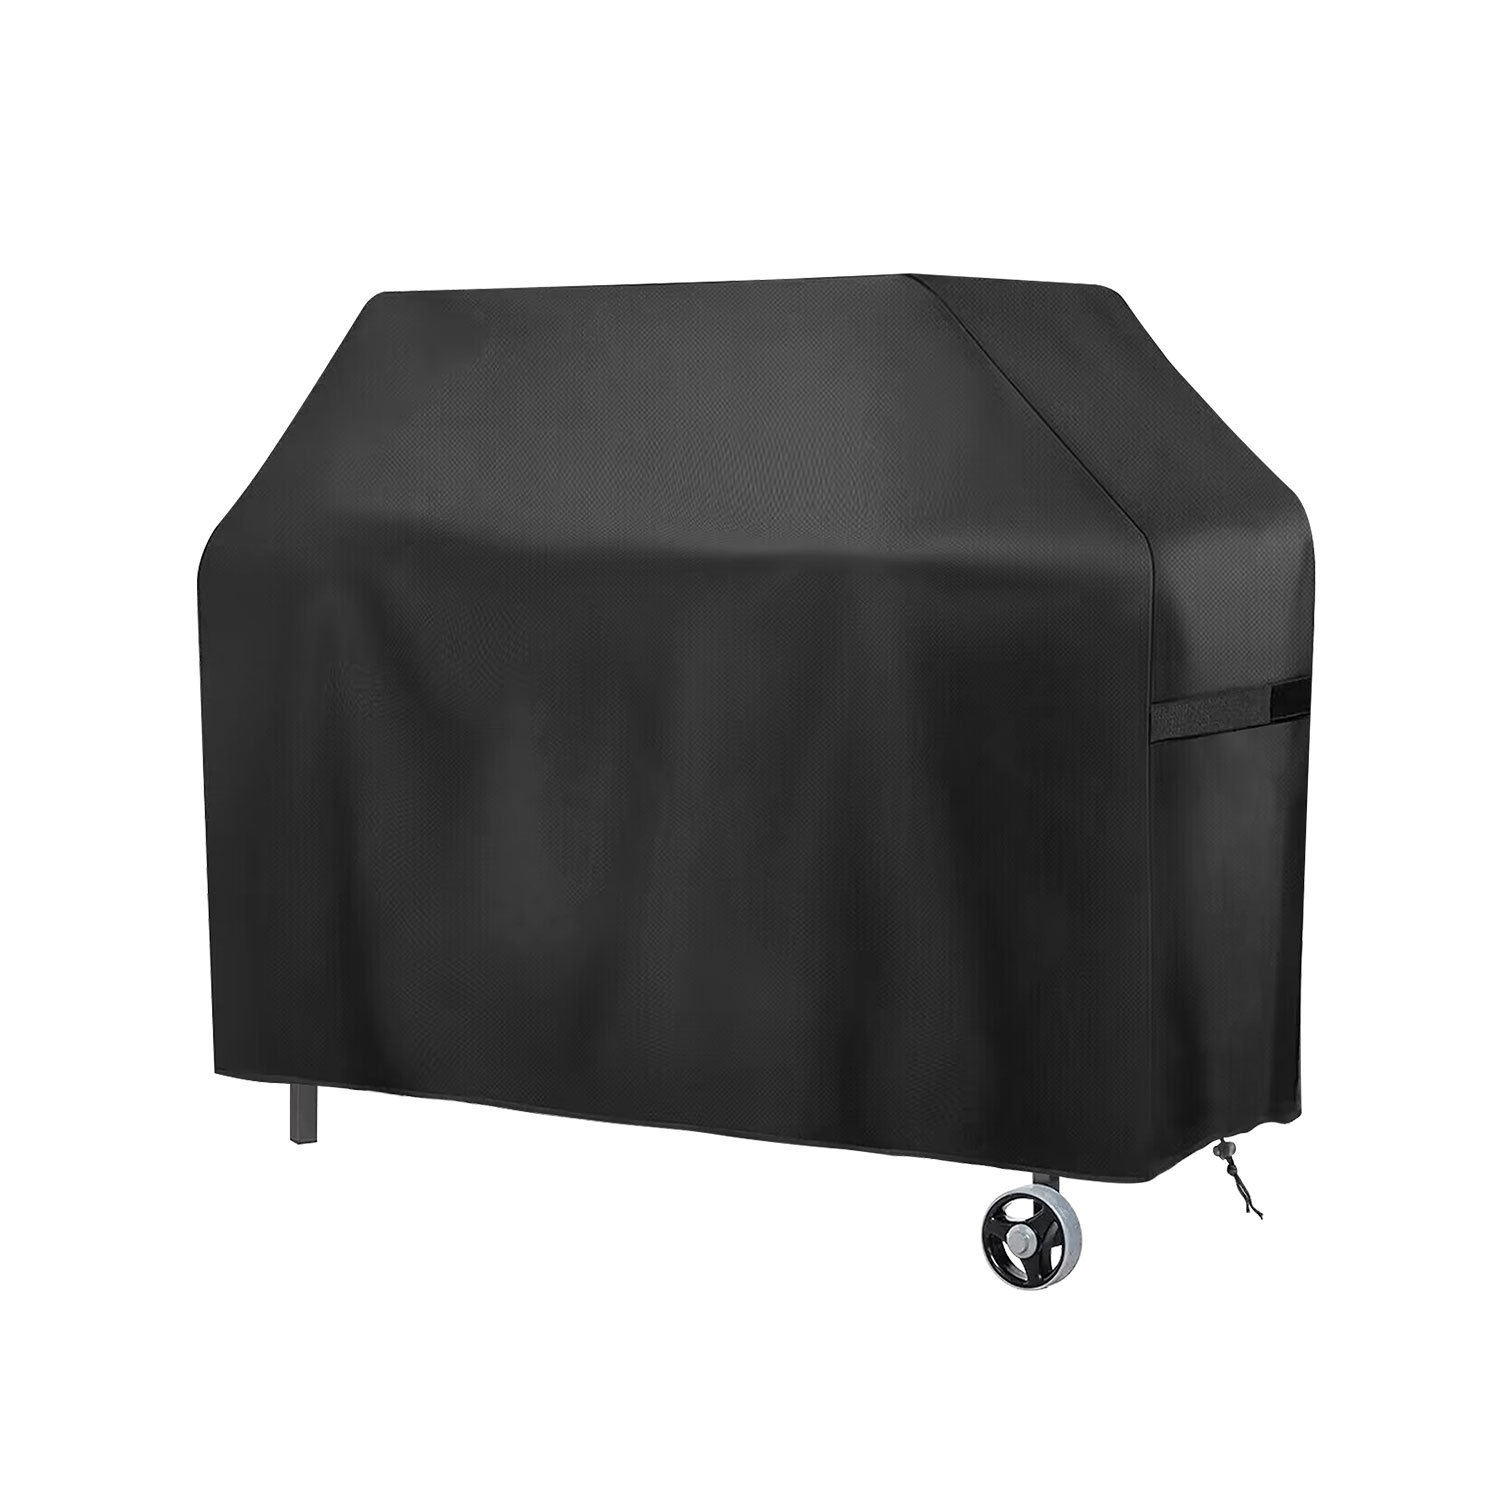
This heavy-duty cover, made from waterproof and UV-resistant 600D oxford cloth, ensures durable, all-weather protection for your outdoor grill.
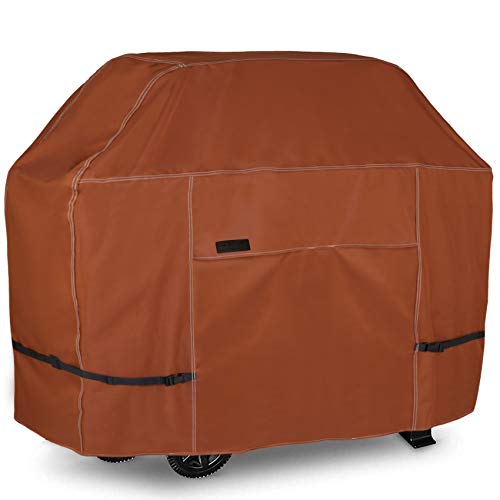
This heavy-duty grill cover is not only waterproof and adjustable, but also comes in four stylish color options – beige, light tan, brown, and black.
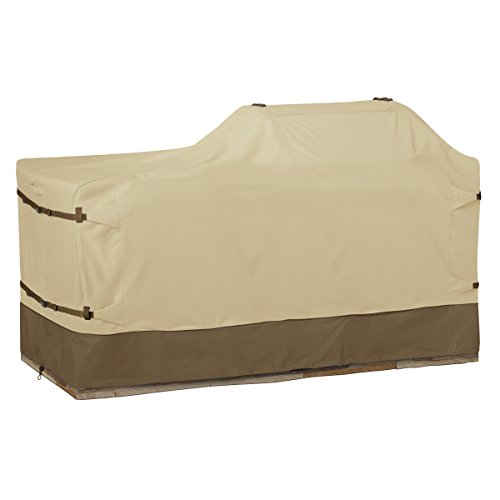
This elegant kitchen island and grill cover features durable, UV-resistant fabric, adjustable straps, and air vents. It forms part of a wider range of stylish outdoor covers.
Step 5: Store Outdoor Furniture
Even the best outdoor furniture can be vulnerable to moisture, freezing temperatures, and UV damage when exposed to the harsh conditions during the winter months. Over time, these elements can cause materials to crack, fade, or even warp, significantly reducing the lifespan of your furniture. If possible, the best option is to store your furniture indoors for the winter. Keeping it sheltered from snow, ice, and rain will prevent unnecessary wear and tear.
If indoor storage isn’t an option, weatherproof covers are a great alternative. Be sure to use covers that are specifically designed to shield outdoor furniture from moisture and cold, helping to protect wood, metal, or fabric from long-term damage.
Leslie Chapus recommends cleaning outdoor cushions thoroughly before storing them: 'Cleaning and storing cushions and accessories prolongs their life and keeps them in good condition for the next season.' This extra care and attention will ensure your furniture stays looking its best and is ready for use when warmer weather returns.

This set of waterproof and tear-resistant outdoor covers is ideal for protecting your outdoor kitchen island and matching furniture from cold weather, rain and snow.
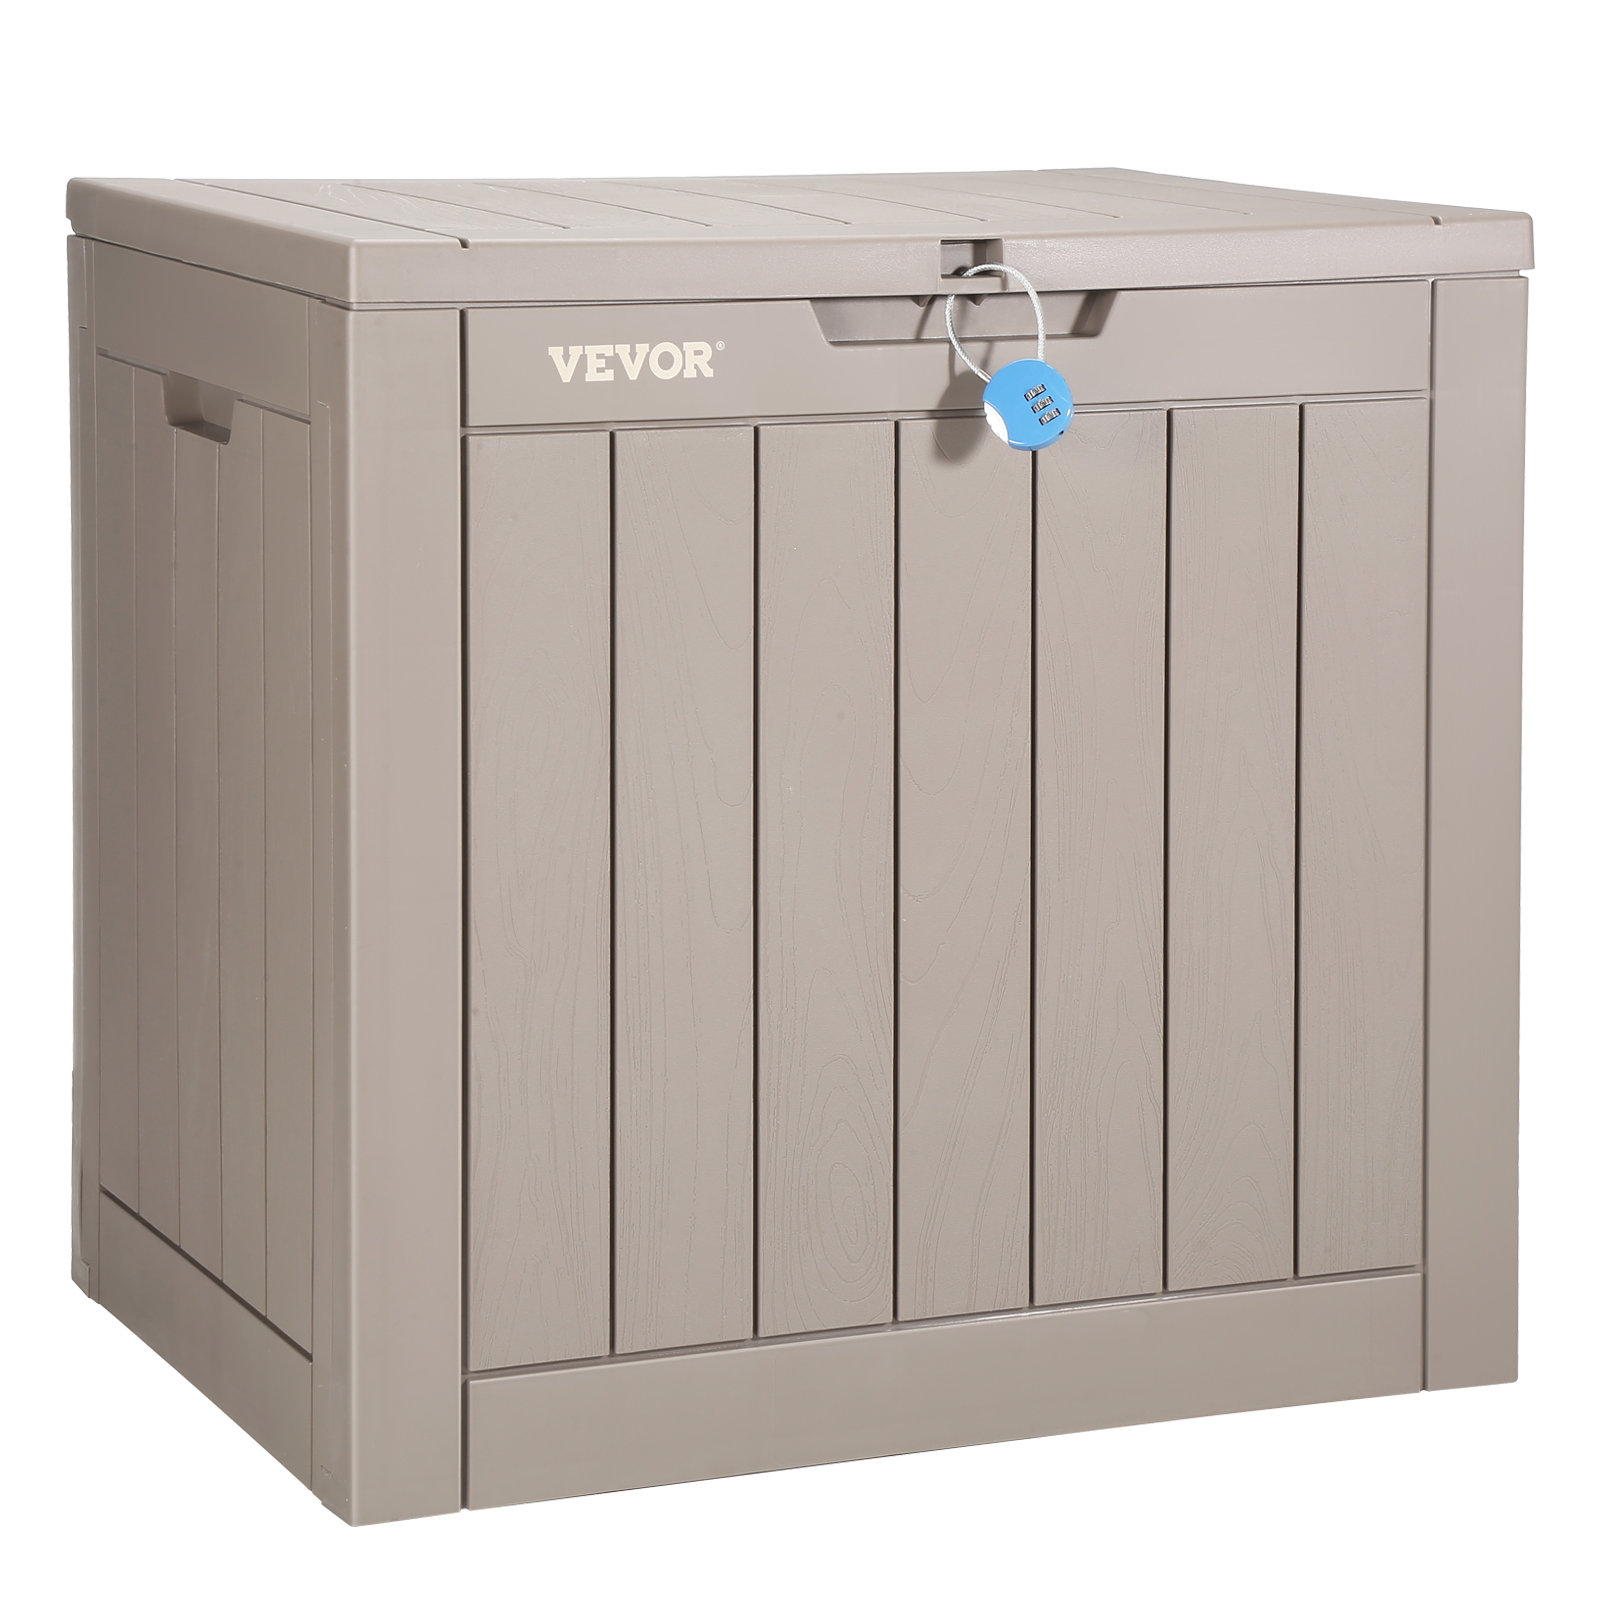
Stow away your outdoor cushions and kitchen accessories in this 31 gallon waterproof deck box to keep them protected from the elements. It's also lockable for added peace of mind.
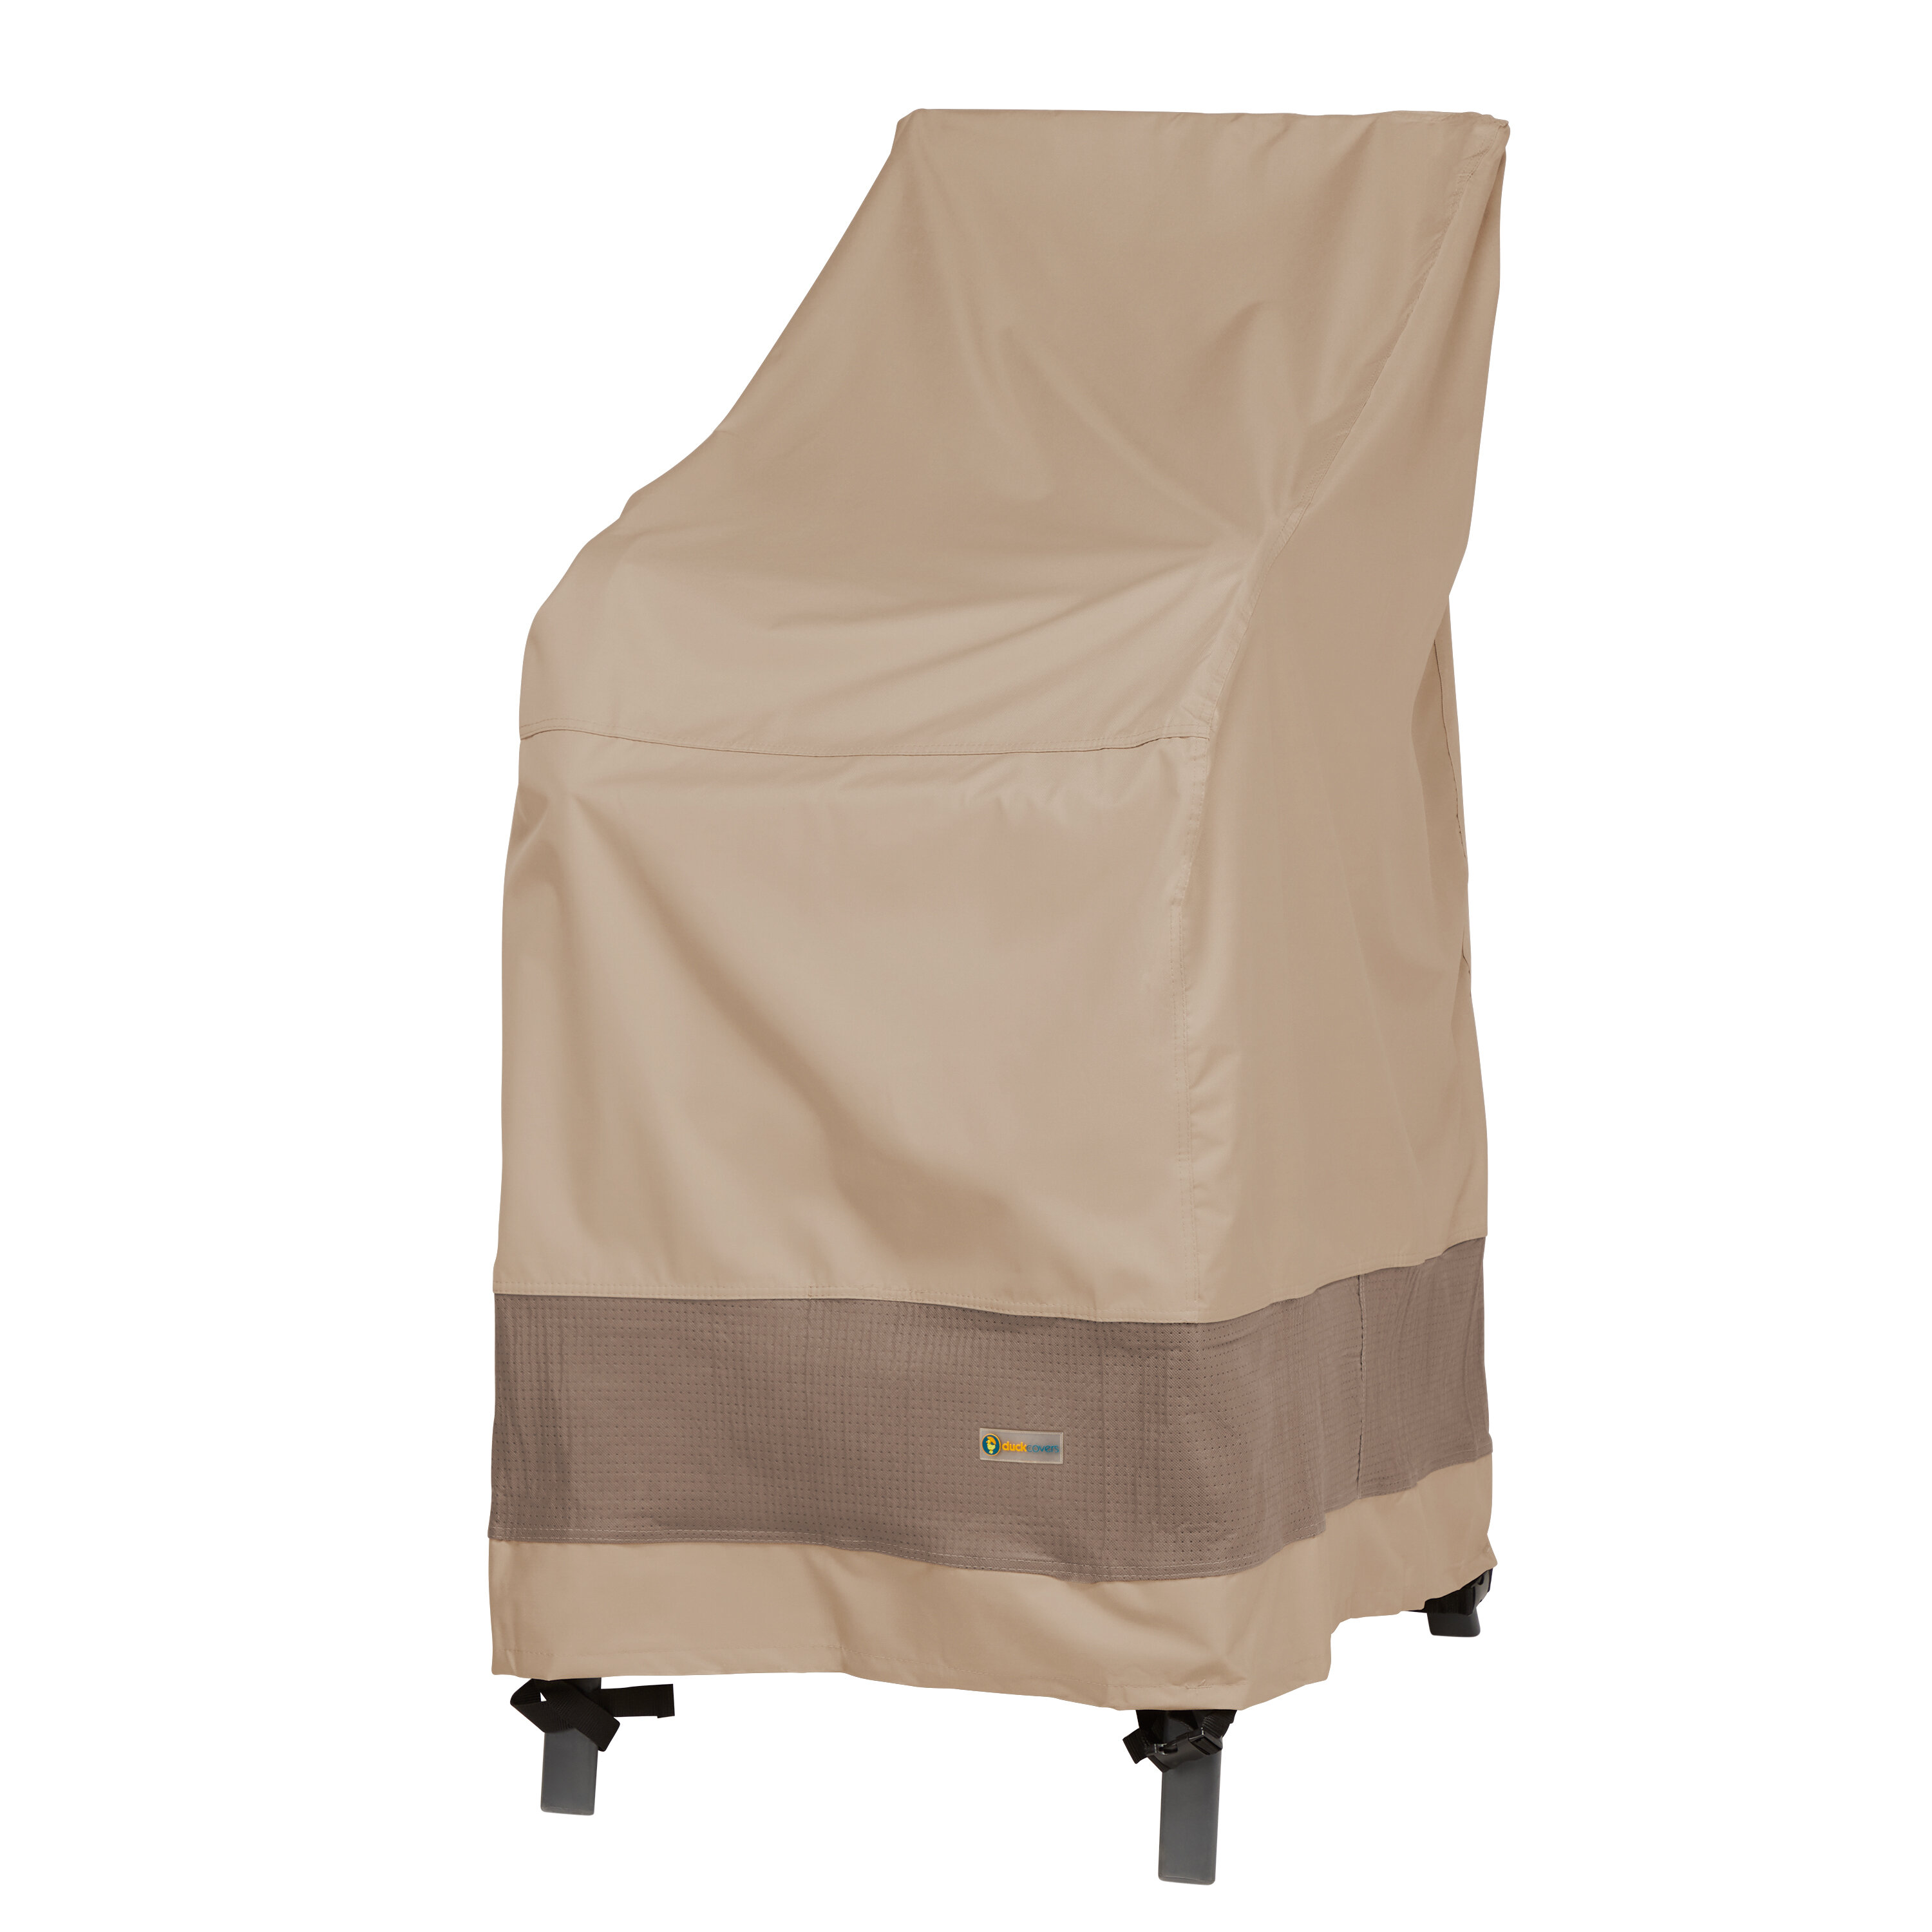
Keep taller chairs and outdoor stools protected during winter with this secure, waterproof cover. Crafted from high-strength polyester, these covers let the rain roll right off whilst the fasteners will stop it blowing off.
Step 6: Seal and protect surfaces
Cold weather can be especially harsh on outdoor surfaces like countertops, cabinets, and flooring, particularly those made from porous materials such as stone or wood. When exposed to freezing temperatures and moisture, these materials are prone to cracking, warping, and staining.
To protect your outdoor kitchen countertops and cabinets, be sure to cover them or apply a high-quality sealant before the cold weather arrives.
For stone countertops or concrete surfaces, a weatherproof sealant will protect against moisture, which can seep into tiny cracks and freeze, causing the material to expand and break.
Ghostshield countertop sealant from Home Depot works well on concrete surfaces, while this Stain Proof Dense Stone Impregnating Sealer from Amazon is ideal for natural stone worktops.
Wooden surfaces, meanwhile, should be covered to prevent moisture from soaking in and freezing, which can lead to swelling and cracks.
FAQs
What Might Happen If You Don’t Winterize Your Kitchen?
Not taking the necessary steps to winterize your outdoor kitchen can lead to significant damage to your appliances and surfaces. Water left in pipes can freeze and expand, causing them to burst, and unprotected appliances may rust or deteriorate over the winter.
Beyond plumbing issues, failing to clean and prep your appliances can lead to mold, and rust, reducing their lifespan, and can even lead to pest infestations.
How long does it take to winterize an outdoor kitchen?
The time required to winterize your outdoor kitchen depends on its size and the number of appliances you have. For most standard setups, the process will only take a few hours. If your kitchen includes more complex systems – such as built-in water or gas lines – it may take a full day to properly drain and shut everything down. The earlier you start, the better prepared you’ll be for winter.
Can I use my outdoor kitchen during the winter?
In milder climates, you may still be able to enjoy parts of your outdoor kitchen, especially for grilling. Leslie Chapus, VP and co-founder of Azenco Outdoor, suggests that adding a sturdy pergola can help protect your kitchen from the elements. The VEIKOUS Aluminum Pergola from Walmart is good value, and made from sturdy, hardy materials.
Similarly, installing patio heaters, also available at Walmart, can keep you and your guests warm, allowing you to continue using the space throughout the cooler months.
As a rule, covered outdoor kitchenss are better equipped to withstand winter weather, making the winterization process easier and reducing wear and tear over time. But even with a covered space, it's essential to select finishes and appliances that are built to withstand the elements.
Do I need a professional to help winterize my outdoor kitchen?
Most homeowners can handle the basics of winterizing an outdoor kitchen themselves, but if your kitchen includes complex utilities – such as built-in plumbing or gas lines – hiring a professional might be worth it. A pro can ensure everything is properly shut down and prepped for freezing temperatures, offering peace of mind that your kitchen will still be in top shape come spring.
Meet our experts
While you are in the process of preparing your outdoor kitchen for the winter months, why not take the time to winterize your swimming pool and winterize your sprinkler system, too? Taking care of all your outdoor areas at the same time ensures everything is fully protected and ready to withstand any cold snap that winter may bring.


