Rain barrels are the perfect way to reuse rainwater. They provide a reliable source of water in droughts and reduce the strain on local water sources. They're usually thought of as a set-and-forget installation - once you've set one up, you shouldn't need to think about it until you need some extra water.
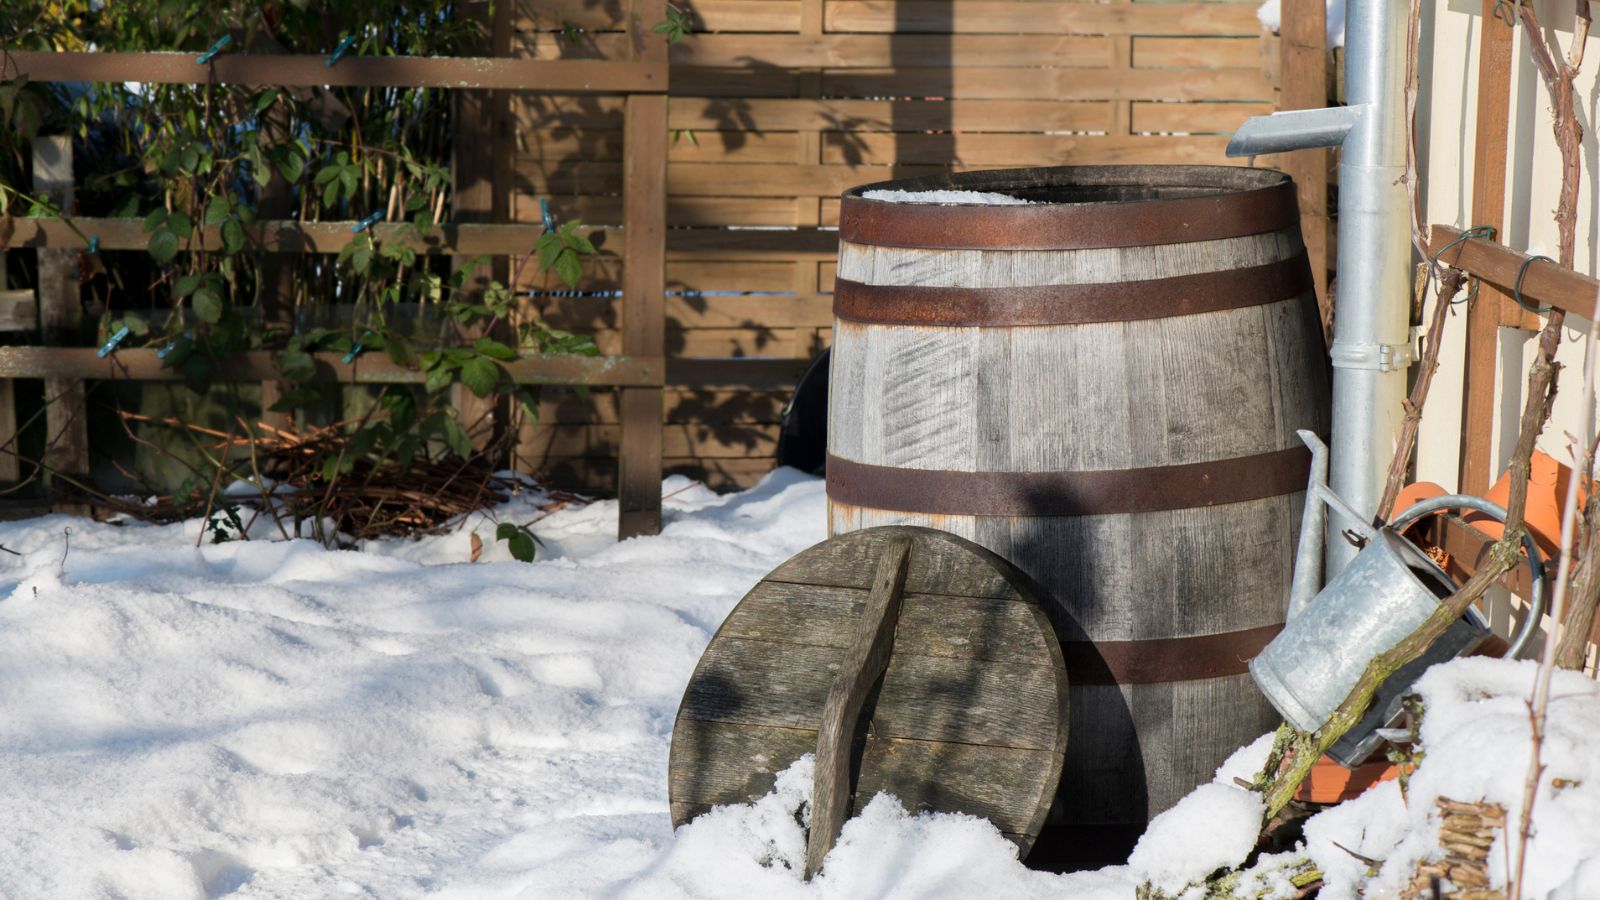
However, if you live in a cold climate, you need to winterize your rain barrel. If you don't, the water inside will freeze, and this can crack the sides of the barrel, ruining it for life.
I spoke to a sustainability expert and a landscaper about how to get your rain barrel ready for a big freeze – and why you should always store it upside down.
1. Drain the water

The first step is to empty the barrel. Sustainability expert Kat Garside says 'Any water remaining in your rain barrel during the winter will freeze and potentially cause damage to your equipment, especially if it’s made from plastic. Completely draining your rain barrel is a crucial first step in winterizing it.'
Thankfully, this is simple to do, but it might need some extra effort. Landscaping expert Jimmy Patterson says that all you need to do is 'Attach a hose to the spigot or use a bucket to remove water.' Kat agrees, saying 'To drain it, simply open up the spigot and let the water pour out. Once the water level is below the spigot, you can likely lift the bucket to pour the remaining water out.'
The effortful part is reusing the water in the tank. It's tempting to open the spigot and let all the water out into the garden, but it's a lot of water to release at once. It can drown your grass or create standing water. Both experts recommend reusing it around the yard or your home. Jimmy says 'Repurpose the water for indoor plants or outdoor shrubs and trees. Alternatively, drain it into a safe area of your yard to avoid pooling or erosion.'
You don't just have to use it for watering plants, either. Kat adds 'Put your remaining rainwater to good use by using it to water plants, clean gardening equipment, or clean around your home. You could even attach your rain barrel to a pressure washer hose to clean up walkways or your home’s siding before the winter weather sets in.'
2. Detach the rain barrel from the downspout

The next step is to disconnect the barrel from the downspout. Not everyone needs to do this. Kat says 'Many downspouts simply empty into a rain barrel filter. If that’s the case for your rain barrel, then you likely don’t have to detach any components.'
It's slightly more complicated if your rain barrel has a diverter. Kat says 'If your rain barrel and downspout are connected through a diverter, you’ll likely need a screwdriver to disconnect them. Start by locating the connection point between the downspout and your barrel, which is likely a latch or screw.' Once you've located the diverter, just unscrew it.
After you've detached the diverter, you'll be left with an awkward length of downspout. There are a couple of ways to deal with this. Jimmy Patterson says 'Once the barrel is empty, disconnect it from the diverter or downspout. Seal the downspout with a plug or redirect it away from your home using a flexible extension.' These are easy to find at hardware stores - you can find a universal downspout plug at Menards, for example.
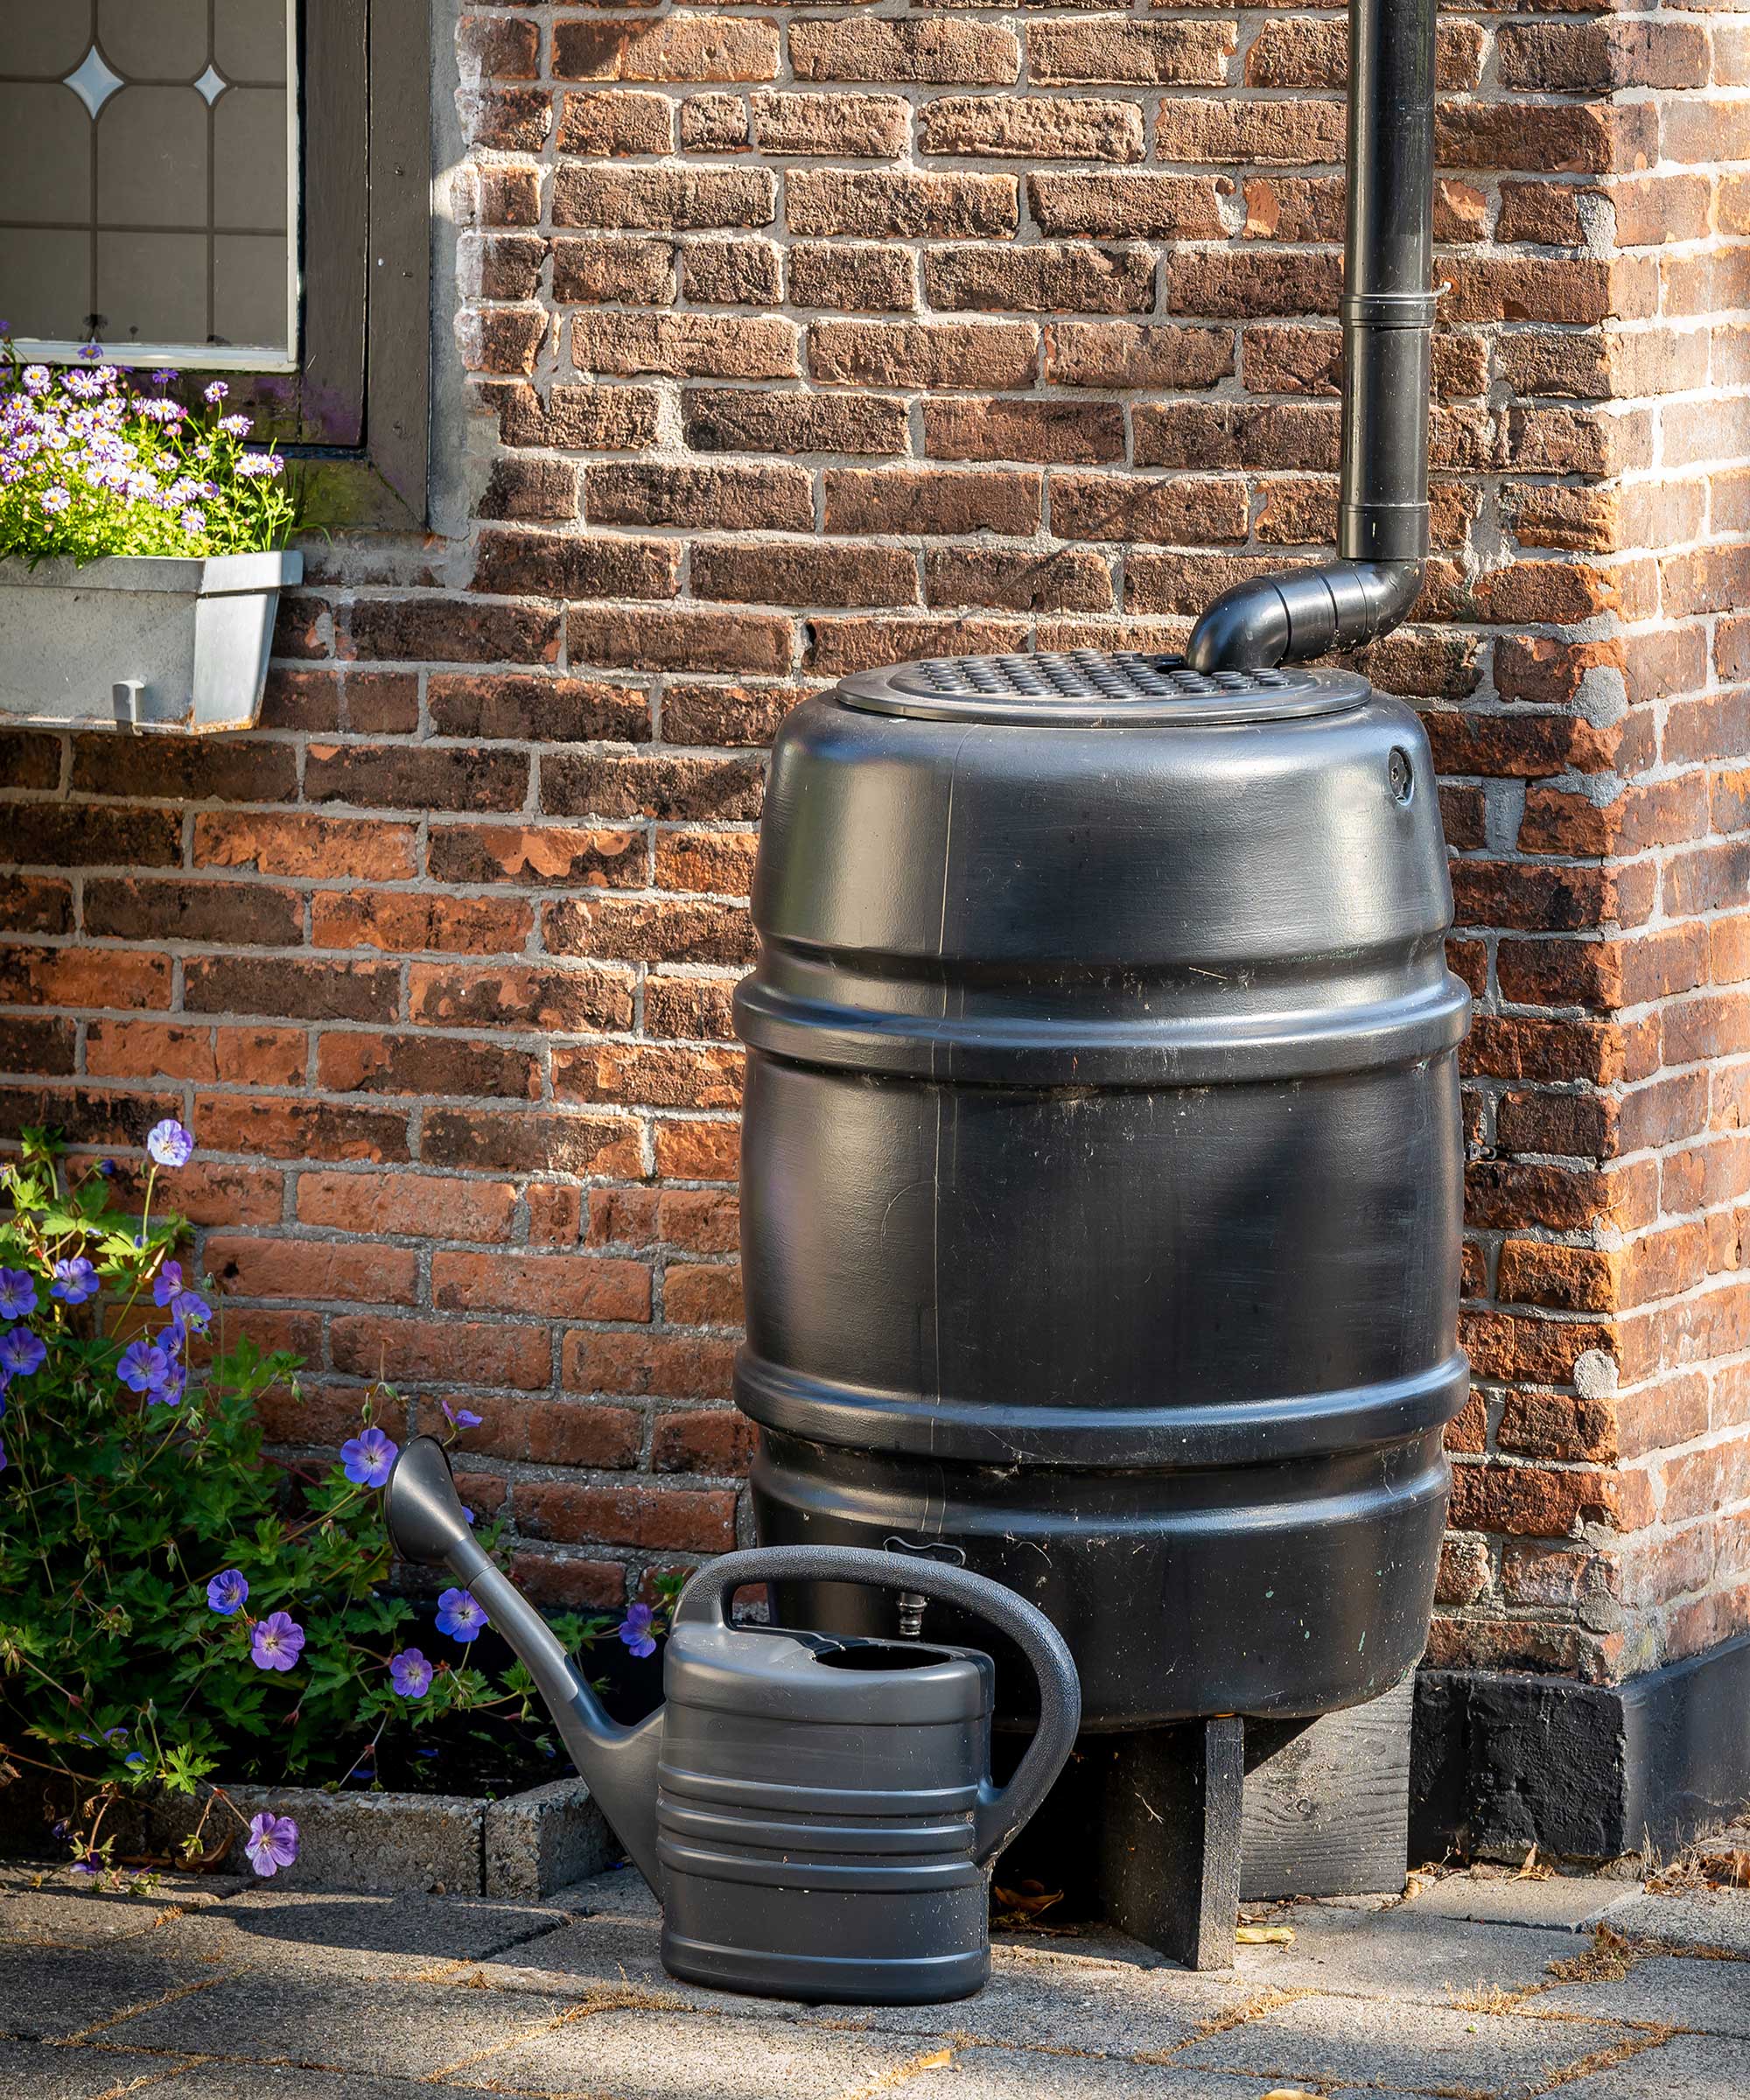
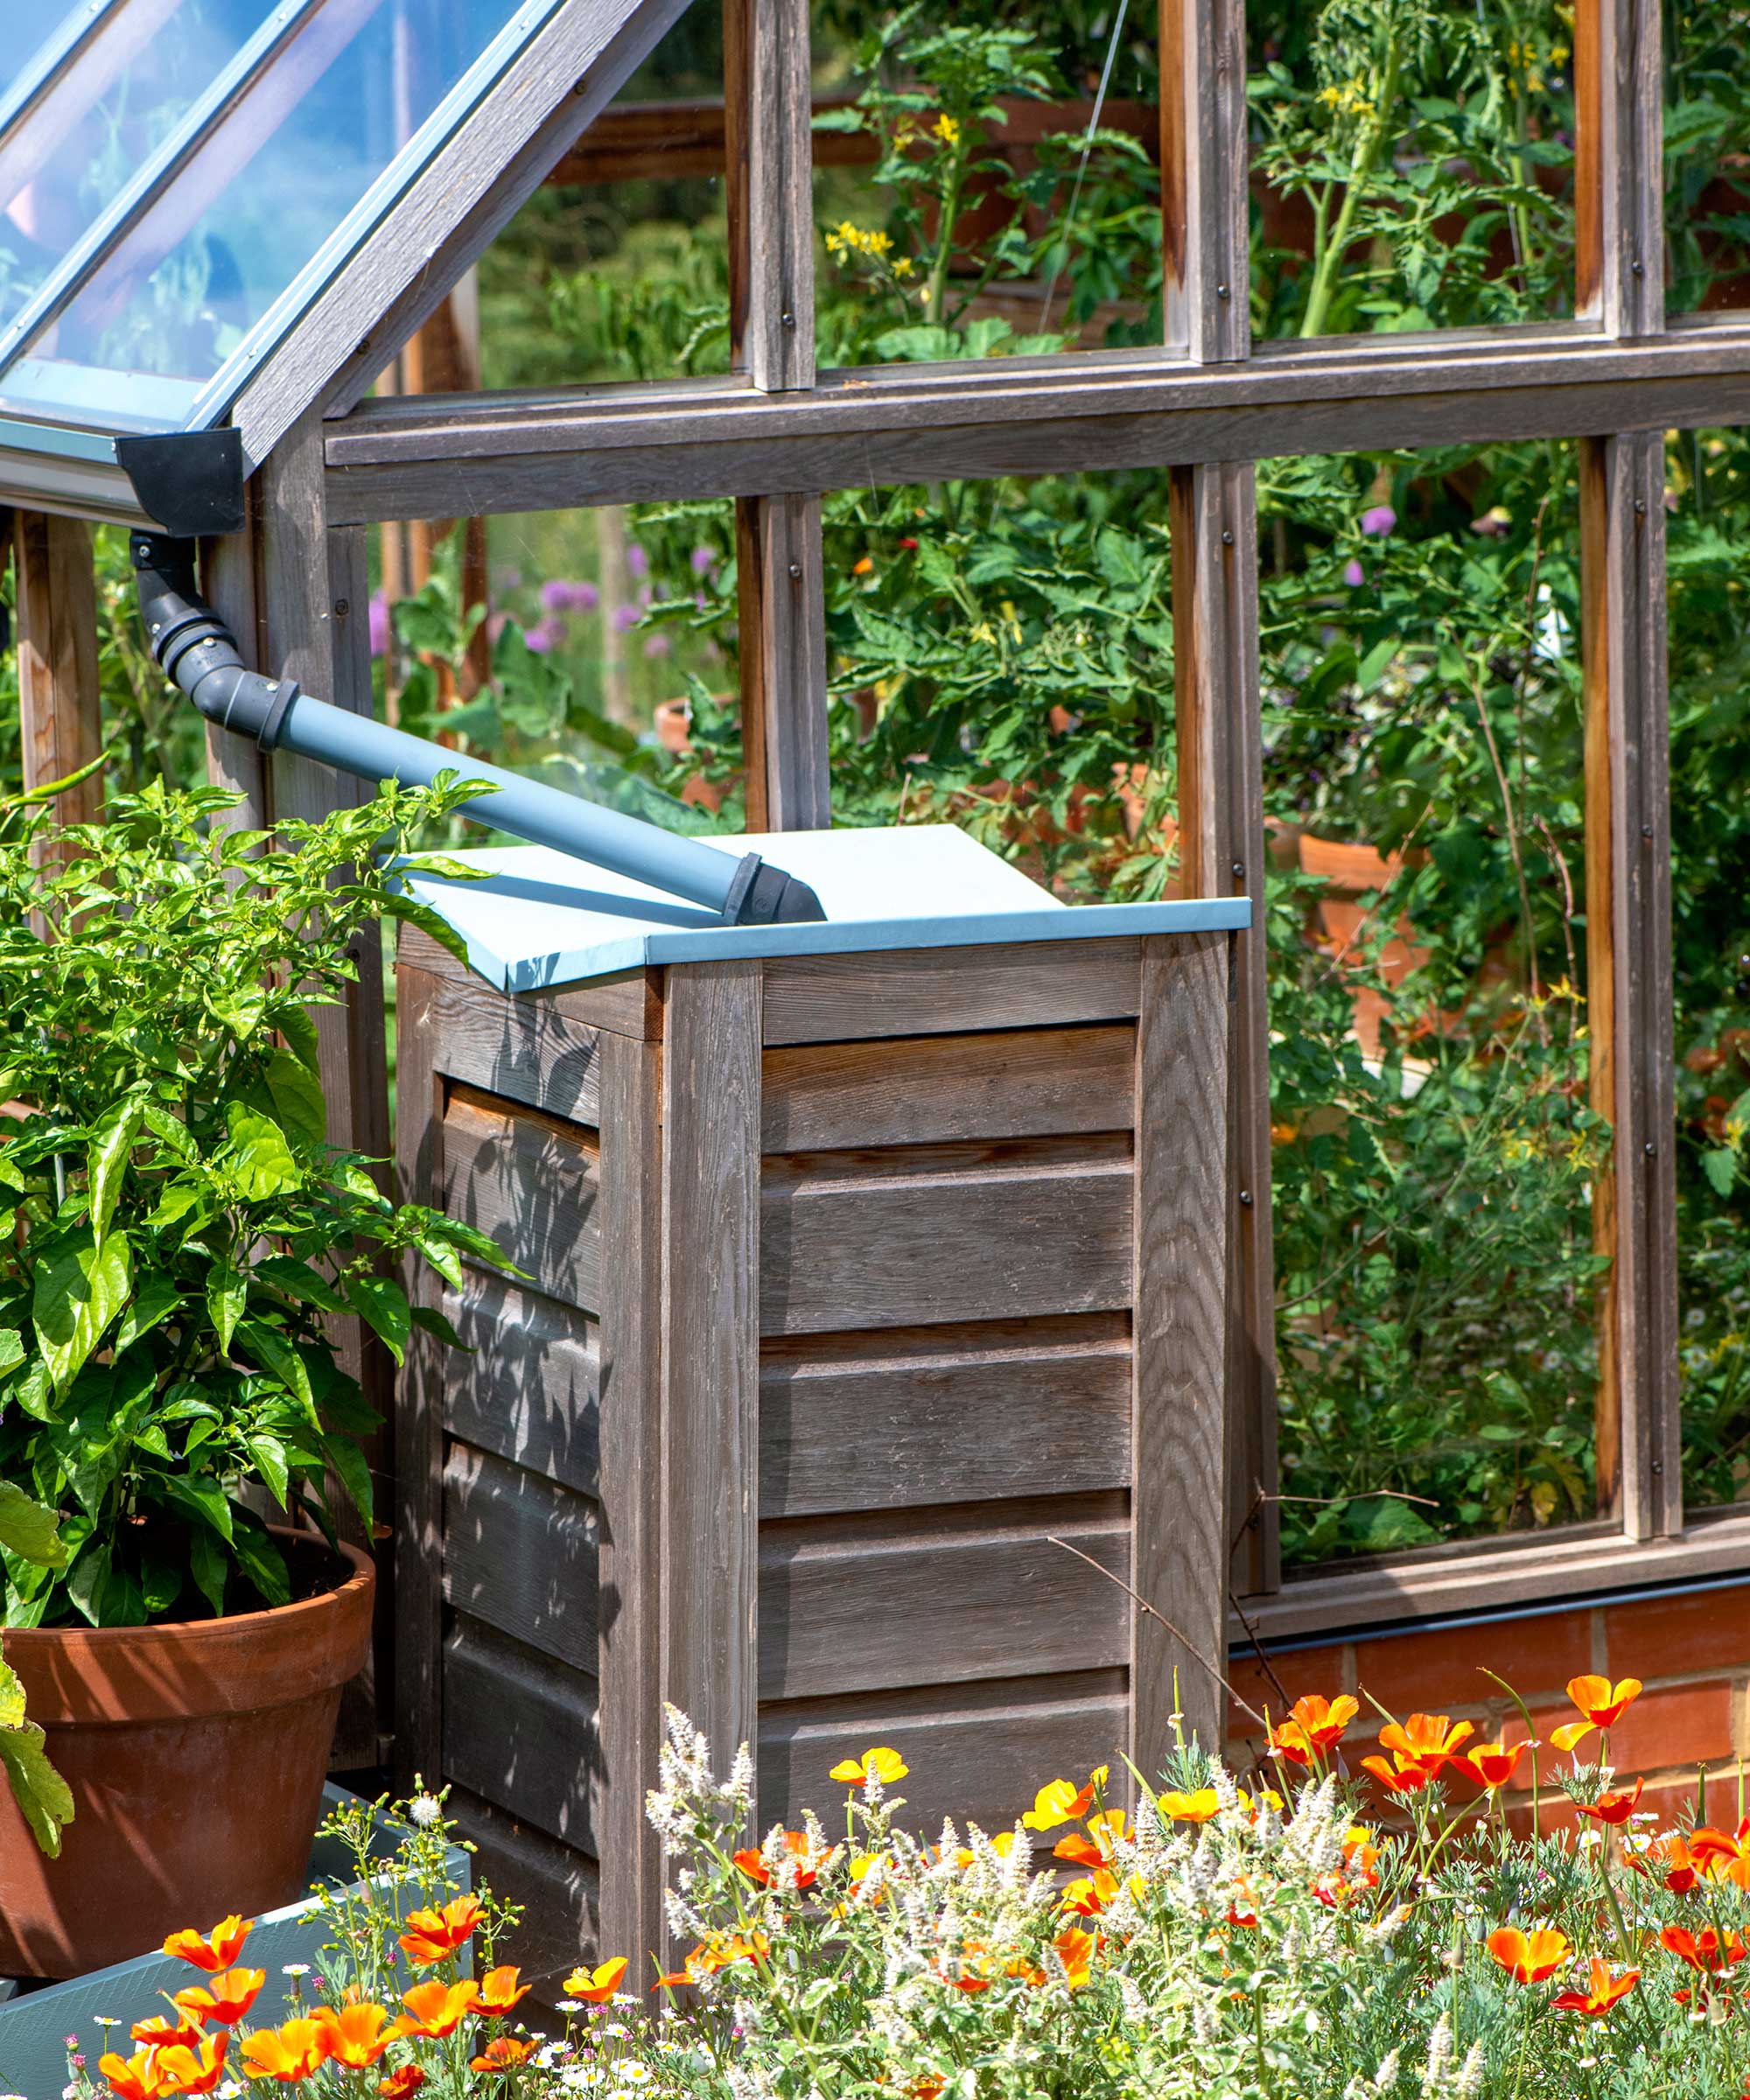
A rain barrel like this is the perfect way to create water storage without introducing a utilitarian black plastic barrel to your yard. It looks like a sleek piece of ceramics, but it also has a planter on the top to further disguise it.
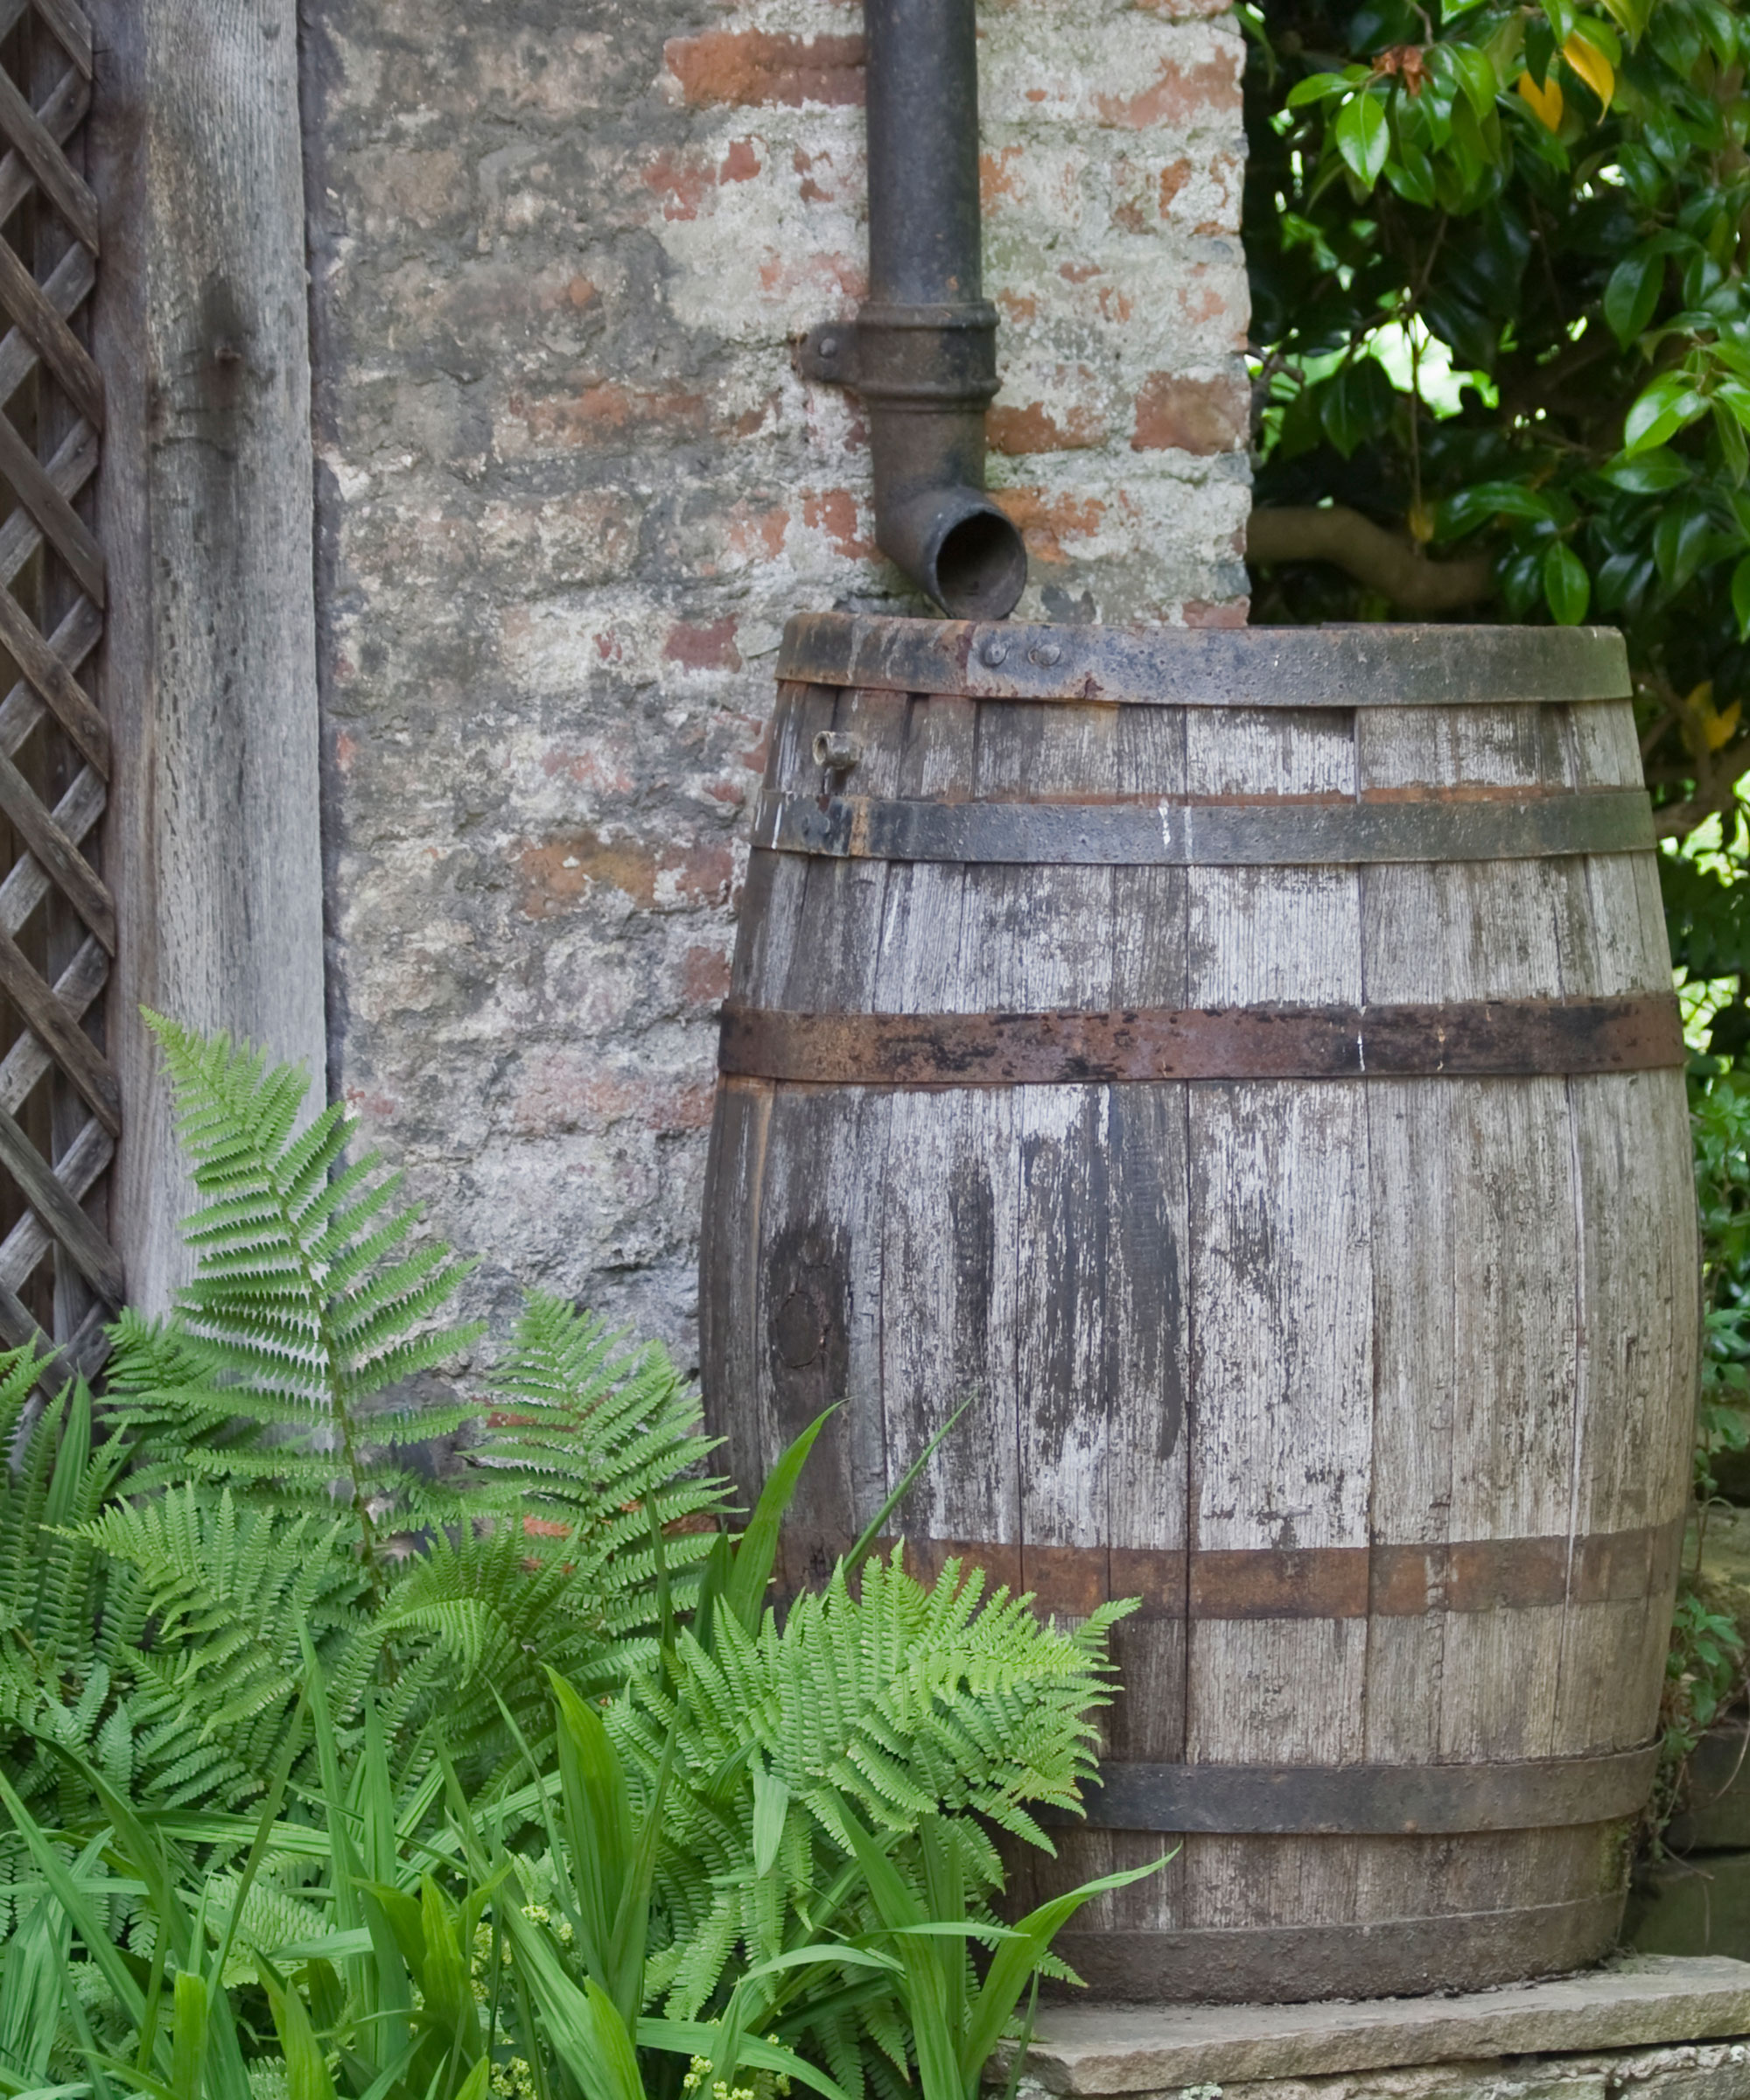
If you have a more traditional or bohemian-style yard, this barrel is a clever way to maintain the look. It looks like an old-fashioned whiskey barrel, but it's made of plastic, so it's far cheaper than buying a true wood rain barrel.
This barrel is a good option if you have polyrattan furniture. It's printed with a wicker effect so it will match the furniture on your patio.
3. Remove any other components

After this, you just need to deal with any leftover components.
Kat Garside says 'Fortunately, there aren’t very many components to a rain barrel. It’s primarily the barrel itself, a lid, the filter or screen, an overflow valve/tube, and sometimes a diverter. You’ve already removed the diverter, or connection point between the downspout and the barrel. From there, you simply need to remove the lid and/or filter.'
Once these are removed, make sure all the components are clean and empty. If there's any water in there, it could freeze over winter and crack, and any debris can become stagnant. The only other thing to do is store these parts for winter. Jimmy gave me a great tip, too. He says to 'Store them in a labeled container for easy reassembly in spring.' If you don't label the parts, it's easy to forget what they are or how they fit together.
4. Store in your greenhouse - or upside down
With the rain barrel empty, the only thing left to do is store it somewhere dry, warm, and secure. Kat says 'If possible, relocate your water barrel and its components to an indoor storage area, like a garage or garden shed. Many rain barrels are made from plastic that can become brittle in winter conditions. Indoor storage ensures you don’t receive any damage throughout the season.'
However, if there's no room in your garage, shed, or greenhouse, you can store it outdoors. The only issue here is that you need to flip the barrel upside down so that water doesn't pool in the bottom and free. Jimmy says 'If outdoor storage is necessary, turn the barrel upside down and secure it to prevent water collection, covering it with a tarp for extra protection.'
If you live somewhere stormy, you should also consider further steps. Kat says 'You may also want to tie the barrel down or use weights to keep your rain barrel from blowing around your yard during winter storms.'
Winterizing a rain barrel like this will prevent a lot of issues with your barrel, but there are still other things that can go wrong. It's worth learning about the 5 most common rain barrel problems and how to solve them to prevent any issues before they start.


.png?w=600)


