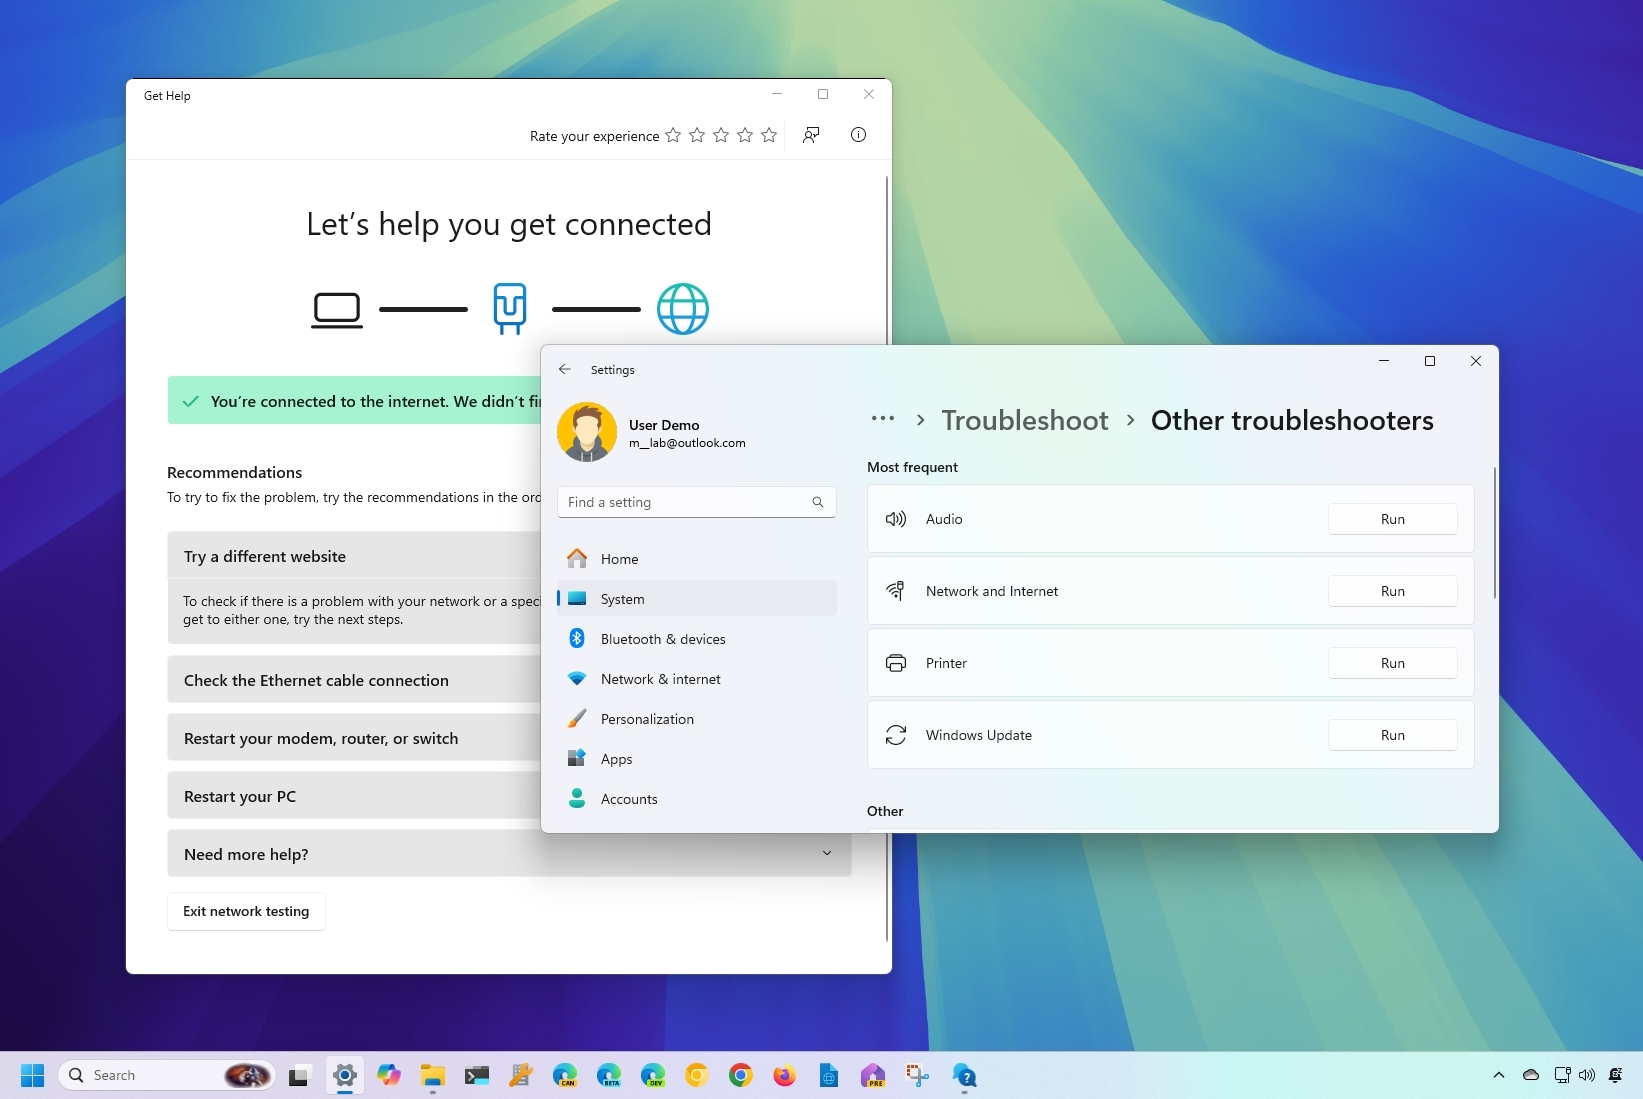
On Windows 11, "Troubleshoot" is a feature that uses diagnostic data to detect and fix common problems automatically. It can restore critical service settings, make system changes on your behalf to match the hardware configuration or adjust settings to help keep the computer running smoothly.
The Troubleshoot feature can also suggest fixes for problems that are not critical to operating Windows 11 but may still impact the experience. For example, it may recommend disabling an app or feature that is not working as intended until a fix is released through Windows Update.
Furthermore, if you ever encounter a problem with an internet connection, audio, printer, Bluetooth, or Windows Update, you can run many troubleshooters manually to resolve the issue quickly.
In this how-to guide, I will walk you through the steps to fix problems with the Troubleshoot feature.
How to manage Troubleshoot settings on Windows 11
To change the Troubleshoot settings on Windows 11, use these steps:
- Open Settings.
- Click on System.
- Click the Troubleshoot page on the right side.
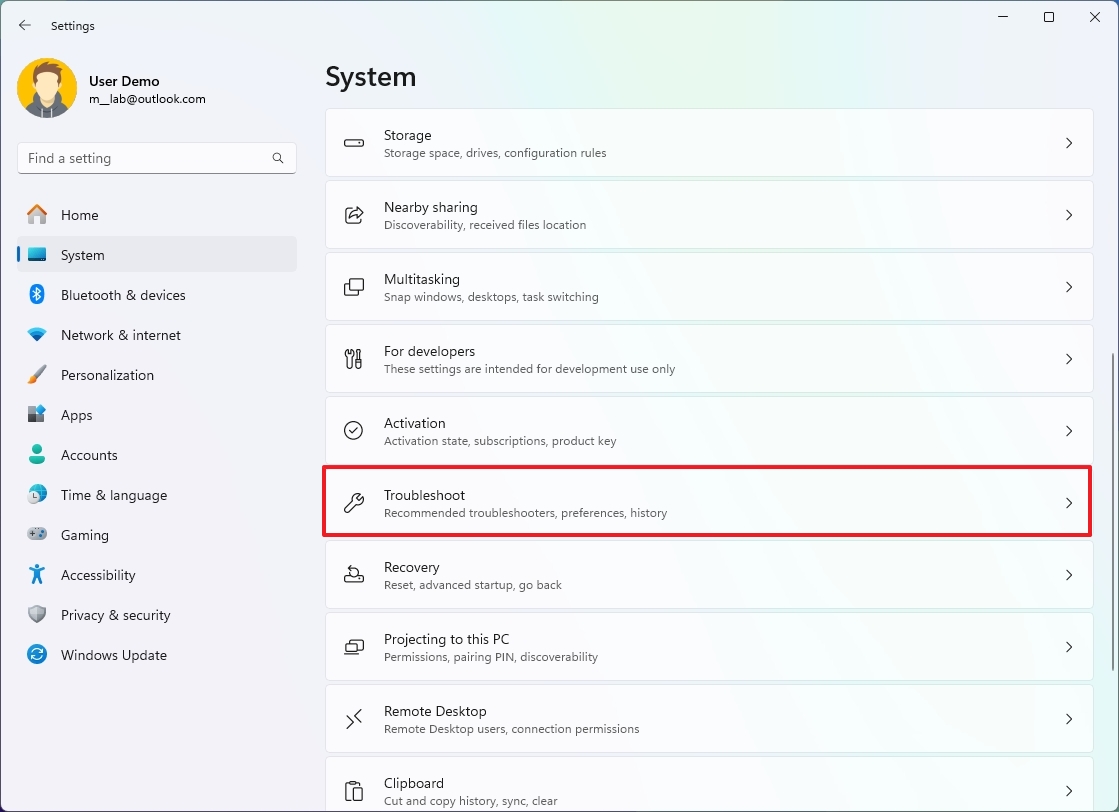
- Select the best option for your computer using the "Recommended troubleshooter preference" setting:
- Run automatically, don't notify me — Recommended fixes will apply automatically without user interaction.
- Run automatically, then notify me—This option applies the fixes automatically, and the system will notify you about the changes.
- Ask me before running (default) — You will need to review the notification before applying it.
Once you complete the steps, Windows 11 will run and apply fixes according to your configuration.
How to run Troubleshoot on Windows 11
While the system will fix problems automatically, you can also run troubleshooters manually for many issues that may appear on your computer.
To fix common Windows 11 problems with Troubleshoot, use these steps:
- Open Settings.
- Click on System.
- Click the Troubleshoot page on the right side.

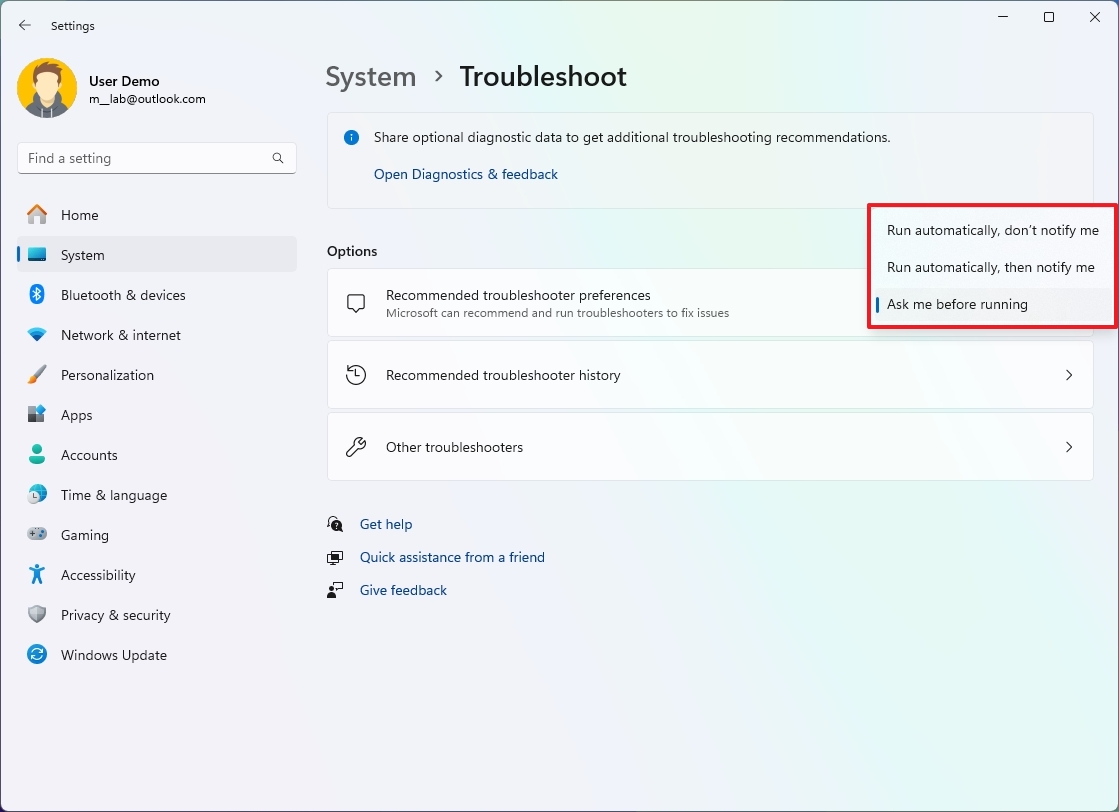
- Click the Other troubleshooters page on the right side.
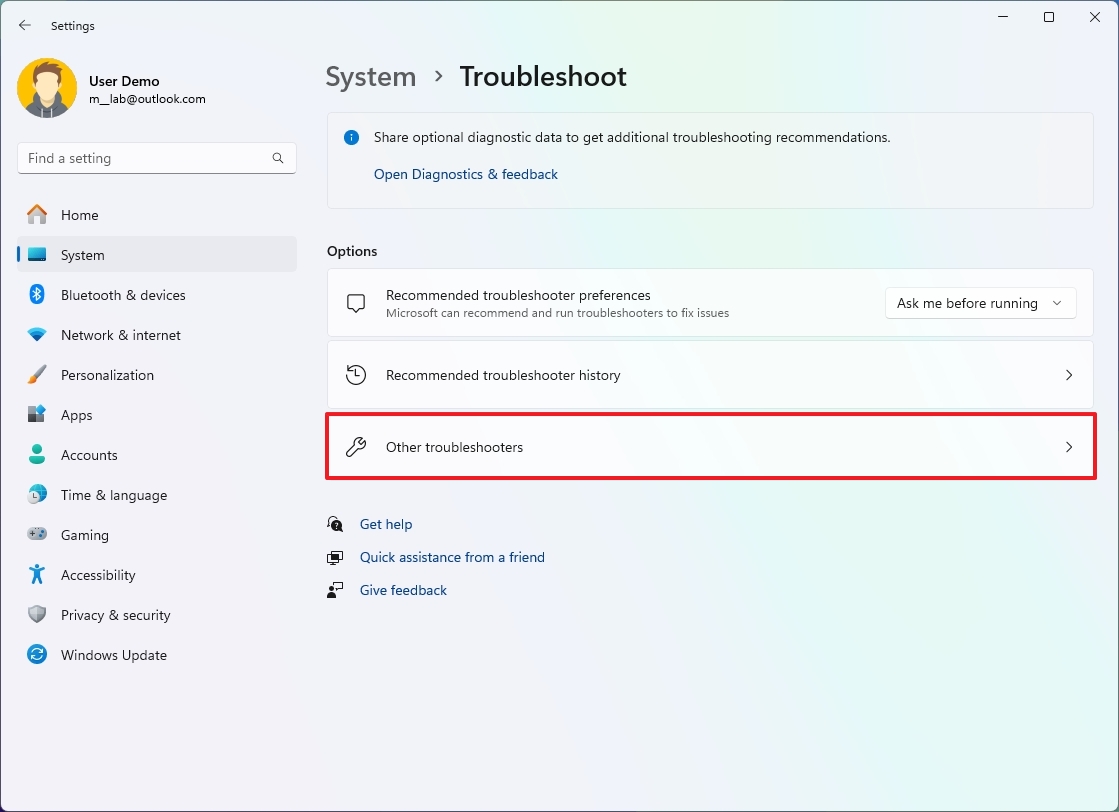
- Select the topic that best describes the problem and click the Run button.
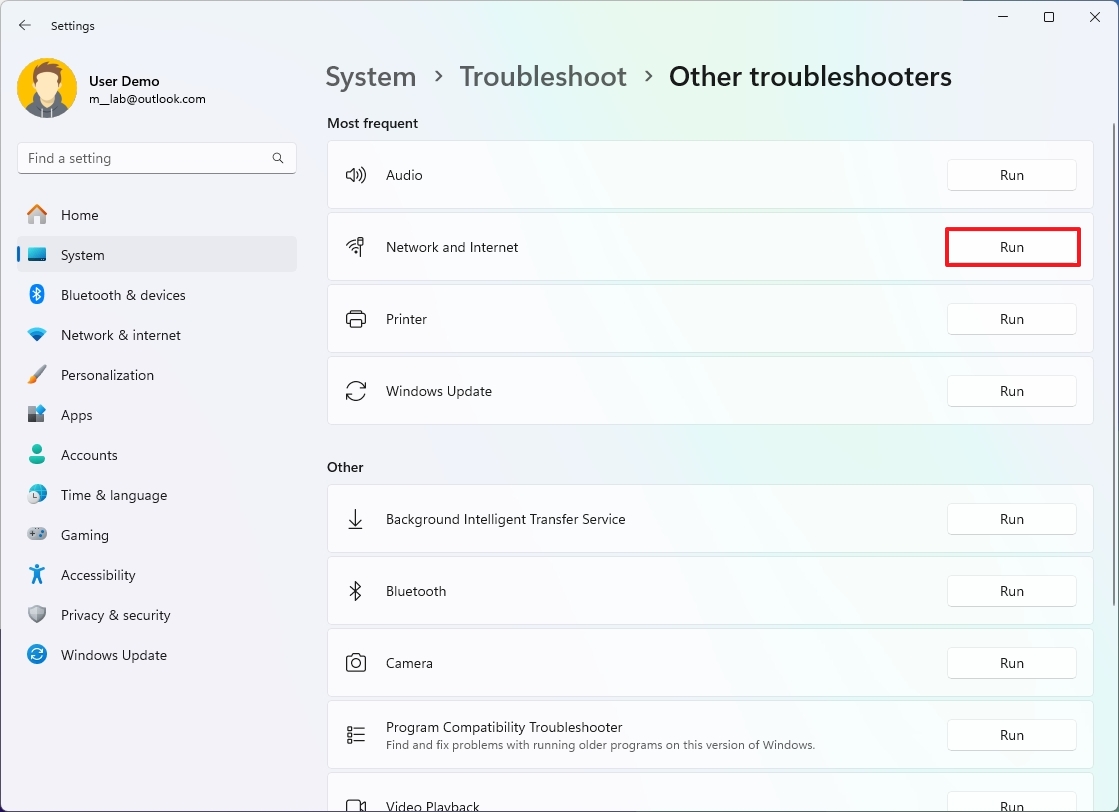
- Continue with the on-screen directions in the Get Help app.
After you complete the steps, the system will give you through the troubleshooting steps to resolve the issue.
Although you can always open the Get Help app to search for self-help articles, the app can also assist you in automating the process of fixing problems related to audio, network and internet, printer, system update, camera, video, and more.
How to view Troubleshoot history on Windows 11
To review previous fixes with Troubleshoot, use these steps:
- Open Settings.
- Click on System.
- Click the Troubleshoot page on the right side.

- Click the "Recommended troubleshooter history" page on the right side.
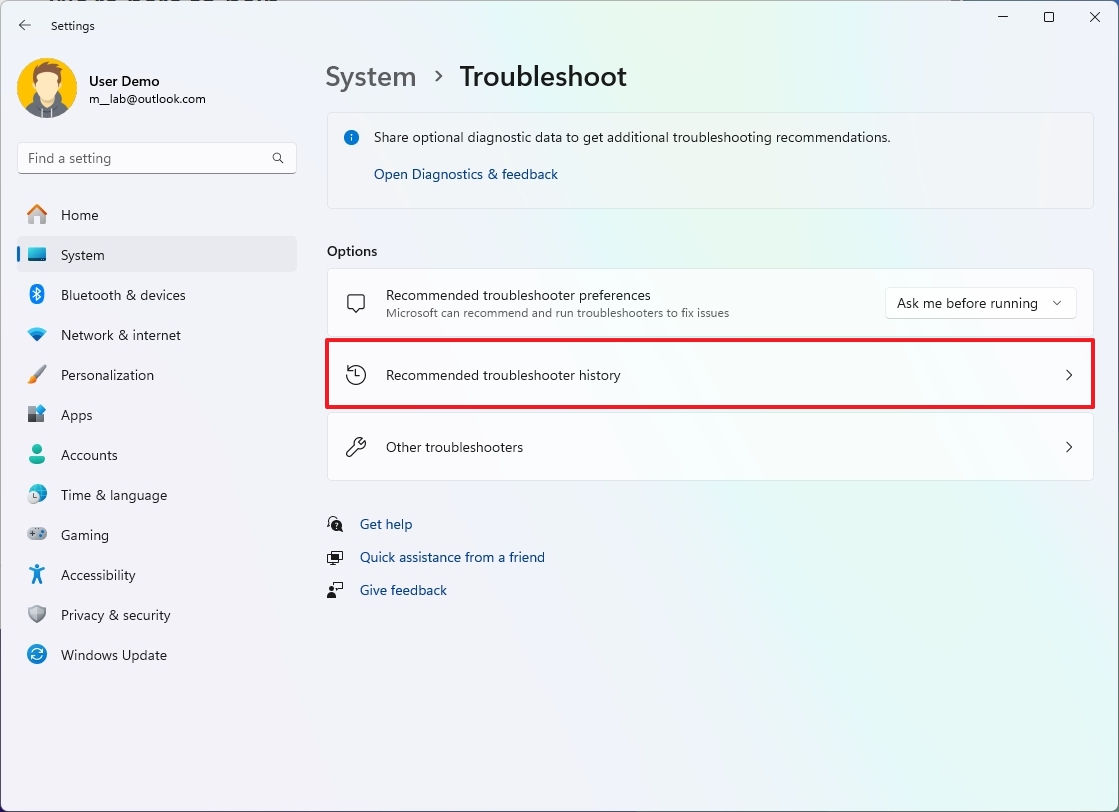
- Review the troubleshooter history (if applicable).
Once you complete the steps, the fixes that the system tried to apply automatically will appear on this page. However, manual troubleshooters, such as those to fix internet connections, audio, printer, updates, and others, won't appear in the history page.
More resources
For more helpful articles, coverage, and answers to common questions about Windows 10 and Windows 11, visit the following resources:
- Windows 11 on Windows Central — All you need to know
- Windows 10 on Windows Central — All you need to know
More resources
For more helpful articles, coverage, and answers to common questions about Windows 10 and Windows 11, visit the following resources:

