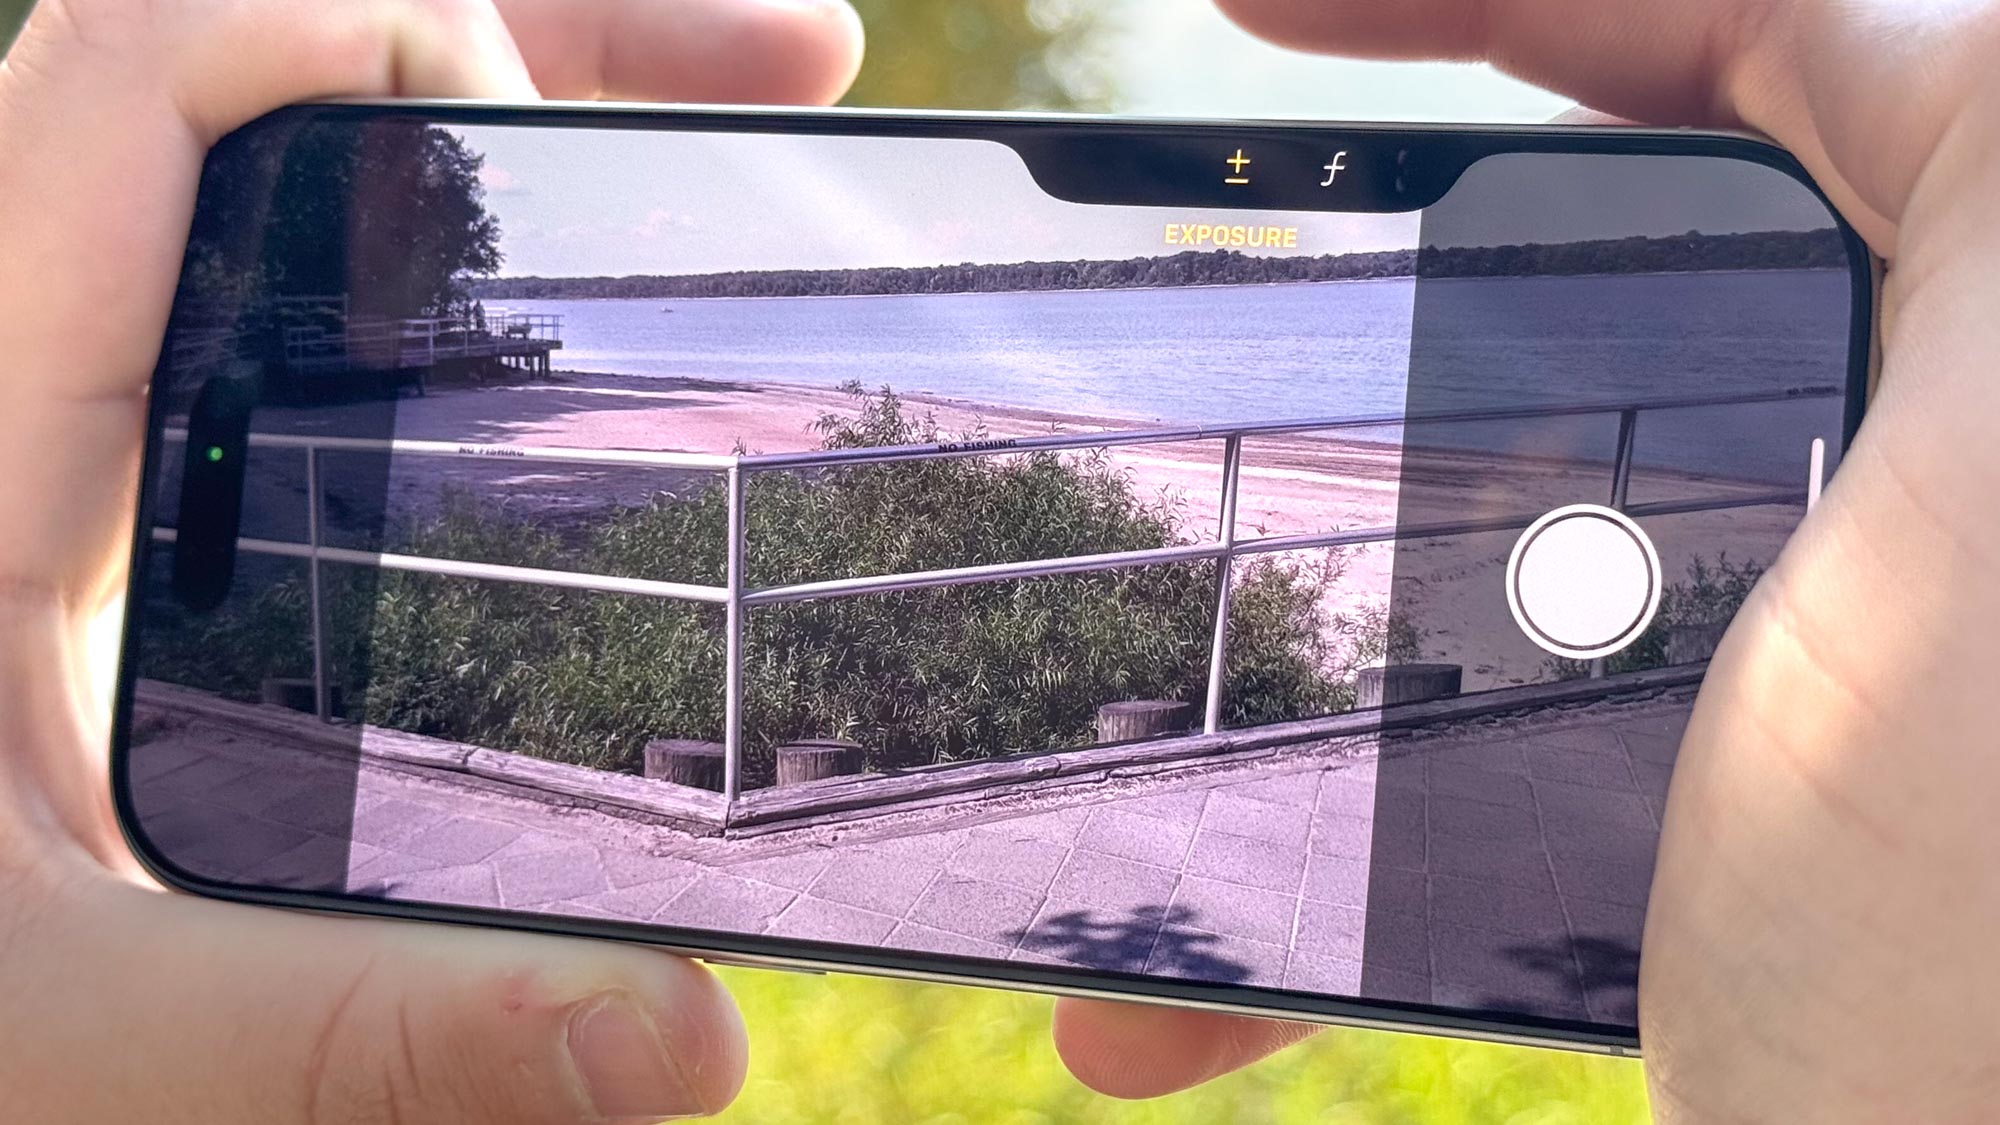
The new Camera Control button on the iPhone 16 and iPhone 16 Pro series is a standout hardware feature that, while powered by iOS 18, is unique to these latest models. It takes a bit of getting used to, but mastering it will significantly speed up your photo and video capturing process.
This button not only allows you to access the Camera app with ease via a recessed tactile switch, but it also lets you slide your finger to choose and adjust different settings. Here, we're going to get you started with the button and show you how to make it less sensitive, just in case you're struggling to use it effectively.
You will find the Camera Control button on the bottom-right hand side of the iPhone, so start by familiarizing yourself with its location. Let's dive into making the most of this innovative feature on your iPhone 16.
How to take a photo using the iPhone 16 Pro/Pro Max Camera Control
On a simple level, you can use the Camera Control button to launch the Camera app and take a quick shot.
1. Click the Control
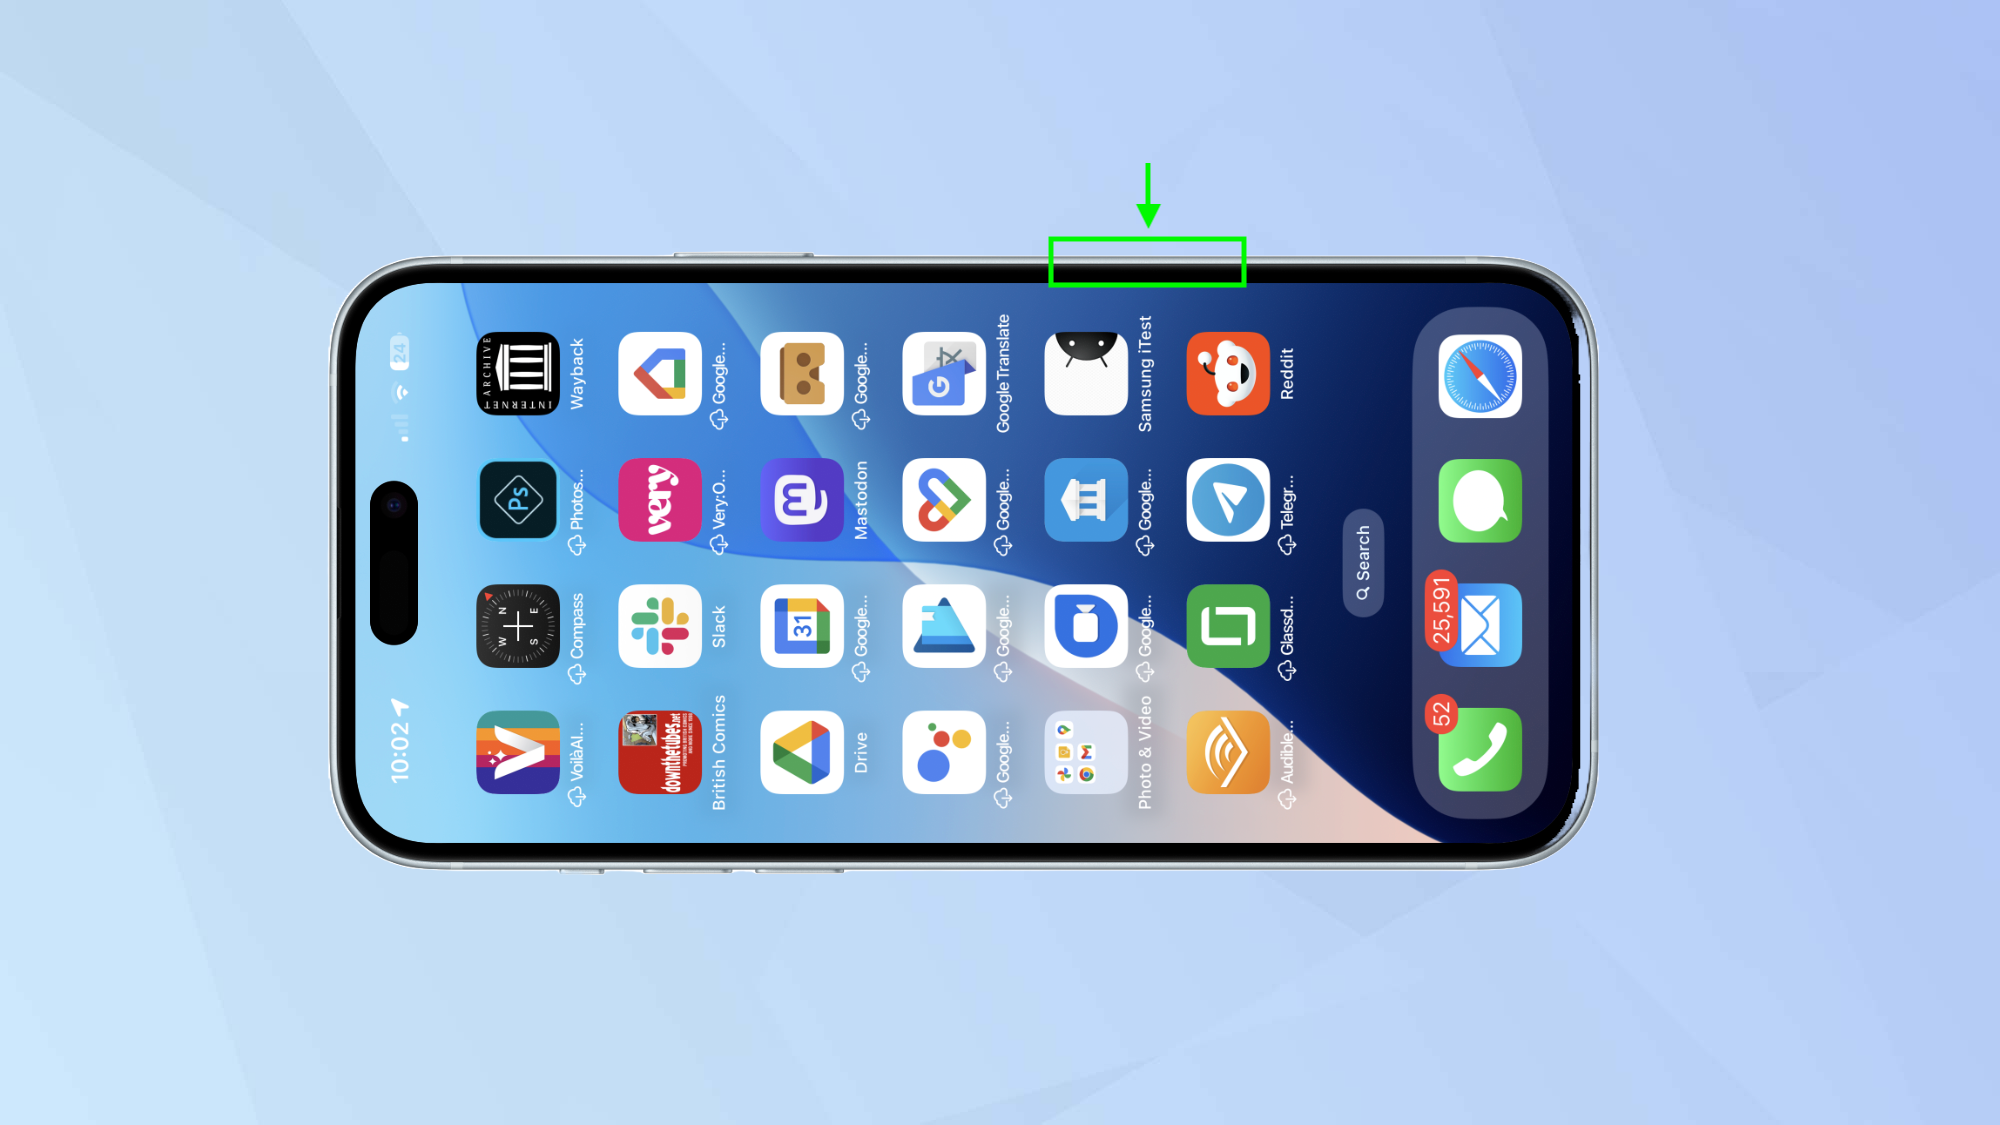
Quickly press down on the Camera Control button. Doing so will open the Camera app.
2. Click it again
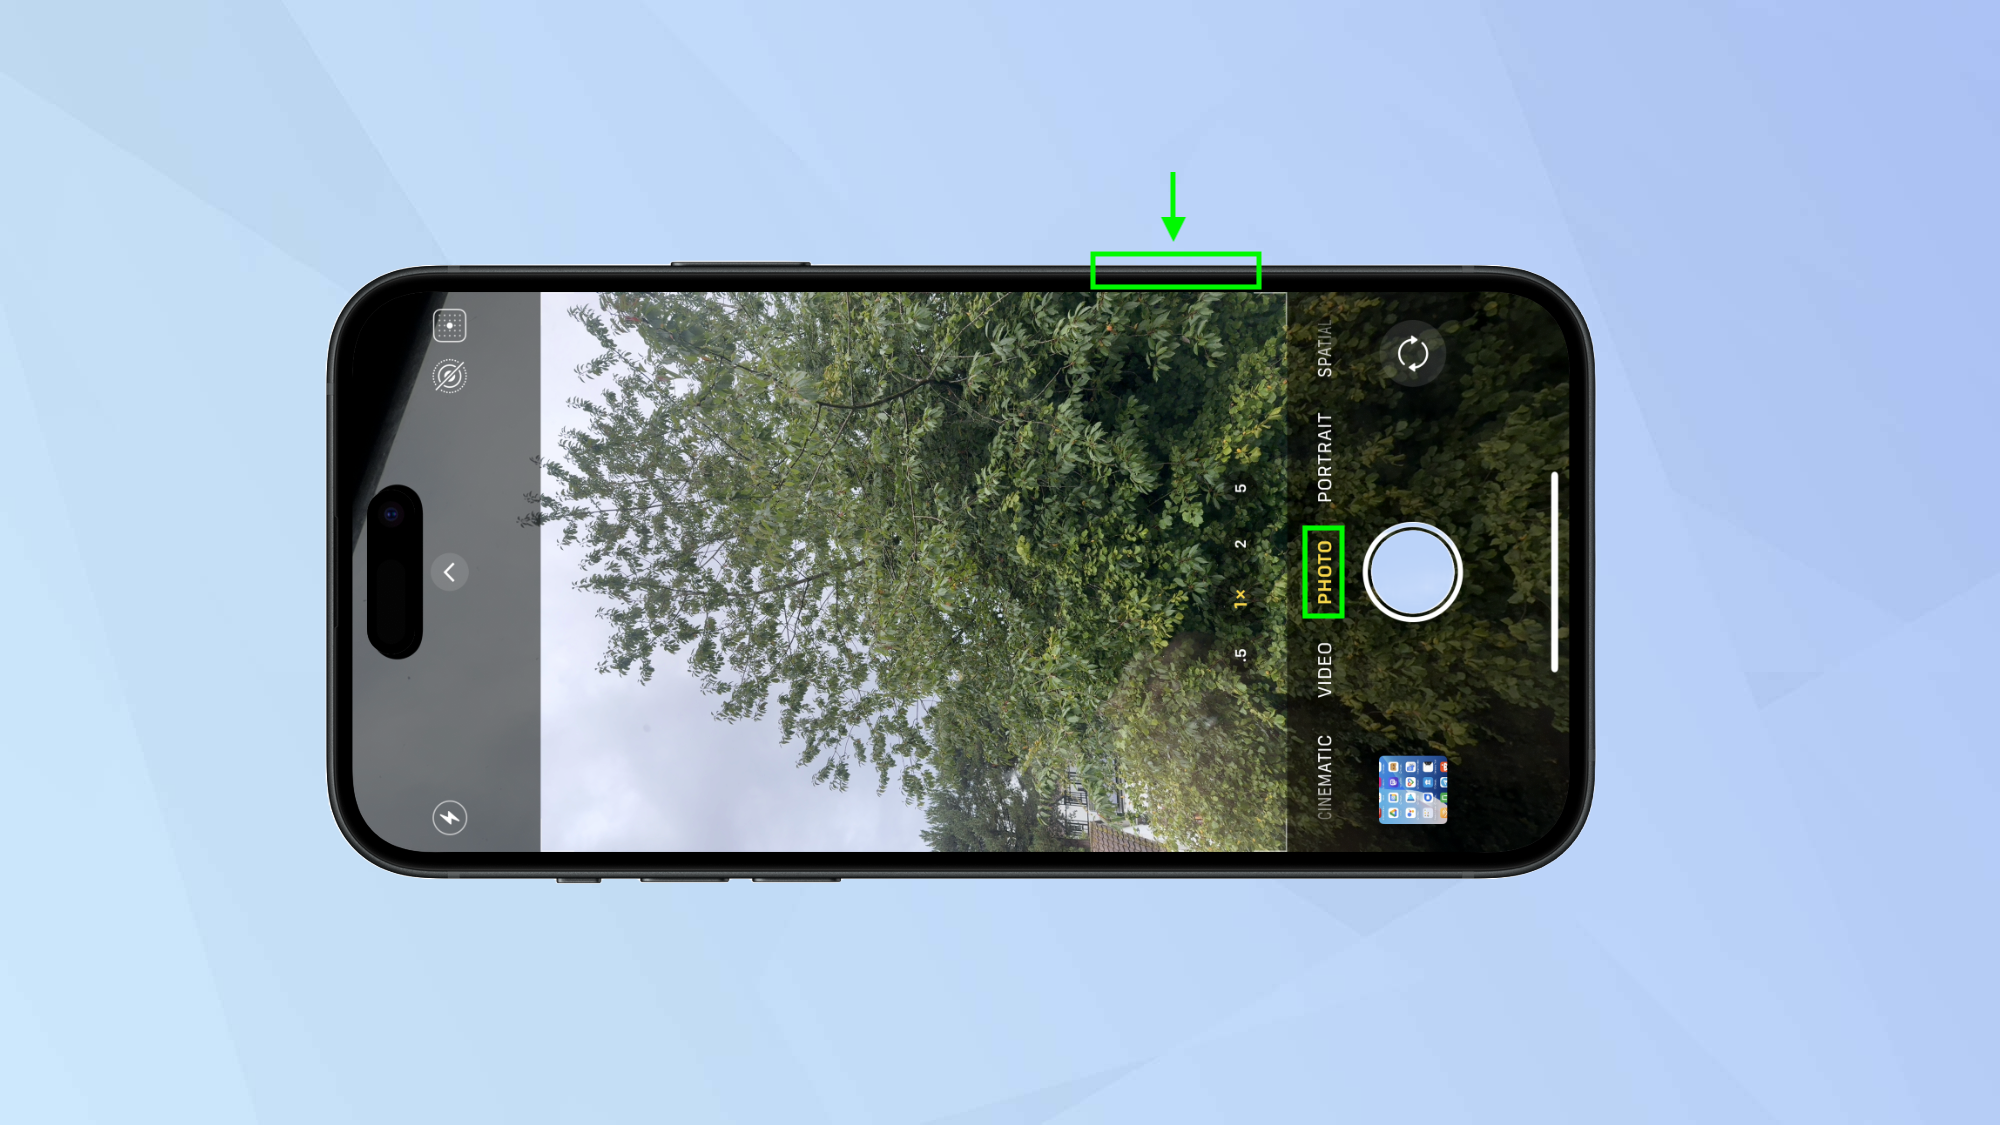
Next, quickly press down on the Camera Control button again. As you do so, a photo will be taken.
The exception is if your camera app has been previously set to Video mode — in this case, a video will record.
How to take a video using the iPhone 16 Pro/Pro Max Camera Control
It is also possible to instantly put the Camera app into video-taking mode.
1. Click the Control Button
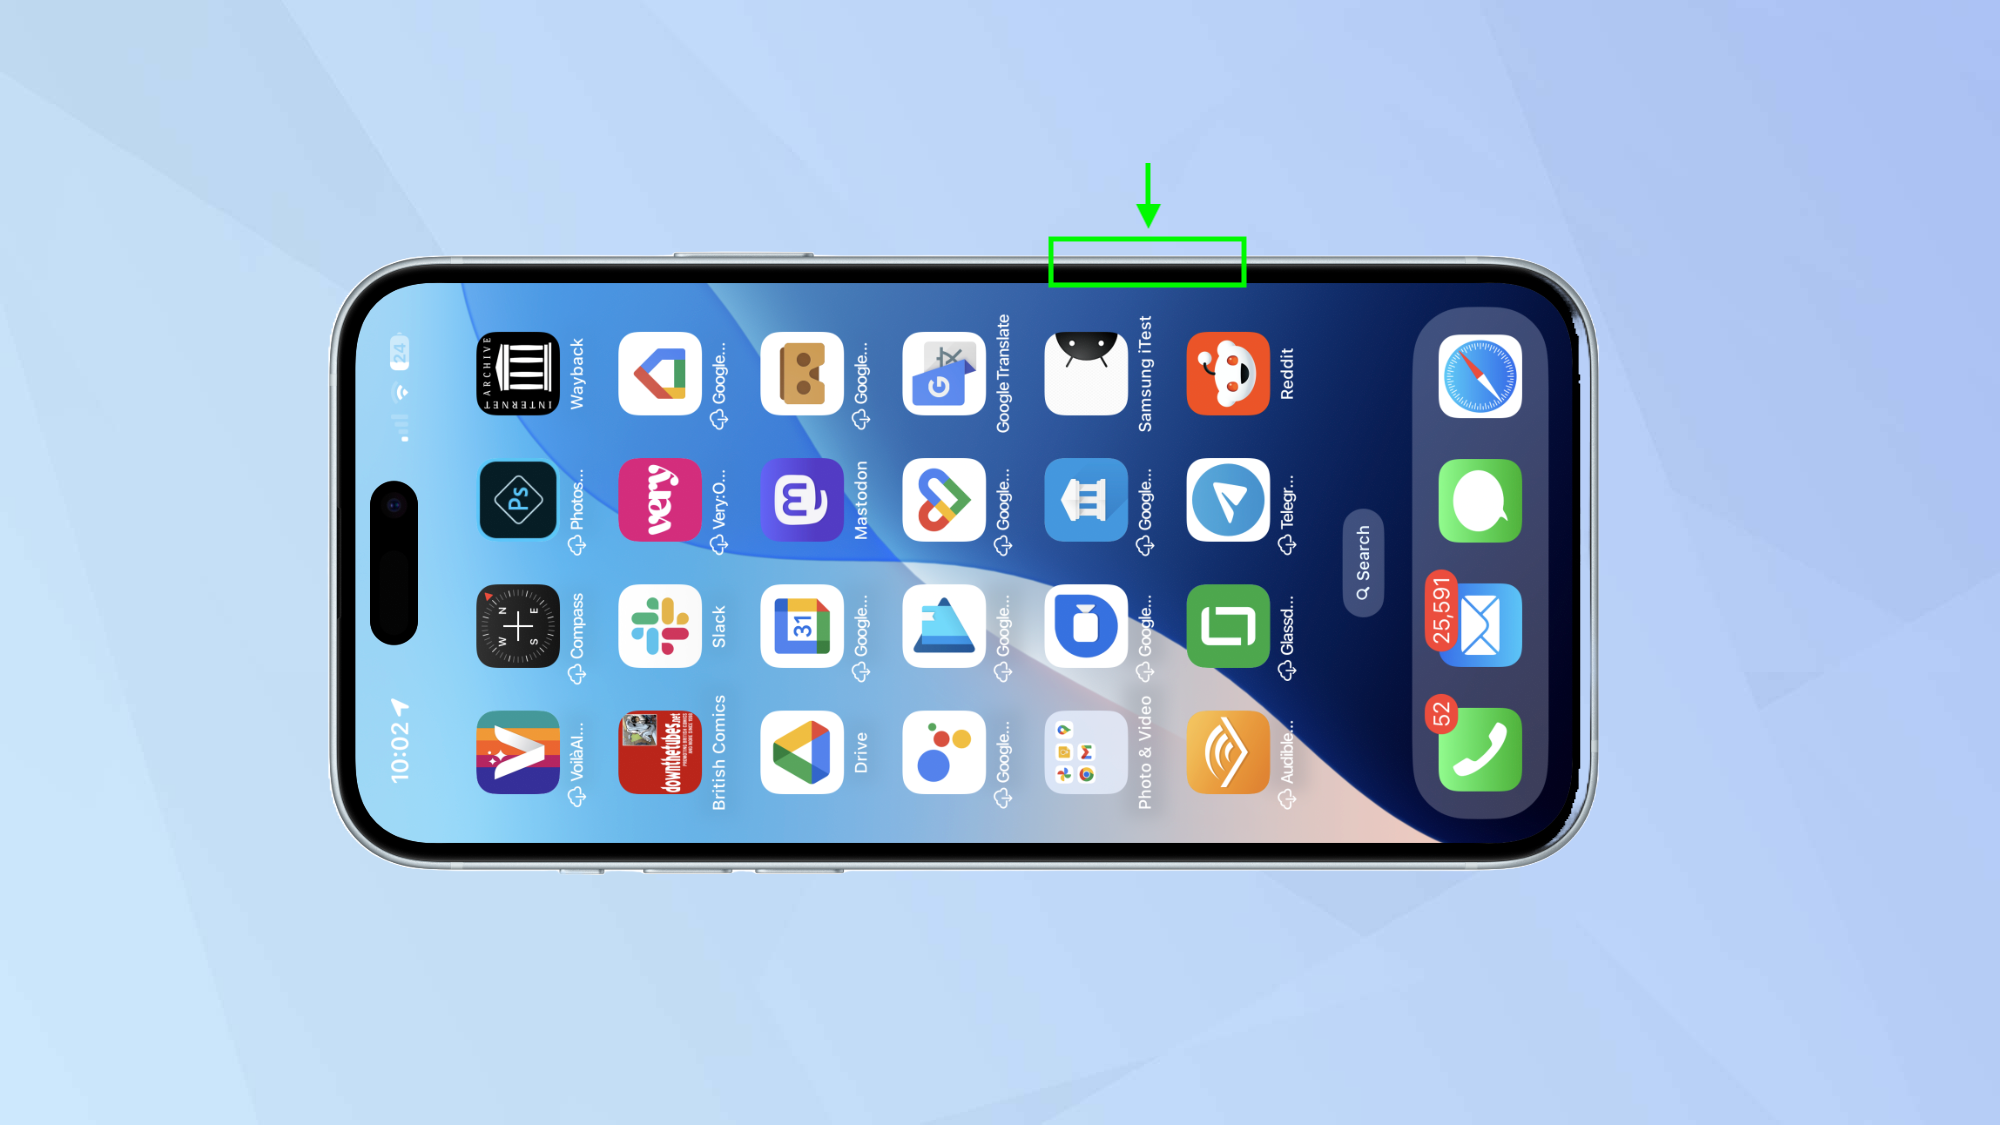
Quickly press down on the Camera Control button. This will open the Camera app.
2. Press and hold
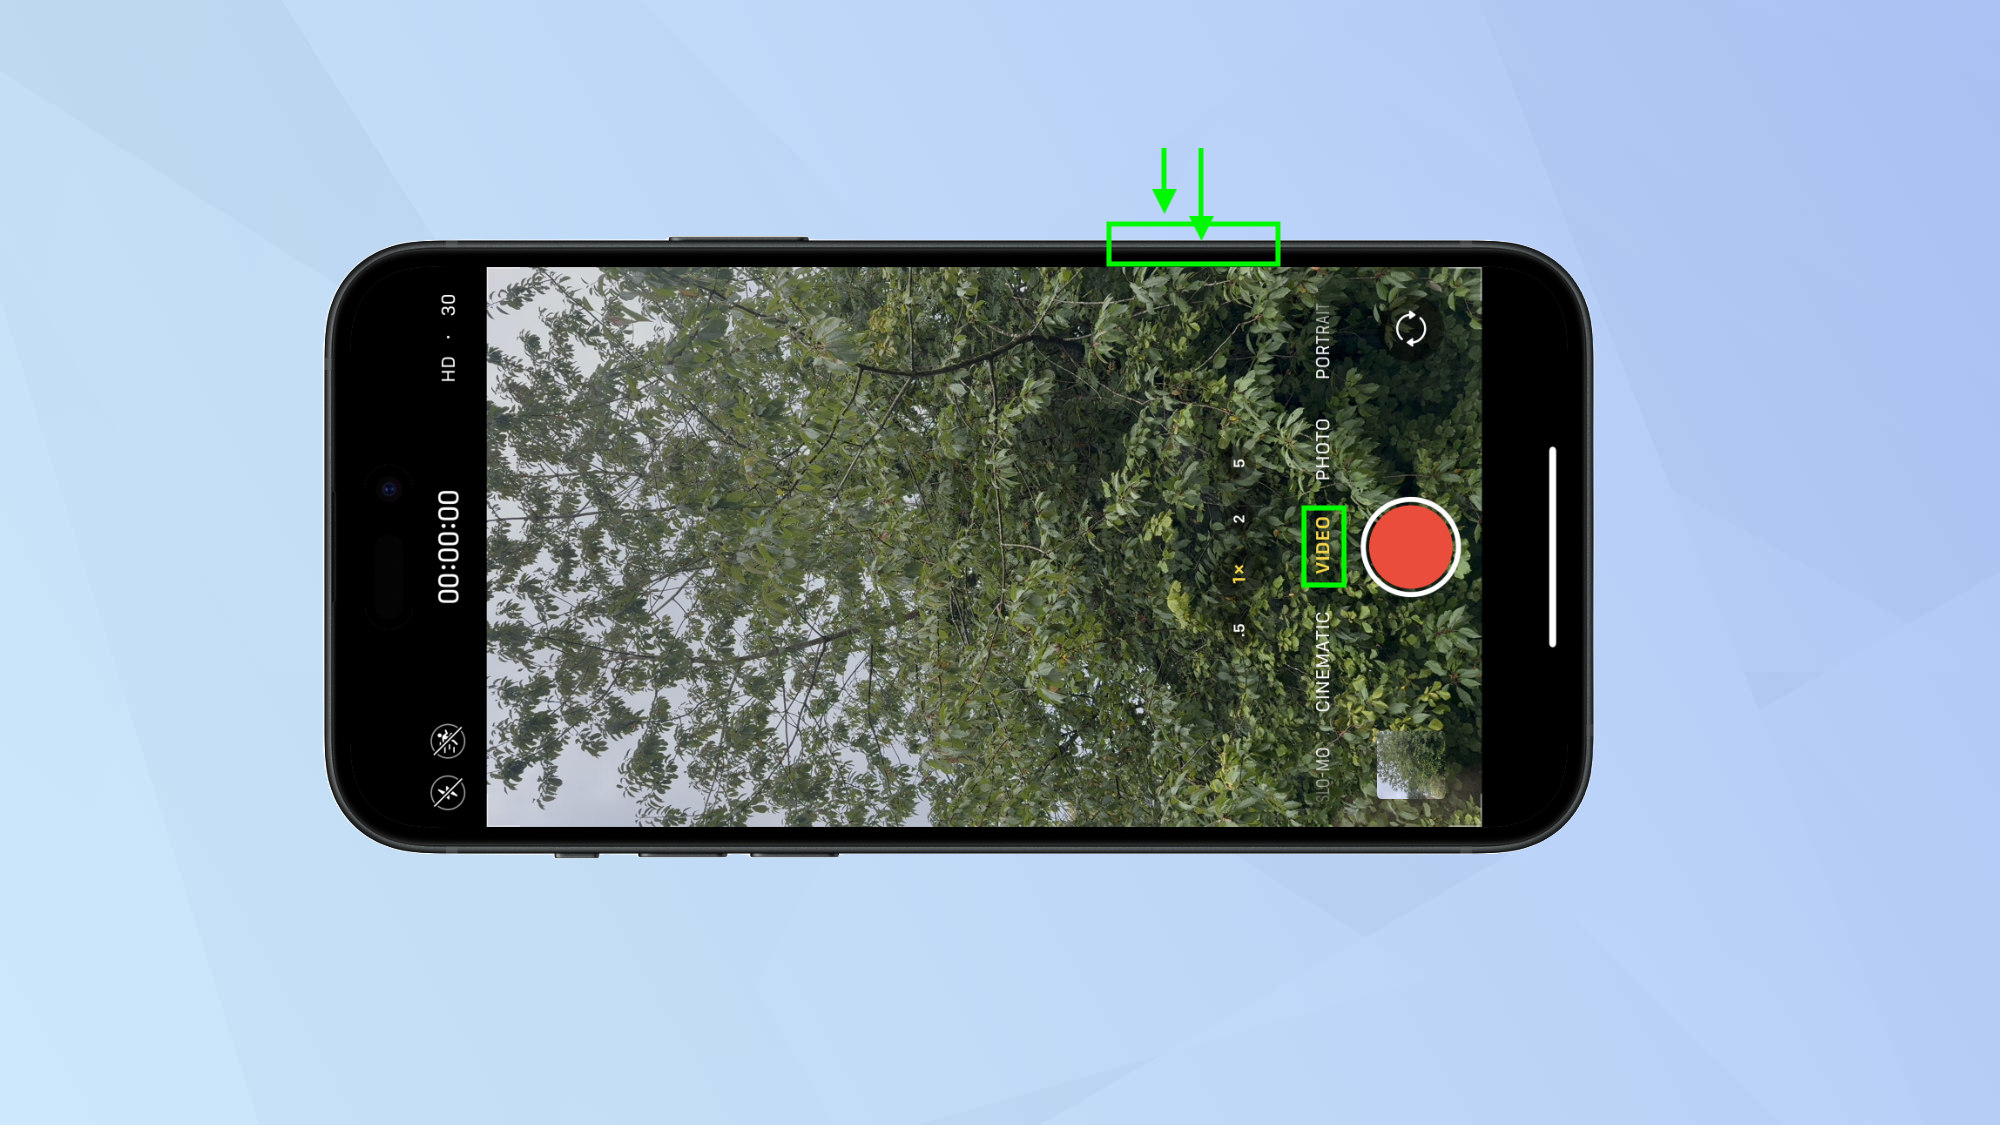
Next, press and hold on the Camera Control button. A video will start to record.
It’s worth noting, however, that if your camera app was previously set to Video mode, you wouldn’t need to press and hold. A simple quick click on the Camera Control button would do the job.
How to use the Camera’s settings using the Camera Control button
You are able to make adjustments to your shot straight from the Camera Control button.
1. View the settings
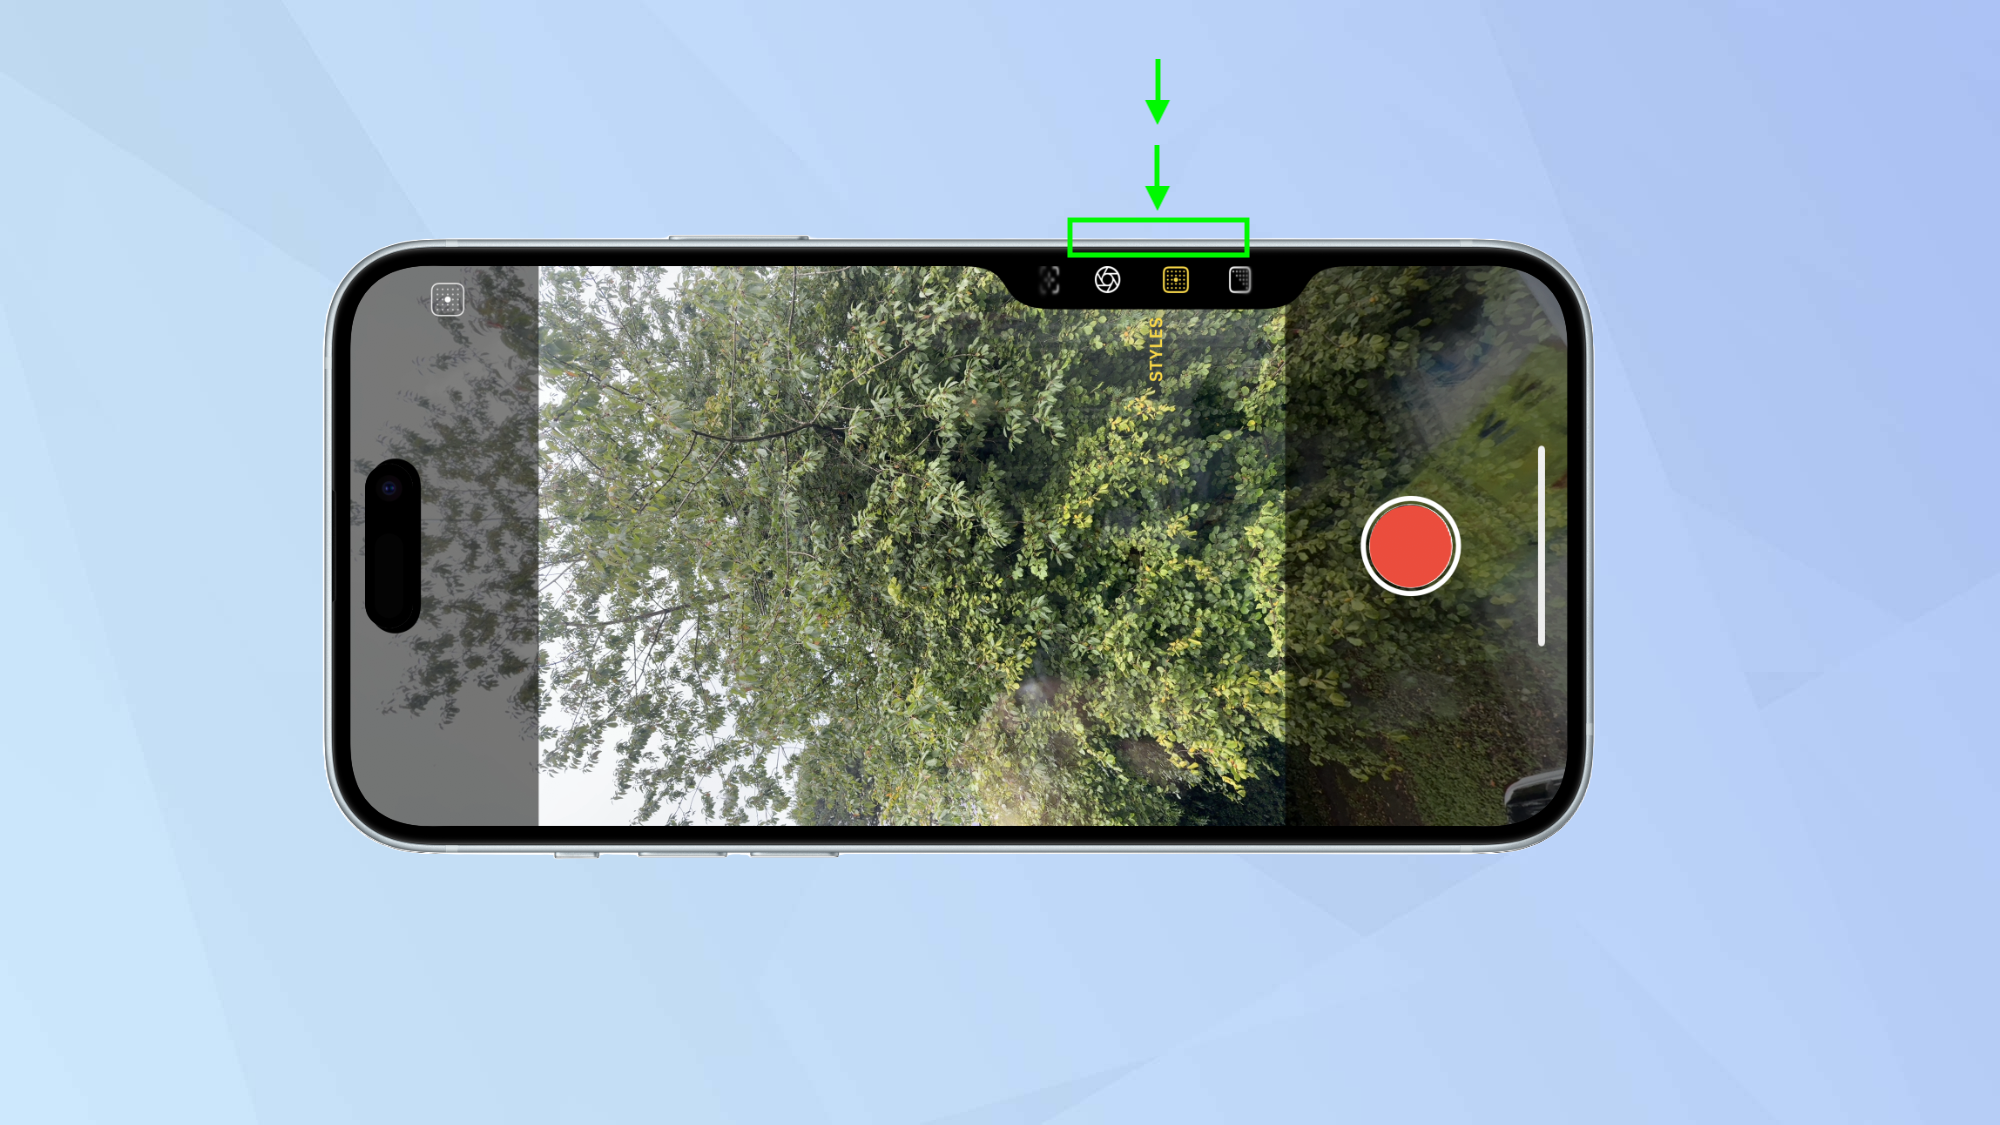
Once you have the Camera app open (either press down on the Camera Control button or open the Camera app via the app icon), you can choose various settings and adjust them before you take a shot or a recording.
Now, here’s the tricky bit which takes a bit of getting used to. Lightly press on the Camera Control twice — note the words “lightly” and “twice”. This will allow you to see the settings for the current camera mode.
2. Slide your finger
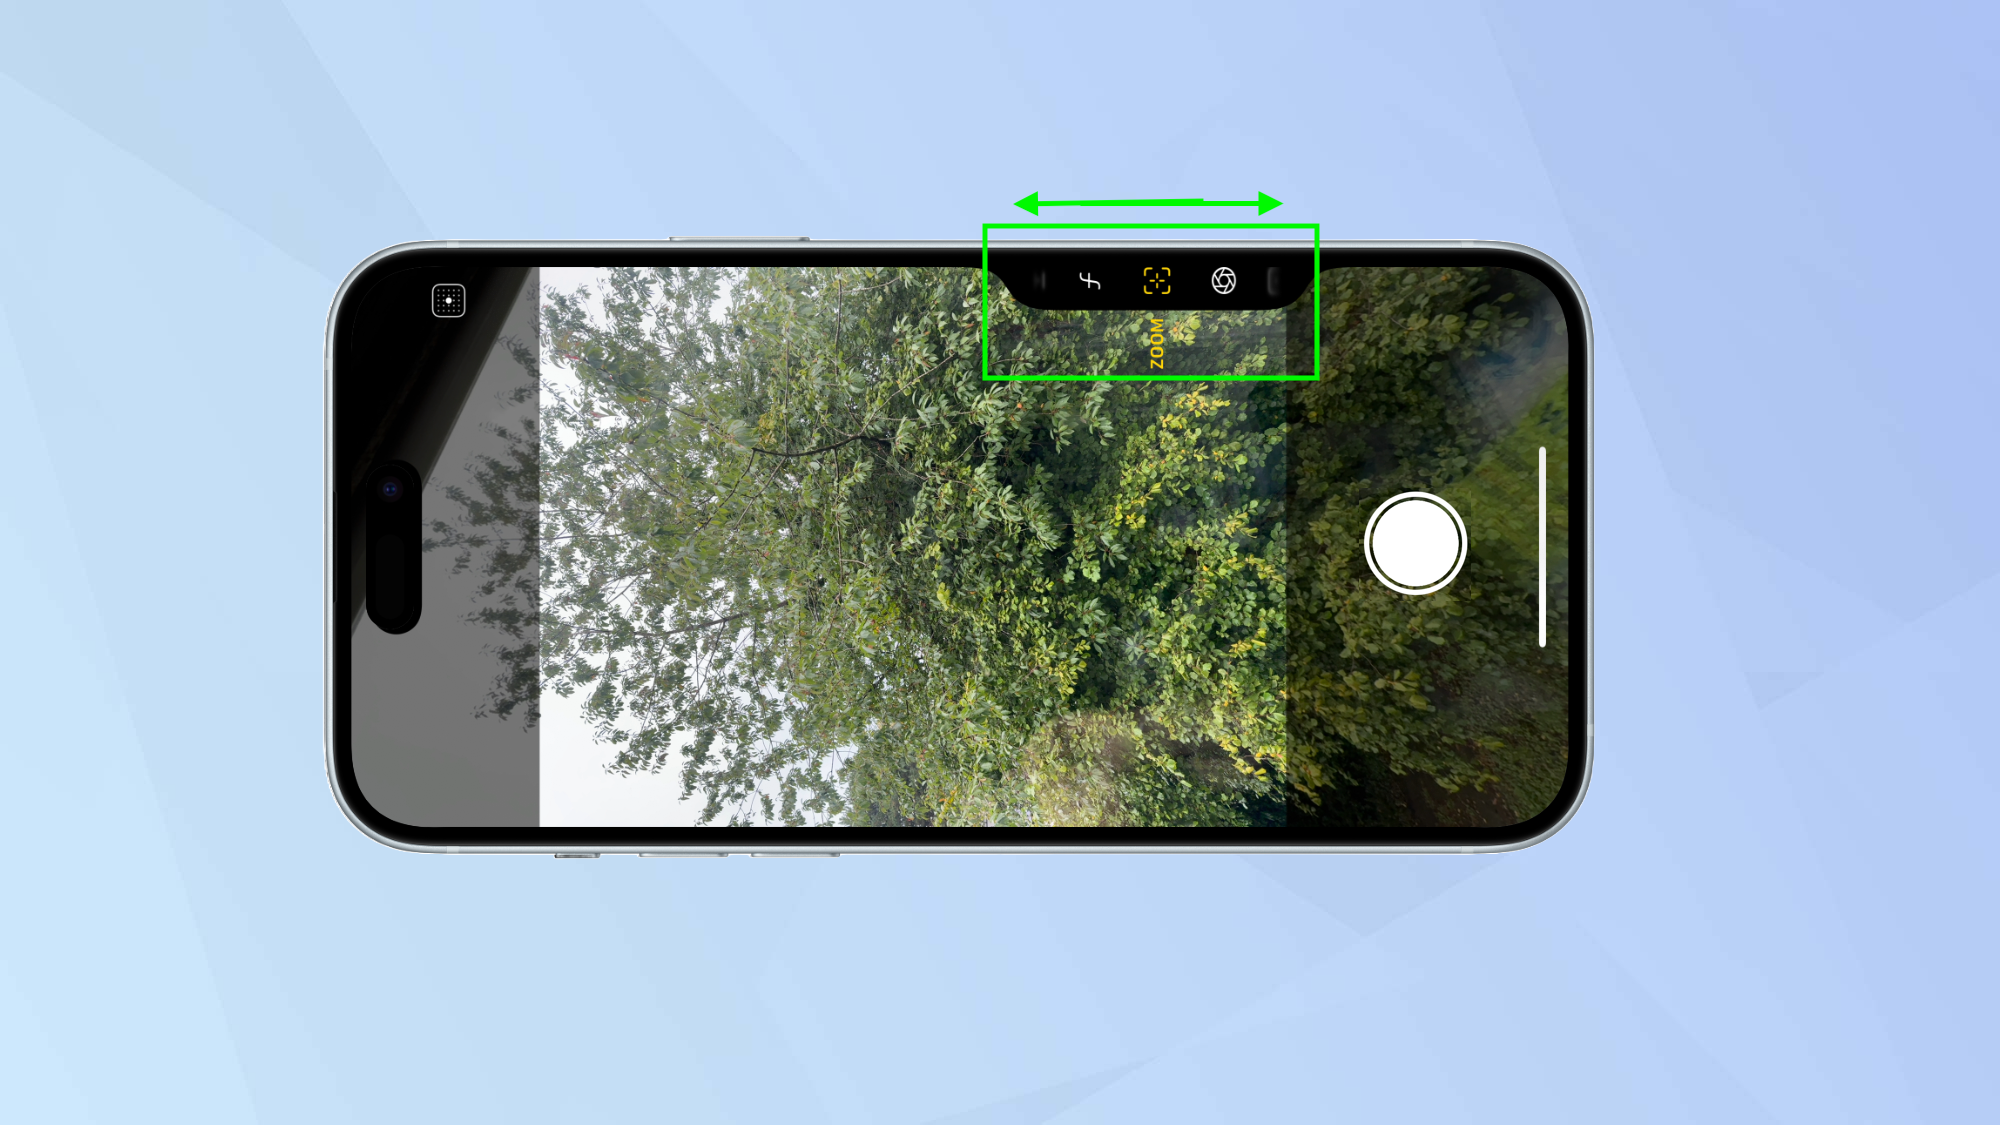
Gently slide your finger on the Camera Control button to scroll through the available settings.
There are up to six including zoom, exposure (to brighten or darken scenes), depth (to alter the background depth-of-field), style (which allows adjustments to parts of your image), tone (to alter the photo’s mood) and cameras (to alter the field of view).
Ensure your chosen setting is highlighted yellow and lightly press the button to start making adjustments.
3. Adjust the setting
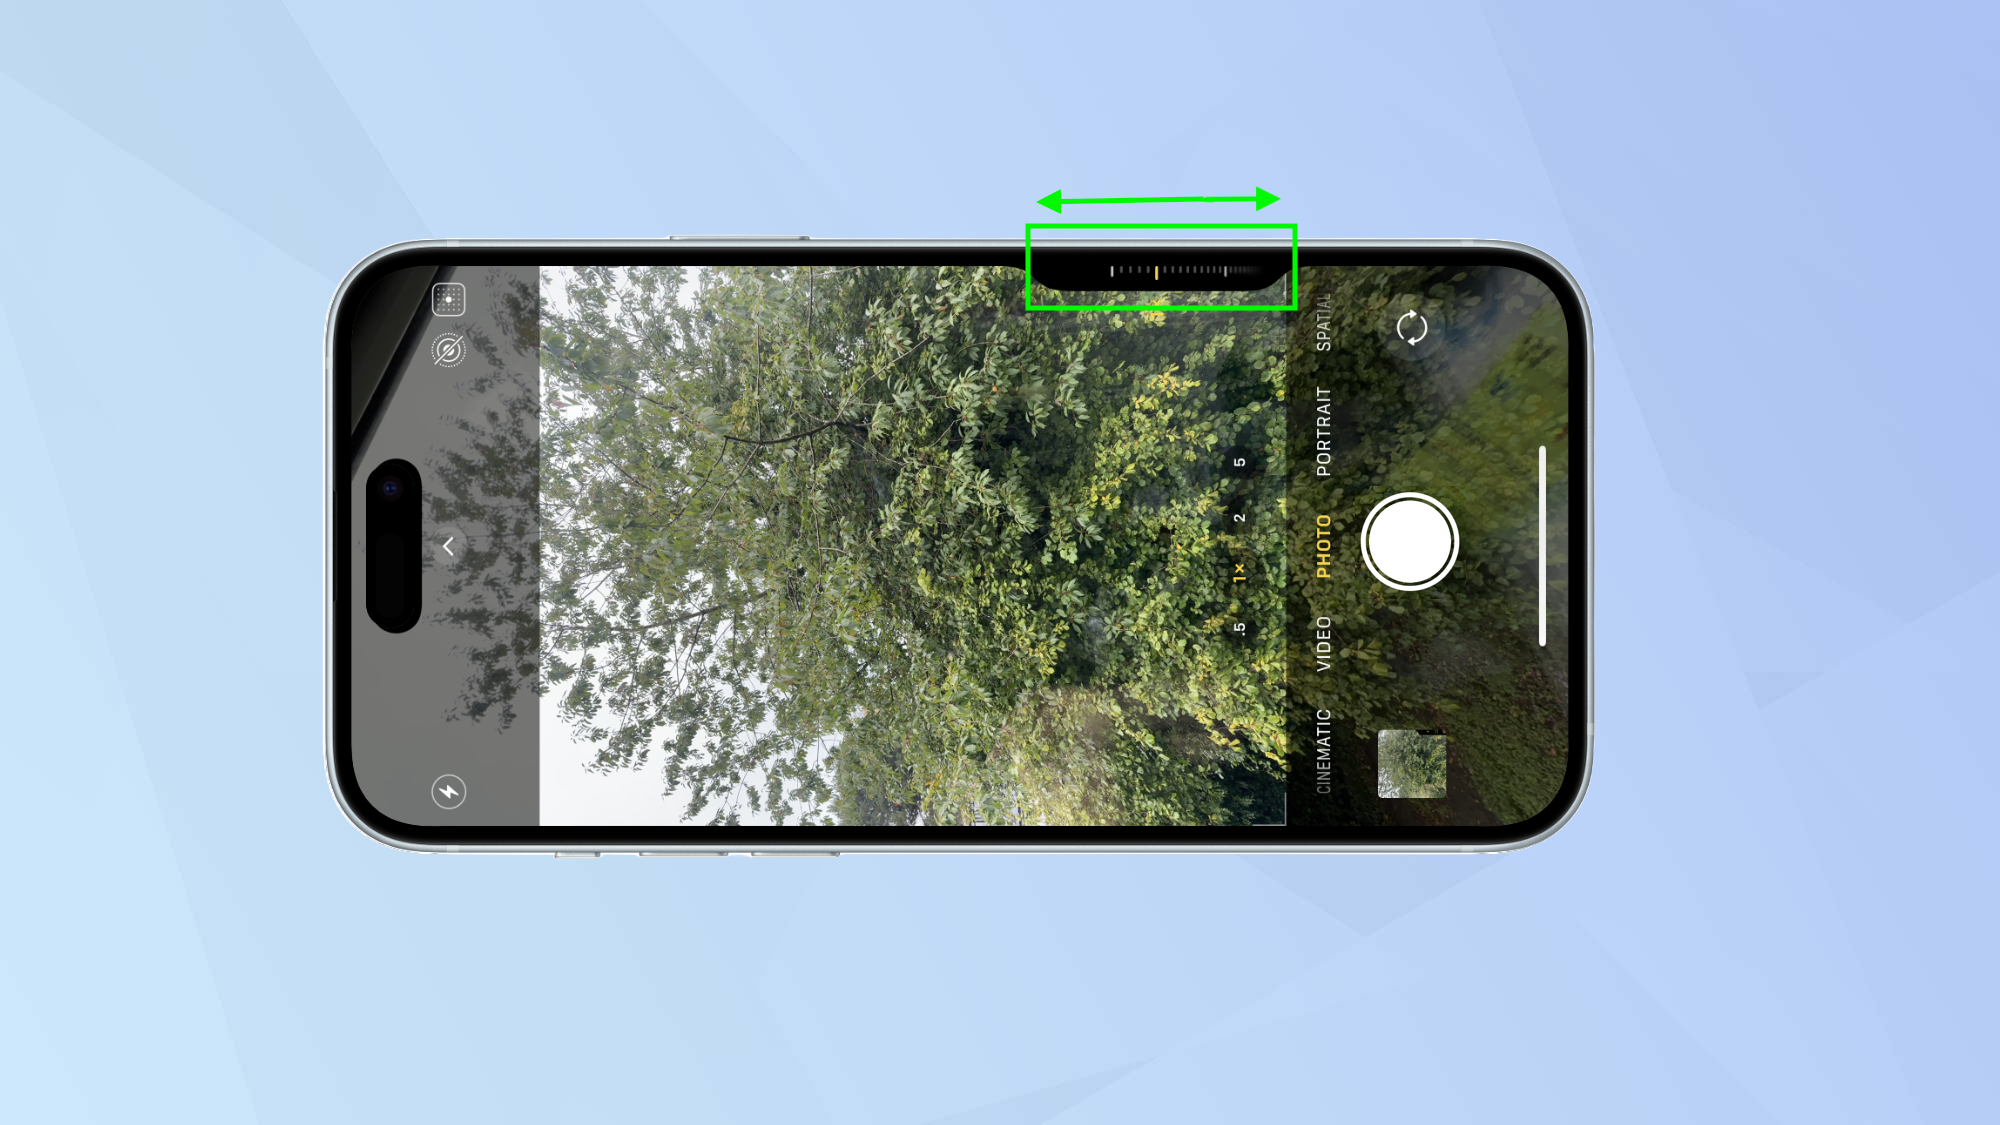
Again, slide your finger on the Camera Control button and you will be able to make changes. You’ll see your chosen setting highlighted in yellow. When ready, you can then press down on the button to take a shot.
How to make the Camera Control button easier to use
Finding the Camera Control button a bit too fiddly? Why not adjust its sensitivity?
1. Open the Settings app
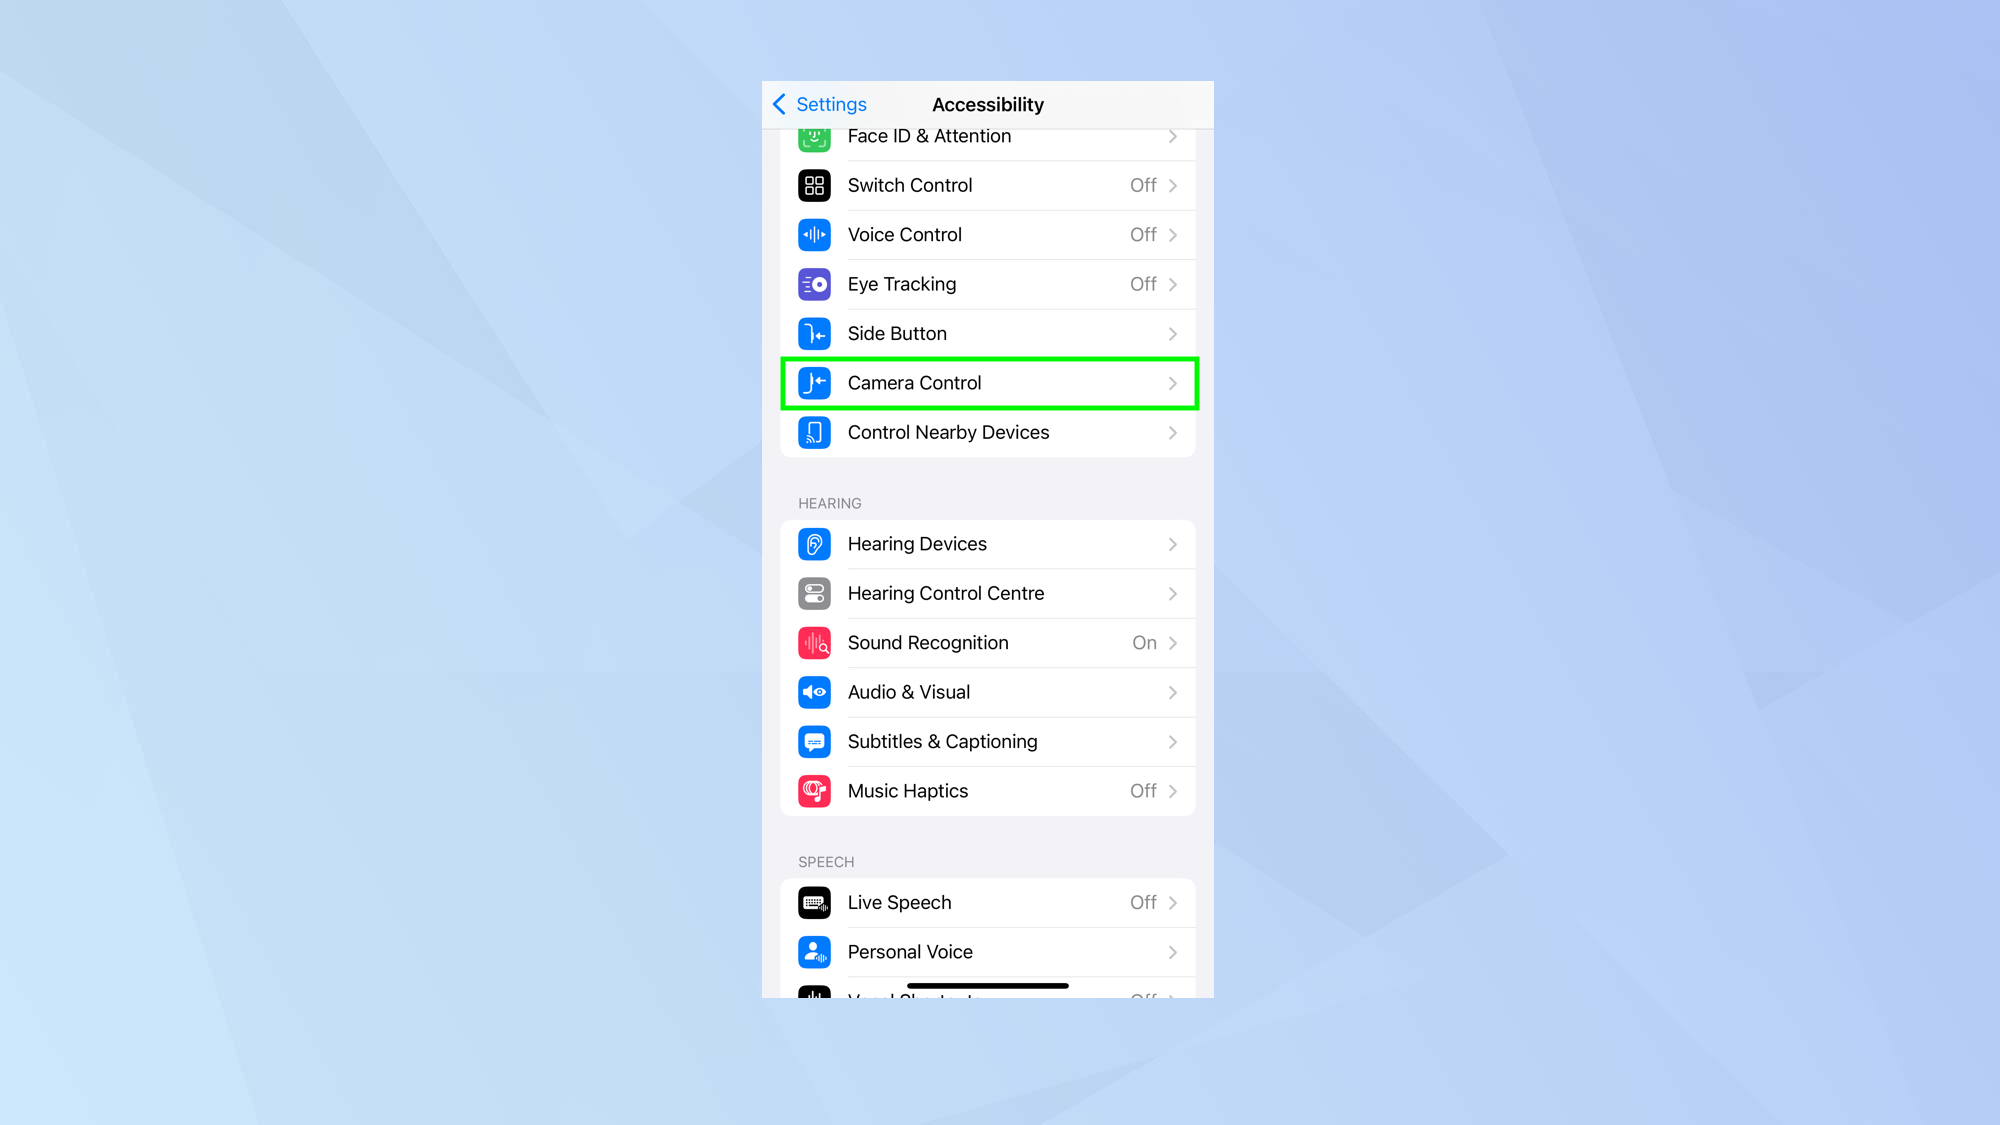
Launch the Settings app and select Accessibility. Then choose Camera Control.
2. Adjust the pressure and speed
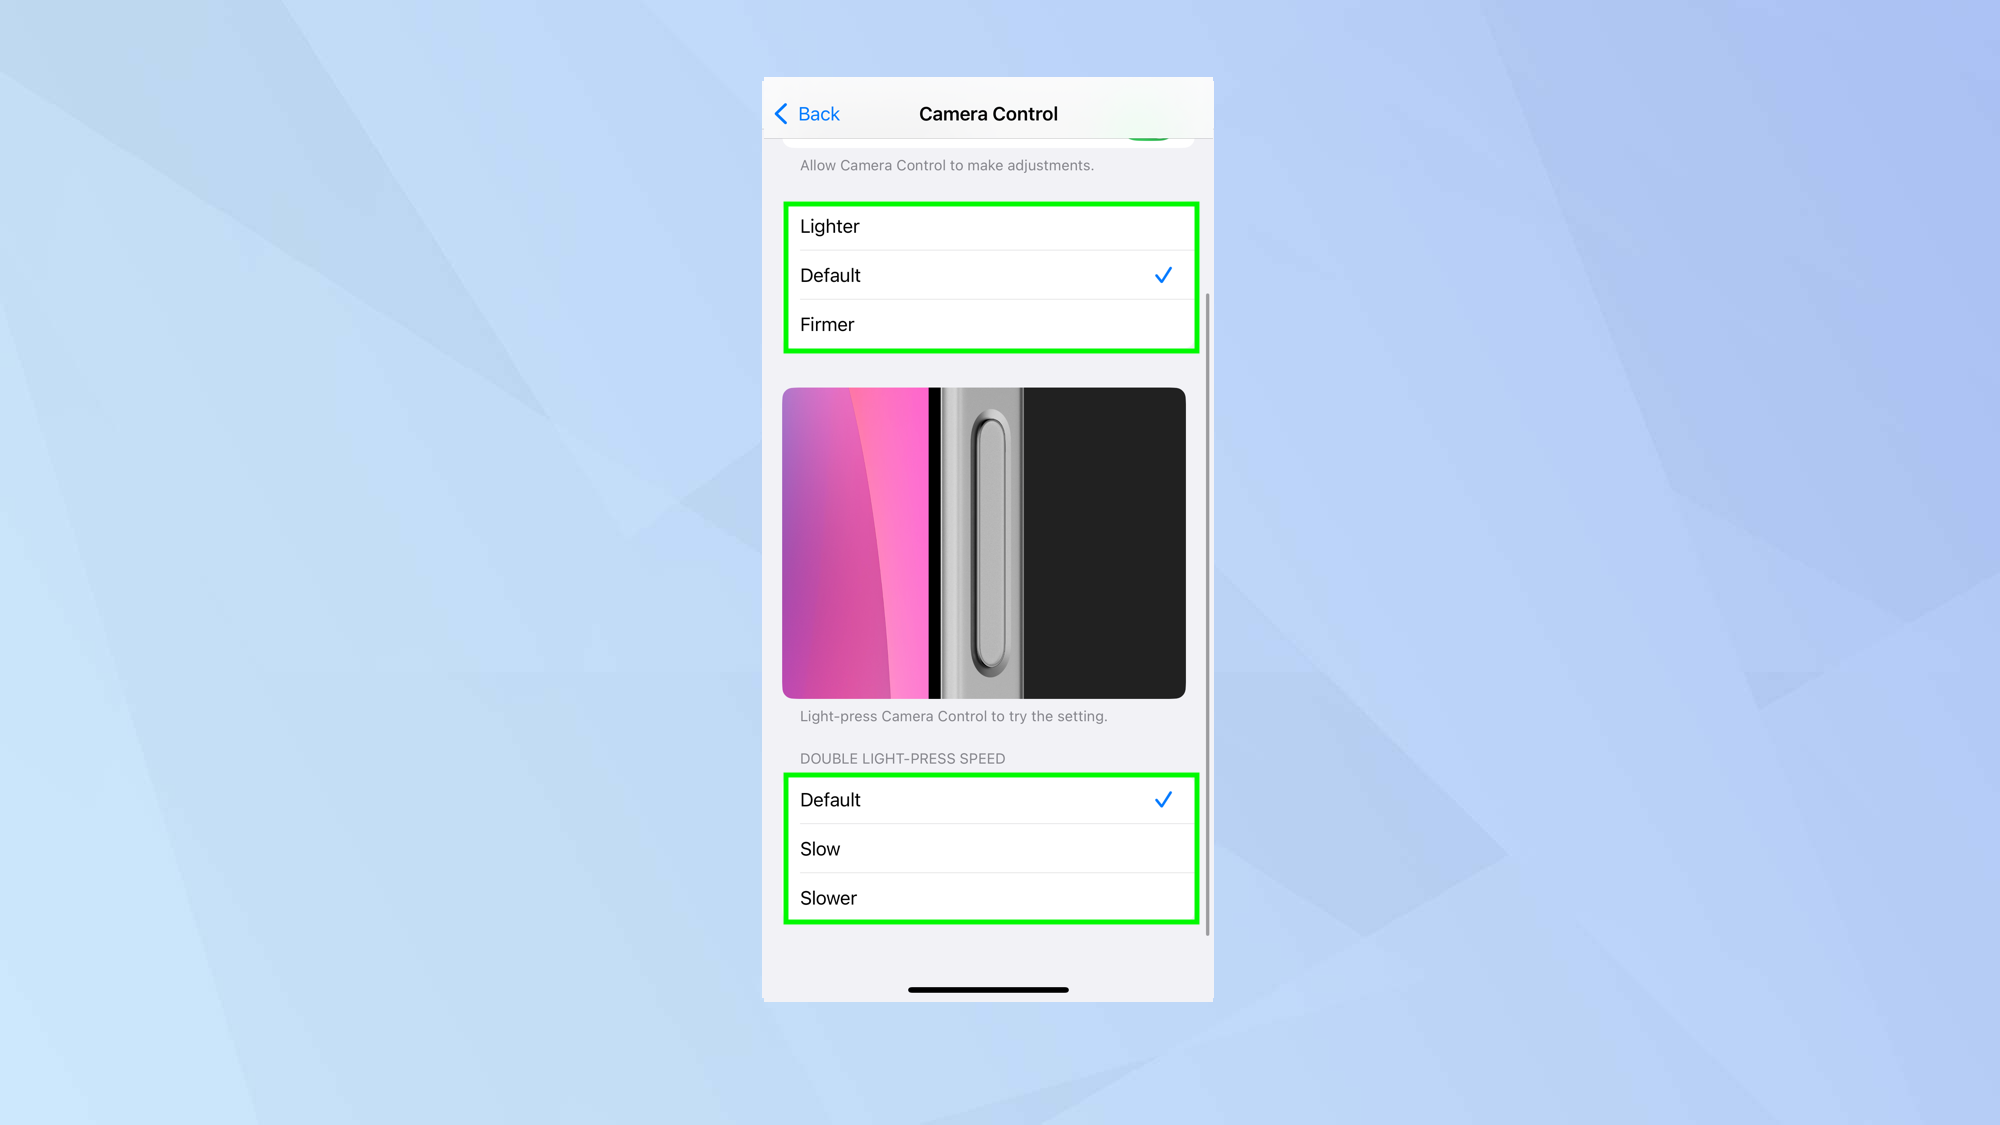
You will see two sets of options. The first lets you adjust the pressure needed on the Camera Control button — you can change the default to lighter or firmer.
The second allows you to adjust the speed needed for a light double press to be recognized. Change the default to Slow or Slower.
And there you go. You now know how to take a photo using the iPhone 16 Pro/Pro Max Camera Control. But you can take even better shots if your learn how to enable the iPhone camera level or discover how to set up camera shortcuts. You can also take super-detailed photos if you know how to enable 48MP photos on your iPhone. Happy snapping.


