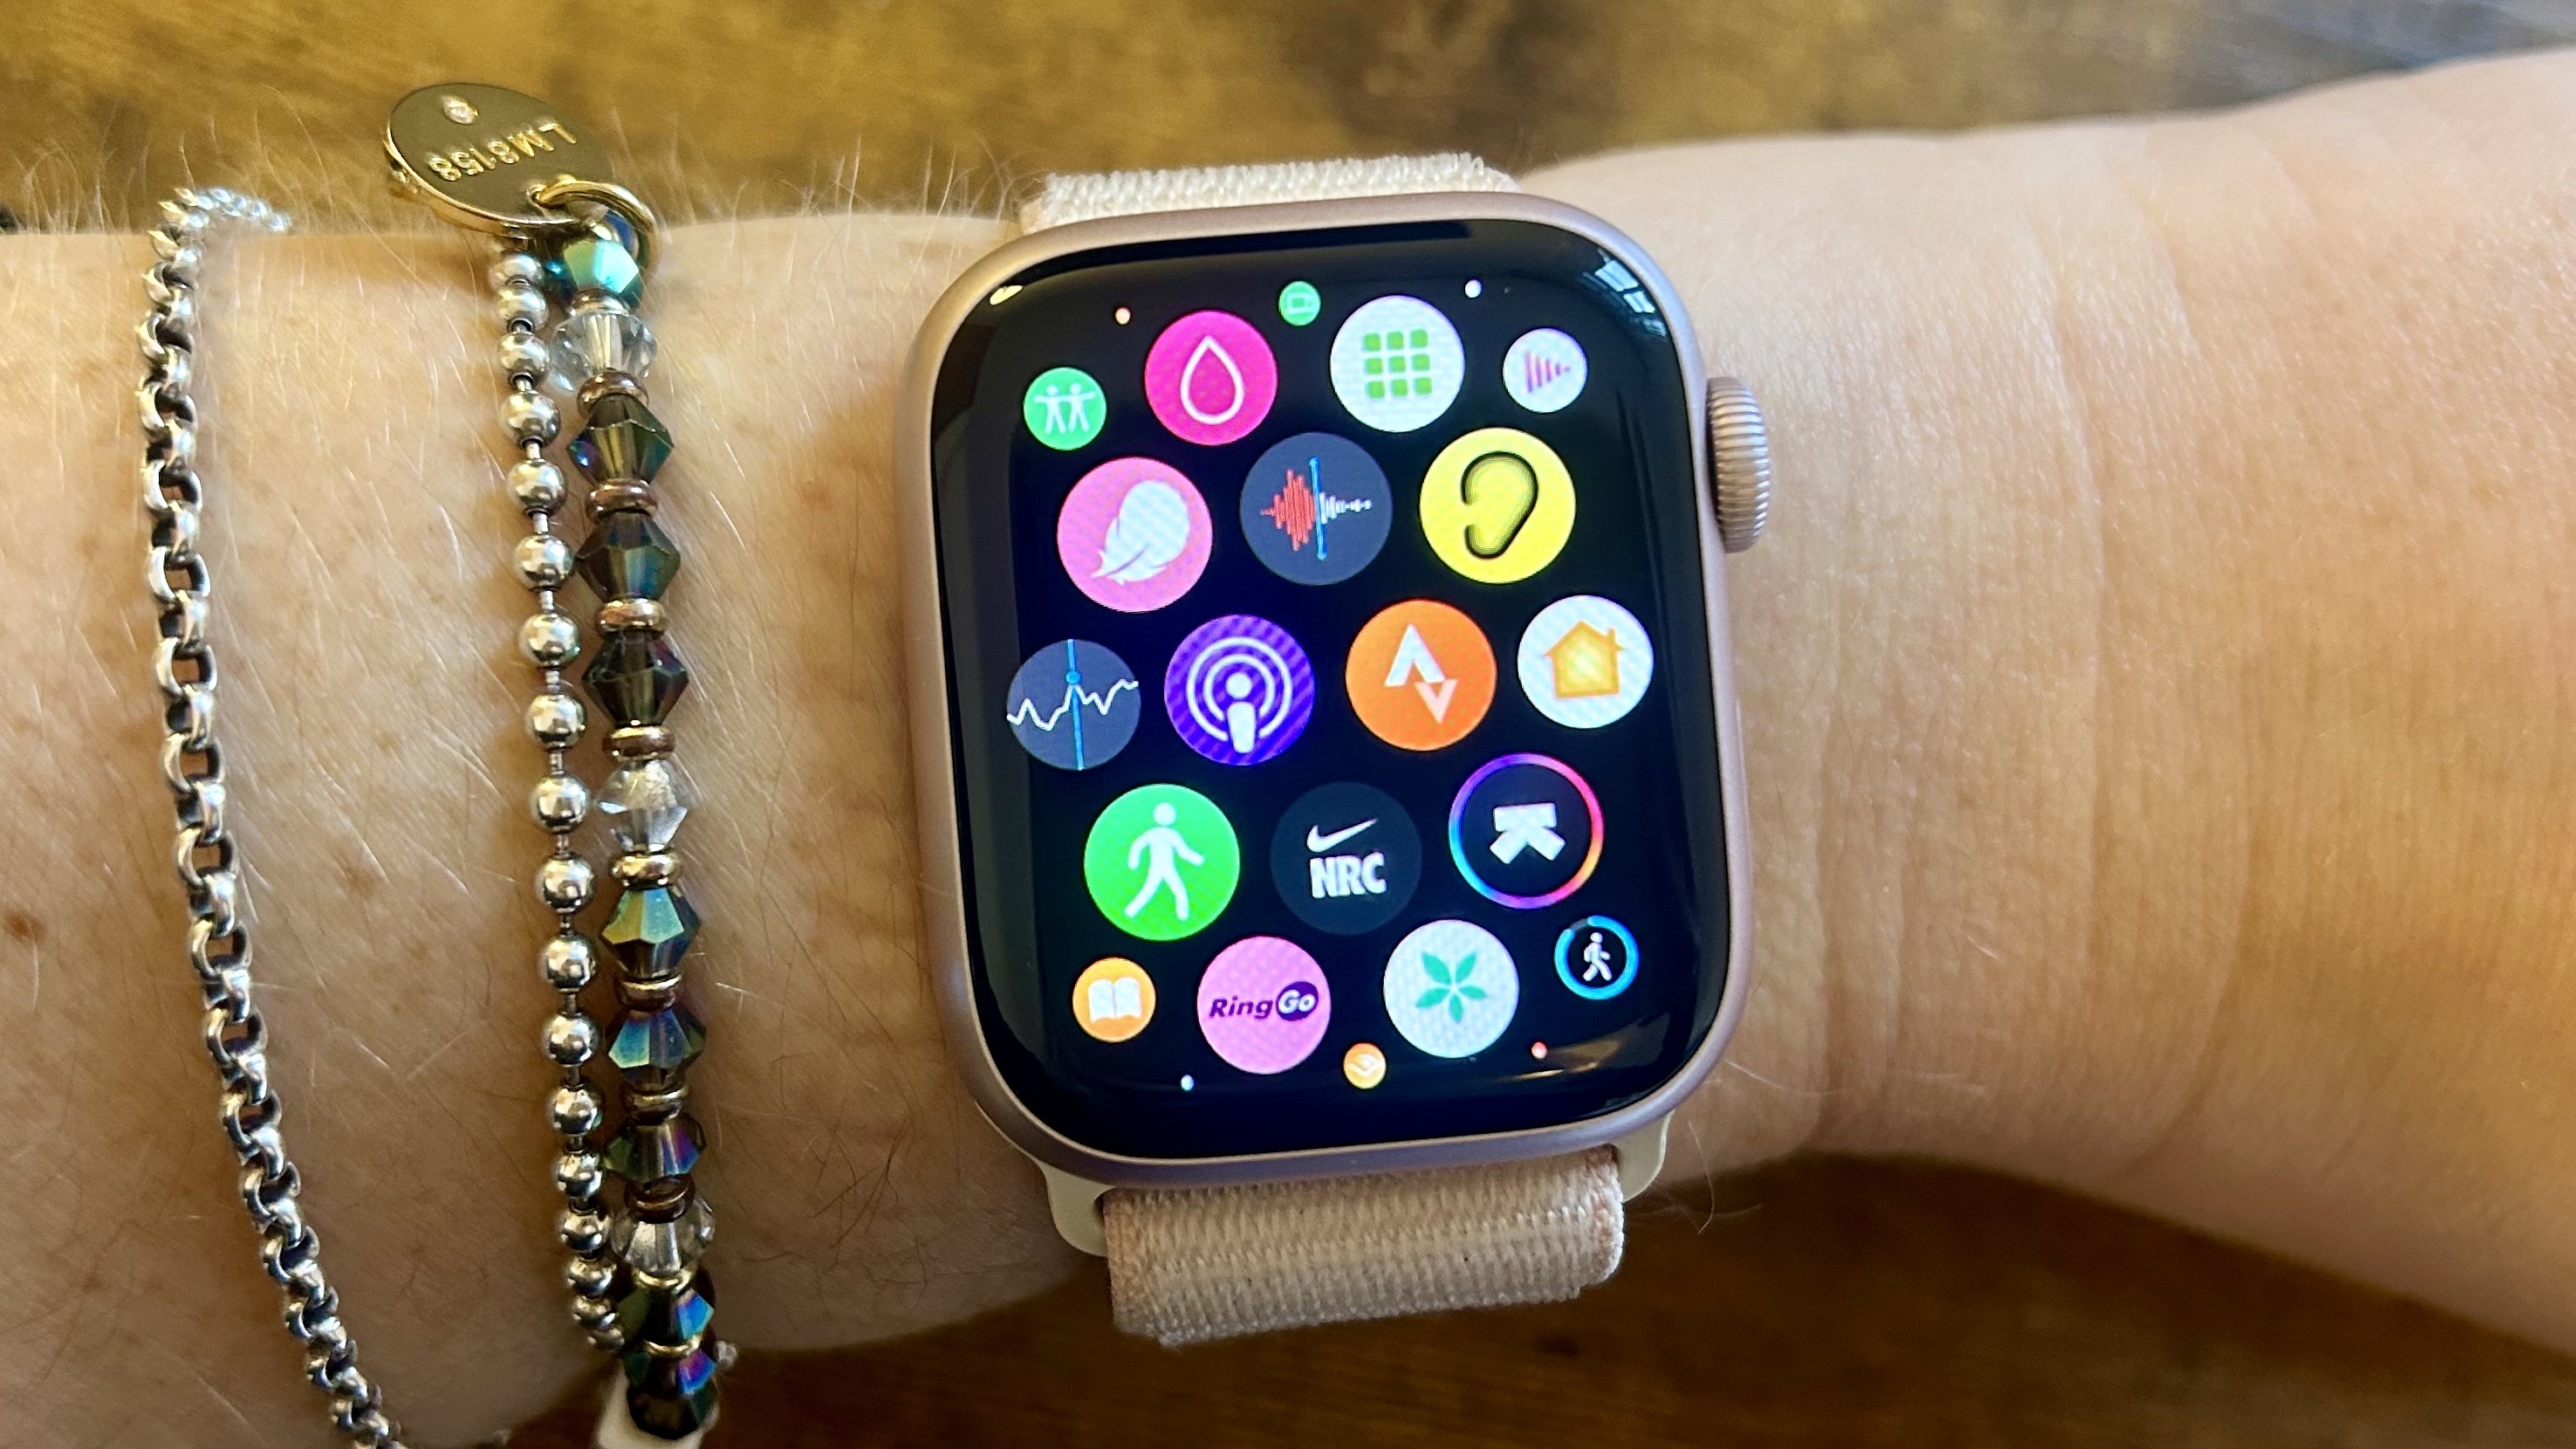
Strava is one of the most popular apps on the market for runners and riders — from recording your runs to giving friends kudos for marathon efforts, it’s like social media for fitness fanatics. But if you’ve recently downloaded the Strava app for the first time, or you’ve bought or received one of the best Apple Watches and want to sync your activities to Strava, below, we go through all the steps when it comes to using Strava on your Apple Watch.
Which Apple Watches are compatible?
If you’re looking to download the Strava Apple Watch app to record runs and rides without your phone directly from your watch, you’ll need to start by checking your Apple Watch is compatible. The good news is that most of them are — the Strava Apple Watch app supports watch OS8 and later, which means Apple Watch 3 or later.
How to set up Strava on your Apple Watch
Here’s the simple steps you need to follow before grabbing your best running shoes and heading out:
- To set up Strava on your Apple Watch download the Strava app on your iPhone if you haven’t already, and make sure the app is updated and that you are logged in.
- Open the My Watch section in the Apple Watch app on your phone.
- Find the Strava app and install it onto your Apple Watch.
- Open the Strava app on your watch. You should get a prompt on your phone to authorize Strava for Apple Watch.
How to record an activity using the Strava Apple Watch app
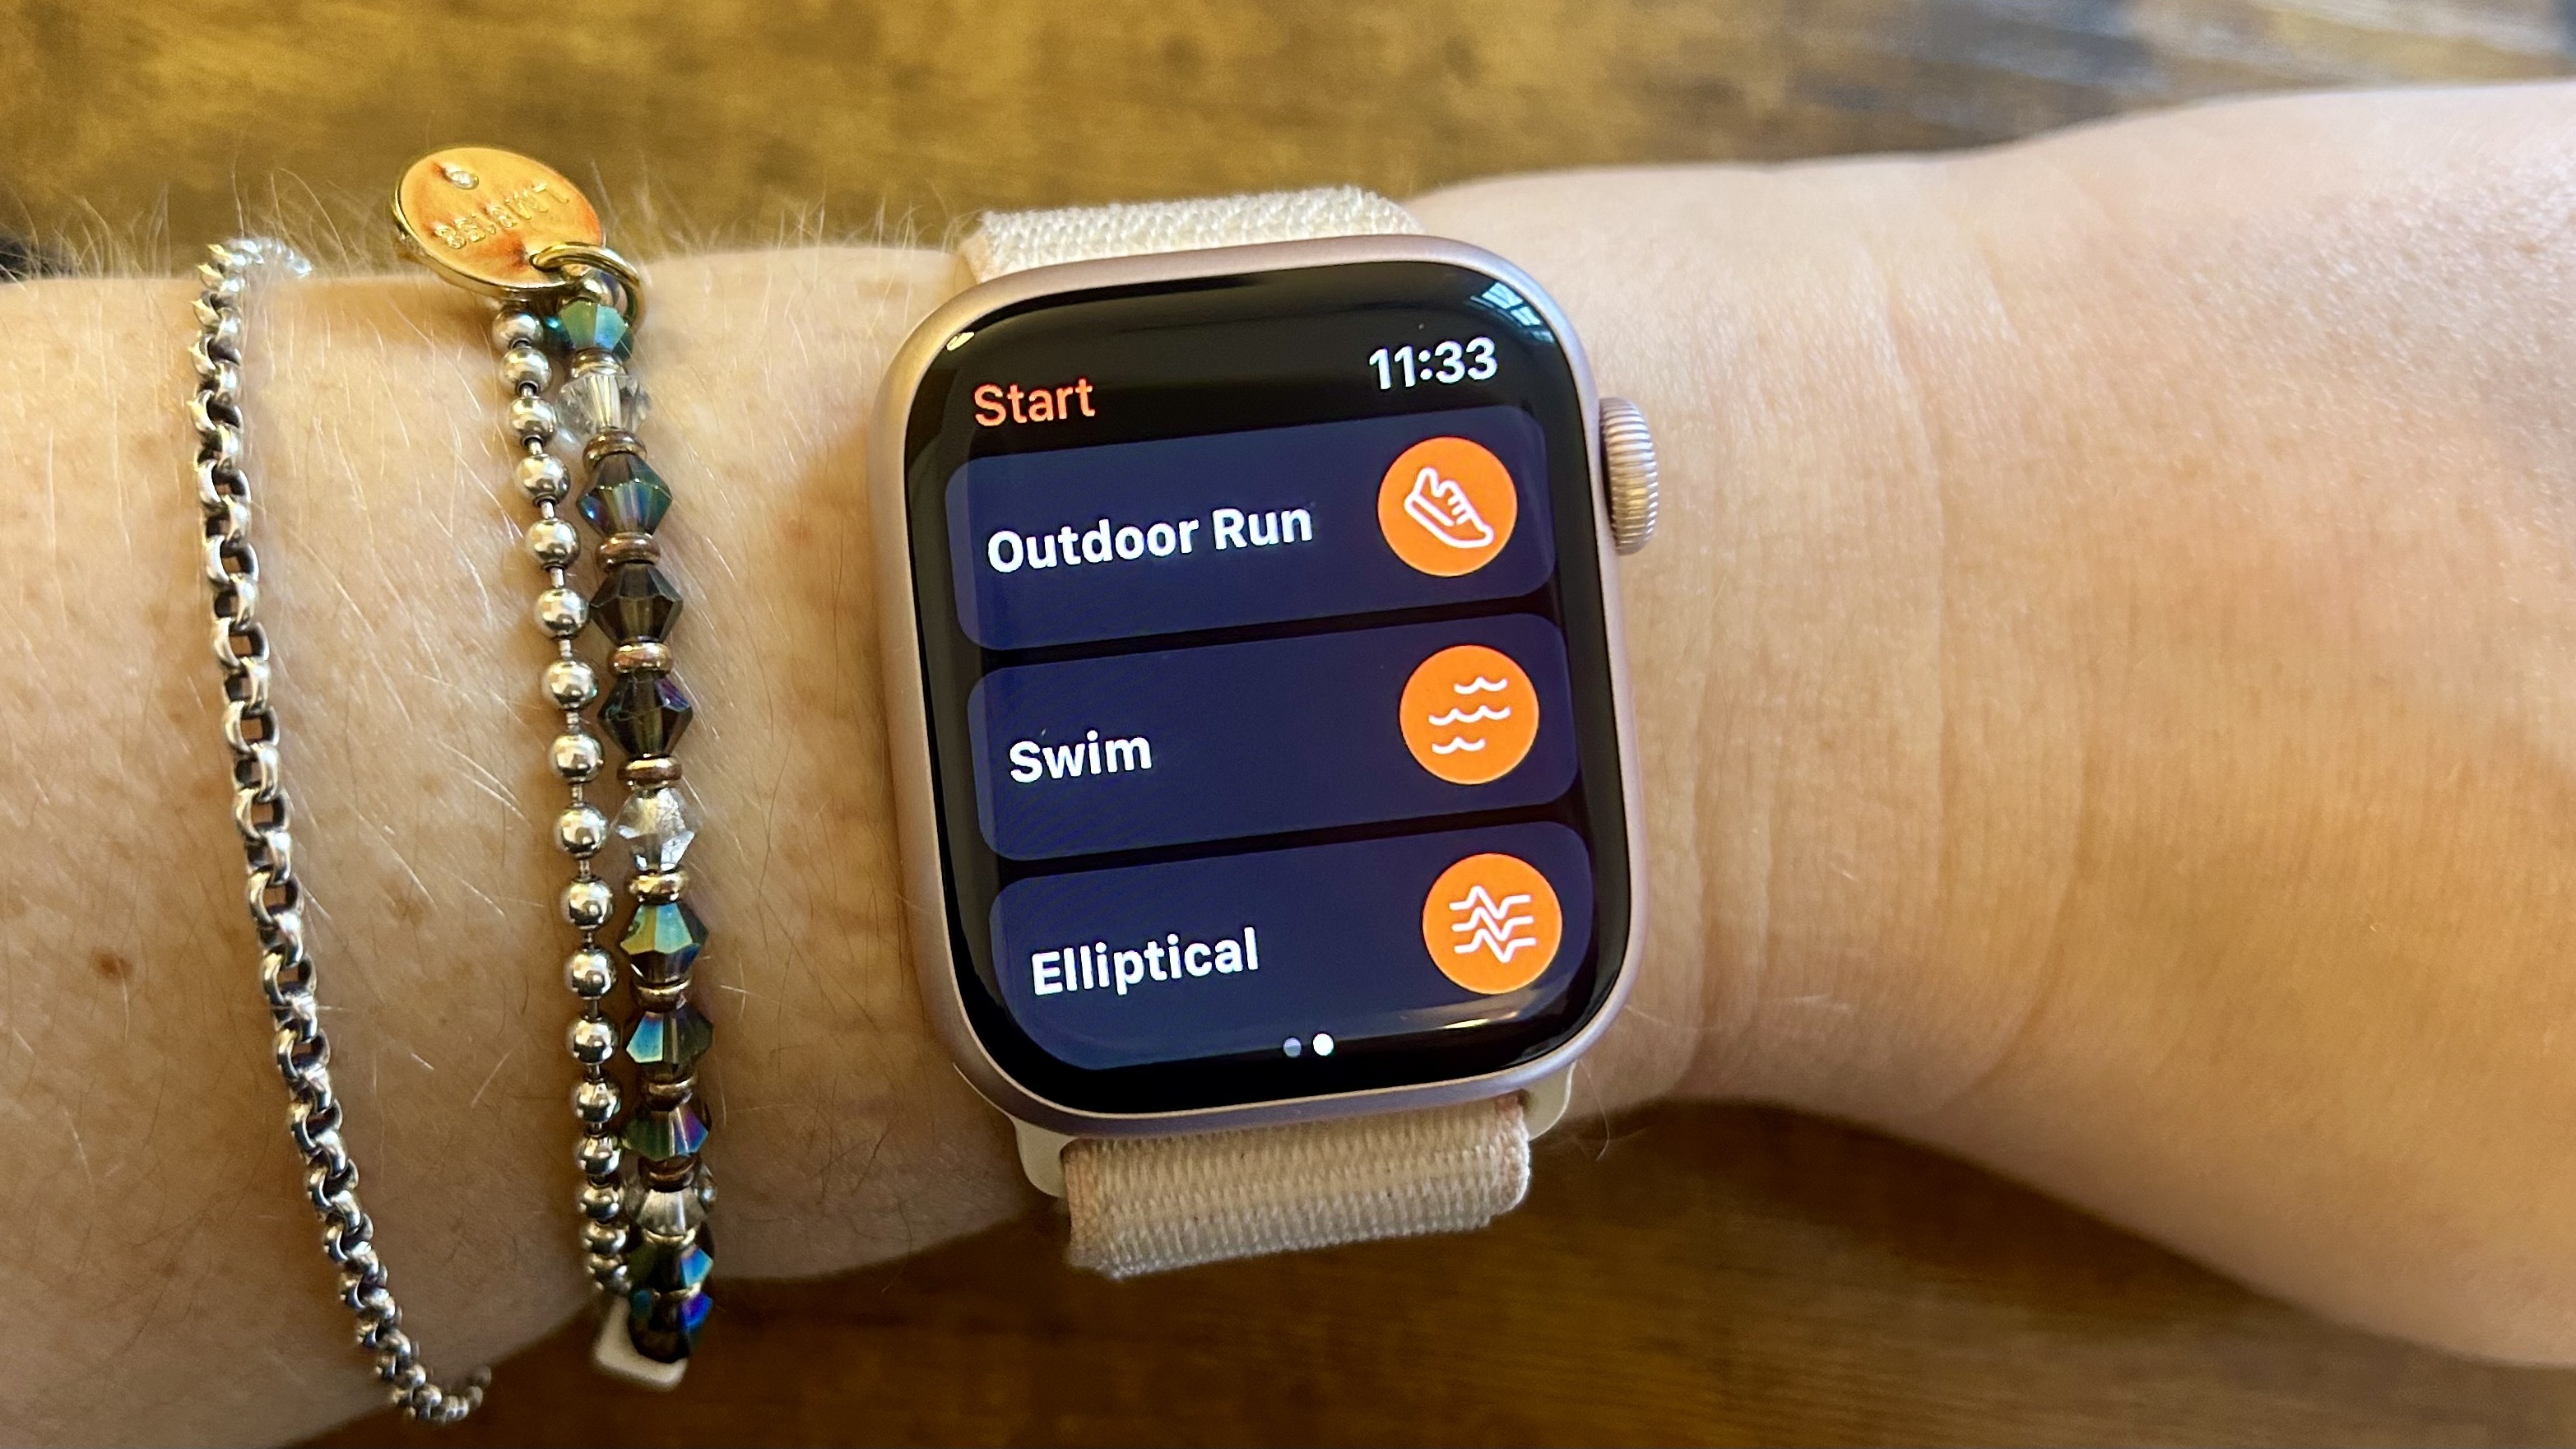
To record an activity from your Apple Watch using the Strava Apple Watch app, simply head into the app, and select your activity. The first time you use the app on your watch you’ll be asked to accept location and Health permissions, but after this, you’ll be able to record your runs, rides, and workouts directly from your watch and they will sync automatically to your Strava account. You don’t need to carry your phone with you when using the Strava app — the app will use your Apple Watch’s GPS.
Auto-pause settings
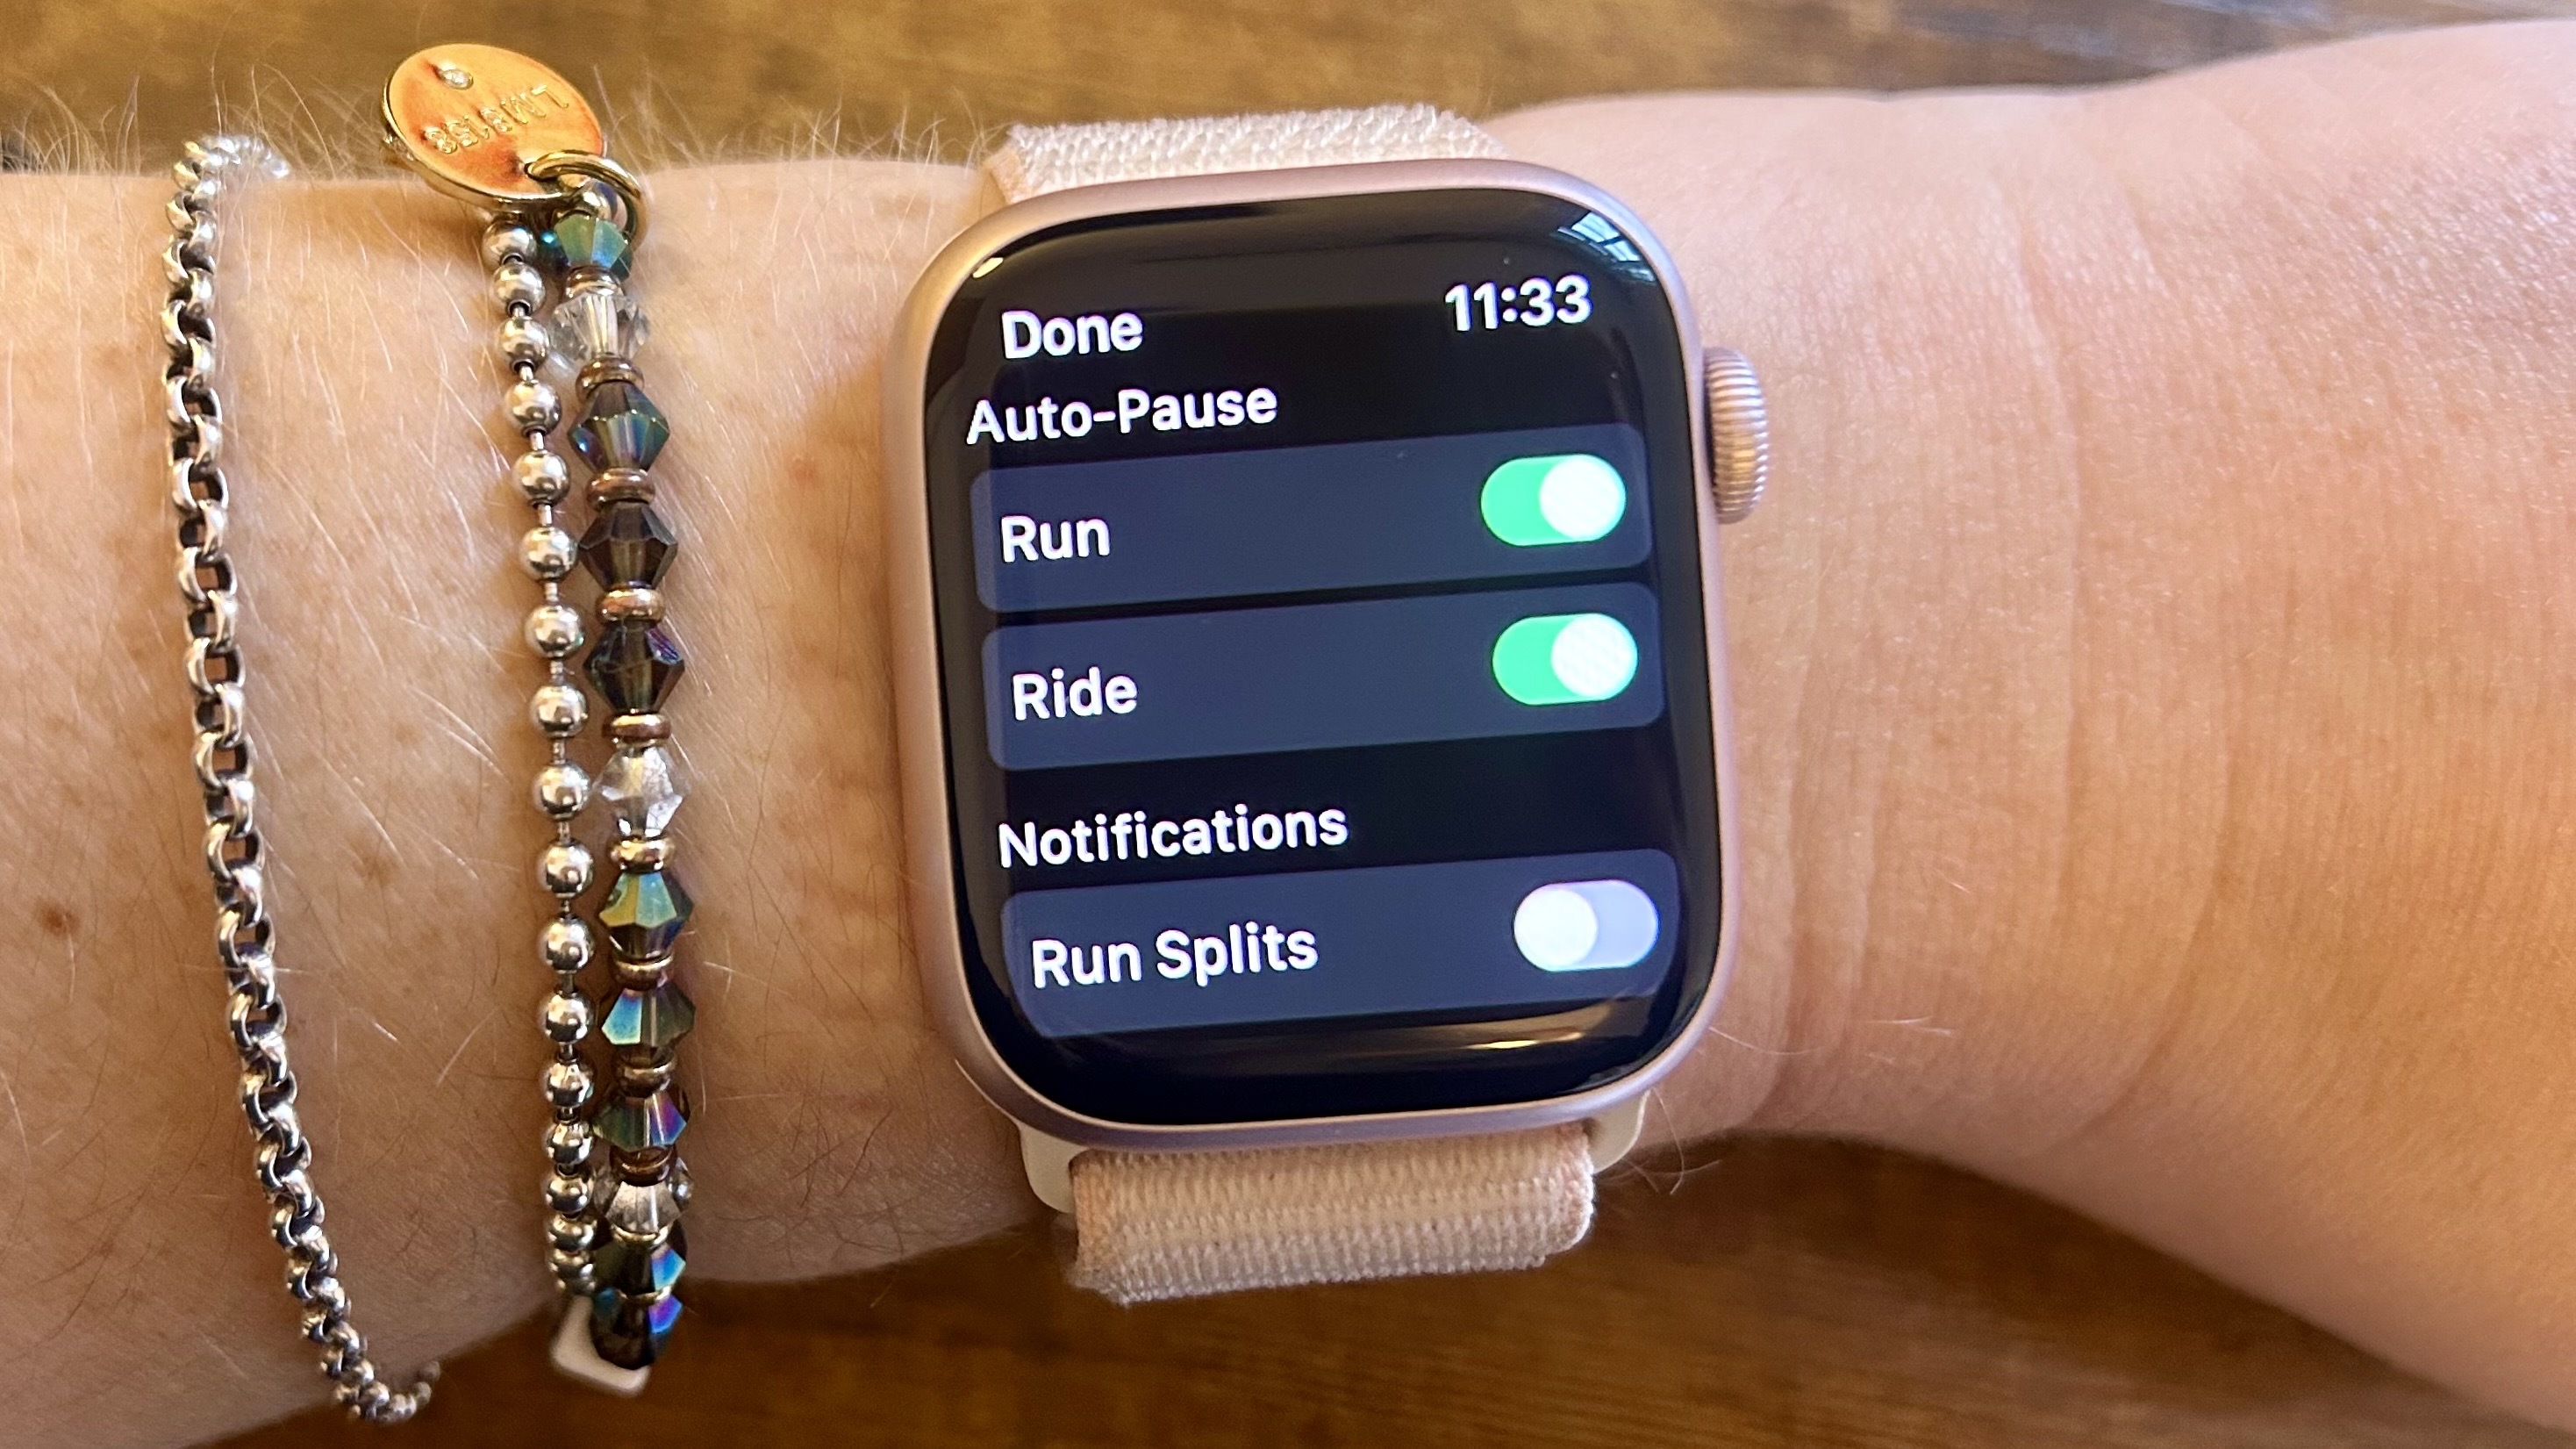
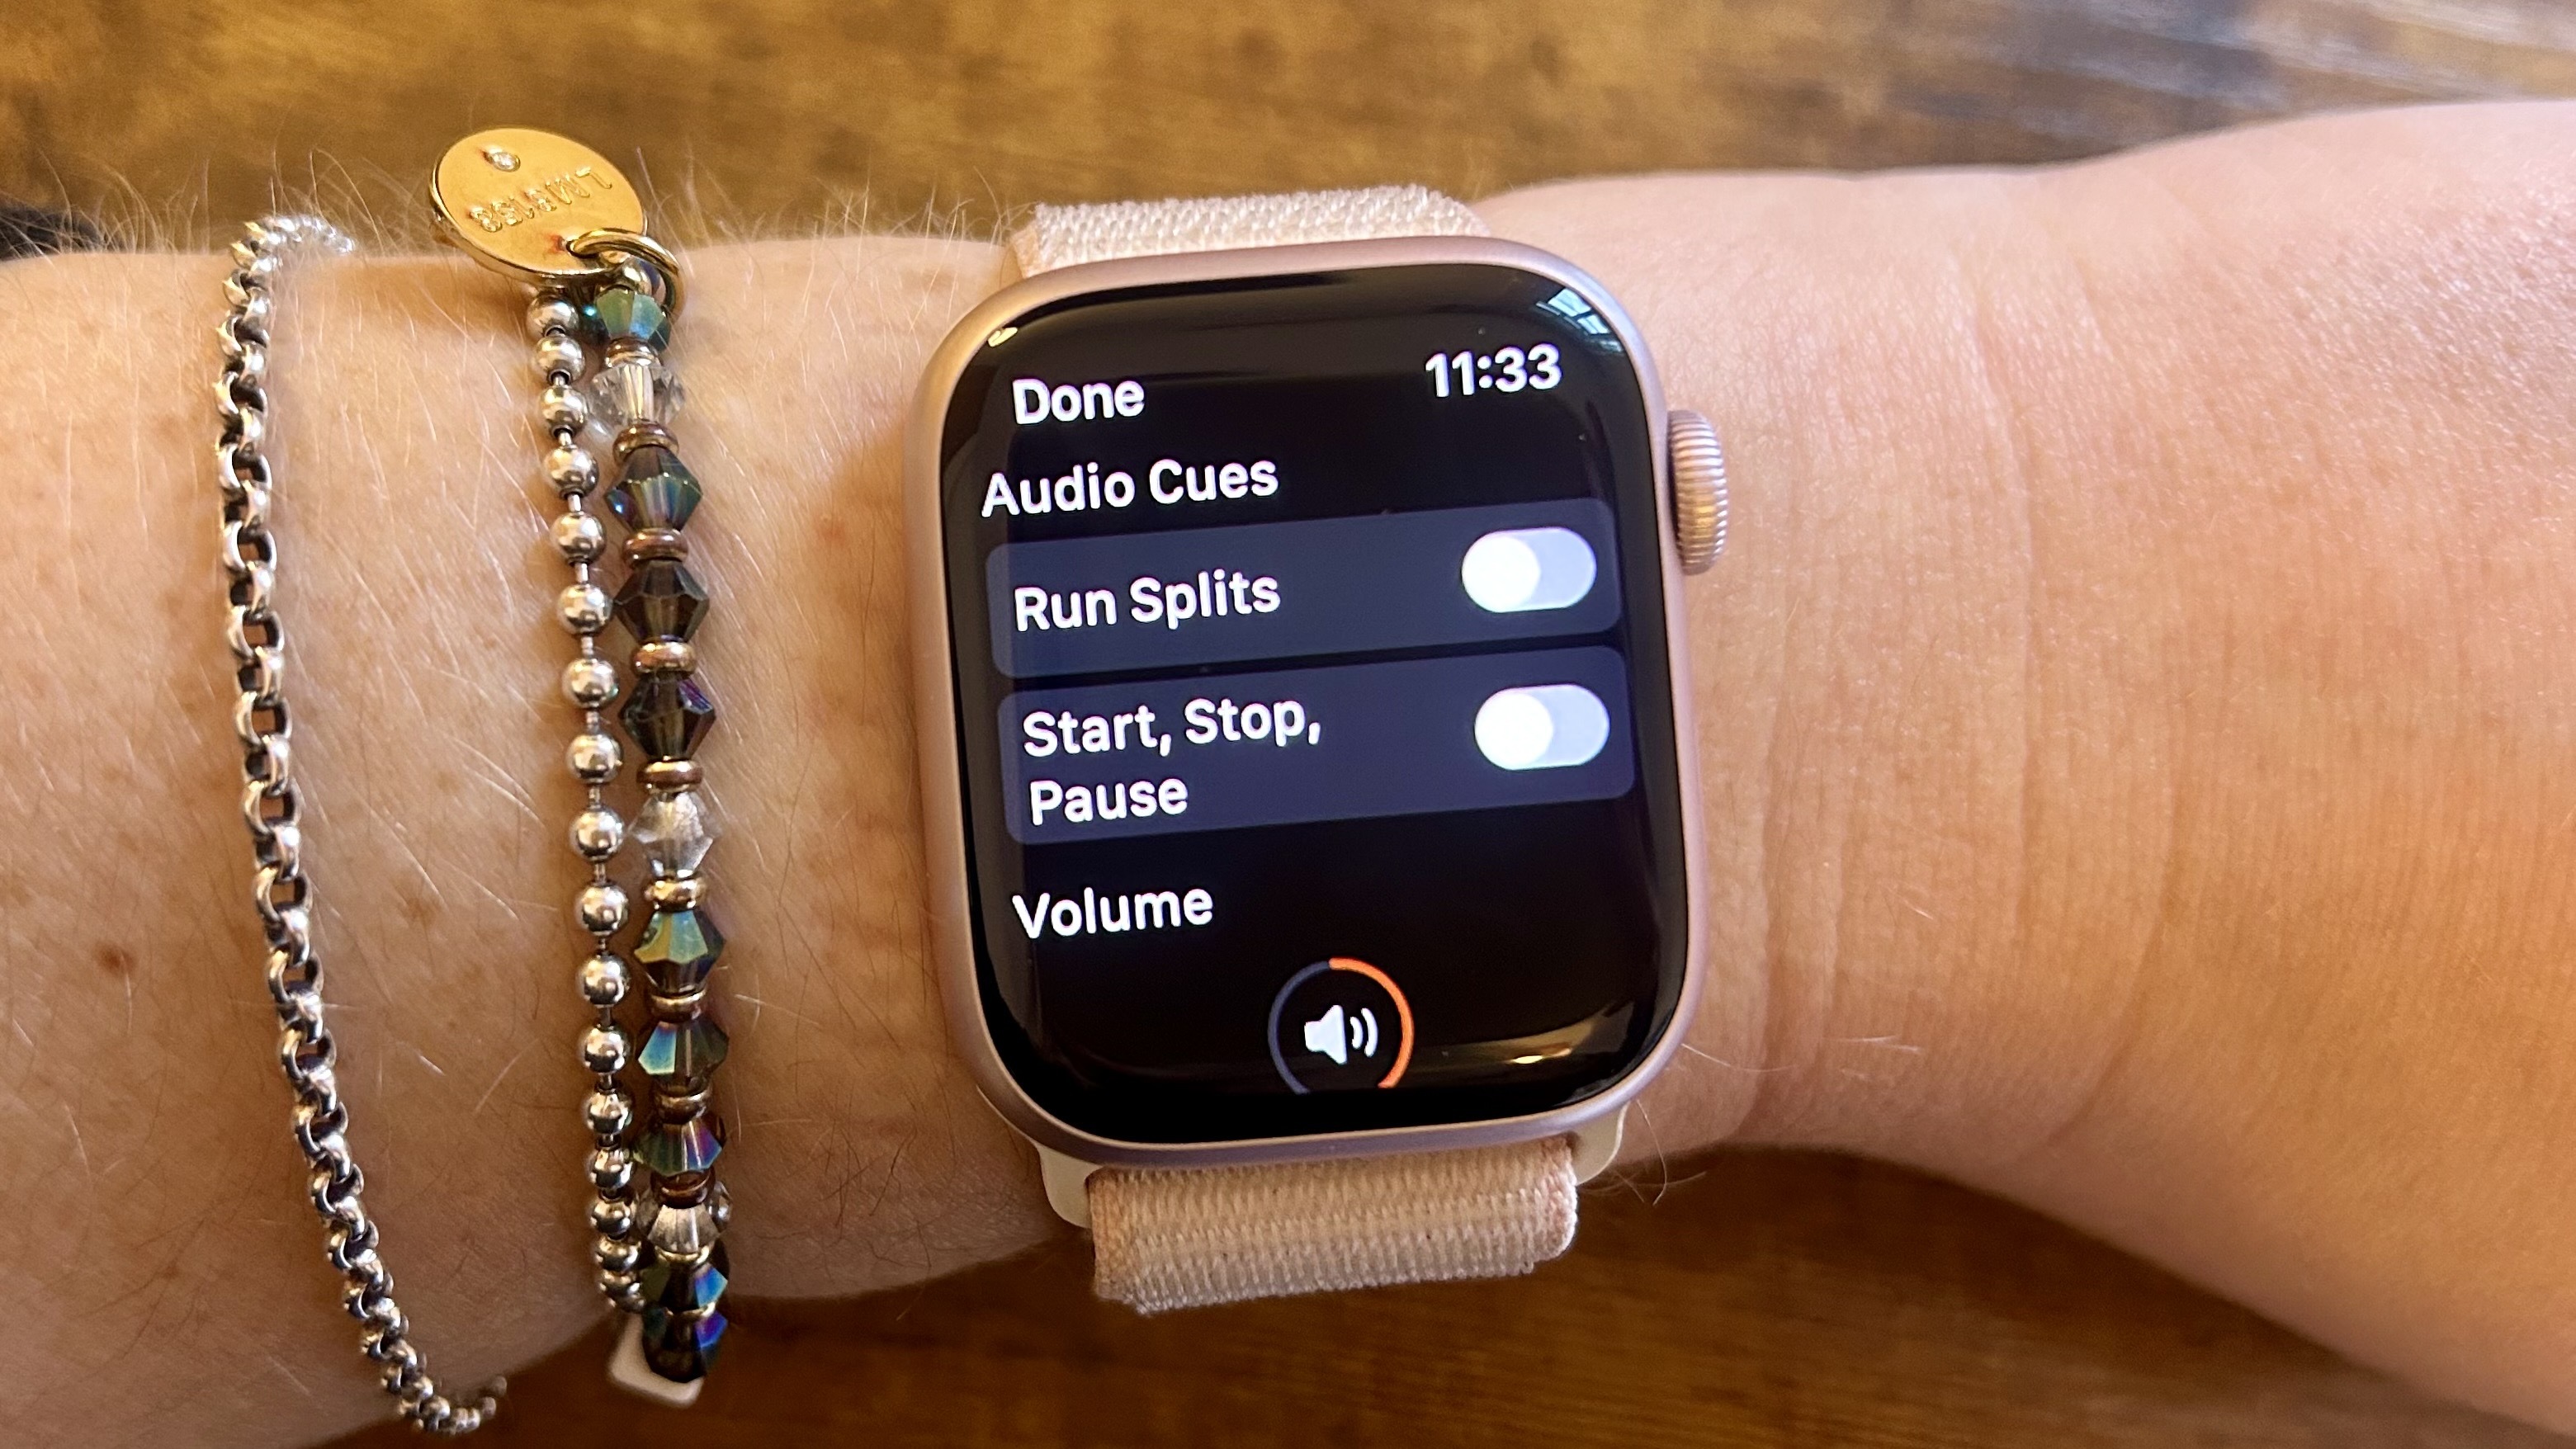
One thing you might want to consider changing if you’re running or riding in the city is the auto-pause settings. To do this, simply swipe right when you’re in the activity and then select Settings. Here, you can add auto-pause for runs or rides, meaning your Apple Watch will pause the activity automatically when you stop moving. You can also set up audio cues, so you start, pause, resume, and stop your activity. You’ll also get feedback about the total distance, and if you’re running, the pace of your last split, and the total average split pace.
When you’ve finished your workout, you’ll need to swipe right on the workout screen and click the Finish flag. You’ll then need to select Save for the workout to be automatically uploaded to your Strava when your phone is next in range. Once it has uploaded, you will get a notification on your phone.
If you can’t see your workout on your Strava account, it might be in your Strava Apple Watch app’s unsynced activities. To find this, go to the Settings option on your Strava Apple Watch app, and tap Unsynced. Here, you’ll be able to see any workouts that haven’t been synced to your phone.
How to record heart rate data on the Strava app
Heart rate is a key metric many runners and riders use when exercising, to establish how hard you’re working in an effort. If you’re unable to see your heart rate when using the Strava Apple Watch app, the chances are you haven’t permitted the app to read heart rate data from within the Apple Health app.
To do this, re-open the Strava app on your Apple Watch — if the two aren’t connected properly, a prompt should appear asking you to allow Strava to access and update your health data. On your phone, you’ll receive a notification asking you to Open Strava, and then open the Apple Health app on your phone. From here, scroll down and “Allow Strava to Read Data” and enable heart rate.
Once connected, you should be able to see your heart rate in the bottom right-hand corner of the screen on your Apple Watch when recording an activity.
How to upload activities that aren’t recorded on the Strava Apple Watch app
In the past few updates, Apple has made some big changes to its workout app on the Apple Watch, making it a better tool for runners and cyclists. You can now see which heart rate zone you are exercising in, and create custom workouts to follow from your wrist. If you prefer to use Apple’s Workout platform to record your workouts, you might be wondering how you can sync these to your Strava account.
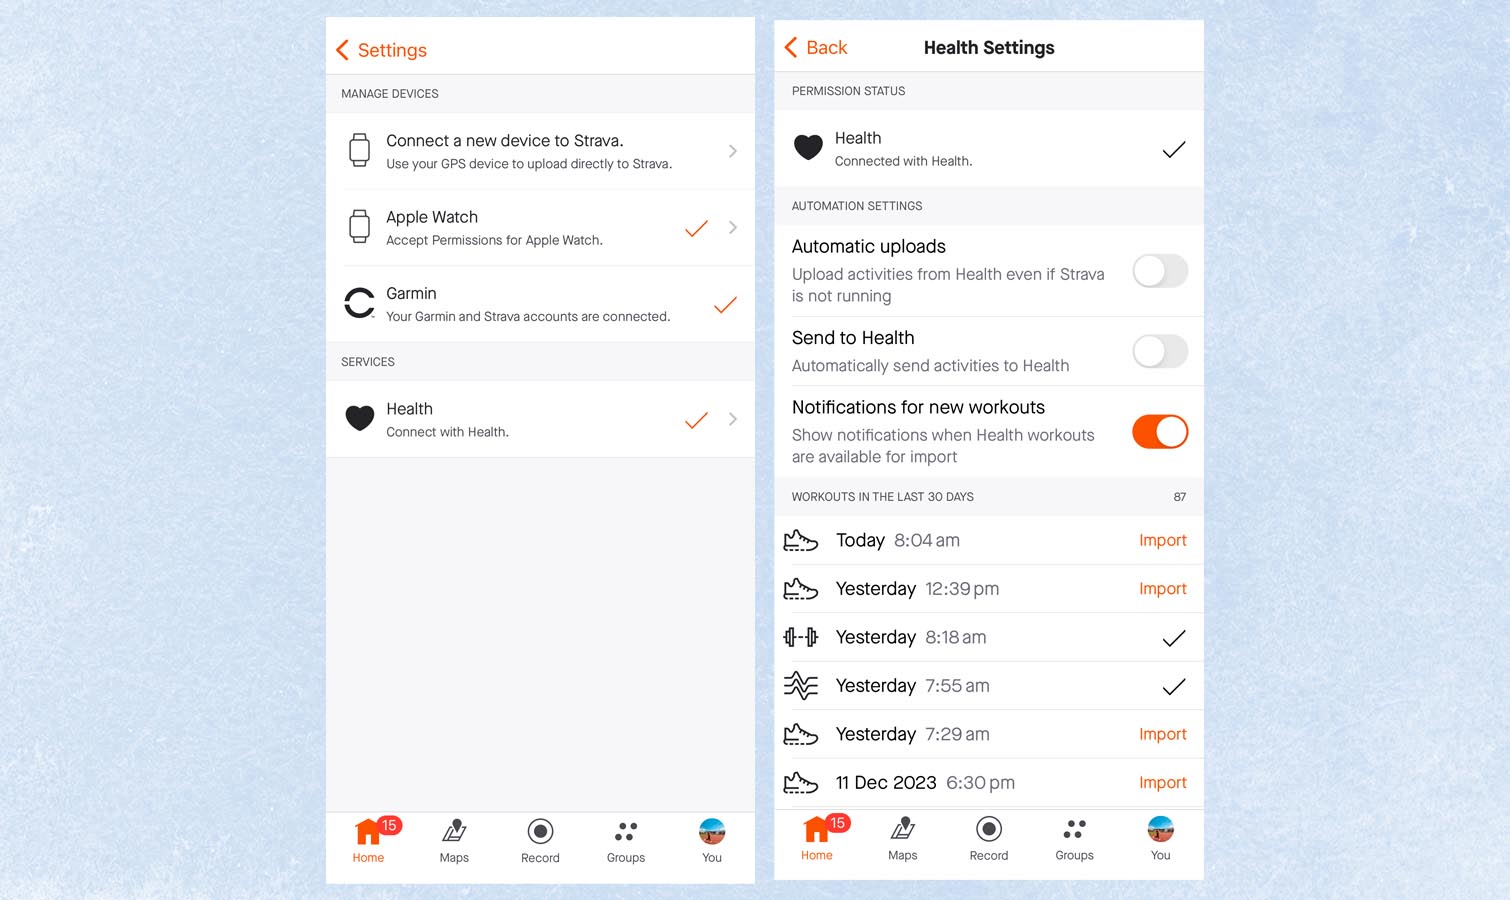
For this, you’ll need to head to your Strava app on your iPhone, and click on the cog icon in the top right corner to access the Settings. From here select Applications, Services, and Devices, and then Health to access the Apple Health uploads. You can select for your watch to automatically upload activities from Apple Health to your Strava account, or import workouts from the last 30 days onto your Strava account. Once imported, you should see a tick next to the activity, and you should be able to view it in your Strava account.


