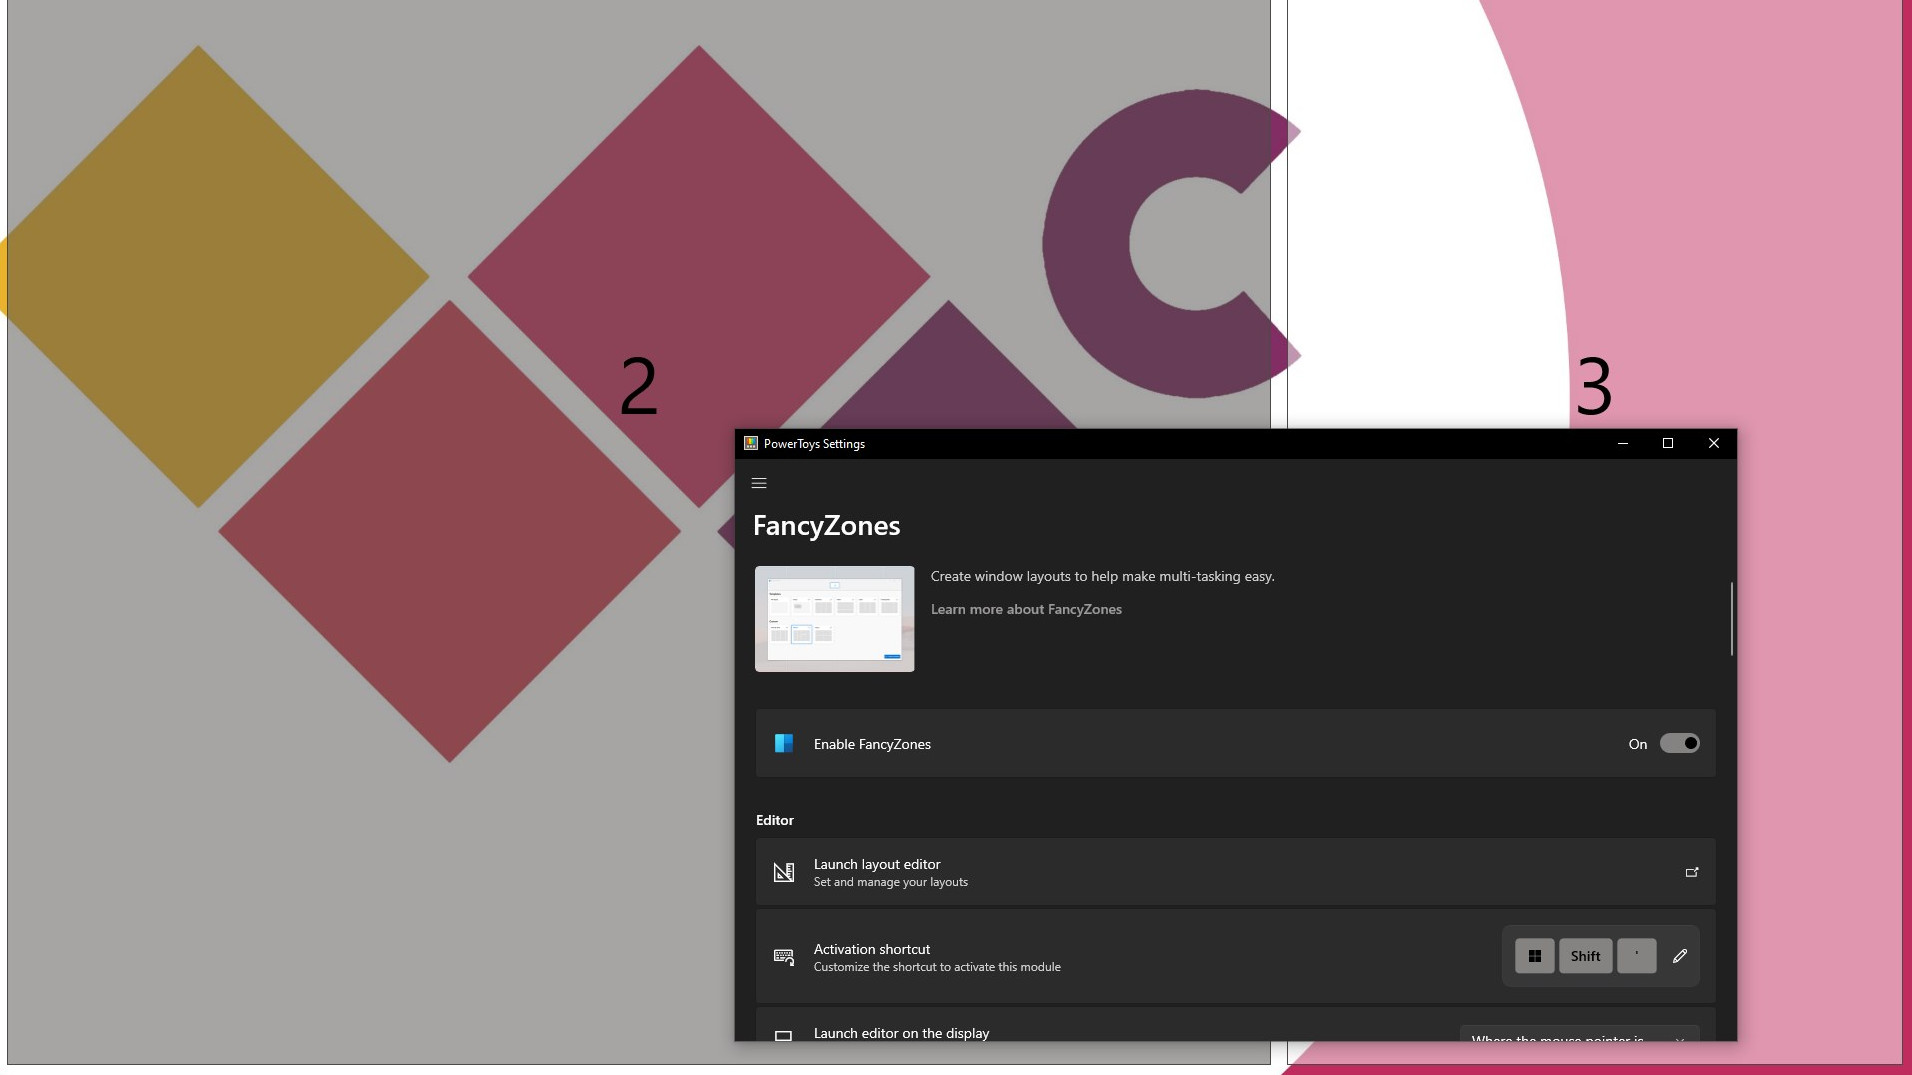
Whether you're running Windows 10 on your PC out of necessity or preference, you might feel a little jealous of the advanced window-snapping features available on Windows 11. It's still possible in the previous generation, but the options are limited, with applications taking up the entire screen or cutting a vertical slice. It can be helpful in some scenarios, but Microsoft has a first-party solution in PowerToys to unlock fully customizable layouts with FancyZones.
What is PowerToys?
Microsoft PowerToys is a free set of open-source utilities designed for Windows 10 and 11 that offers extra customization for the desktop UI and tools to streamline the user experience, including FancyZones to create custom layouts and quickly arrange applications. Supported on x64 and ARM processors, PowerToys is available now in a preview state.
How to download and install PowerToys
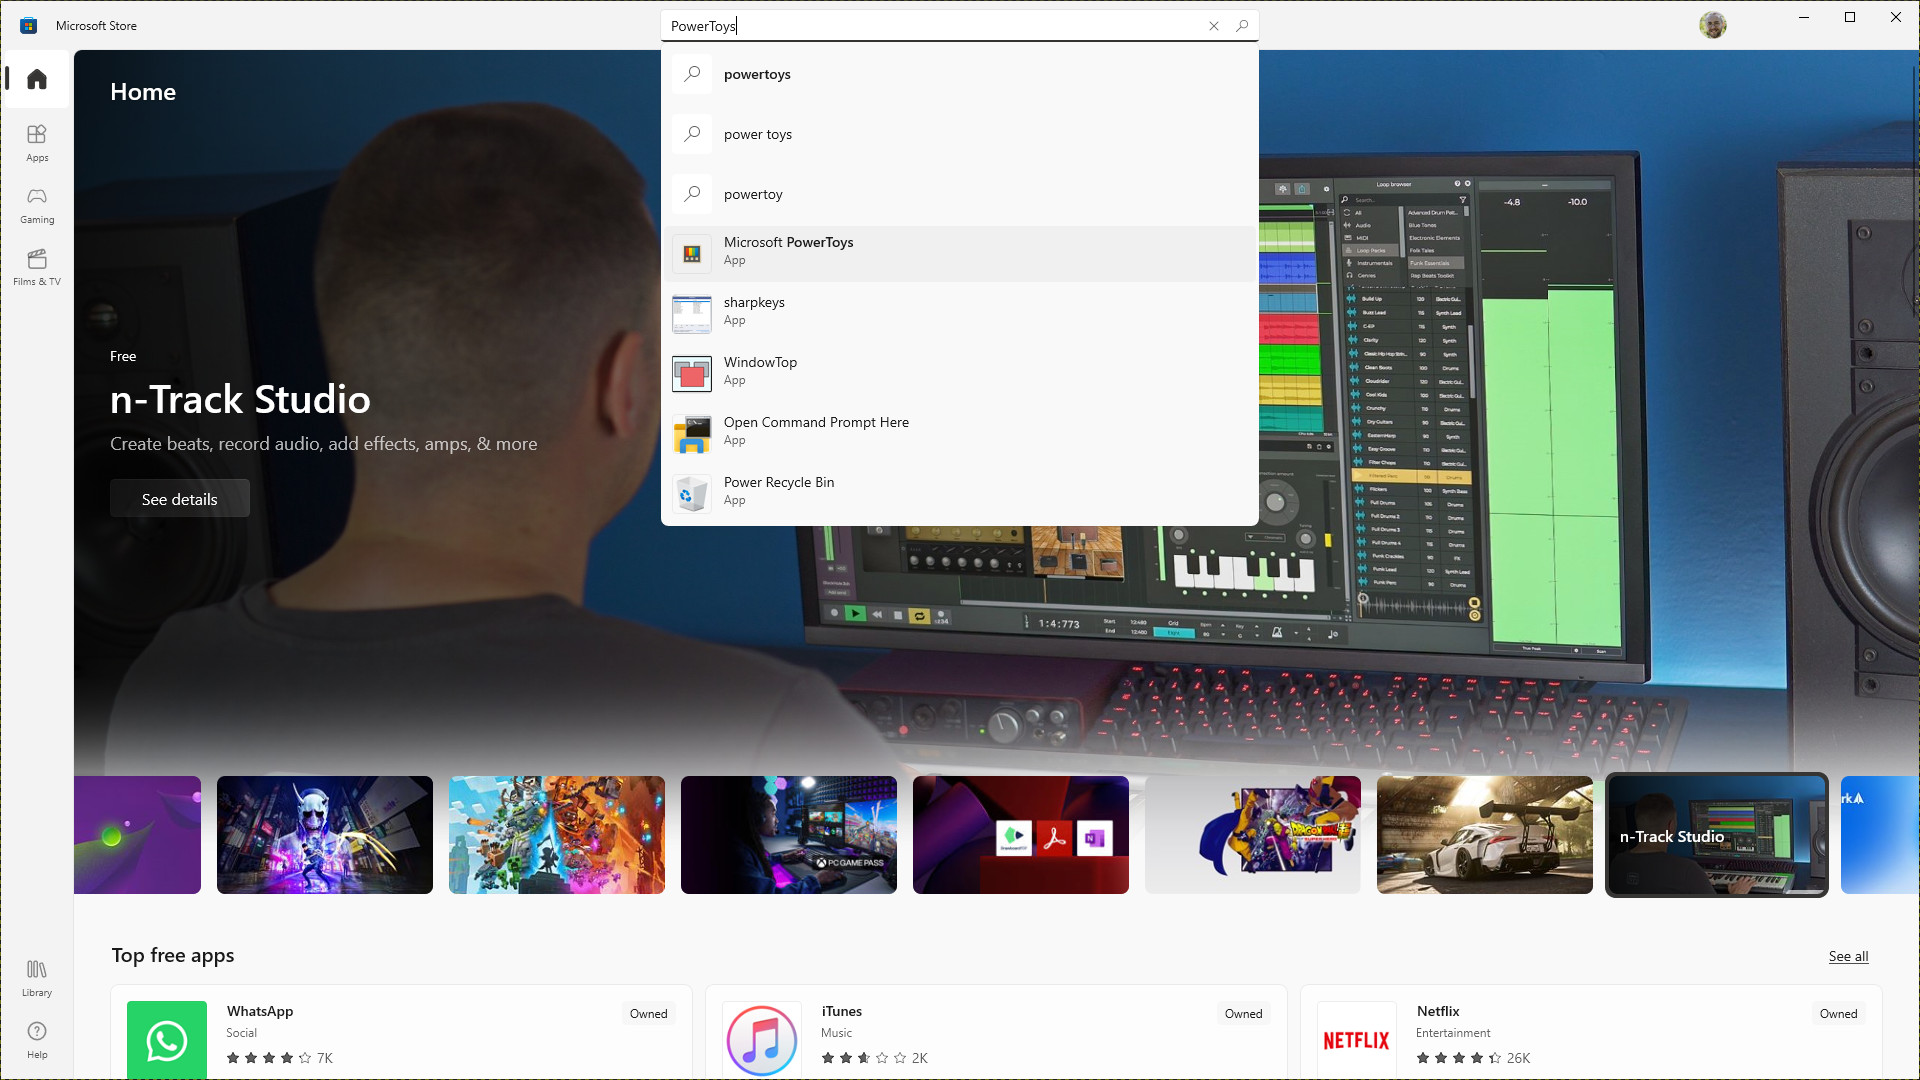
- Open the Microsoft Store app.
- Search for PowerToys in the search bar.
- Find and click on Microsoft PowerToys from the list of search results.
- Click the Install button on the Microsoft PowerToys store page.
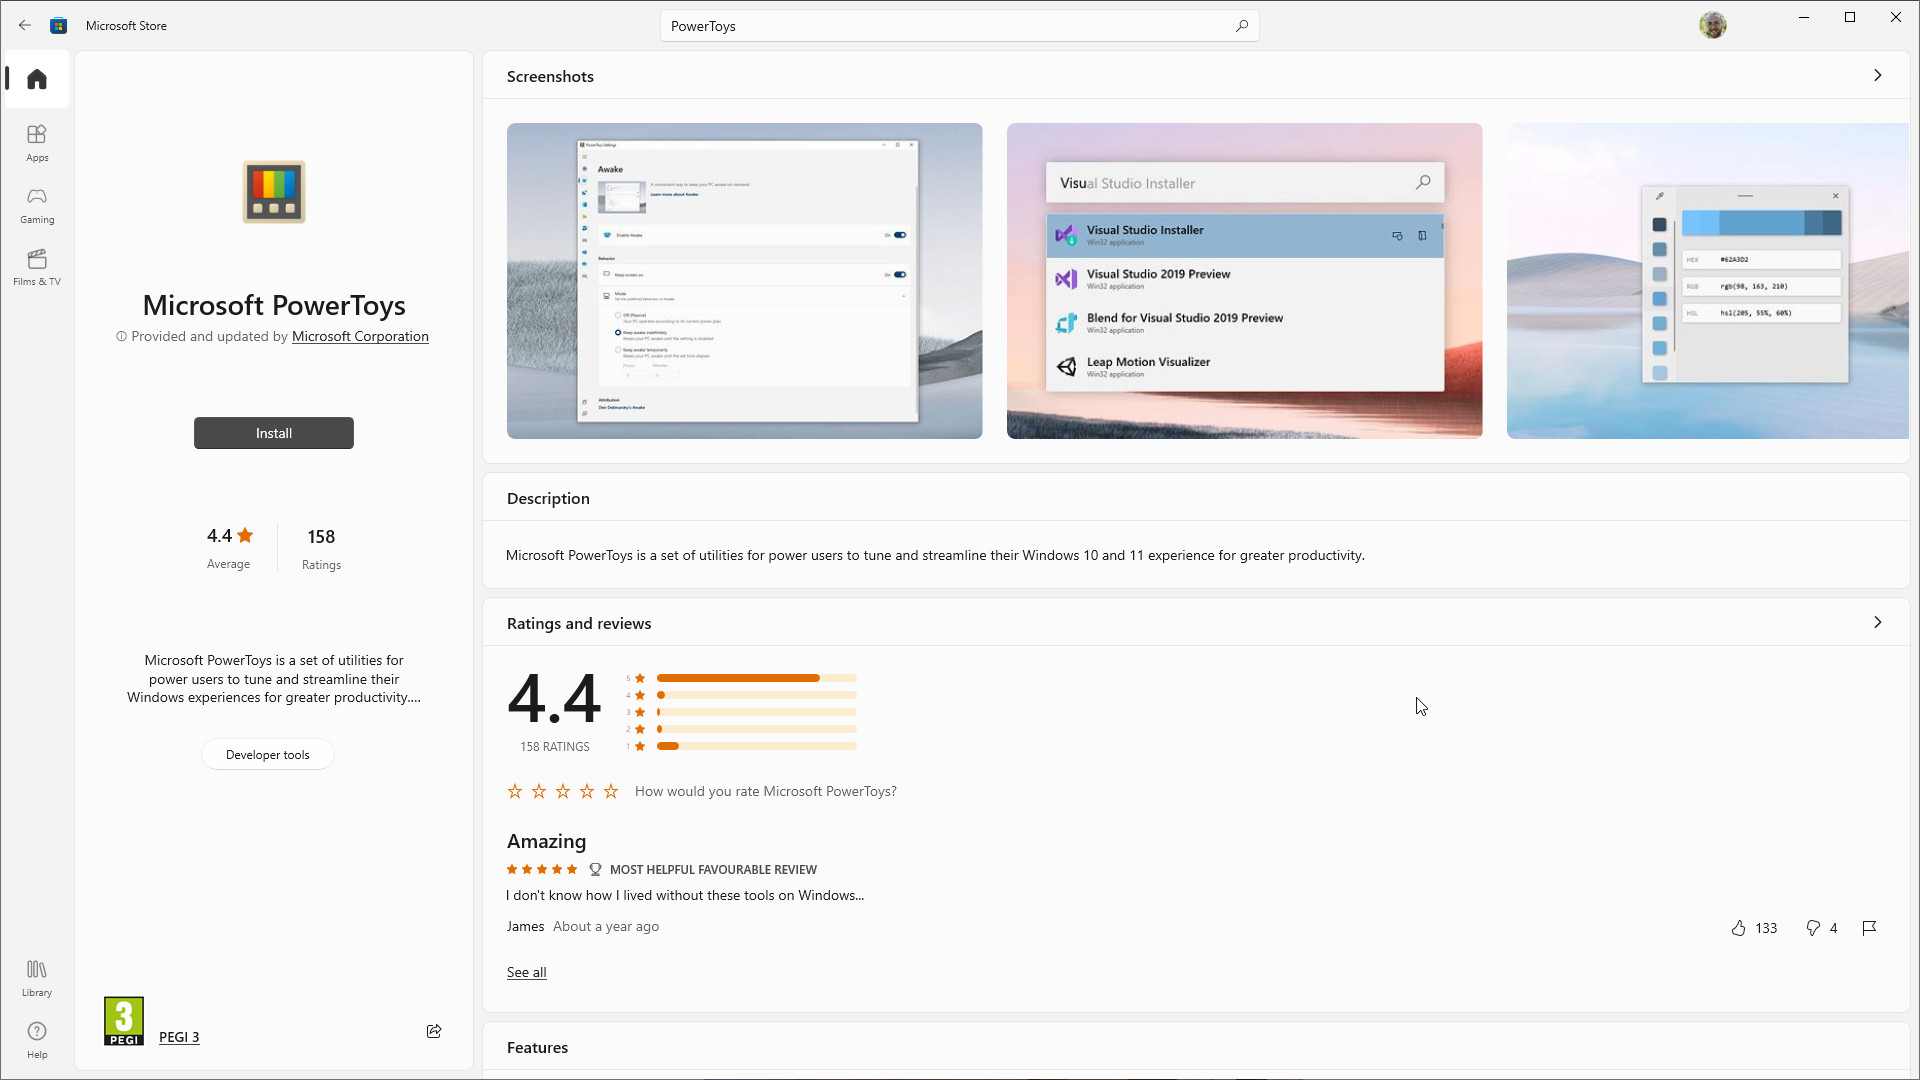
PowerToys should automatically open after installation. If it doesn't, find it in the Start menu with the title PowerToys (Preview), depending on its development status when you follow this guide. If you keep the settings in their default state, PowerToys will launch into the Windows 10 system tray upon startup, so restart your computer if the app doesn't appear.
There are alternative methods for installing PowerToys if you prefer not to use the Microsoft Store. The official PowerToys GitHub page hosts manual installation packages, or anyone familiar with Windows Package Manager can install the app with the following command in PowerShell:
winget install Microsoft.PowerToys --source wingetHow to use FancyZones
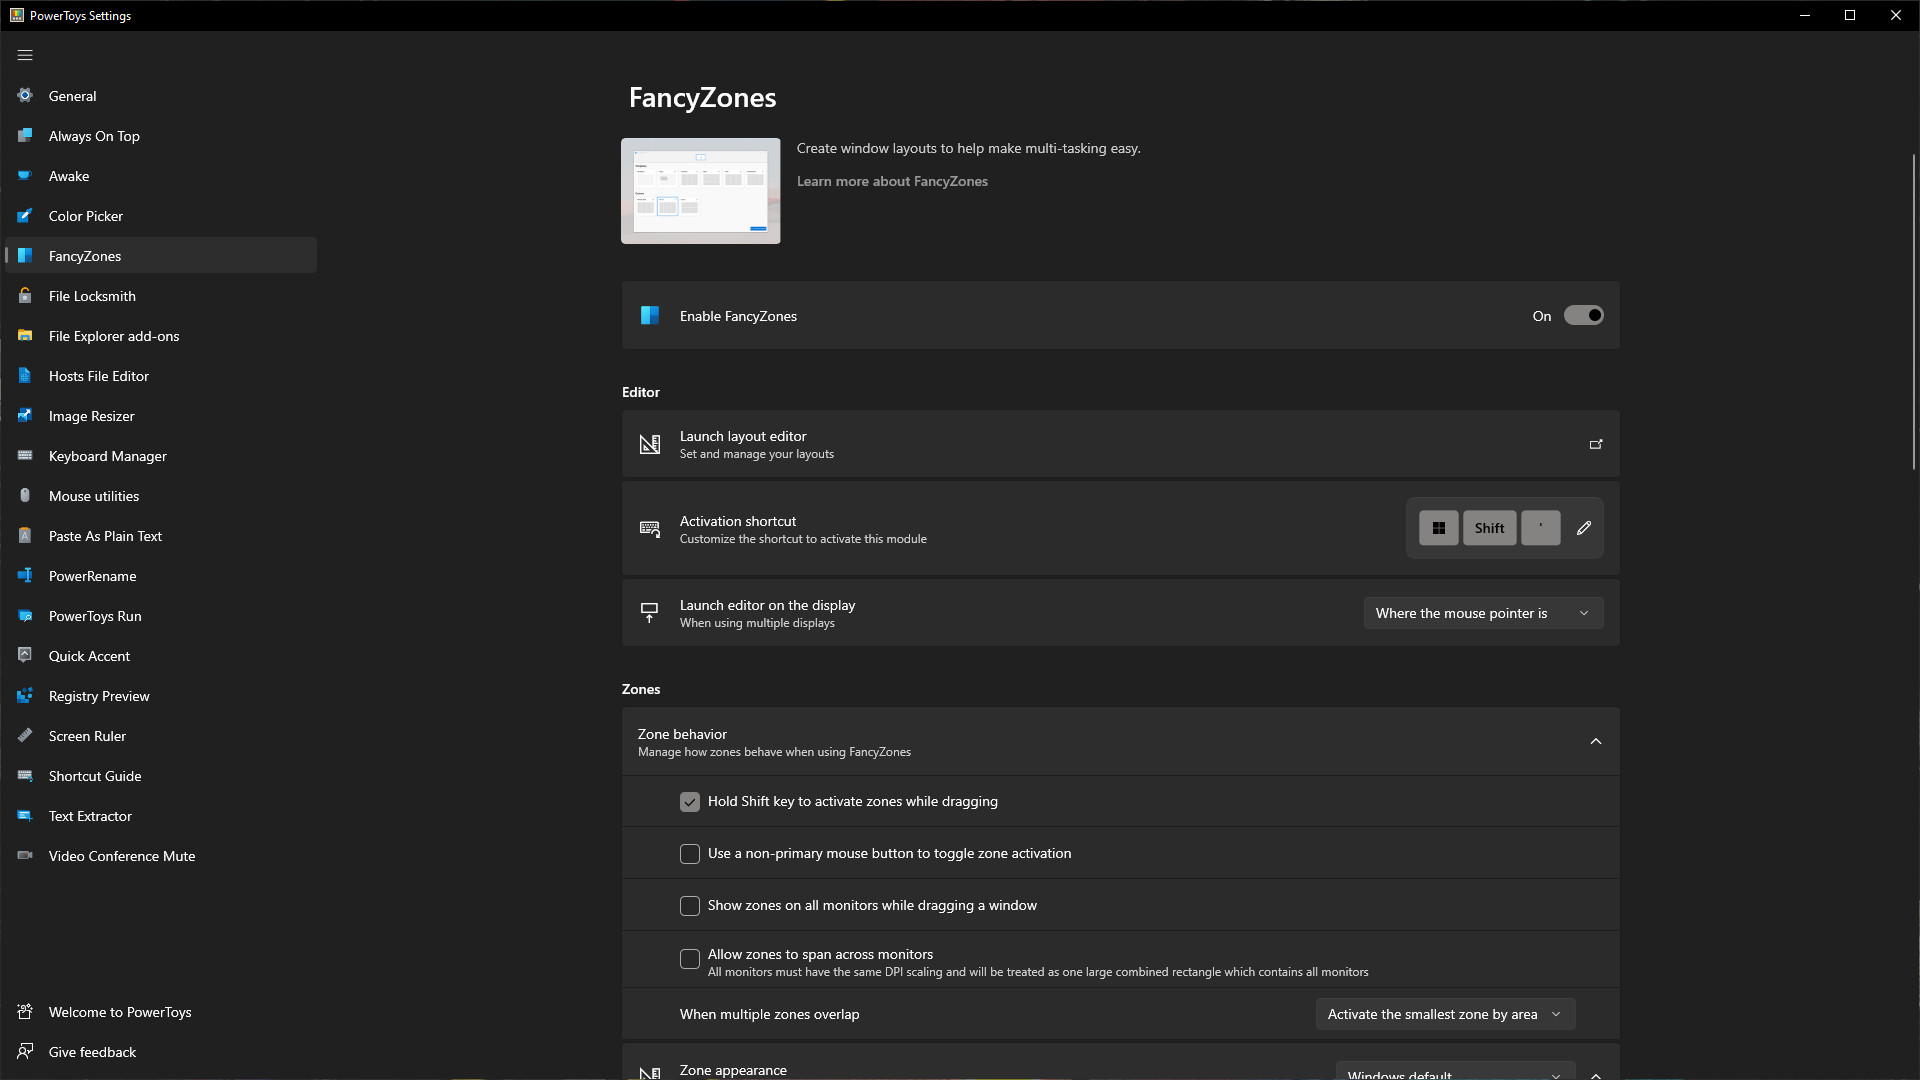
- Launch PowerToys (Preview) if it's not already running.
- Right-click PowerToys in the system tray and click Settings.
- In PowerToys Settings, find and click FancyZones from the left-side menu.
- Make sure that the Enable FancyZones setting is On.
If you can't see the PowerToys icon in your taskbar system tray, you might need to expand it by clicking the upwards-facing arrow. If you want PowerToys always to be visible, right-click your taskbar to find Taskbar settings and scroll down to the Notification area to turn specific system icons on or off.
FancyZones should be activated by default, but it's worth checking before we get started. Windows 10 does allow applications to snap to the edges of your screen intelligently, but with fewer options for positioning and sizes. For simplicity, I recommend leaving the 'Hold Shift key to activate zones while dragging' setting enabled to prevent accidental snapping since the standard snap behavior still works.
How to create custom layouts with FancyZones
- Right-click PowerToys in the system tray and click Settings.
- In PowerToys Settings, find and click FancyZones from the left-side menu.
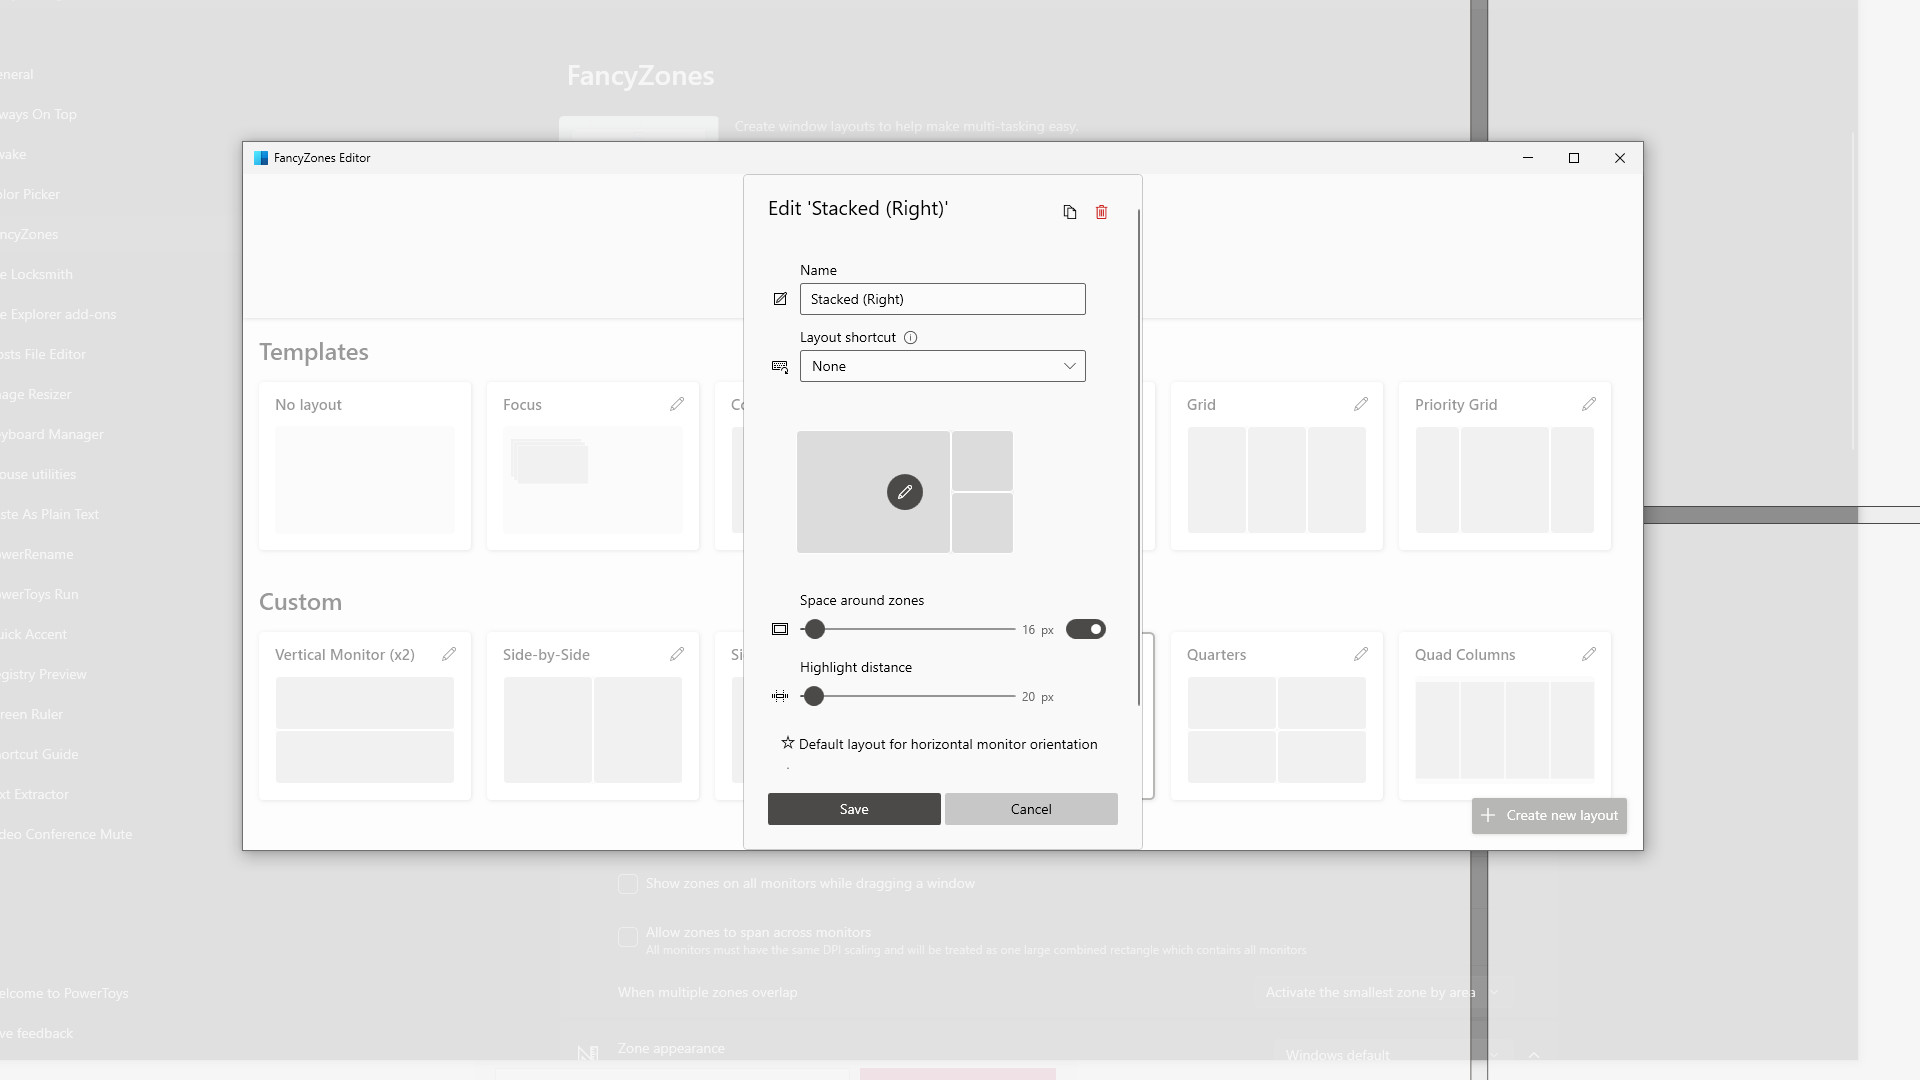
- Under Editor, click Launch layout editor.
- In the bottom right, click Create new layout.
Creating custom layouts in FancyZones is possible with two methods, Grid and Canvas. Neither is particularly complex but equally useful in their own way.
If you choose grid, creating window positions is as straightforward as clicking in empty space to make a vertical split and dragging the resizers into your desired position. To delete a zone, click and hold a resizer node and press delete on your keyboard, then press Save & apply when you're satisfied.
Canvas uses a simple method to add and resize zones, with the Plus (+) icon creating a new zone for the custom layout. Zones can overlap in canvas mode, with more freedom for vertical and horizontal slices than in grid mode.
Click the Pencil (edit) icon in the top right of any layout to customize the space around each zone and the highlight distance. You can set a keyboard shortcut to quickly activate layouts, too, if you're planning to repeatedly rearrange your desktop in various ways.
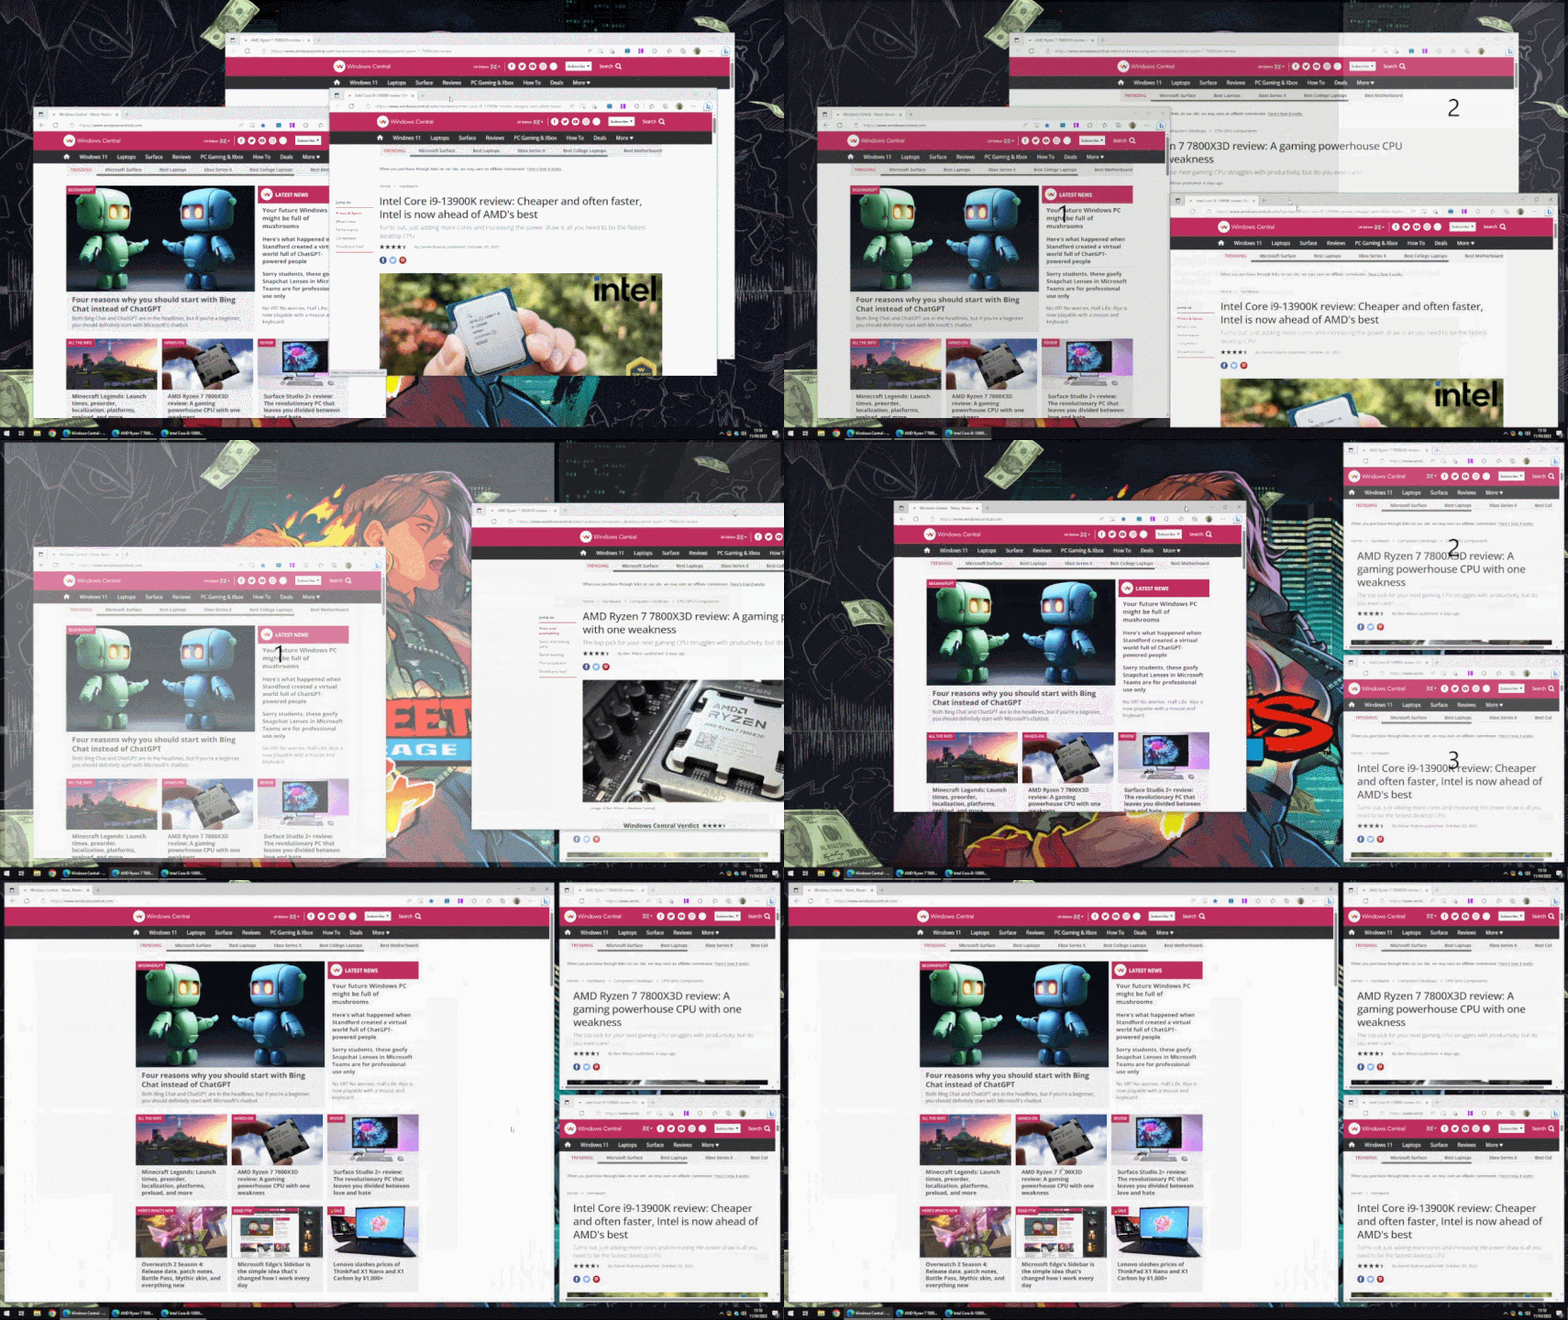
With FancyZones enabled, hold the Shift key on your keyboard as you drag an application window to see your chosen layout overlaid on your desktop. Dropping a window into a numbered zone will automatically resize and lock it into position, following your spacing rules set in the layout editor.
If you have multiple monitors connected to Windows 10, you must select your desired screen first and then a layout in the layout editor to activate it. Different layouts can be enabled for each monitor, which is ideal for users with panels of different sizes and aspect ratios. PowerToys can do much more than FancyZones, including resizing images and bulk renaming files, so explore the other features and level up your Windows 10 desktop.
More resources
For more helpful articles, coverage, and answers to common questions about Windows 10 and Windows 11, visit the following resources:


