If you’ve ever used a flash, studio light, or positioned a subject to catch the sun, you’re already most of the way to understanding 3D lighting. The remaining knowledge is connecting the dots inside your chosen application.
The foundation of lighting is the three‑point setup. The key light is your main source, positioned just off‑camera, defining the primary direction and shadow character. The fill light, placed around 60–90 degrees from the key, enhances shadows. The rim light sits behind the subject, separating it from the background with an edge highlight.
Experimenting with the power, position, colour temperature, and size of these three lights quickly and effectively teaches you lighting fundamentals. Study how real photographs and film scenes are lit, and you’ll often find this same three‑point approach, which makes translating those real‑world setups into your 3D work much easier.
Once comfortable with the basics, explore 3D tools such as light targeting and light linking. These enable you to point lights at specific areas, adjust falloff curves, and 'cheat' reality by switching off shadows for individual objects or controlling which surfaces receive illumination in ways impossible with physical lights.
My advice below provides more detail and applies to all the best 3D modelling software and the best rendering software.
Breaking down the three-point lighting setup
1. The key light
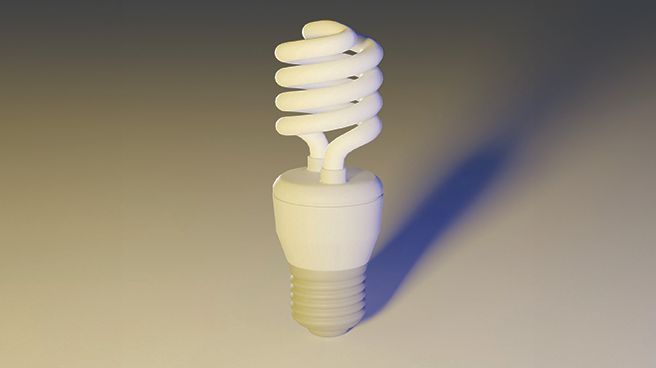
The key light sets your scene’s illumination direction. It establishes the shadow direction and the colour temperature of the lighting. In Blender, use an Area light renamed ‘KEY’, positioned behind and to camera left, coloured yellow at around 25 Power. This creates illumination, but it will appear harsh without additional lights to balance it.
2. The fill light
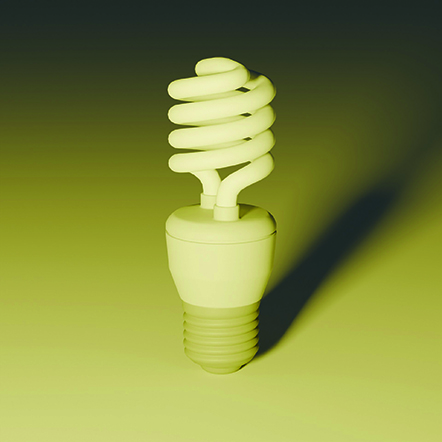
The fill softens shadows created by the key light. Even outdoors, there’s always a fill component caused by the sun’s rays bouncing around, so a shadow is rarely black. Position your fill light to gently lift shadows without competing with the key. Keep
its Power setting low and use it to fill in the gaps and create natural‑looking contrast.
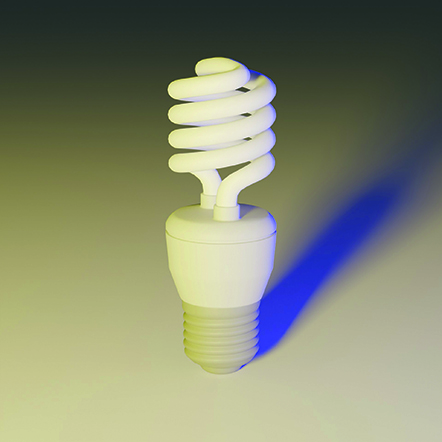
3. The rim light
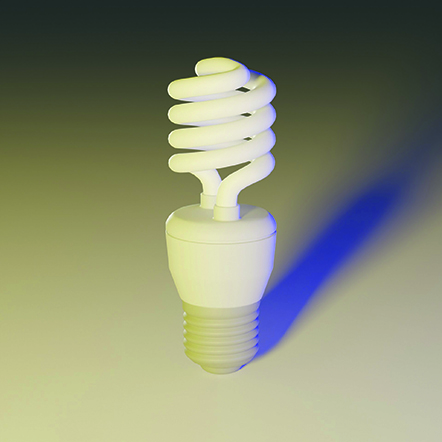
The rim light separates your subject from the background with edge highlights. Position it behind and slightly to the side so it defines the silhouette. Balance its intensity with the key to avoid overpowering the edges. A larger-area light yields a gentler wraparound the object, while a smaller light source gives a crisper, more defined outline.