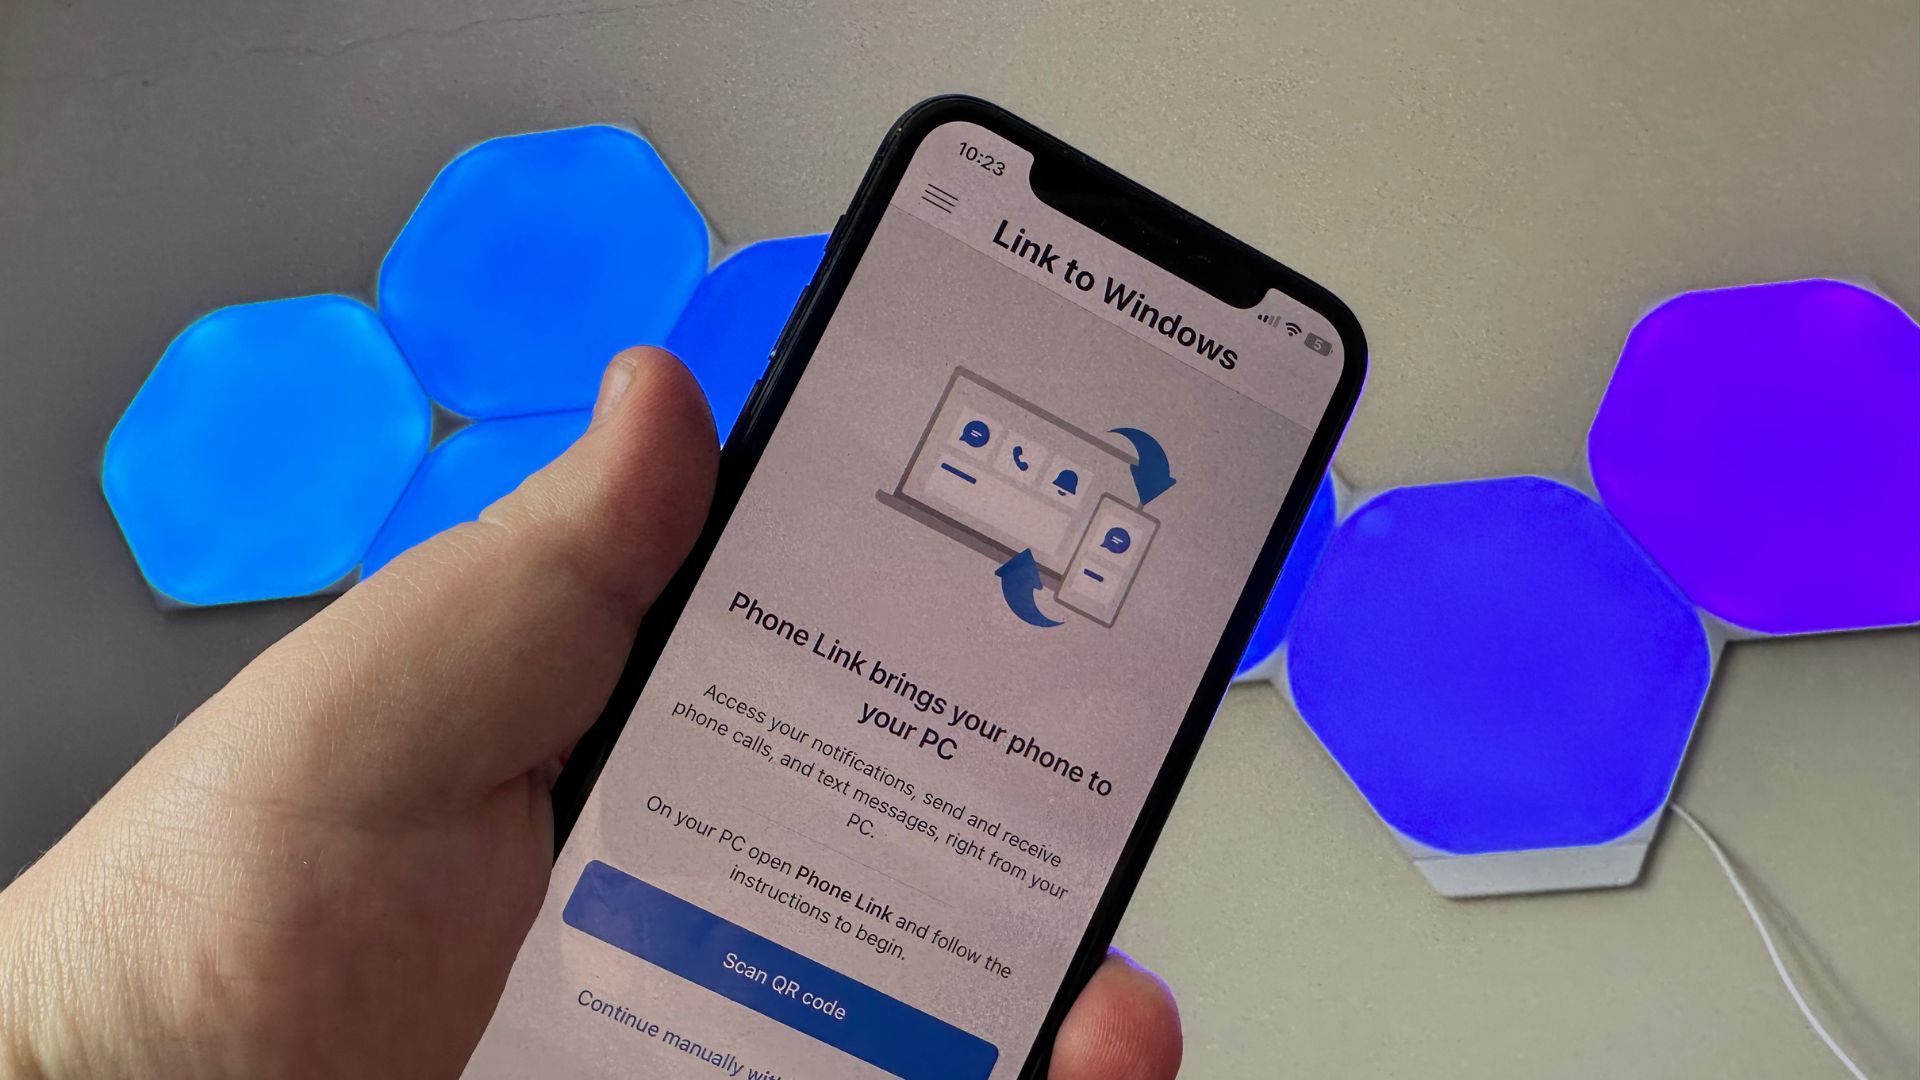
Apple might dream of a utopian world in which everyone owns a Mac, an iPhone and an Apple Watch, but the current reality is different. There are countless people out there who, despite owning and loving an iPhone are also PC users.
Whatever the reasons for choosing Microsoft's desktop operating system over macOS, the simple fact remains that there are plenty of iPhone users who use Windows 11. The latest version of Microsoft's Phone Link app includes support for iOS, and this is great news if you have an iPhone because it means you can use iMessage from your PC. Let's take a look at how it all works.
How to use iMessage on PC
- Install or update Phone Link on your PC
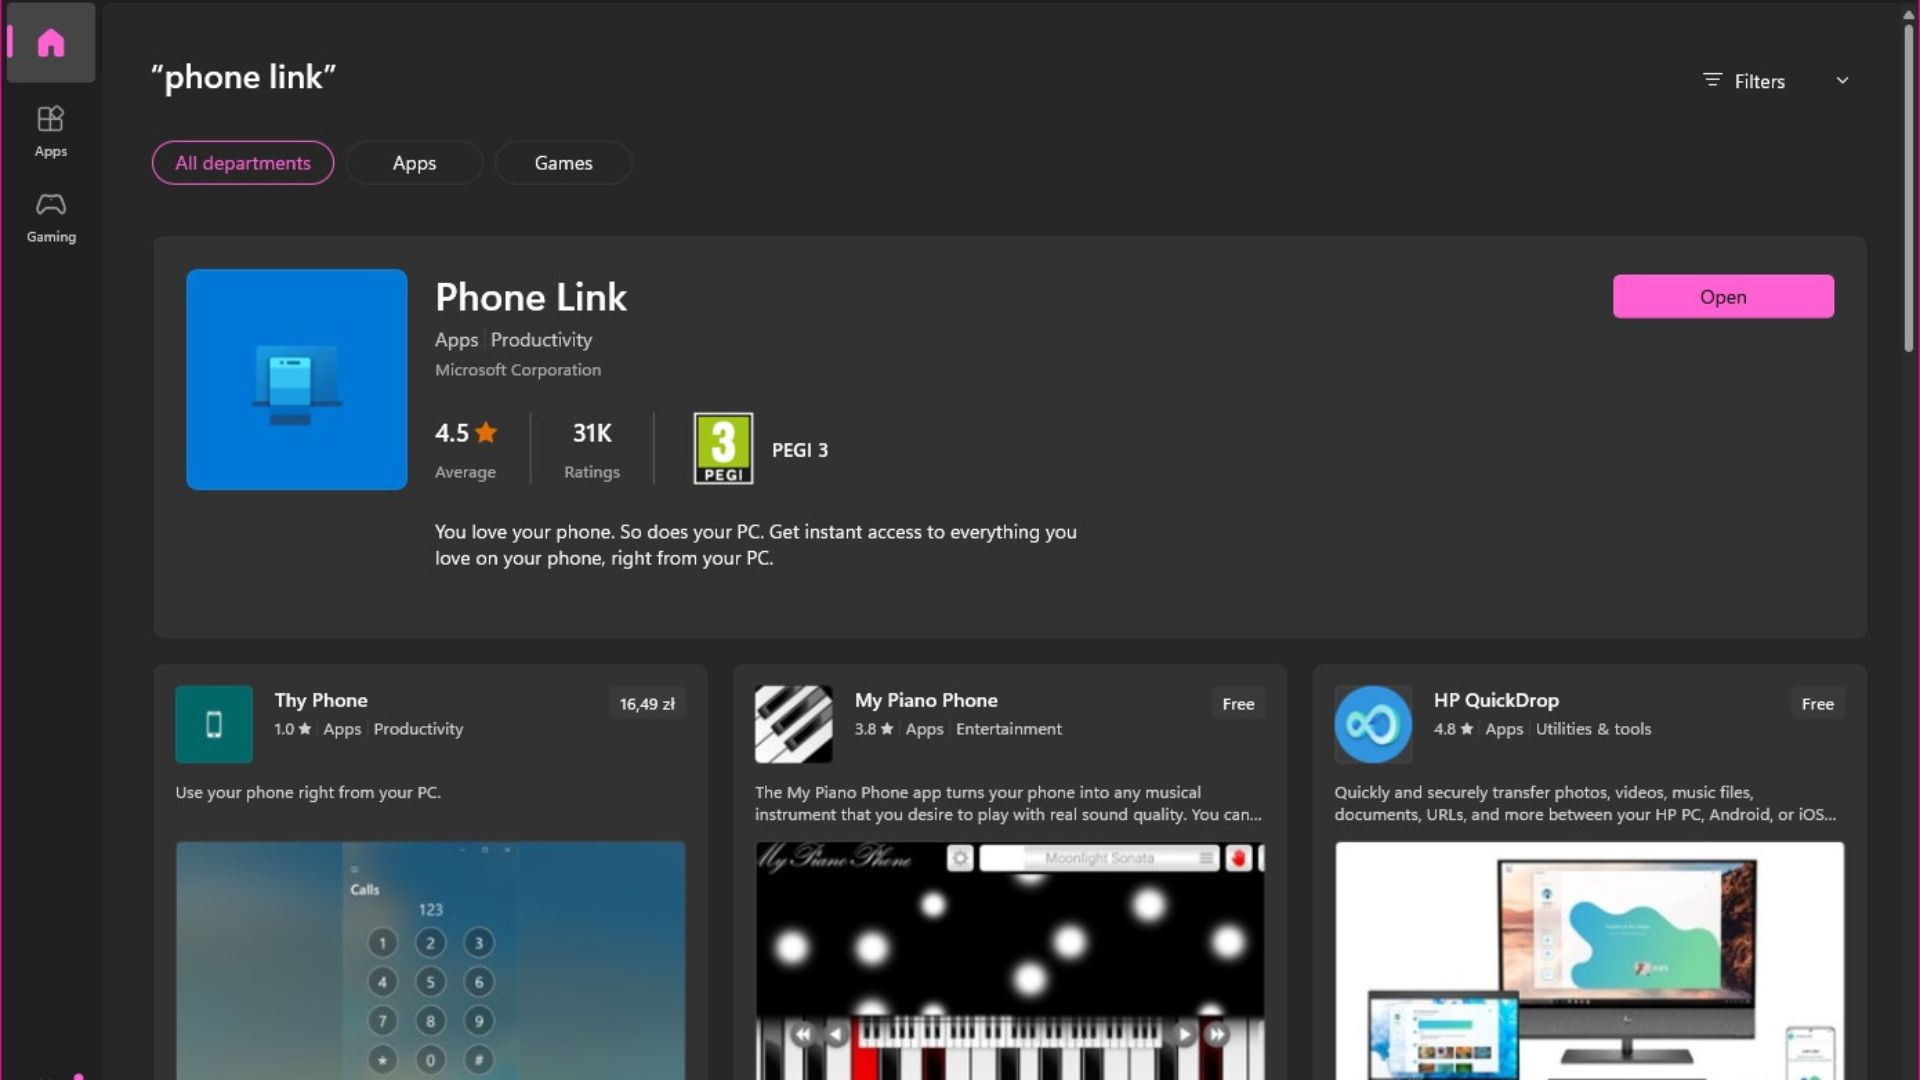
In order to use iMessage from Windows 11, you need to make sure that you have the latest version of the Phone Link app installed on your PC. Open the Microsoft Store app on your computer, search for Phone Link and then either install the app or download the latest updates if you already have it installed.
- Install or update Link to Windows on your iPhone
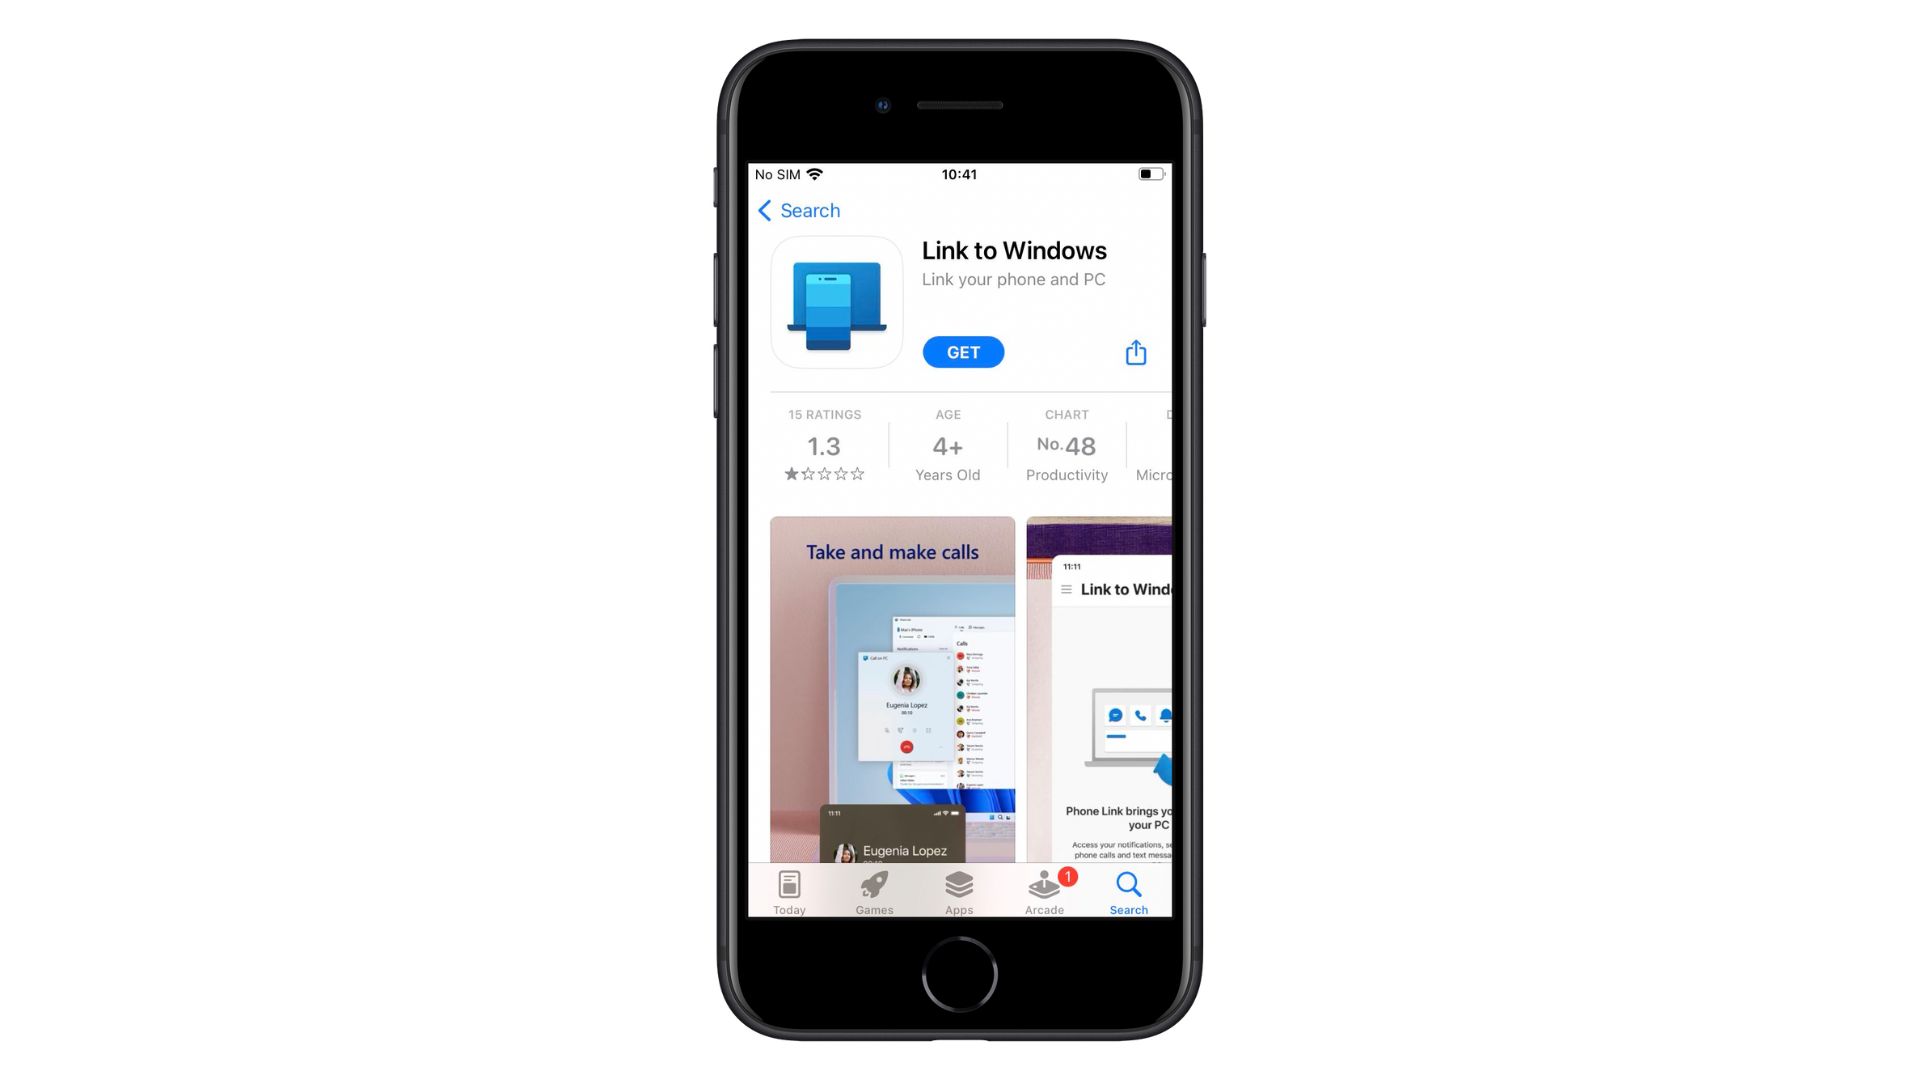
The second component that makes iMessage use possible in Windows 11 is the Link to Windows iOS app. If you already have this installed on your iPhone, you will just need to make sure that you use the App Store to install the latest update. If you're yet to install app, you can find it here.
- Setting up Phone Link
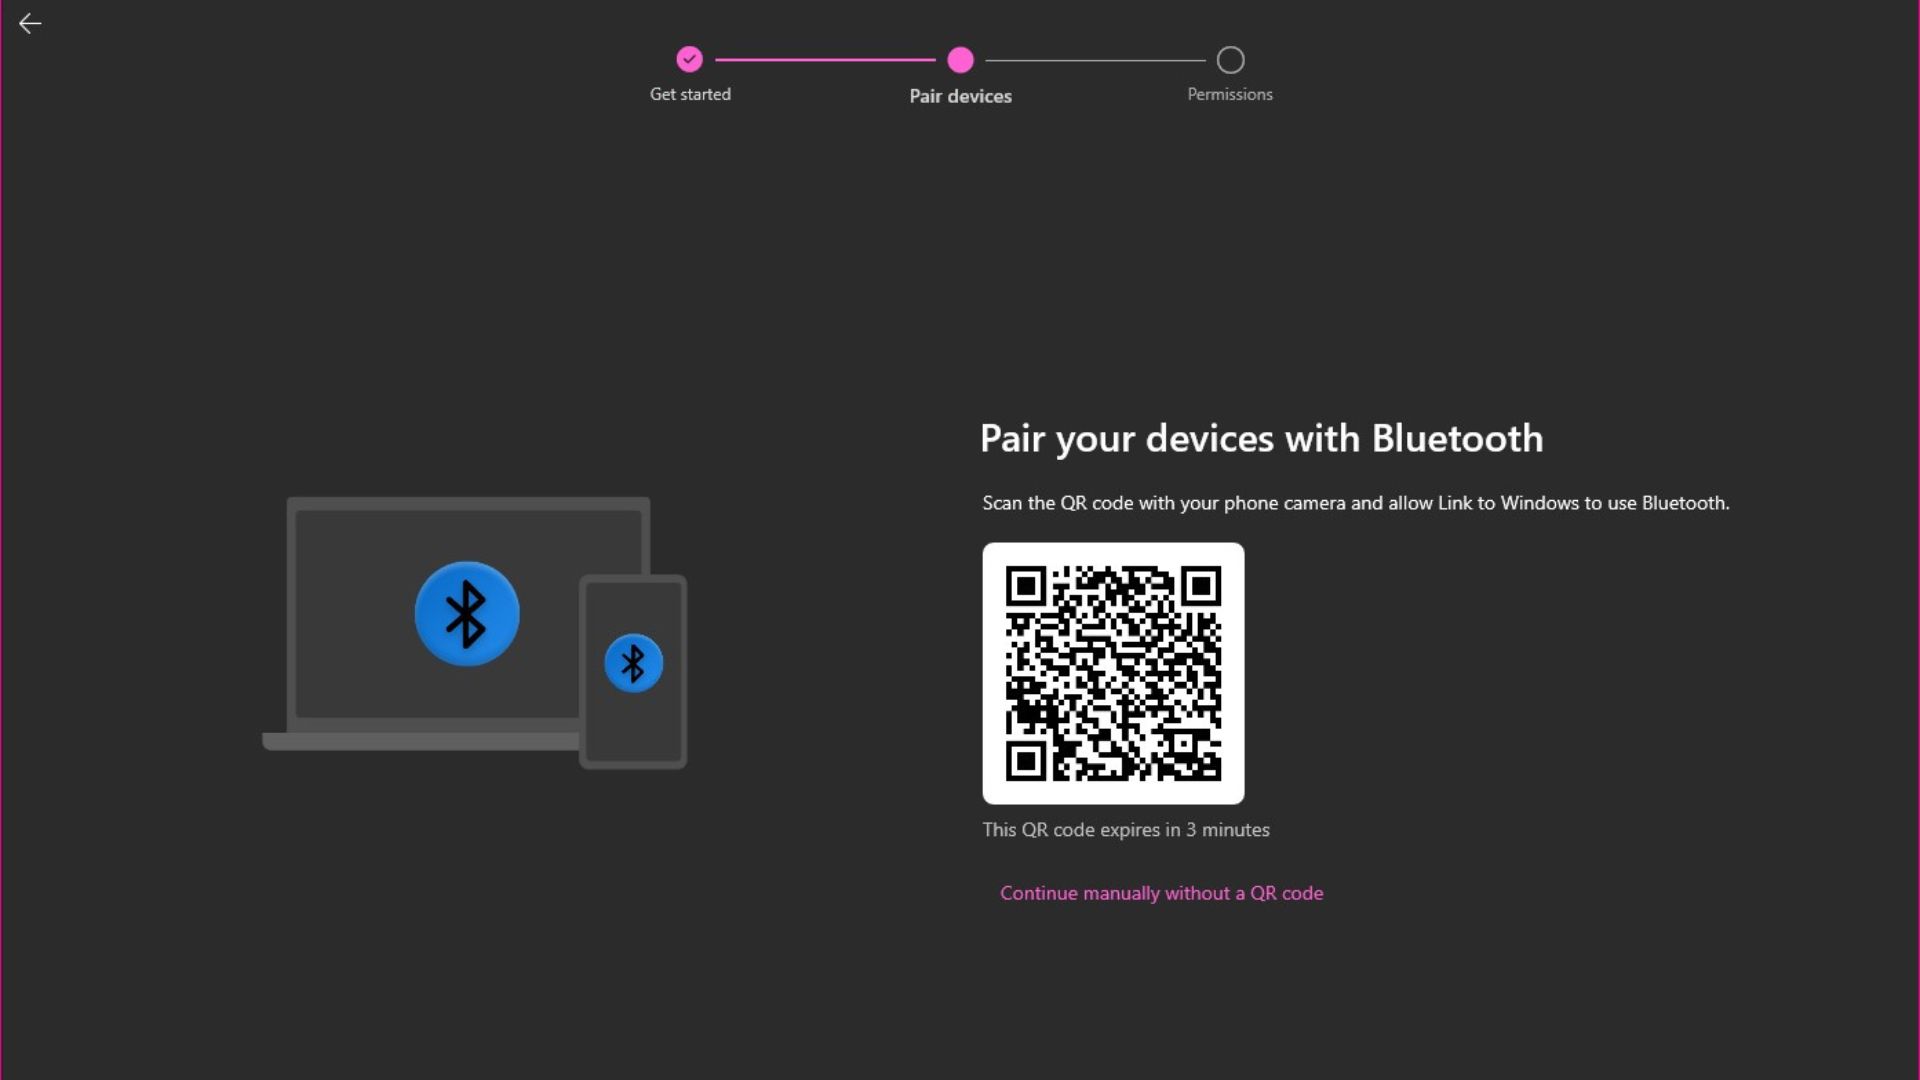
Move to your PC and launch the Phone Link app. At the opening screen, click the iPhone button to indicate that this is the type of smartphone you want to connect to. You will then see a QR code which you will need to scan with your phone.
- Establish a link
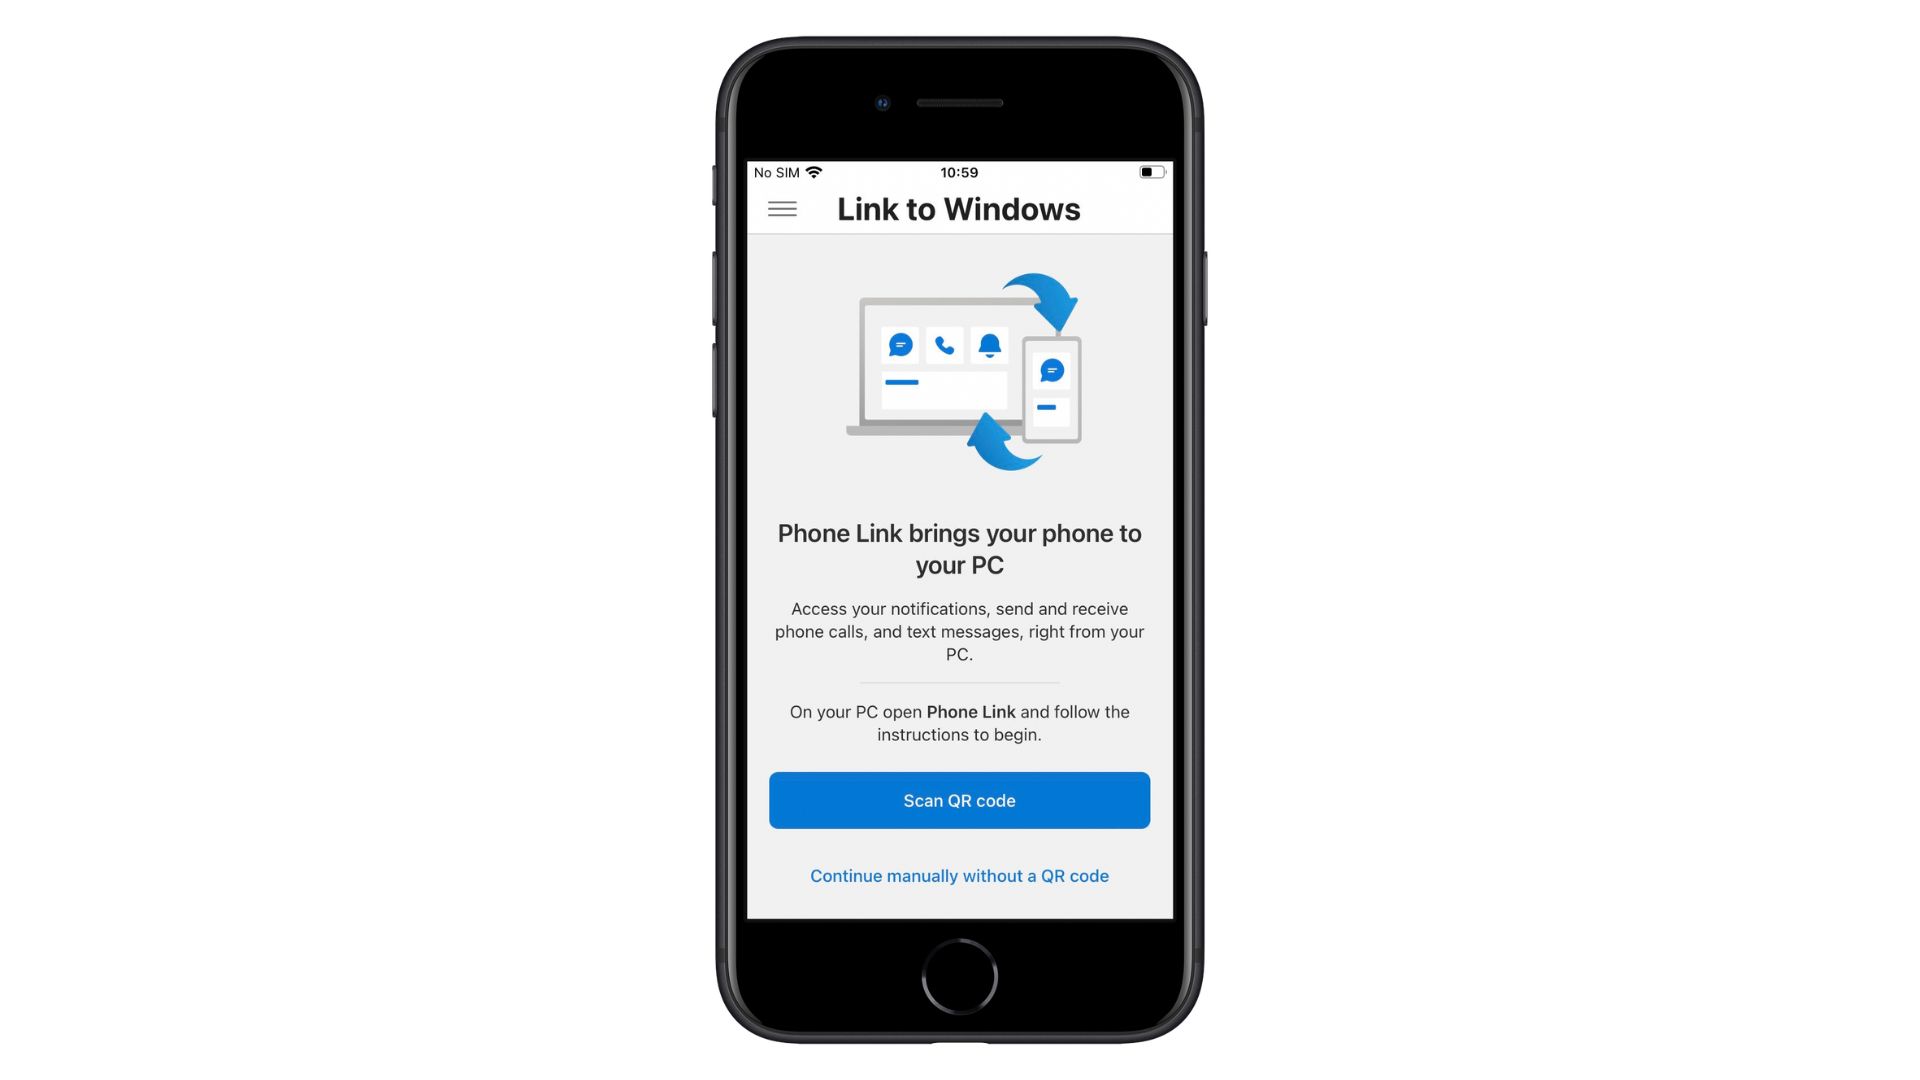
With the QR code displayed on your PC, open the Link to Windows app on your iPhone and tap the Scan QR code button. Give the app permission to use your camera and then scan the QR code before tapping Continue. You will then need to give the app permission to use Bluetooth by tapping OK.
- Pair your phone
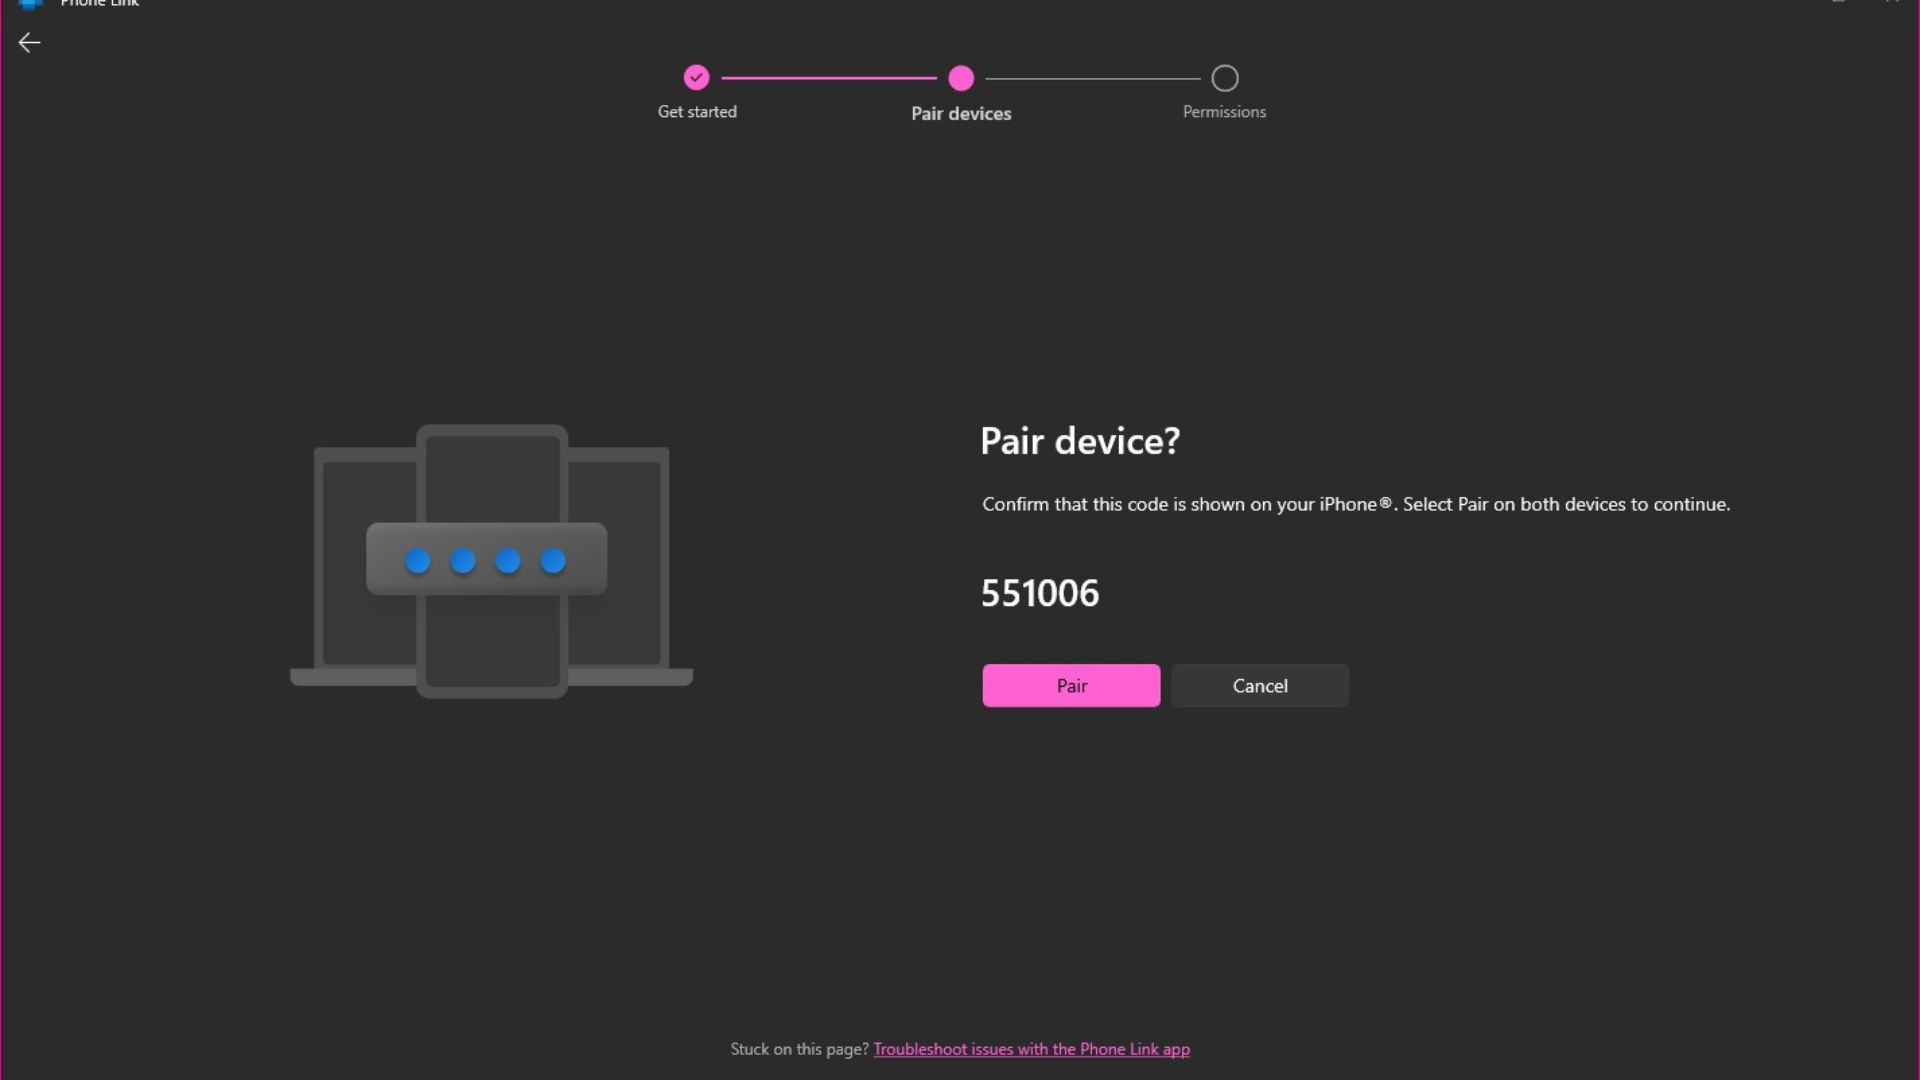
Follow the instructions for pairing your iPhone with your PC, confirming that the codes displayed on both devices are the same. You will then need to tap allow notifications to be displayed on your PC.
- Permit notifications
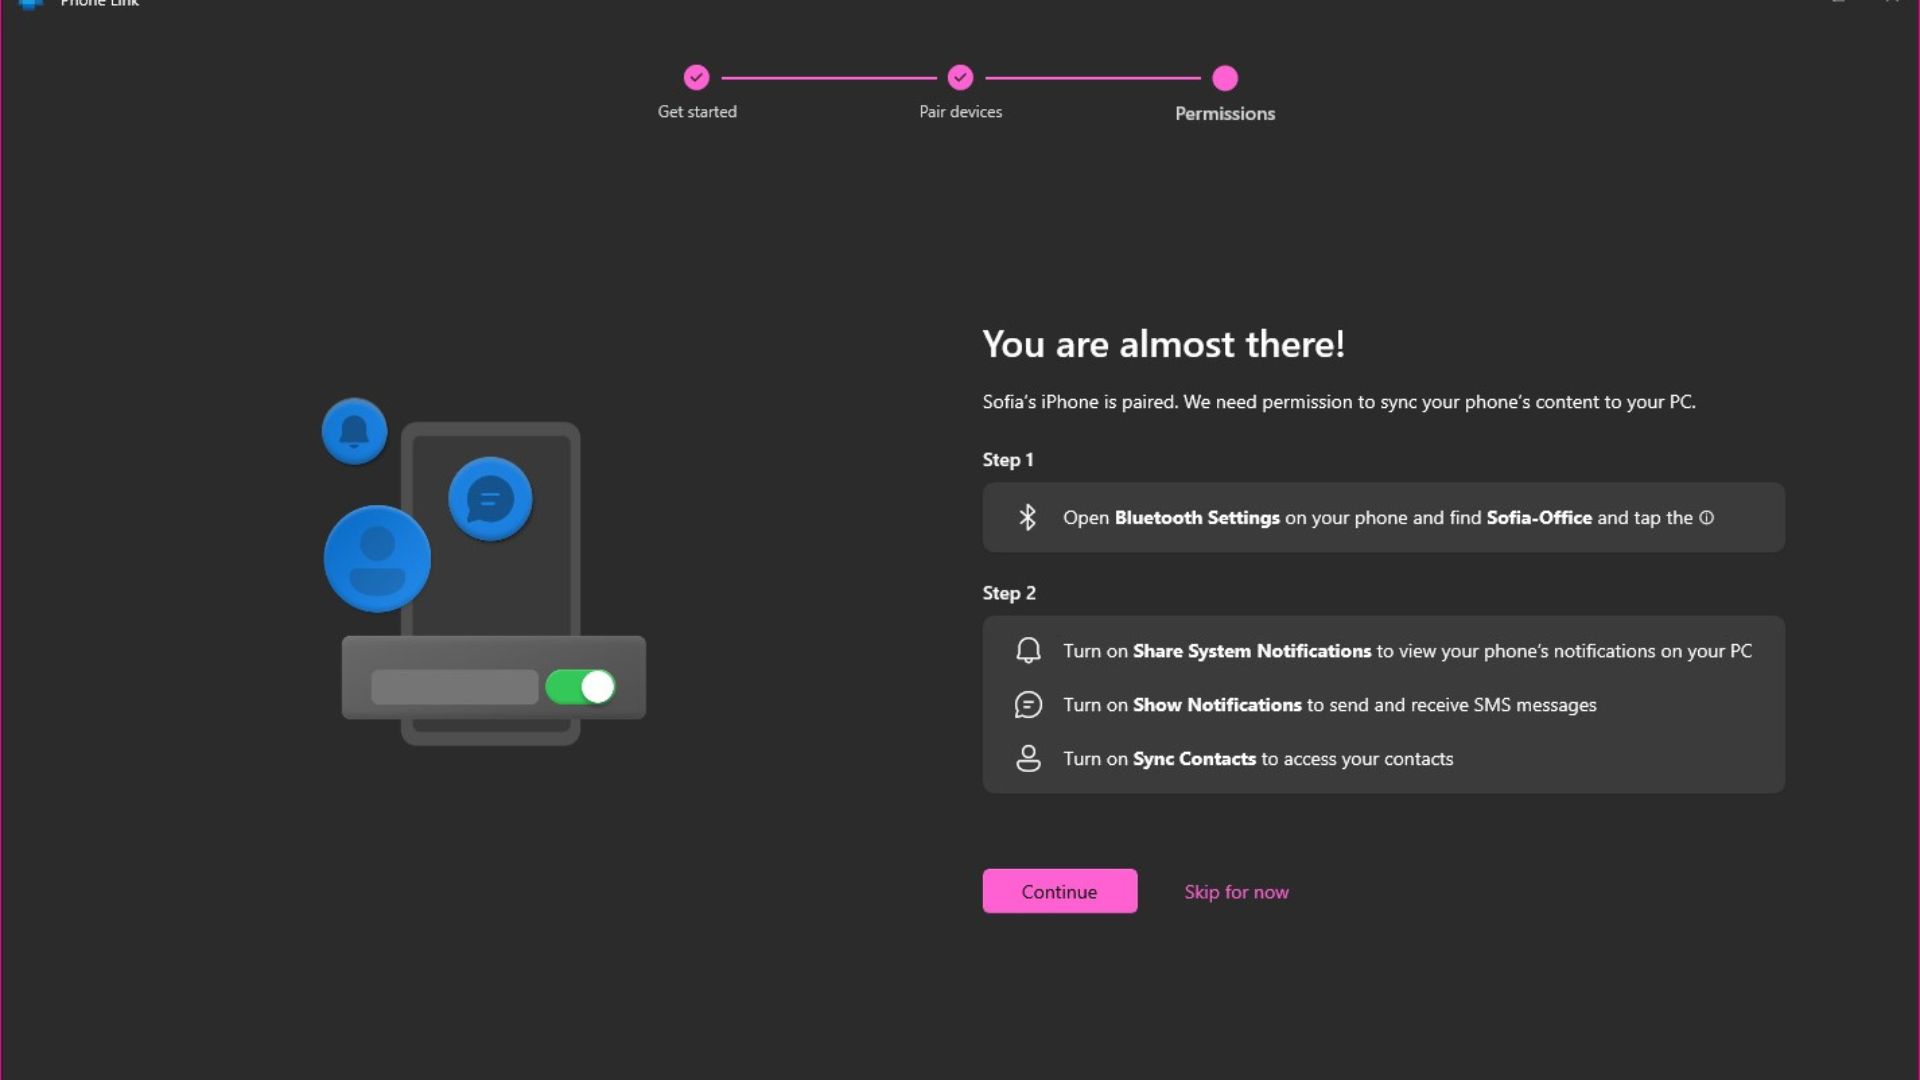
On your iPhone, tap Allow permit your PC to receive notifications from your phone. Then, as per the instructions you should see on your PC, you need to open Settings on your phone, tap Bluetooth, tap the i next to the name of your PC and enable the Show Notifications, Sync Contacts and Share System Notification Settings options. You can then click Continue in Windows 11.
- Using Phone Link
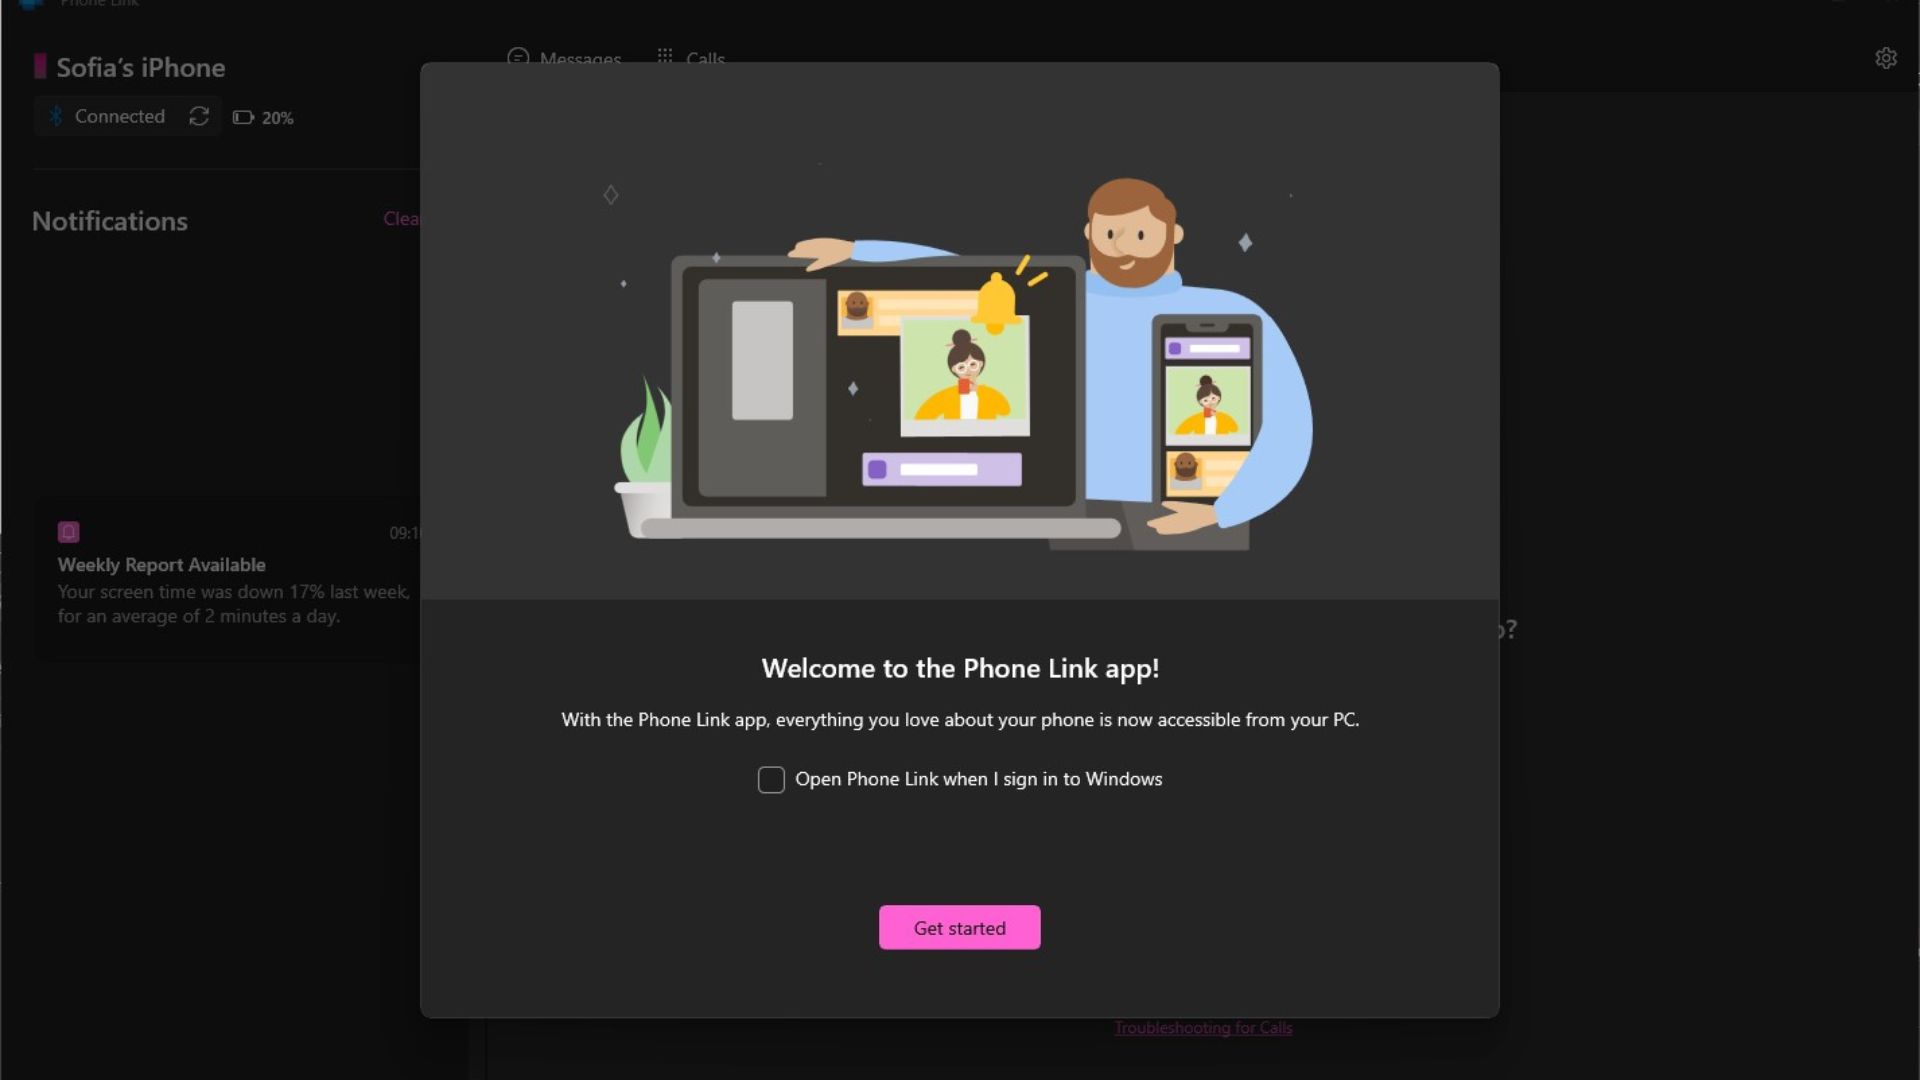
With all of the necessary settings configured, Phone Link is ready to use. You'll see a welcome screen which gives you the option of having the app start automatically with Windows. Opting to do this saves you from having to manually launch the app, and avoids the risk of missing messages and notifications.
- Messaging and calling
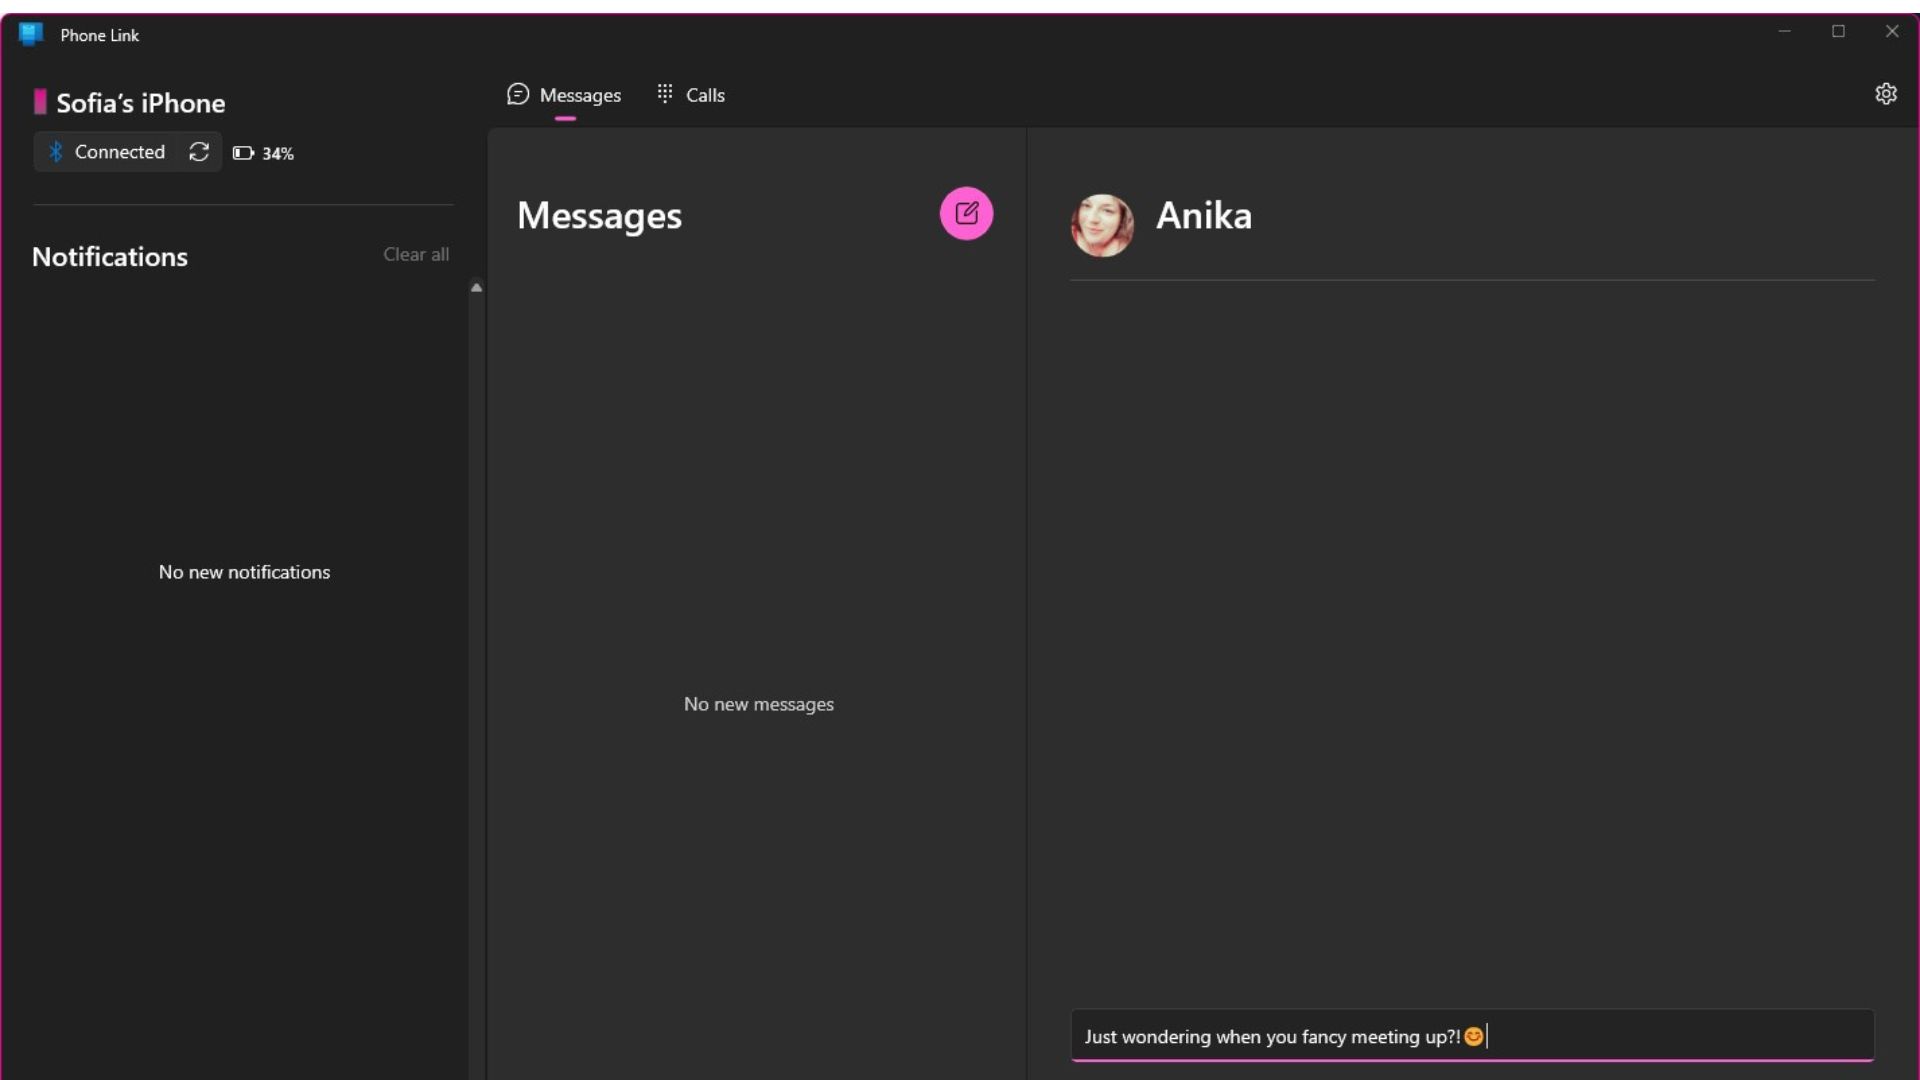
As long as your phone is in range of your PC, you'll receive notifications in Windows 11 about incoming messages and phone calls. Move between the Messages and Calls tabs to view logs, and feel the benefit of typing your messages on a full-sized keyboard!
- Configuring settings
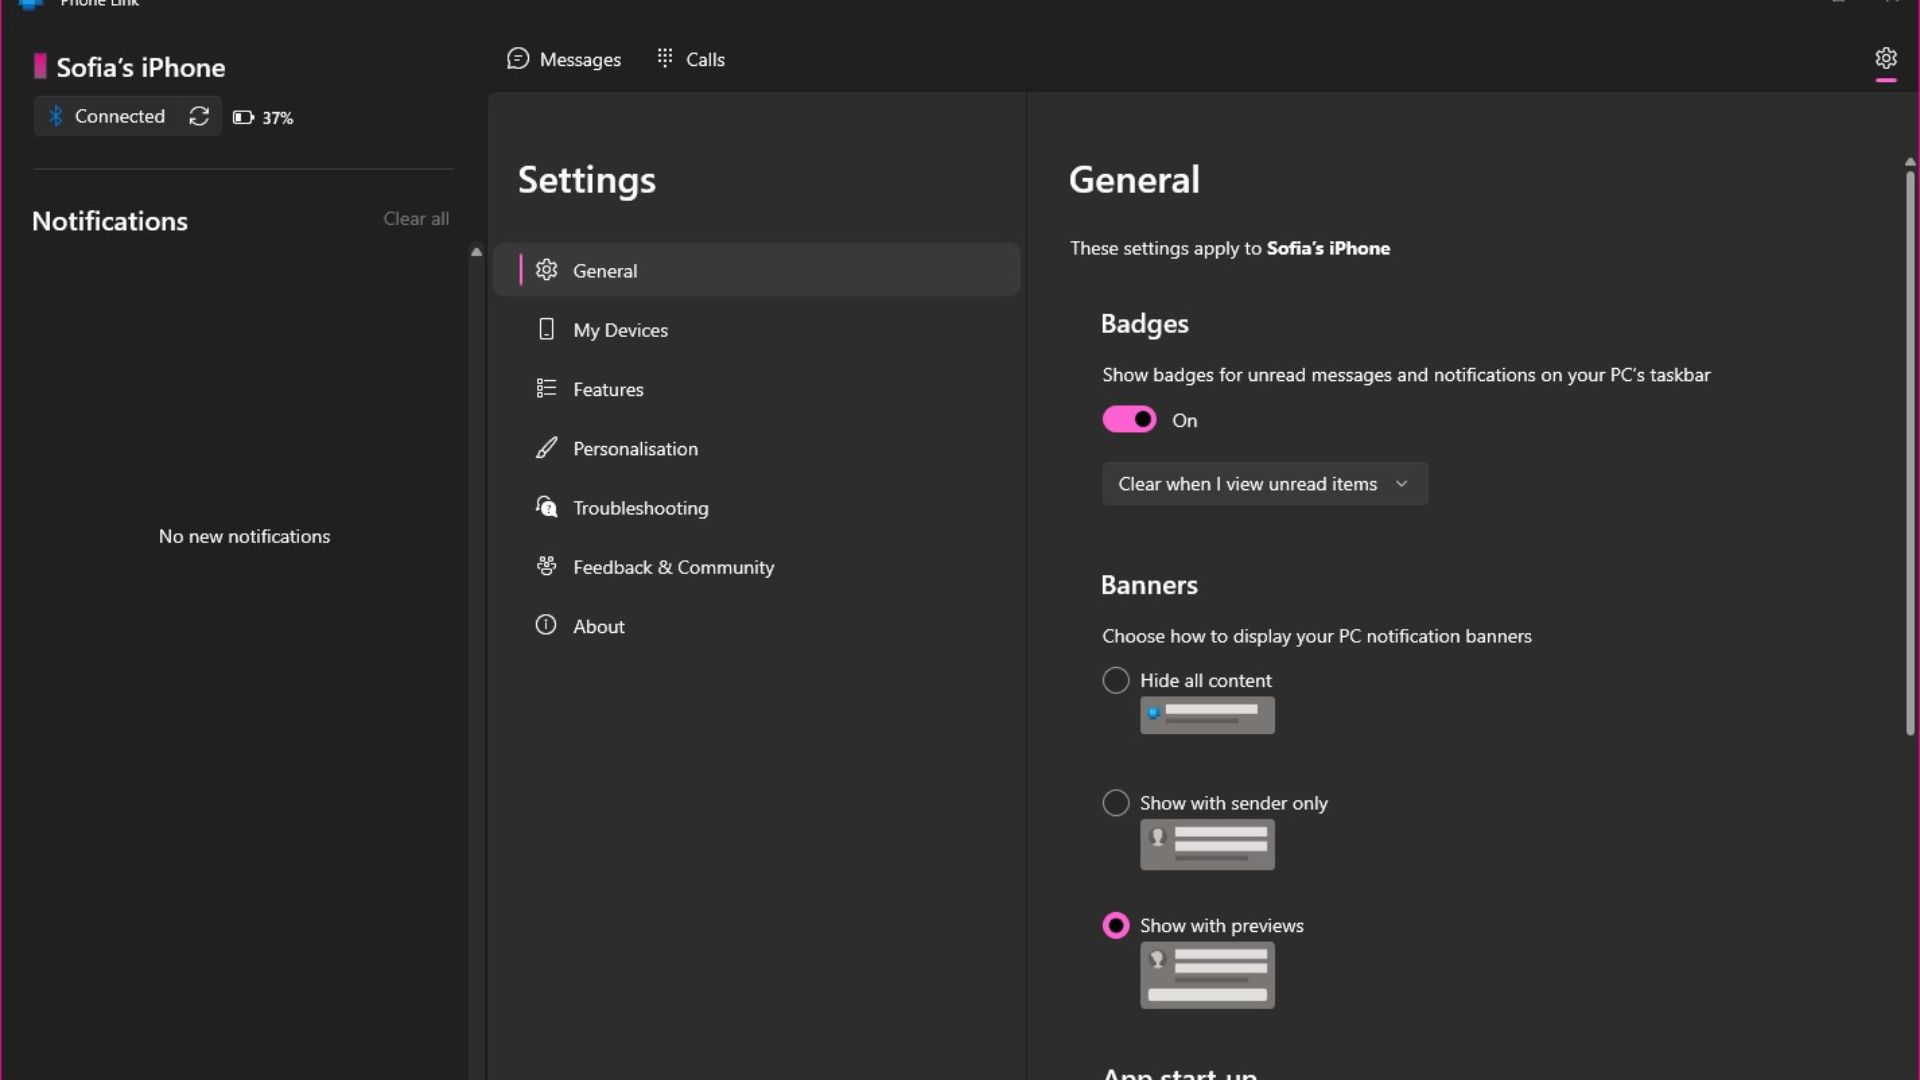
There are a few settings worth investigating in the Phone Link app -- just click the gear / cog icon to the upper right of the window. In the General section you can choose how on-screen notifications should appear, while the My Devices section can be used to choose your default phone if you have more than one connected to your PC.
Wrapping up
Whether you're working with Windows 11 out of choice or necessity, it's wonderful to know that Microsoft has decided to show the iPhone a bit of love. The move by the company not only shows a softening of past tensions between Apple and Microsoft, but also recognizes the fact that mobile remains essential regardless of how powerful and feature-packed computers may be. Having the two work together just makes sense.


