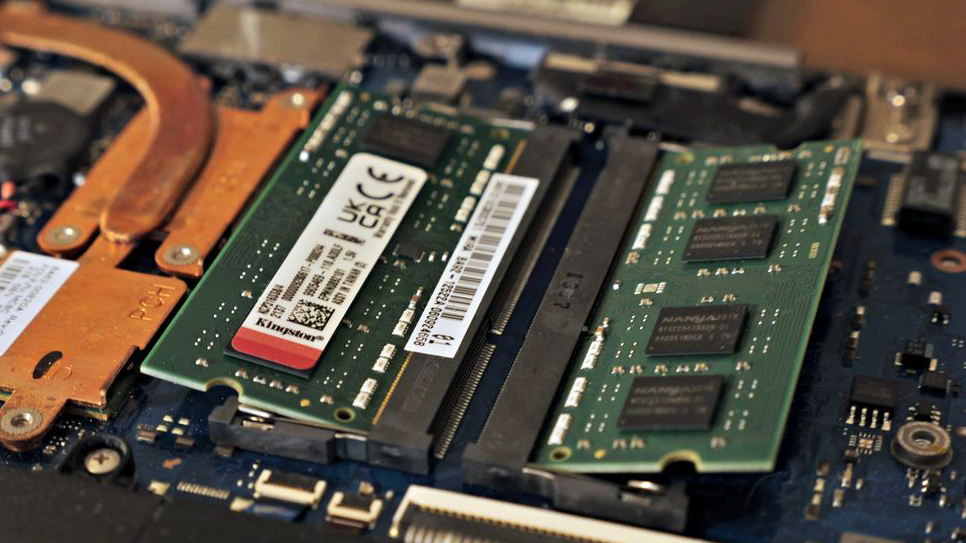
It’s the bane of all computer systems. Desktops, smartphones, even streaming smart devices. They start out great, but as time goes by they all get slower and slower. It doesn’t happen all at once, but like that famous frog in the boiling water, you finally wake up to realise that you are in hot soup!
Don’t worry, it’s not your imagination. It could simply be the result of upgrading from one operating system to the new version. This is common with moderate and budget computers that were already living on the edge, even if they were once one of the best laptops for graphic design. Macs are not immune to this either, especially with those non-upgradable 8GB Mac Minis.
Updates and patches for both your OS and even applications, all use more memory. Often, you can regain your computer’s former responsiveness by simply adding some inexpensive memory, or RAM. And this tutorial will show you how to do that yourself.
The laptop I’ll be using to demonstrate this is a beloved old Samsung Ultra from 2014. It shipped with Win 8 and 4 GB of memory, and ran nicely. But Windows 10 did not play well on it, until I doubled its memory and instantly saw most problems vanish. I’ll show you how easy it is to do. Make sure you read my which RAM do I need guide (below) before you start.
How to install RAM on a laptop
01. Confirm your needs
Confirm with your laptop manual that your unit will take RAM upgrades. Ask the vendor you plan to buy the RAM from for compatible options. Most quality vendors know what will work and what won’t.
Be aware that most Macs, and a number of PCs laptops today have RAM soldered down. While this doesn’t necessarily prevent an upgrade, it does take it out of the DIY category and get costly.
Place your order, and when the RAM is delivered, jump up and down repeatedly yelling “MY RAM IS HERE!” so that everyone can hear you. You are now ready to install.
02. Set up your workspace
The first step is to find a clean space to work, with enough room to lay all the parts out safely. Ideally it should NOT be over a carpet as that can generate static which can cause all kinds of harm to computer hardware.
Plastic folding tables found in large box stores are cheap, a good height for working while standing, and make a non-conductive surface to place electronics.
To avoid scratching the fancy top of your laptop, place a thin (i.e. cheap) towel under the laptop. Avoid luxurious towels as they can be prone to static, like a carpet.
03. Open your laptop
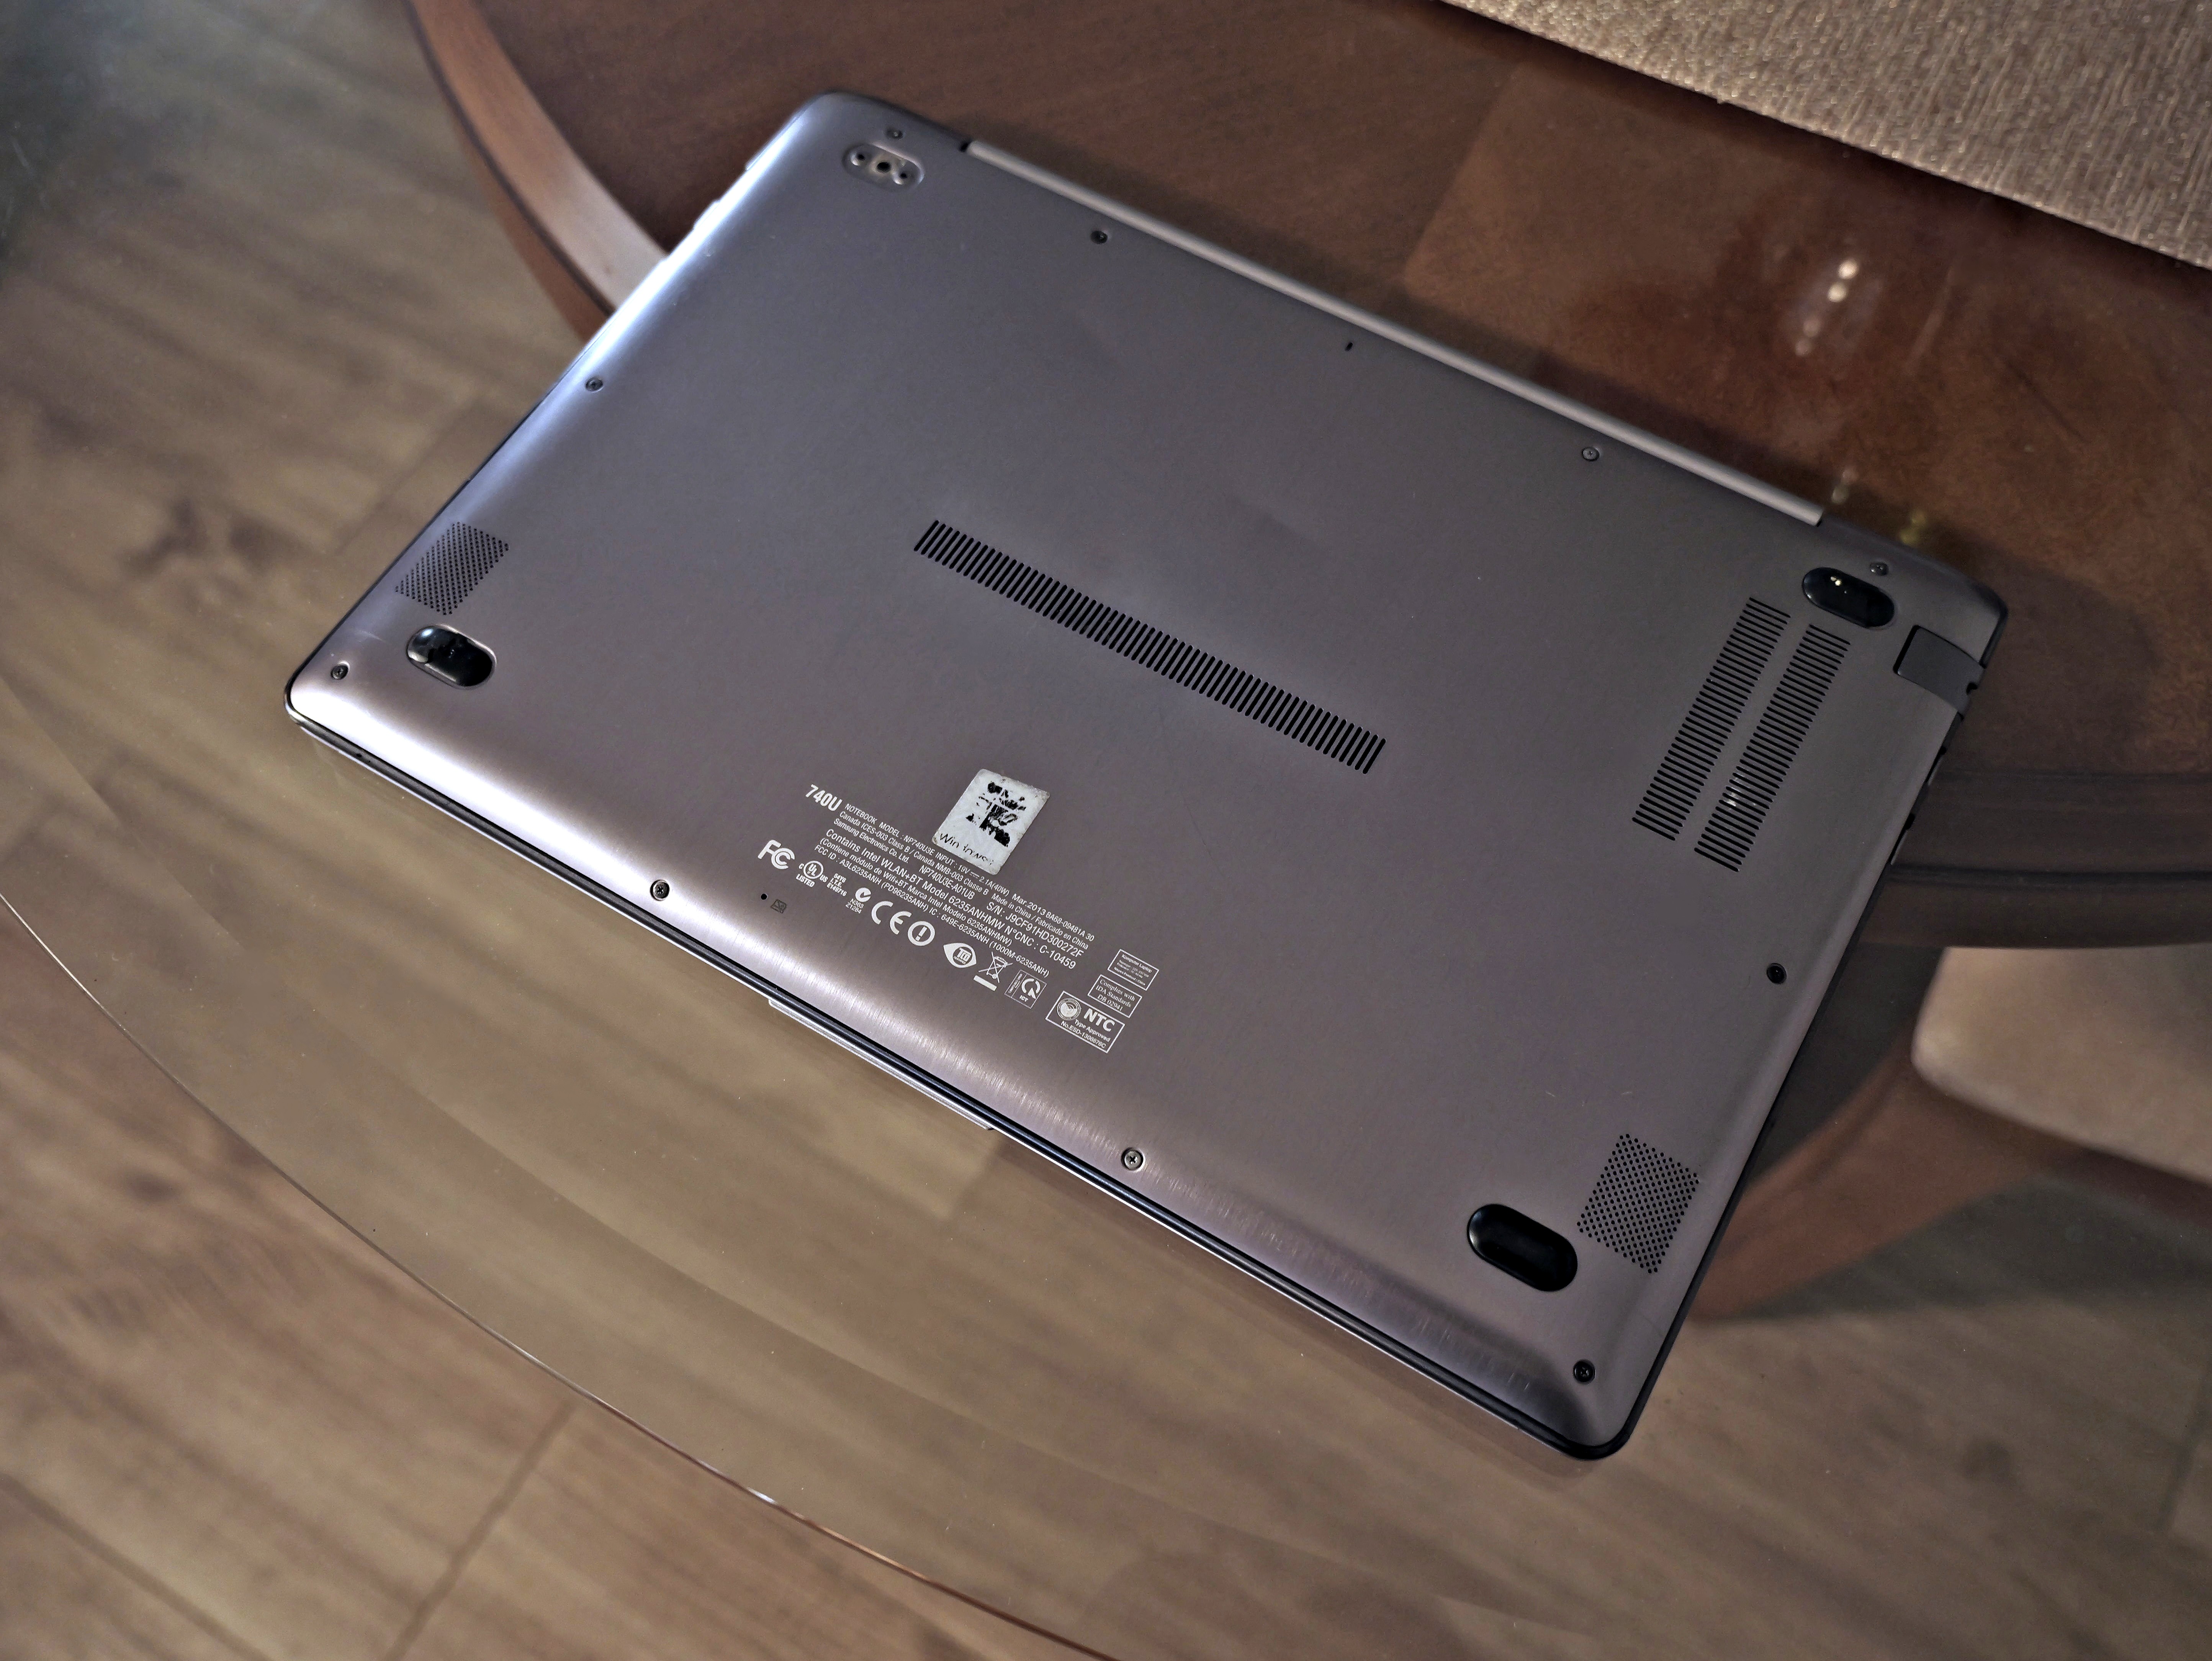
While desktop computers generally open with a single button or screw, laptops tend to have a protective faceplate that has a million tiny screws. They need to be removed in order to gain access to the motherboard.
My laptop's design is fairly standard, so odds are good that your laptop isn’t very different. Its protective faceplate is located at the bottom of the unit.
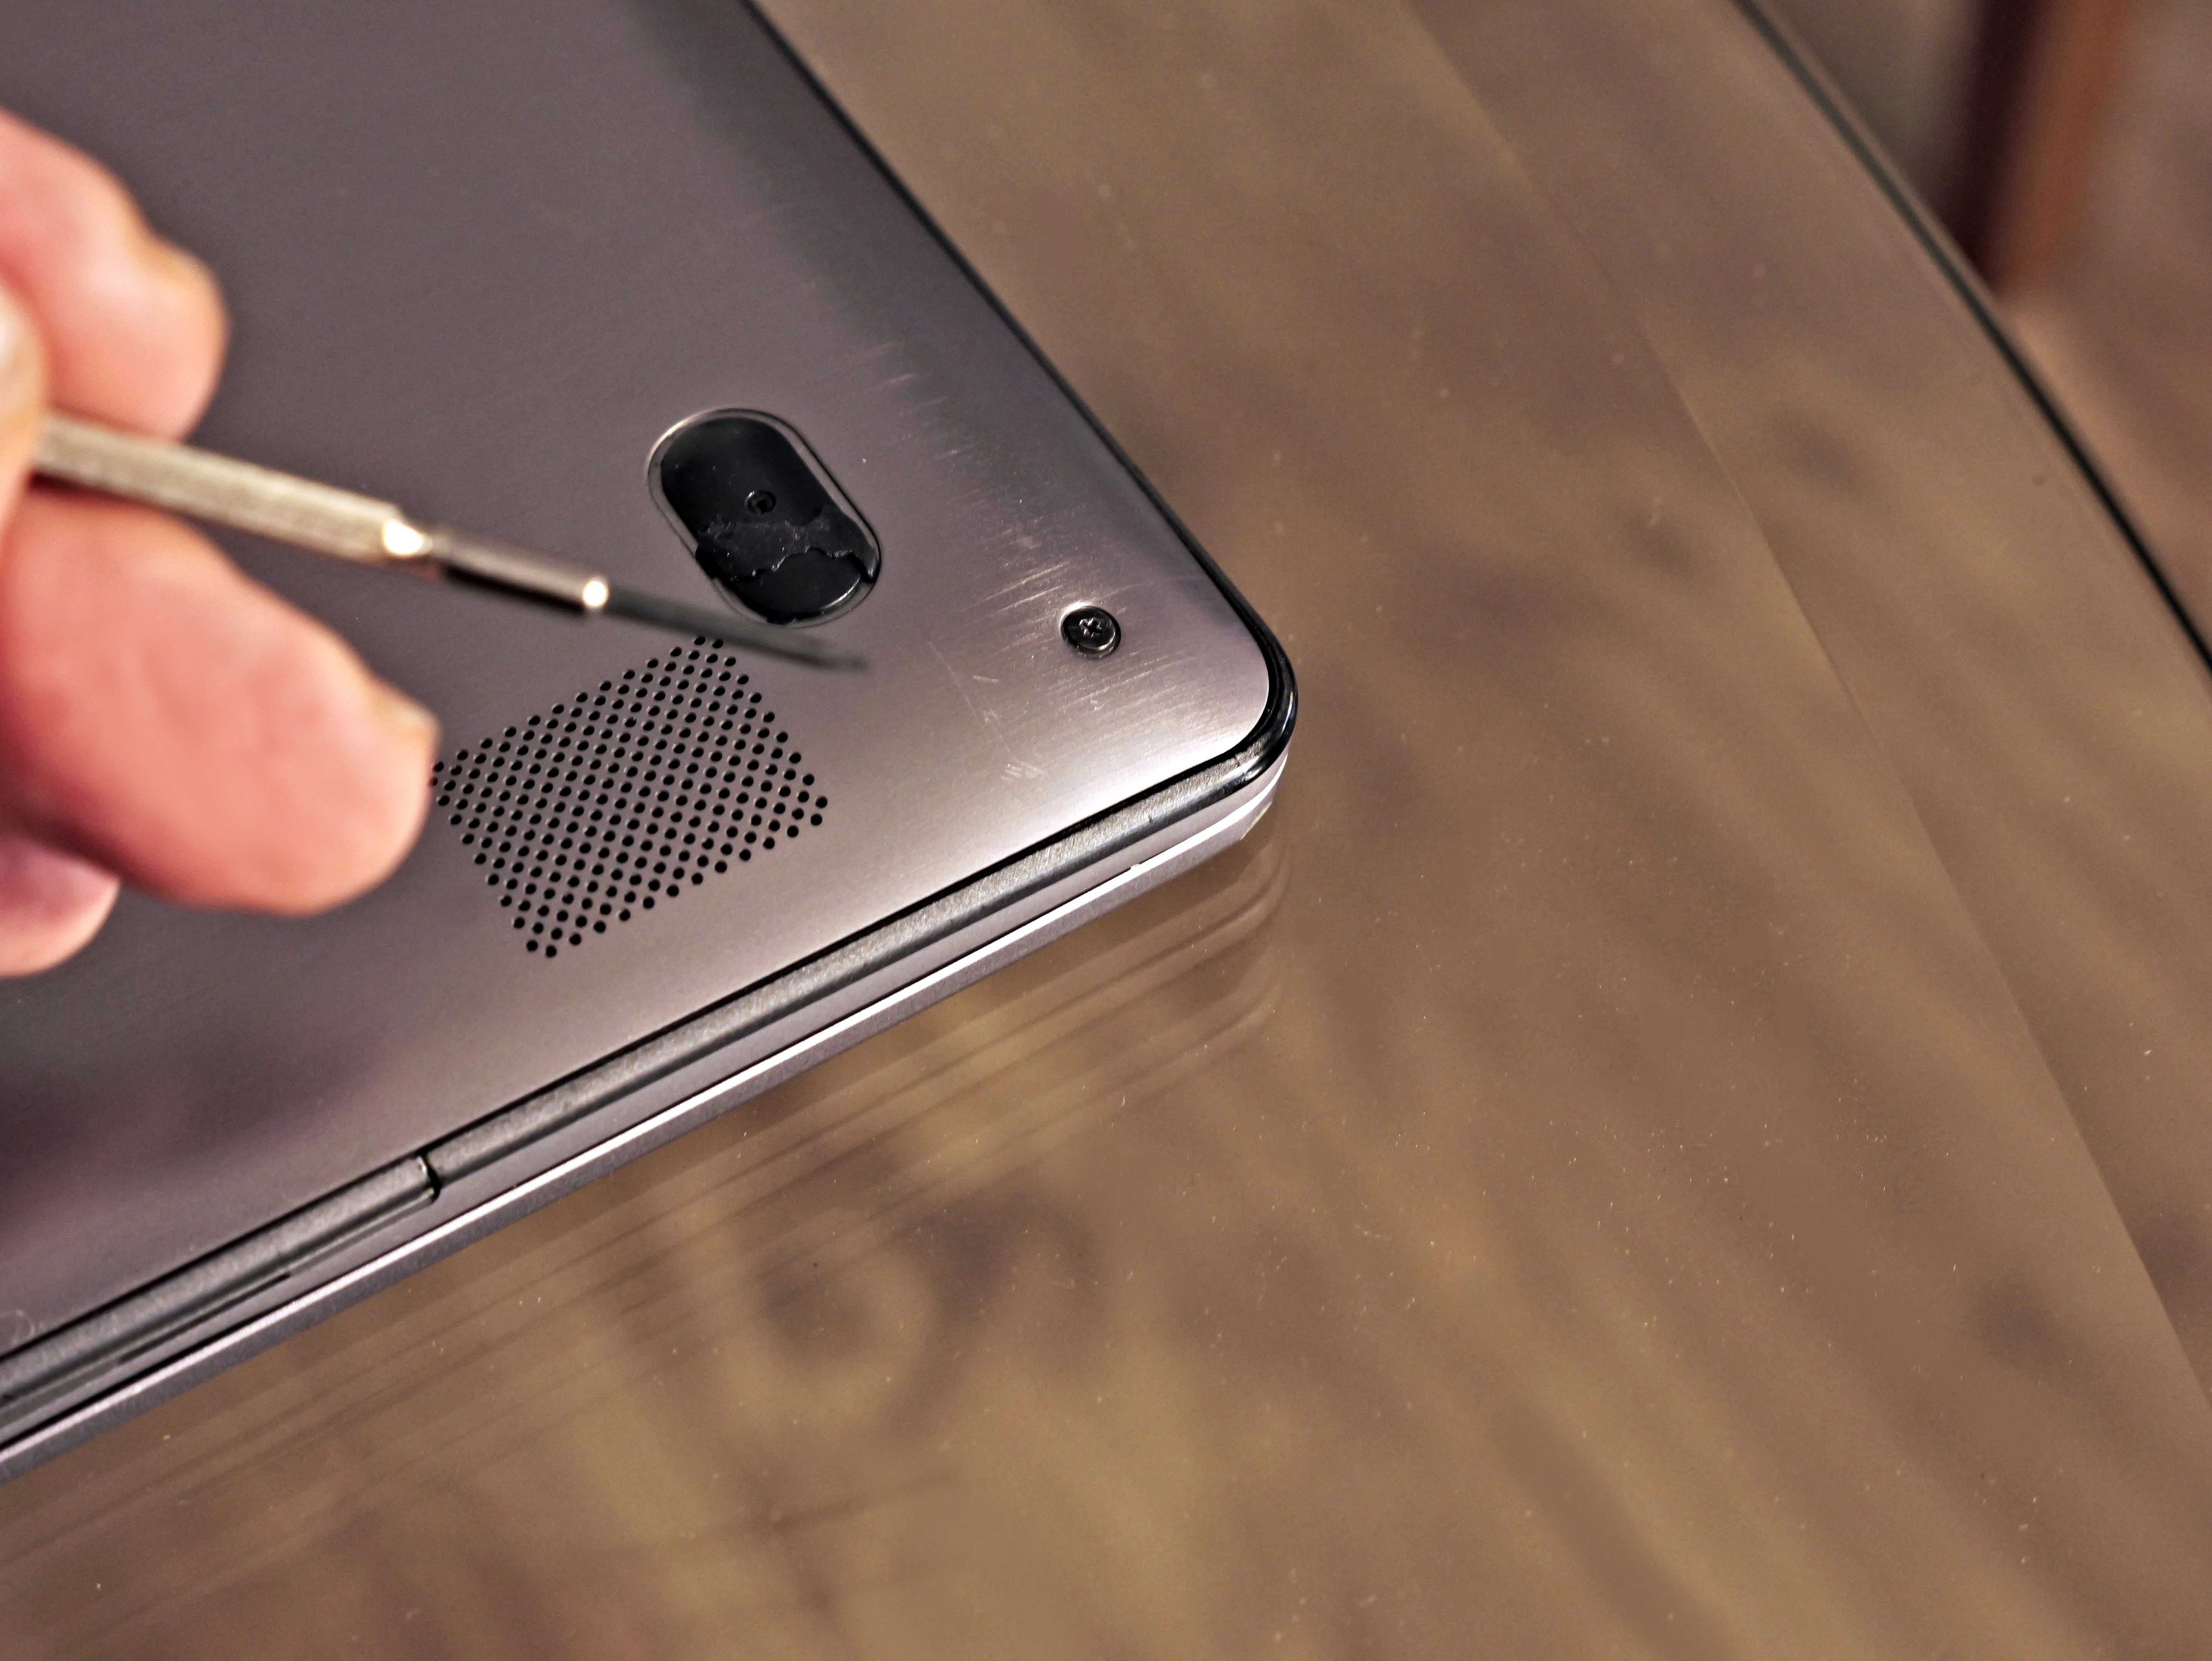
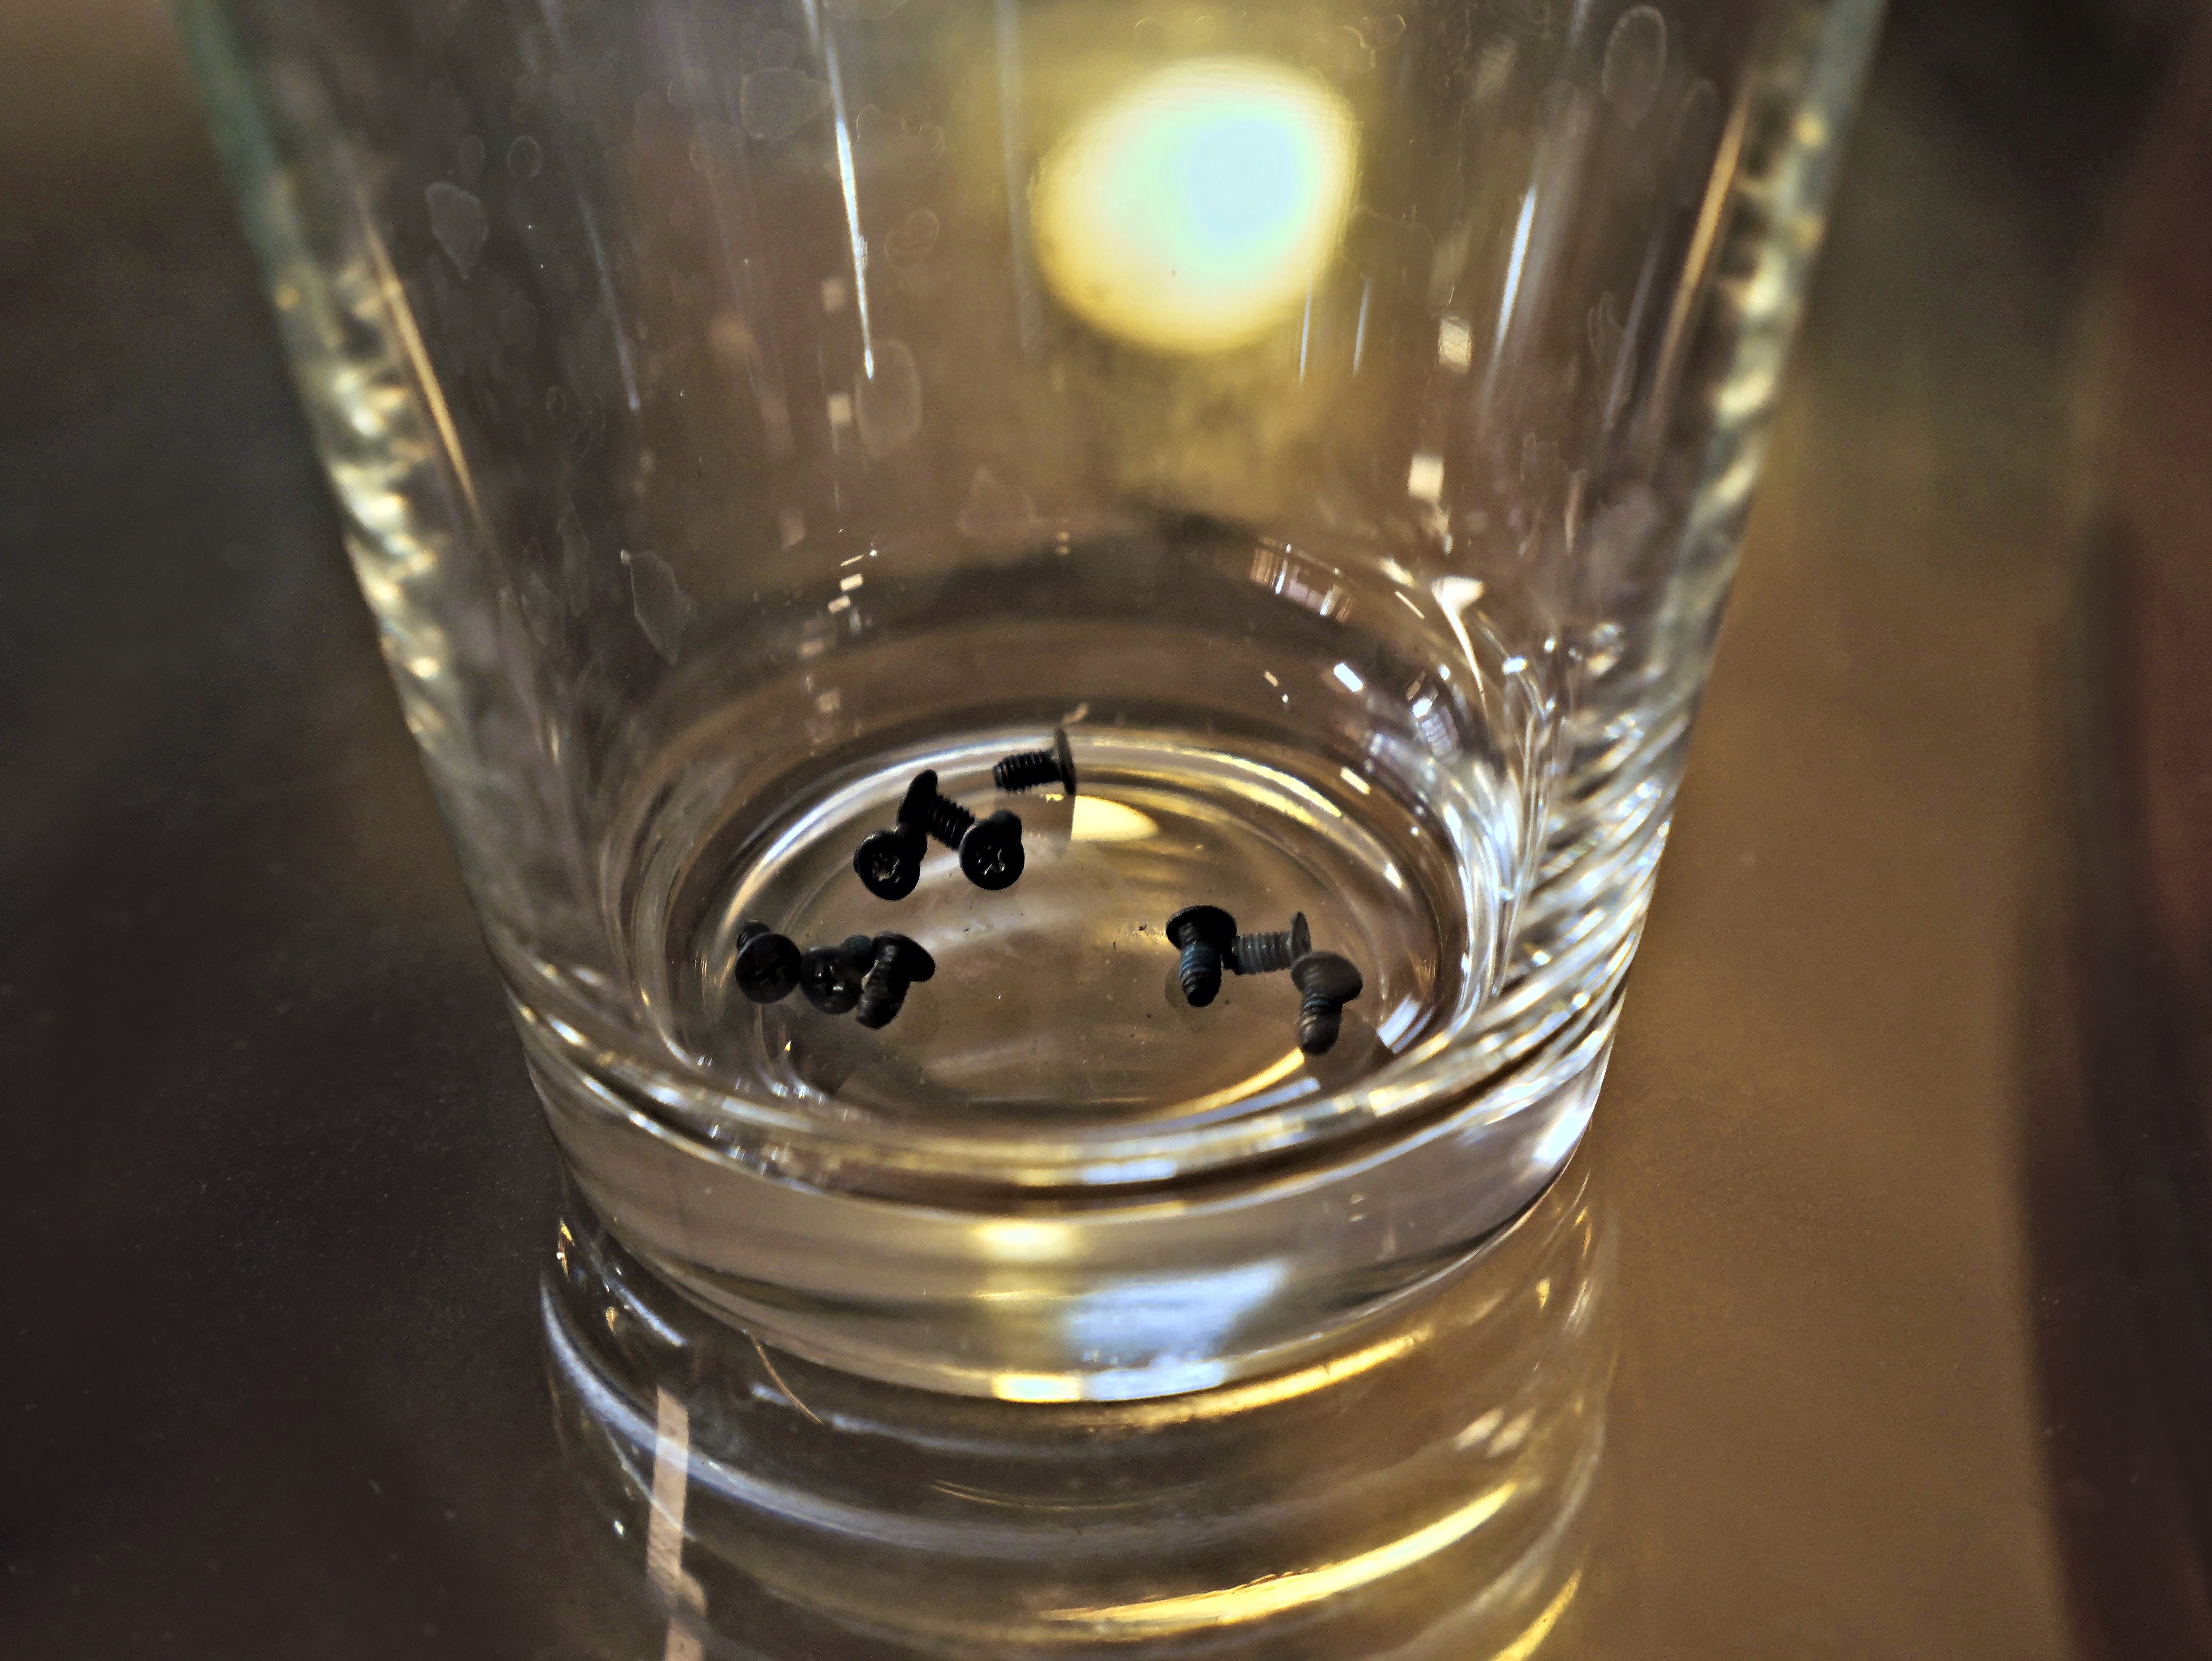
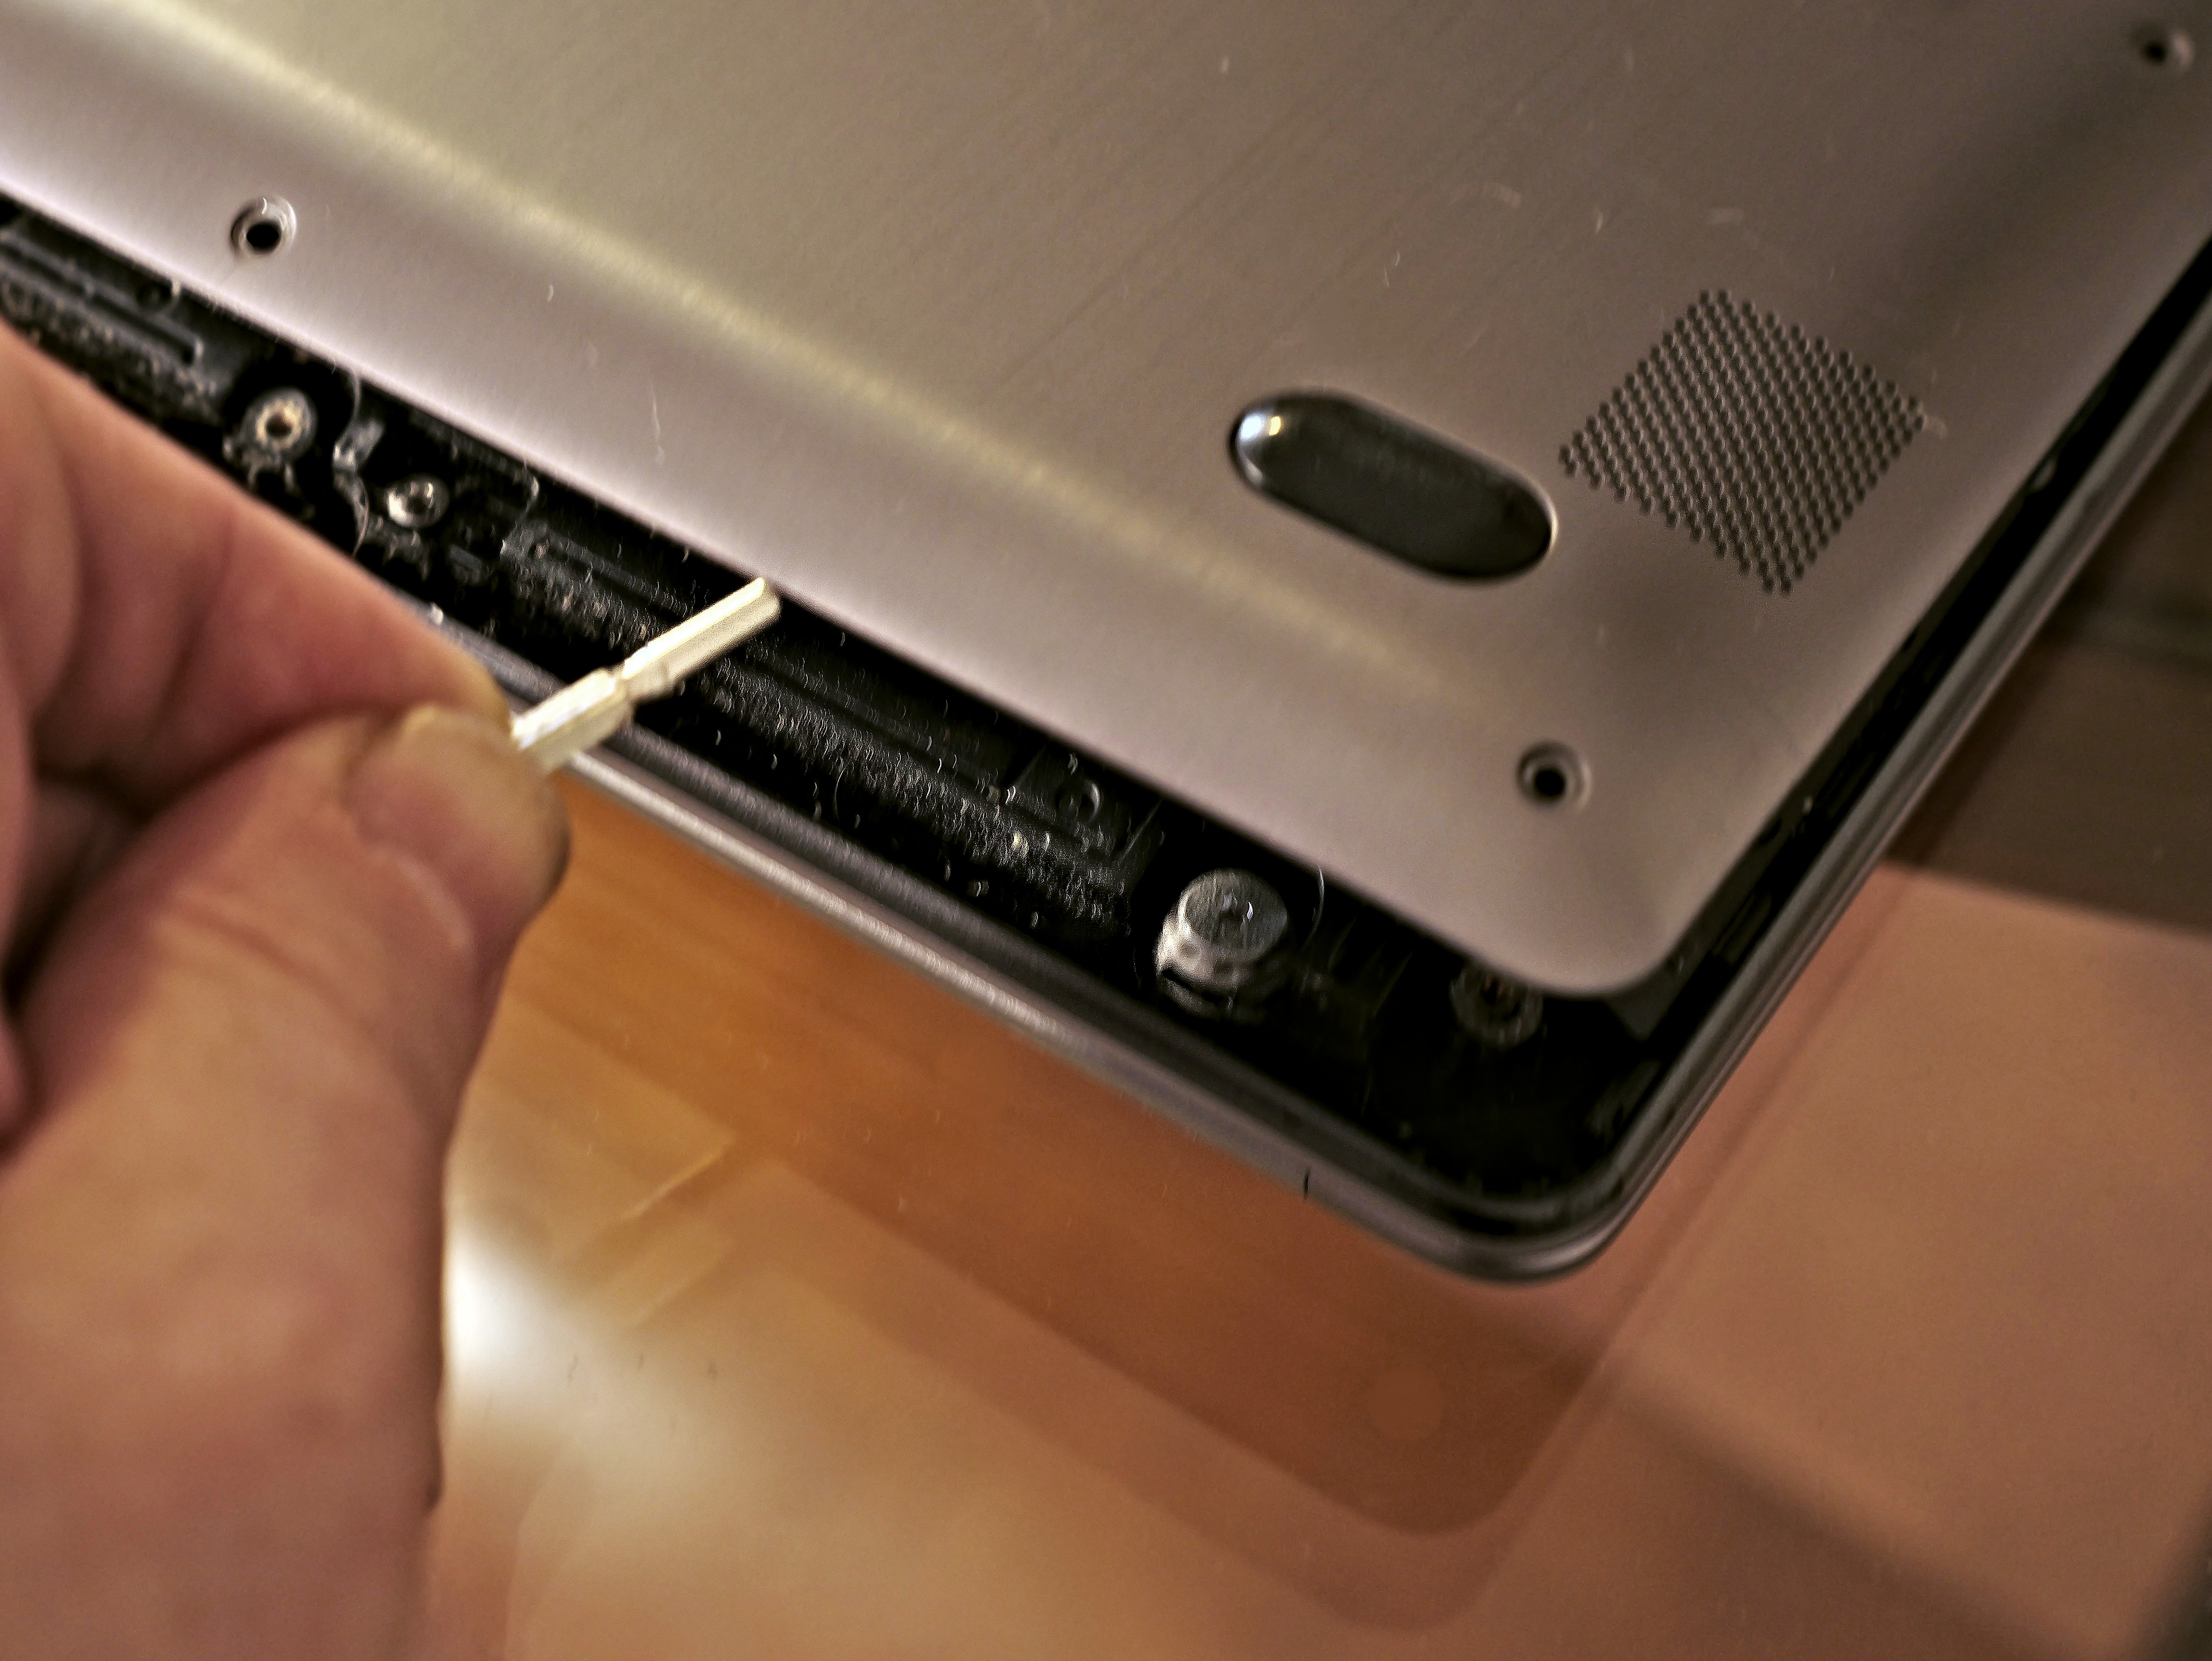
This laptop has 10 screws that use a tiny Phillips head. I used a tiny eyeglass repair kit screwdriver that I got from a Dollar store. While it is actually a flathead screwdriver, it worked just fine with the Phillips head screws. Place the screws in a cup so they don’t get lost.
Use the screwdriver or an old credit card to gently pry the cover plate off. Always do this slowly as it is very easy to bend these plates.
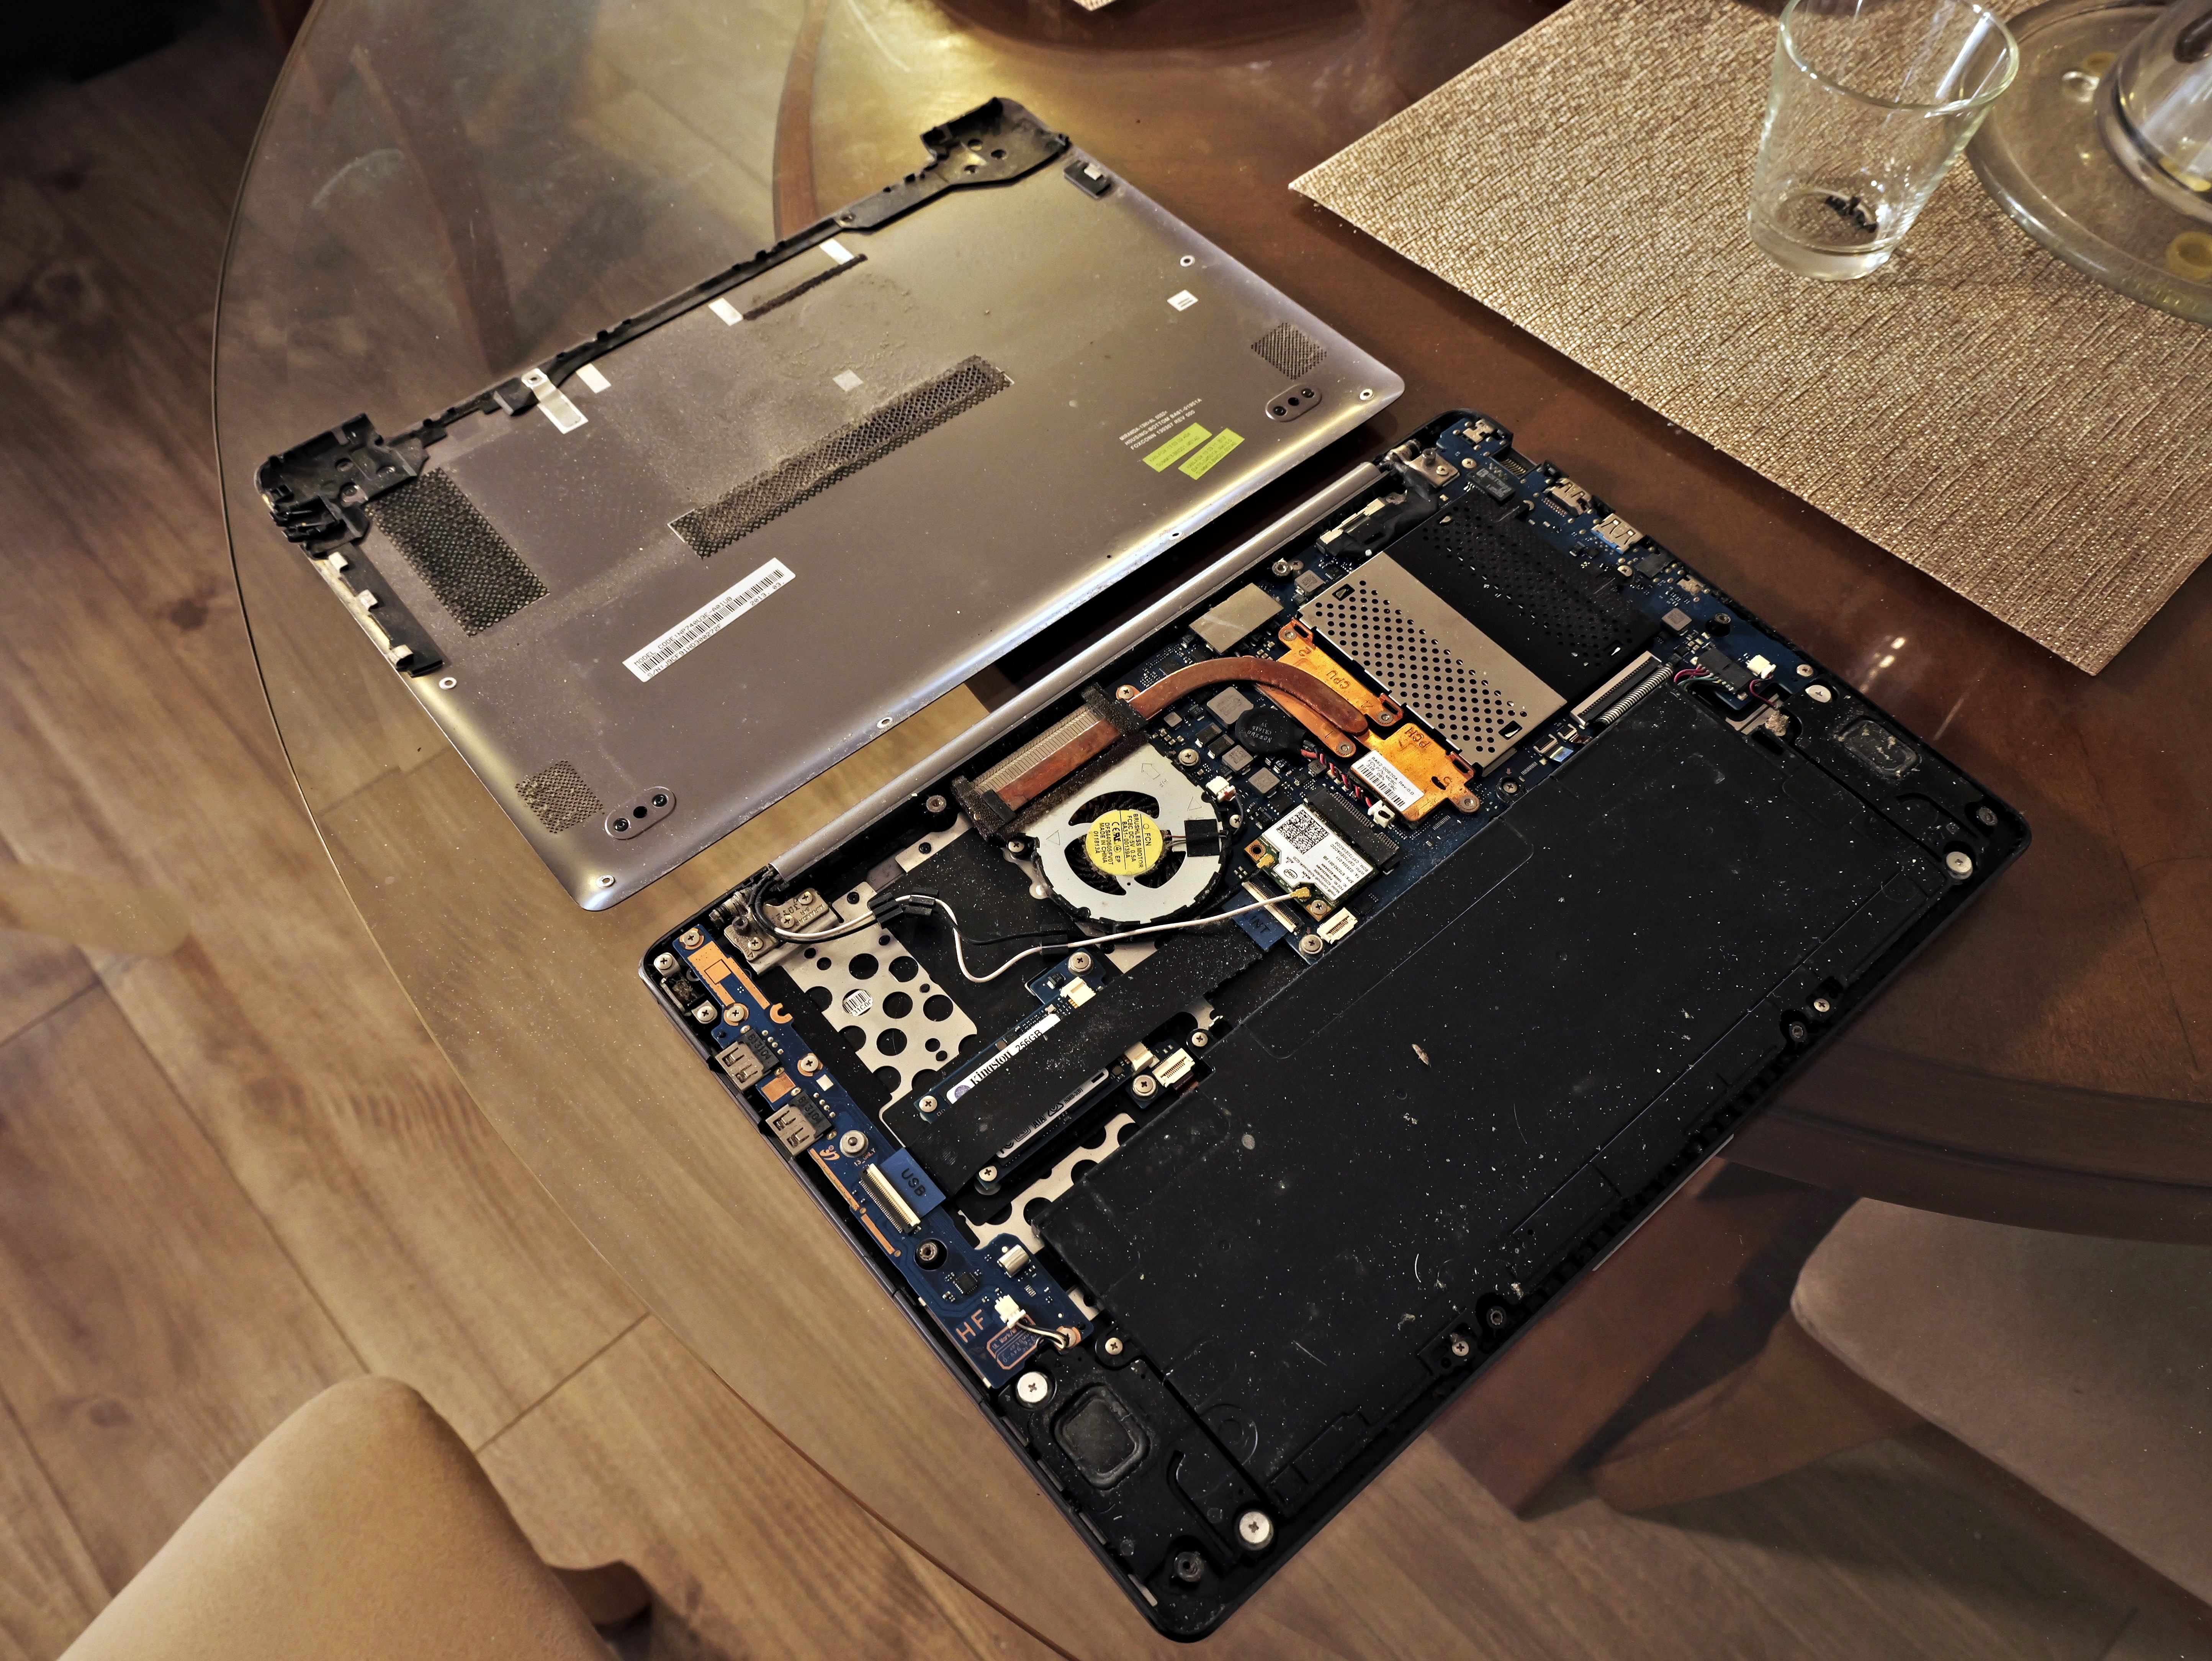
Underneath we see the motherboard which contains all of the hardware.
On this unit, the two memory chips are located towards the upper right side.
NOTE: If your old lappy has seen as much use as mine, then it may be as dirty inside as mine. Now is a good time to give it a good cleaning!
04. Remove the protective screen
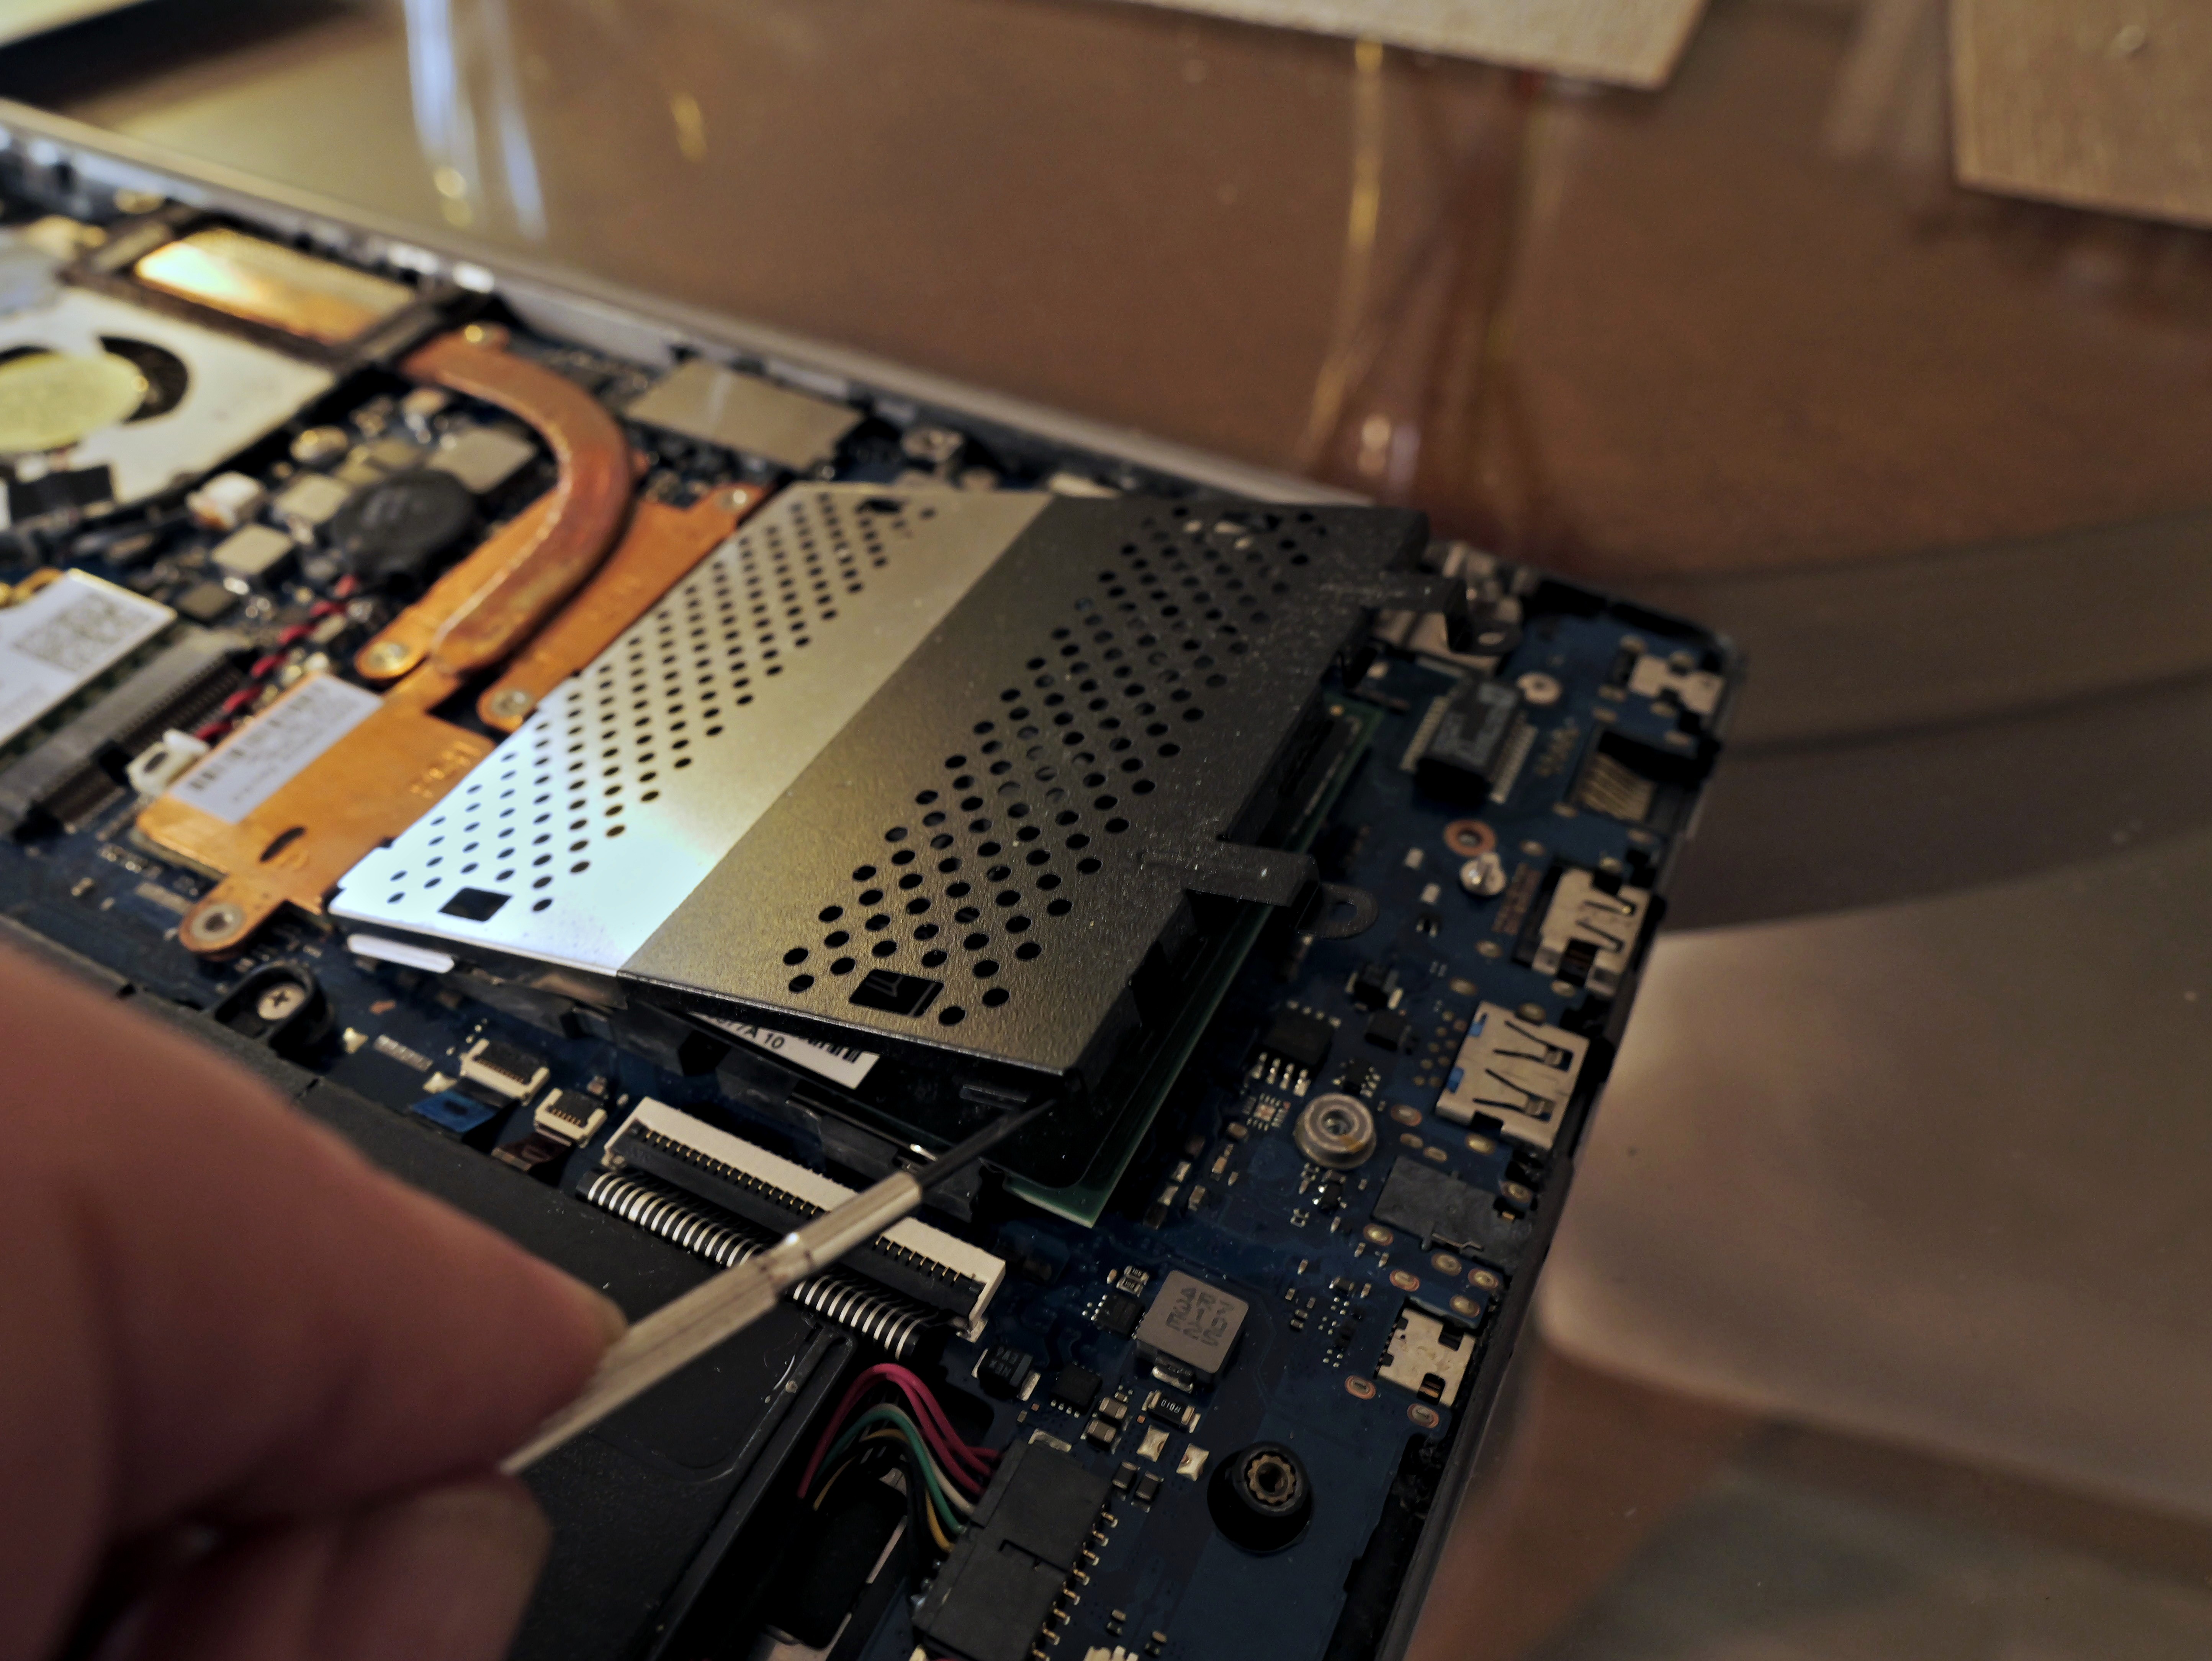
Carefully remove the protective screen covering the memory chips.
05. Remove the old memory
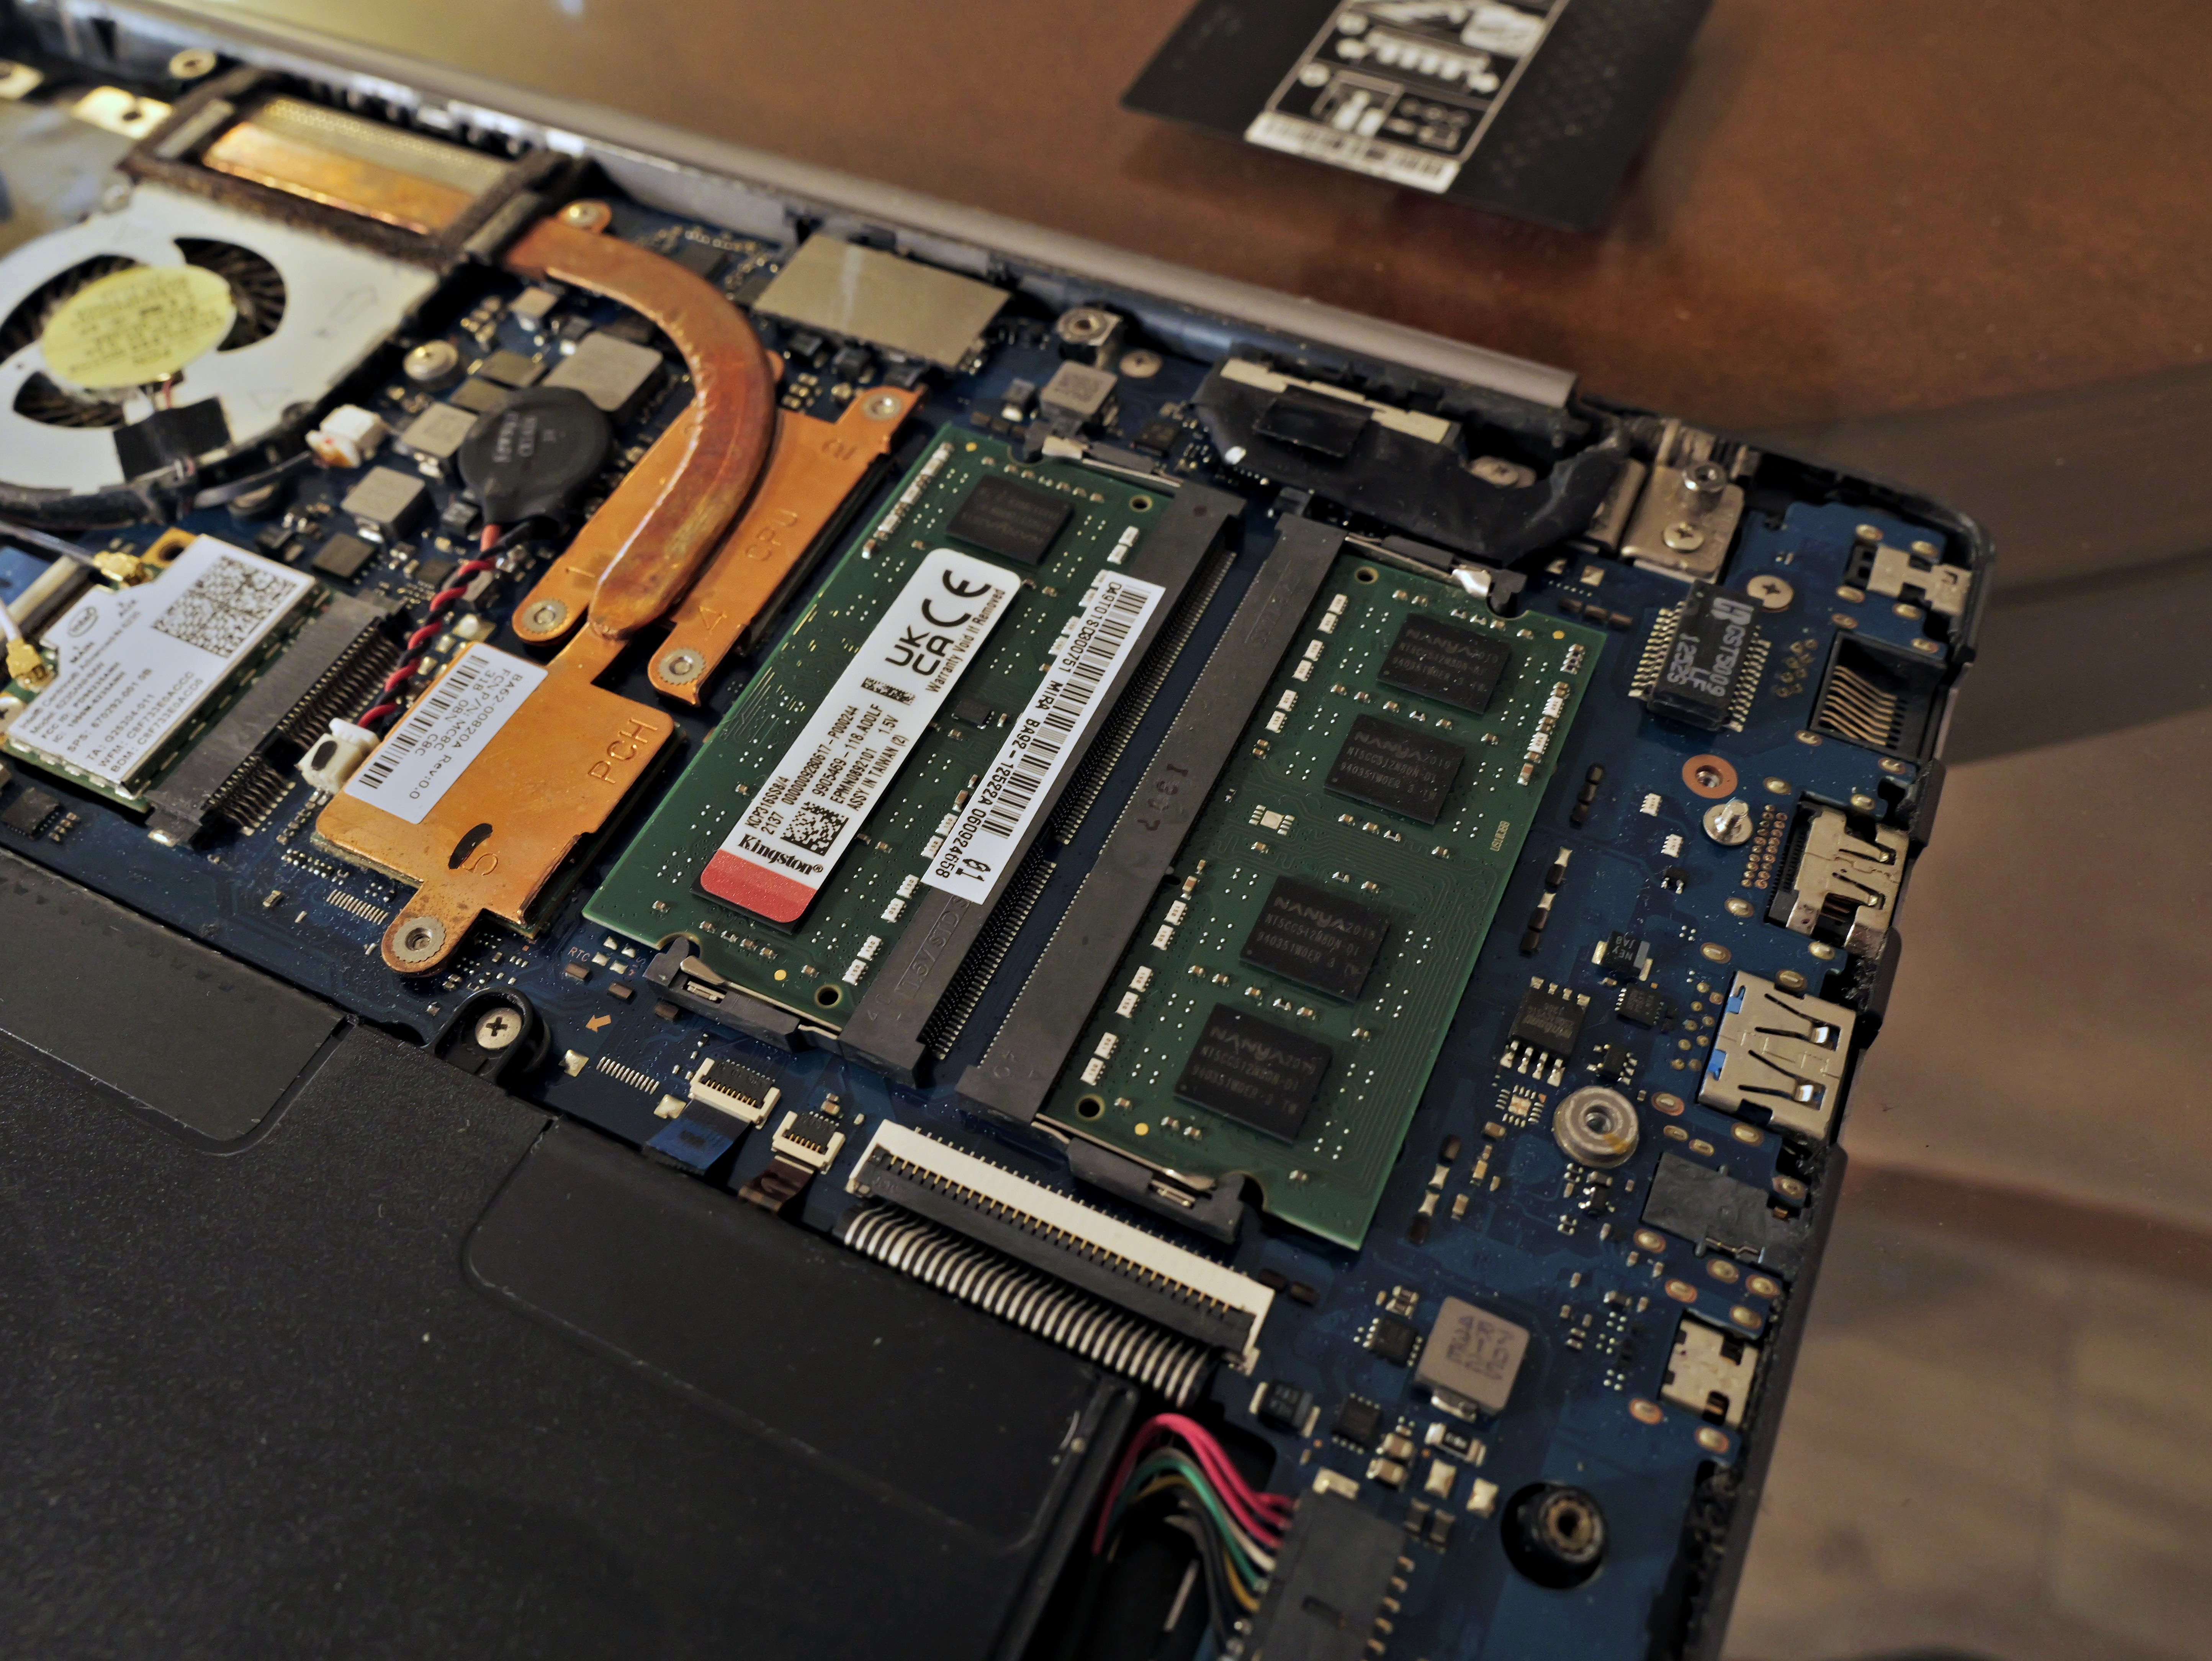
Take a look at the memory. Note that the two memory sticks are facing in different directions. One is facing up, the other is facing down. We will need to place the new sticks the same way.
At both the top and bottom of each stick you will see a small metal clip that holds it. Using the small screwdriver, gently push on the clips to disengage the memory stick. They will pop upwards at an angle.
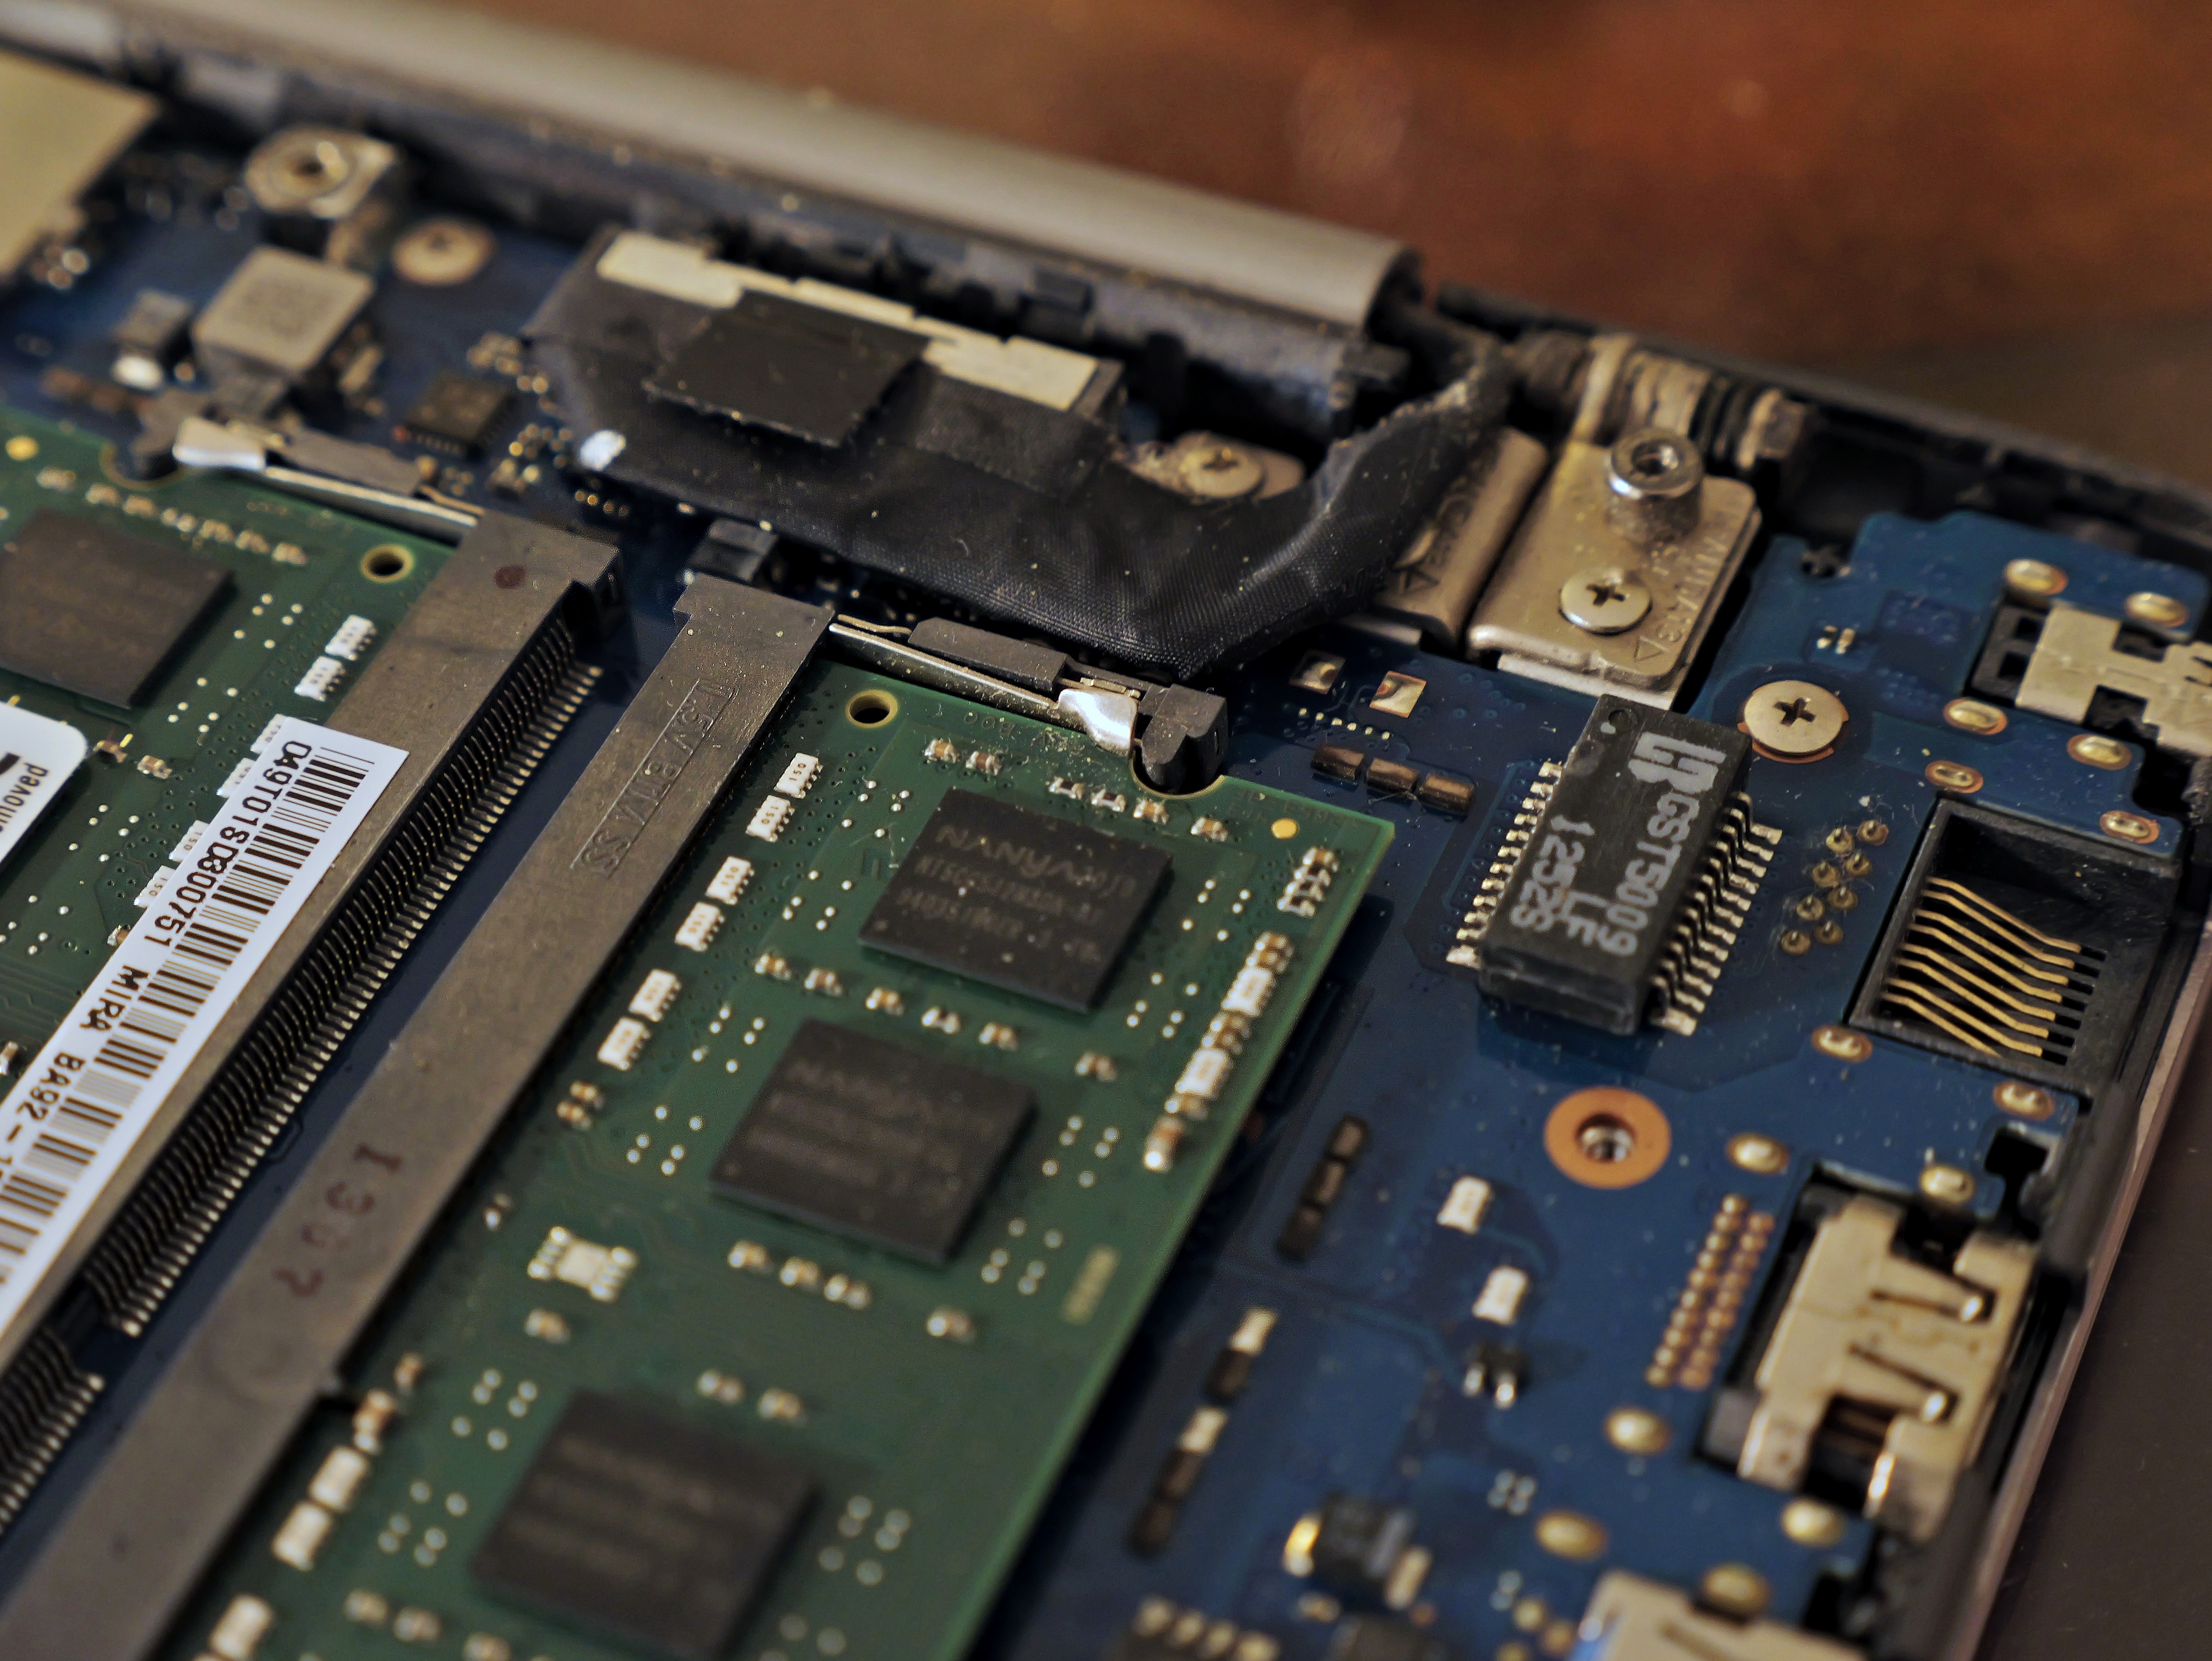
Once unclipped, the end with the contacts will still be lodged in the slot. This can simply be pulled straight out. Always with care, and slowly.
Place the old sticks away from the laptop.
06. Put in the new memory
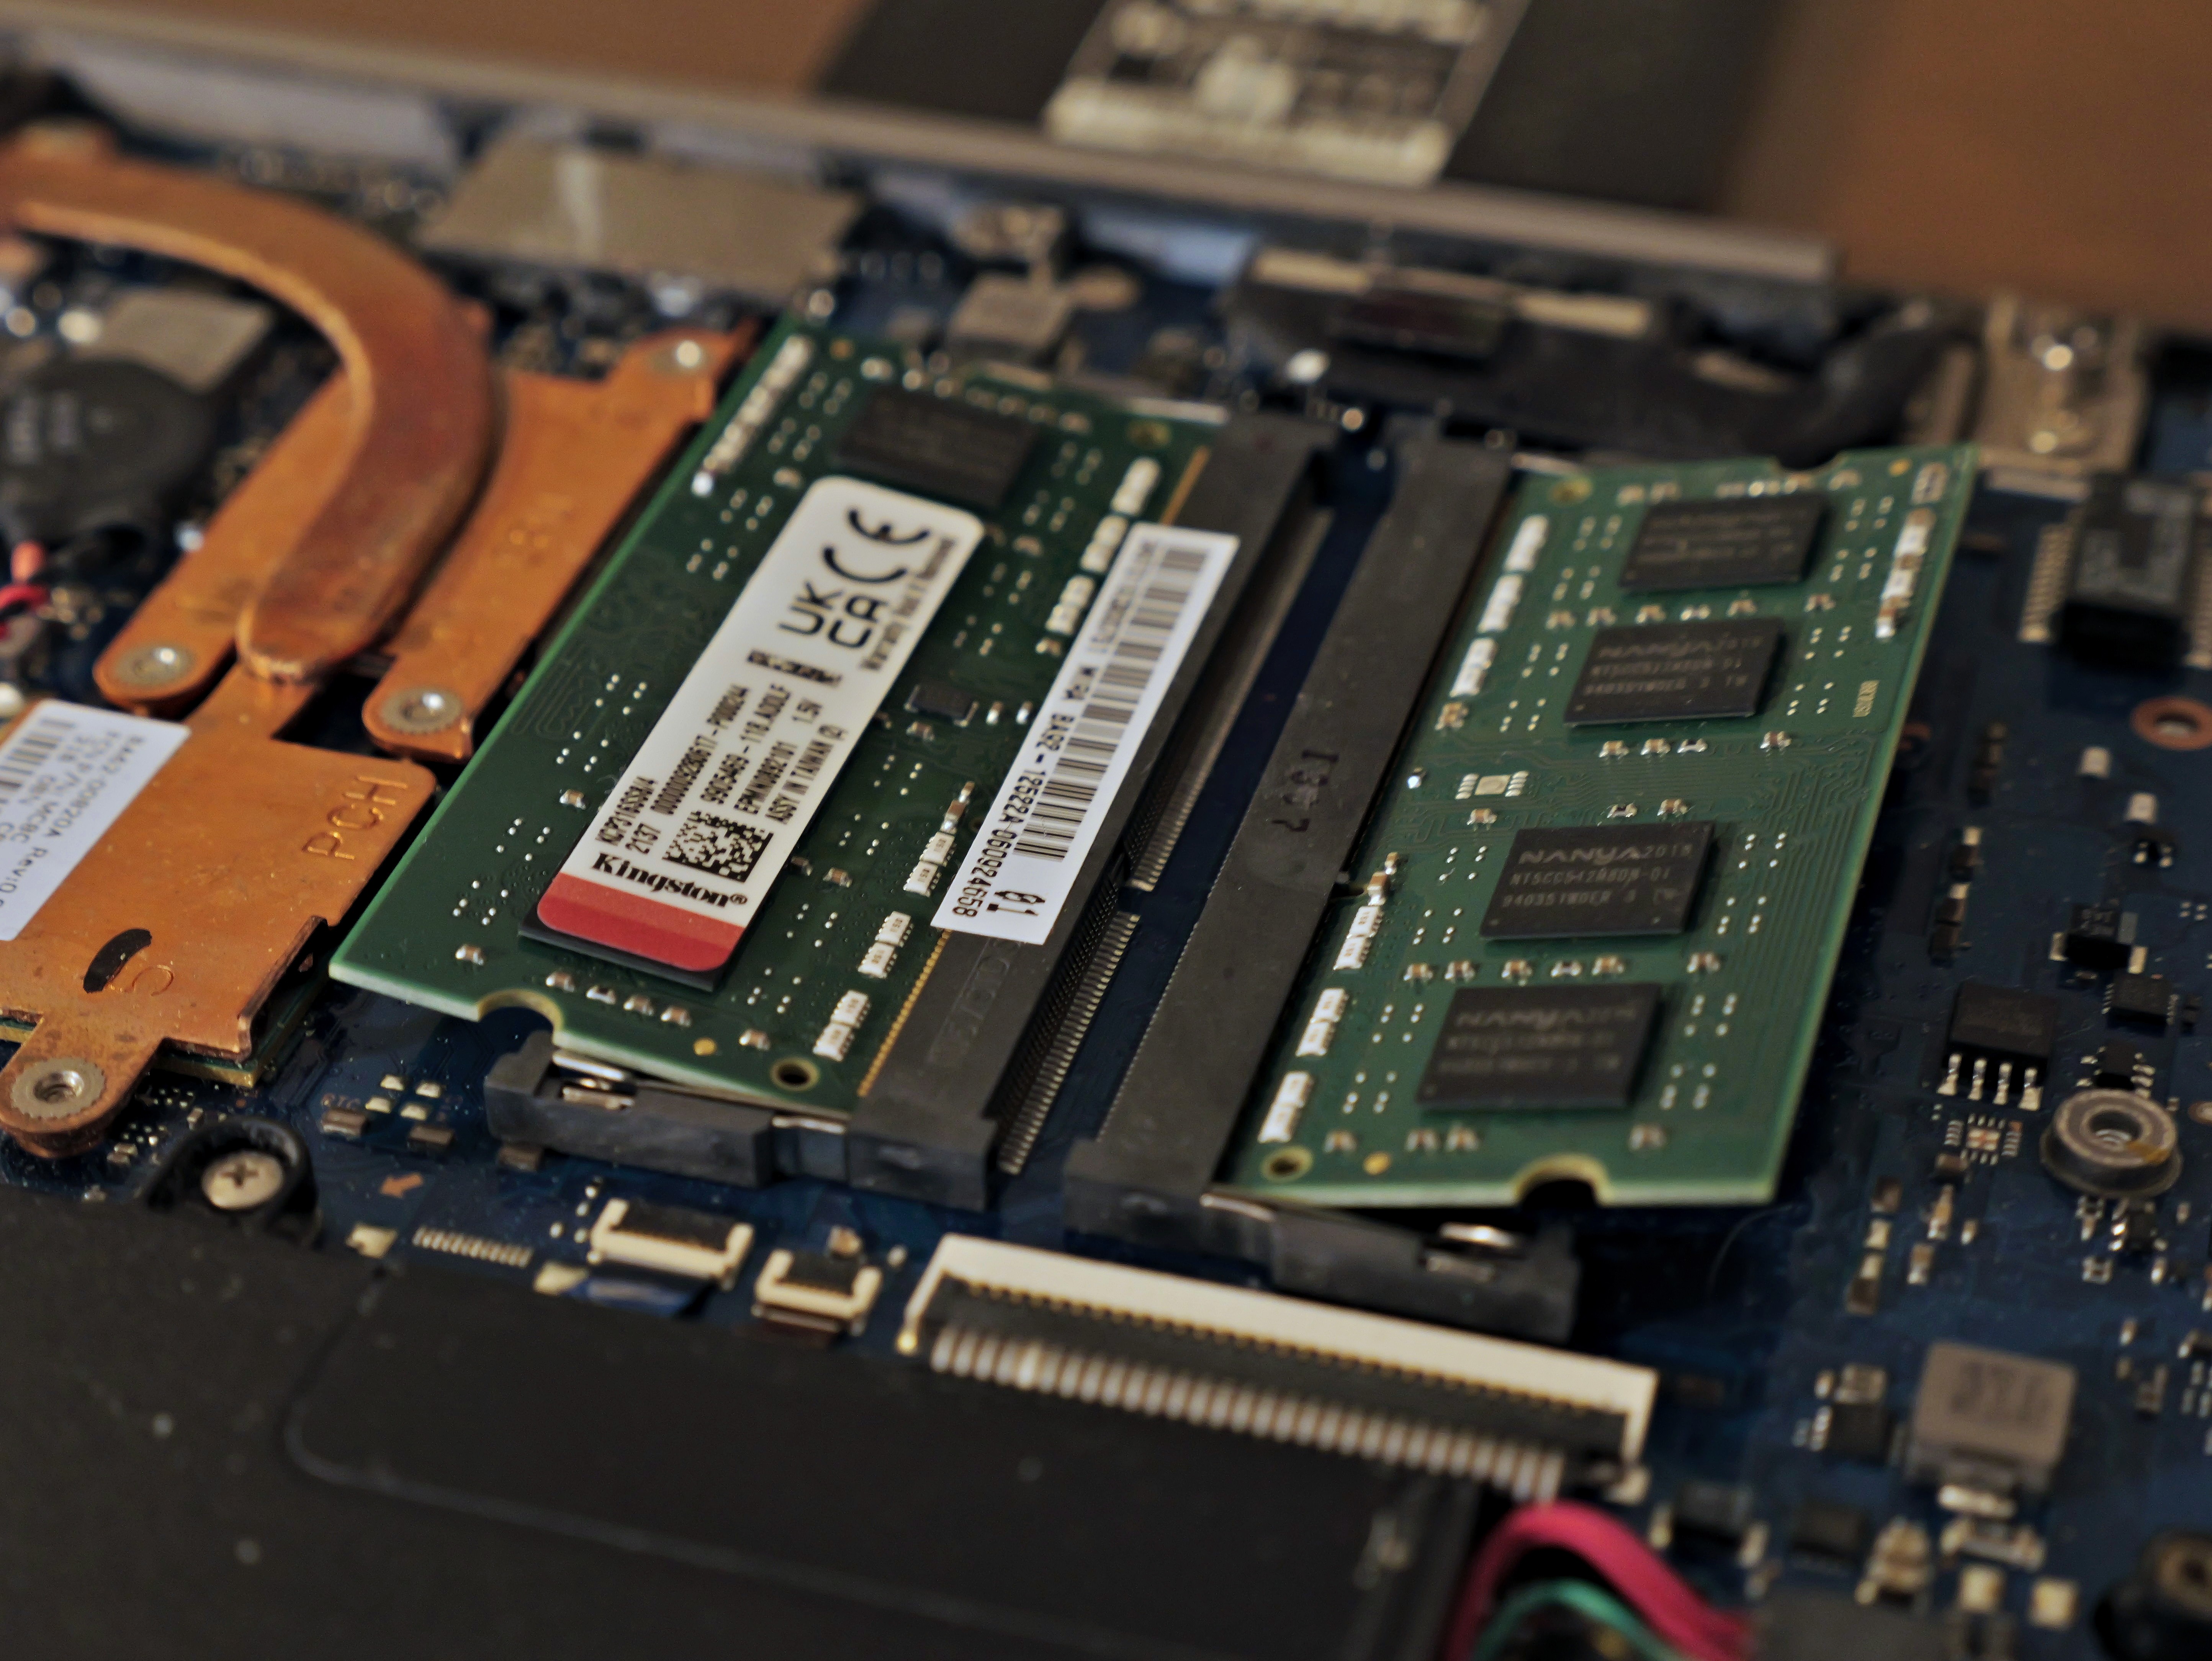
Now that you have removed the old sticks, putting in the new ones should be a snap (yes, literally):
Making sure that the stick’s notch is aligned with the notch in the socket, push the first one in, and then the second. Remember one of them needs to be flipped over.
Now gently, one at a time, push the outer sides of the sticks downwards until they click into the clips and are secured.
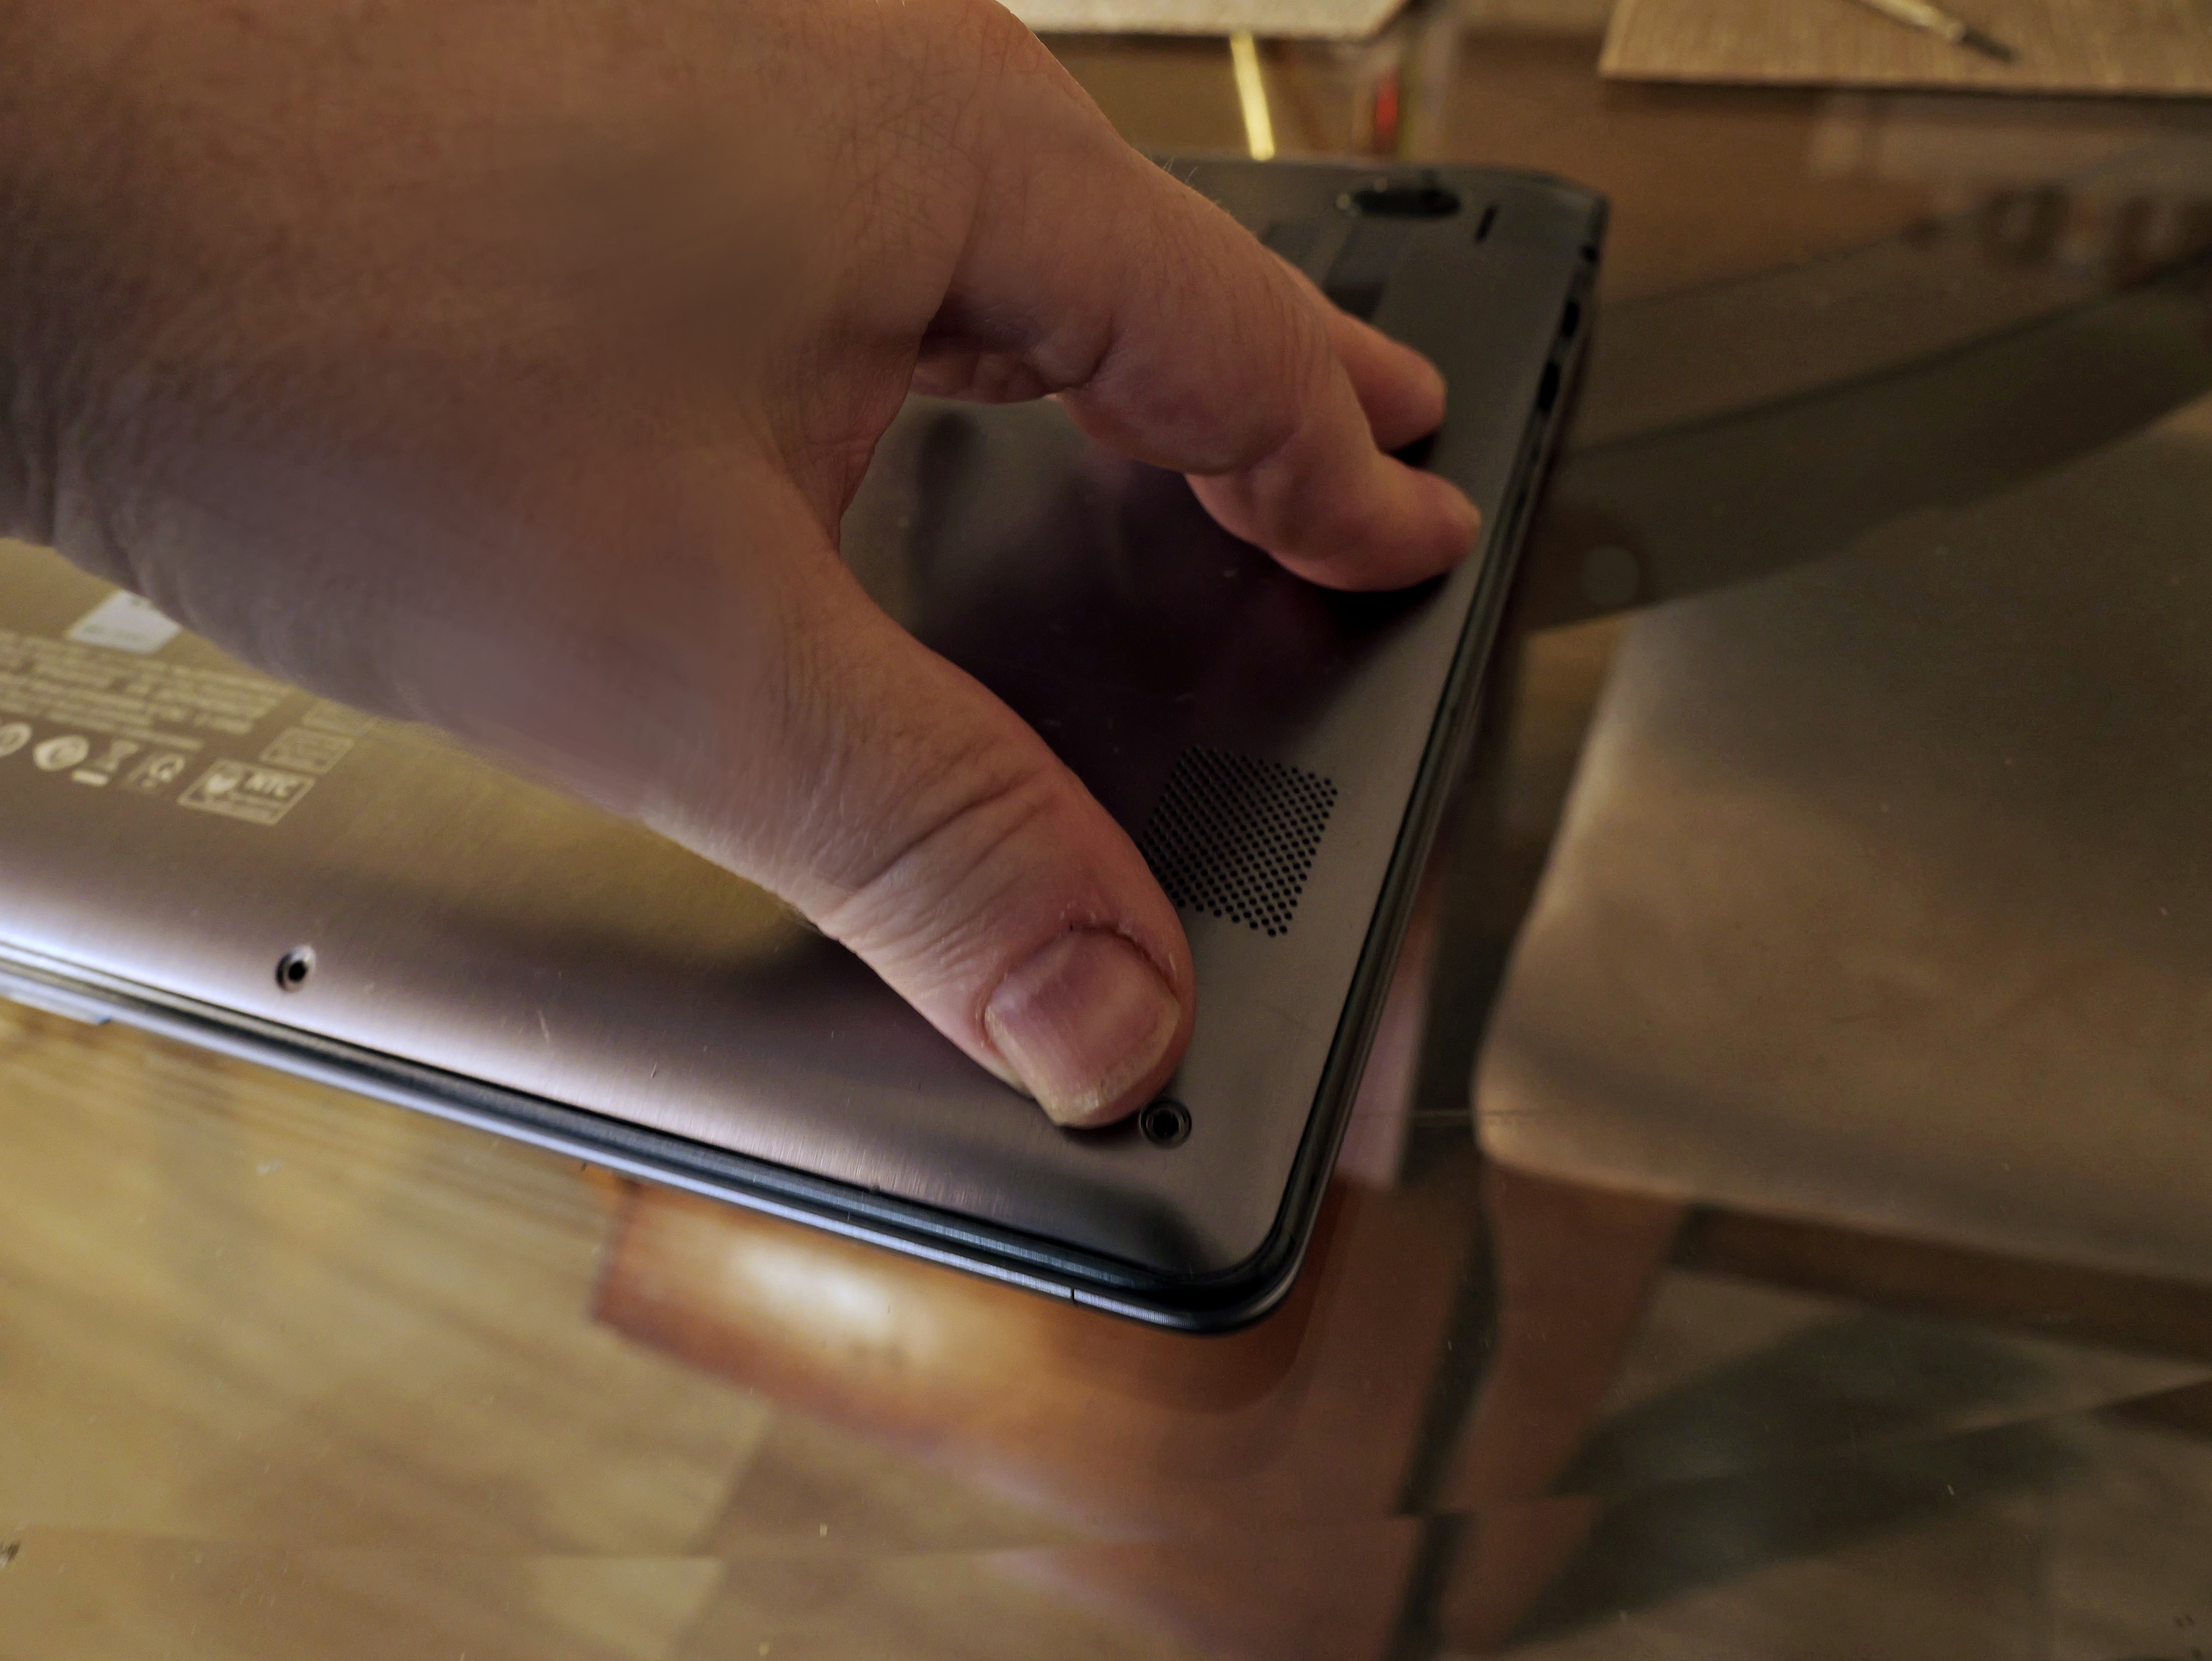
Reattach the memory guard plate, and then the large bottom faceplate. Gently press at all of the edges until you hear and feel the faceplate snap into place.
DON’T put all of the screws back in just yet!
07. Troubleshoot
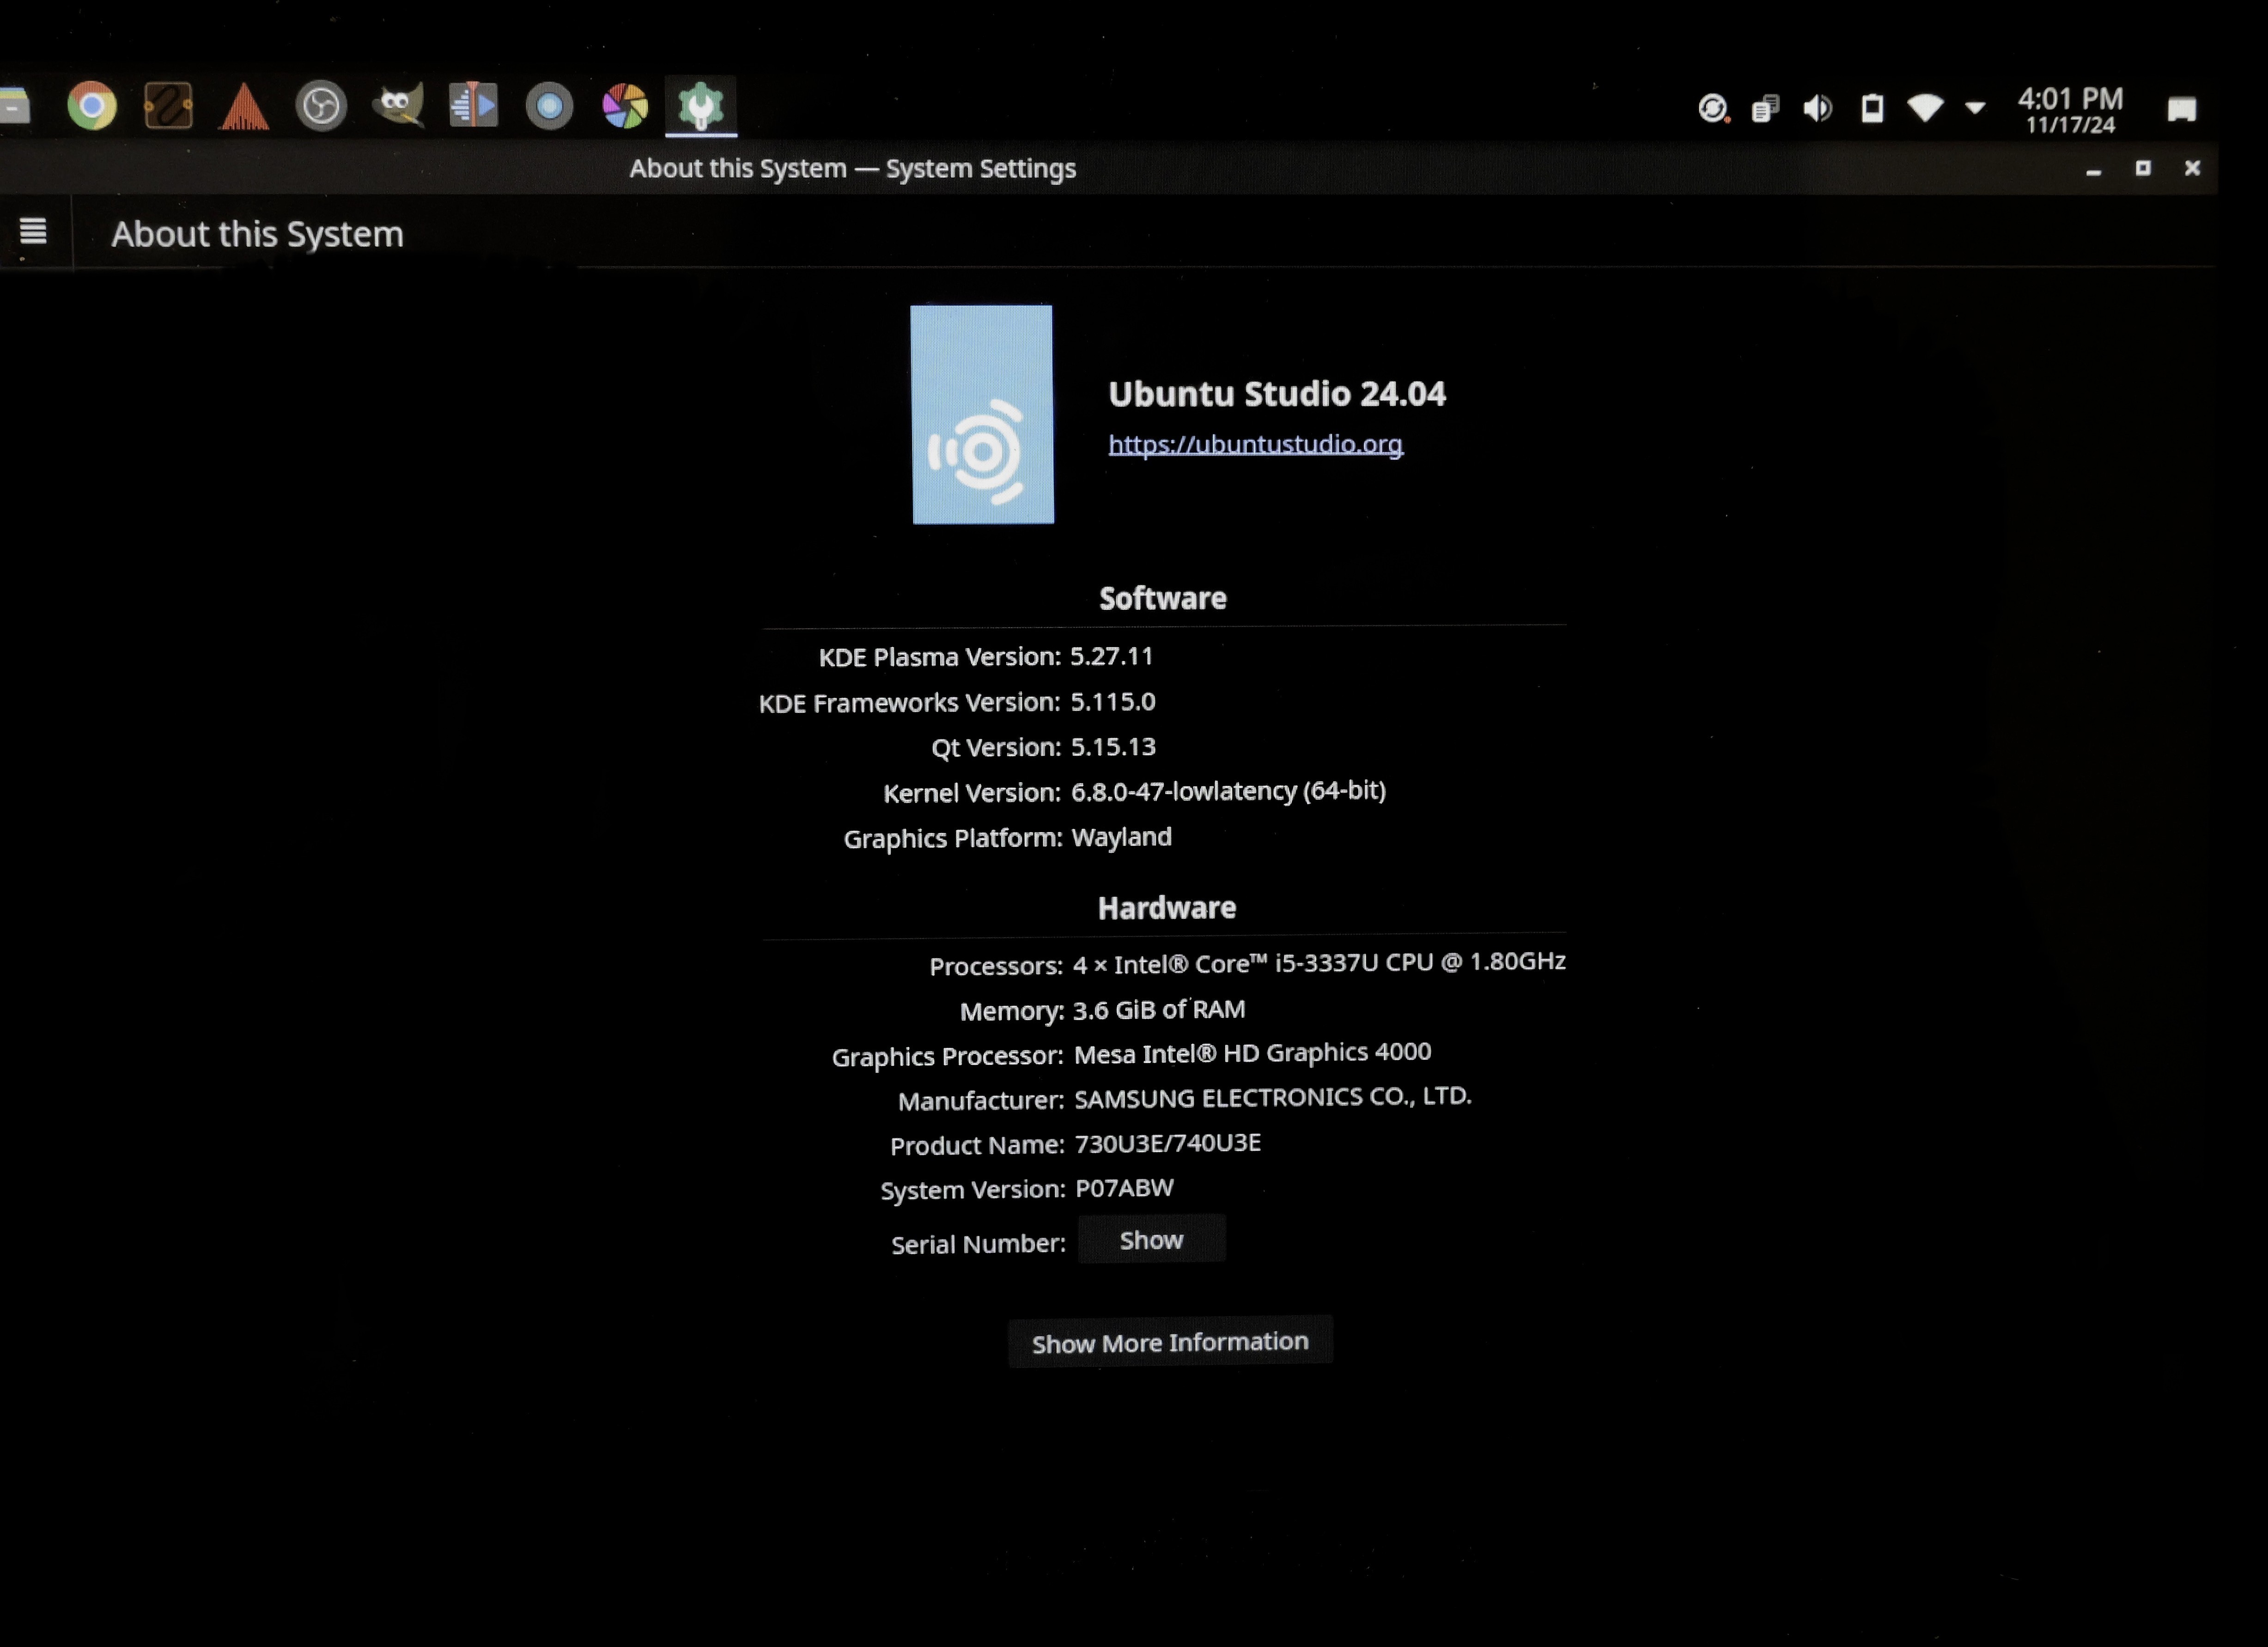
Before you start screwing in all of the tiny screws, flip the computer over and turn it on. Open the About or About this computer dialogue (it is in every OS) and look at the amount of memory. It should match, closely if not exactly, to the amount of memory you just installed.
As you can see in the line Memory, my computer thinks it has just under 4GB of memory installed. But I just installed 8GB! What’s wrong?
Shut down the computer, flip it over and take the bottom plate off again (aren’t you glad you didn’t re-screw it all?).
Take a closer look at how my install wasn’t a good one! You can see the contacts peaking out from the slot. That means it wasn’t fully inserted and is not making contact. So this chip was not being recognised by the laptop.
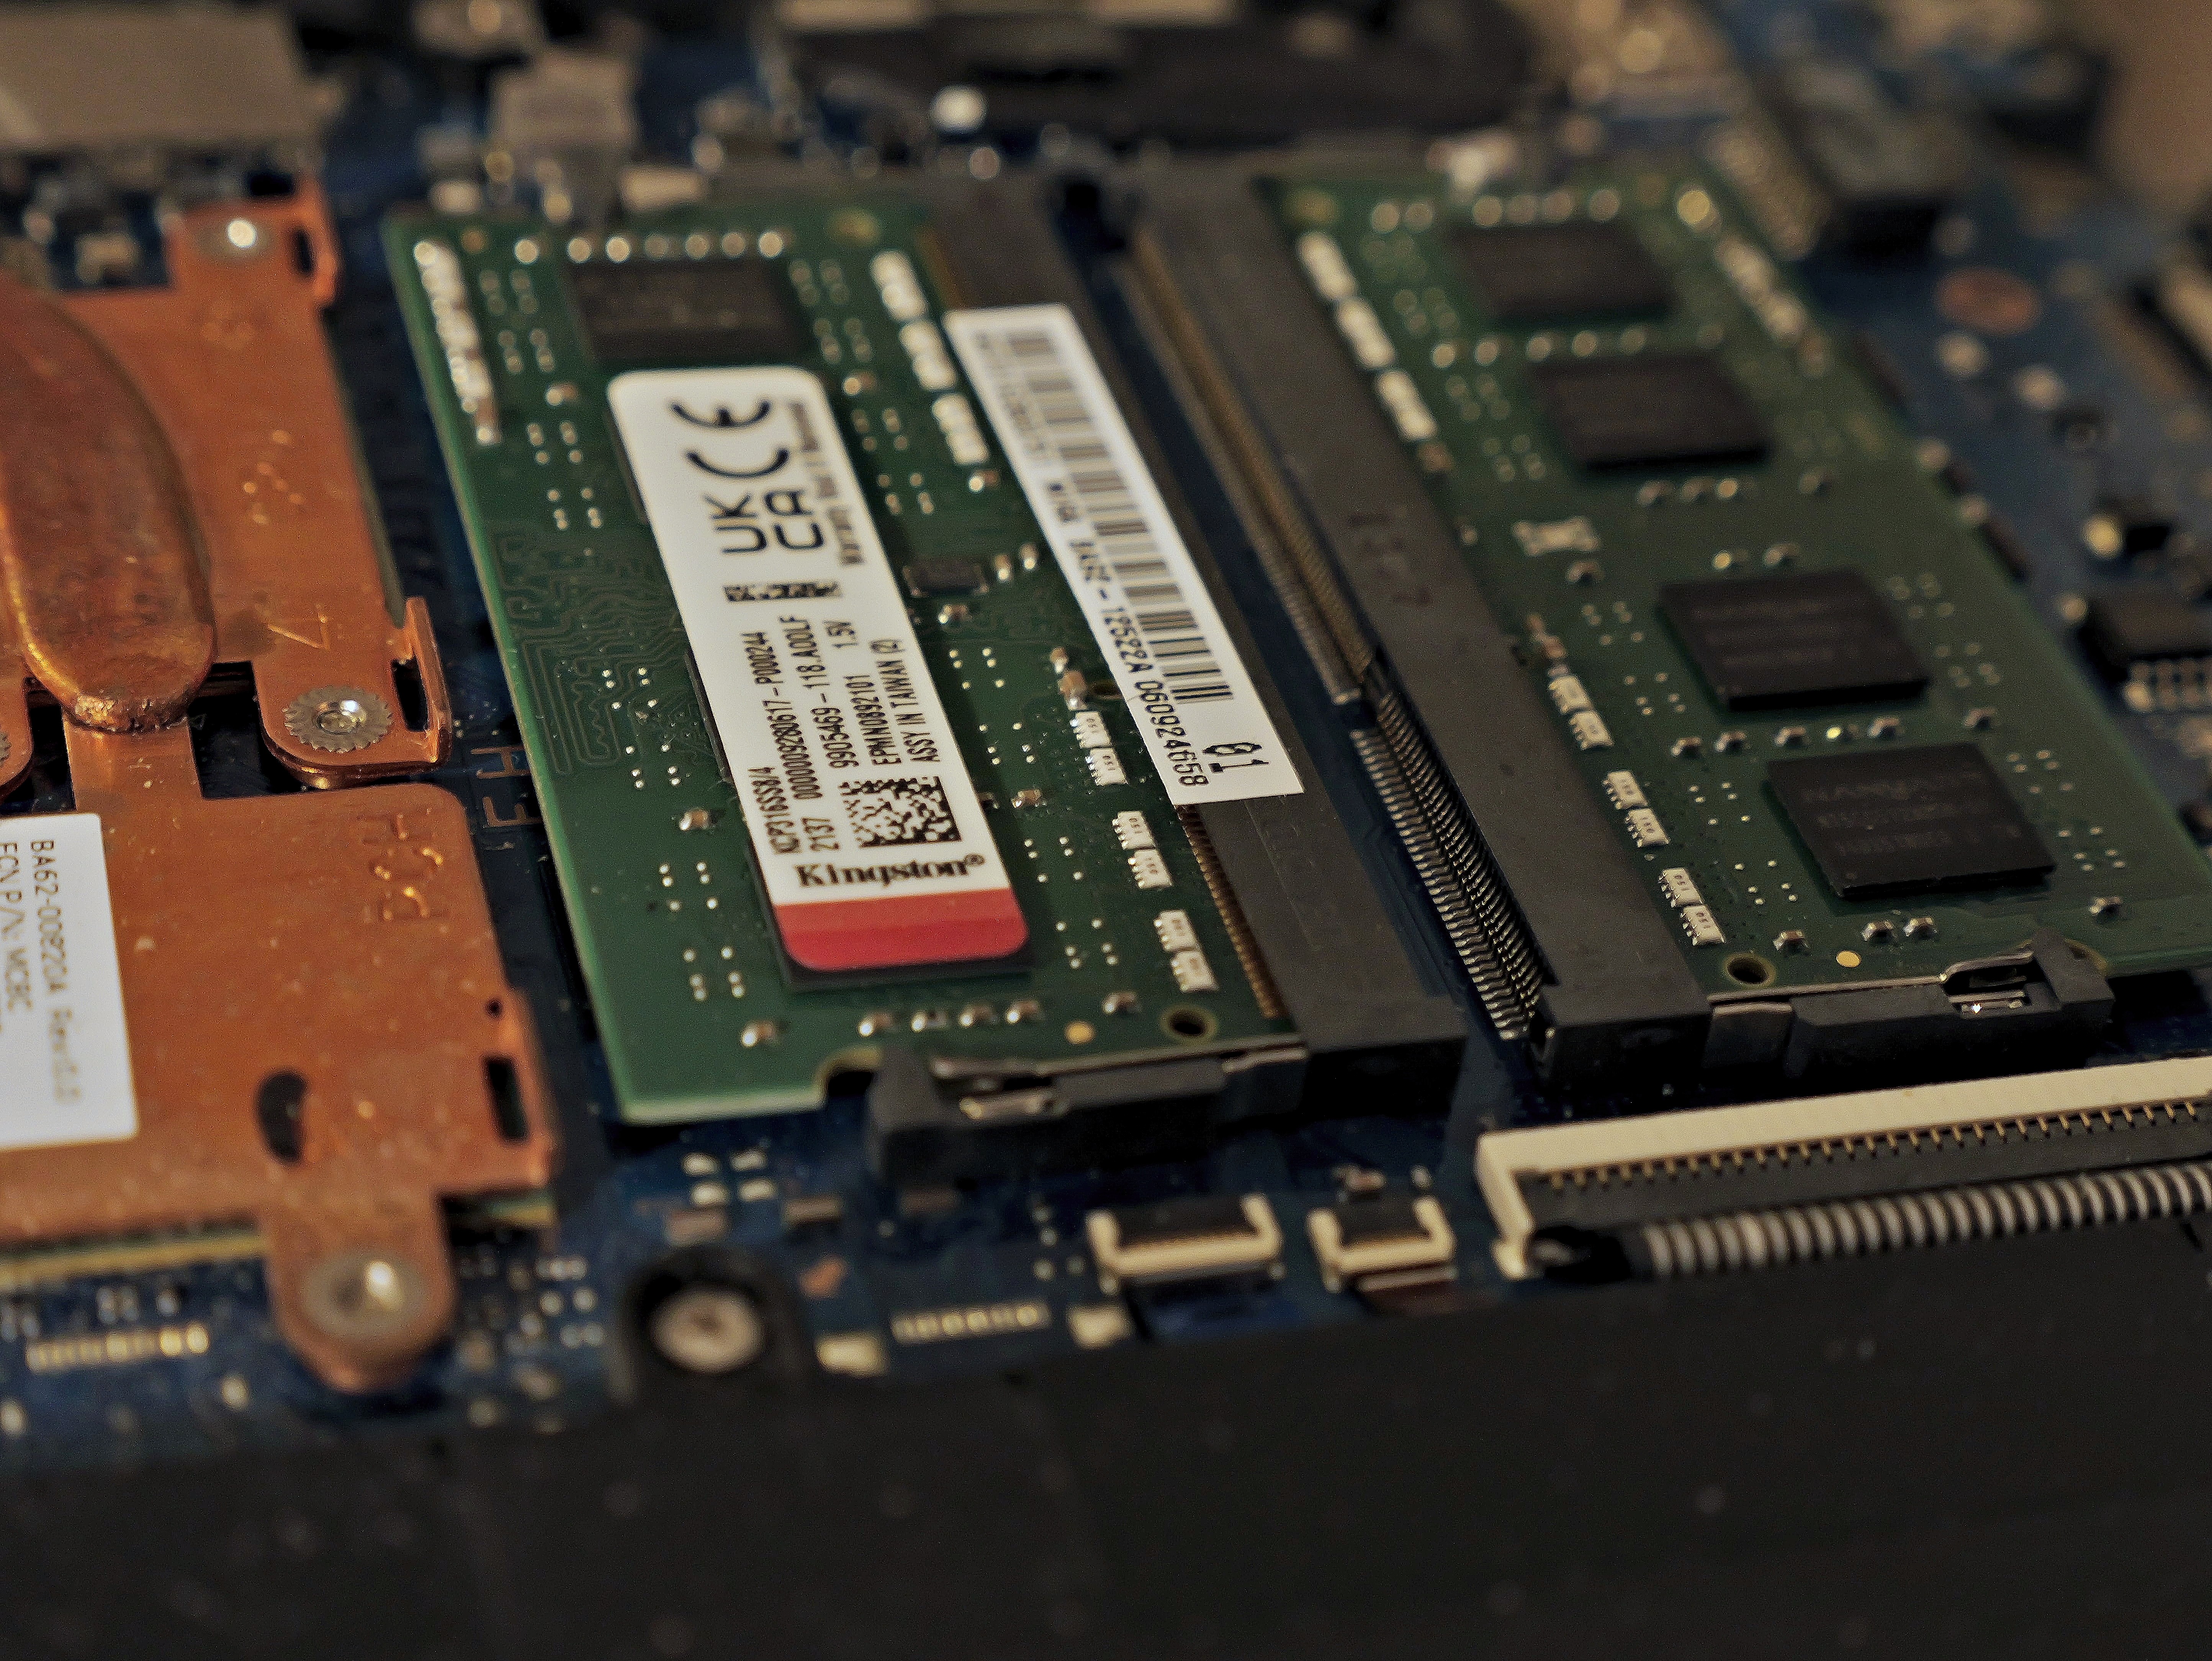
This was easily resolved by unclipping that stick and re-seating it properly. Once done, the laptop recognised all of the memory I had installed. And I now have more RAM in my laptop.
Which RAM do I need?
Before you rush out and buy RAM, let’s go over some of the specs to make sure you get what will work. Computers and laptops have clear specifications as to the type and amount of memory they can uses. These specs are in the manual or on website of manufacturer.
Here are the most important criteria to get right:
DDR4 or DDR5
DDR4 or DDR5 refers to the physical design of RAM. DDR5 came out in 2020 and is spec’d to run almost twice the speed of its predecessor. Though real world gains will be less.
Important points:
• All generations are incompatible with one another. Both forwards and backwards.
• Their pins, sizes and notches are all different. So they will only fit into motherboards designed for that generation.
• Don’t confuse the larger DIMM memory designed for desktops, with the much smaller SO-DIMM memory designed for laptops.
• Bottom line, buy the type of RAM your computer is spec’d for.
RAM speed
Within each of those generational designs are a range of speeds. But the bottom line is that while speed differences are measurable, in most situations they aren’t easily felt. Other contributing factors like latency and software design also impact speed.
Pants and scissors are both plural, but when you buy them, you only get one! Likewise, memory modules are usually sold in pairs called 'kits'.
But with memory sticks there is some rational behind it. Most laptop and budget desktop motherboards offer just 2 RAM slots, whereas desktops usually have 4 slots. They are even numbered because the way data is passed between memory and the CPU, there are speed gains to be had by installing matching memory sticks in pairs. Assuming your laptop supports dual channel memory.
How much RAM do I need?
How much RAM do we really need? As content creators running image, 3D and video software, we need a lot. I was recently speaking with a musician who runs his Digital Audio Workstation (DAW) on a 16GB iMac. He told me he’s fine, as long as he doesn’t open Safari at the same time.
In my experience, 16GB is the minimum if you plan to do a good deal of work on it. 32GB is still a sweet spot that should avoid any problems. And 64 or higher for very demanding needs.
In my example, I am only adding 8GB of RAM in the laptop. This is because this is a 10 year old laptop. So no reason to install more than is needed.
It's also running Ubuntu Linux. This can run well with less RAM than Windows. I won’t tell you that 8GB on Linux is equal to 16GB on Windows. But it surely does better with less.
How much does RAM cost?
Fortunately for us, RAM prices have been on a downward trajectory for years. This makes upgrading to 32 GB or higher very painless. For example, a top brand like Kingston has a 32 GB laptop upgrade “value” kit can be had for under $100. Even their premium Fury line can be had for under $130.
Memory has become the cheapest component in our computers. This makes memory the best bang for the buck. Even if your computer, like mine, is heading out to pasture soon.
Should I install RAM myself?
The last question is, should you grab your laptop and head over to a service? Or should you order some sticks online and spend under a half hour installing them yourself? As always, this is a personal call.
If you still have trouble using chop sticks and still ask for a knife and fork to eat sushi, perhaps consider having a professional install your RAM. But honestly, anyone with normal dexterity should not have an issue.
If installing RAM doesn't help your computer, it may be time for an upgrade. See our best laptops for 3D modelling or best laptops for video editing for options with lots of power.


