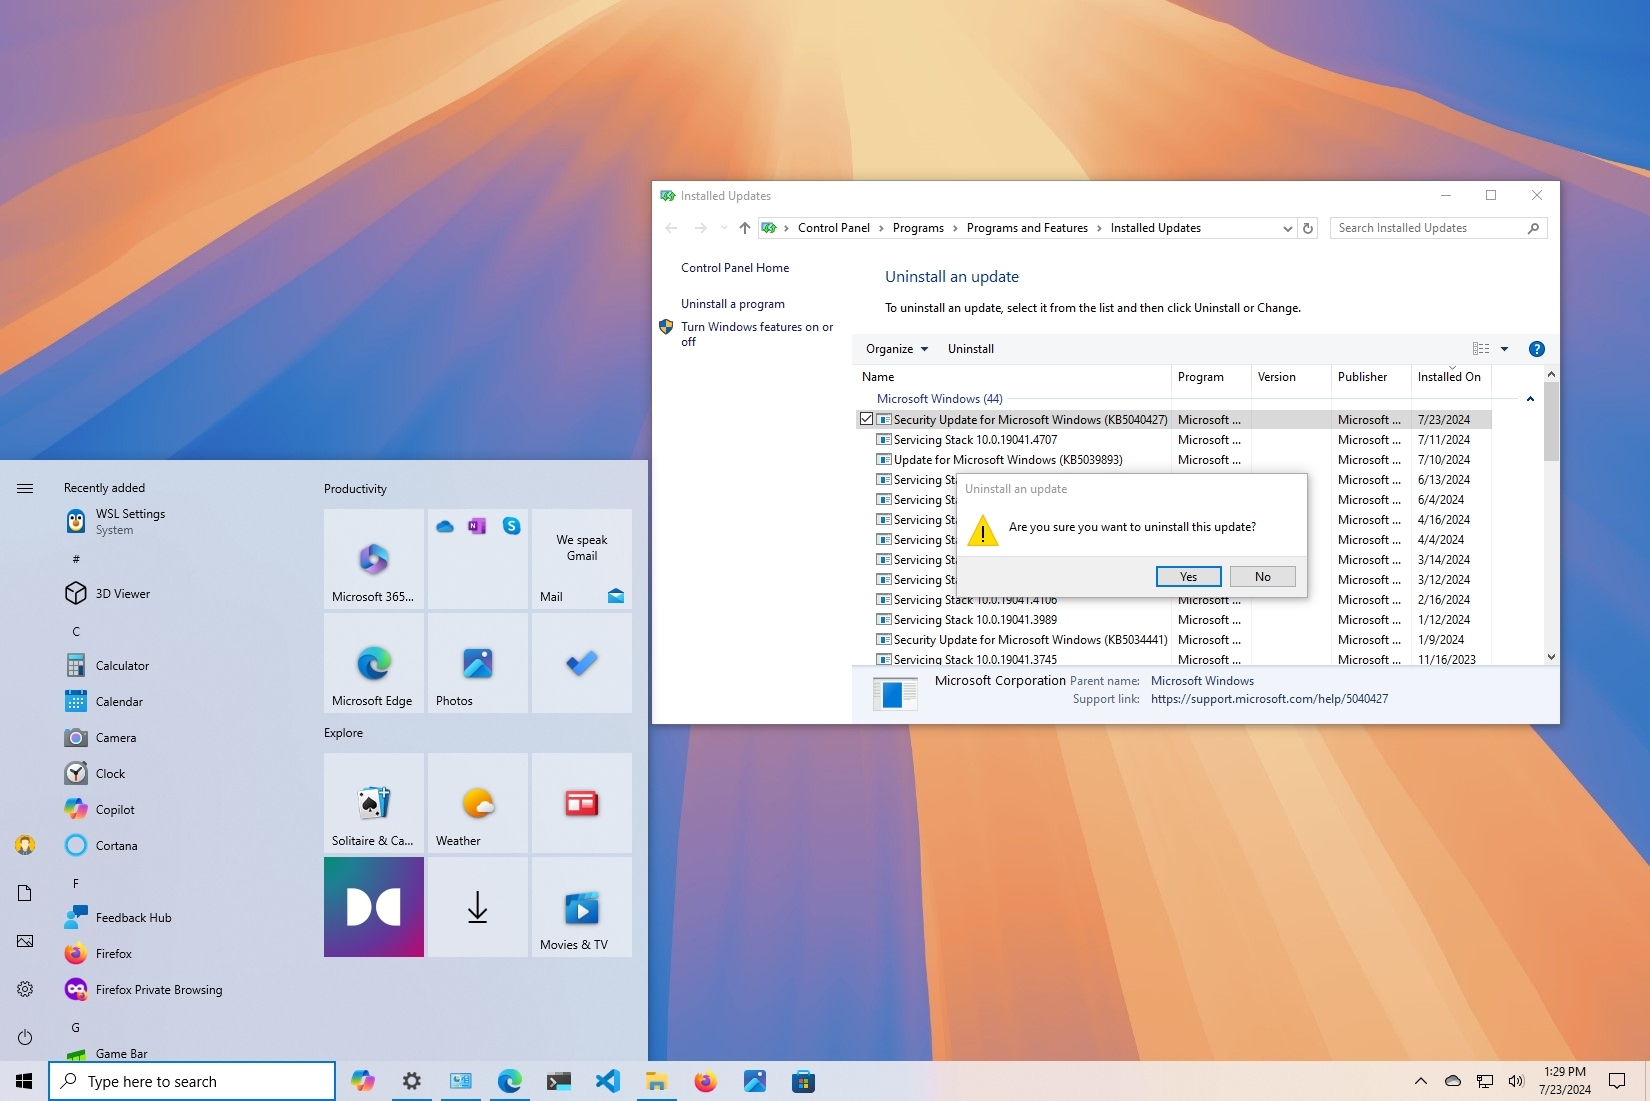
Microsoft proactively releases new cumulative updates to improve the security and stability of Windows 10 and keep your computer up-to-date with changes, features, and security fixes. However, the problem is that as much as necessary updates are, they can also cause unwanted problems.
We've seen cumulative updates cause problems not just on Windows 10 but also in older and newer versions. These range from breaking software and hardware compatibility to freezing issues to network problems. Sometimes, it's not a problem with the update but an issue that occurred during installation. The solution? Uninstall and reinstall that particular update.
In this how-to guide, I will walk you through the steps to uninstall and reapply an update that may be causing a problem on your computer. You'll also learn the steps to prevent Windows from trying to install a problematic update. If you have a device running Windows 11, you can use these instructions to uninstall and reinstall an update.
How to uninstall an update on Windows 10
To uninstall an update on Windows 10, use these steps:
- Open Settings.
- Click on Update & security.
- Click on Windows Update.
- Click the View update history option.
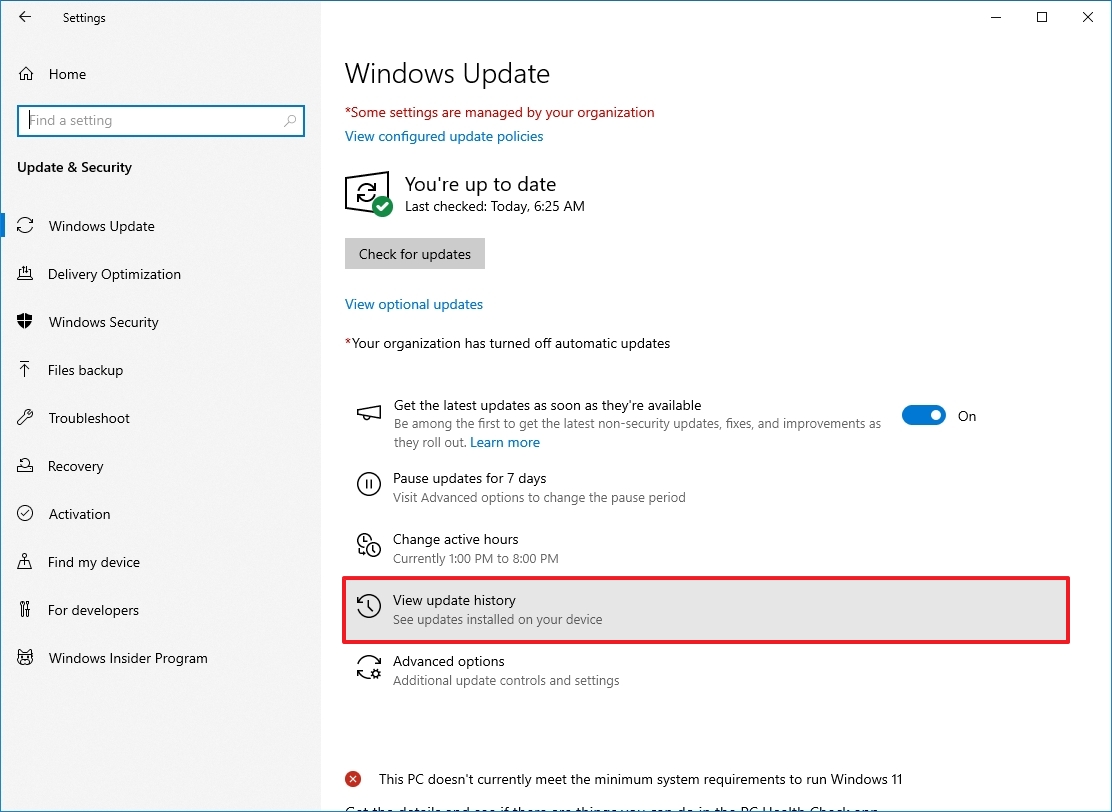
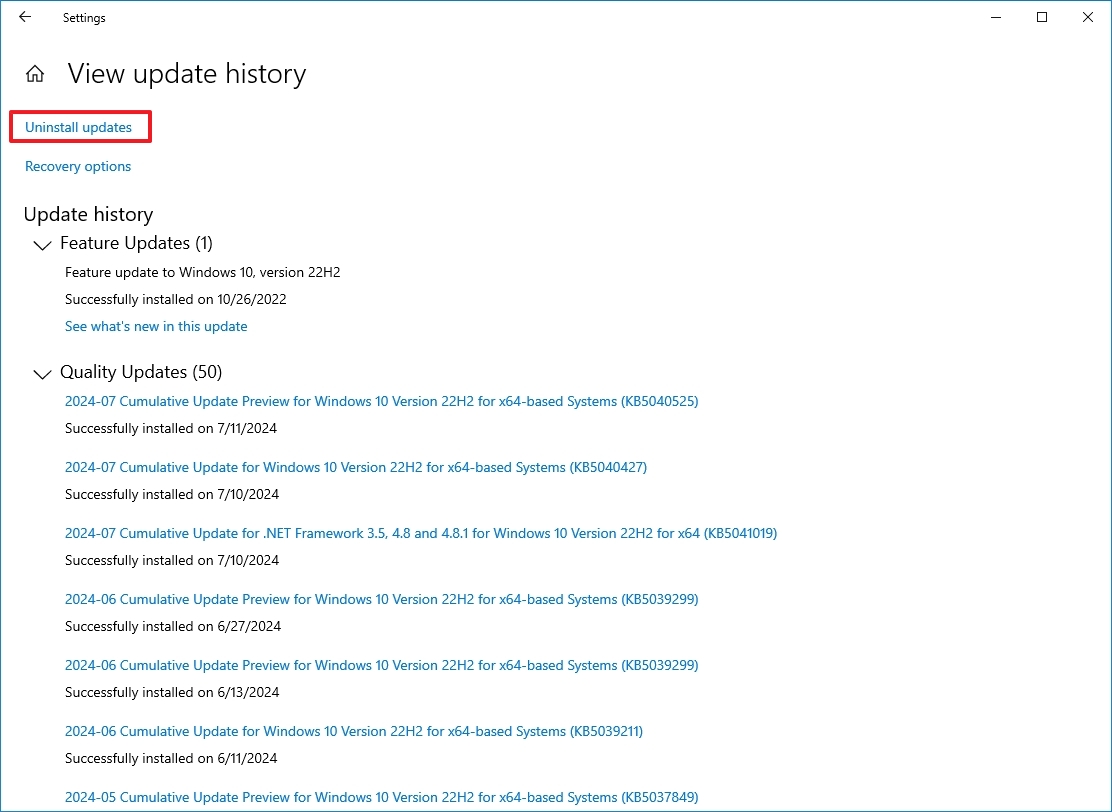
- (Optional) Confirm the updates successfully installed and those that failed with a timestamp to determine which update is causing the problem.
- Click the Uninstall updates option.
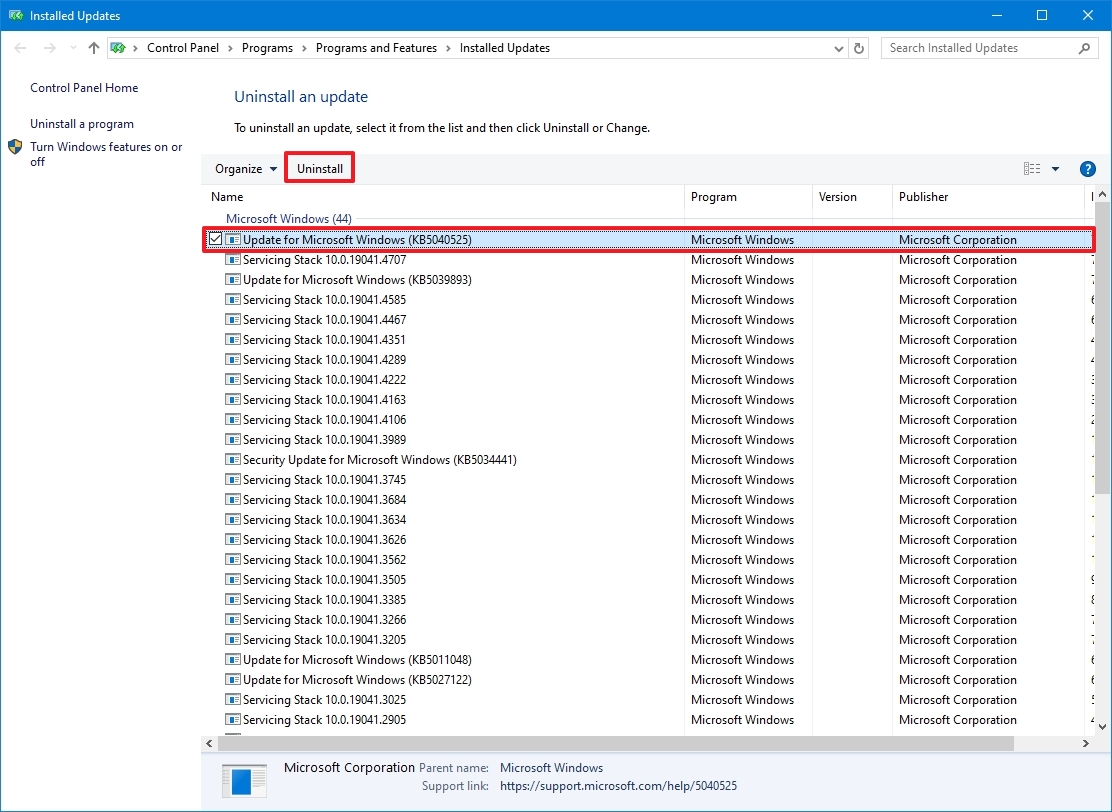
- Select the quality update with the issue.
- Click the Uninstall button.
- Click the Yes button.
- Click the Restart Now button.
Once you complete the steps, the system will remove the update from the computer. Depending on the update you're trying to uninstall, the process may take a few minutes.
How to reinstall an update on Windows 10
To install the same again on Windows 10, use these steps:
- Open Settings.
- Click Update & security.
- Click on Windows Update.
- Click the "Check of updates" button to trigger an update check. The update will be redownloaded and installed automatically.
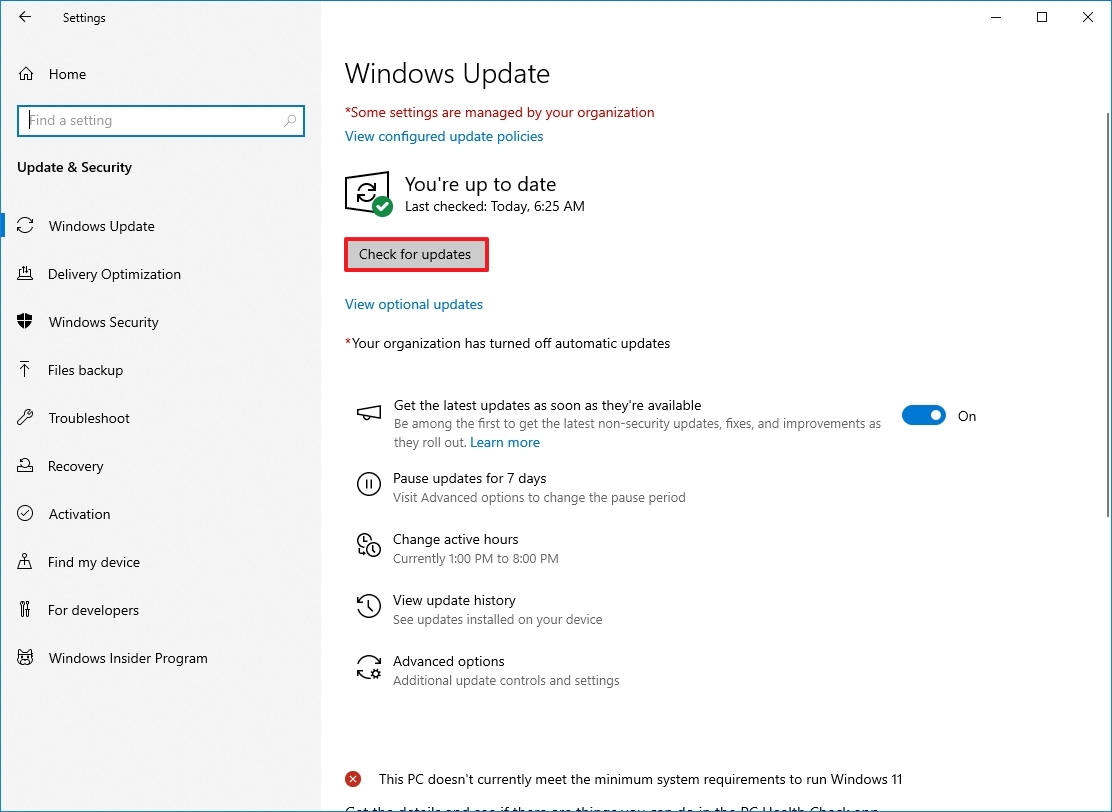
- Click the Restart Now button.
After your computer reboots, the update will be installed correctly, and you can resume being productive with your Windows 10 computer.
How to block updates on Windows 10
If you continue to experience problems on your computer after reinstalling the update, there could be something wrong with the update or compatibility problems for the application or driver. In this case, you can temporarily hide the problematic update to prevent them from trying to re-apply it.
To stop Windows 10 from reinstalling a problematic update, first uninstall the update with the above instructions, and then use these steps:
- Download the Show or hide updates troubleshooter from Microsoft.
- Double-click the .diagcab file to launch the tool.
- Click the Next button.
- Click the Hide updates option.
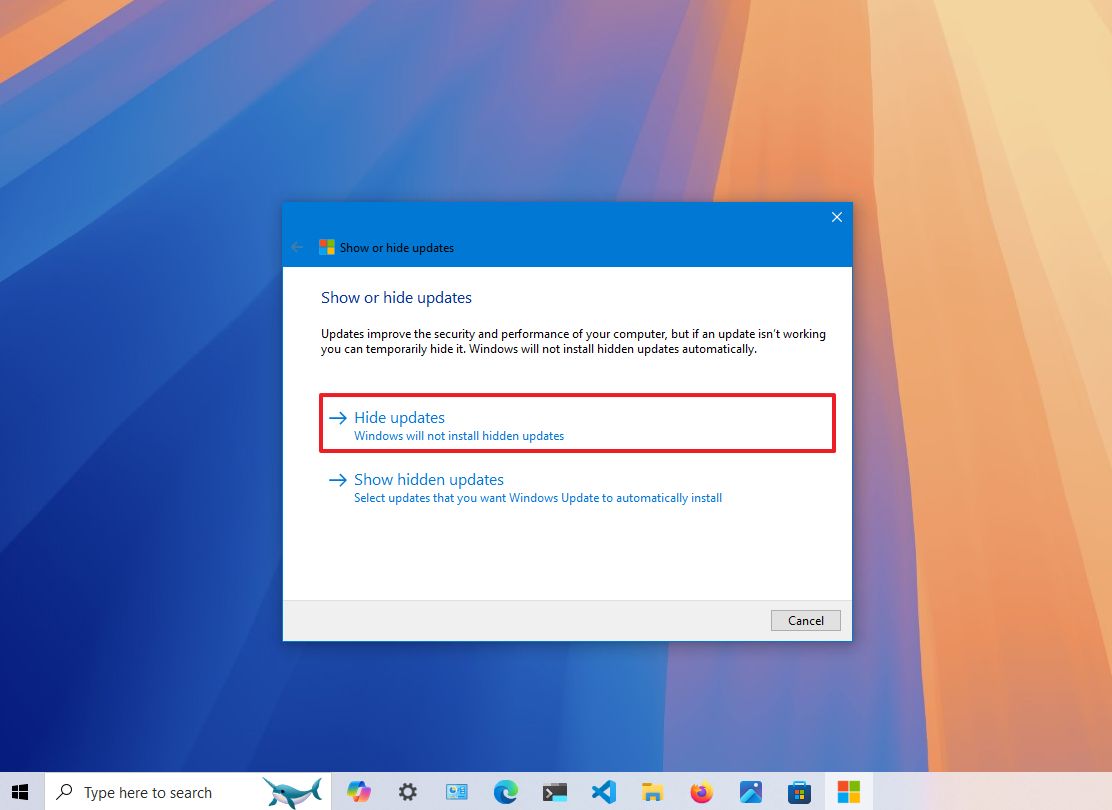
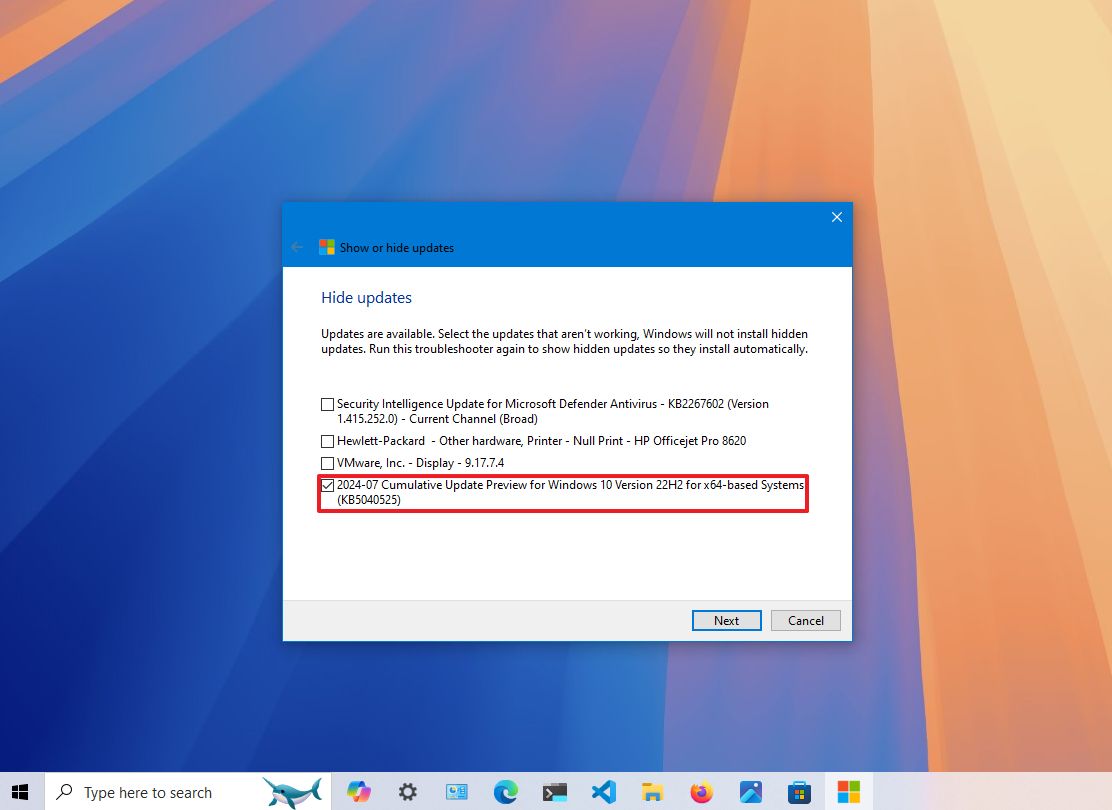
- Check the update causing problems.
- Click the Next button.
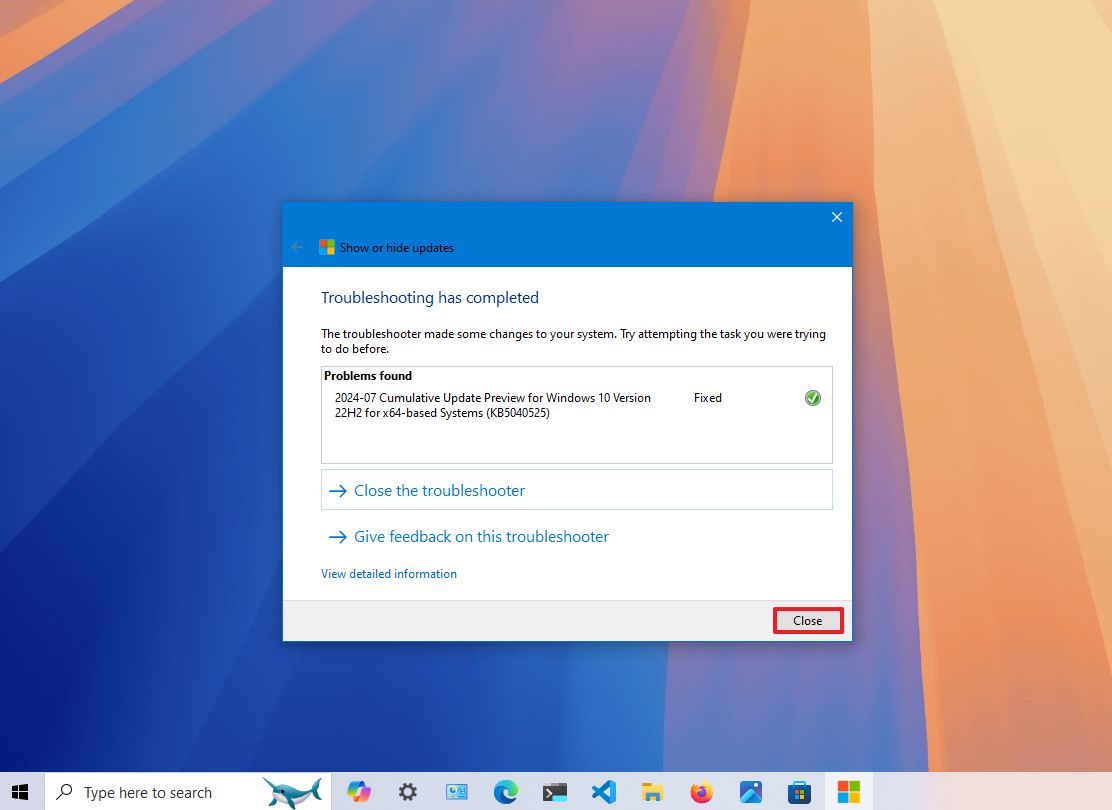
- Click the Close button.
- (Optional) Open Settings on Windows 10.
- Click on Update & Security.
- Click on Windows Update.
- Click the "Pause updates for 7 days" option.
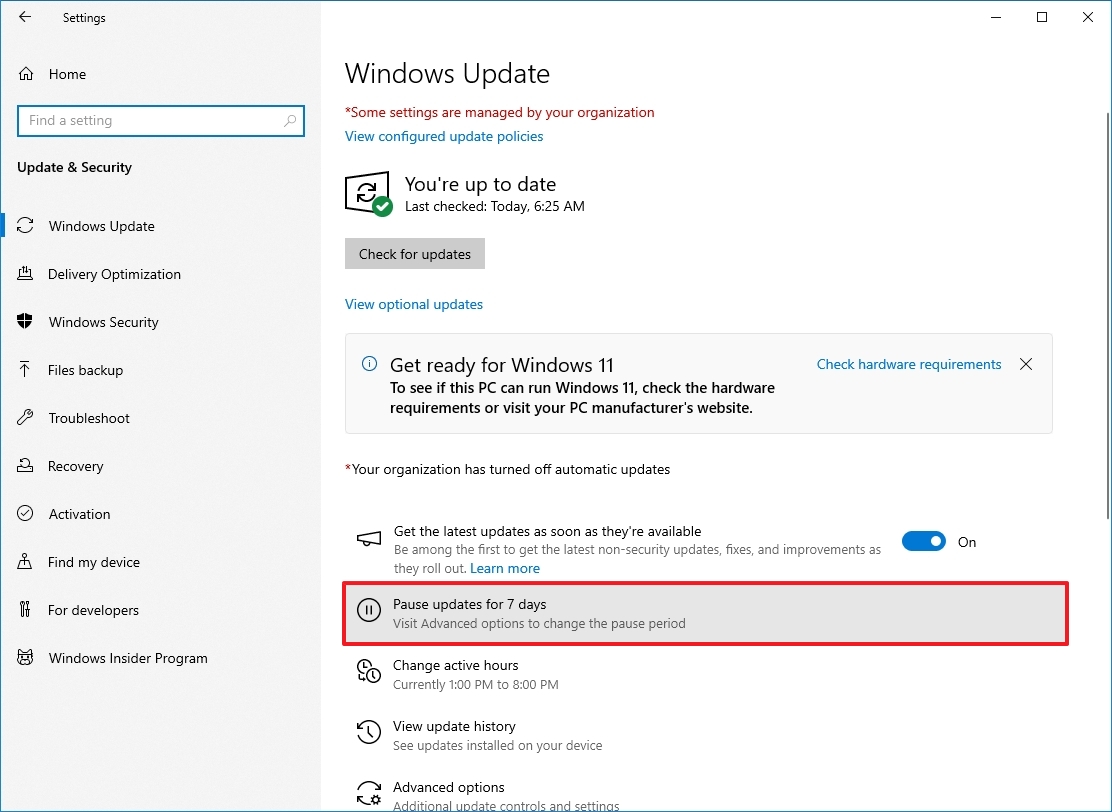
After uninstalling and hiding the update that isn't working correctly, your Windows 10 device won't try to download and reinstall it again until a new update replaces the old version. I'm also listing the steps to pause system updates for a week in the rare case that "Windows Update" ignores the block and tries to download the update again.
It's important to note that not every update can be uninstalled since a newer update can make the previous update permanent. If you're dealing with an issue, I suggest to remove it as soon as possible.
You can always show the update again by following the same instructions mentioned above. However, in step 5, you have to use the "Show hidden updates" option. Then, you can reinstall the update on your computer.
More resources
For more help articles, coverage, and answers on Windows 10, you can visit the following resources:


