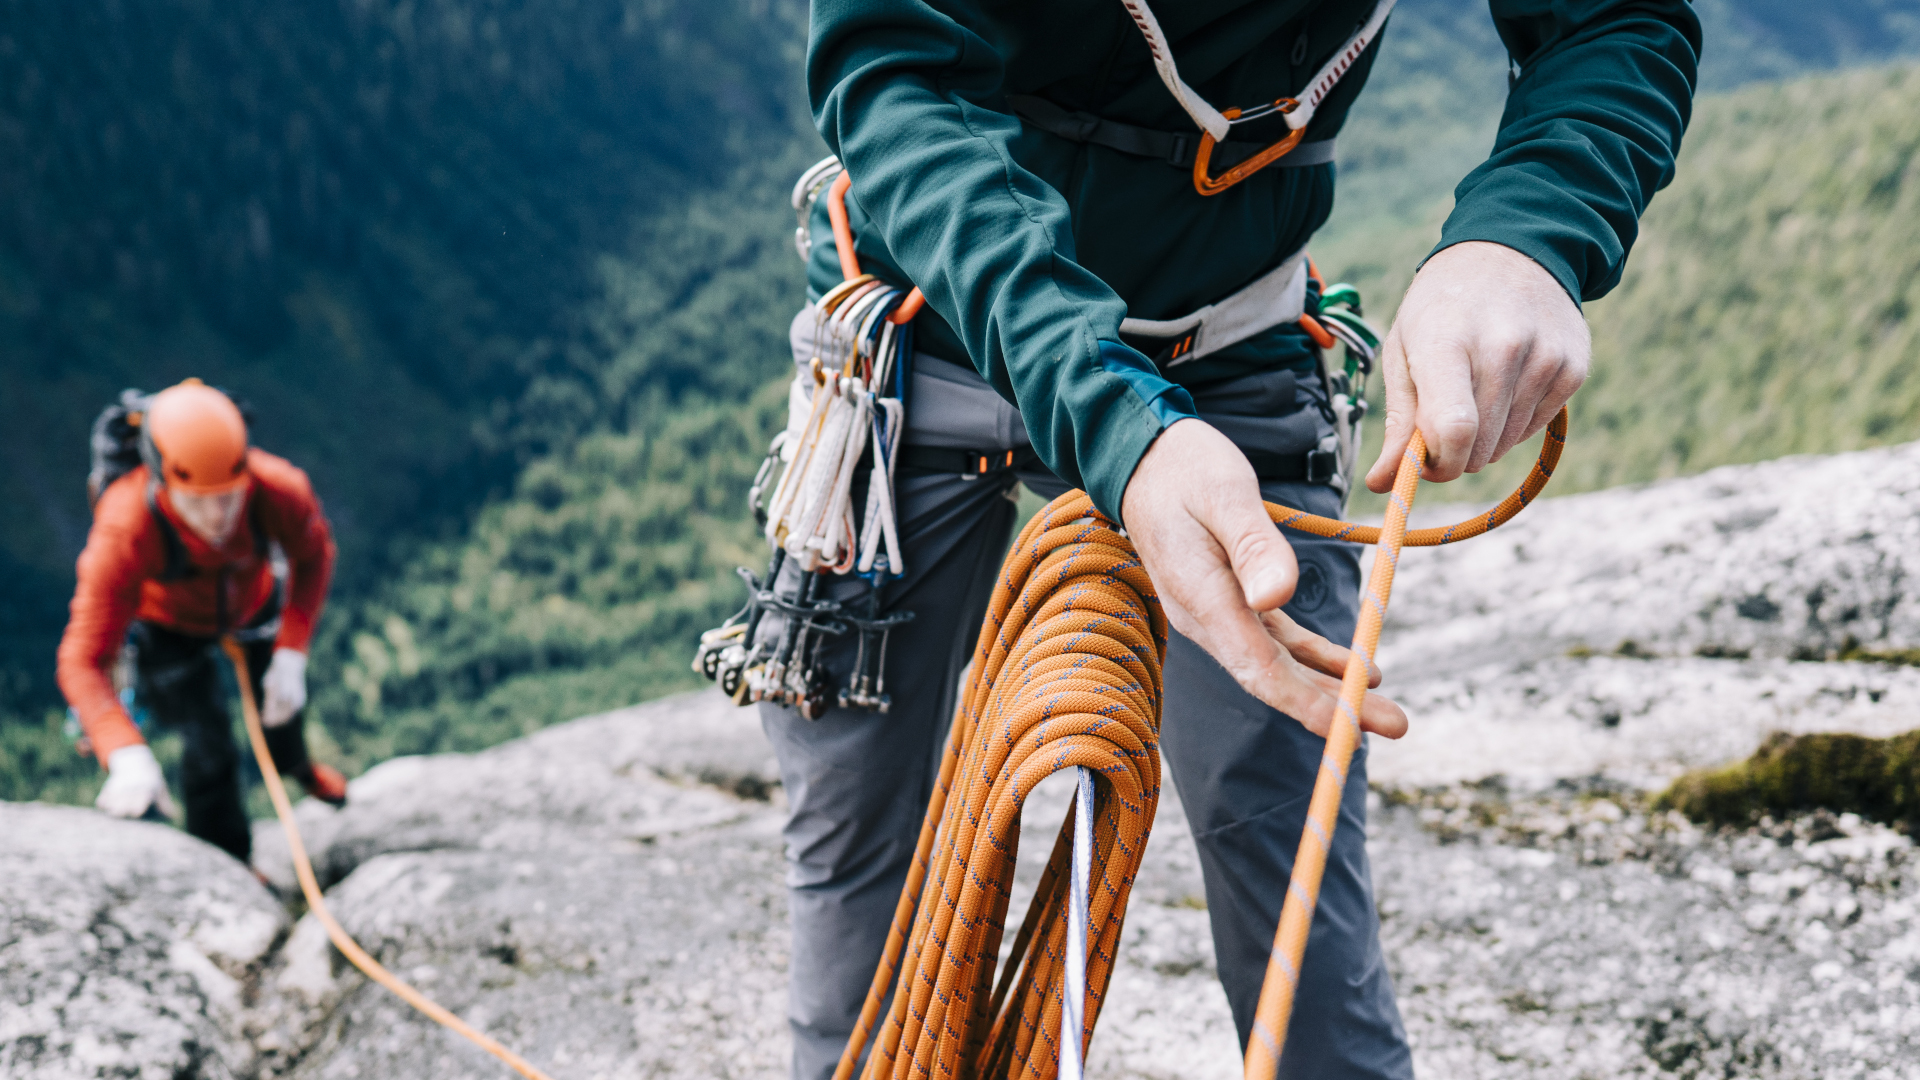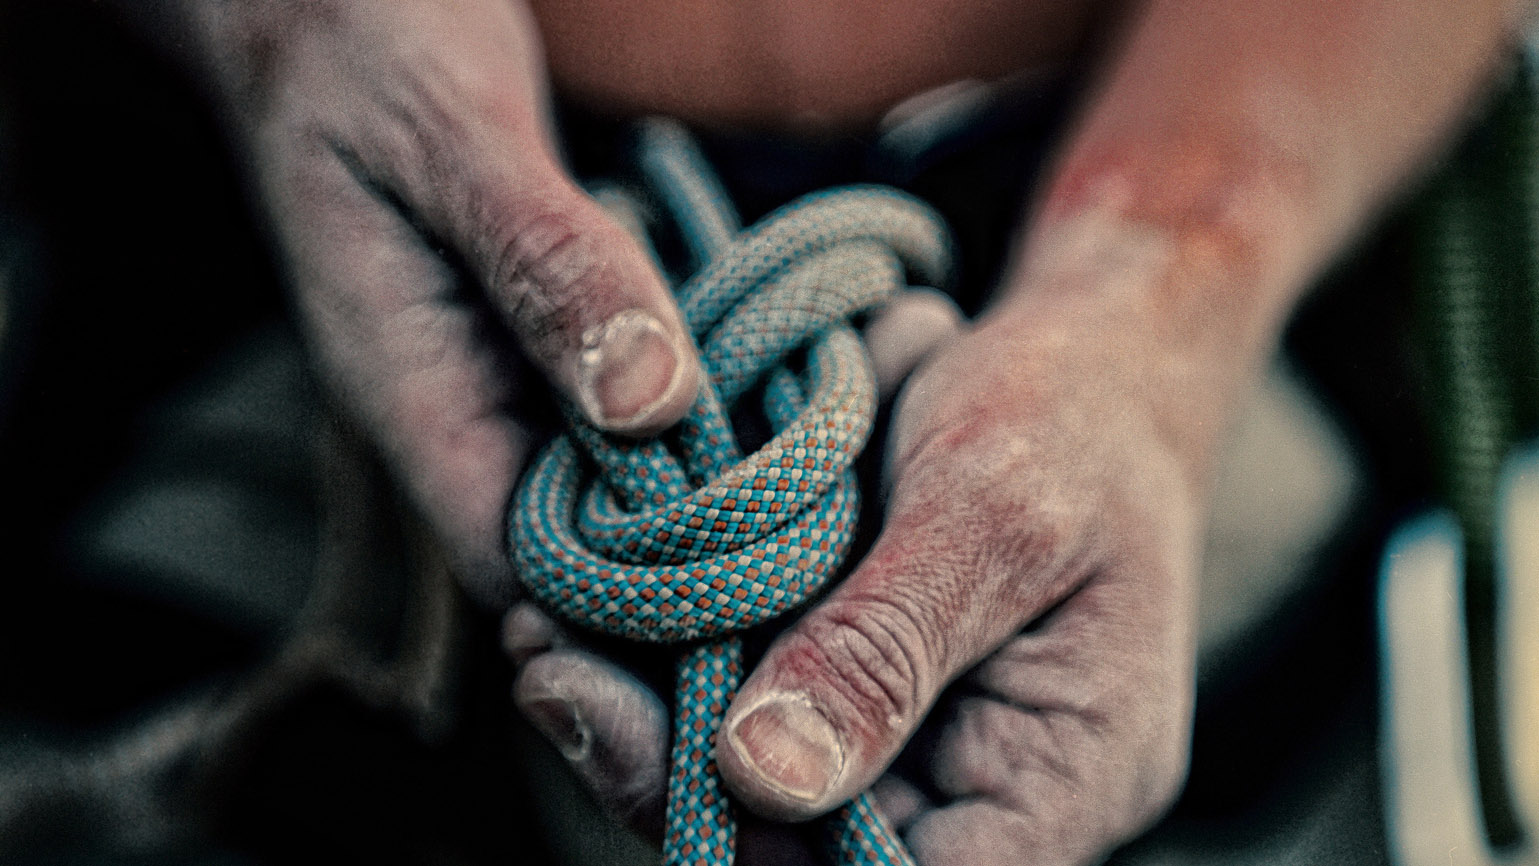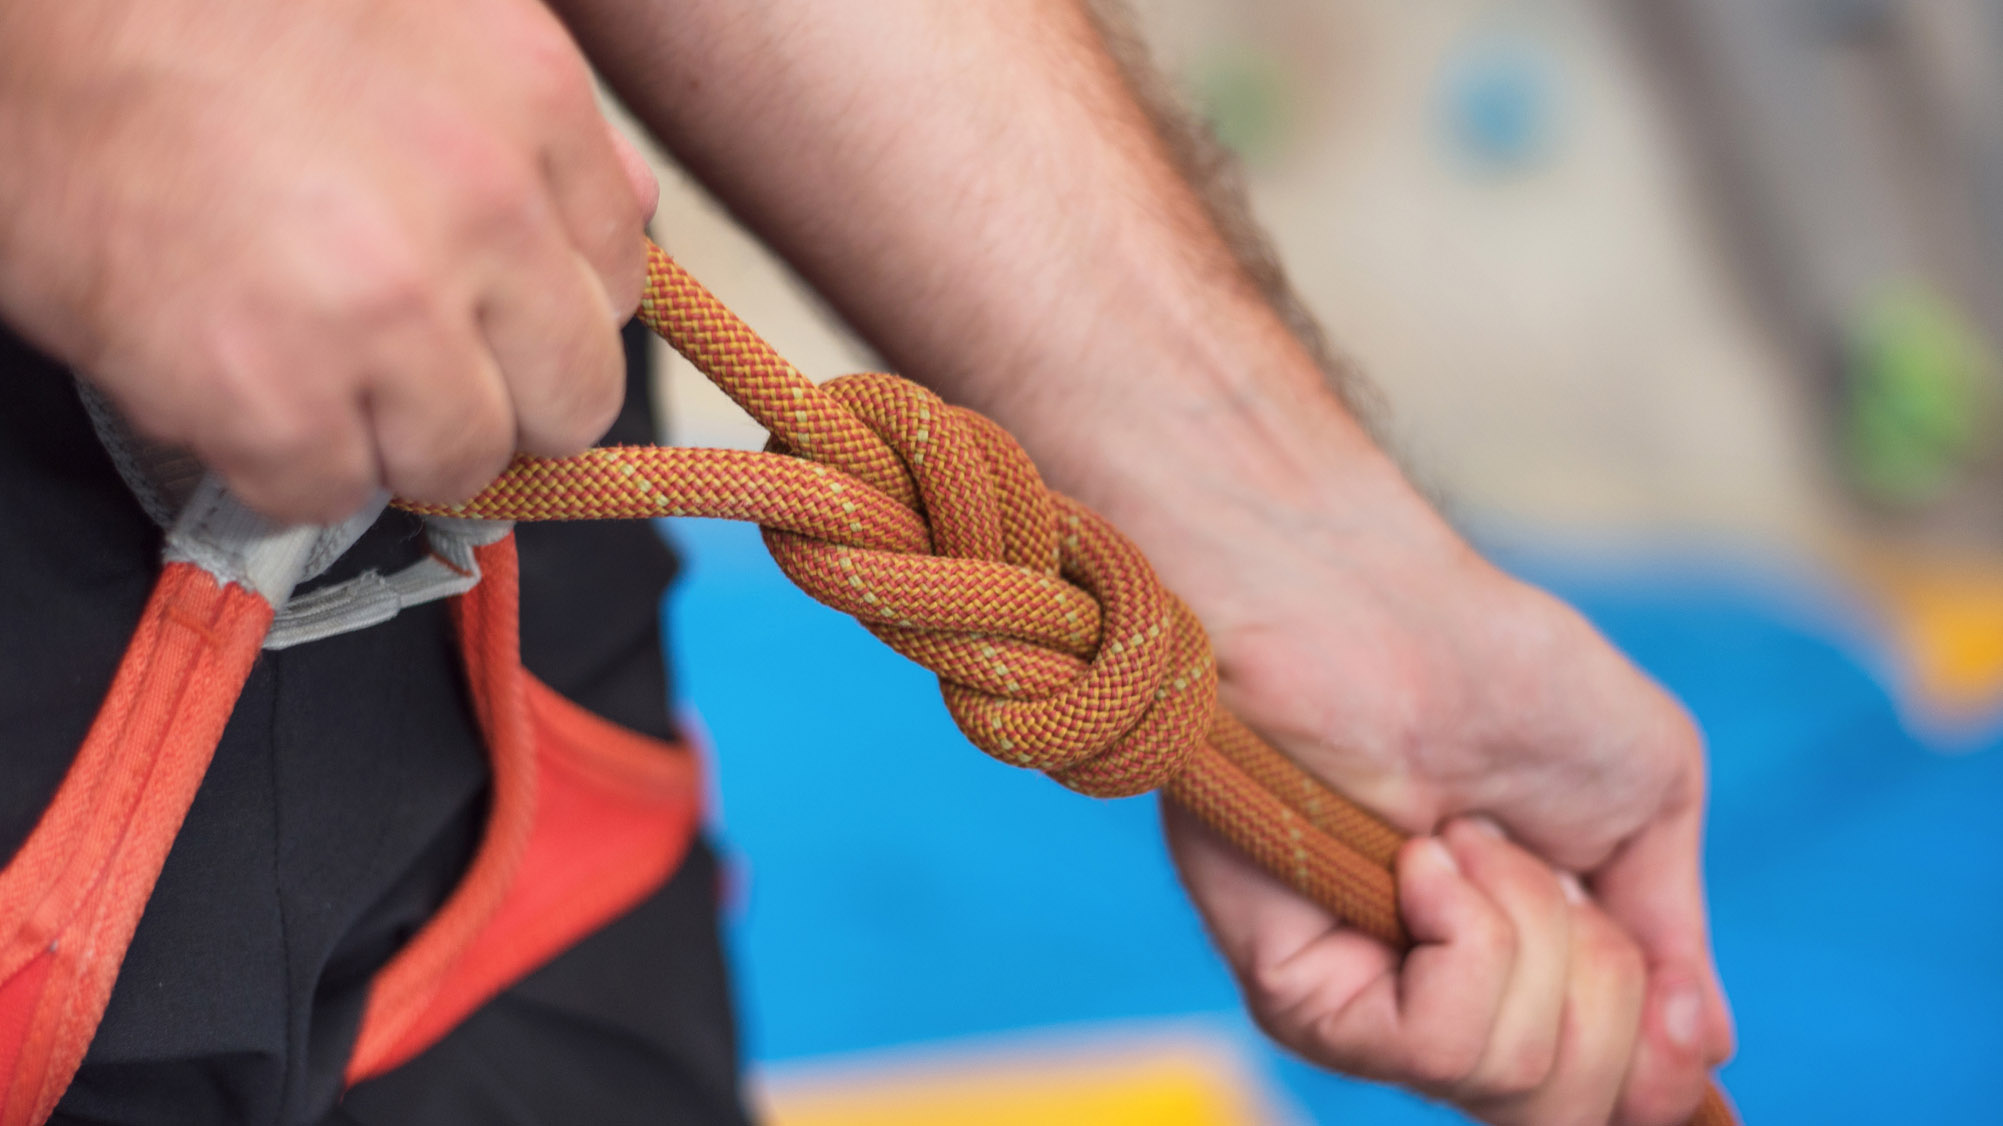
If you’re going trad climbing or sport climbing, you might be able to hang back and let others set up anchors and lead climb on multi-pitch routes, but there’s one knot you absolutely have to know how to tie yourself and that’s the figure eight. The figure eight knot for climbing is a strong knot that ensures your harness is firmly attached to the rope when you’re climbing, so it’s pretty vital from the moment you’ve made that first move.
Tying a figure eight knot isn’t exactly rocket science, but it is a little complicated and sometimes even experienced climbers have to redo theirs. If you’ve taken a little break from climbing you may have forgotten how to do it, and it can be frustrating to try to figure it out when you’re already out there in your climbing shoes and just want to get on the rock.
If you’re brand new to climbing, it’s important to take some safety lessons with a climbing guide or more experienced friend to make sure you know what you’re doing, but if you just need a refresher or like to read up on what you’ll be learning during your first climbing lesson, read our step-by-step guide below to tying a figure eight knot for climbing.

How to tie a figure 8 knot for climbing
We recommend you put your climbing harness on at home and practice this at home a few times before you head out to the crag.
1. Measure out a length of rope
Hold one end of the rope in both hands, then start to bend your right elbow and slide your right hand along the rope while reaching your left hand straight out to the side. When your left arm is fully extended with your left hand shoulder height and your right hand is about level with your right shoulder, the rope between your two hands should be fairly taut and you should have the correct length of rope.

2. Make a loop
Keep holding the rope in your right hand, and at that section of the rope, make an apple-sized loop by twisting the rope once. Hold the loop out in front of you so the twist is at the bottom and the top of the loop is pointing up.
3. Form your figure eight
Take the loose end of the rope again and wrap it around to the far side of the loop, then feed it through the loop towards you. Now when you tug gently on the loose end of the rope and the length of rope underneath the loop, it should form a figure eight. If you’ve ended up with an overhand knot instead, it means you’ve failed to wrap the end of the rope around before feeding it through the loop, so just repeat that step and go all the way around this time.
4. Feed the rope through the harness
Next up, while wearing your harness, feed the loose end of the rope through your harness tie-in points. Climbing harnesses can have differing designs, but it’s most likely that one tie-in point will be found where the two leg points connect, roughly in front of your pubic bone, while another will be just below your navel. Feed the end of the rope upwards through the tie-in point at your pubic bone, then upwards through the one in front of your abdomen, leaving a few inches between the figure eight and the bottom tie-in point.

5. Tie the figure eight follow-through
Now hold the loose end of the rope in your right hand, and hold the figure eight in your left hand. Feed the loose end of the rope into the bottom of the figure eight, then follow the figure eight all the way around with the end of the rope until the entire figure eight is traced by a double section of rope and the loose end of the rope is forming a tail at the far end of your figure eight. If you don’t have enough rope to do so, start over and give yourself a longer piece of rope to begin with.
Pull on the loose end of the rope to make your figure out nice and tight, leaving at least six inches of tail at the end of your rope (if you have far too much loose rope at the tail end, wrap it around the rope twice and pull it up through the bottom to keep it from getting in your way). The figure eight should be nice and close to your harness. Now you’re ready to be belayed!


