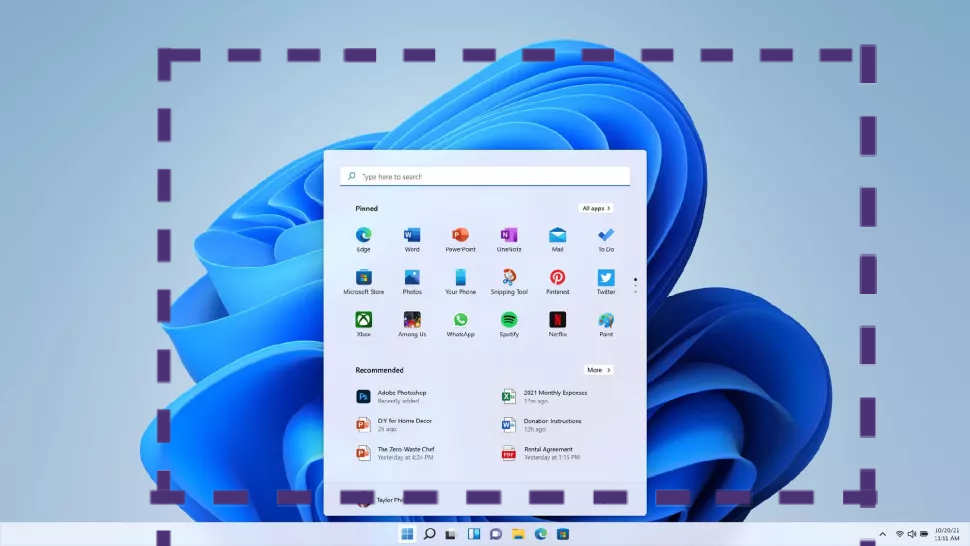
"How to take a cropped screenshot on Windows 11" is one of the most popular queries we've come across lately as more people install the OS. Sometimes, you don't want all the extra stuff in your screenshot — you just want the details that matter.
There are several ways to take a cropped screenshot on Windows 11, but there is one particular that is easiest, fastest, and the most efficient. Check out the guide below to find out the best method for cropping Windows 11 screenshots.
How to take a cropped screenshot on Windows 11
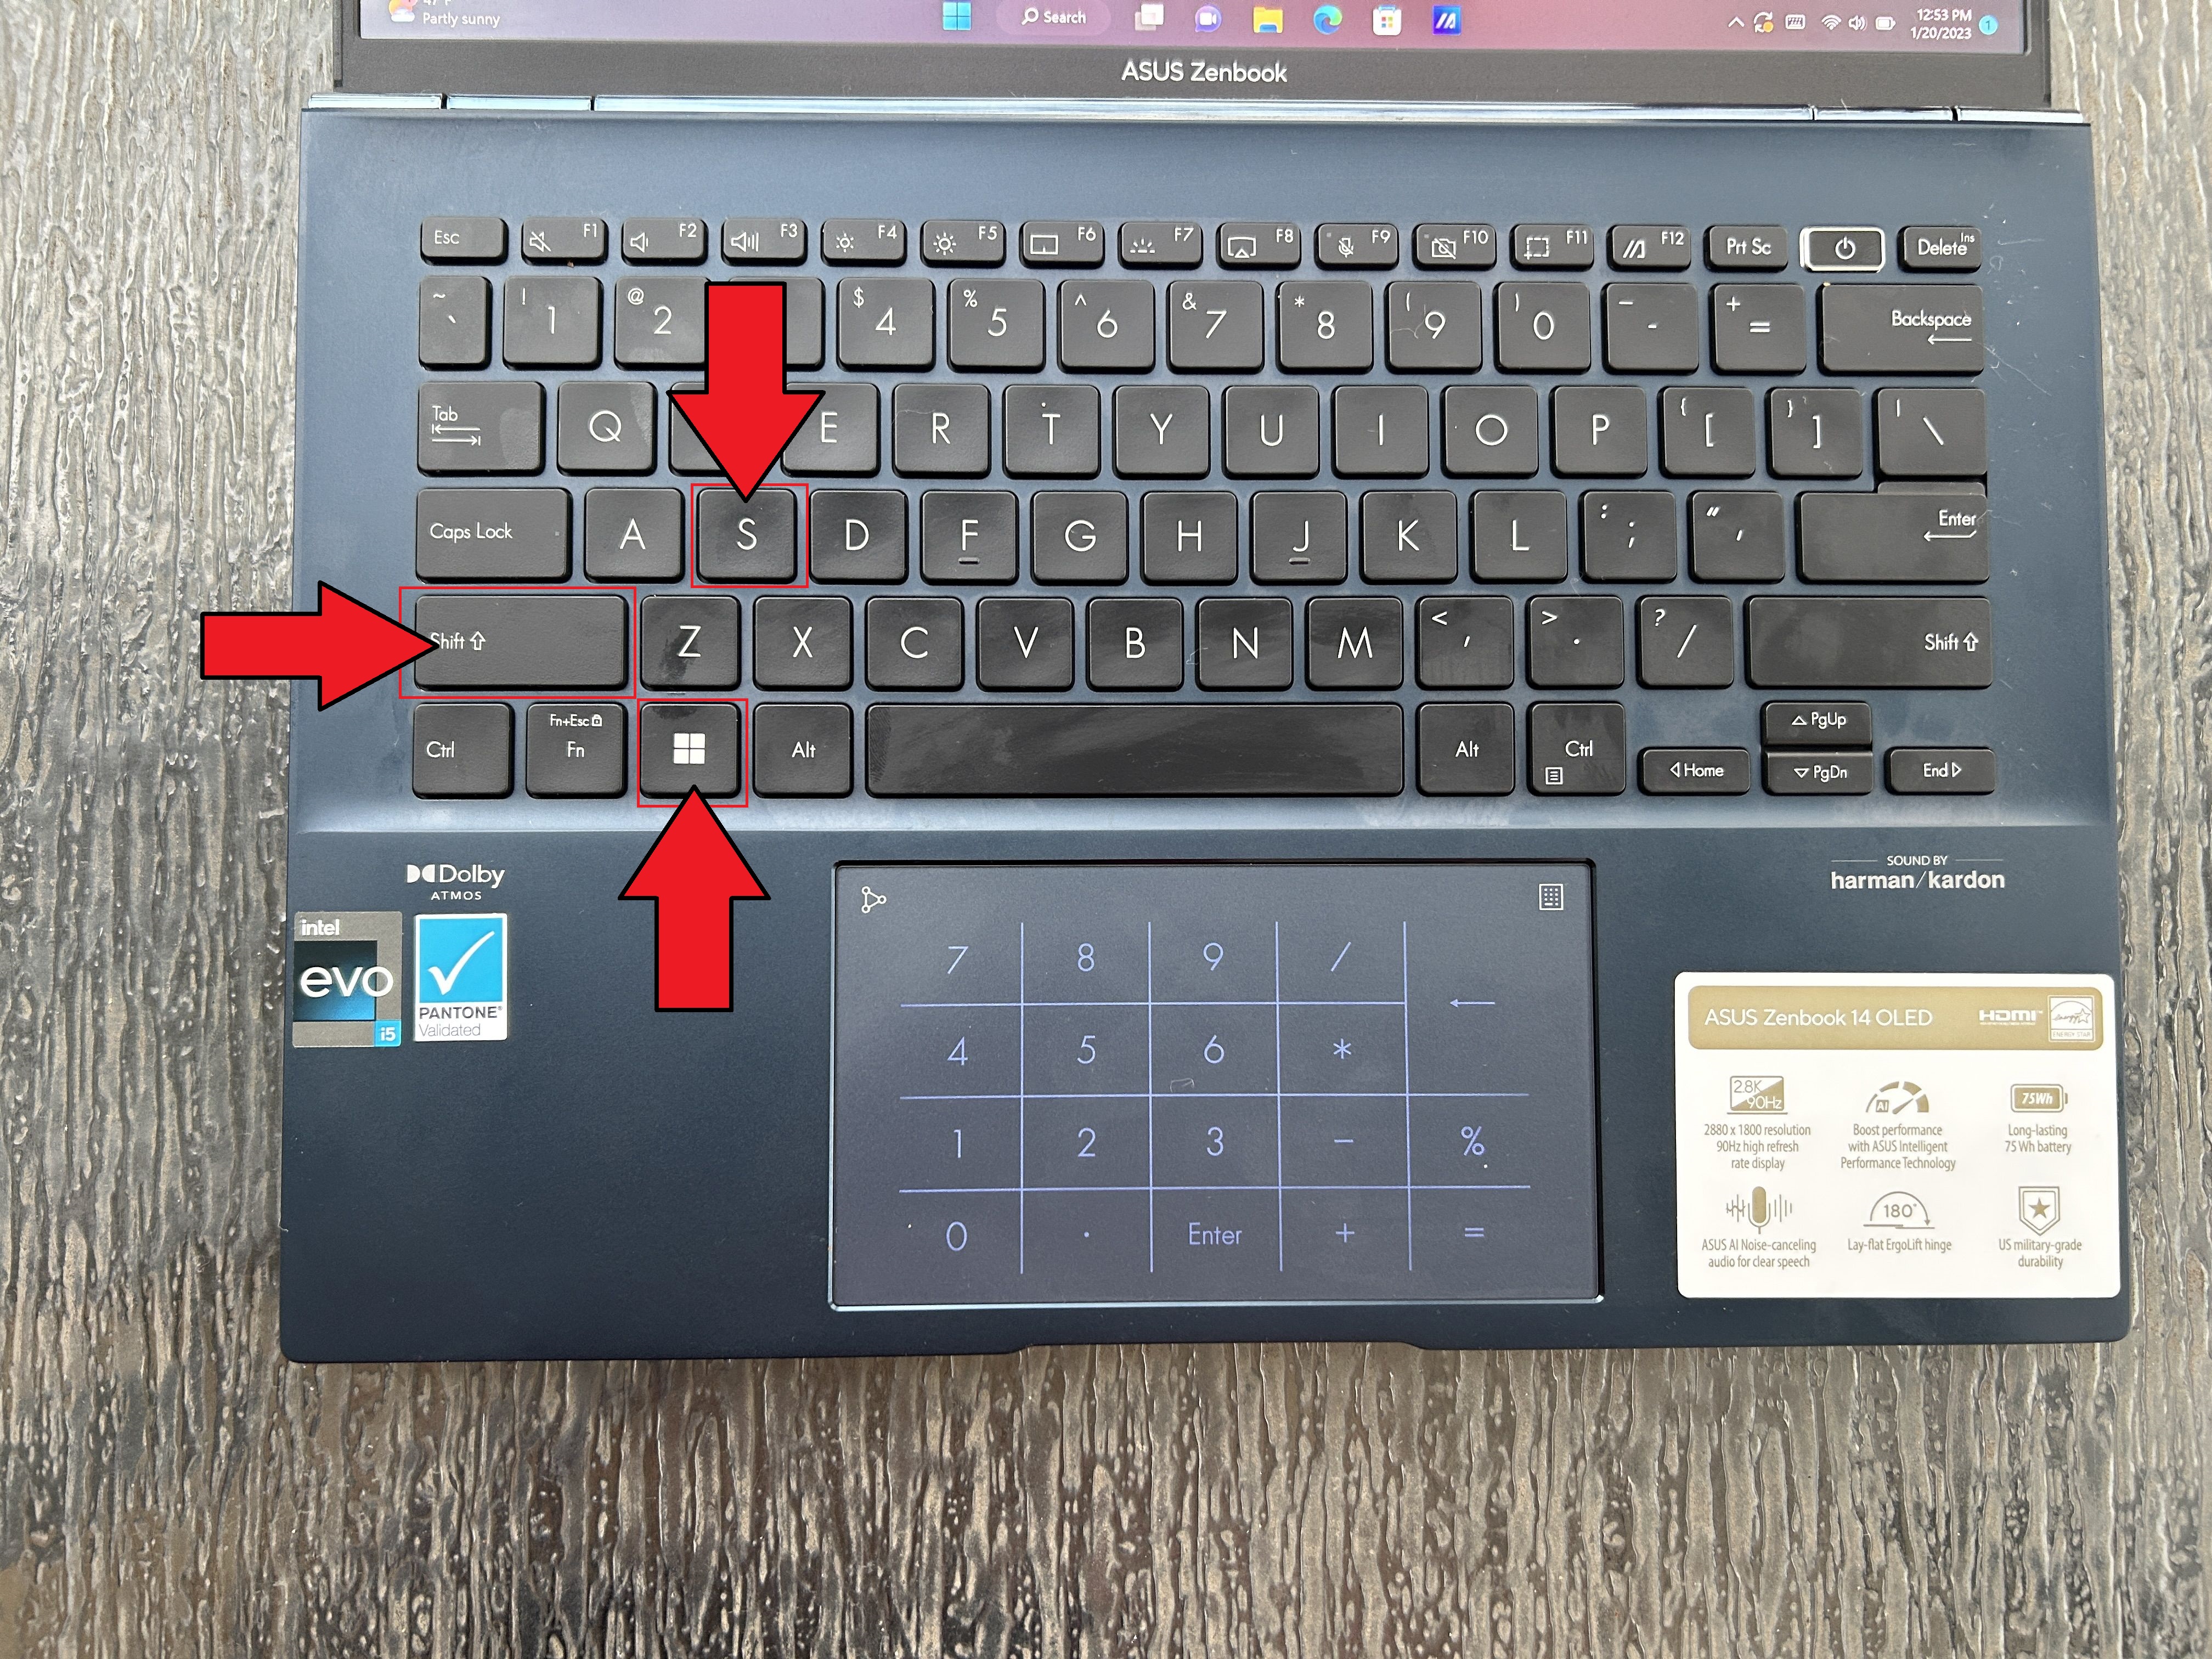
1. Activate the Snipping Tool by pressing the following keyboard shortcut: Windows Logo Key + Shift + S. Make sure to press all of these keys simultaneously.
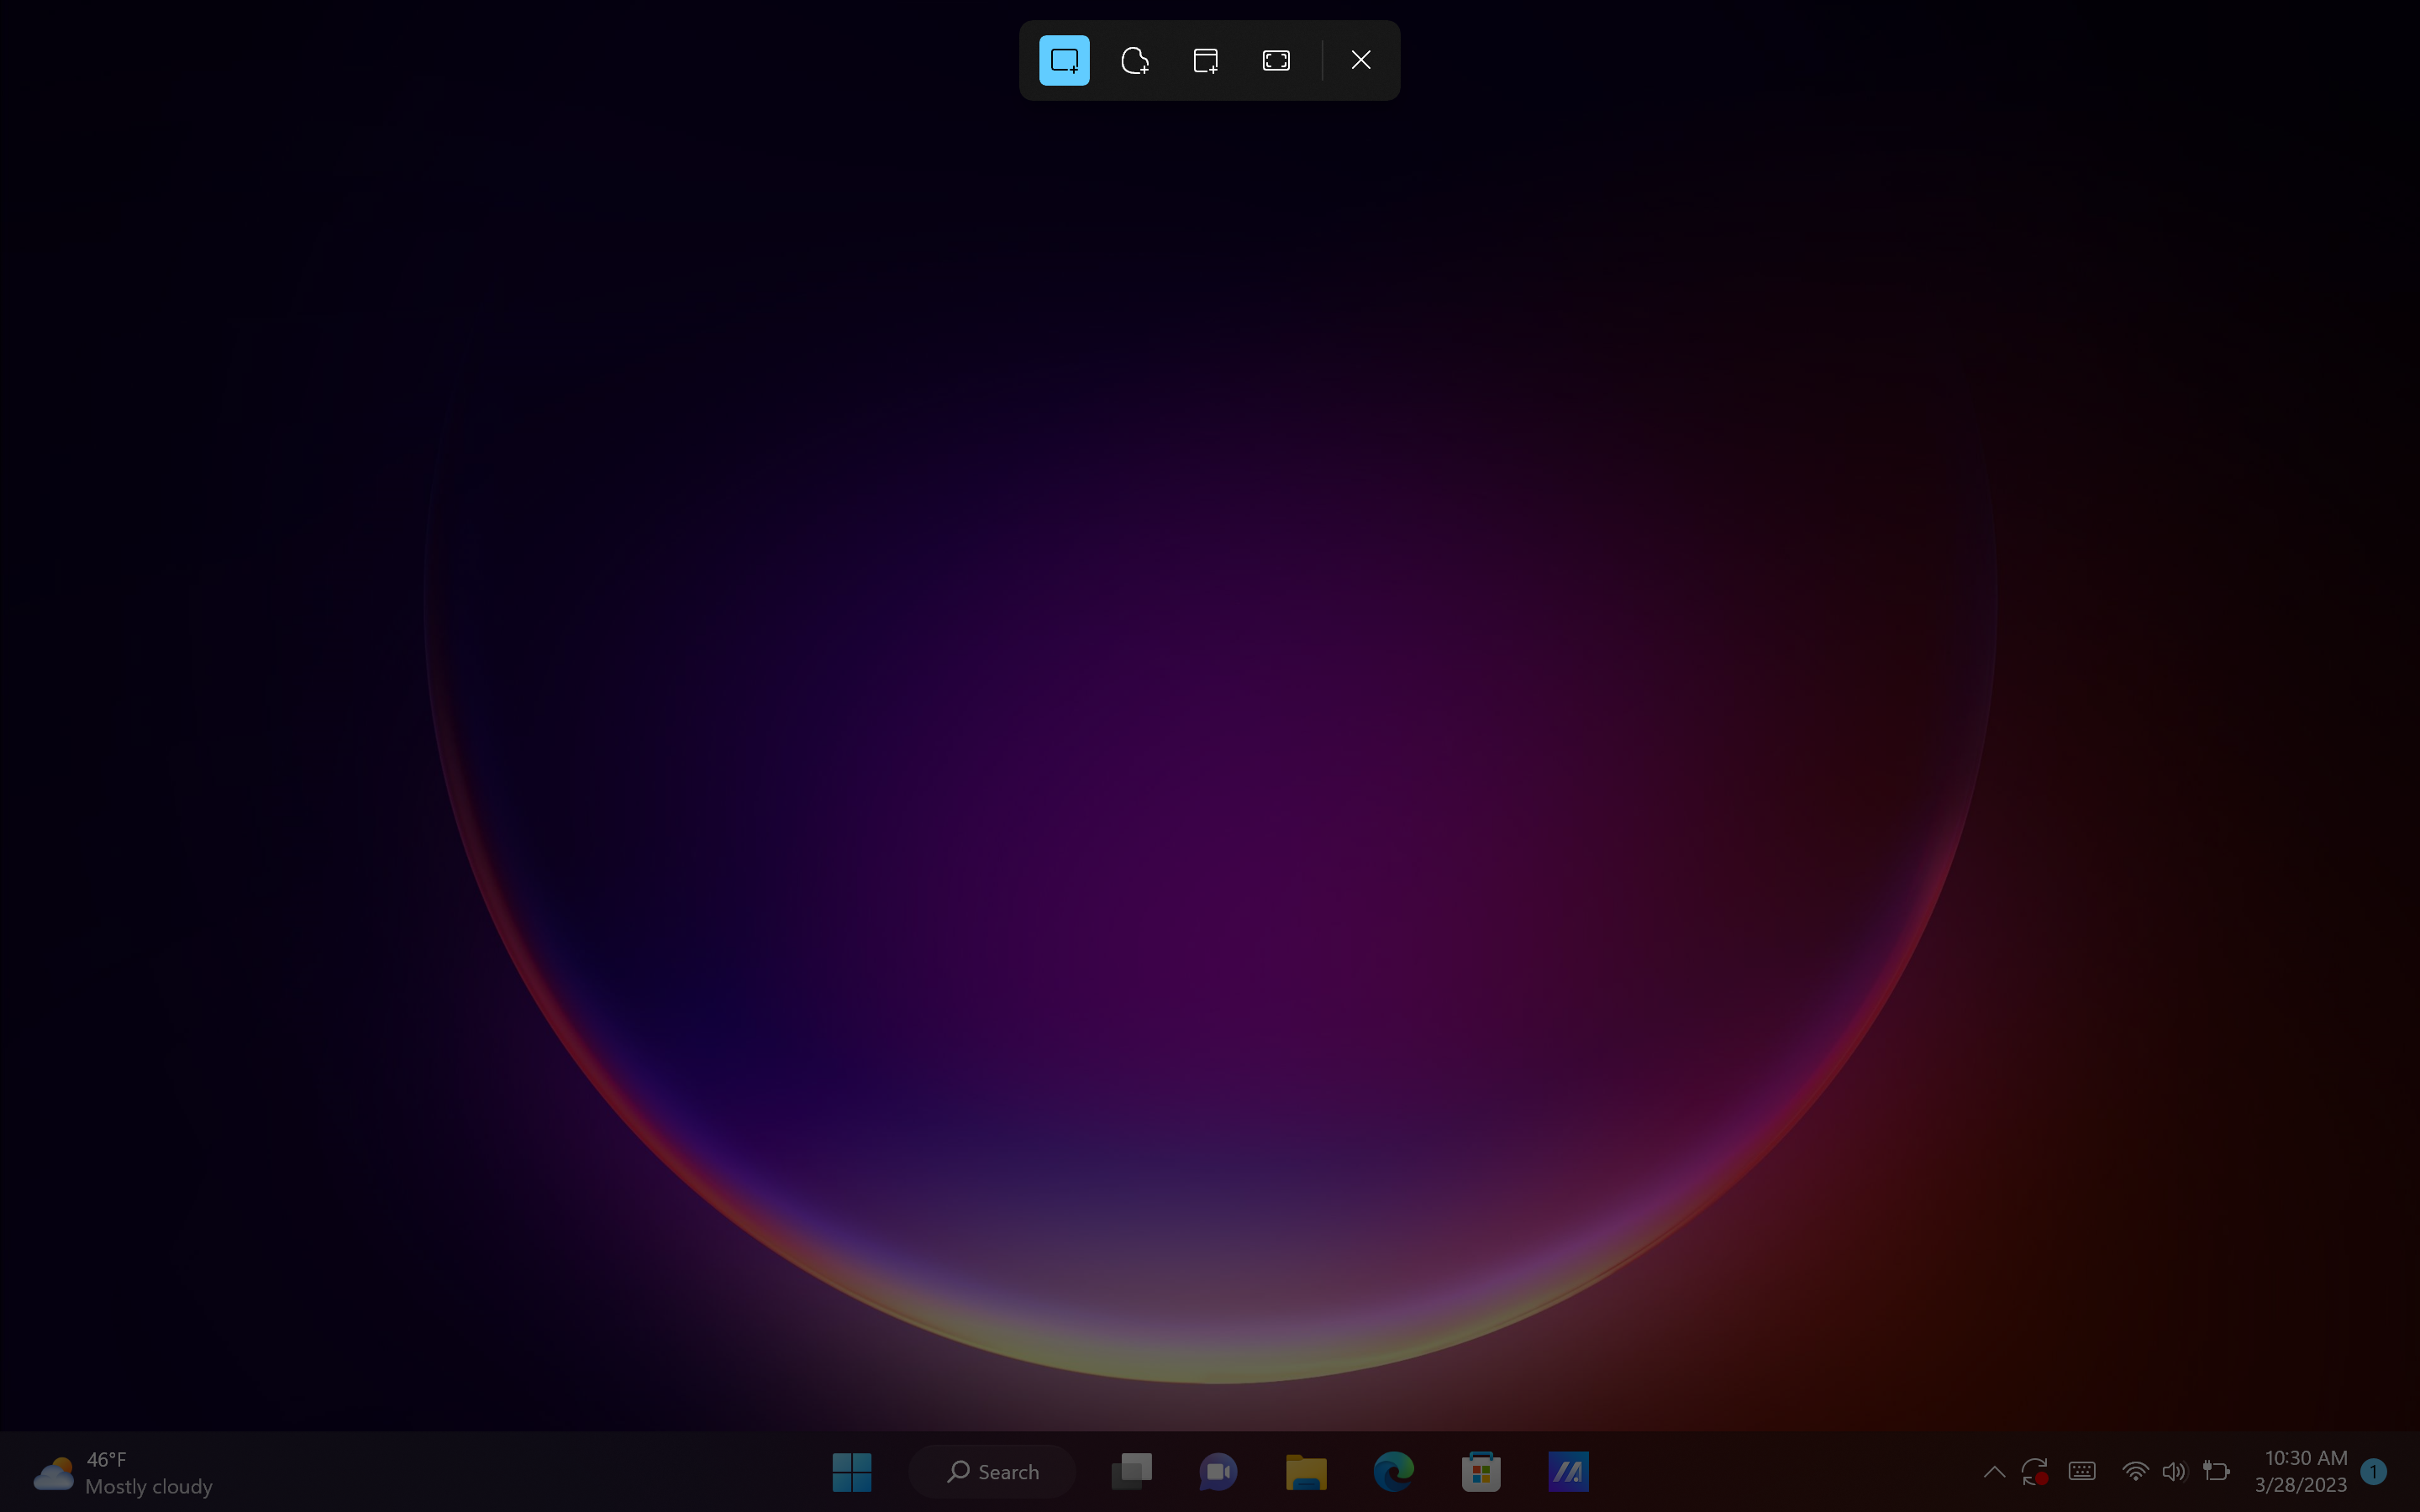
2. A four-icon menu bar will appear at the top of the screen, defaulting to the cropping tool. You should see your cursor turn into a cross.
3. Drag your cursor across the screen to frame your screenshot to your liking.
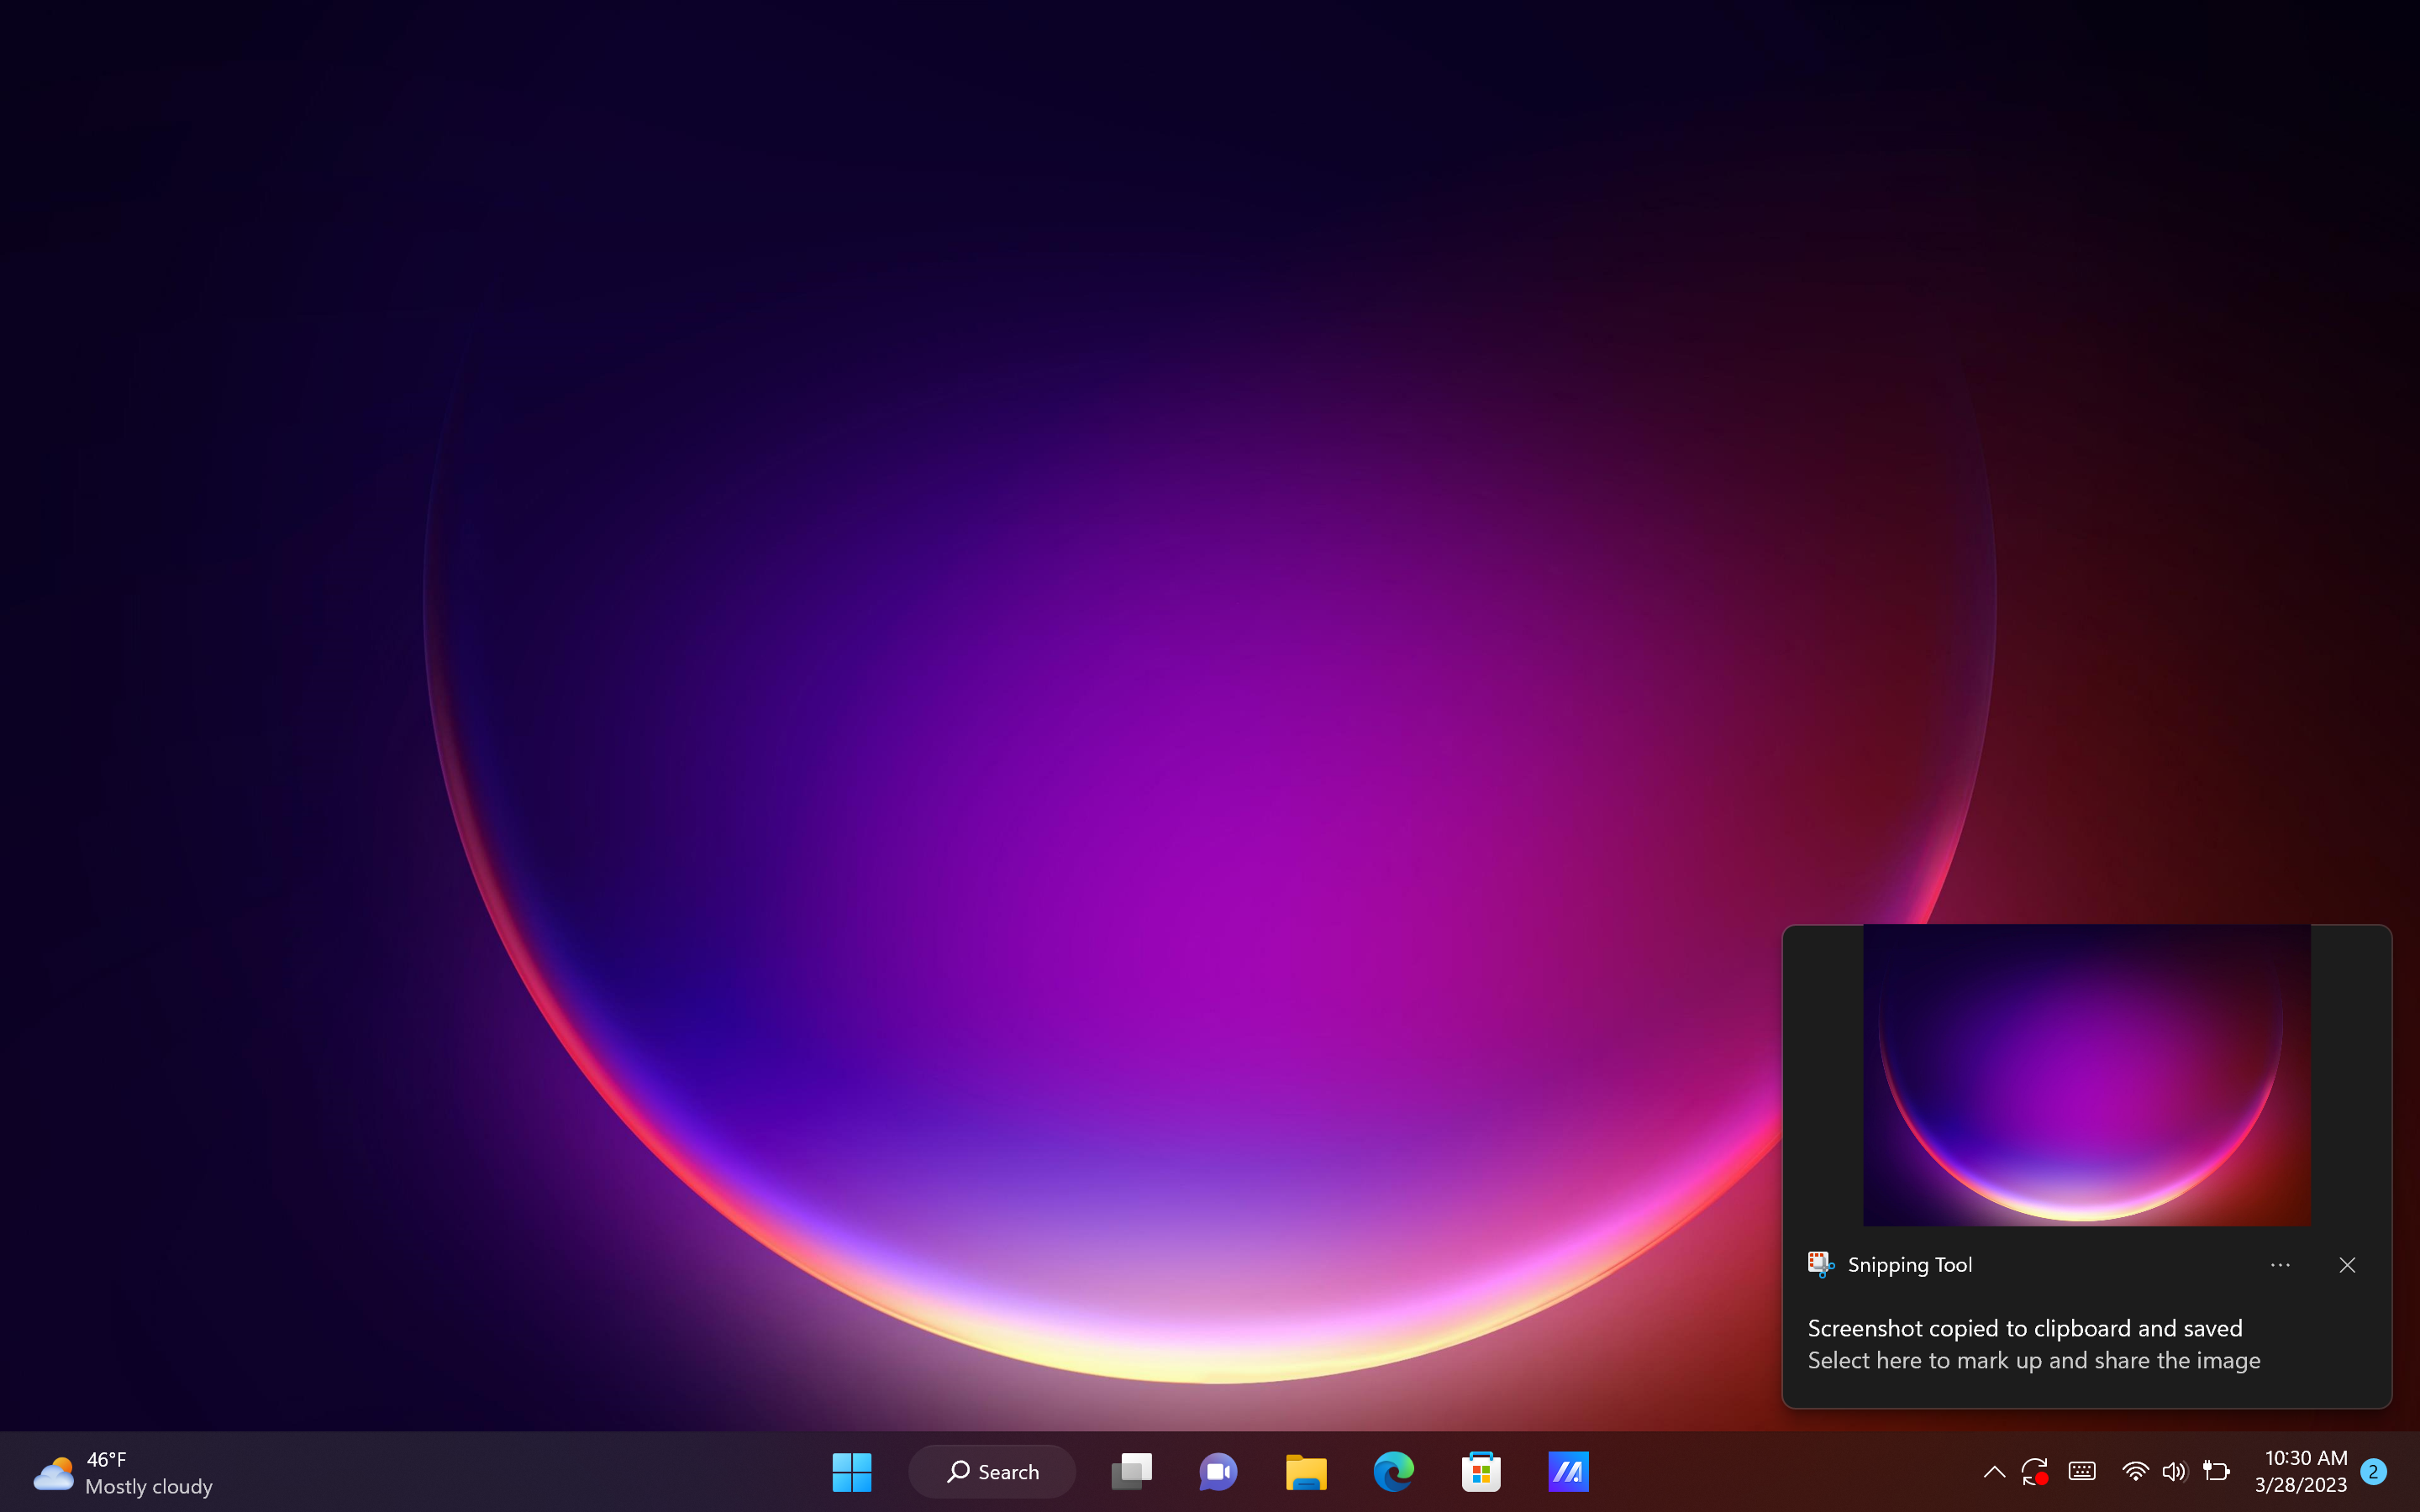
4. A fly-out window will appear telling you that the screenshot has been copied to clipboard and saved. You can also click on the window to edit it and share the screenshot.
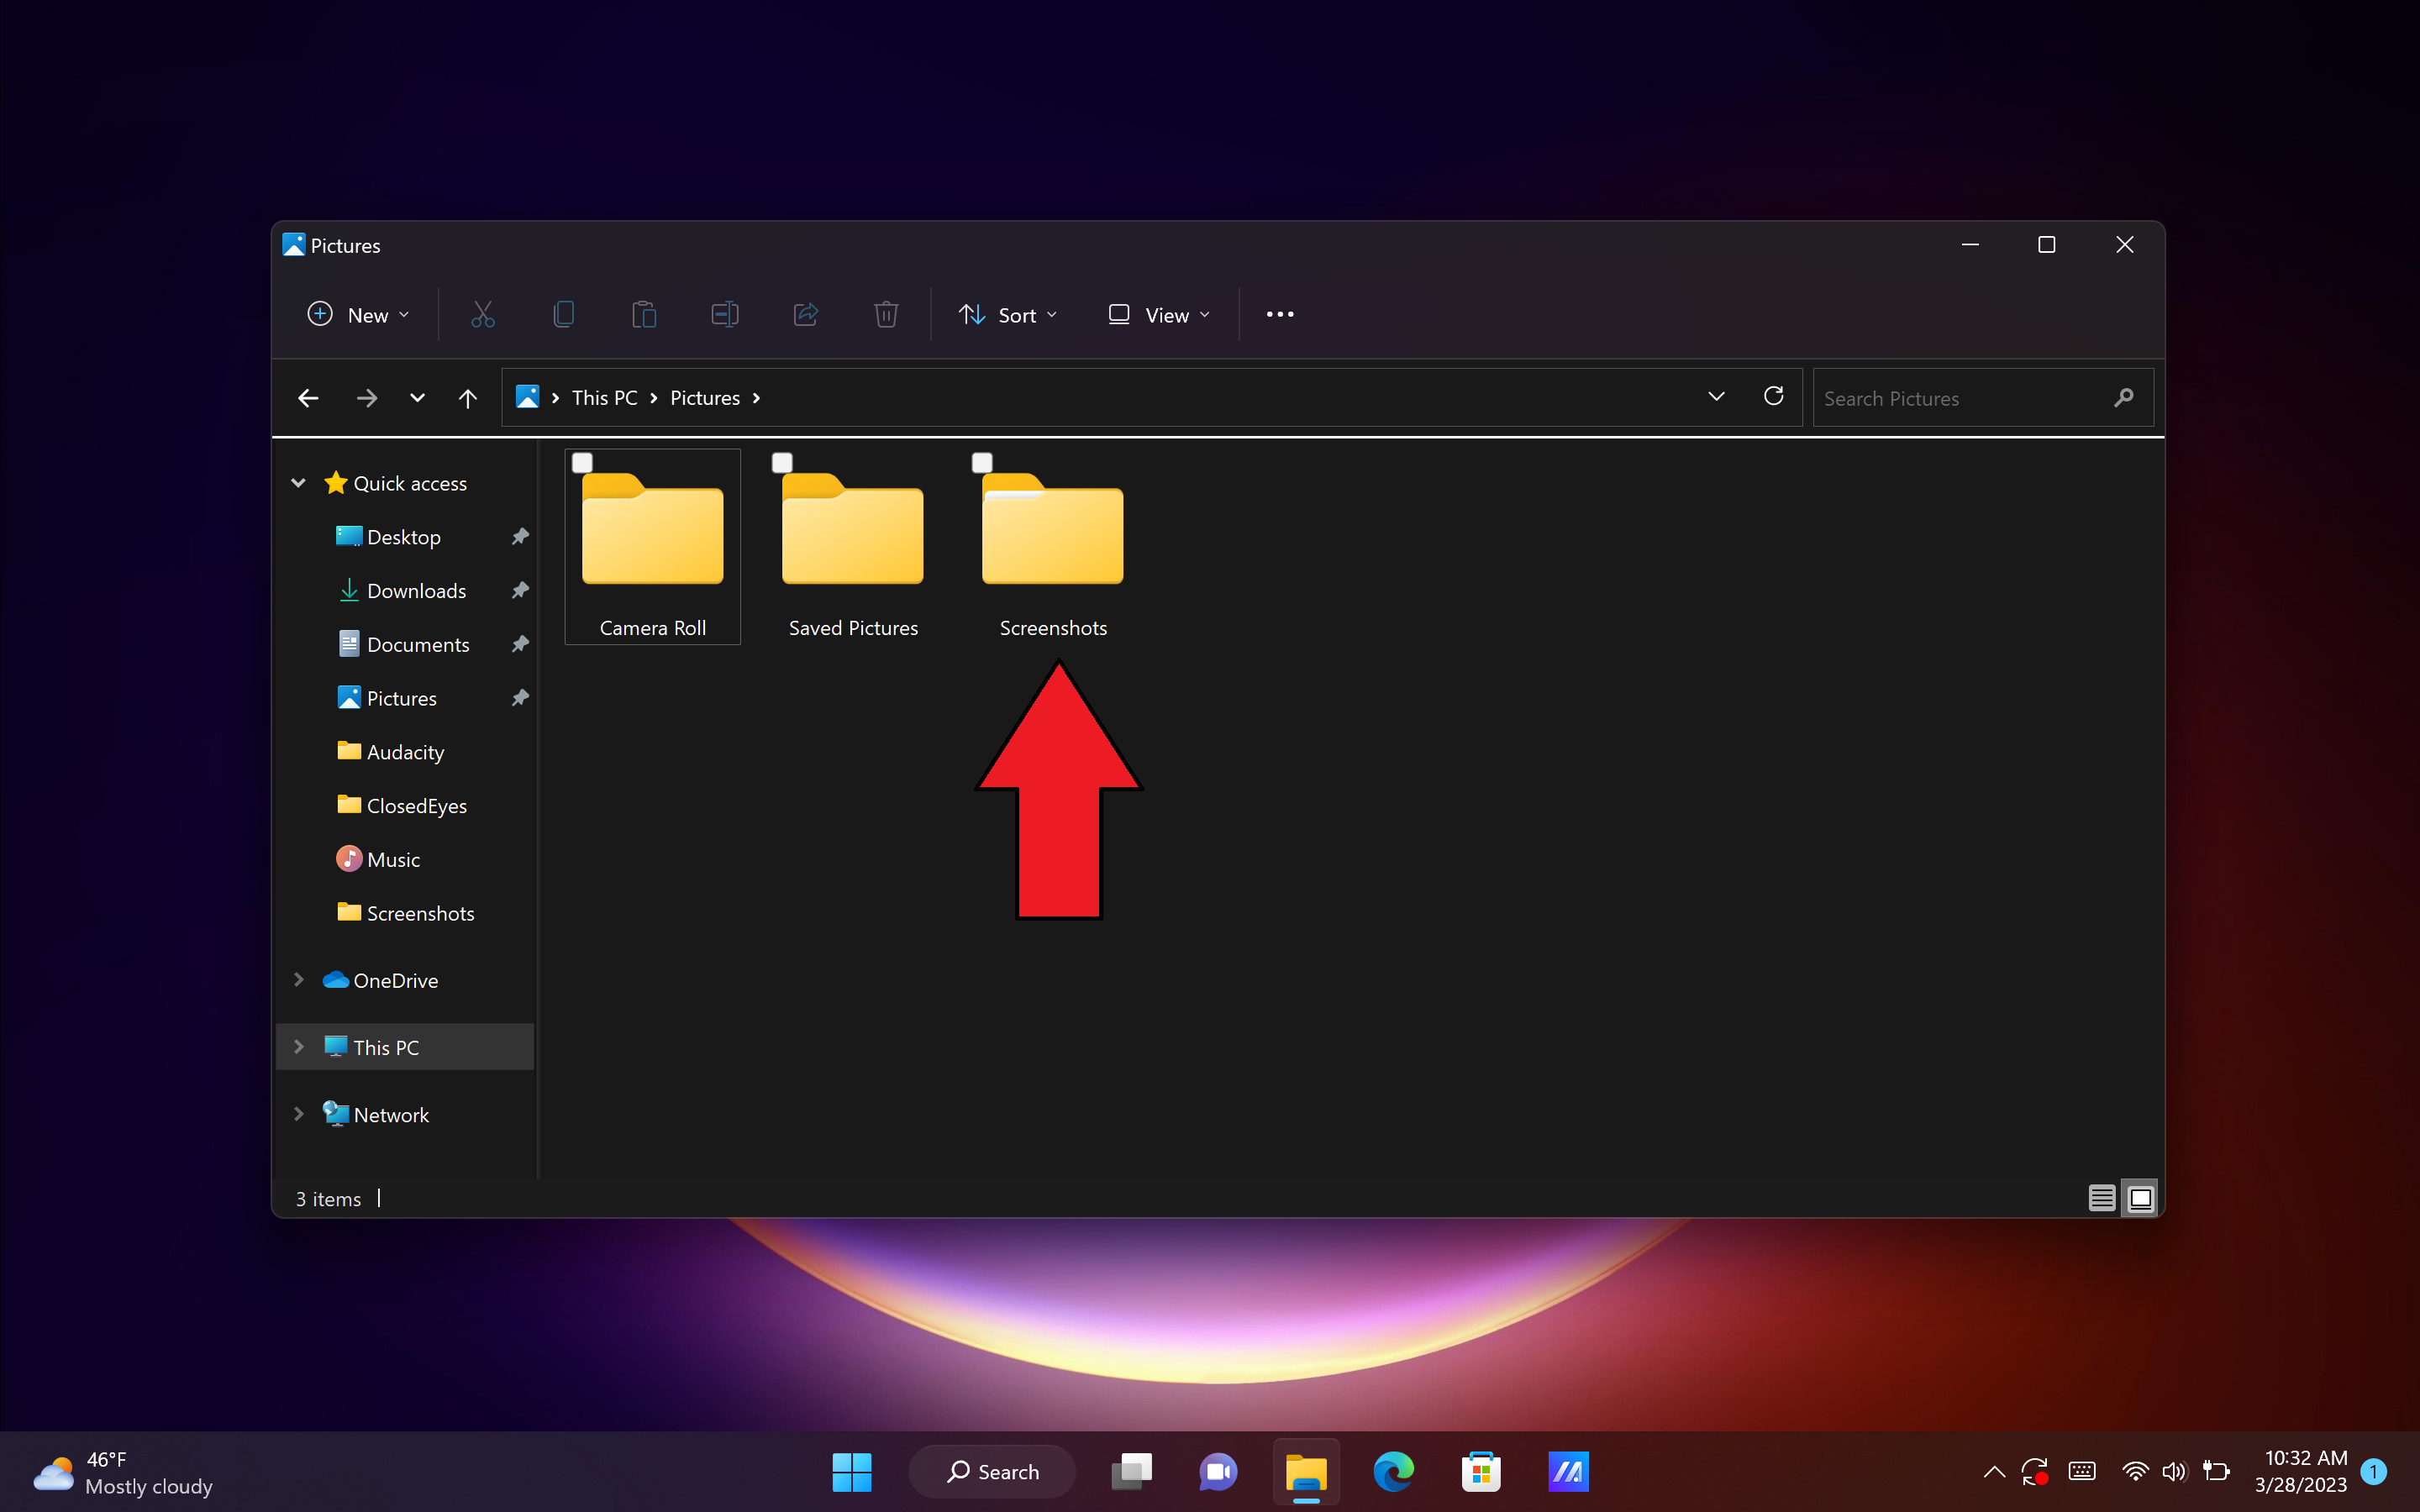
5. By default, the screenshots will saved under "Screenshots" in your Pictures folder.
Note: On some laptops, like the Asus ZenBook 14 OLED, you may have a key in the function row that immediately launches the crop tool (see below).
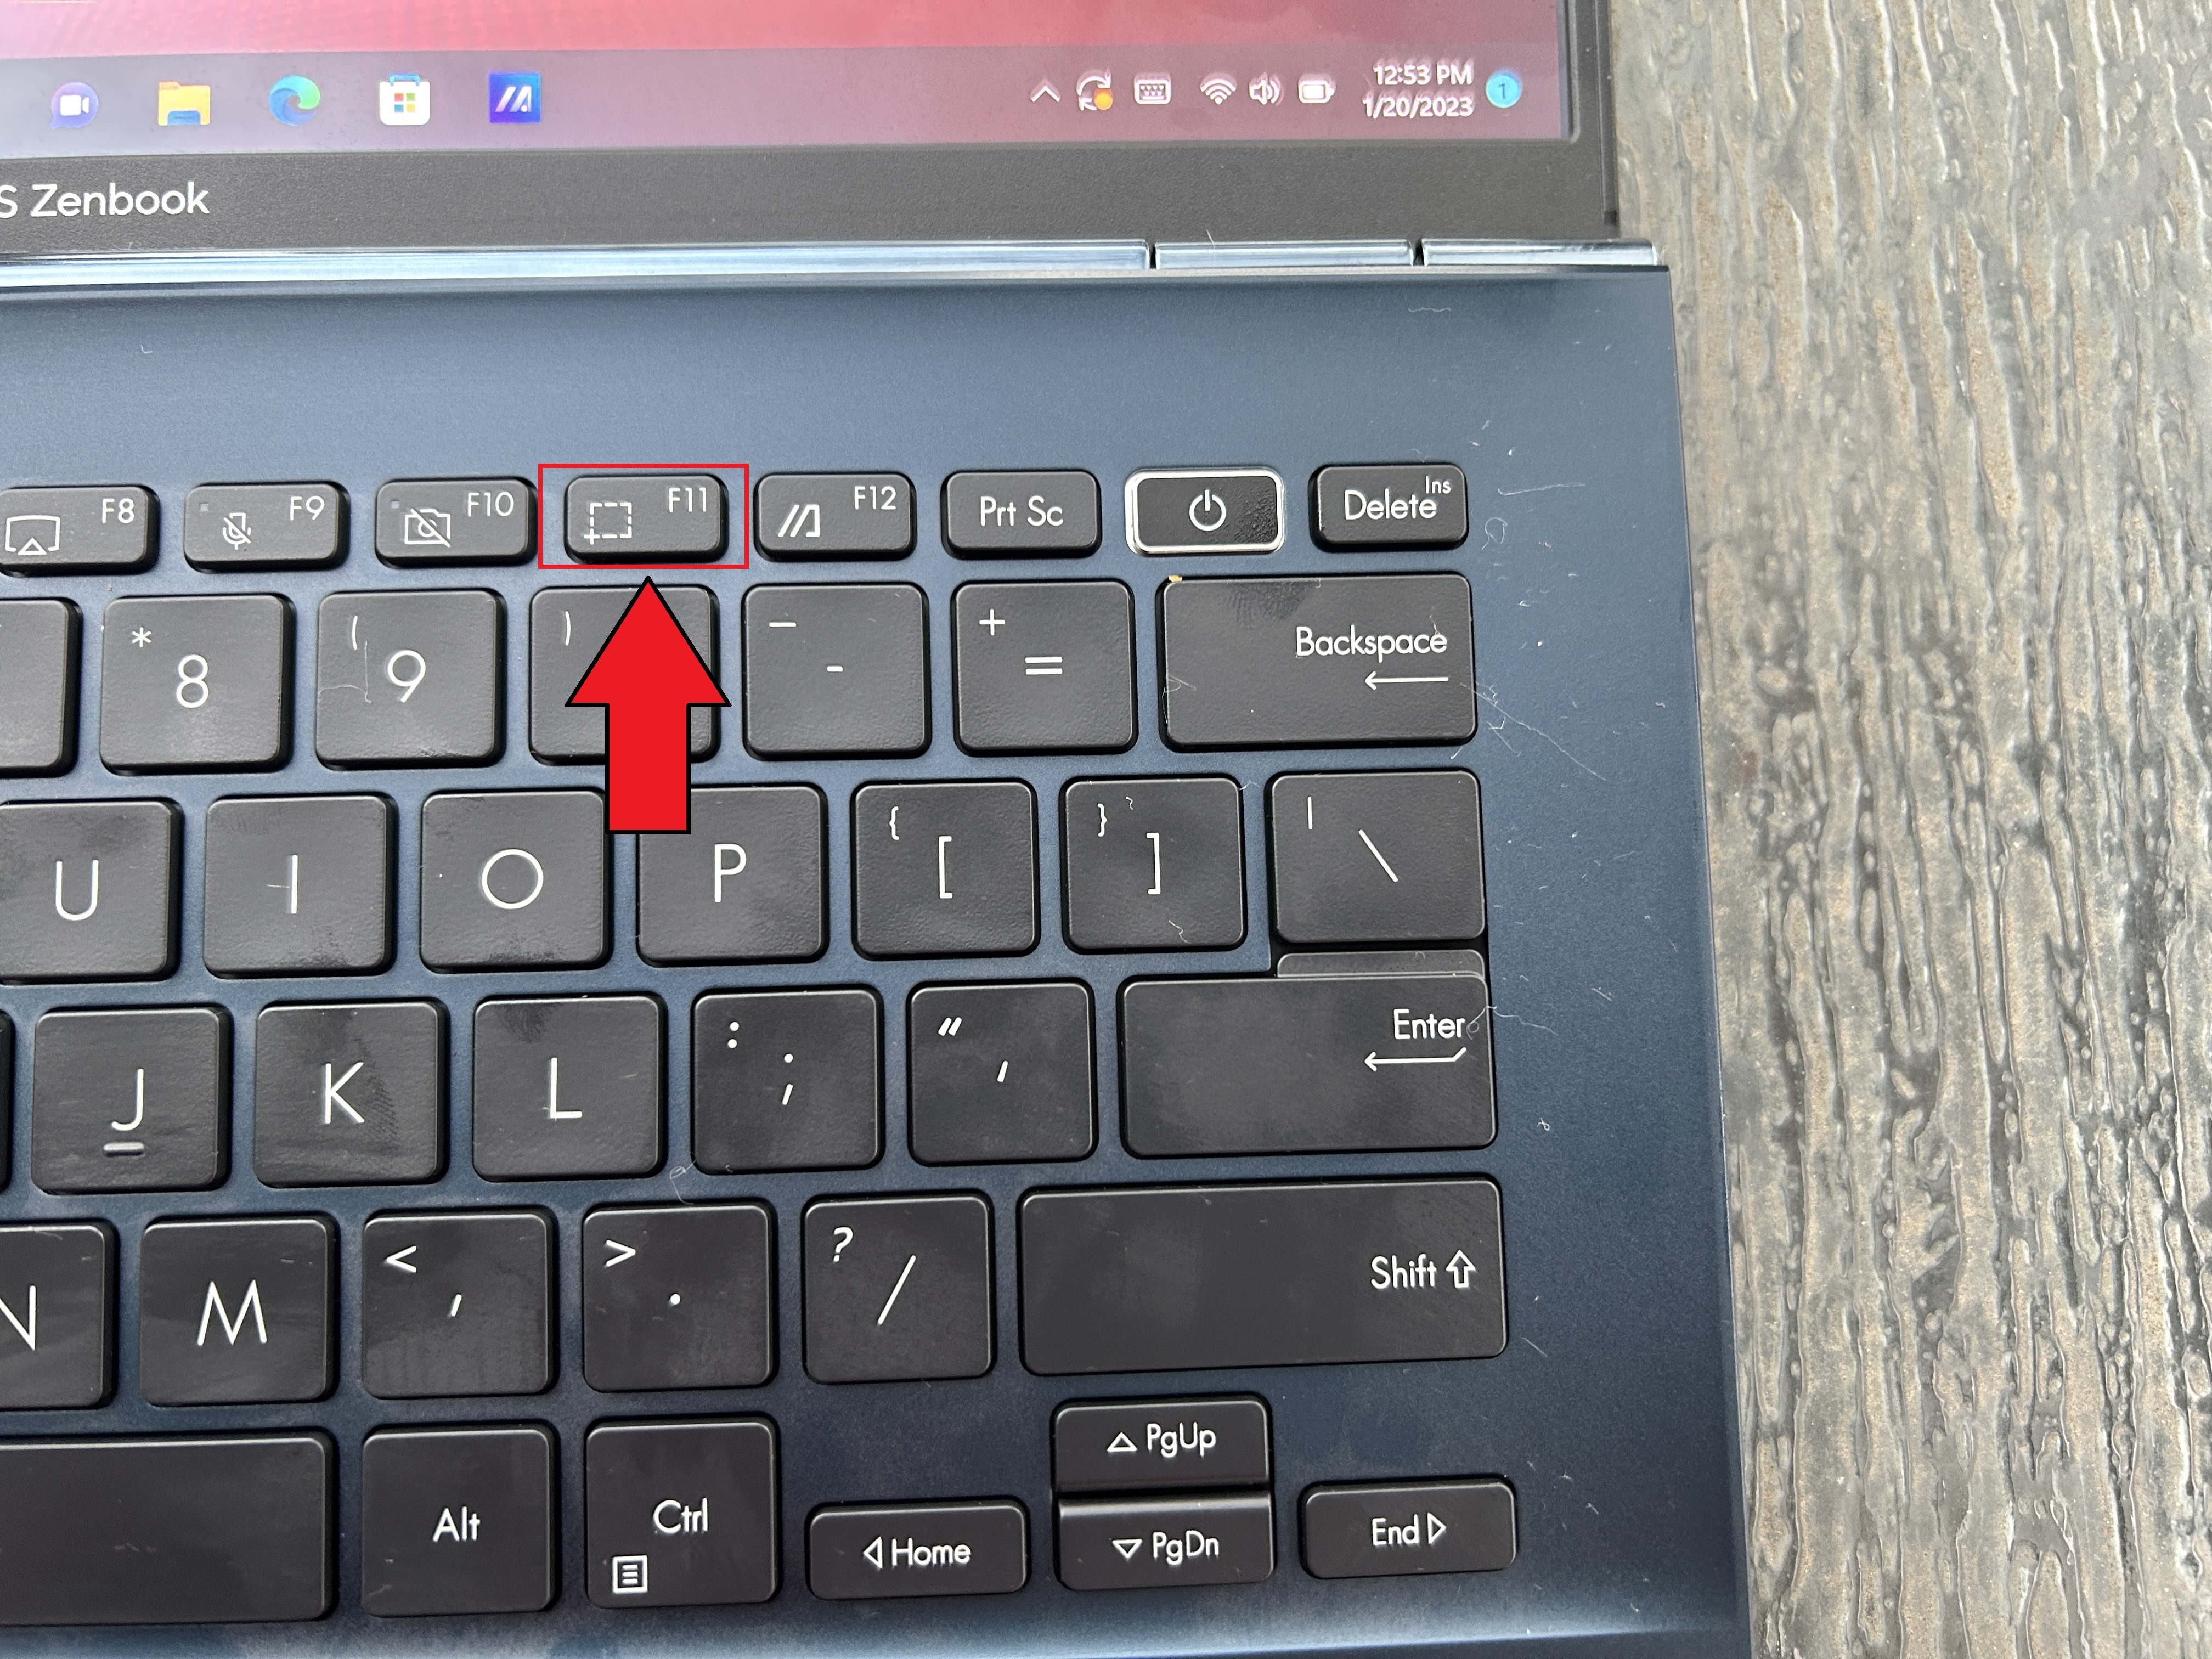
Press it and follow steps 3 onward to get your cropped Windows 11 screenshot.


