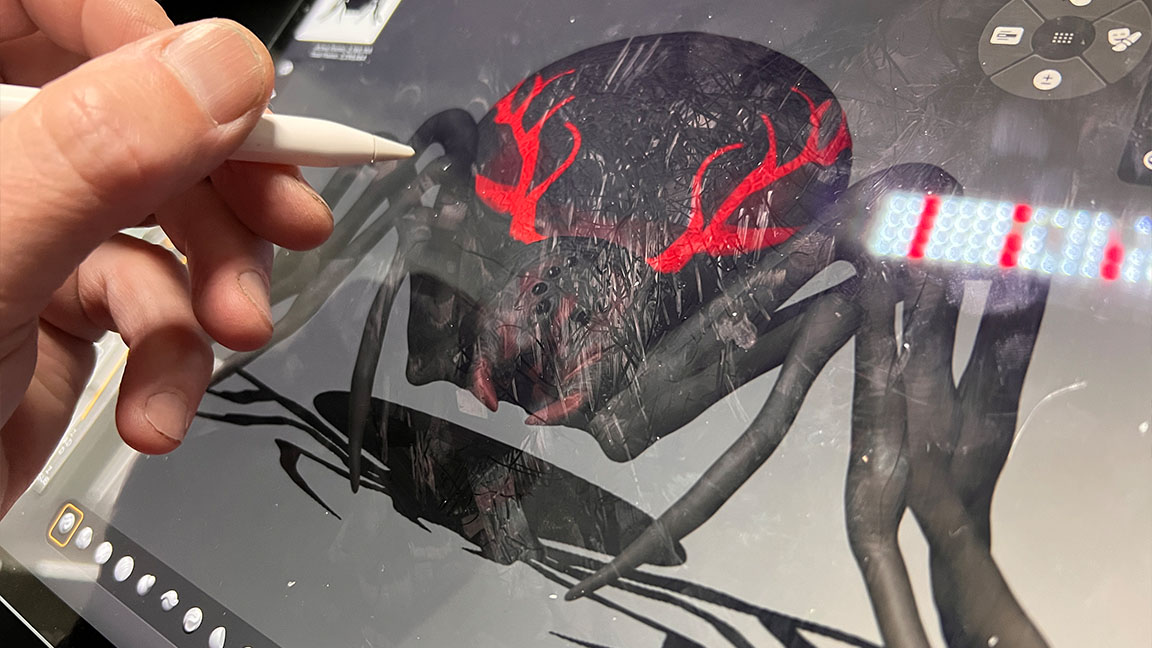
In this ZBrush for iPad tutorial I'll share my workflow for creating a speed sculpt in Maxon's new app, which is also a great way to learn how to get started in ZBrush for iPad has it covers the basic workflow everyone needs to know.
ZBrush is a difficult program for the uninitiated. When you spend time and look under the hood you quickly realise how powerful it can be and how far you can push your designs.
The new app, ZBrush for iPad, is no different, but in some ways it’s more accessible now. This tutorial will give you an introduction to some of the more common tools and brushes and how to get started making your first creature.
There are some innovative tools to explore, such as ZSpheres that allow you to create an armature to then use for your sculpting. It can speed the creation process up drawematically and it looks cool! Add to that the huge array of sculpting brushes and you can see why this has been the number one sculpting program for decades.
ZBrush for iPad tutorial: how to speed sculpt
Above you can watch my video of the process to get a complete start to finish idea of my process, but you can also read my steps below to to pick up the general workflow and some advice. If you've yet to download Maxon's new app, then read my ZBrush for iPad review to discover what it can do. Also read my ZBrush for iPad explainer for more details.
1. Starting with ZSpheres
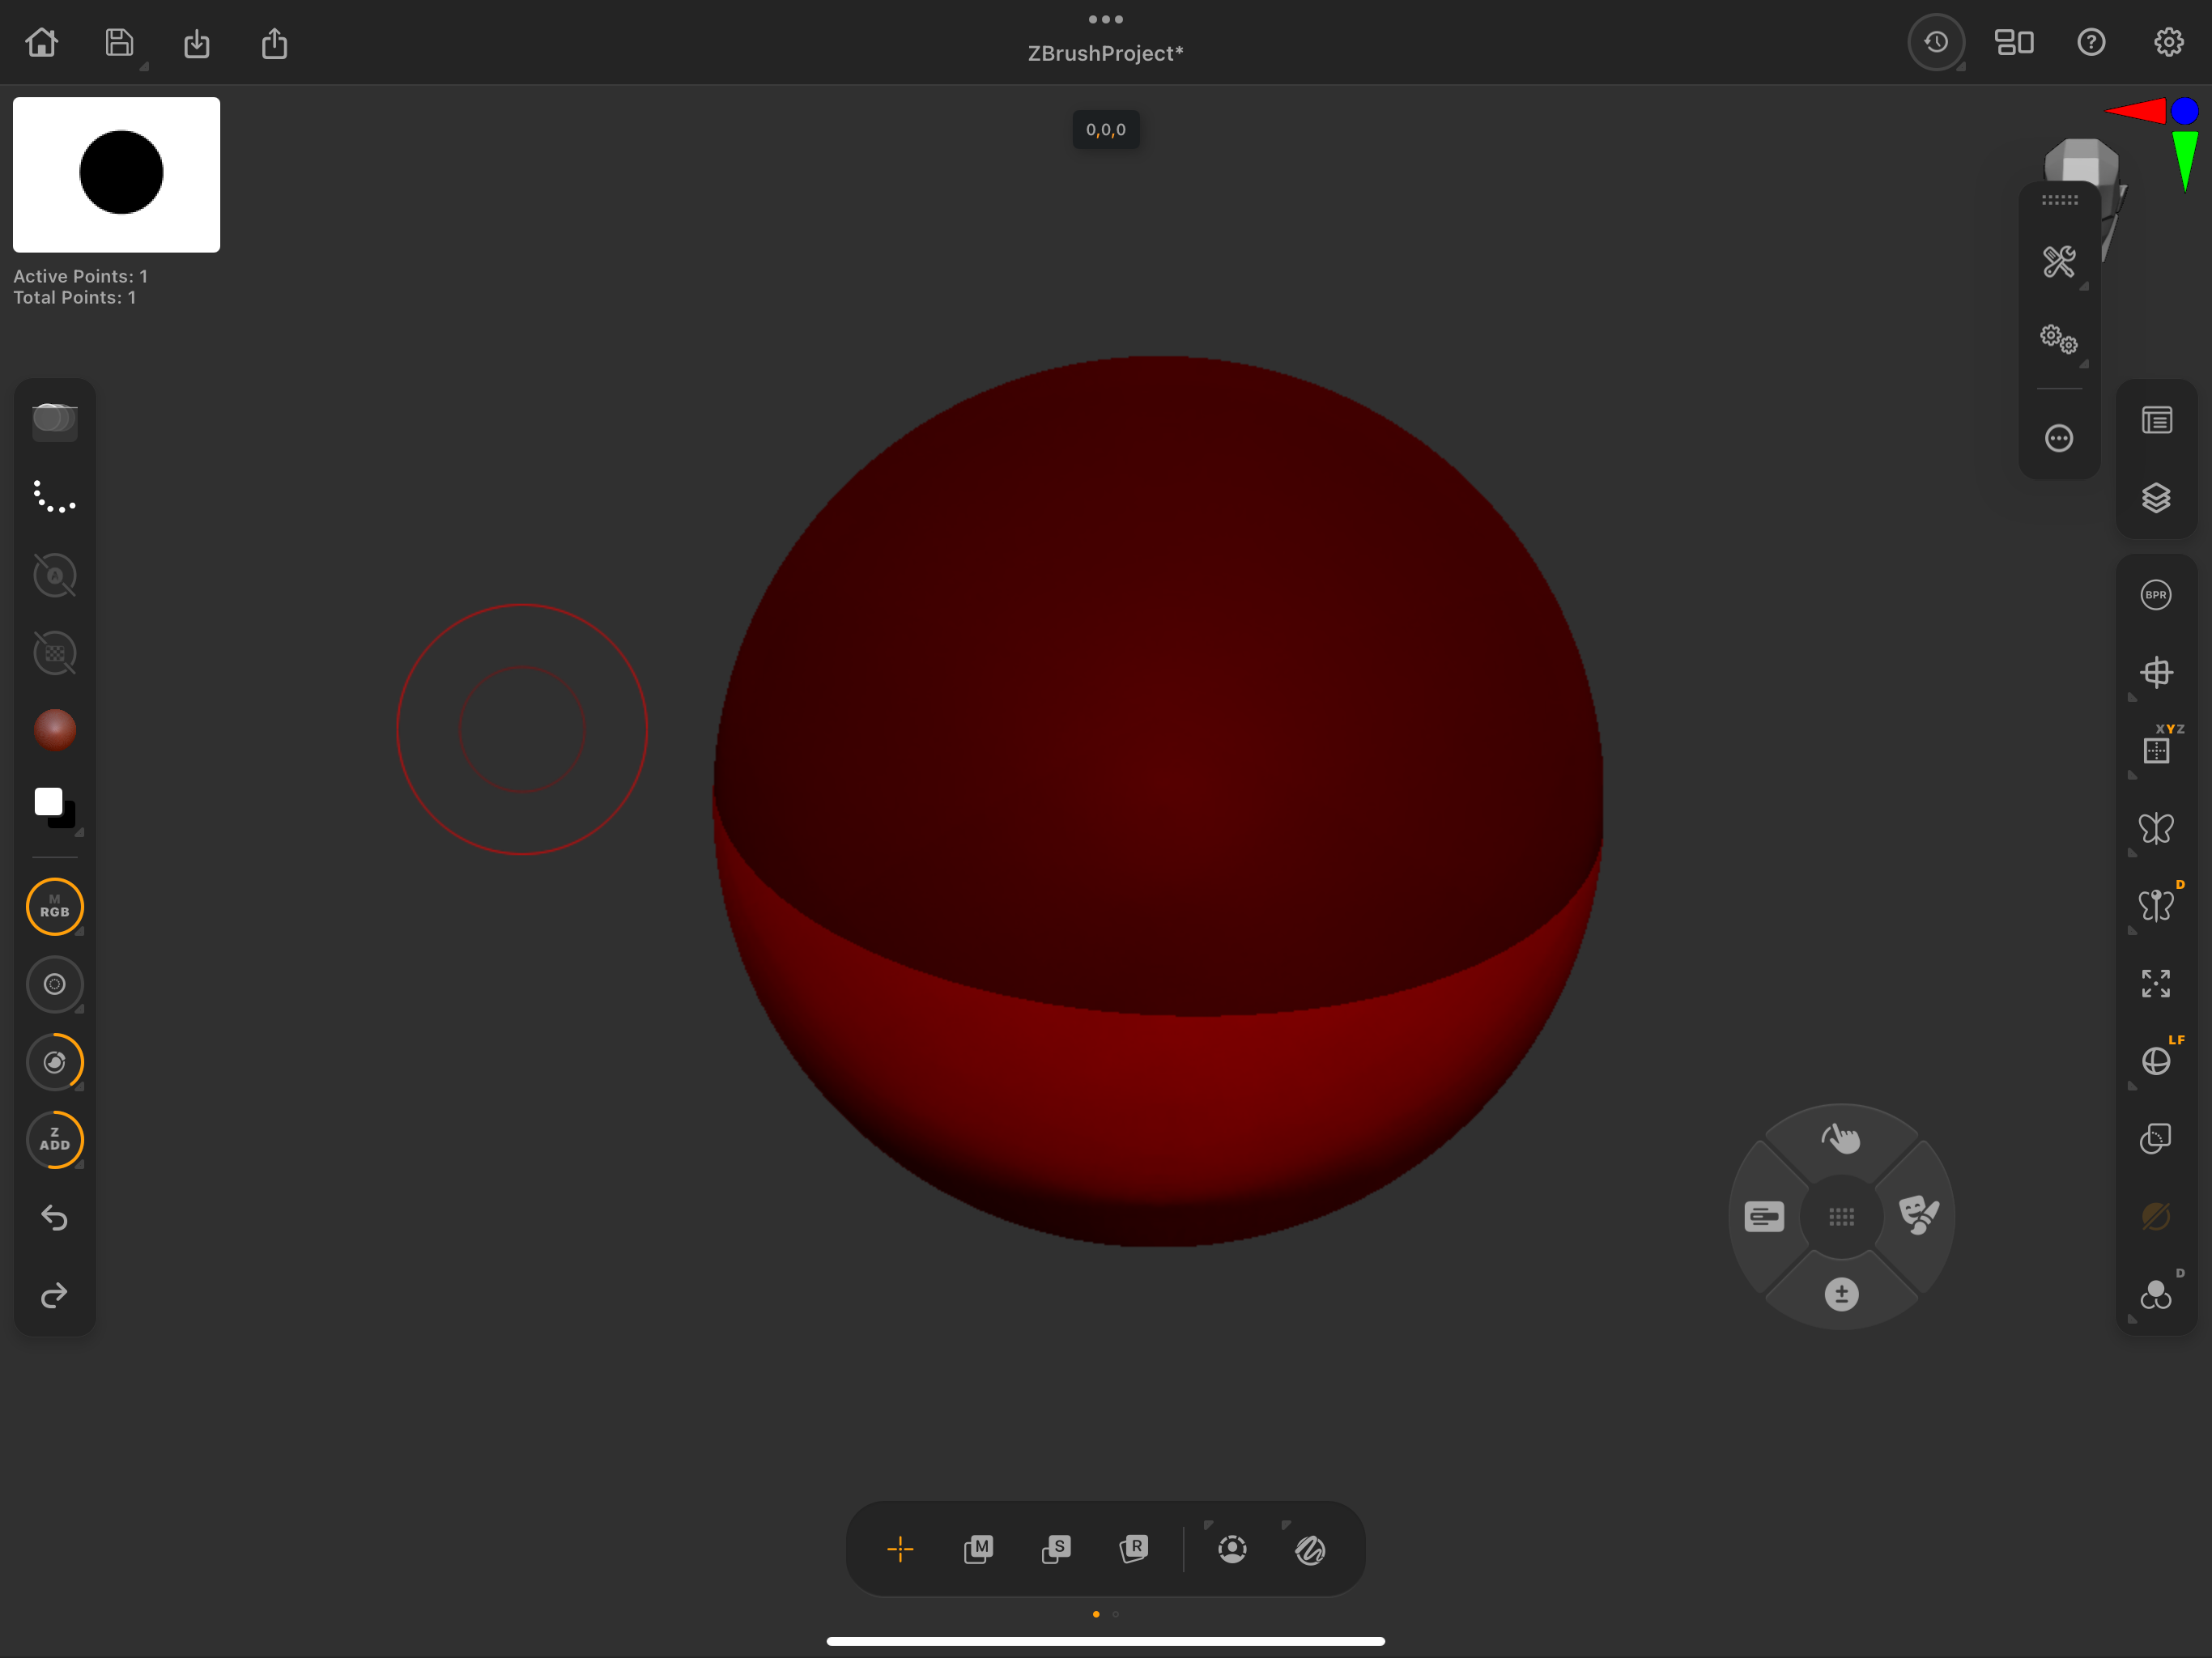
ZSpheres are little balls that when you string them together form a shape that you can then sculpt on. They are found in the Tool menu and look like little bi-coloured spheres. Add one to the document window and put on the floor and symmetry from the side menu. Its always best to start a creature design with symmetry and break it later. Remember, this is only a armature that you will sculpt on later.
2. Building a quick shape
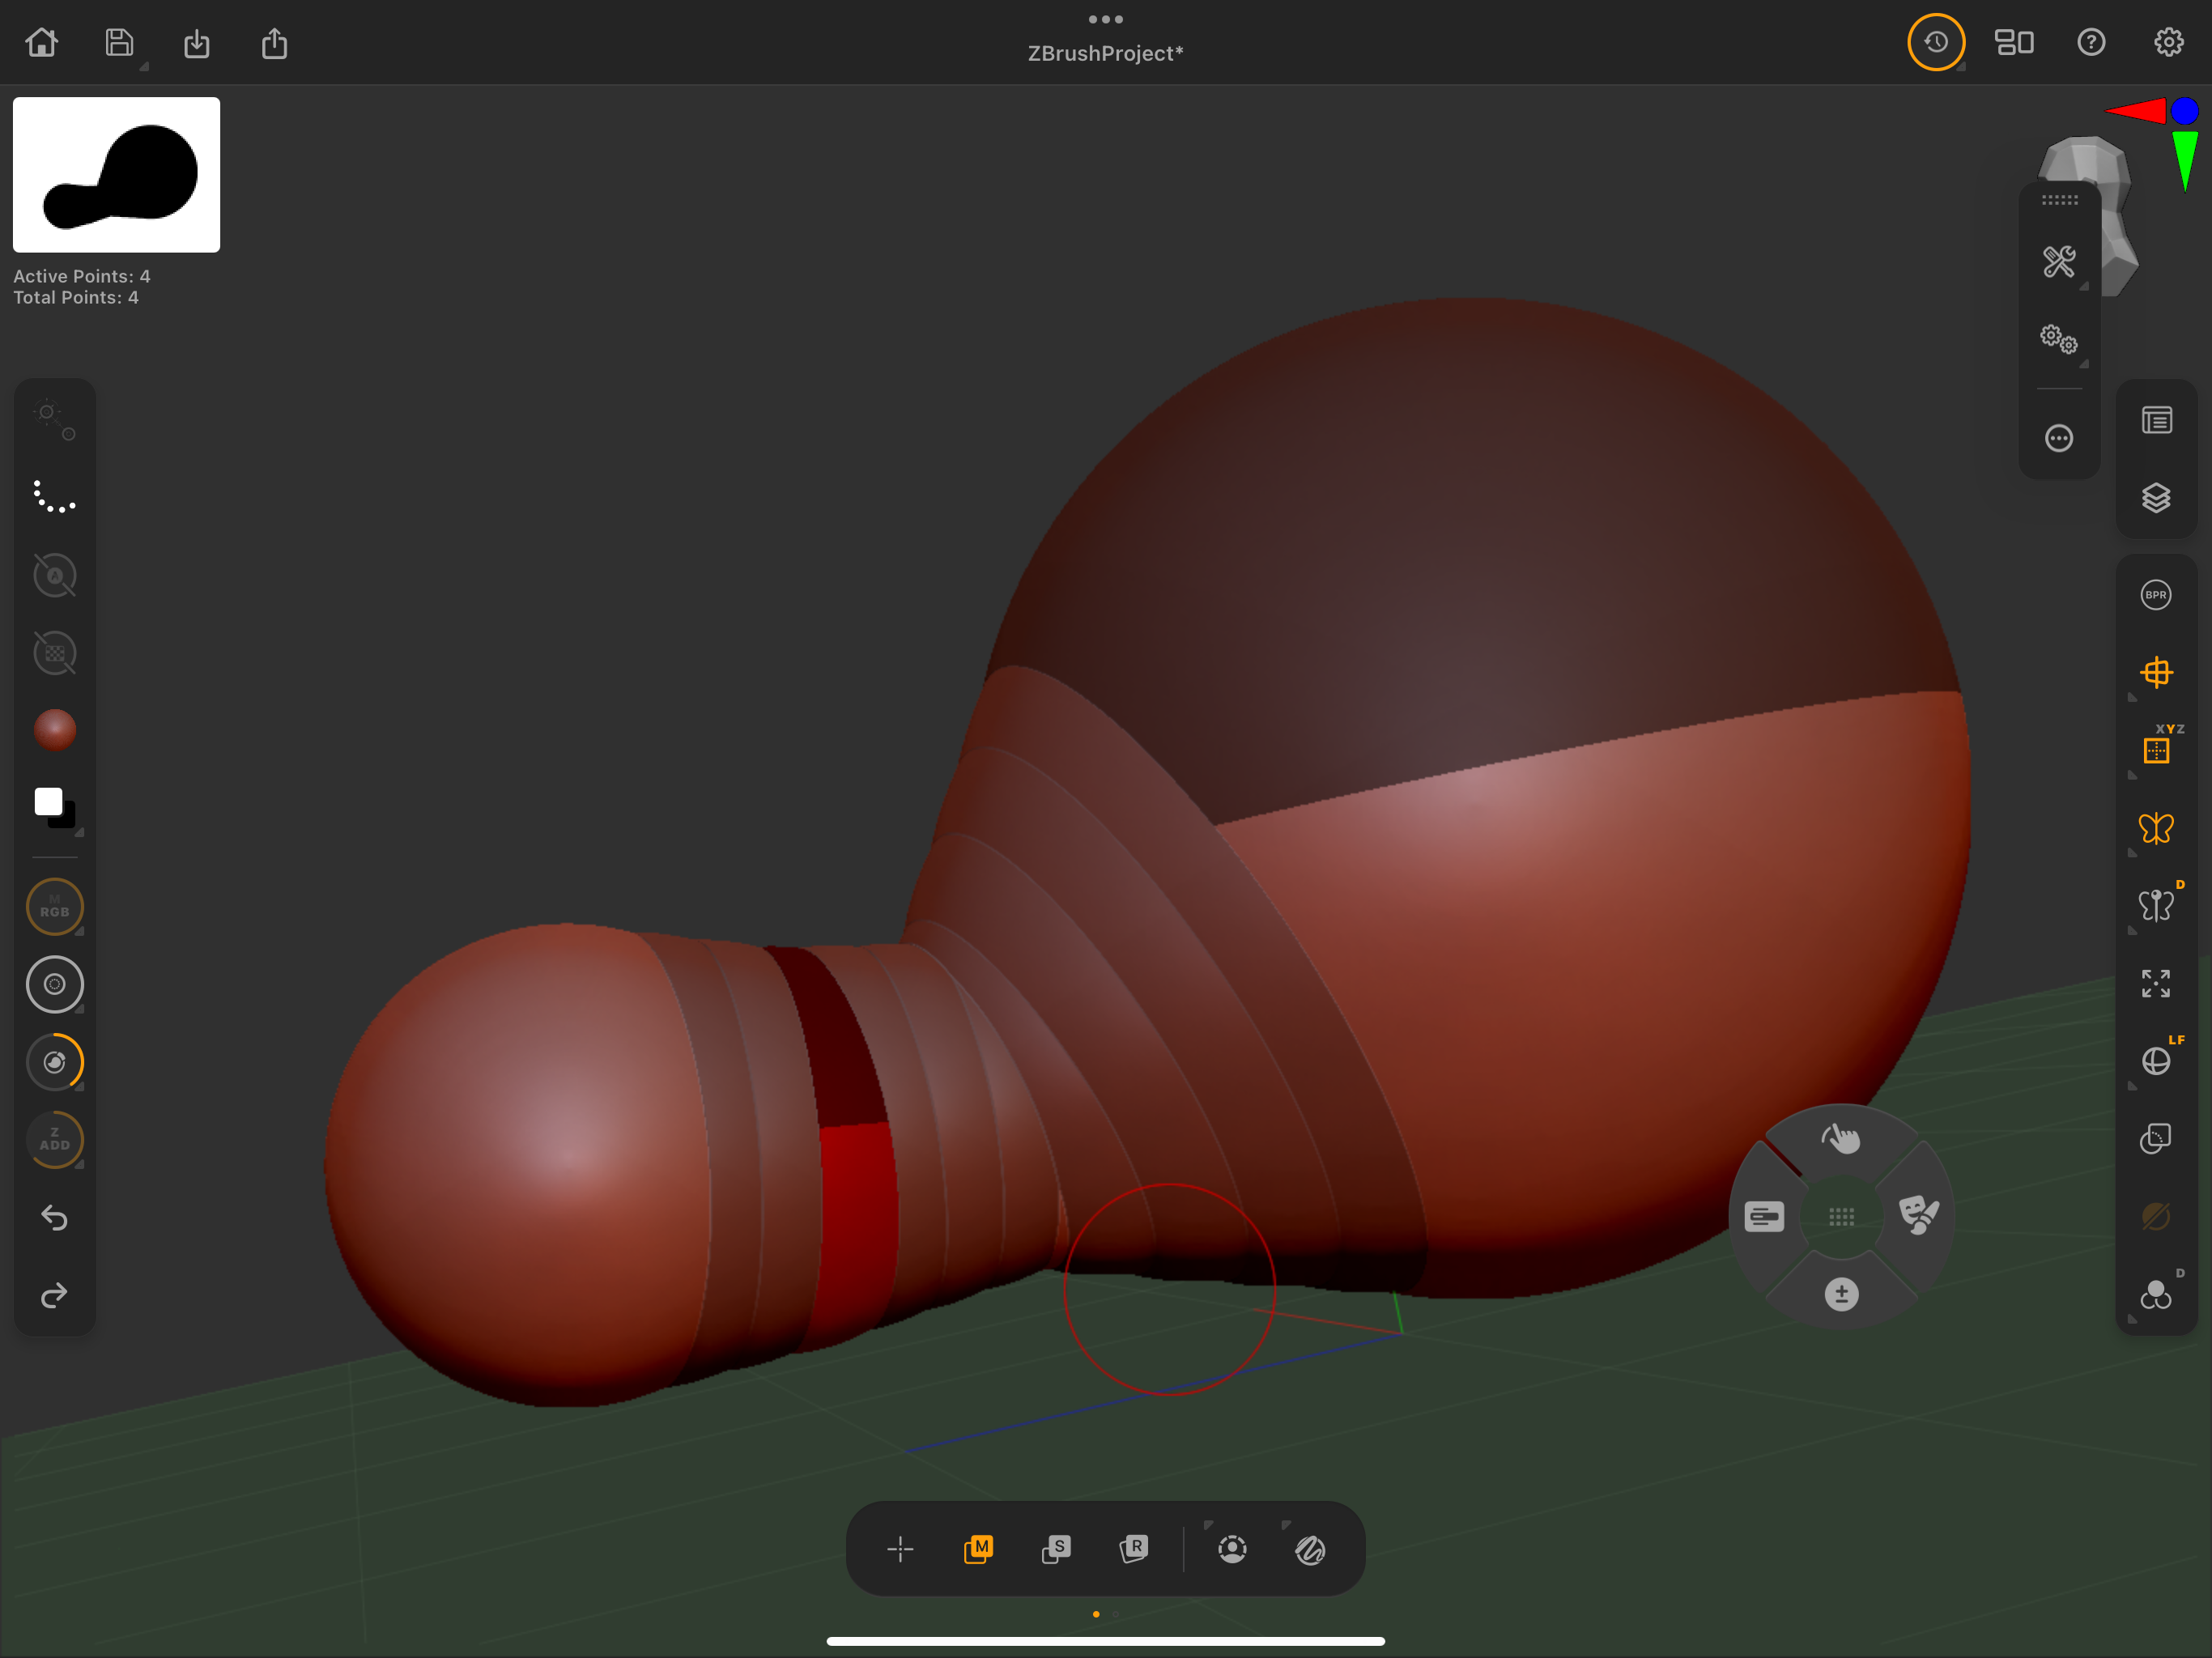
Using the buttons at the bottom you can add new ZSpheres, move them, scale them and rotate both them and the area that joins each one. We are making a spider here so I add the front part or the carapace to the abdomen, which is the sphere I started with. With Symmetry on, this is straightforward and it keeps it in line. Use Scale to change any spheres that need it.
3. Adding the fangs
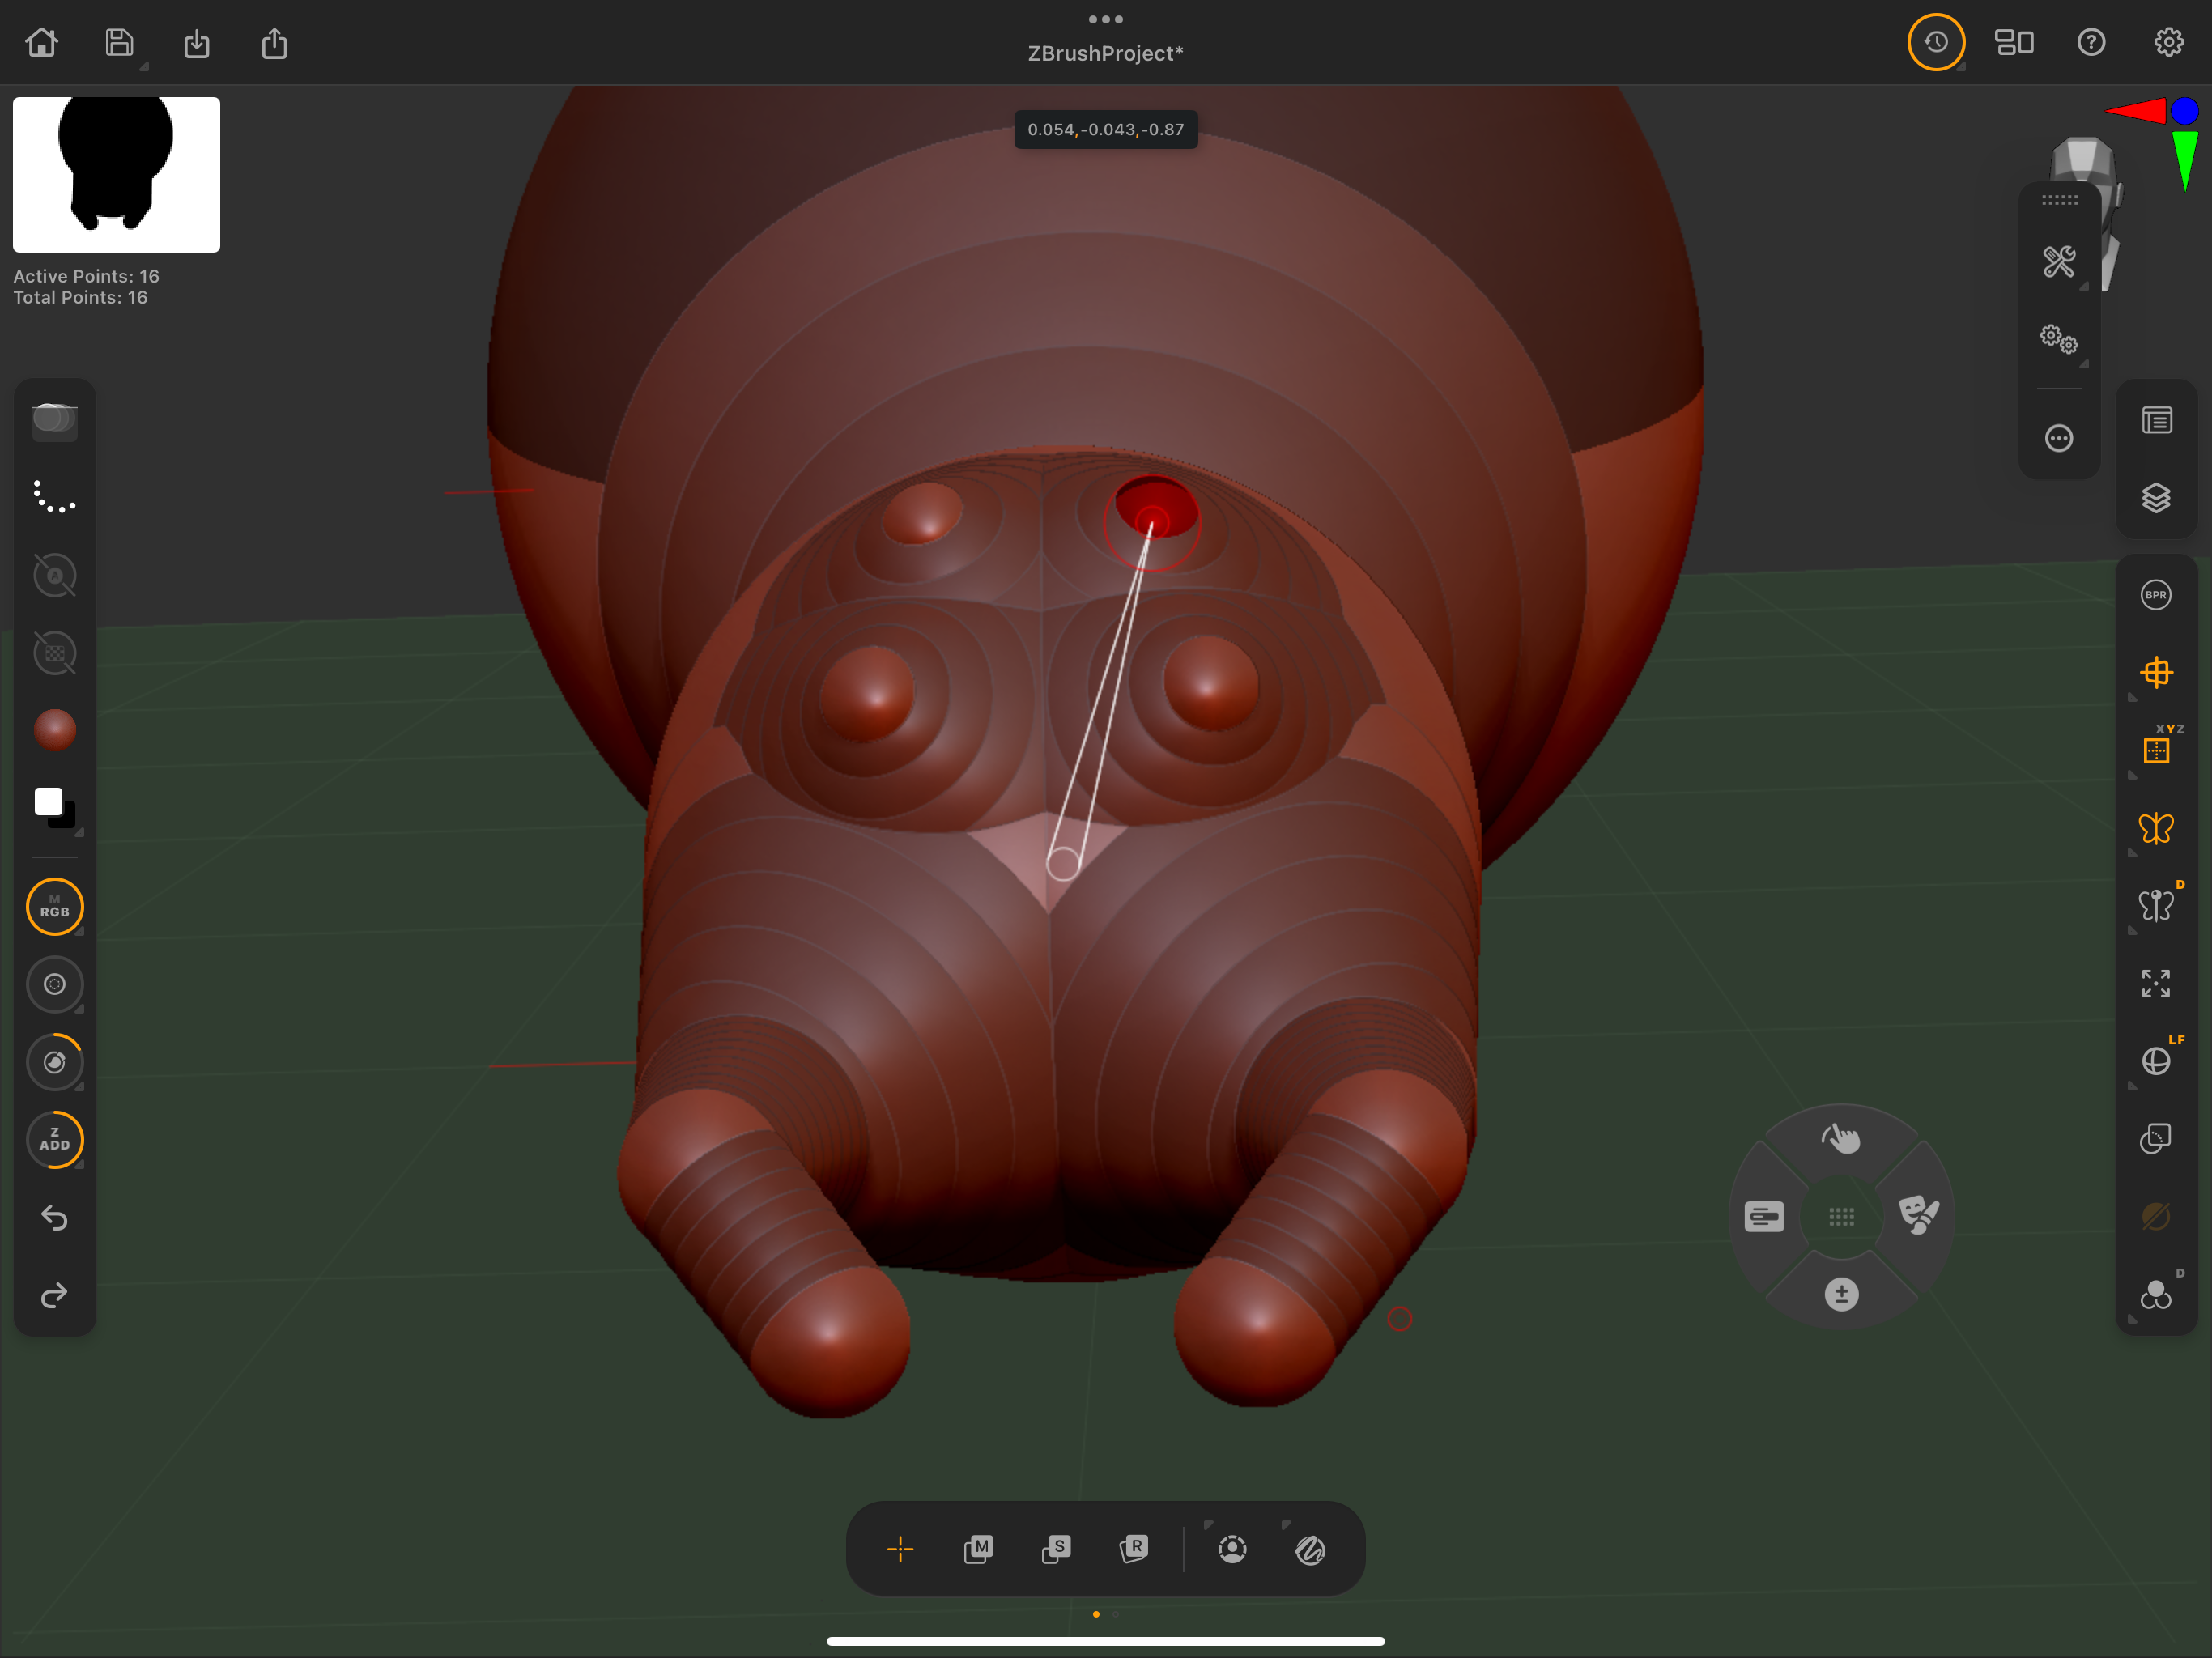
I use reference, as you always should when making any creature. Next add the eyes and the chelicera (the fangs!) It doesn't have to be the exact size yet but having things in the right place really helps now. Try and make one of everything you need for the final sculpt. Again, you should be moving and scaling these spheres once they are placed.
4. Modelling the legs
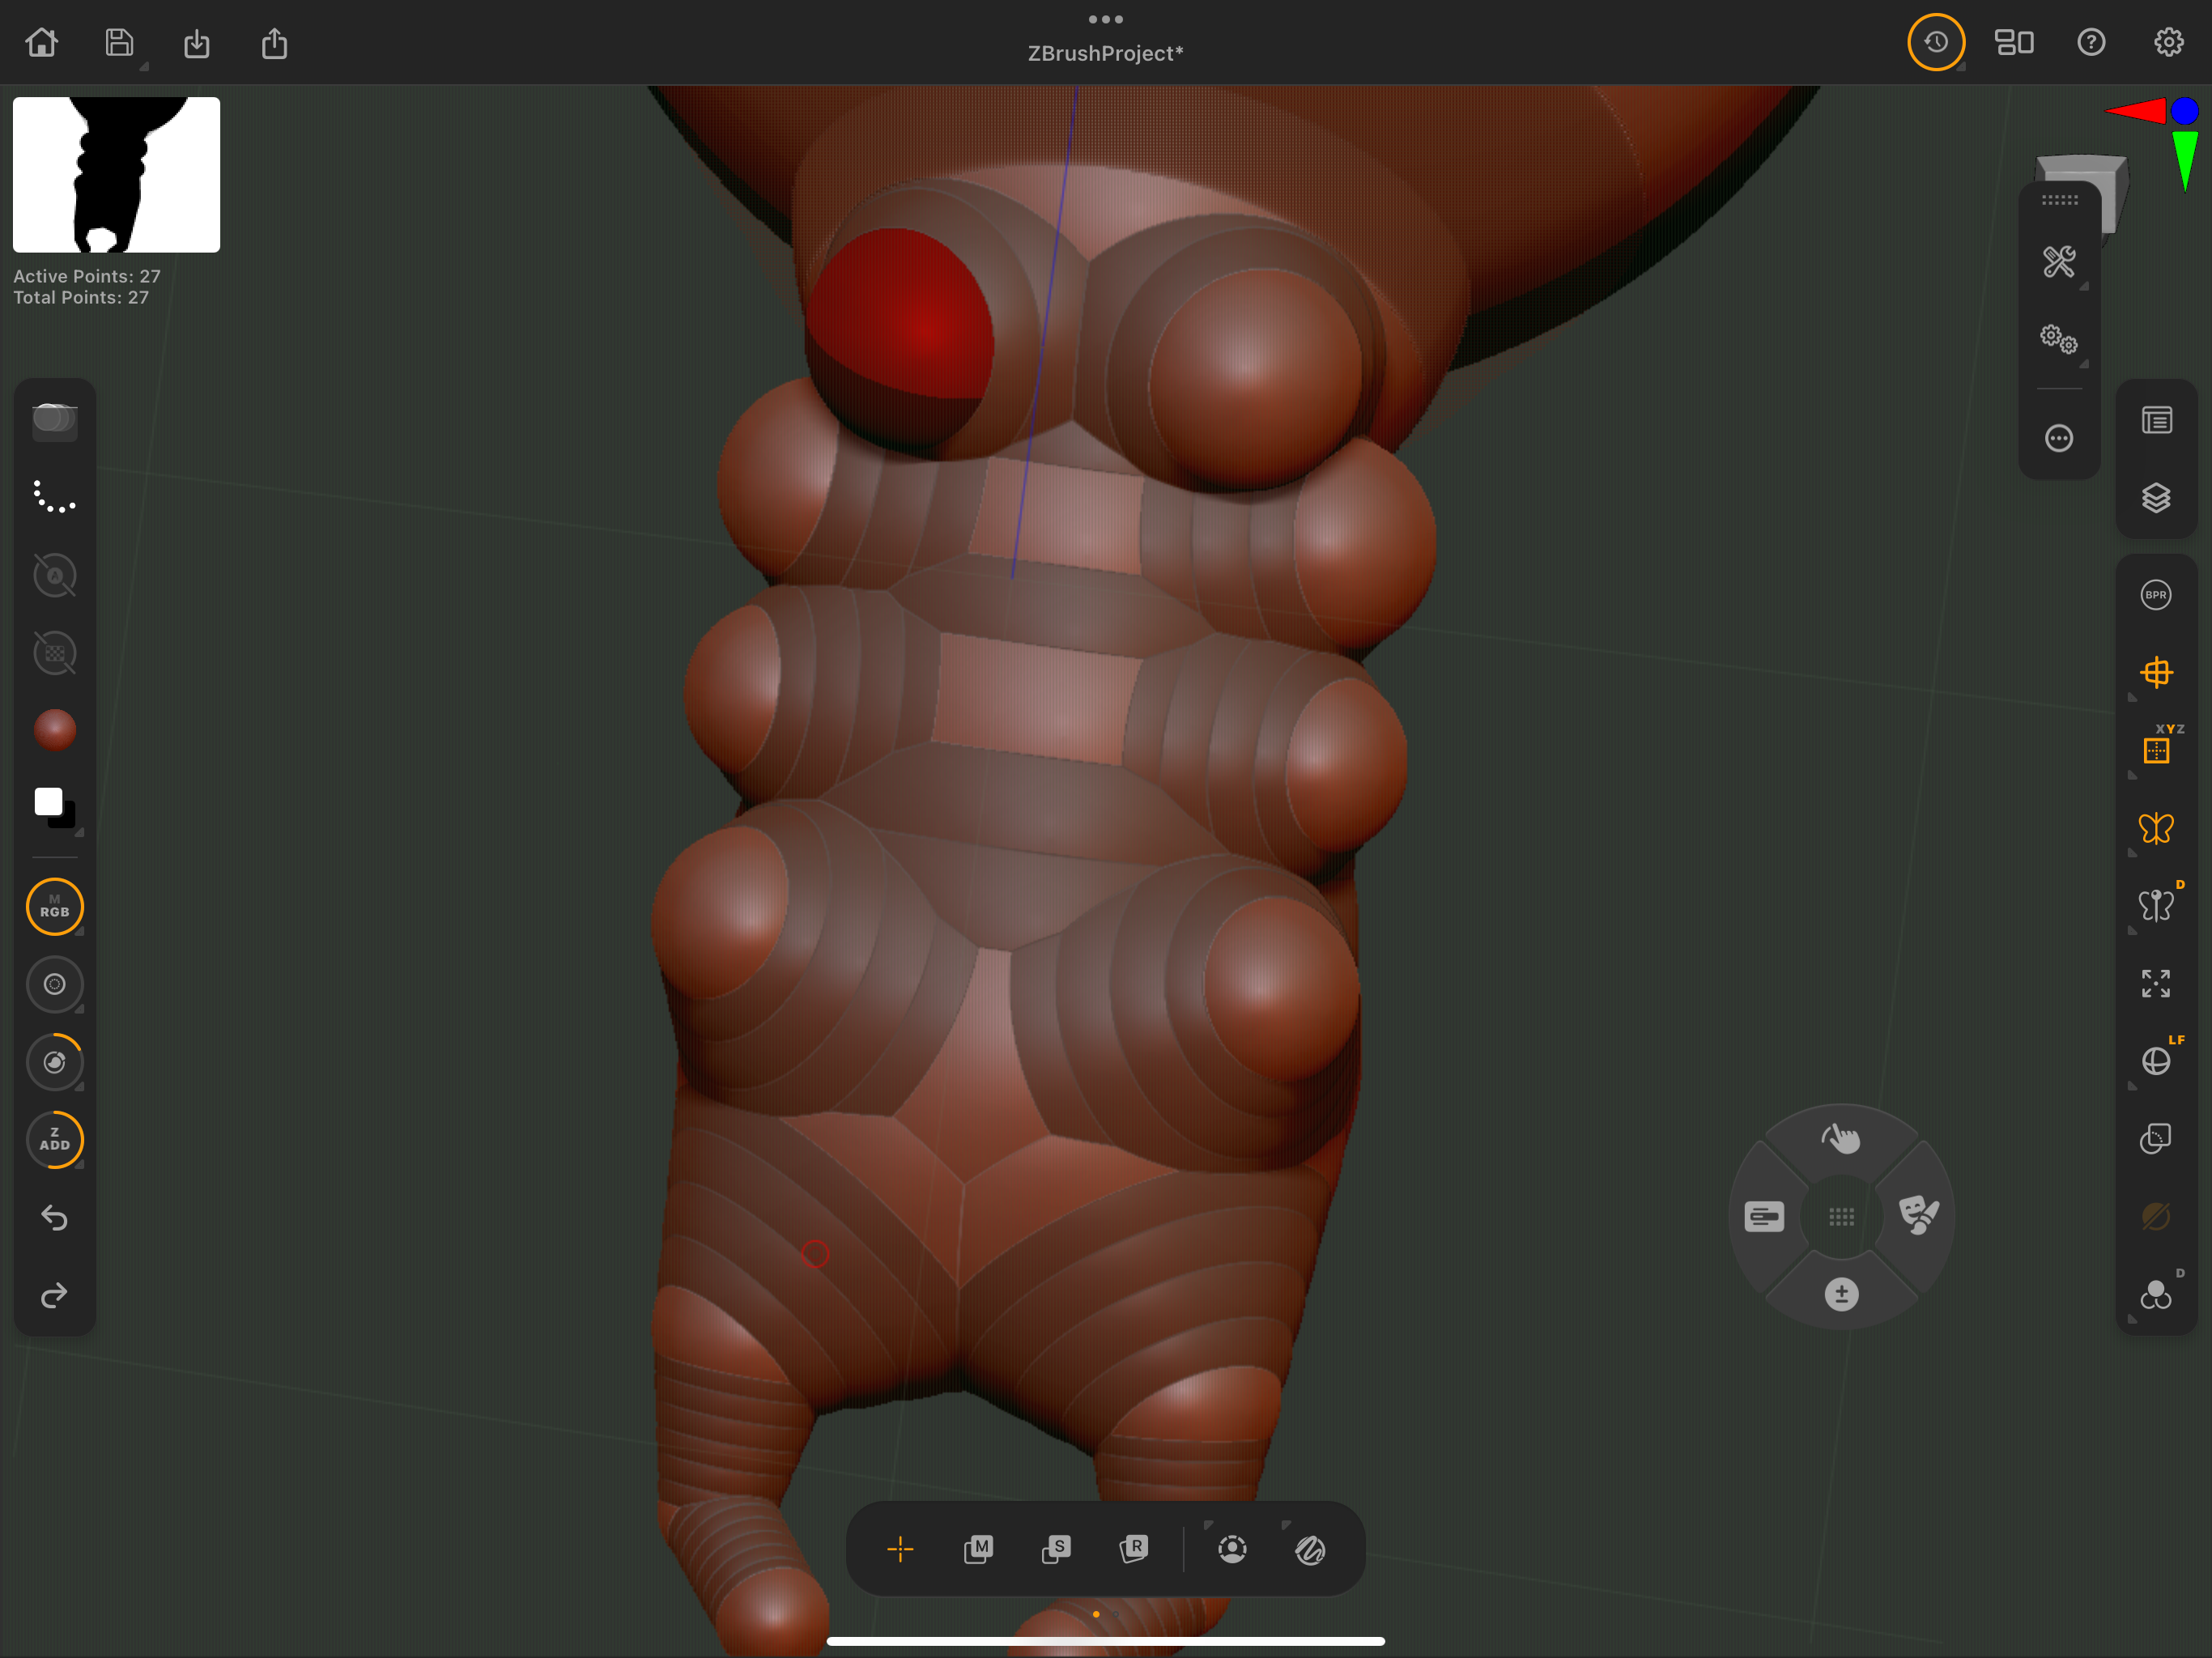
Spiders have eight legs and they all need to come out of the underside of the carapace (The cephalothorax) From underneath add spheres as shown in the image and have them all radiating out left and right. They do have something called pedipalps which look like two more legs but I chose not to add these (Artistic licence!). Add more sphere to extend the legs out at the base.
5. Refining the legs
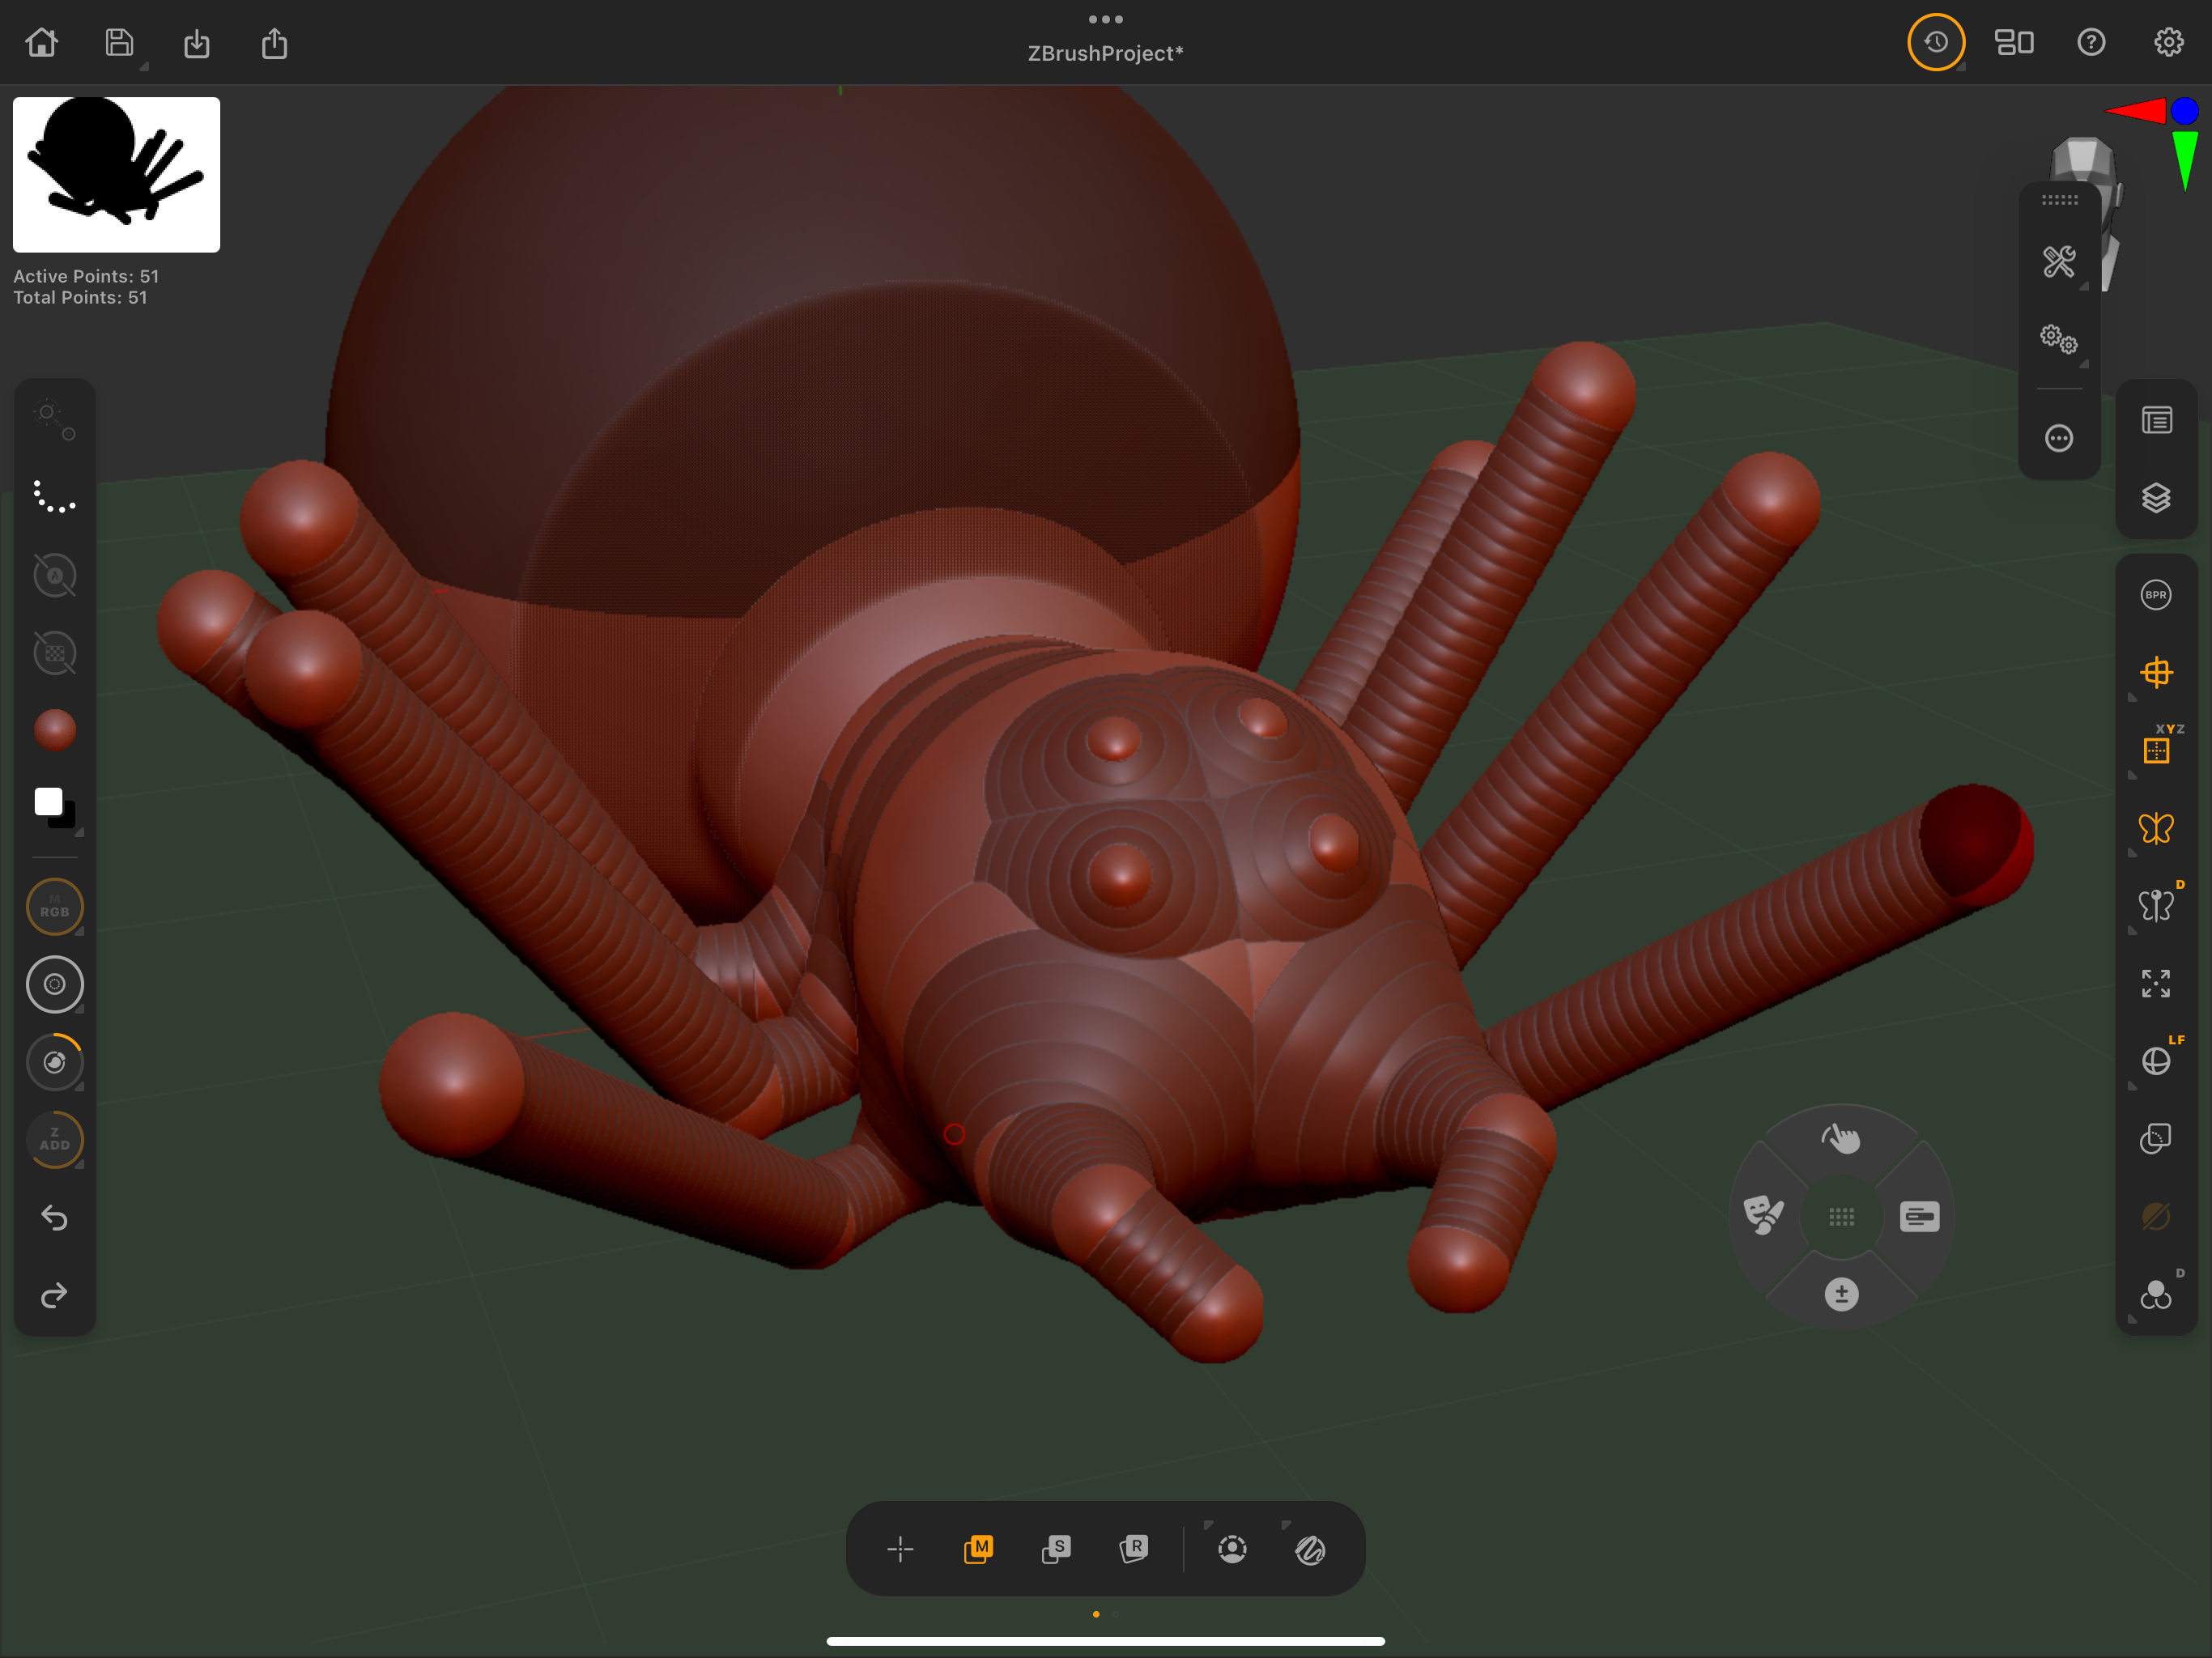
The legs are long and complicated with many parts so using reference, start to add the joints. It sometimes helps to put two spheres in one area if you need to bend the leg. At the knee area at the top of each leg for example. Using the move tool make sure the leg ends are in the correct angles coming away from the body. It's better to do all your tweaking at this stage than trying to change it when it is converted to real geometry later.
6. Making adjustments
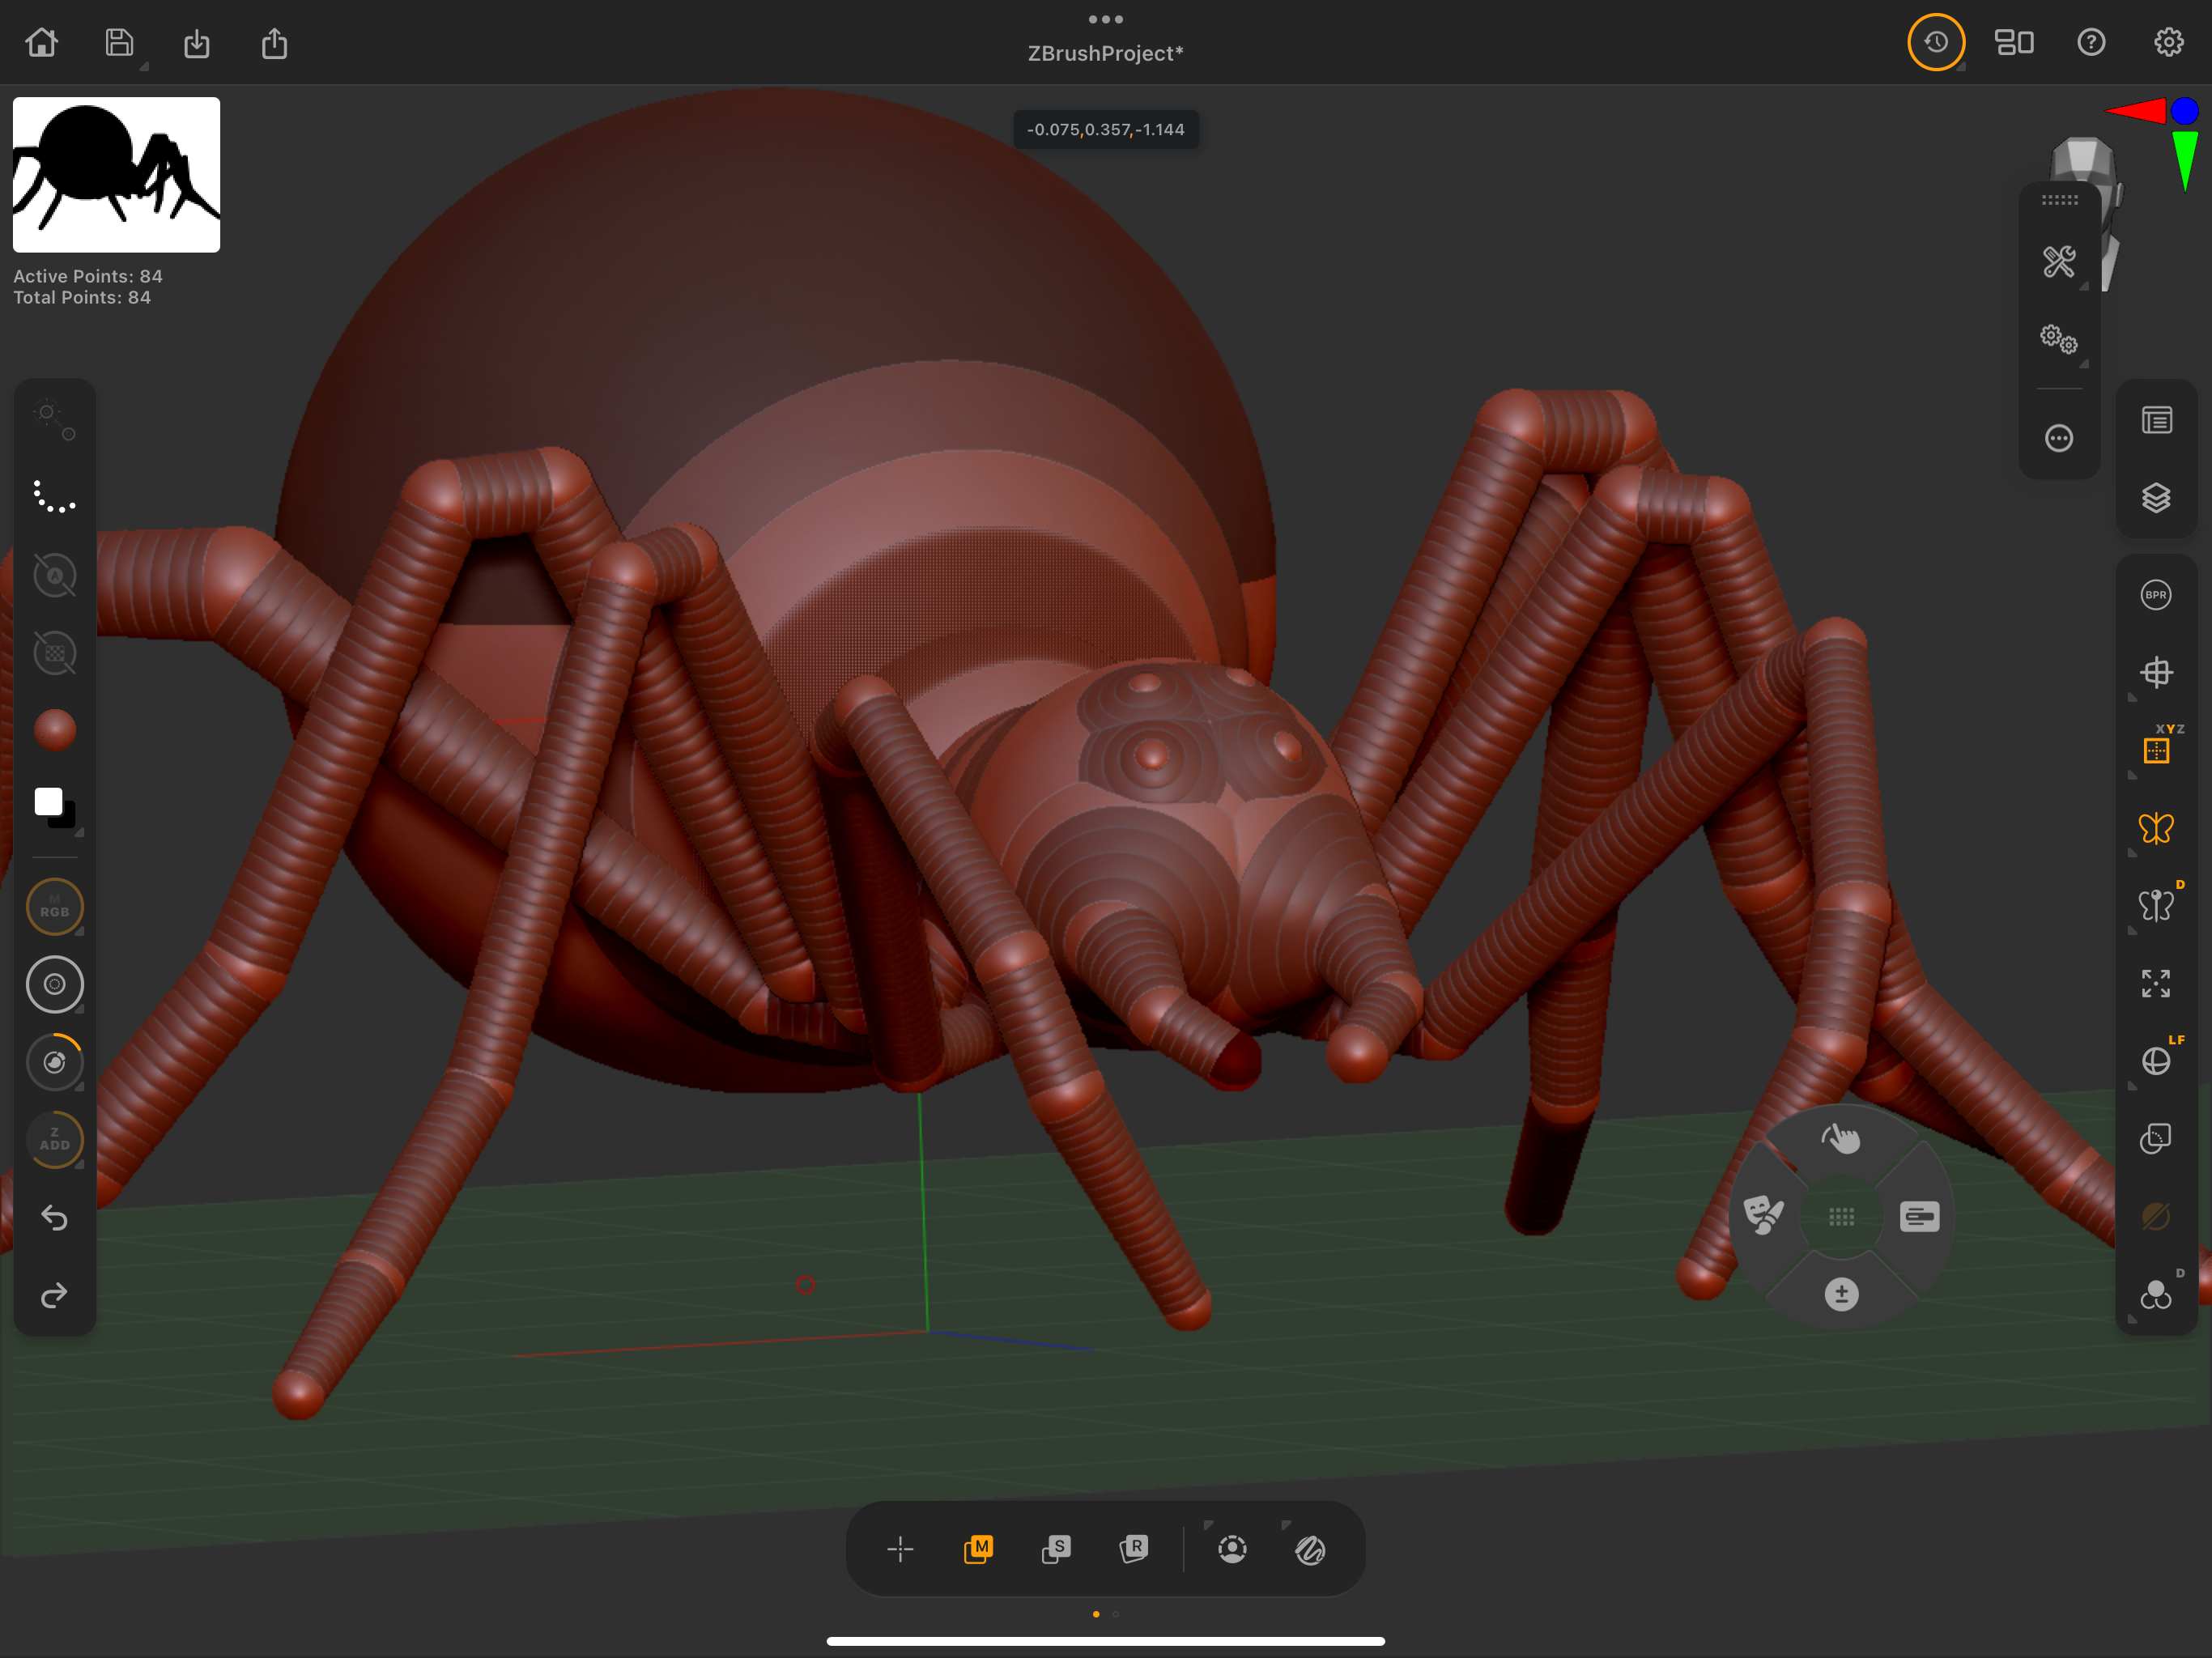
Keep adding spheres, scaling them, rotating them and getting the overall shape of the spider right against your reference. Make the legs thinner as they reach the tips. Check you have added enough joints. Now go back over the whole body and check that the whole spider looks good from all angles.
After this stage we will convert the ZSphere spider into geometry to sculpt on and it is better to correct things at this stage rather than fighting with your model down the line.
7. Creating the spider model
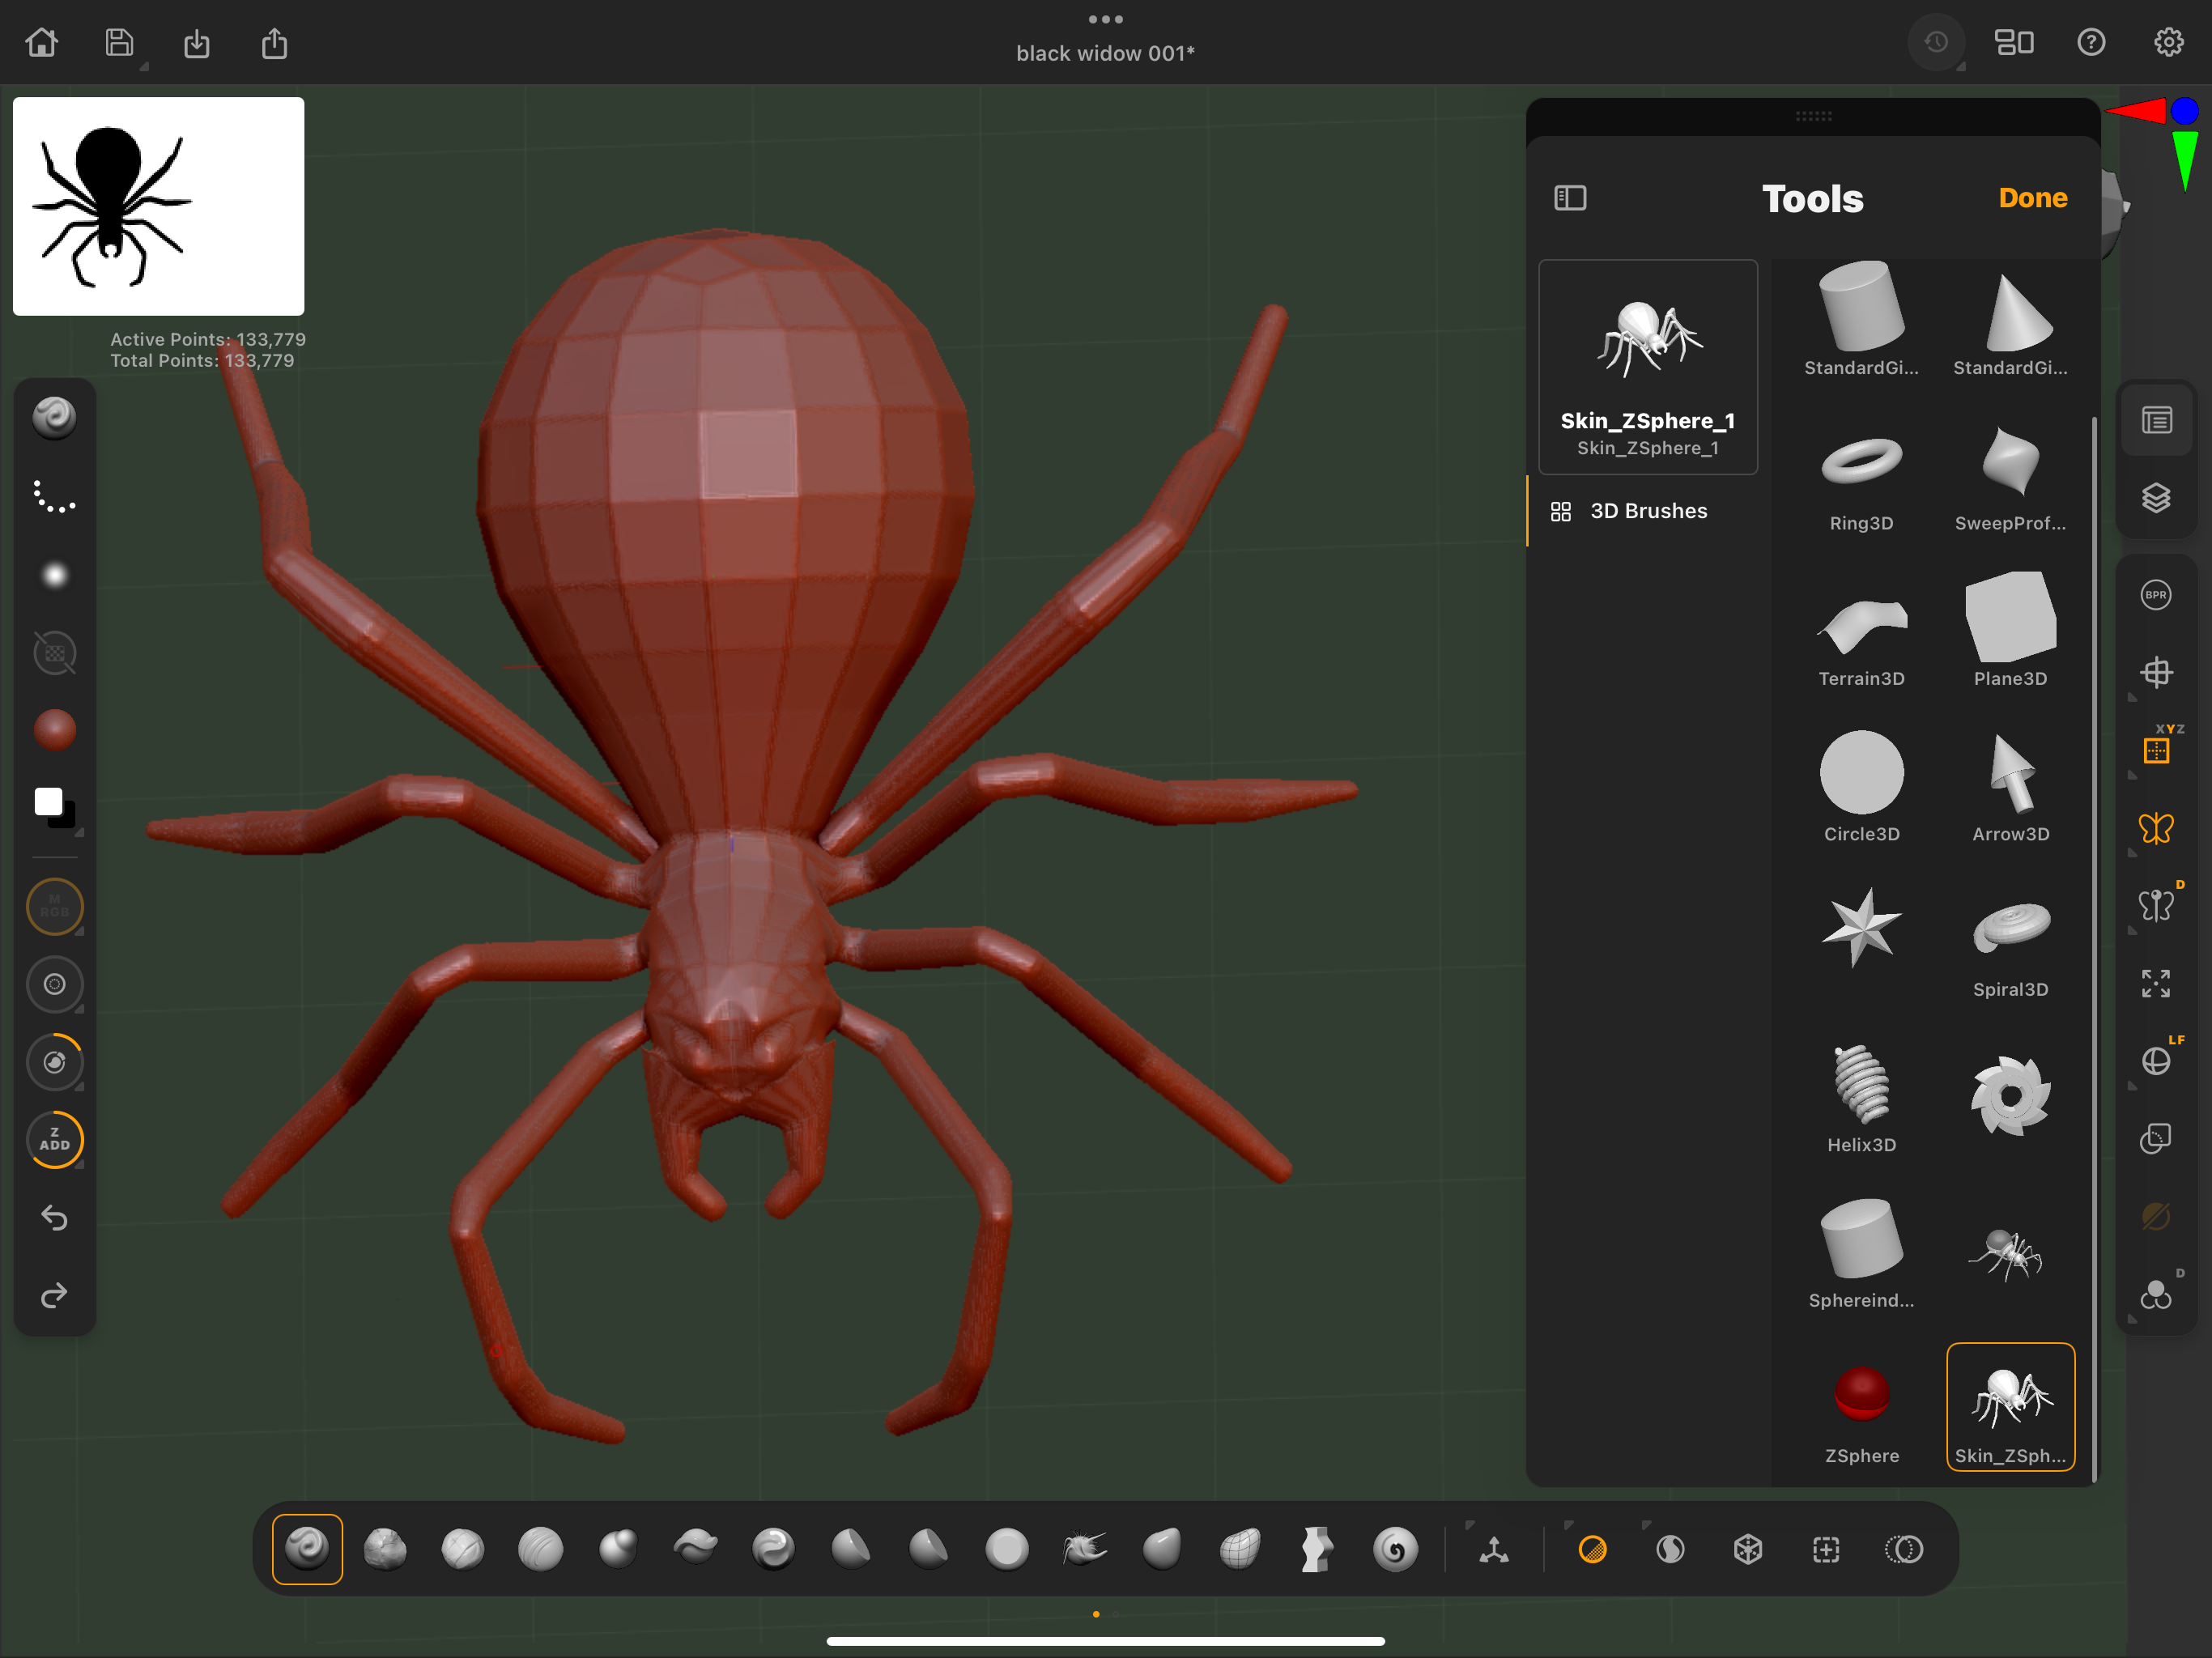
To convert the model to the next stage you need to go into the Tool menu and look for Adaptive Skin. Hit that button and it makes you a new Spider in the Tool panel and you can now just work on that version. Use the Divide button to give yourself more resolution by subdividing the Spider a few times. With a high polycount we can now sculpt on the model easily.
8. Sculpting and detailing
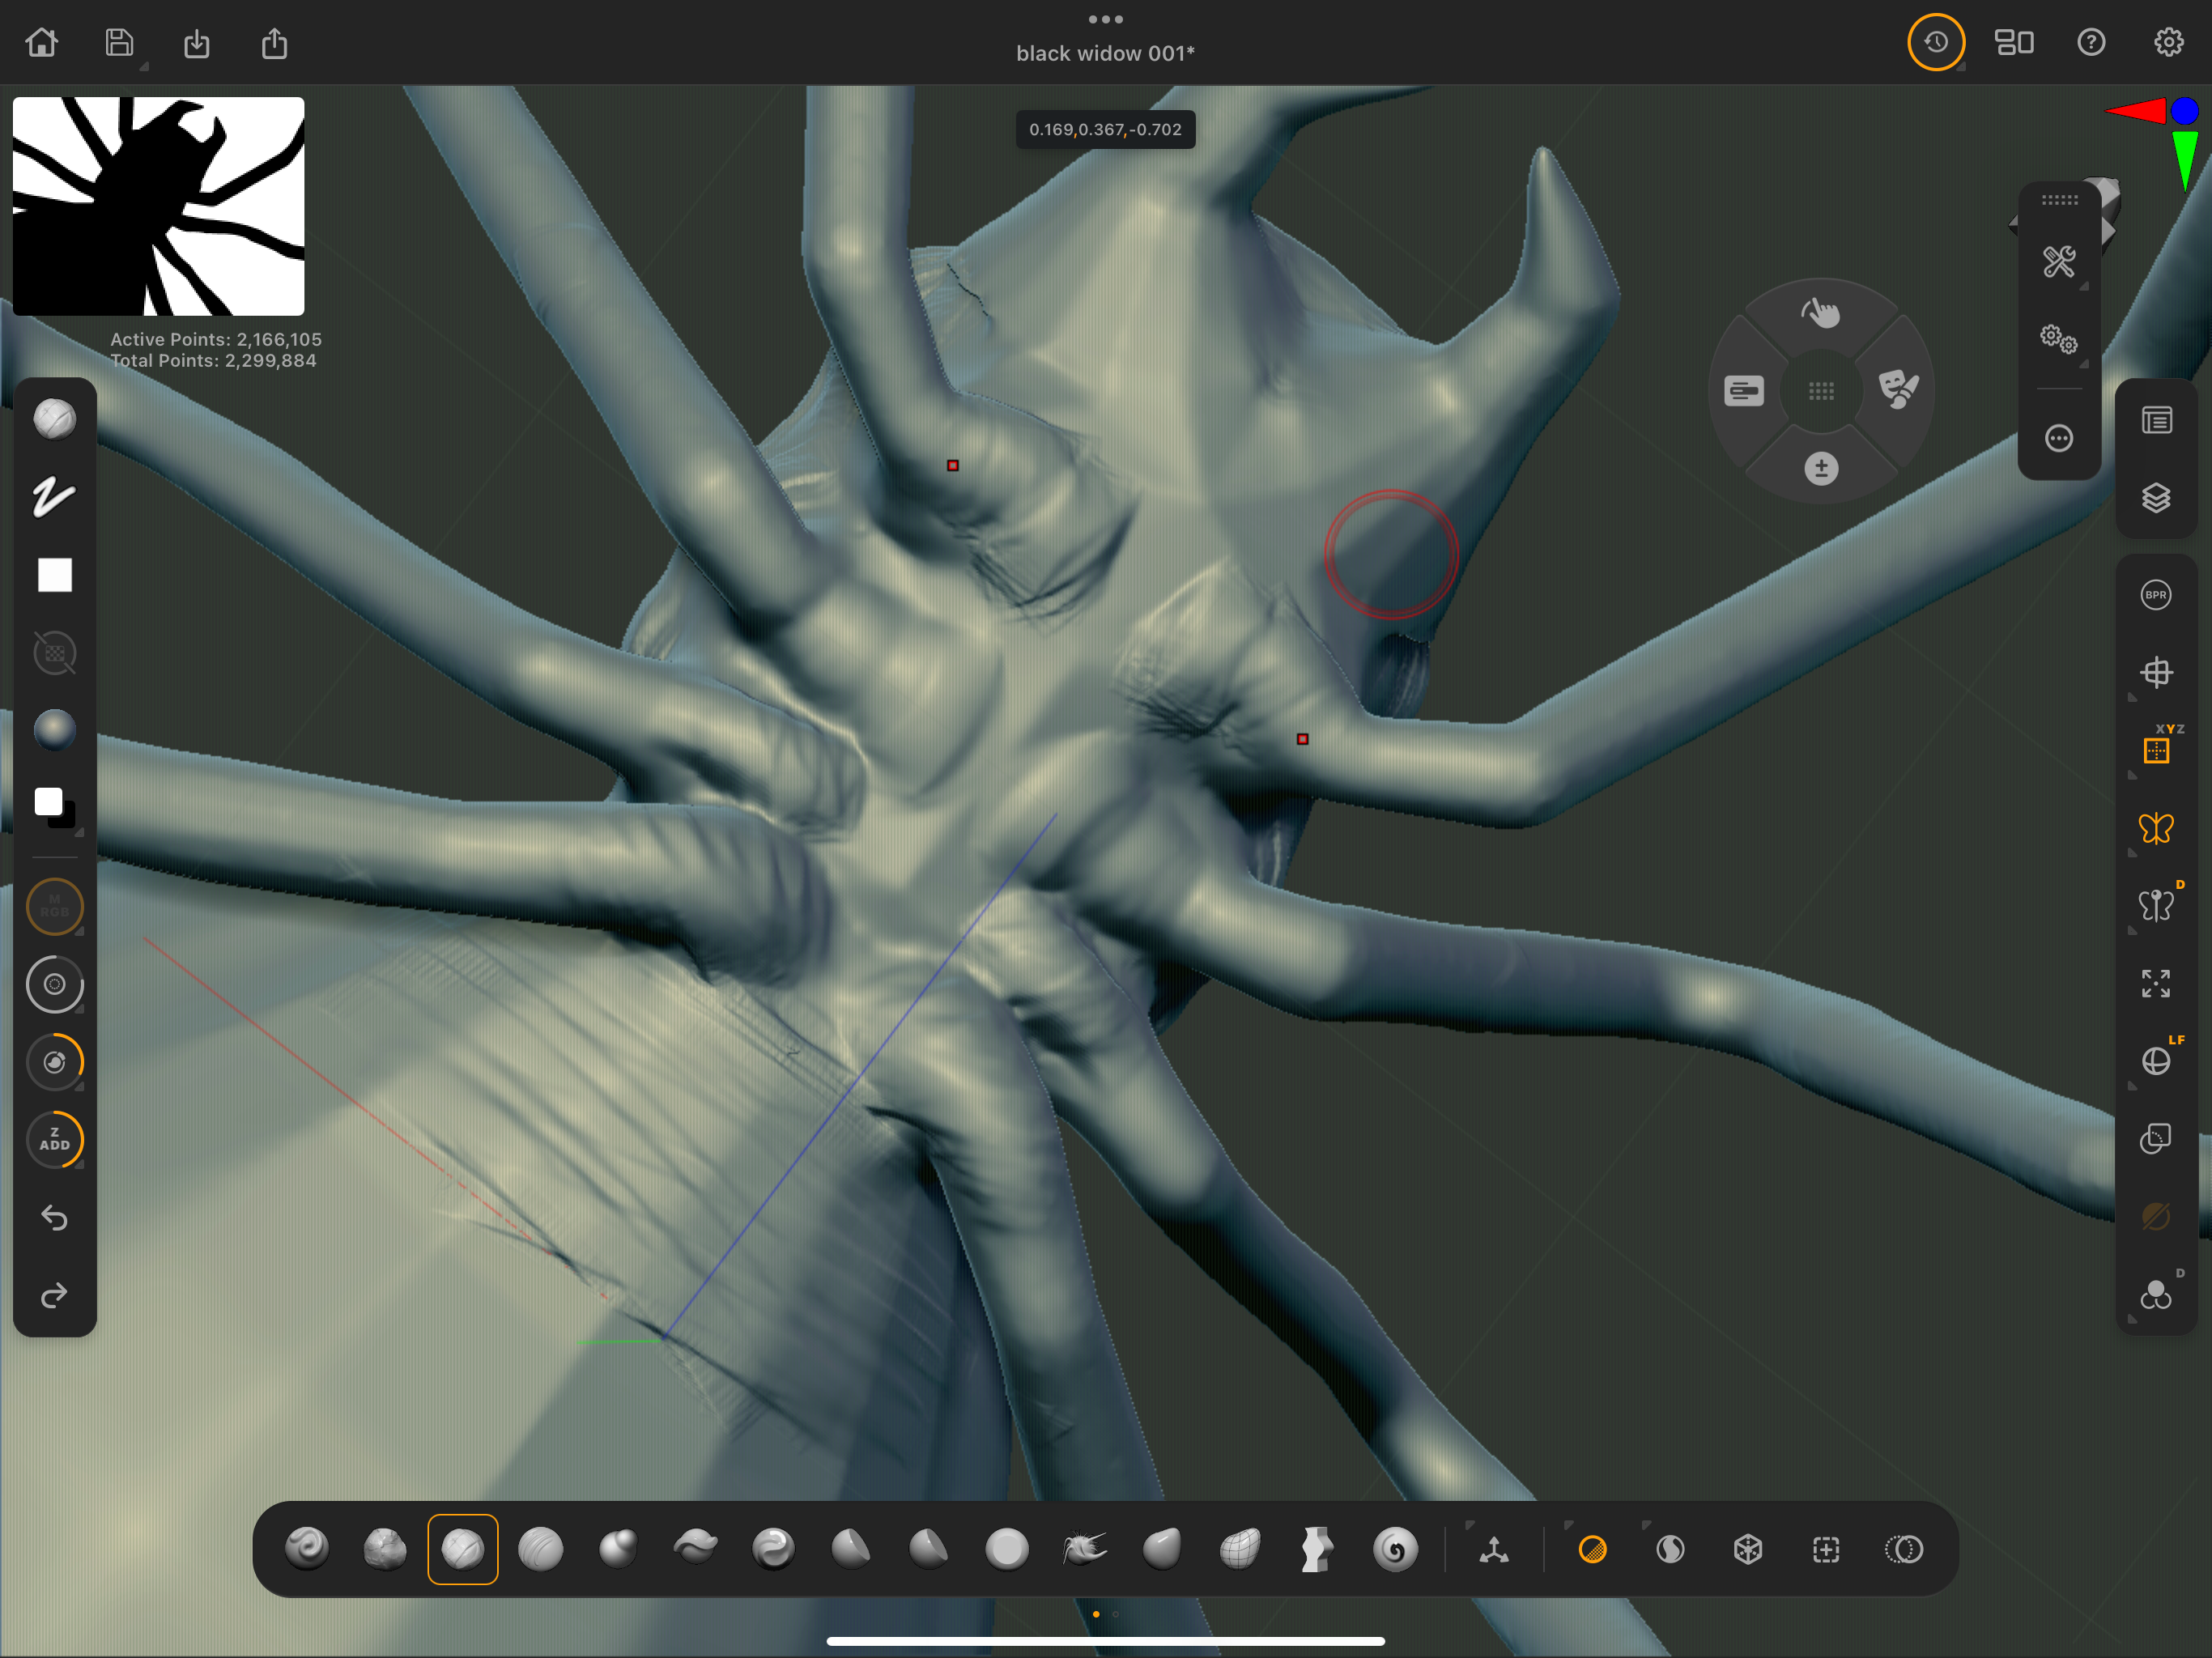
Now it's time to sculpt the Spider and add details. I recommend using just a few brushes for this when you are learning all available form the bottom brush menu. Clay Build up is great for adding the basic details. You need to use Shift on the onscreen dial to smooth the model as you are working. Claybuildup + Smooth is 90% of the work.
Work around the whole Spider with the Clay buildup brush and add specific details in the key areas. Focus on the legs first. Then the body and then the eyes. Another great tool for adding creases is the Dam Standard Brush which is also located on the bottom Brush menu.
9. Refining the look
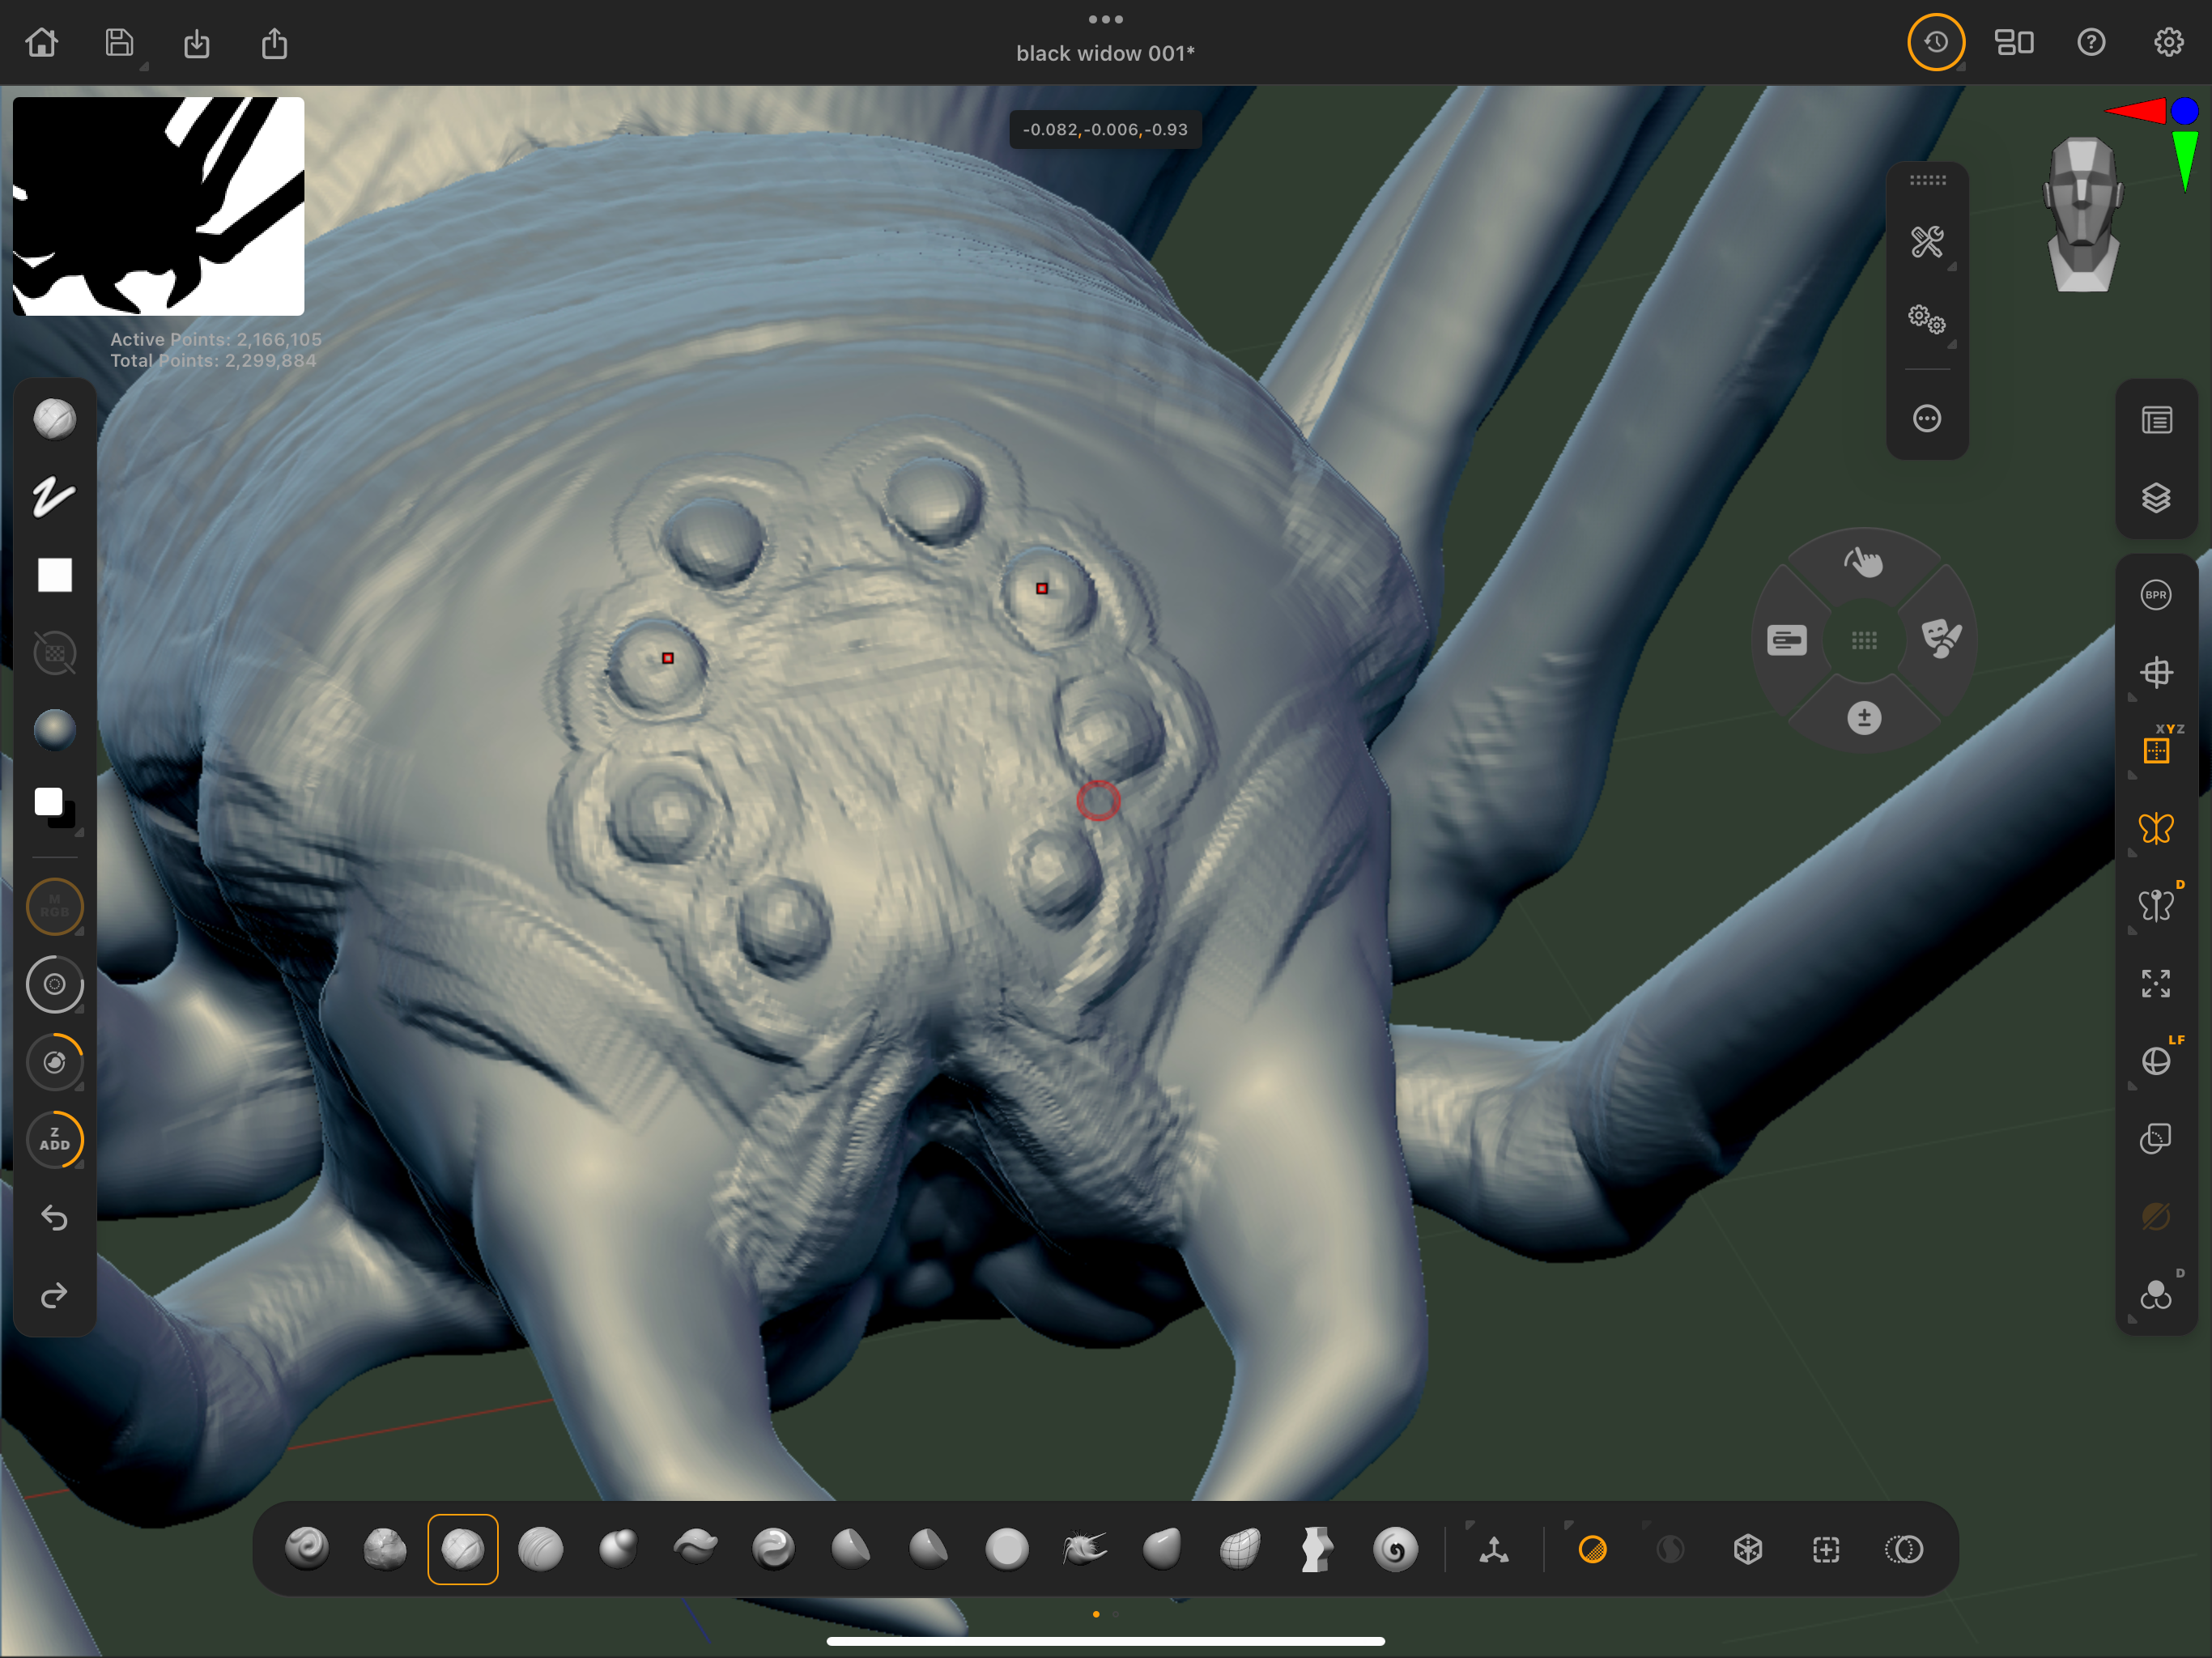
Once you haver done a pass over the whole model with the Clay Buildup you can start refining the look of the Spider. Add eight eyes by building them up and smoothing them down a few times. Outline them with Dam Standard to make them stand out a little more. Keep working around the whole model and looking where it needs sculpted details and where it needed to be tweaked with the move tool.
10. Painting the model
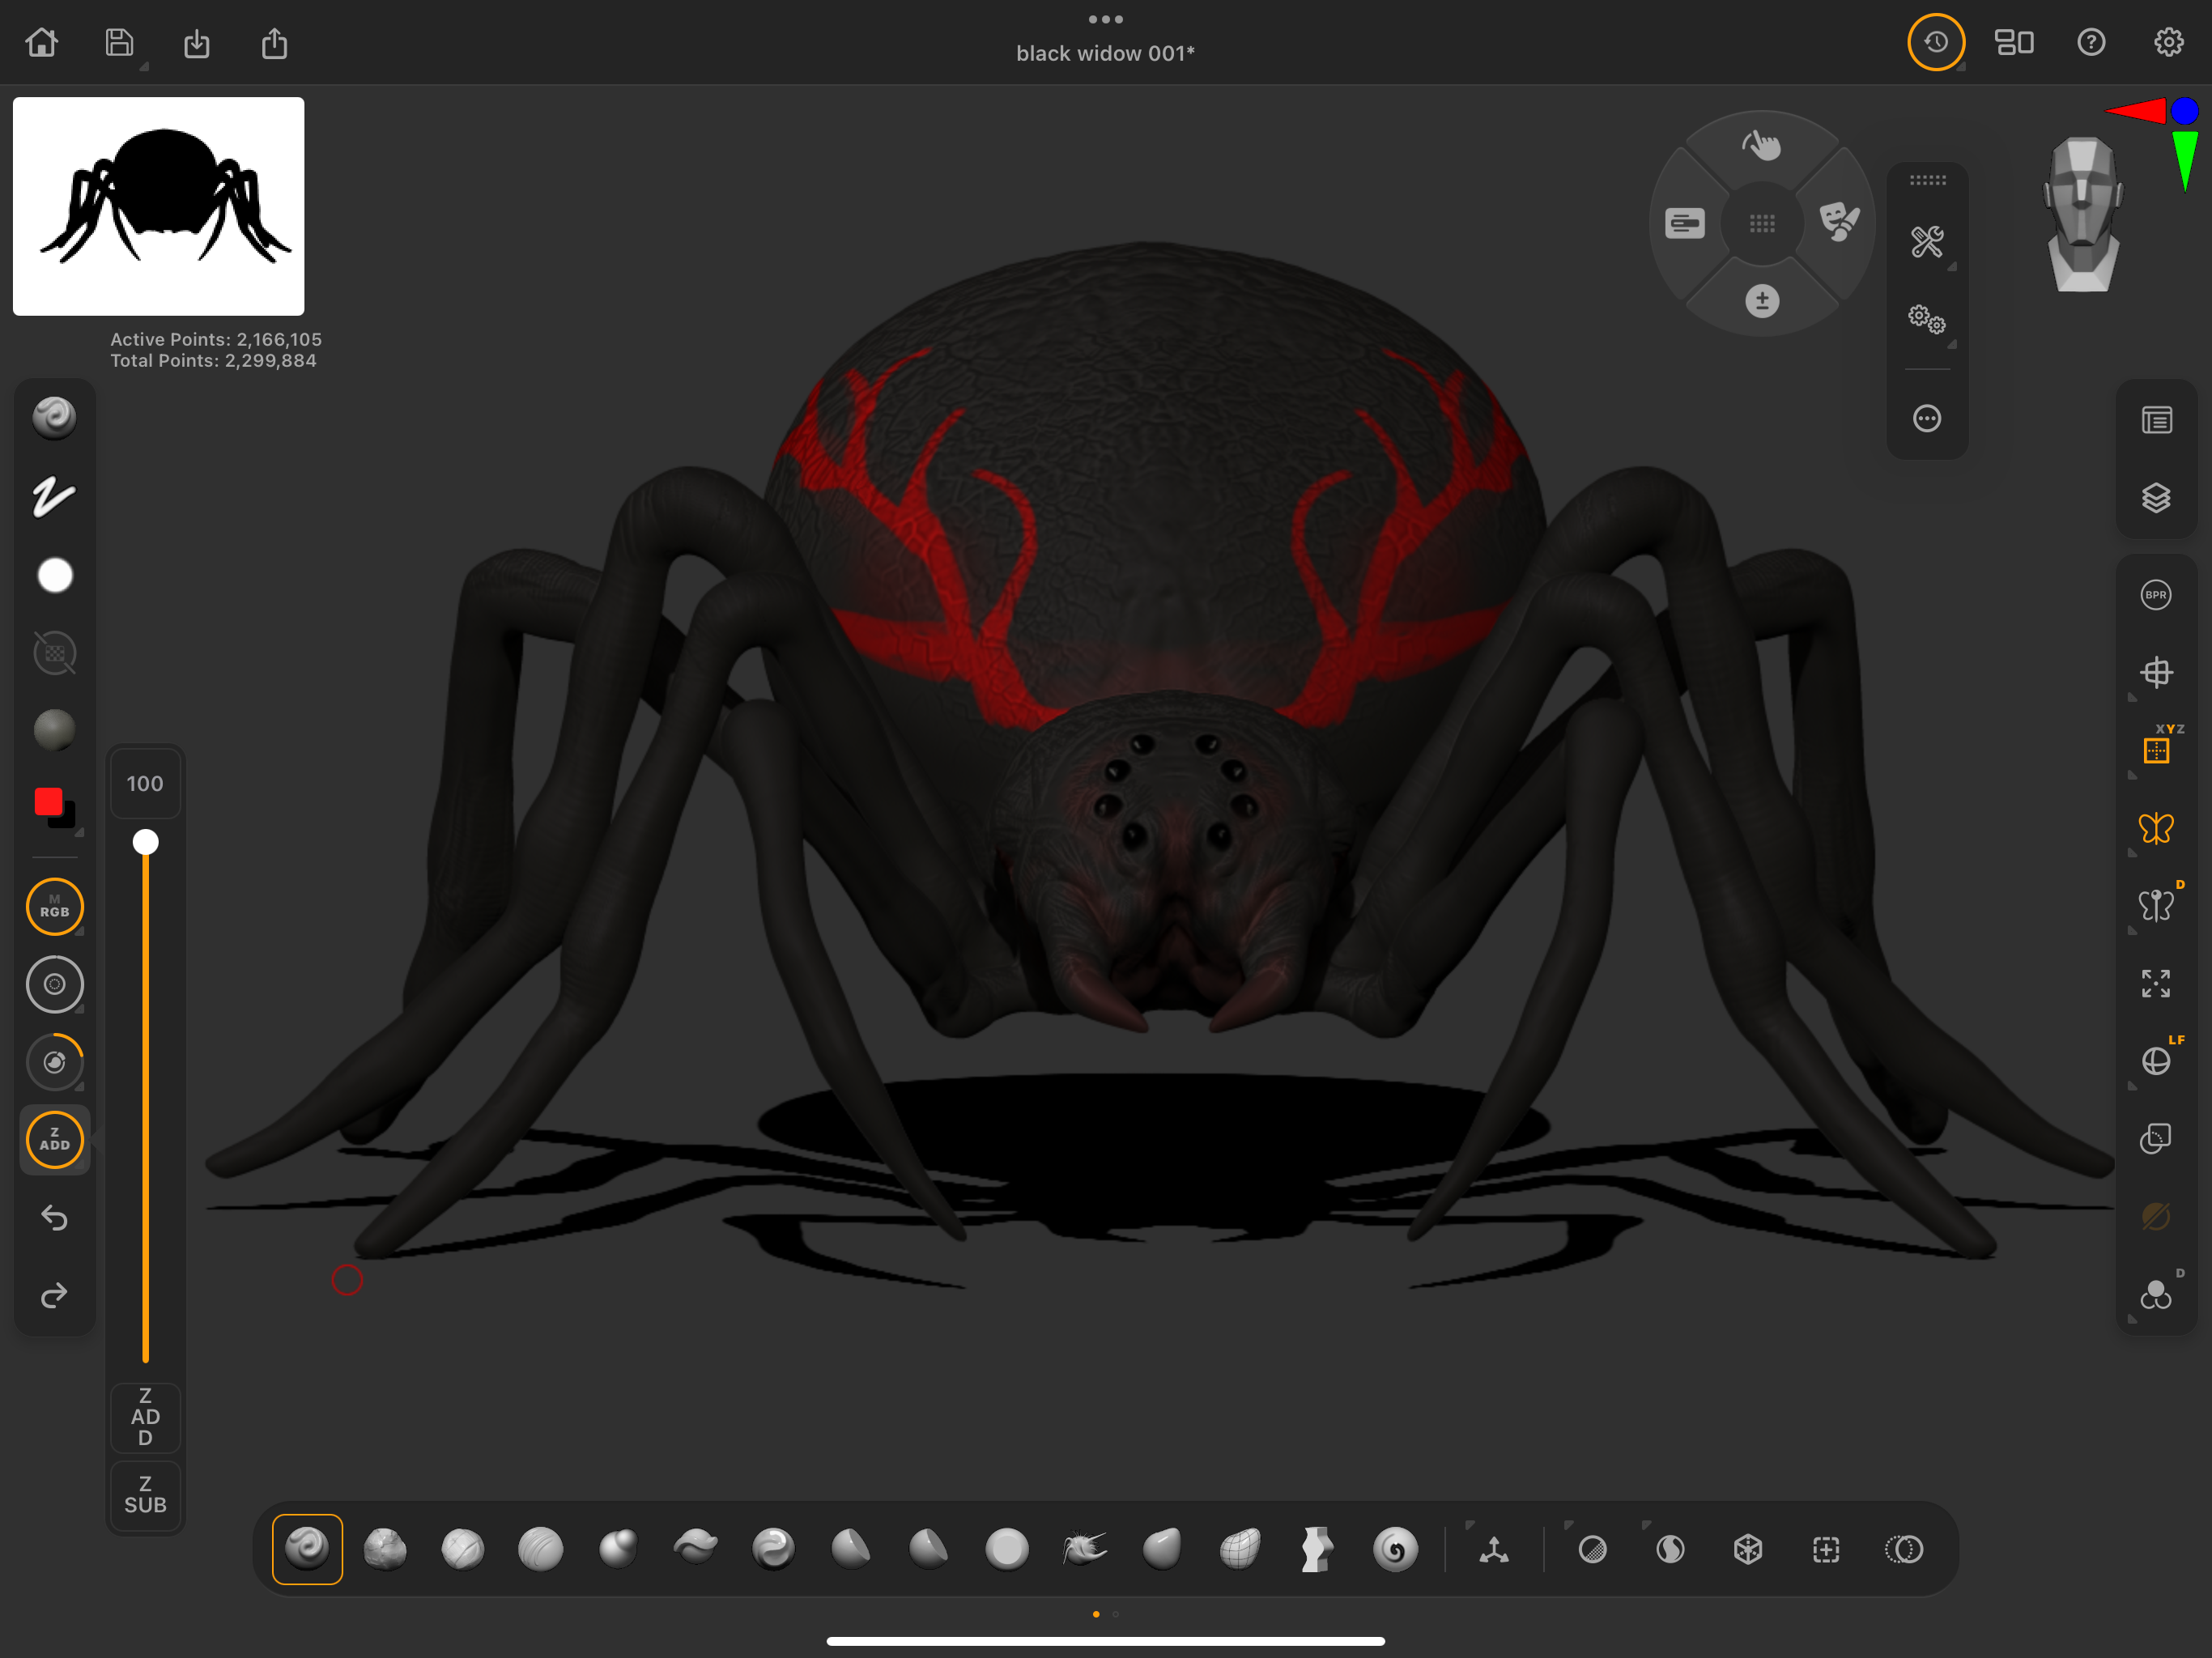
When you are happy with the sculpt you can use the Standard brush to add some paint. First turn off the sculpt (ZAdd) from the left-hand menu. Change the material to something you like (Black is good!) Then start painting the red decals as shown. I used a Black Widow as reference them went a little nuts with go fast stripes.
If you need more advice, read our ZBrush tutorials (including more from Glen). If you've yet to get an iPad, read our guide to the iPad generations, this explains all you need to know about iPads.


