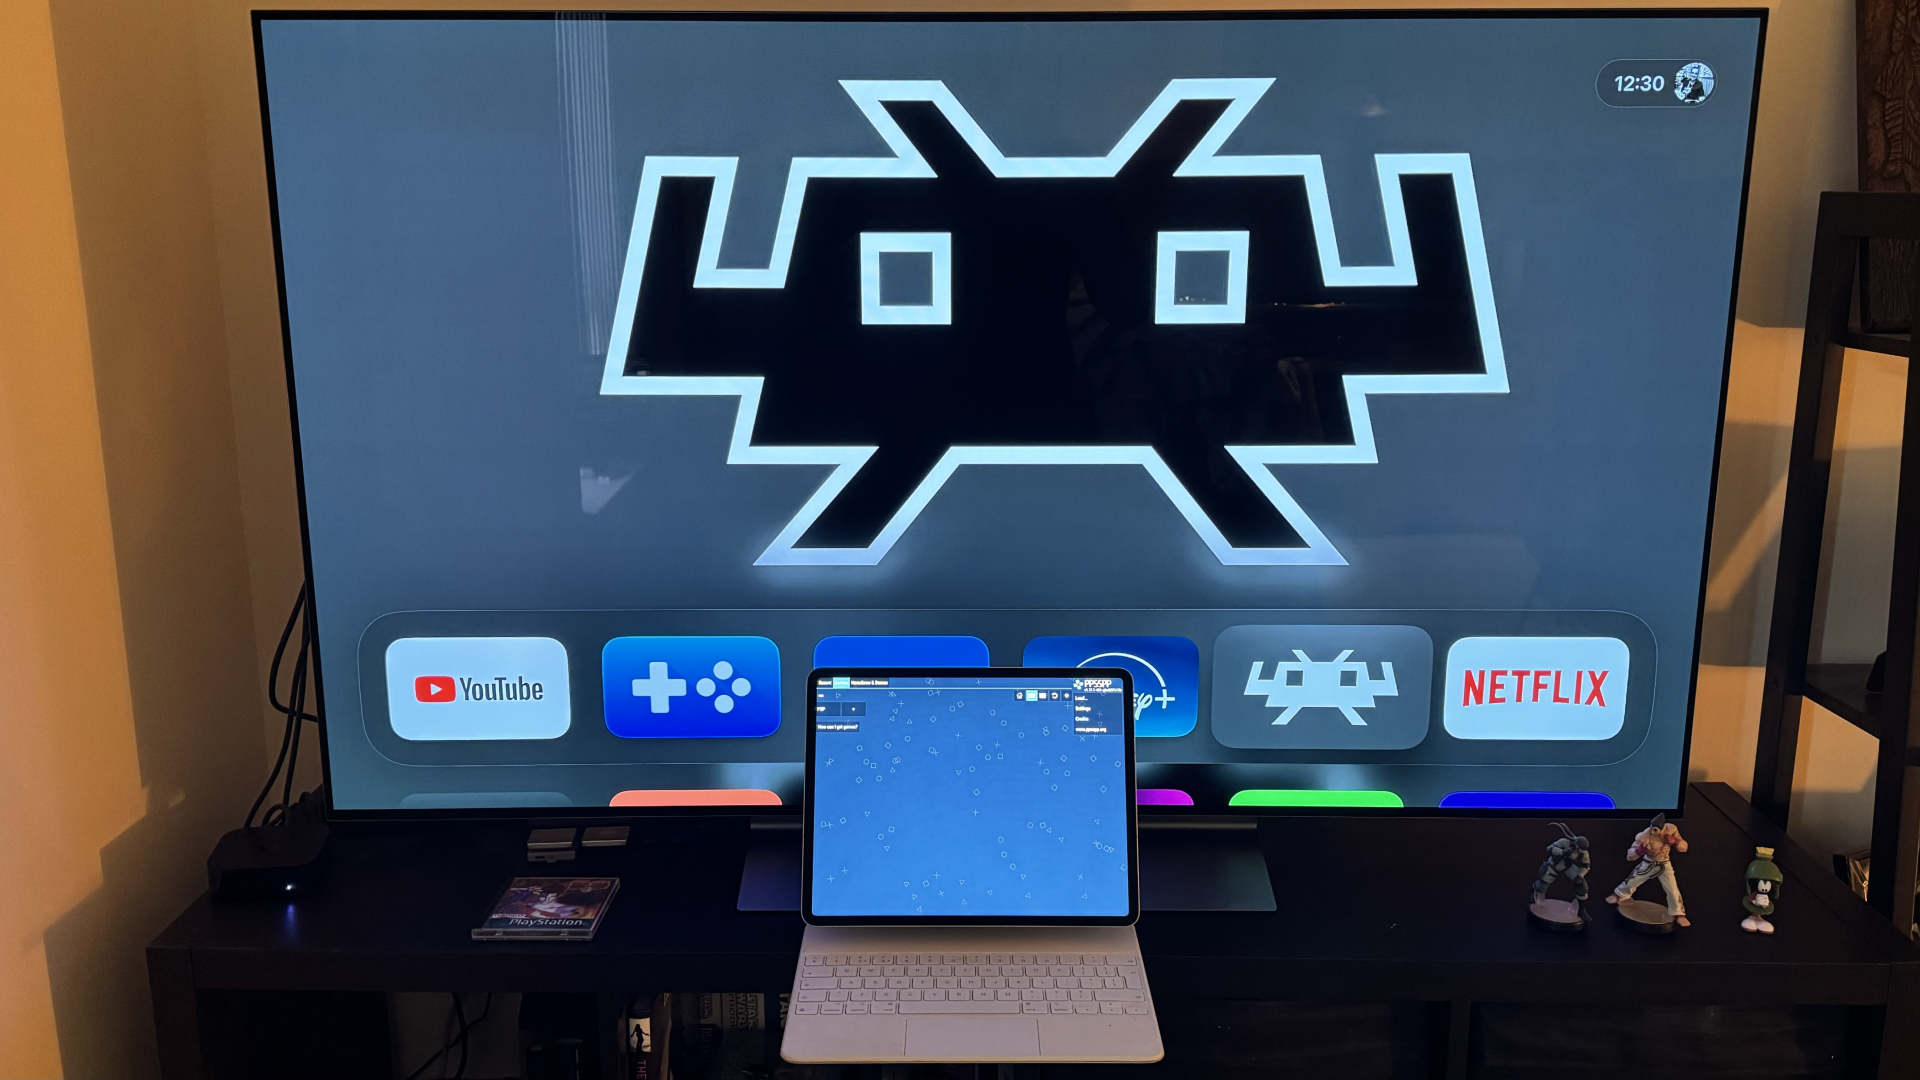
I love emulators. These apps, which can mimic other systems, play a crucial role in game preservation. They can allow the next generation of players to see how things used to be in ye olde days of gaming past, via modern devices.
When Apple changed its rule in April to allow retro gaming emulators onto the App Store, I was stunned. It meant that apps that I had been using on my Mac could now be ported onto my iPhone, iPad, and Apple TV. Soon after the rule change was made, multi-system emulators like Delta arrived, as well as those focused on one system, such as Gamma, a Sony PlayStation emulator.
While using these apps on my devices has been great fun, it wasn’t until the arrival of libretro’s powerful RetroArch emulator on May 15 that I felt the category had truly come into its own on Apple’s devices. You can play emulated games on over 30 supported systems with RetroArch alone. That’s way more than Delta supports, and includes more niche systems such as SEGA Saturn, Nintendo Virtual Boy, Neo Geo Pocket Color, and many more.
But there is one slight catch, at least initially — setting up RetroArch can be a headache. There is no guide once you launch the app, nor are there clear instructions as to what certain settings mean, or where files should go. However, when the emulator is set up, you’ll be playing games on your Apple TV and other devices with ease, as well as tinkering with the plethora of features that RetroArch offers. From playing games at higher resolutions than the original hardware was capable of to online multiplayer, the emulator gives some games an extra life, you could say.
With this in mind, we’ve put together a few short guides to help you set RetroArch up on whichever Apple device you choose to use. Retroarch is a deep and powerful emulator, capable of many impressive emulation tricks. But these quick tips will get you playing your favorite old-school games within just a few minutes of downloading the app.
How to set up RetroArch
Regardless of which device you use, the process is the same when setting up RetroArch — apart from one small change when transferring files on an Apple TV, due to the lack of a Files app on tvOS. We do have to stress that the following helps you play independent, homebrew games — we don’t recommend using this guide for games that can breach copyright laws. Instead, we have a couple of lists that feature a bunch of independent games you can play on the emulated systems featured in RetroArch, with homebrew titles for systems including Game Boy, Nintendo 64, PlayStation, and more.
With that out of the way, let’s get started.
- Download RetroArch from the App Store.
- Using the Files app, go to ‘On my iPhone/iPad > RetroArch > System folder.
- Place the BIOS files here. [A BIOS file is essentially the start-up screen, which verifies a game for its authenticity when it’s been inserted into the system. Not all systems require BIOS files to run, though you can add some for that added authenticity, such as when playing Game Boy games. To note, we cannot share any BIOS files, due to them being copyright-protected.]
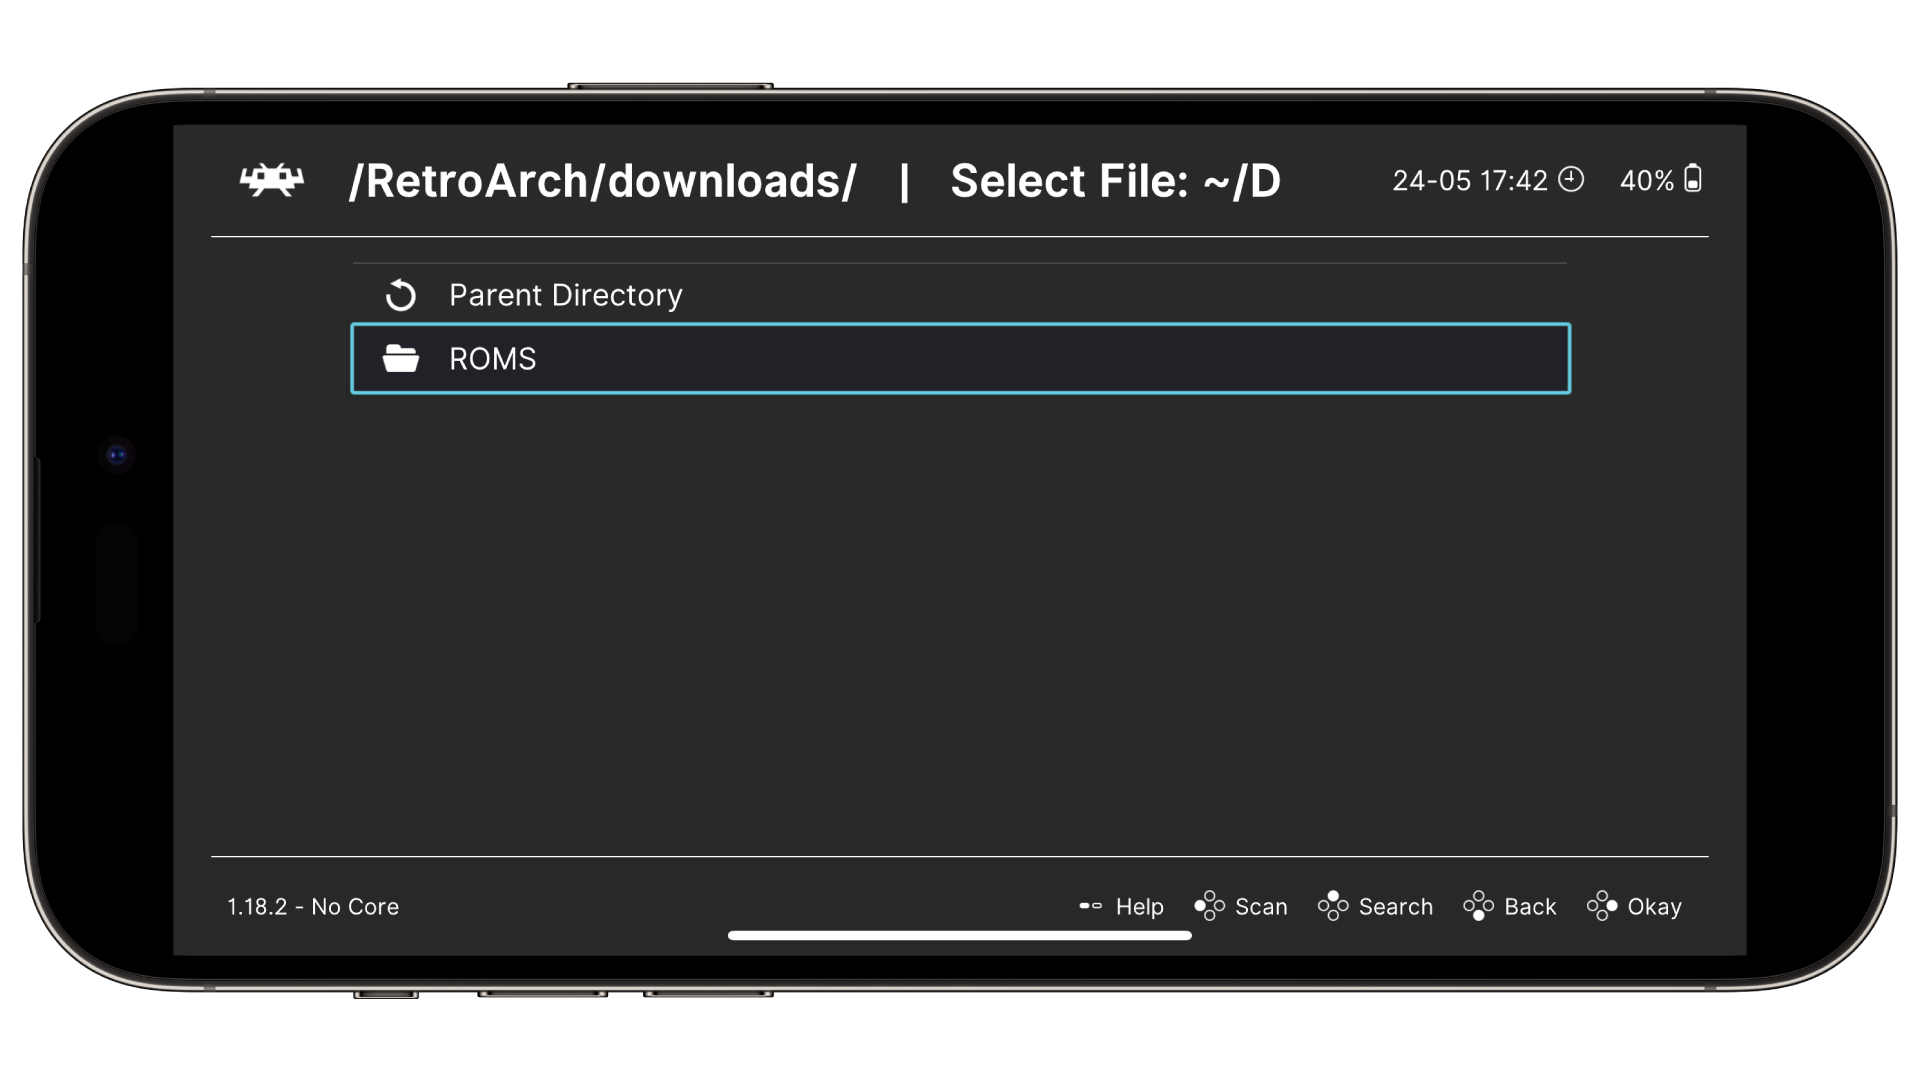
- In the RetroArch directory in the Files app, go to ‘Downloads’, then create a Folder called ‘ROMS’
- Use the Files app to drag and drop games, AKA your ROMs, into this folder. ROMs represent the collected data of a game in a package the emulator can read.
[STEPS 4 and 5 for Apple TV users: If you’re using an Apple TV, use a web browser to browse to the IP address stated in the message box that appears once the RetroArch Apple TV app starts up. Then use the web interface on your other device to drop the files into the ‘Downloads’ and ‘ROMS’ folder as stated in the steps above.]
- At the Main Menu in RetroArch, go to Load Content > Downloads > then press ‘Scan’. This will find the games you’ve placed in the ROMS folder.
- If done correctly, the consoles attributed to the games you’ve added will appear in the Main Menu, ready for you to play.
How to customize RetroArch
If the games are working correctly and you don’t want to change anything from this point onwards, go forth and enjoy. For those who want to change the look and feel of RetroArch, read on.
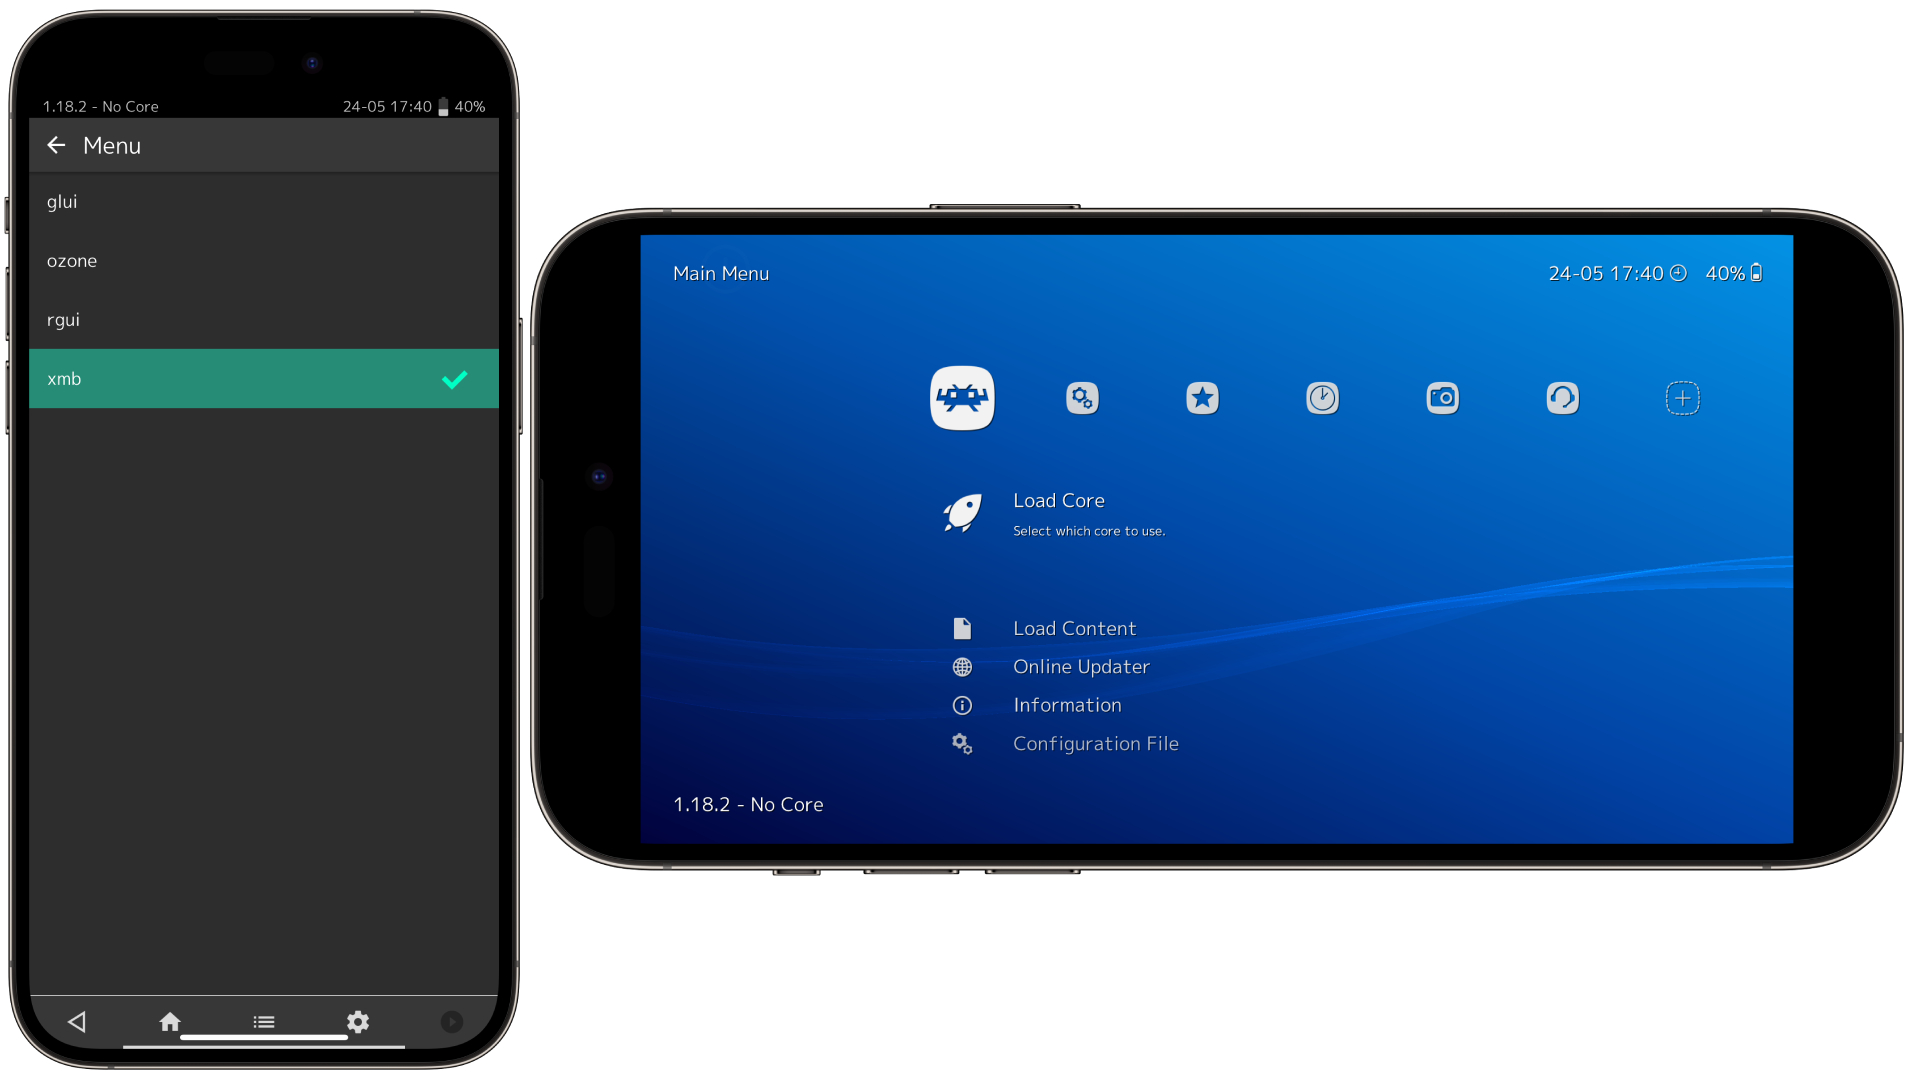
- At the Main Menu in RetroArch, go to Settings > Drivers
- Select ‘Menu’. This is where you can change the user interface. Selecting ‘XMB’ will transform RetroArch into something more akin to the look and feel of Sony’s PlayStation 3 and PlayStation Portable systems.
- Closing RetroArch and starting it up again will show this new look on your Apple device.
How to customize the hotkeys in RetroArch
As you play a game in RetroArch, you can summon a ‘Quick Menu’. This allows you to save anywhere at any time, as well as being able to take screenshots, rewind your progress, and more. Yet the default button combo to enable this menu is cumbersome. Here’s how you can change this to make it easier for you.
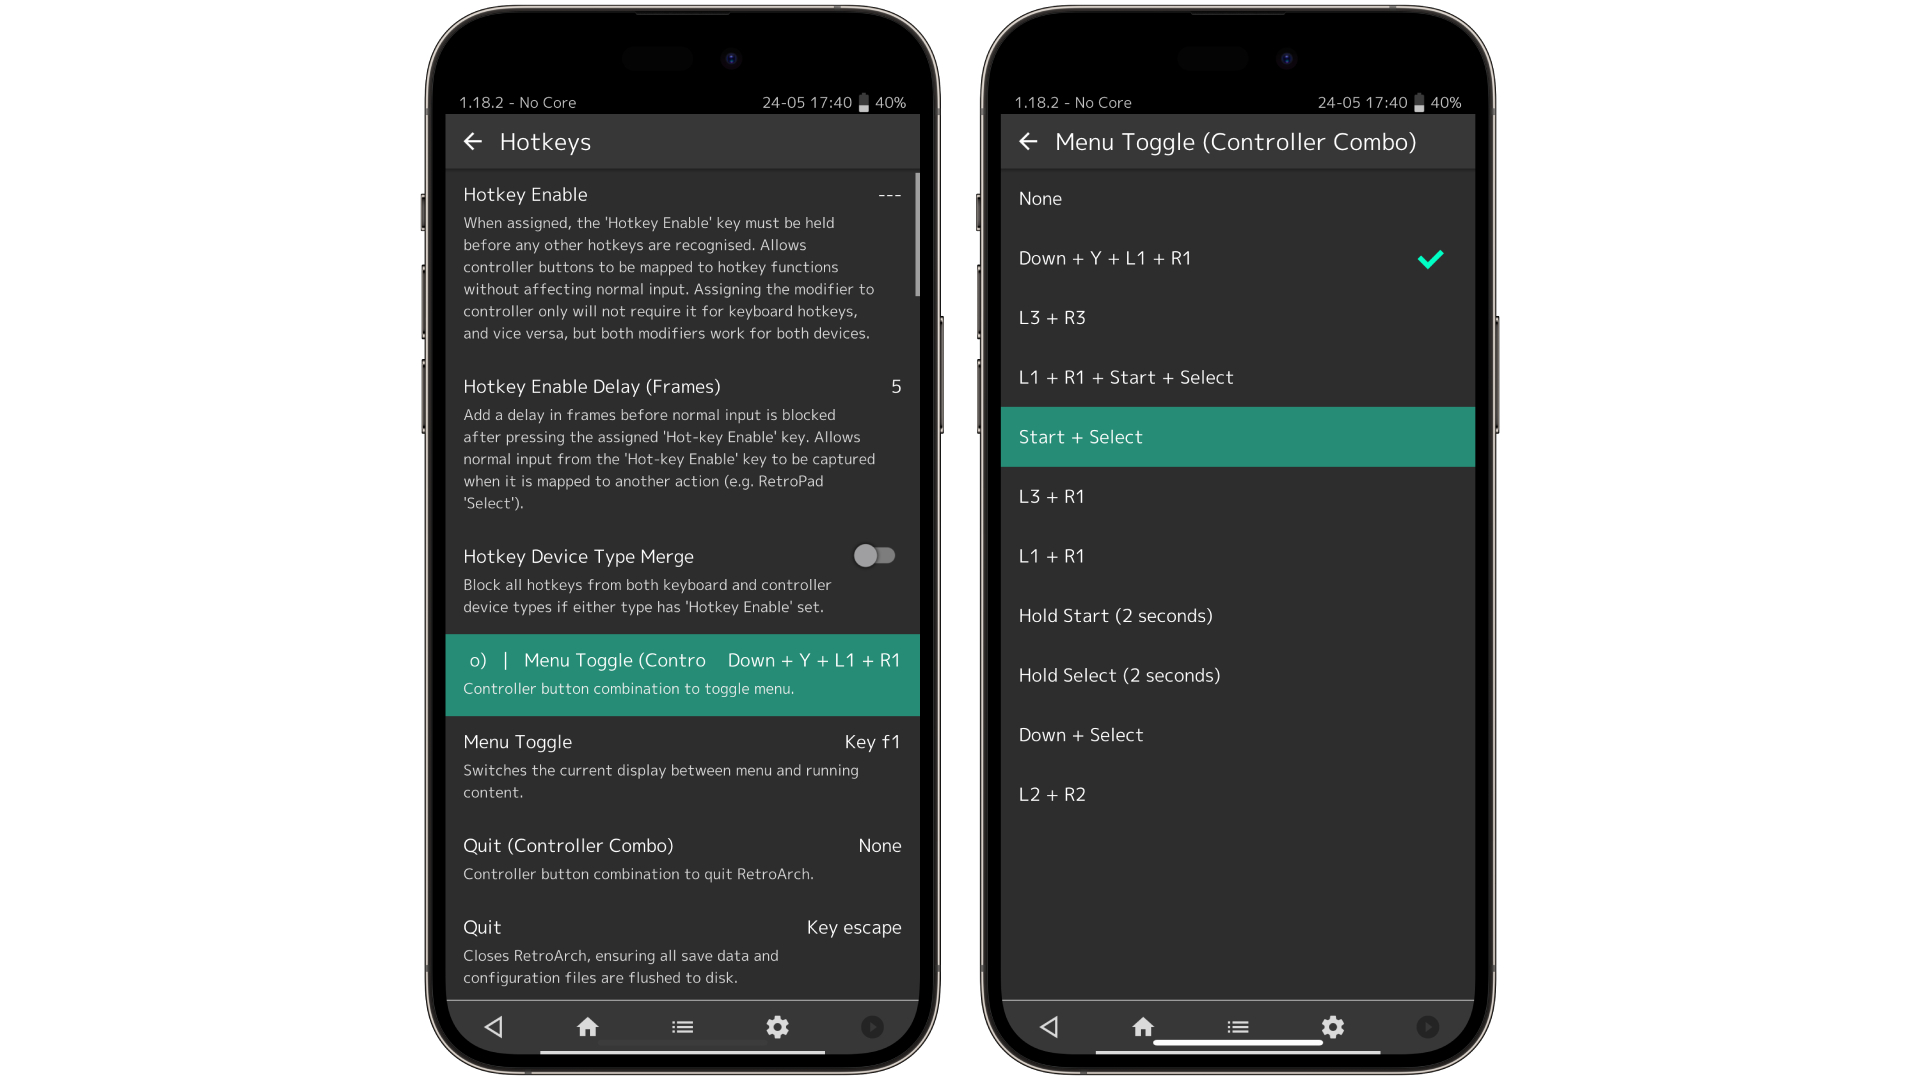
- At the Main Menu in RetroArch, go to Settings > Input
- Go to ‘Hotkeys’
- Scroll down to ‘Menu Toggle’ and select it.
- You’ll be brought to a selection of button combinations. You can choose whichever suits you best, but we prefer Start + Select.
- From now on when you play a game, you’ll be able to bring up the Quick Menu by pressing this simpler combo of buttons on your chosen controller.
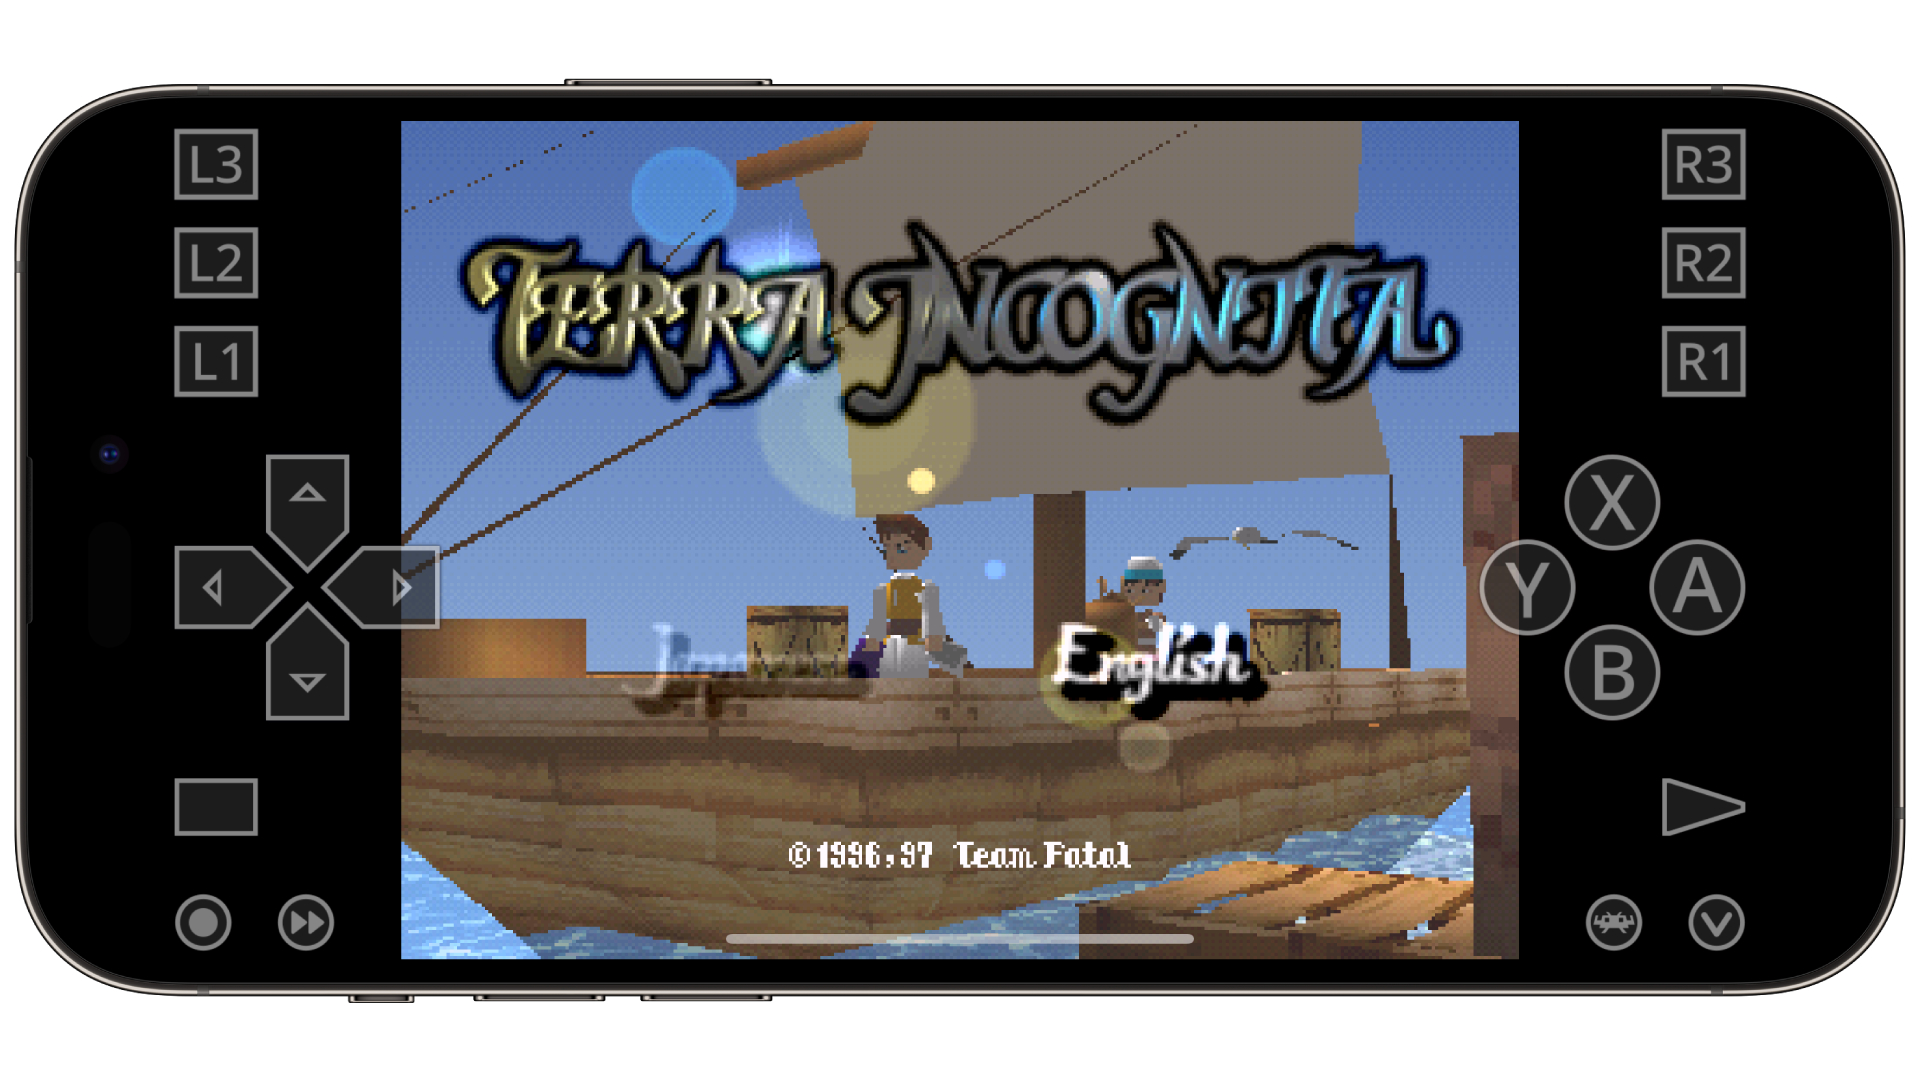
The beauty of RetroArch doesn’t sit in its ease of use — we’ll be honest, it’s a very difficult app to master. But once you do, there are so many additional interesting things you can do with it. Online play for games that never had it; CRT-style overlays for an added retro aesthetic; custom artwork and playlists for your favorite titles; integration with frontend library management apps. There are loads of options to play around with, and hours of tinkering await you. But if all you need is that quick hit of retro-action, the above steps will get you gaming in just minutes.
.jpg?w=600)


