If you’re wondering how to season cast iron, you might be thinking that you need to top up your salt and pepper shakers to complete this job. But seasoning cast iron cookware isn’t as it seems.
Yes, if you’ve finally caved in and invested in the best cast iron cookware, you’re in for a real treat. Cast iron is a firm favourite among the Ideal Home team, and many of our editors have an enviable collection of Le Creuset, Our Place, and Staub cast iron cookware in their kitchens. But with great cookware comes great responsibility, and it’s important to care for your cast iron properly.
Before you cook with your cast iron pots, pans, or skillets for the first time, you have to season it. This process will ensure that your cast iron cookware remains in tip-top condition and continues to have non-stick qualities that rival even the best non-stick frying pans in the game. This is how you do it.
How to season cast iron
‘The natural non-stick coating that iron pans build up is called seasoning. It's essentially burnt-on oil that has polymerised into a hard, shiny surface,’ explains Tara Button, CEO and Founder of Buy Me Once. And while seasoning cast iron is an essential task, we can understand how daunting this can be. So, we’ve explained your two options in simple terms.
How to season cast iron in the oven
Seasoning your cast iron is arguably the easiest way to complete this task, but there’s no doubt about the fact that this will ultimately cause a spike in your energy usage. So, if you’re happy to work smarter and not harder (but for a few extra pennies), then check out the steps to season cast iron in the oven below:

1. Preheat the pans for 15 minutes
To successfully season your cast iron in the oven, you should first heat your cast iron cookware very slightly. However, it’s important that you don’t put the oven on too high for this step.
Tara explains, ‘Preheat your pan/s in the oven to 90°C for 15 minutes. Carefully remove from the oven (take care, it’ll be HOT!), and place on a heat-resistant surface.’
2. Wipe a thin layer of oil over the pans
Carefully, you then need to add the first layer of seasoning (oil) to the cast iron. Generally, this is a vegetable oil such as rapeseed oil or rice bran oil. You can do this with a paper towel or microfibre cloth, but you need to make sure that this layer is very thin.
‘Too much oil is one of the most common causes of weak, flaking, sticky and problematic seasoning,’ says Tara. ‘You only want the lightest layer possible. Wipe on, and then wipe off, so that the pan looks practically dry.’
3. Heat the pans in the oven for 1.5 - 2 hours
When you have a thin layer of oil over the cast iron cookware, you should then put the pans back in the oven. This time, however, you need to increase the temperature to 250°C.
You should always make sure that you put the pan upside-down on the oven rack. If you wanted to, you could also put a baking tray underneath the rack to catch any oil drips. But if you’ve wiped off the excess oil properly, this shouldn’t be necessary.
Ideally, you should then leave your cast iron cookware in the oven for 1.5 - 2 hours.
4. Turn off the oven and leave to cool
After two hours, you may feel inclined to get your cast iron cookware out of the oven to see the results of your first seasoning session. But patience is key when it comes to this process.
Keep the oven door closed and the pan in its place until you’re confident that it’s completely cooled down. This normally takes around 30 minutes.
Tara explains, ‘Cooling the pan between layers helps build stronger seasoning.’
5. Repeat the process
Unfortunately, one seasoning session won’t be enough to render your cast iron cookware completely non-stick. You need to build up this patina, and you need to build up the layers of oil. So, you need to repeat the process before you can use your cast iron for the first time.
‘Repeat the oven seasoning process three or more times to establish a strong seasoning foundation for corrosion resistance. You will notice your pan starts to darken in colour,’ says Tara.
When you’ve done that, you’re good to go. You just need to remember to re-season your cast iron after cleaning.
How to season cast iron on the hob
If you’re looking to save energy and money, seasoning cast iron on the hob is your best bet. This is generally a much quicker process but can be fiddly if you’re new to seasoning cast iron. But without further ado, this is how you can season cast iron cookware on the hob:
1. Open your windows and turn on your extractor fan
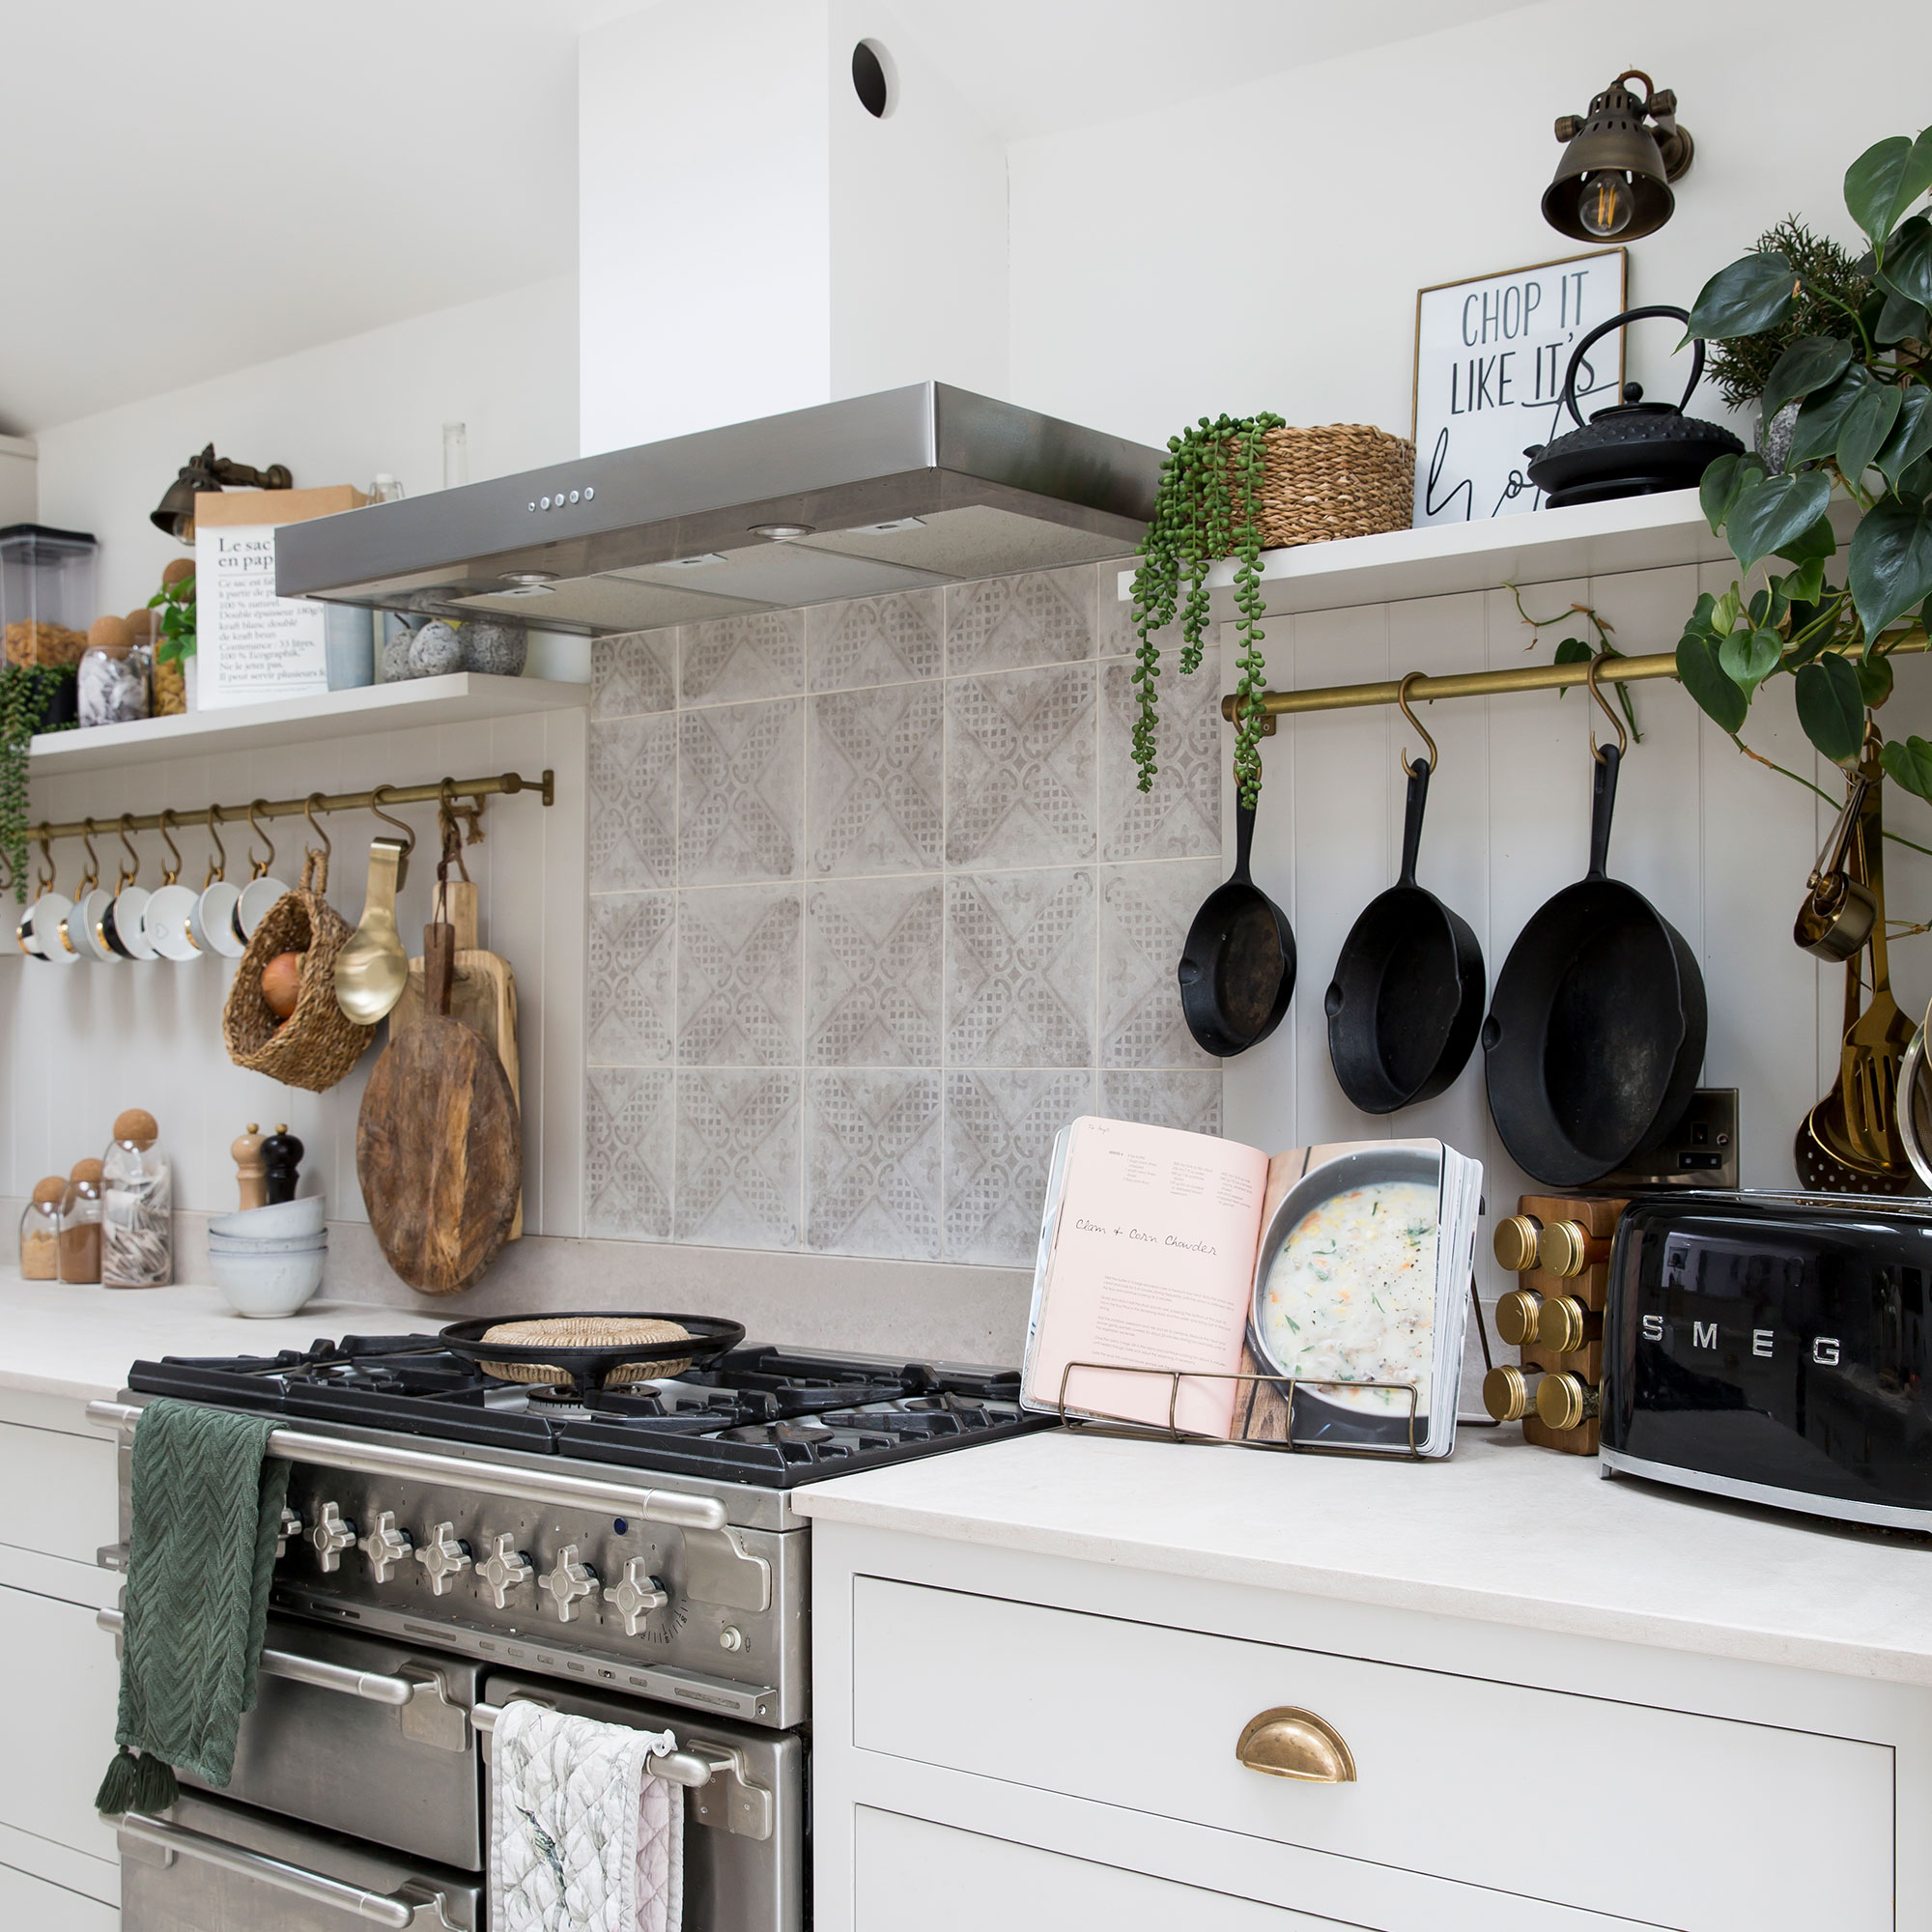
Seasoning cast iron on the hob is a smoky business, which is why it’s important to open your windows and turn on your extractor fan before you start this process.
If you don’t, it won’t be long before your smoke alarm is cheering you on.
2. Heat the pan gently
With proper ventilation in place, you can then pop your cast iron on the hob and start heating it up. However, this needs to be a gradual temperature increase.
Tara warns, ‘Do not rapidly heat your pan on high hob temperatures straight from cold, especially with an induction hob and especially on a ring that's too small for the pan. The rapid, uneven heating can cause it to warp. Iron is very conductive and retains heat, so let the temperature climb and gradually increase it.’
3. Wipe the pan with oil and leave to cool
Then, you can add a teaspoon of oil to the pan and wipe it around. Avoid doing this with your hands, though.
To keep your skin away from the hot pan, it’s best to hold a folded paper towel of microfibre cloth with tongs and wipe the oil from a distance. This safety precaution is especially important, as this is when your pan should start smoking.
‘Continuously wipe the oil around the pan until the pan starts to smoke,’ says Tara. ‘Once smoking, continue to wipe for 20 seconds. The oil should be a very thin polish - no pools or lumps.’
You should then remove the cast iron from the hob and leave it to cool for at least a minute before making your way to the next step.
4. Repeat the process
Similarly to seasoning cast iron in the oven, you need to repeat the process to complete this essential task. Tara suggests repeating the process for another 15 minutes across two or more sessions and looking out for a change in appearance.
‘Repeat until the base is black and slick, or until you are satisfied with the pan’s non-stick performance.’
5. Maintain the seasoning
While seasoning your cast iron on the hob will help to develop the initial non-stick qualities, you also need to maintain this seasoning as you use the cookware.
Thankfully, this is very easy! Tara explains, ‘Cooking normally on this pan will now develop the seasoning more and more. Whilst the seasoning is young, use plenty of fats/oils to help prevent sticking.’
How to season Le Creuset cast iron
As one of the biggest players in the cast iron game, Le Creuset is a popular choice for those looking for high-quality cookware. But if you’ve decided that this brand wins in the Le Creuset vs ProCook debate, it’s important to note that seasoning Le Creuset cast iron is a little different from seasoning cast iron cookware from other brands.
In fact, you don’t need to season Le Creuset at all. When we asked them about their popular skillets, a representative told us, ‘Unlike most cast iron products, you don’t need to season Le Creuset cast iron skillets to start cooking. Le Creuset cast iron skillets develop a natural patina over time that assists with adding flavour to food and easy release.’
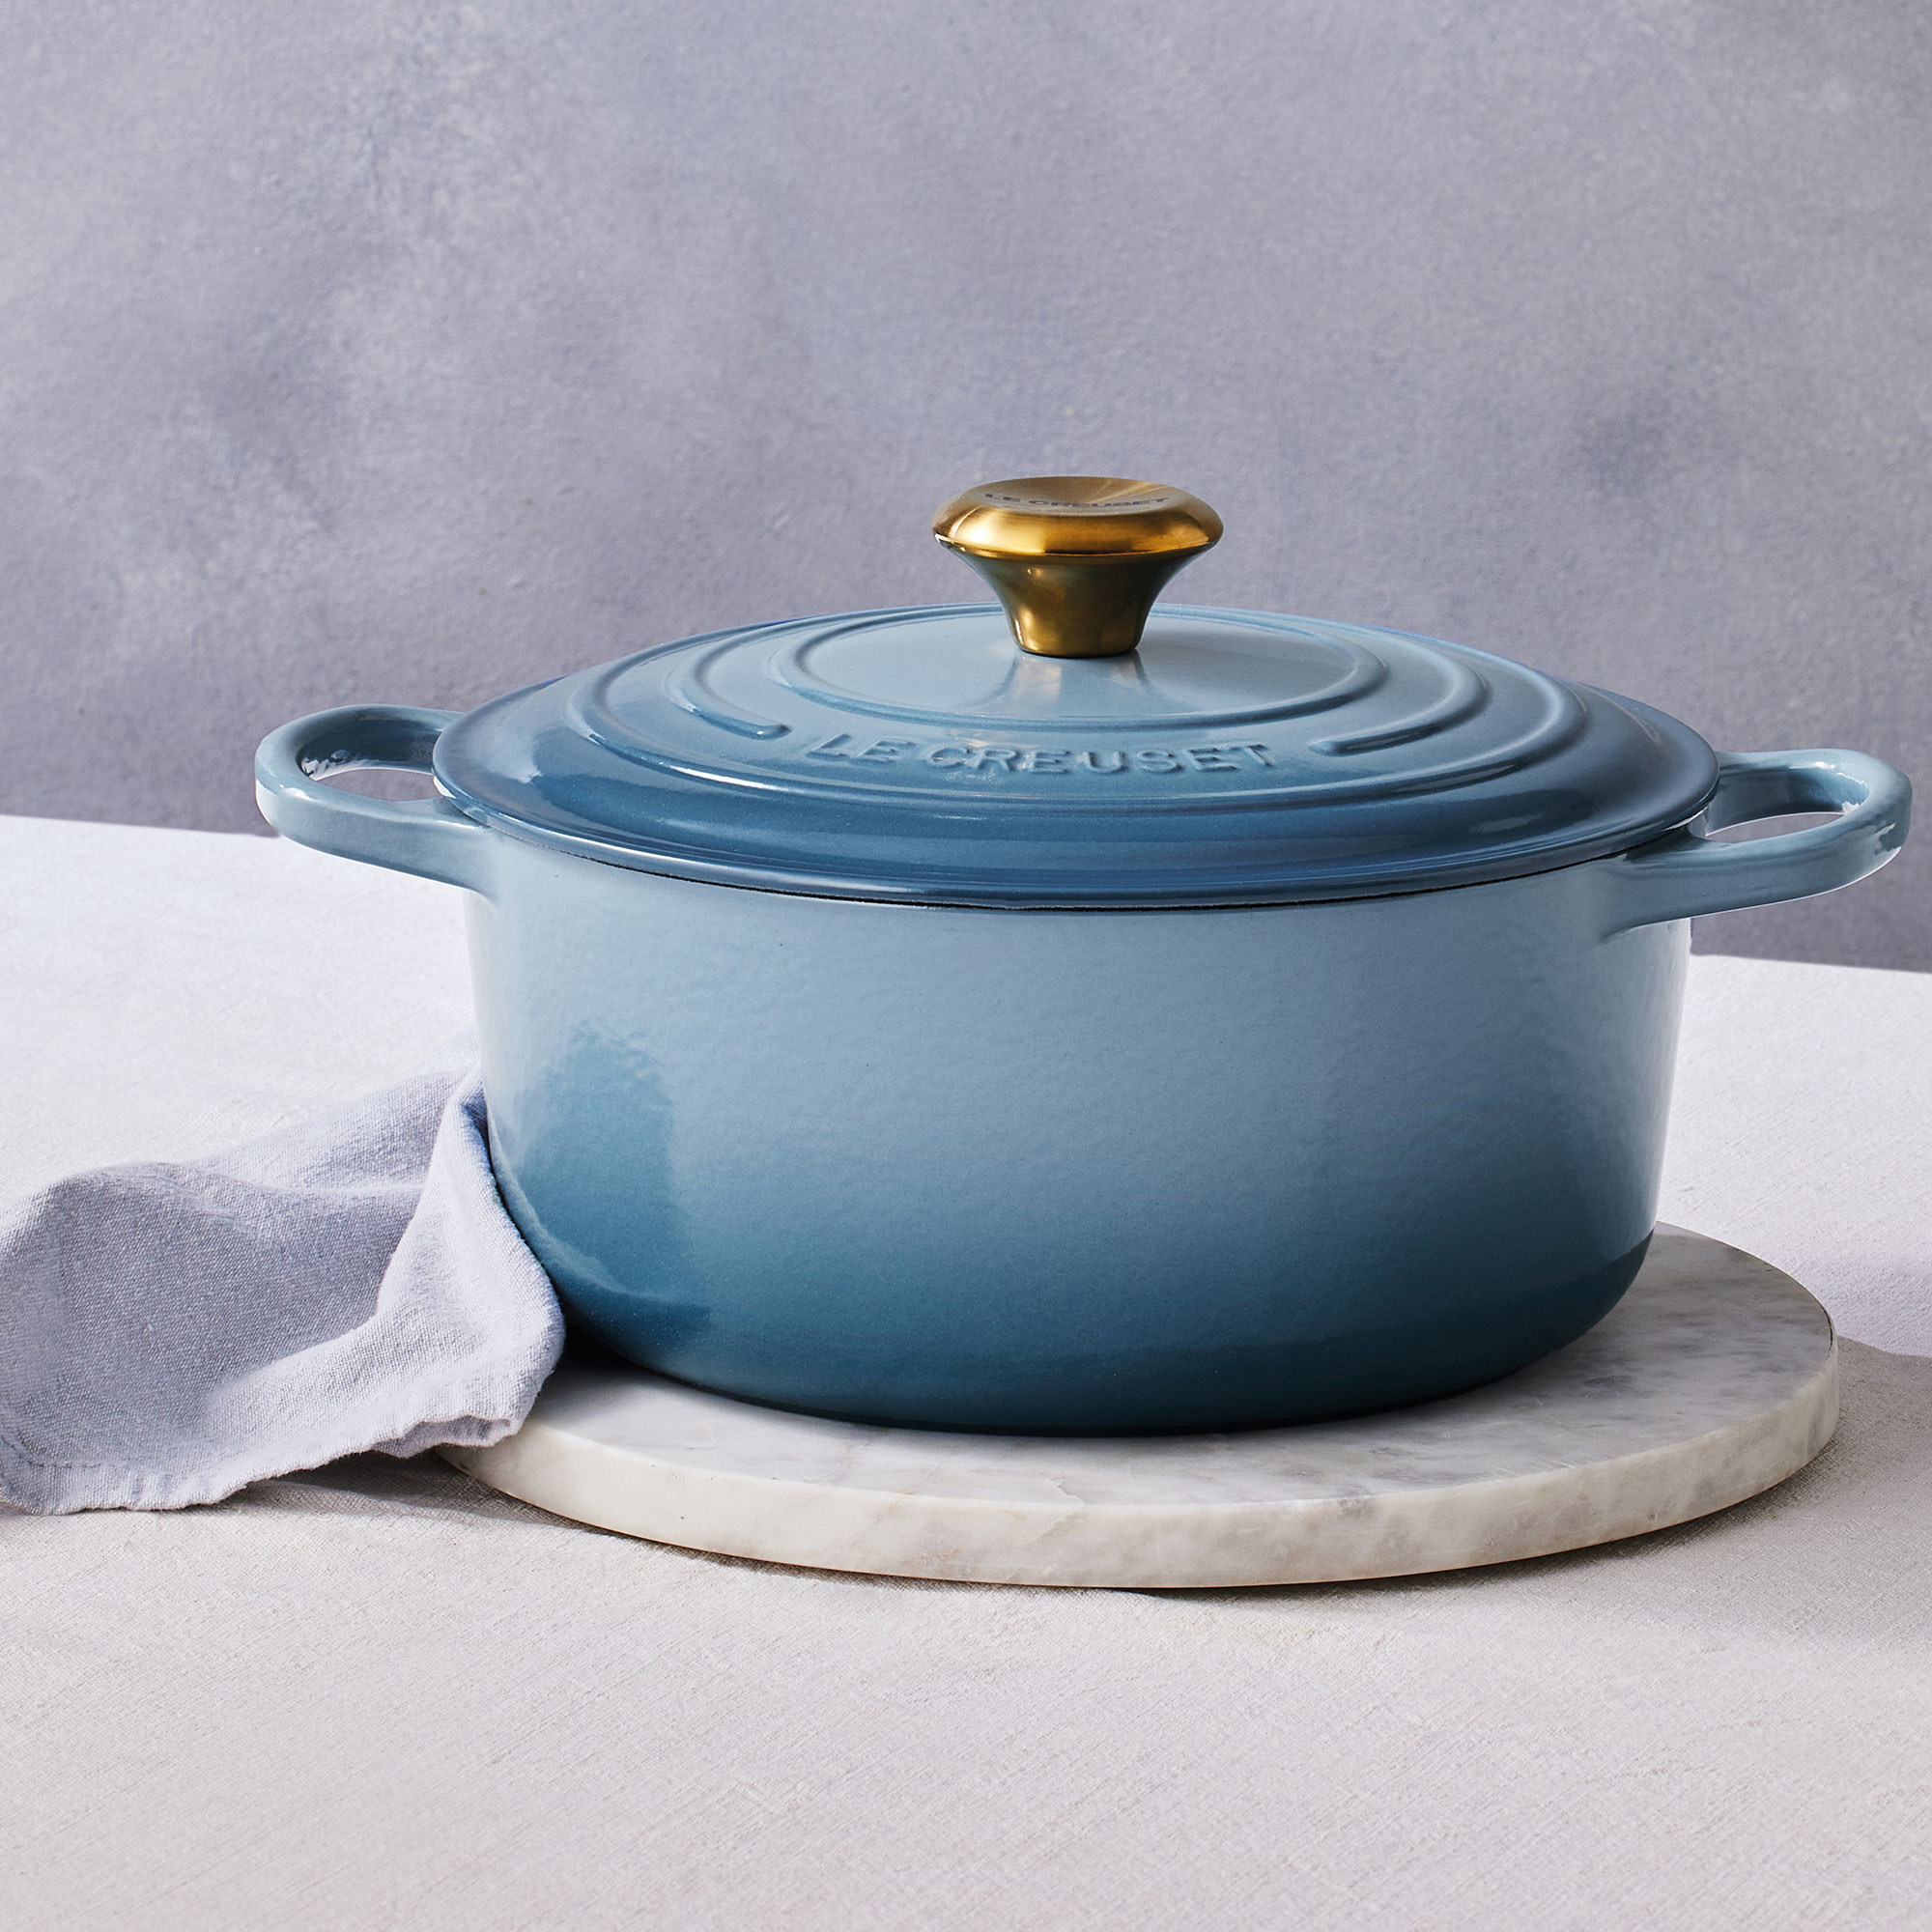
‘The satin black enamel interior of the cast iron skillet allows for higher surface temperature cooking and delicious caramelisation throughout.’
This perk doesn’t just apply to skillets, though. This enamel is incorporated across the Le Creuset brand, and every single cast iron piece in their collection is already pre-seasoned and ready to go.
This hassle-free cast iron cooking makes the above-average price of Le Creuset a little easier to swallow.
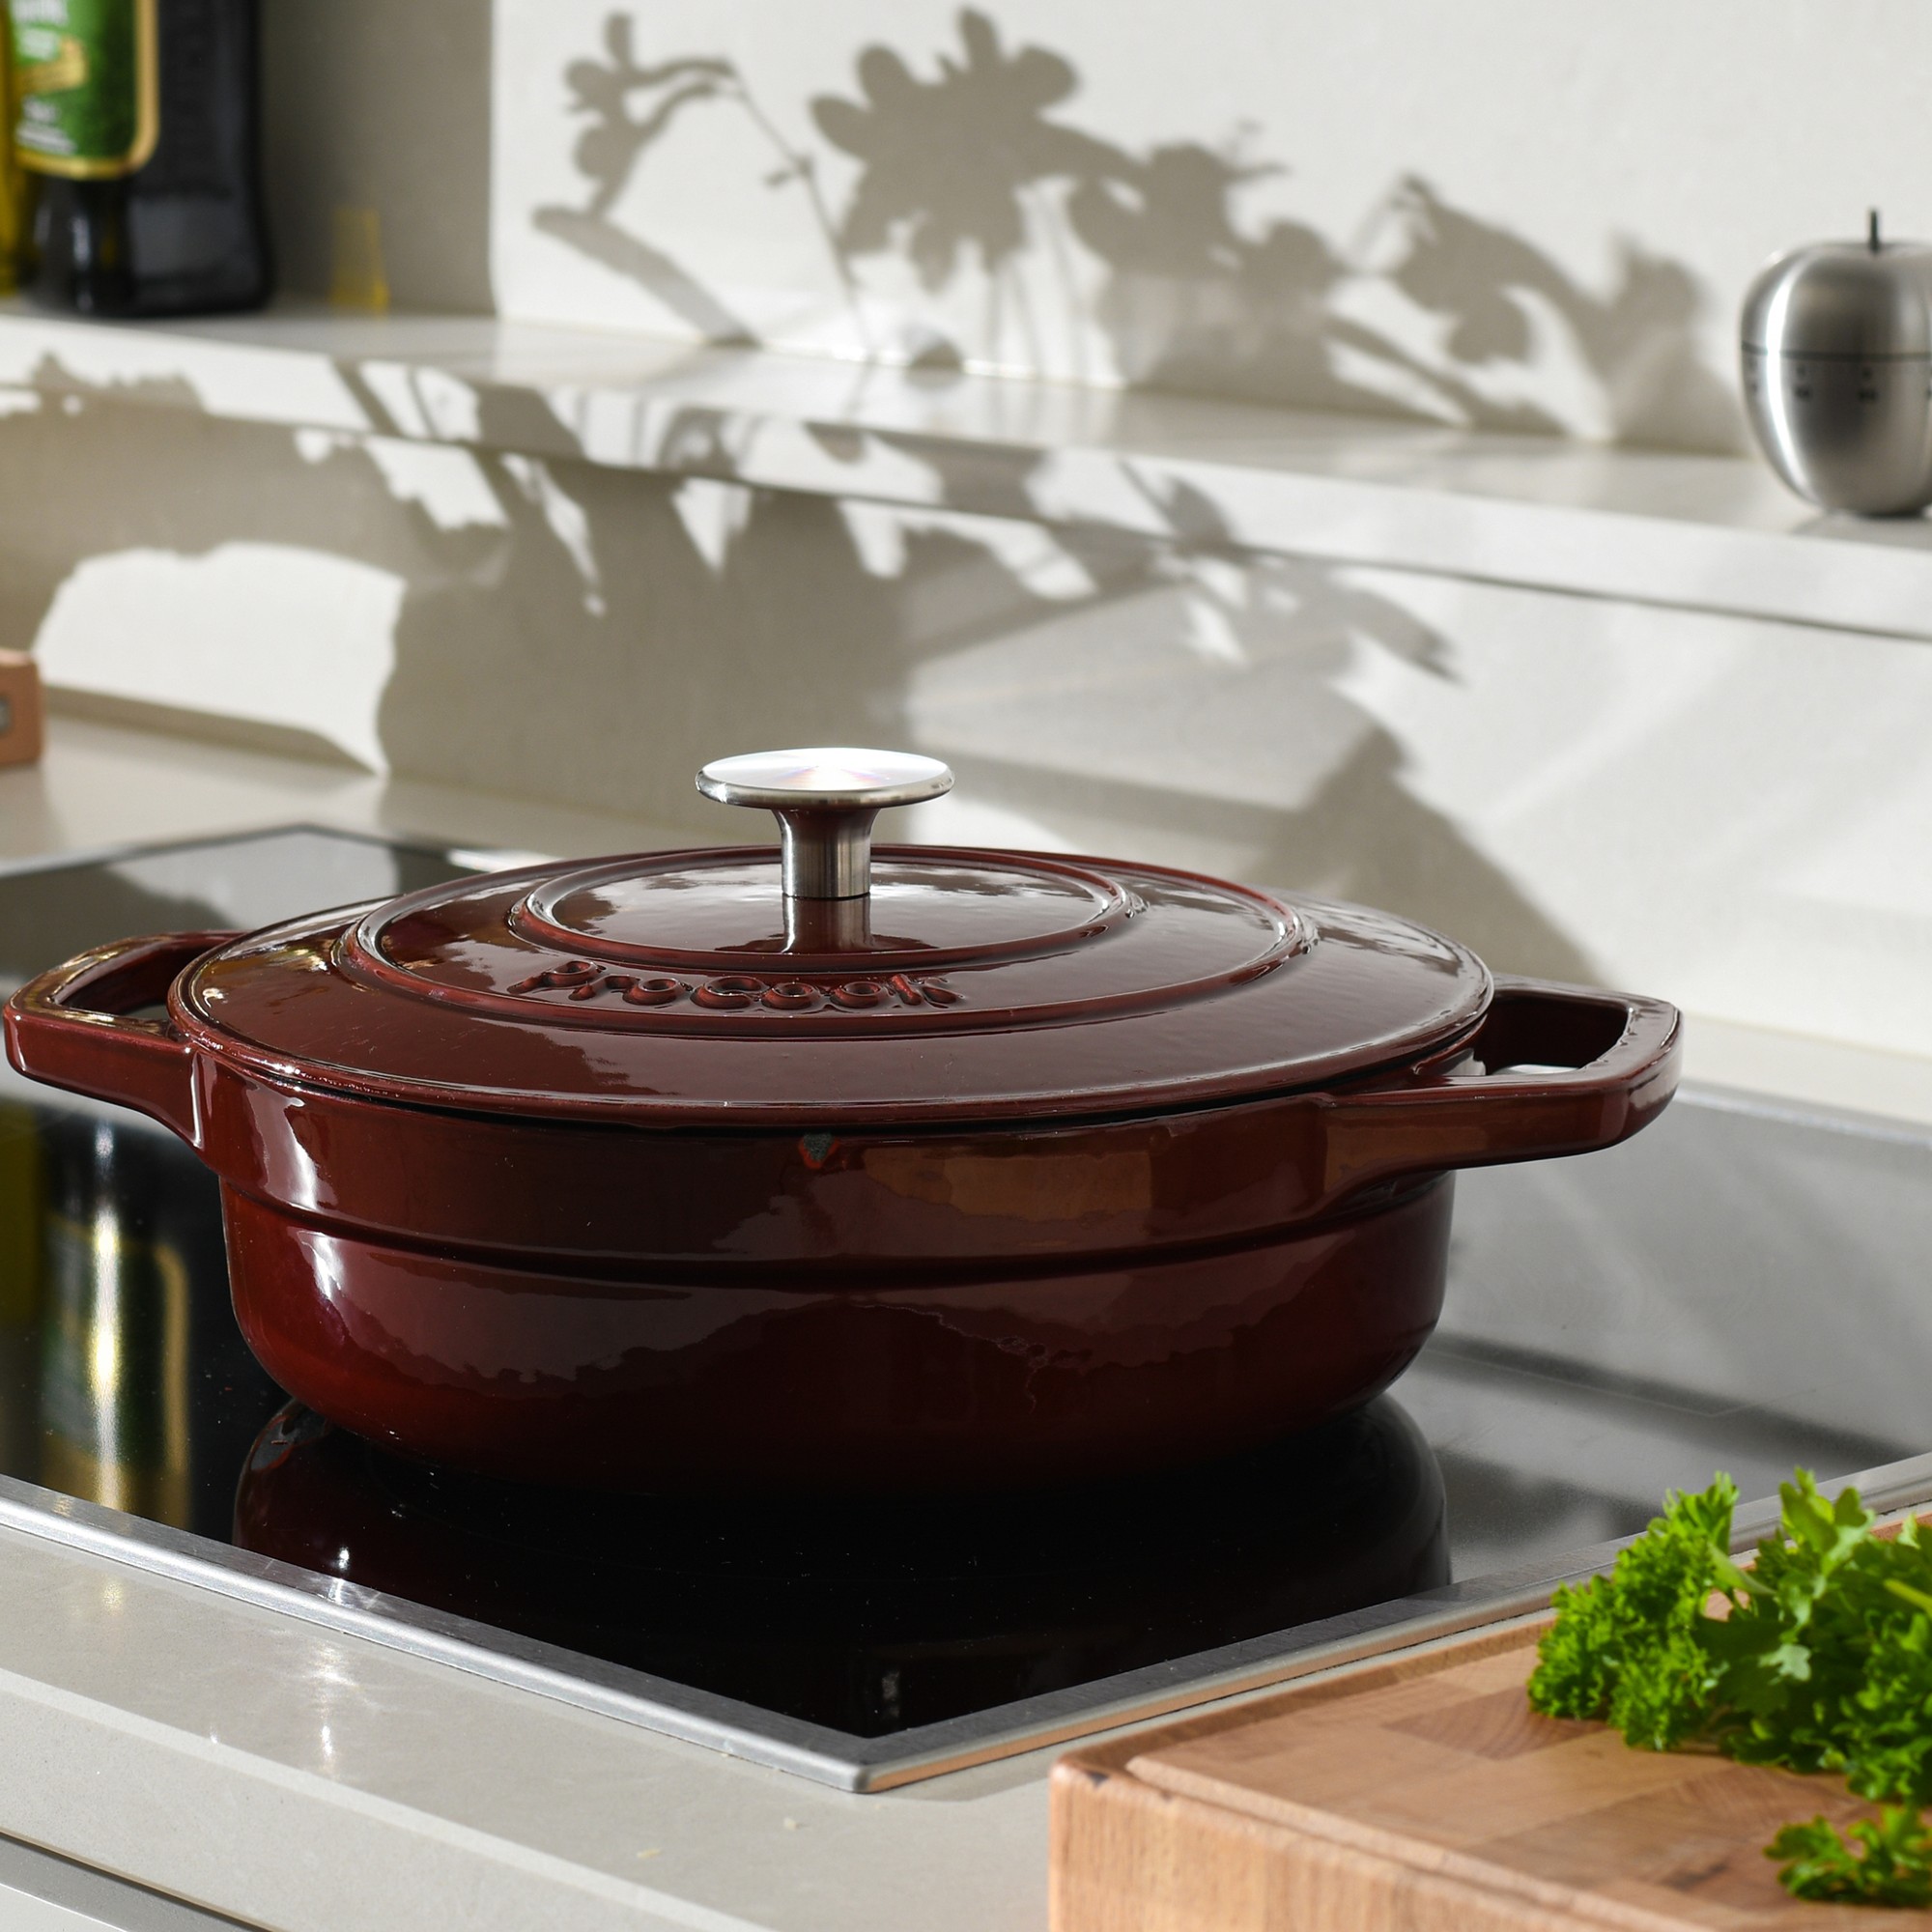
However, you might be interested to know that ProCook is following suit with a range of cast iron cookware that requires very little maintenance. Rob Falconer, Head of Range at ProCook told us, ‘While pre-seasoning is not required for ProCook's cast iron range, you may need to lightly oil the rim of both the casserole pot and the lid. By doing this, you are sealing and protecting any raw edges.’
If this is the way the industry is moving, it won’t be long before you don’t need to season cast iron cookware at all.
FAQs
What is the proper way to season cast iron?
To season cast iron, you need to heat it up and coat it in oil. There are two ways to do this, and it’s up to you whether you want to season cast iron in the oven or season cast iron on the hob.
Both have their benefits, with the oven offering a hands-off approach that is generally considered to be safer and easier. However, this can use a lot of energy as you’ll need to have your oven on for hours on end.
Seasoning cast iron on the hob is cheaper and less time-consuming, but it is a more hands-on approach that could potentially leave you with a few war wounds and burns afterwards.
Whatever option you choose, you need to repeat the process three or four times, so you need to make sure that you set aside a day to dedicate to your cast iron cookware.
What is the best oil to season cast iron with?
Generally, it’s best to season your cast iron with vegetable oil. This is handy, as most people already have a variation of this in their kitchen cupboards.
Tara says, ‘We recommend rice bran oil for best results, though any cooking oil or fat with a high smoke point can work well, such as vegetable (rapeseed/canola) oil, grapeseed oil, lard etc. Olive oil is not good for seasoning due to its low smoke point. You can use whatever oil you choose to cook with.’
How many times should I season my cast iron before first use?
Ideally, you should season your cast iron three or four times before use. This will ensure that the non-stick coating is thick and virtually impenetrable.
Of course, you can season your cast iron fewer times, but you’ll likely find that the results don’t match up to your expectations of cast iron cookware.
Now you know how to season cast iron, it’s time to put the salt and pepper shakers down!


