Taking a screenshot using your laptop is common knowledge for many, but it's not something that's immediately obvious to anyone who might be new to using one of the best laptops for graphic design. You can take a screenshot using a laptop in several ways, like using a keyboard shortcut, and it's relatively easy once you know what to do. And that's where we come in to help.
How to take a screenshot depends on whether you have a laptop running a Windows operating system, or if you own an Apple laptop, like a MacBook Pro. The keyboards on these devices will look different, and the process you need to use to get the job done will differ too. But don't worry, it's basically the same method with different keys.
Keep on reading to learn the best and easiest way to take a screenshot using your laptop. If you need some advice on choosing your next laptop, take a look at our helpful guide to laptop requirements for graphic design. We also have a breakdown of the different ASUS laptops we recommend for creatives, like the ASUS Studiobook vs Zenbook vs Vivobook.
Windows laptops
Method 1: Using the Windows Key + Print Screen Key
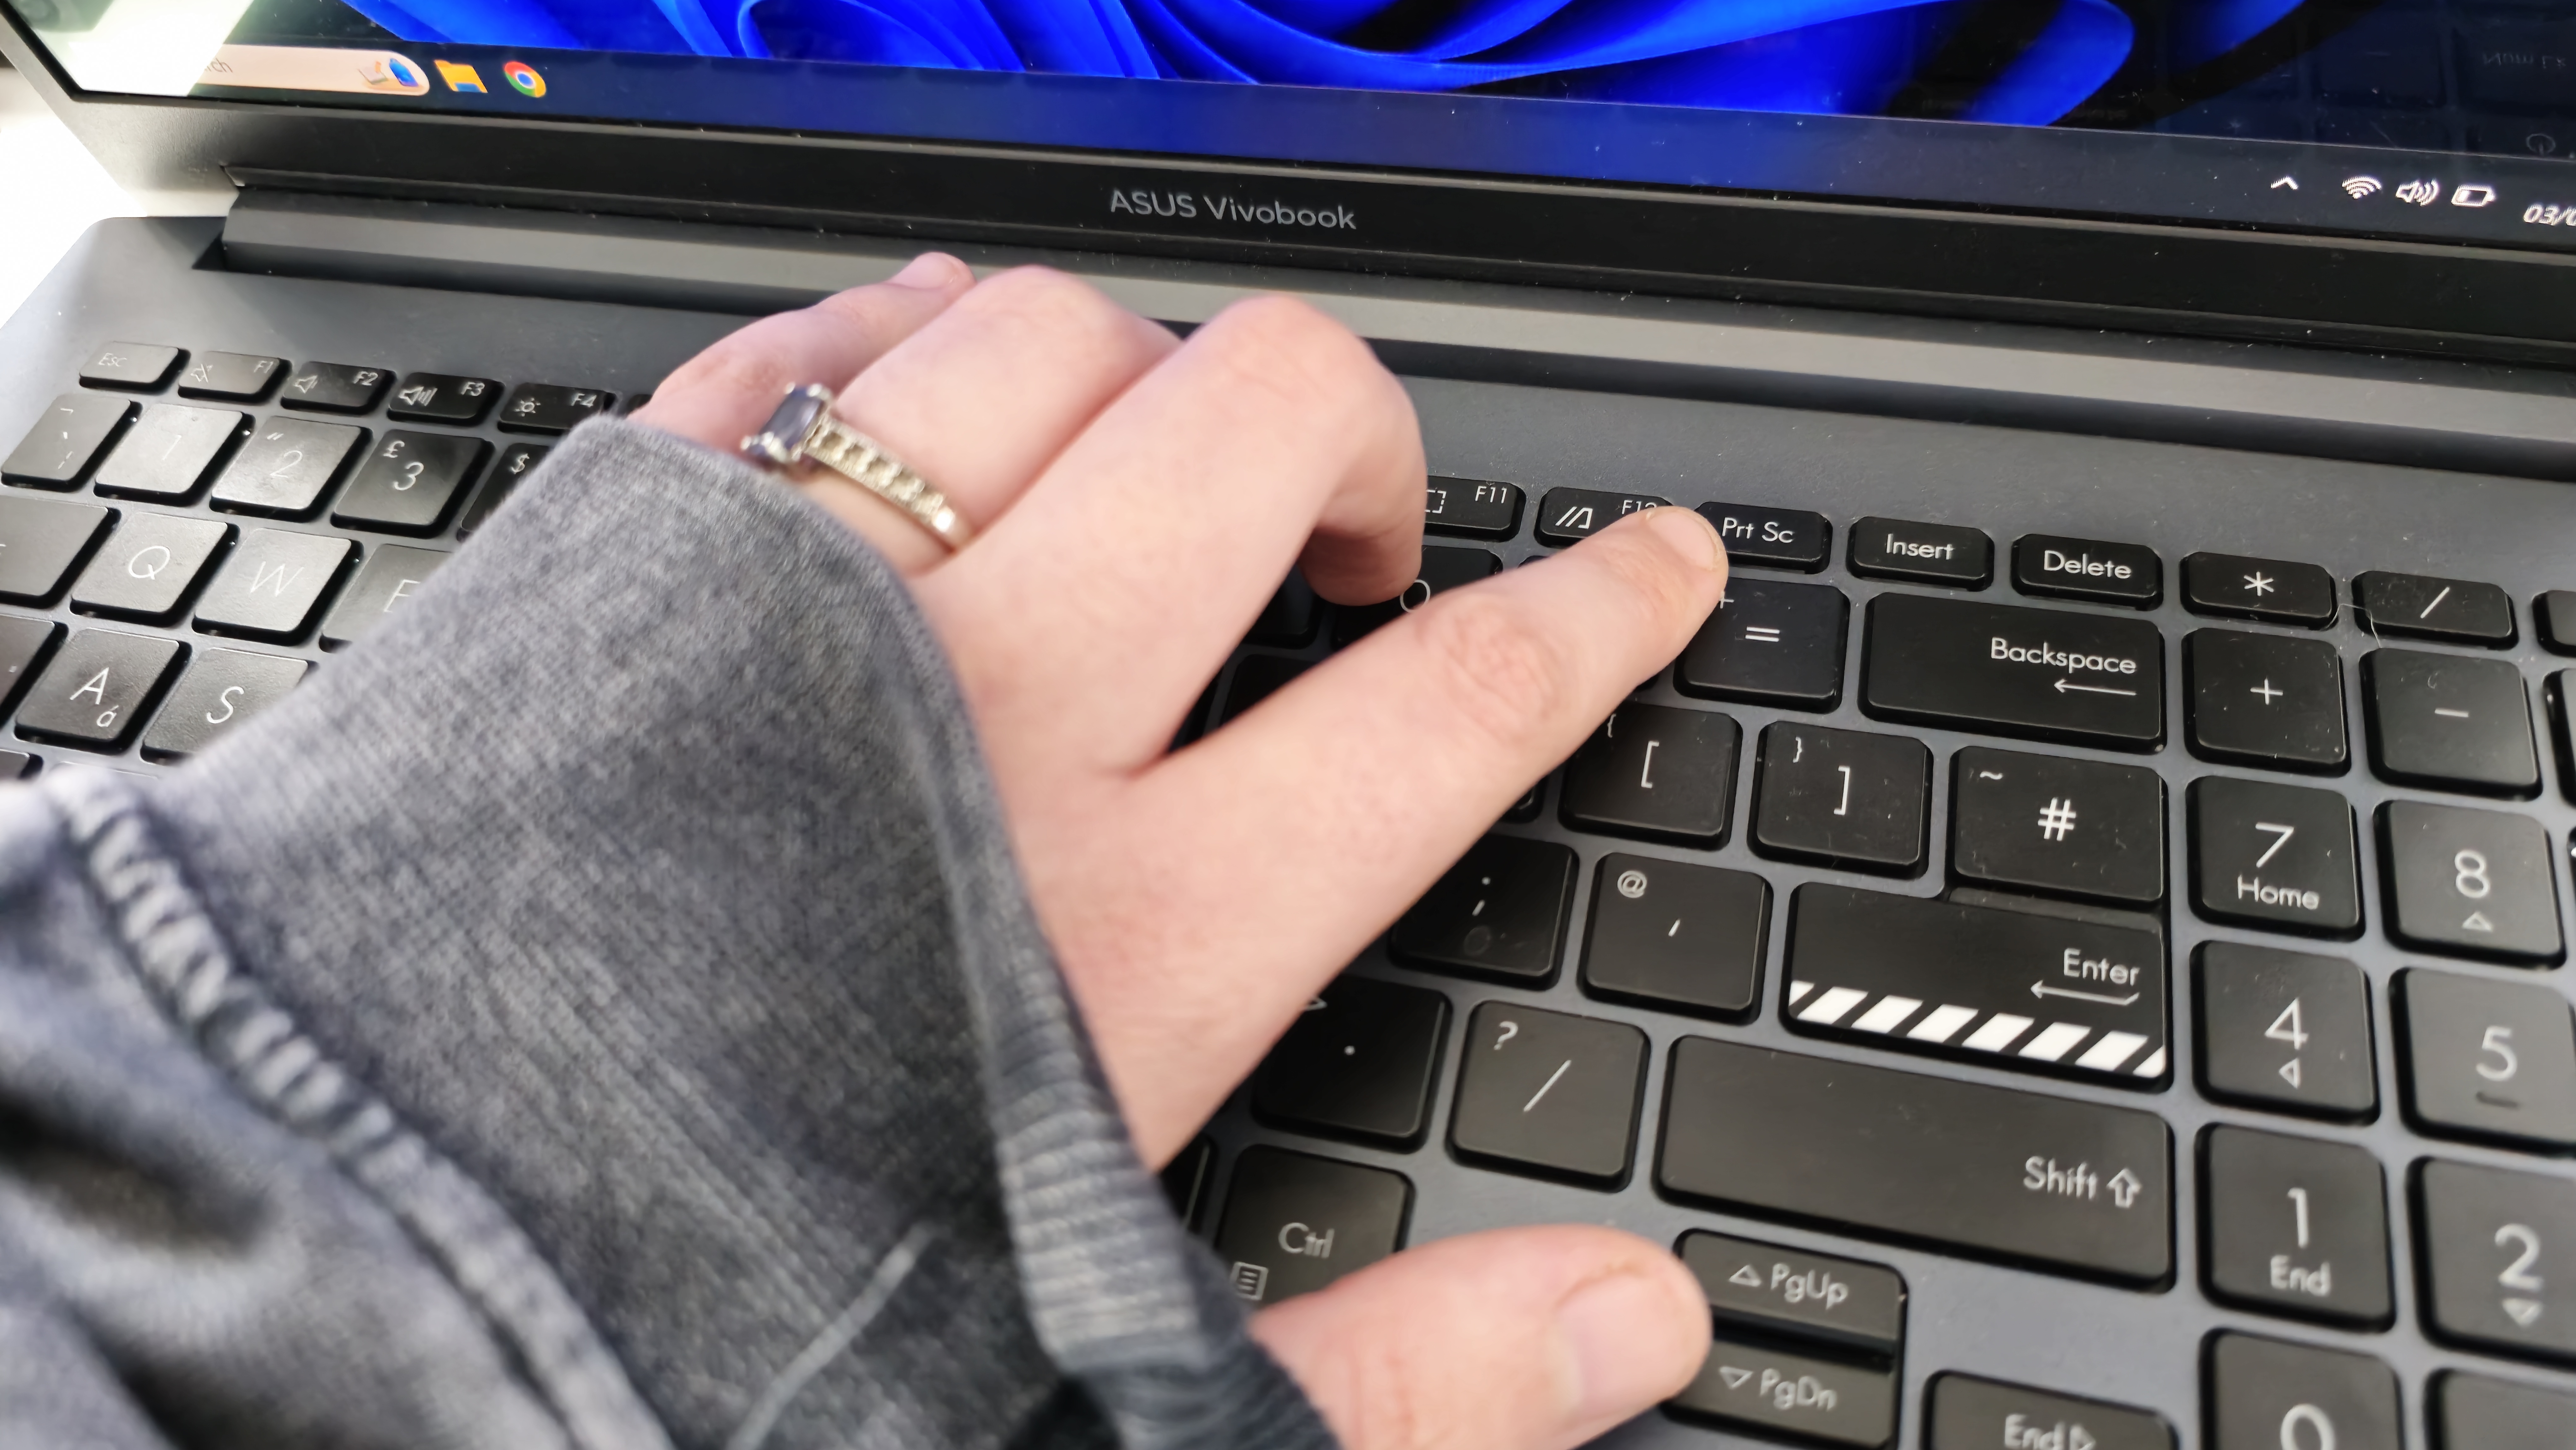
If you have a laptop running Windows 10 or higher, the easiest way to take a screenshot is by simultaneously pressing the Windows Key on your keyboard (the one with the Microsoft logo that looks like a white flag), as well as the Print Screen Key which you'll usually find on the top row of your keyboard, not far from the backspace Key, and it will be labelled as some sort of abbreviation like Prt SC or similar.
Pressing these buttons together will take a screenshot of your entire screen, and save it in your "Screenshots" folder which you can find in your Pictures folder. Easy, right?

Method 2: Using Print Screen only
This method is just as easy as the first method above, but it's better to use this way to take a screenshot if you know that you're going to want to edit the screenshot immediately. You might have tabs open or a URL showing that you don't want to be in the final image, so you can crop this out now before you forget to do it later.
Once you press the Print Screen Key on your keyboard, there's a chance that nothing will happen to indicate that a screenshot has been taken, or you might see the screen dim a little depending on your laptop. Next, you'll need to go into any image editor that you have (I always use Paint 3D for this) and simply press "Ctrl" + "V" to paste the captured screenshot into the editor.
From here, you can make changes like cropping or rotating your screenshot, or stitching multiple screenshots together if you intend to create a longer image of an entire webpage.
Apple laptops
If you own an Apple laptop or desktop, your keyboard and operating system will differ from Windows-operated devices, so the methods above won't apply to you. But the process is basically the same, using quick and easy keyboard shortcuts.
Method 1 - Command-Shift-3
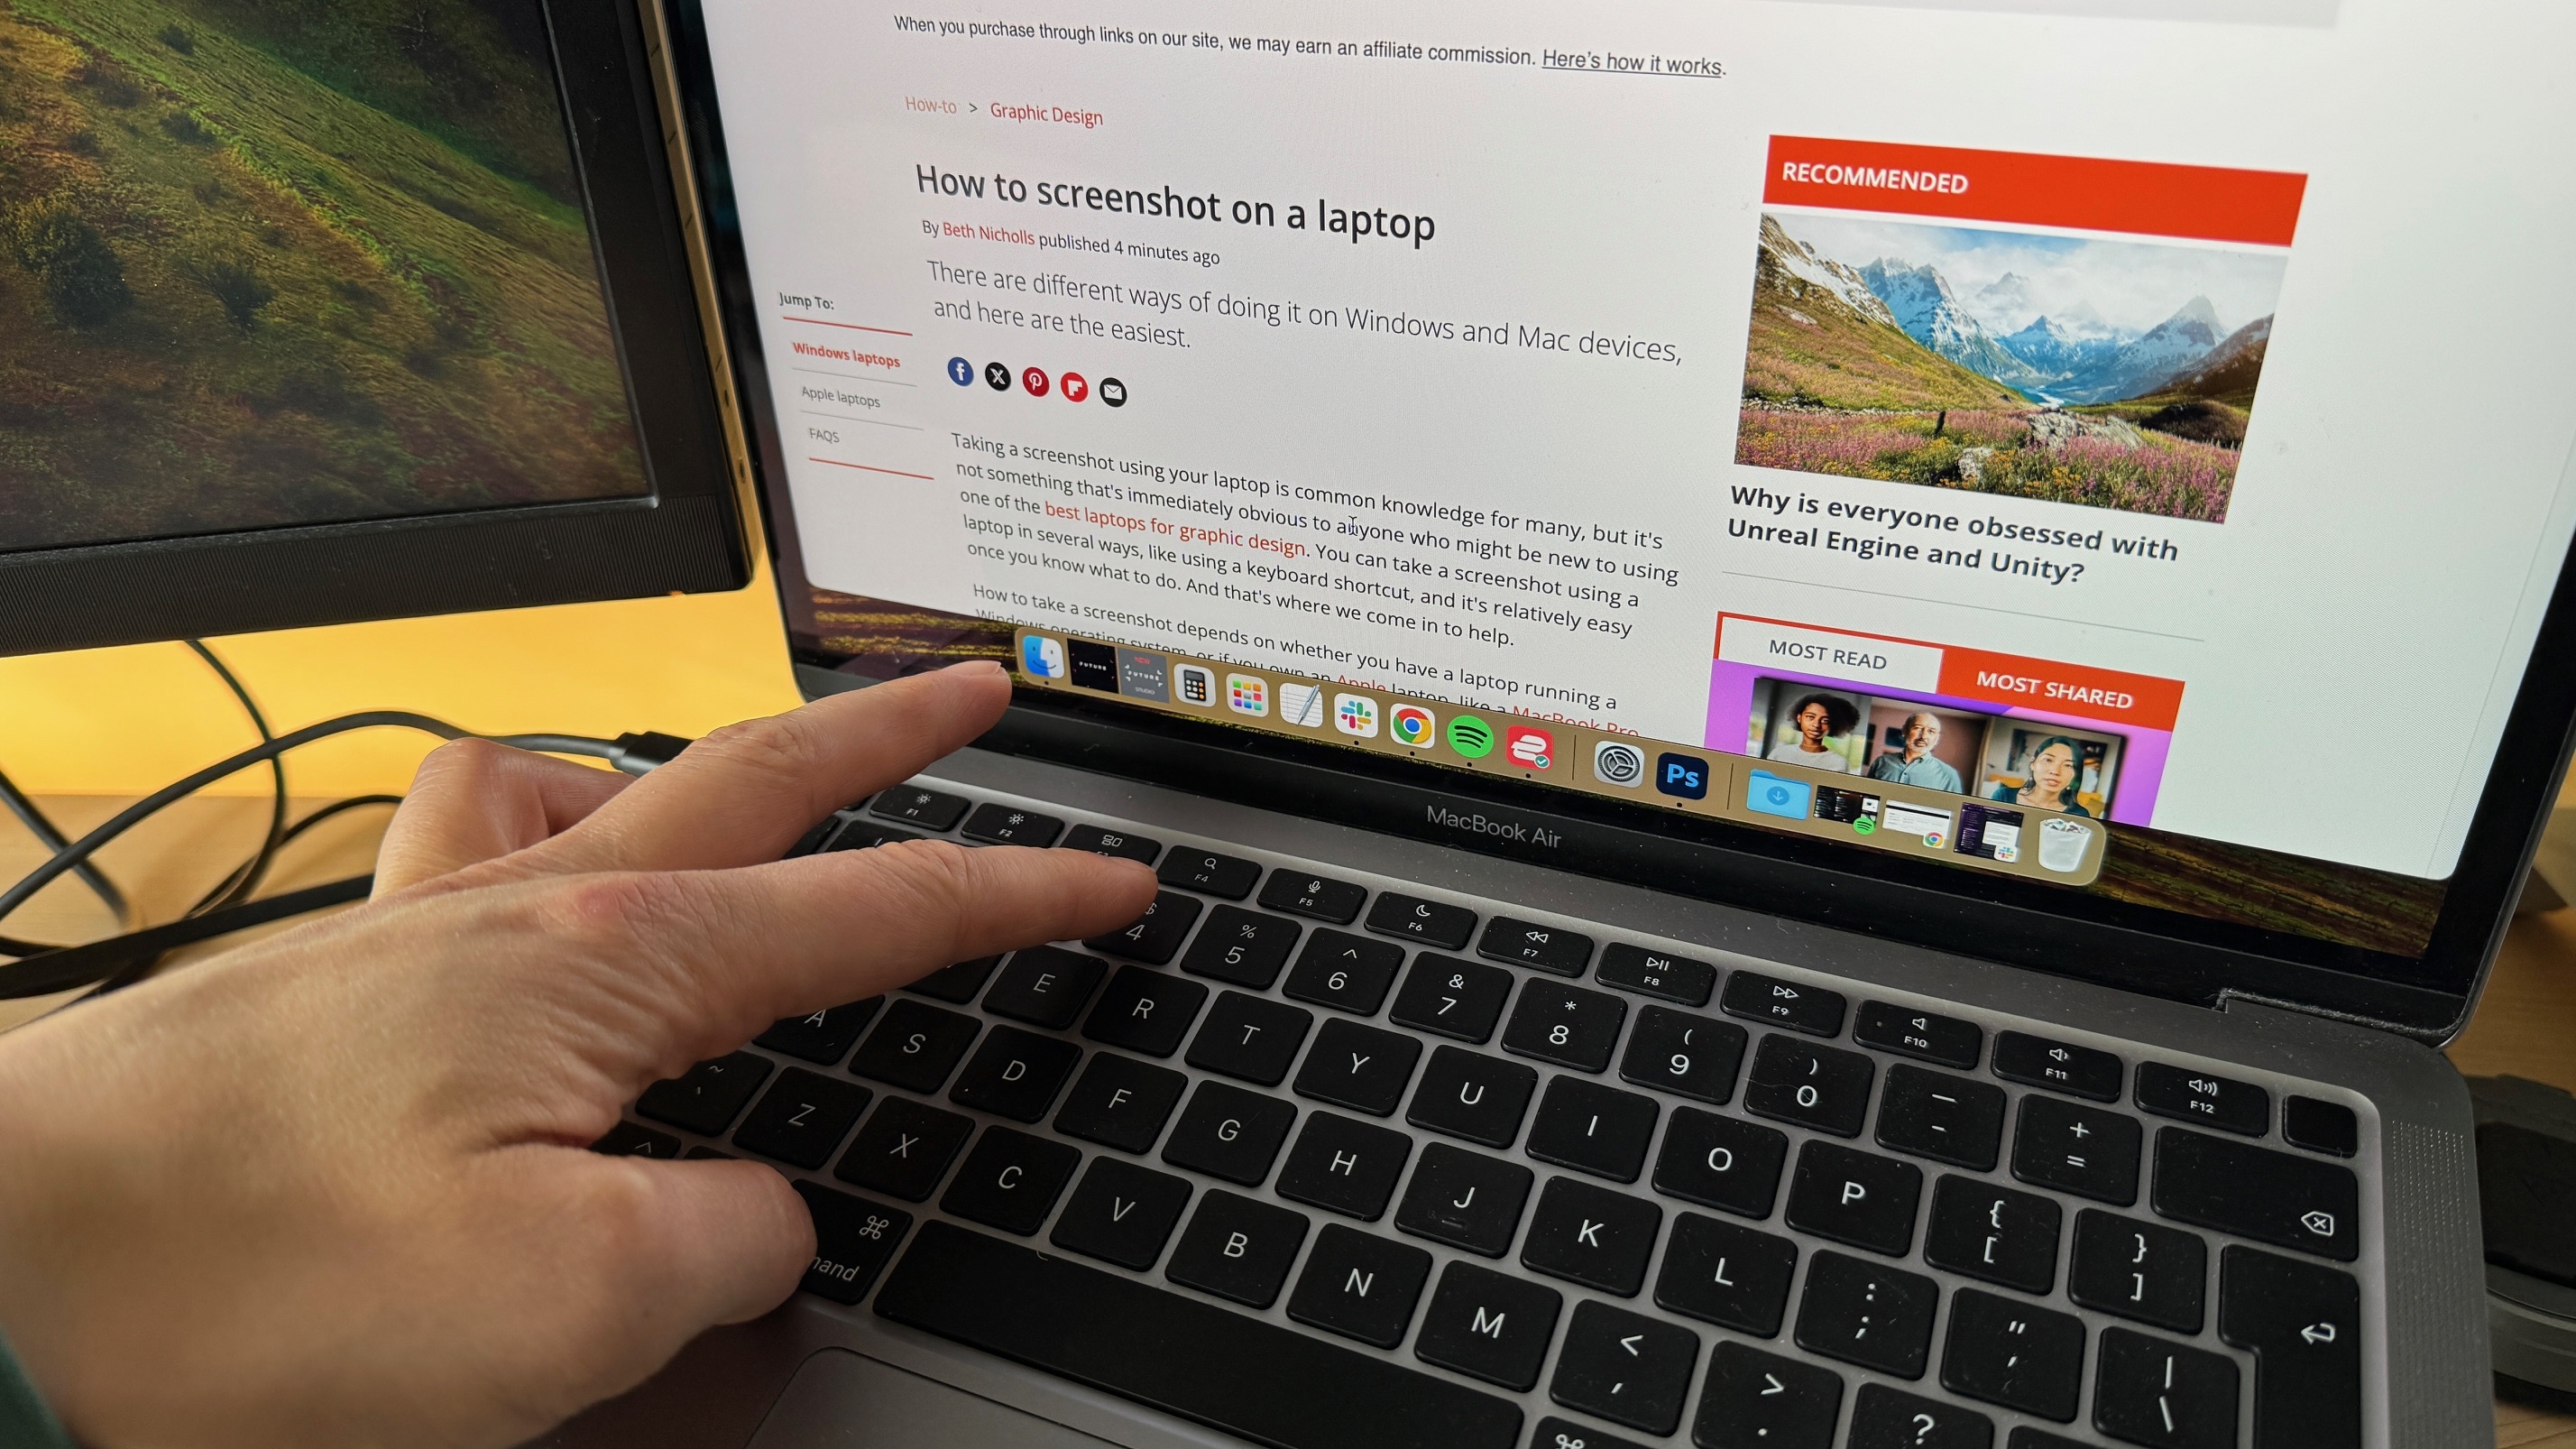
The easiest way to take a screenshot on a MacOS device is by pressing the Command (CMD) button, plus the Shift Key, and the number 3 on your keyboard all at the same time, and in no particular order. This will take a screenshot of your entire screen that's currently visible to you, and automatically save the image as a .png file to your desktop.

Method 2 - Command-Shift-5
If you want more options when taking a screenshot with your Apple laptop, you can press the Command Key, Shift Key, and the number 5 on your keyboard to open up the Screenshot toolbar on your laptop, and a series of icons will display for you to choose from. You can also use this toolbar to select options for screen recording too.
If you want to capture your entire screen, select the first icon (it has a grey bar inside of a box) and the screenshot will be taken. However, if you want to only capture a window (and not your navigation bar or other bits) then you can select the next icon along, a square with a thick top. This is handy to save you from having to crop the image after it has been saved.
The other icons in the toolbar can be used to capture only a portion of your screen, by dragging the frame to adjust the area size, and the two icons on the right hand side can be used to record either the entire or a portion of your screen as a video file.
Method 3 - Command-Shift-4
If you want to select the specific area you want to screenshot, without any cropping needed, and in the fastest way possible – then Command-Shift-4 is the keyboard shortcut that you want.
FAQS
What is the benefit of taking a screenshot on my laptop?
Taking a screenshot with your laptop might come in handy more times than you think. Want to share an email with someone but they don't have an email address for you to forward it to? Take a screenshot and send it to them as an image instead. Sharing bits of information as it looks on your screen is sometimes easier by screenshot than by having to copy and paste it, especially considering that formats and fonts can change depending on where you copy them to. With a screenshot, everything is as you see it.
What if I have a Linux operating System?
Laptops that use LInix as the operating system can take screenshots very similarly to Windows devices, by using the same PrintScreen Key as a shortcut to capture your entire screen. This will be saved automatically for you in a Screenshots folder in your Pictures section. You can also use the Alt Key +PrintScreen Key together to capture a screenshot of your window only.


