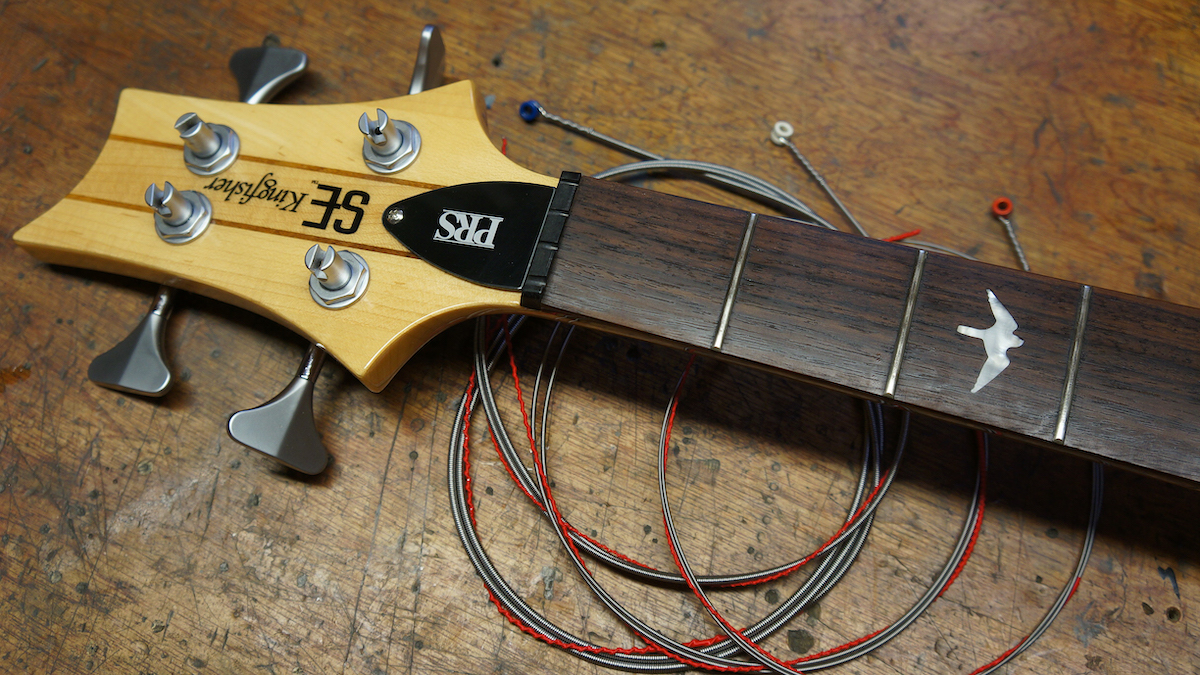
Fitting fresh bass strings can be a real treat: you realize what your bass guitar was missing out on and the top-end frequencies return, meaning your tone control once again has a purpose! Whilst some players like the sound of worn-in (or some might say worn-out) strings, they won’t like the dead spots and bad intonation you often get with dirty strings…
Simply put, excess material (grime) on the strings will change the way the string intonates. Intonation is responsible for how in-tune one string plays at every note, whether that’s high or low on the fretboard. Old strings can have a real impact on this.
And of course certain techniques like slap bass need clear, clean strings to really bring that zing.
For this guide covering how to restring your bass guitar, I’m going to be refreshing my PRS Kingfisher bass with a crisp set of Rotosound 45-105 strings and show you my process for my own and my client’s guitars. I’ve also created guides covering how to restring an electric guitar, how to restring an acoustic guitar and how to restring a classical guitar for Guitar World.
What you'll need
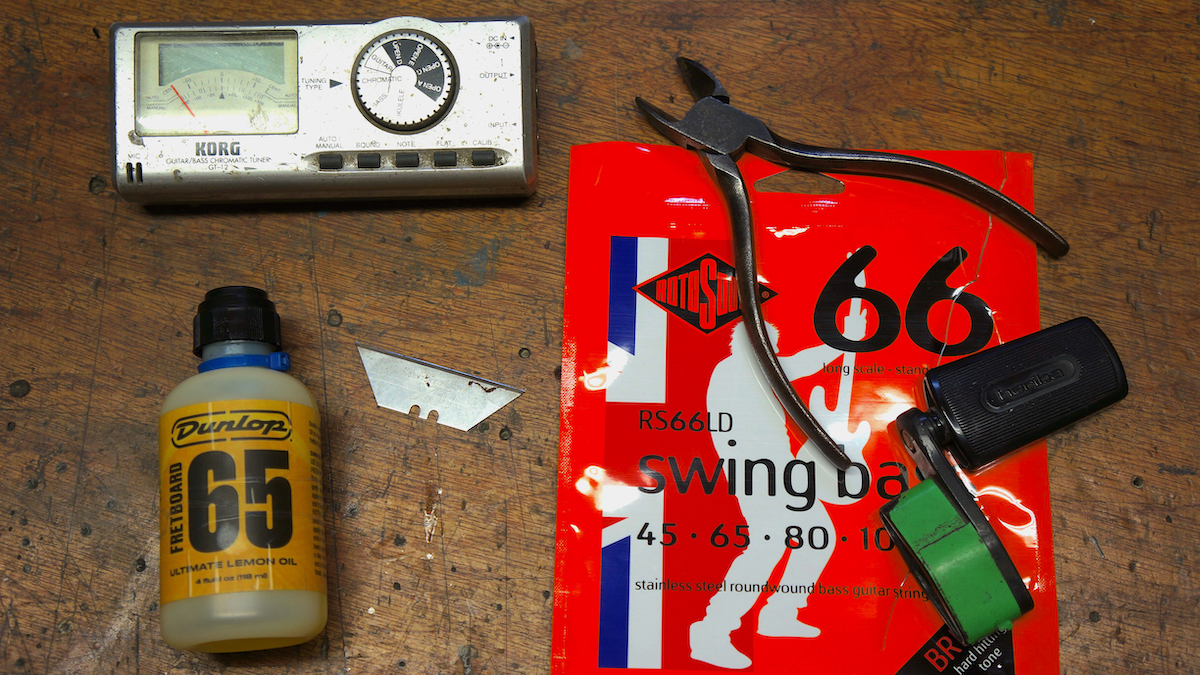
- Fresh set of strings
- Strong wire cutters
- Guitar tuner
- String winder
- Lemon oil/almond oil
- Stanley blade
Step-by-step guide
1. Remove the old strings
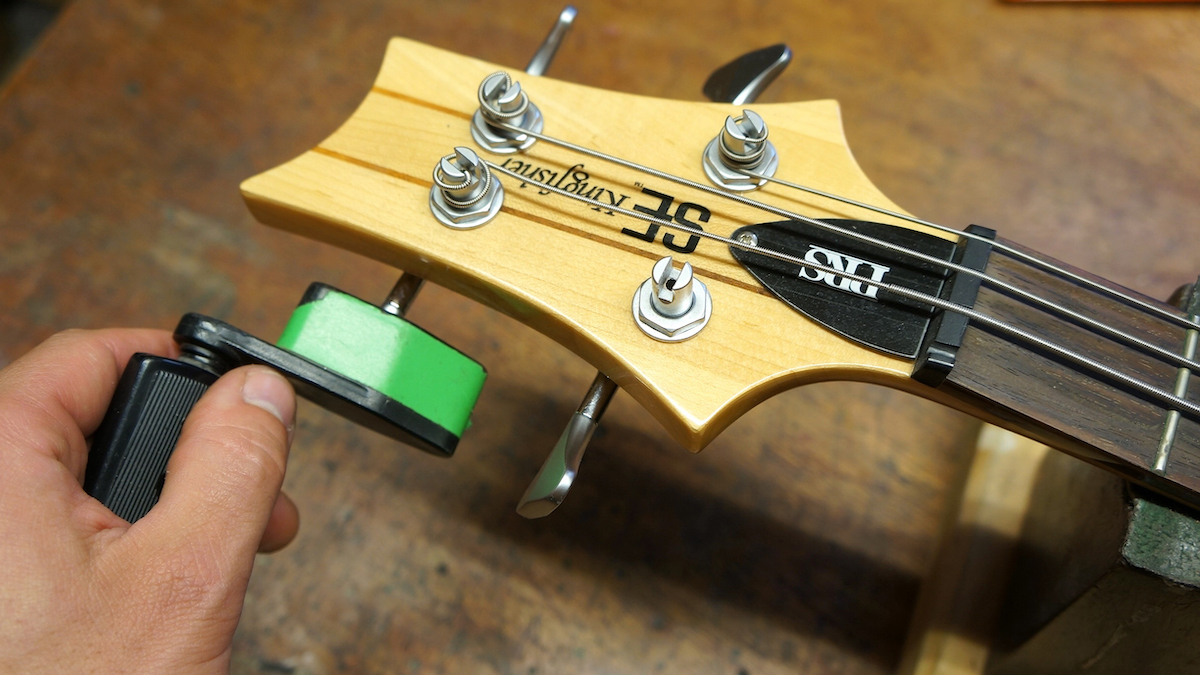
Let’s start by whipping off the old worn out strings. These have no life left and certainly no top-end. I use a string winder to speed up the twizzling process, unwinding the old strings completely, removing them and disposing of them safely.
2. Inspect your fingerboard
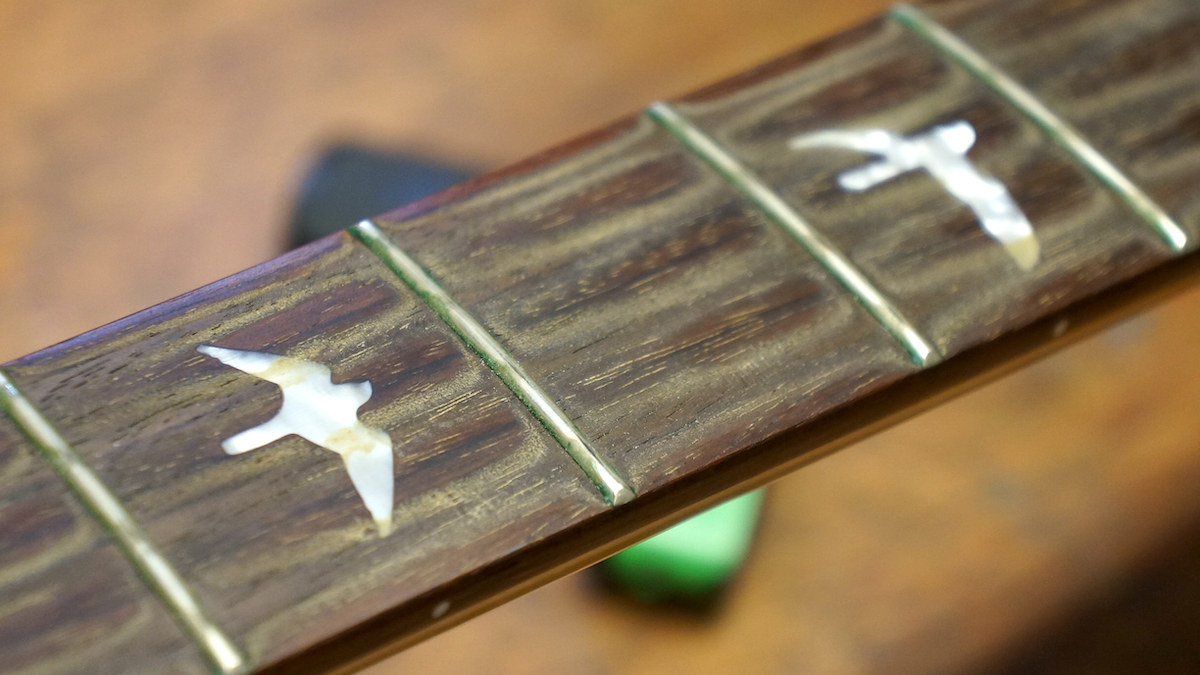
Oh my, this fretboard is far too flavorsome! I can’t, in all good conscious, install new strings with all this DNA on here… This build up of goo is from a couple of years of playing. If I install new strings on here without cleaning, it will ruin the new strings very quickly.
3. Remove the gunk
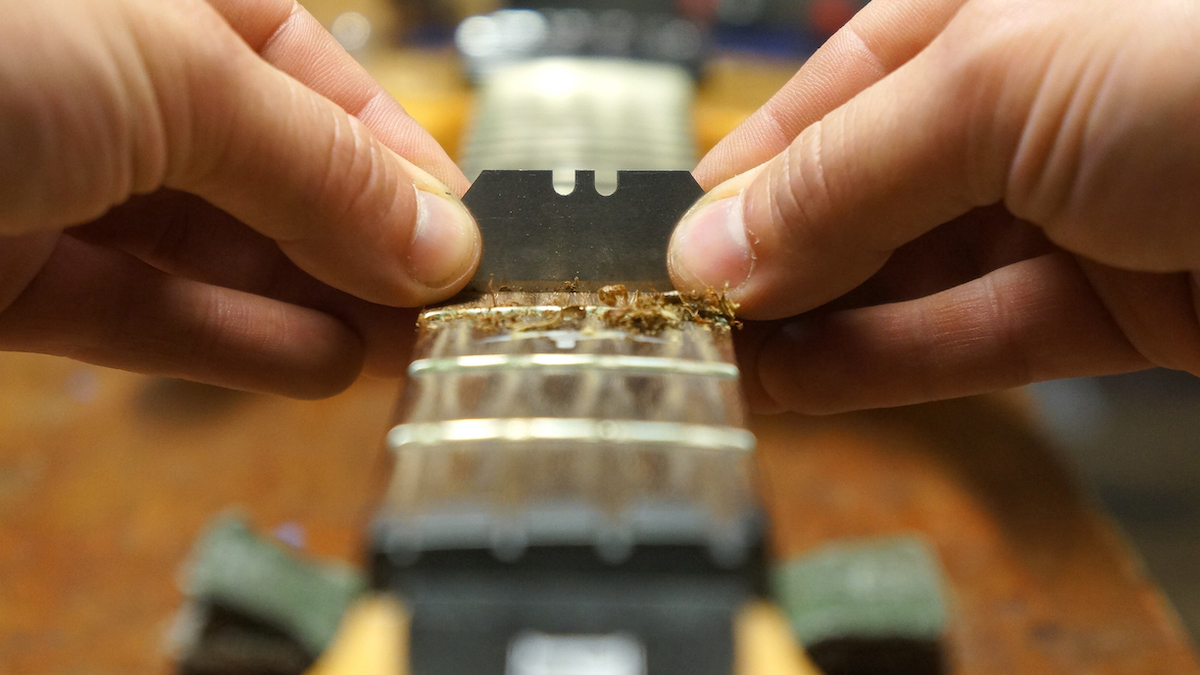
In cases this extreme, a fretboard scrape is recommended. A fresh Stanley blade is a great method for this: carefully and lightly scrape in parallel to the frets removing the grime and a small amount of rosewood. The inlays are safe to scrape also, finish up by picking the corners of the frets with the blade or a cocktail stick. Done carefully, this should remove most of the grime without damaging the actual guitar. Minors should ask a responsible adult to do this part.
4. Feed your fretboard
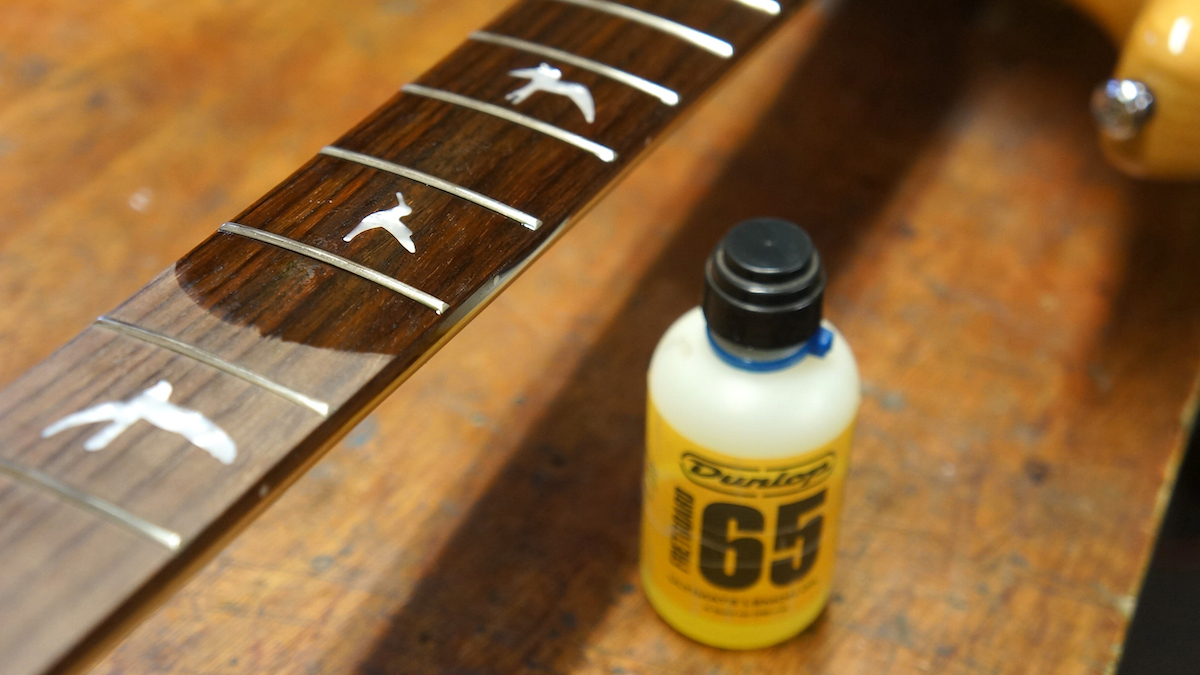
Now it’s time to nourish this freshly cleaned fretboard. Almond or lemon oil is great for the timber. I recommend applying a decent amount and letting it soak in for 10 minutes.
5. Remove the excess oil
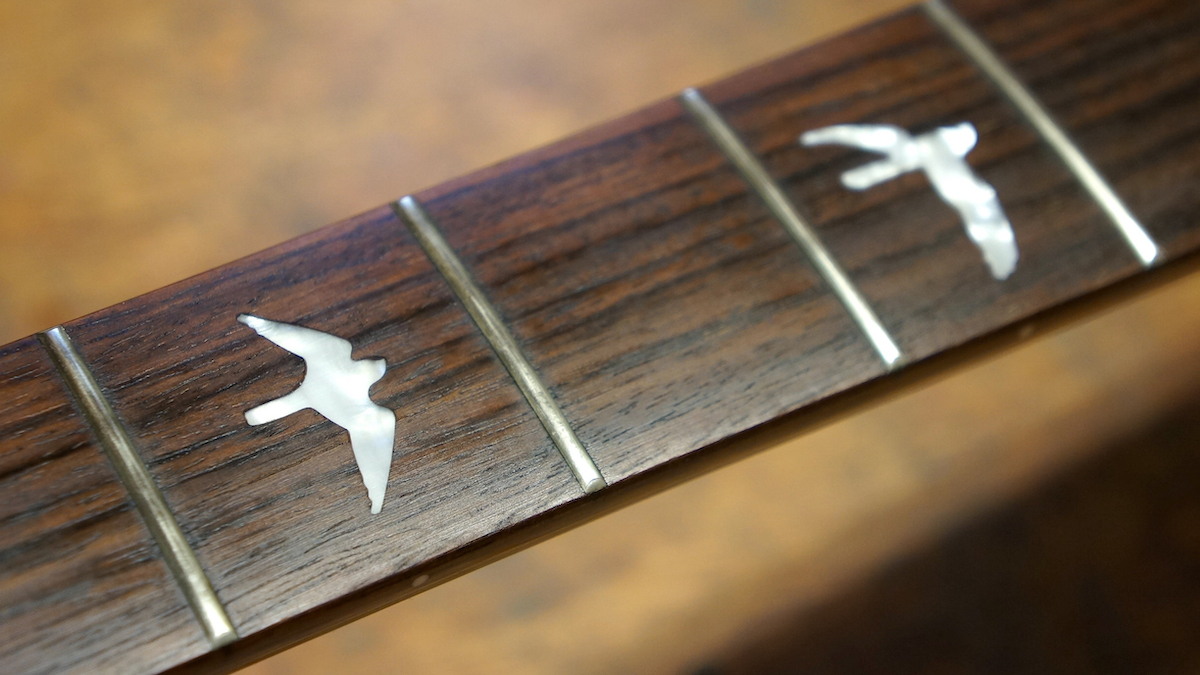
Wipe off the excess oil and, hey presto, a fresh fretboard!
6. Thread the new strings
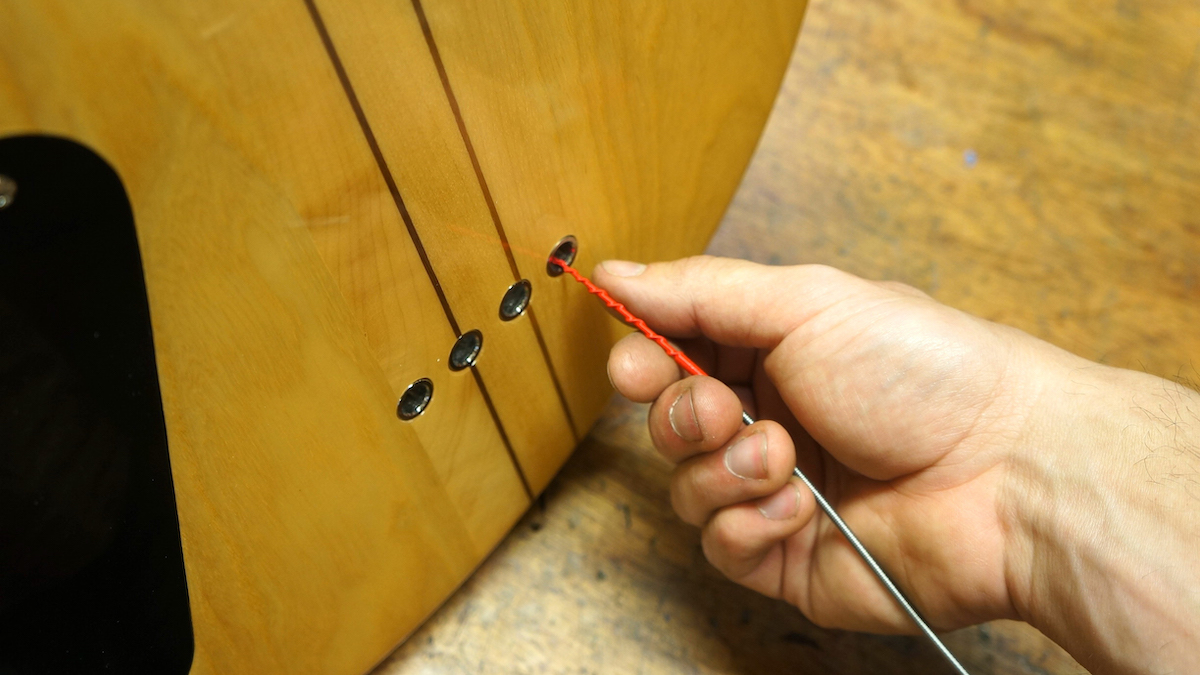
Now it’s time to crack out the new strings. On this bass I’m installing them by threading the non ball end through the rear of the body, but your bass may install through the rear of the bridge - some basses come with both options.
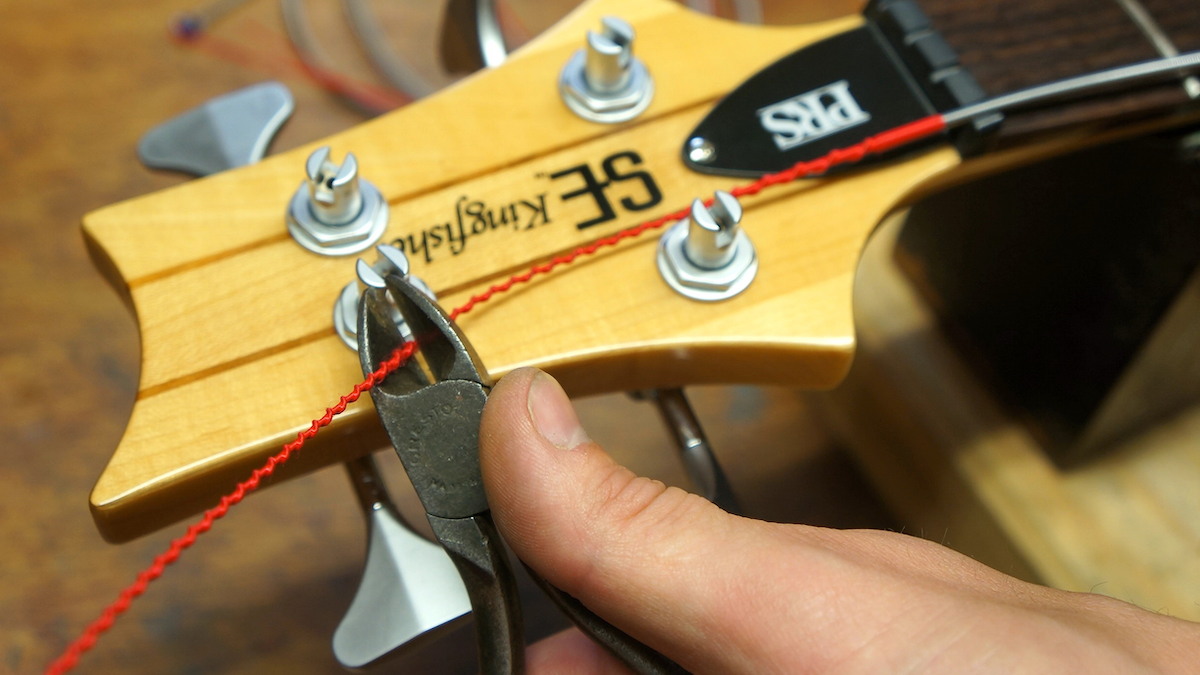
7. Trim the string lengths
Many bass tuners have a tiny hole you’re meant to poke the string end into, however I recommend trimming the string to length first, so you don’t have too much excess. Measure out 8-10cm (3-4 inches) of string over the tuner in question. We’ll do this on each string as it looks better to have the same amount of wrapped string around each tuner post. If you are unsure and concerned you might cut too much off, overcompensate the length and see how it winds – it’s better to be extra long than too short!
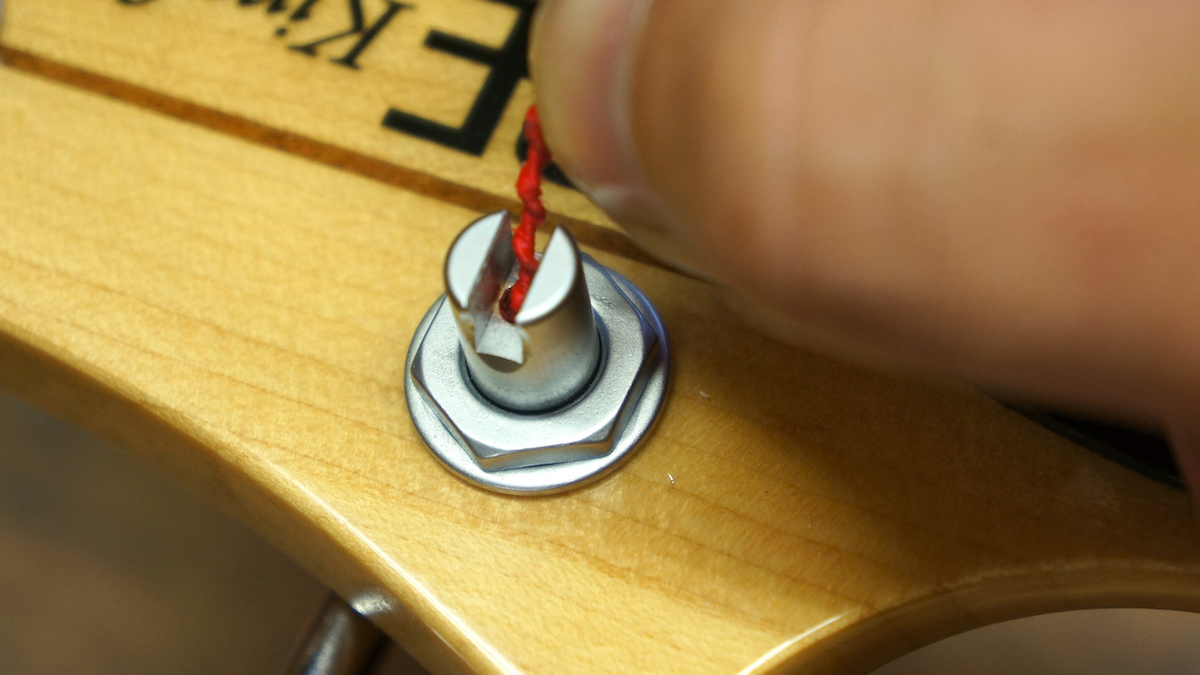
8. Feed the string into the tuner
Poke the string end safely into its hole or slot in the tuner post.
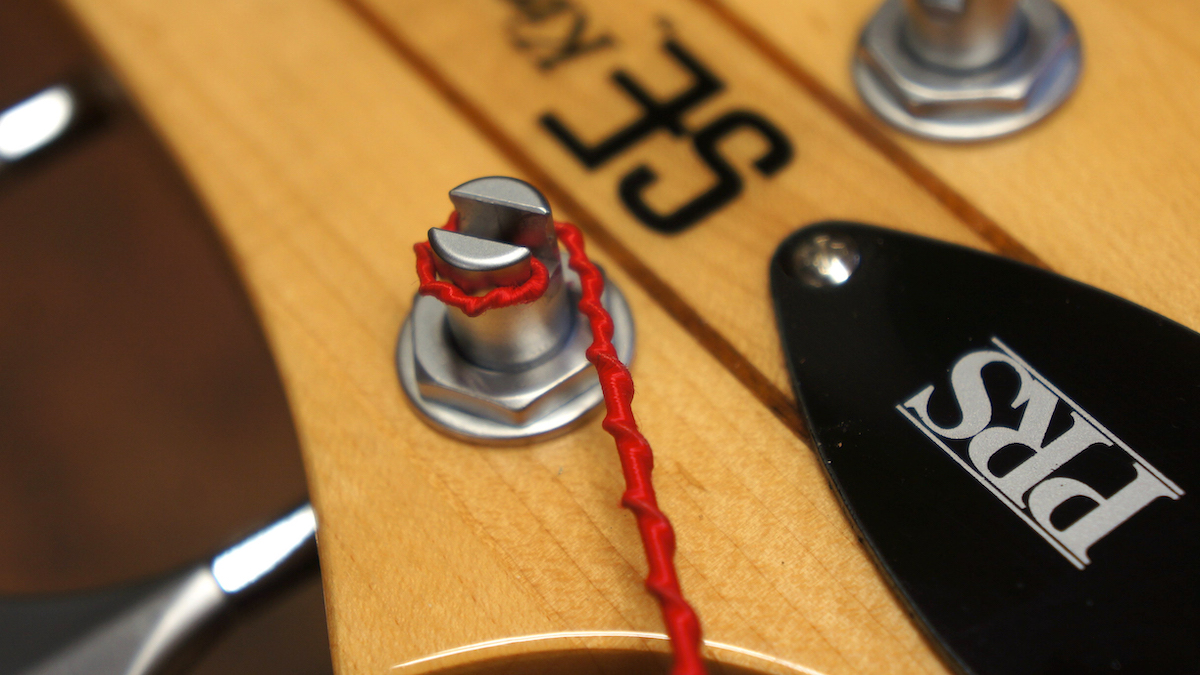
9. Create a kink in each string
Bend the string at the tuner post to create a sharp kink. This will help secure the string to the post, will stop string slippage as you tighten the machine heads and will generally make it easier to wrap the string around the post.
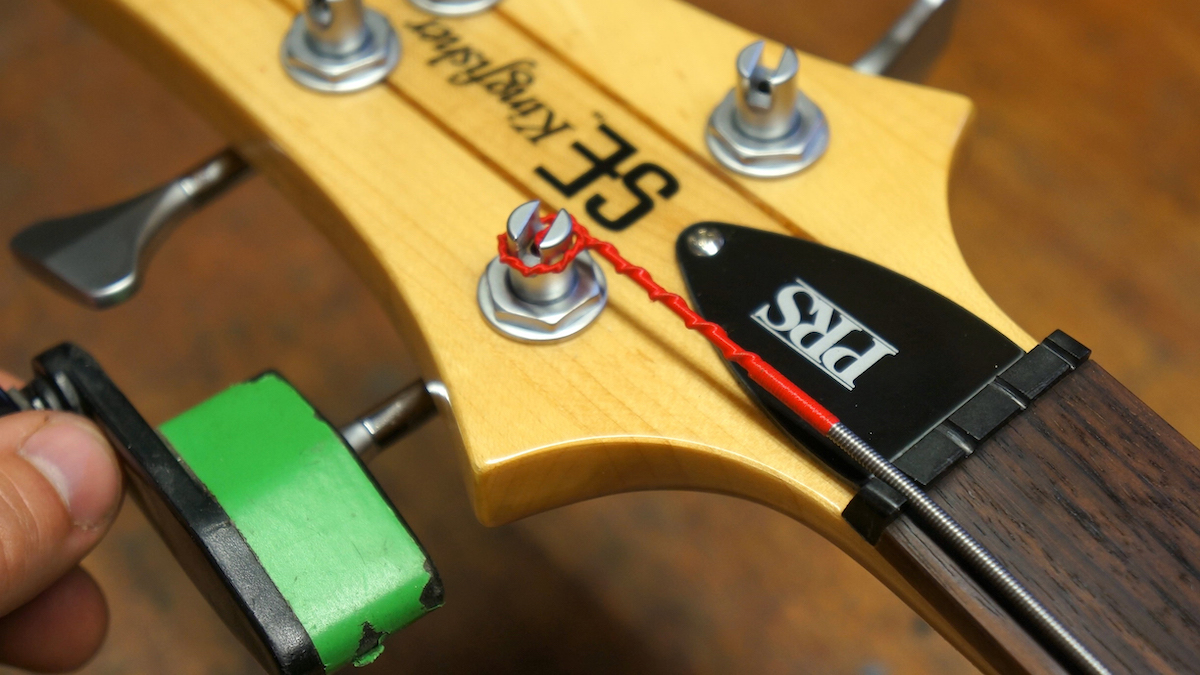
10. Start winding
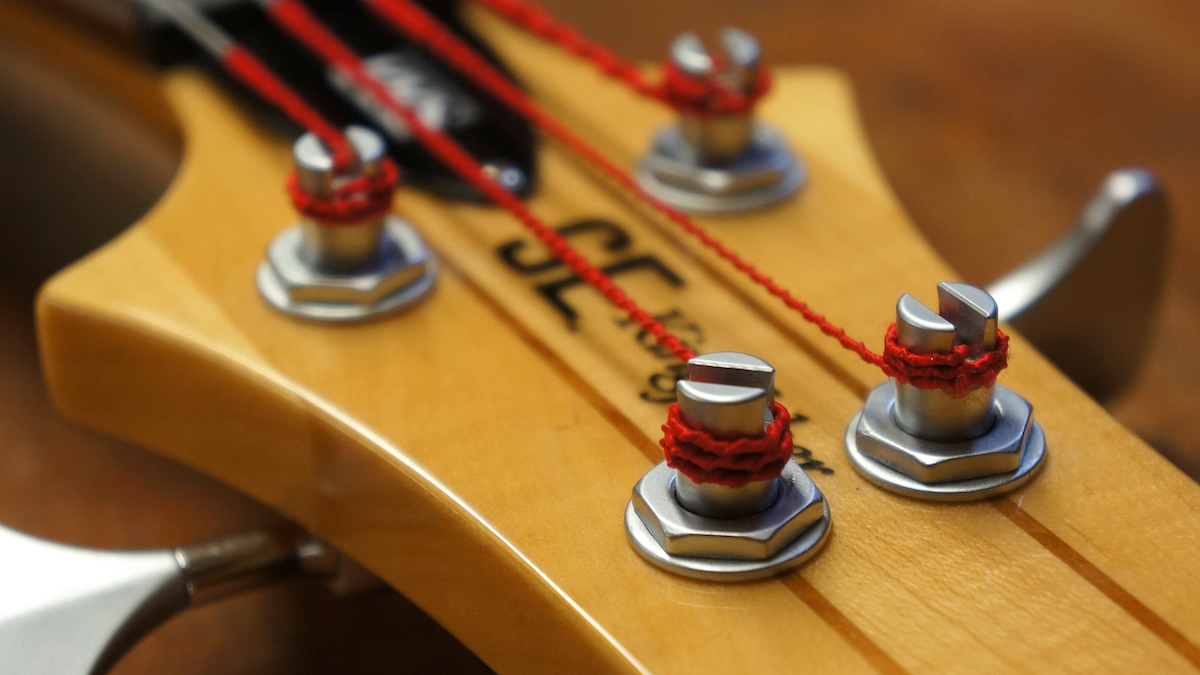
Begin winding the string, building up winds underneath each other. It looks neat this way and also promotes a good downward angle for the string, something which is critical on Fender Jazz and P bass A strings.
11. The final stretch
You’re looking to get nice even winds, and you get bonus points if each tuning post has the same number of winds on. Not only does this look great, but you also ensure that each string has the same amount of spare string present. This means they will stretch out at the same rate. Award yourself an extra bonus point if you also give your strings a good stretch – this helps settle the strings and they will pay you back with nice tuning stability.


