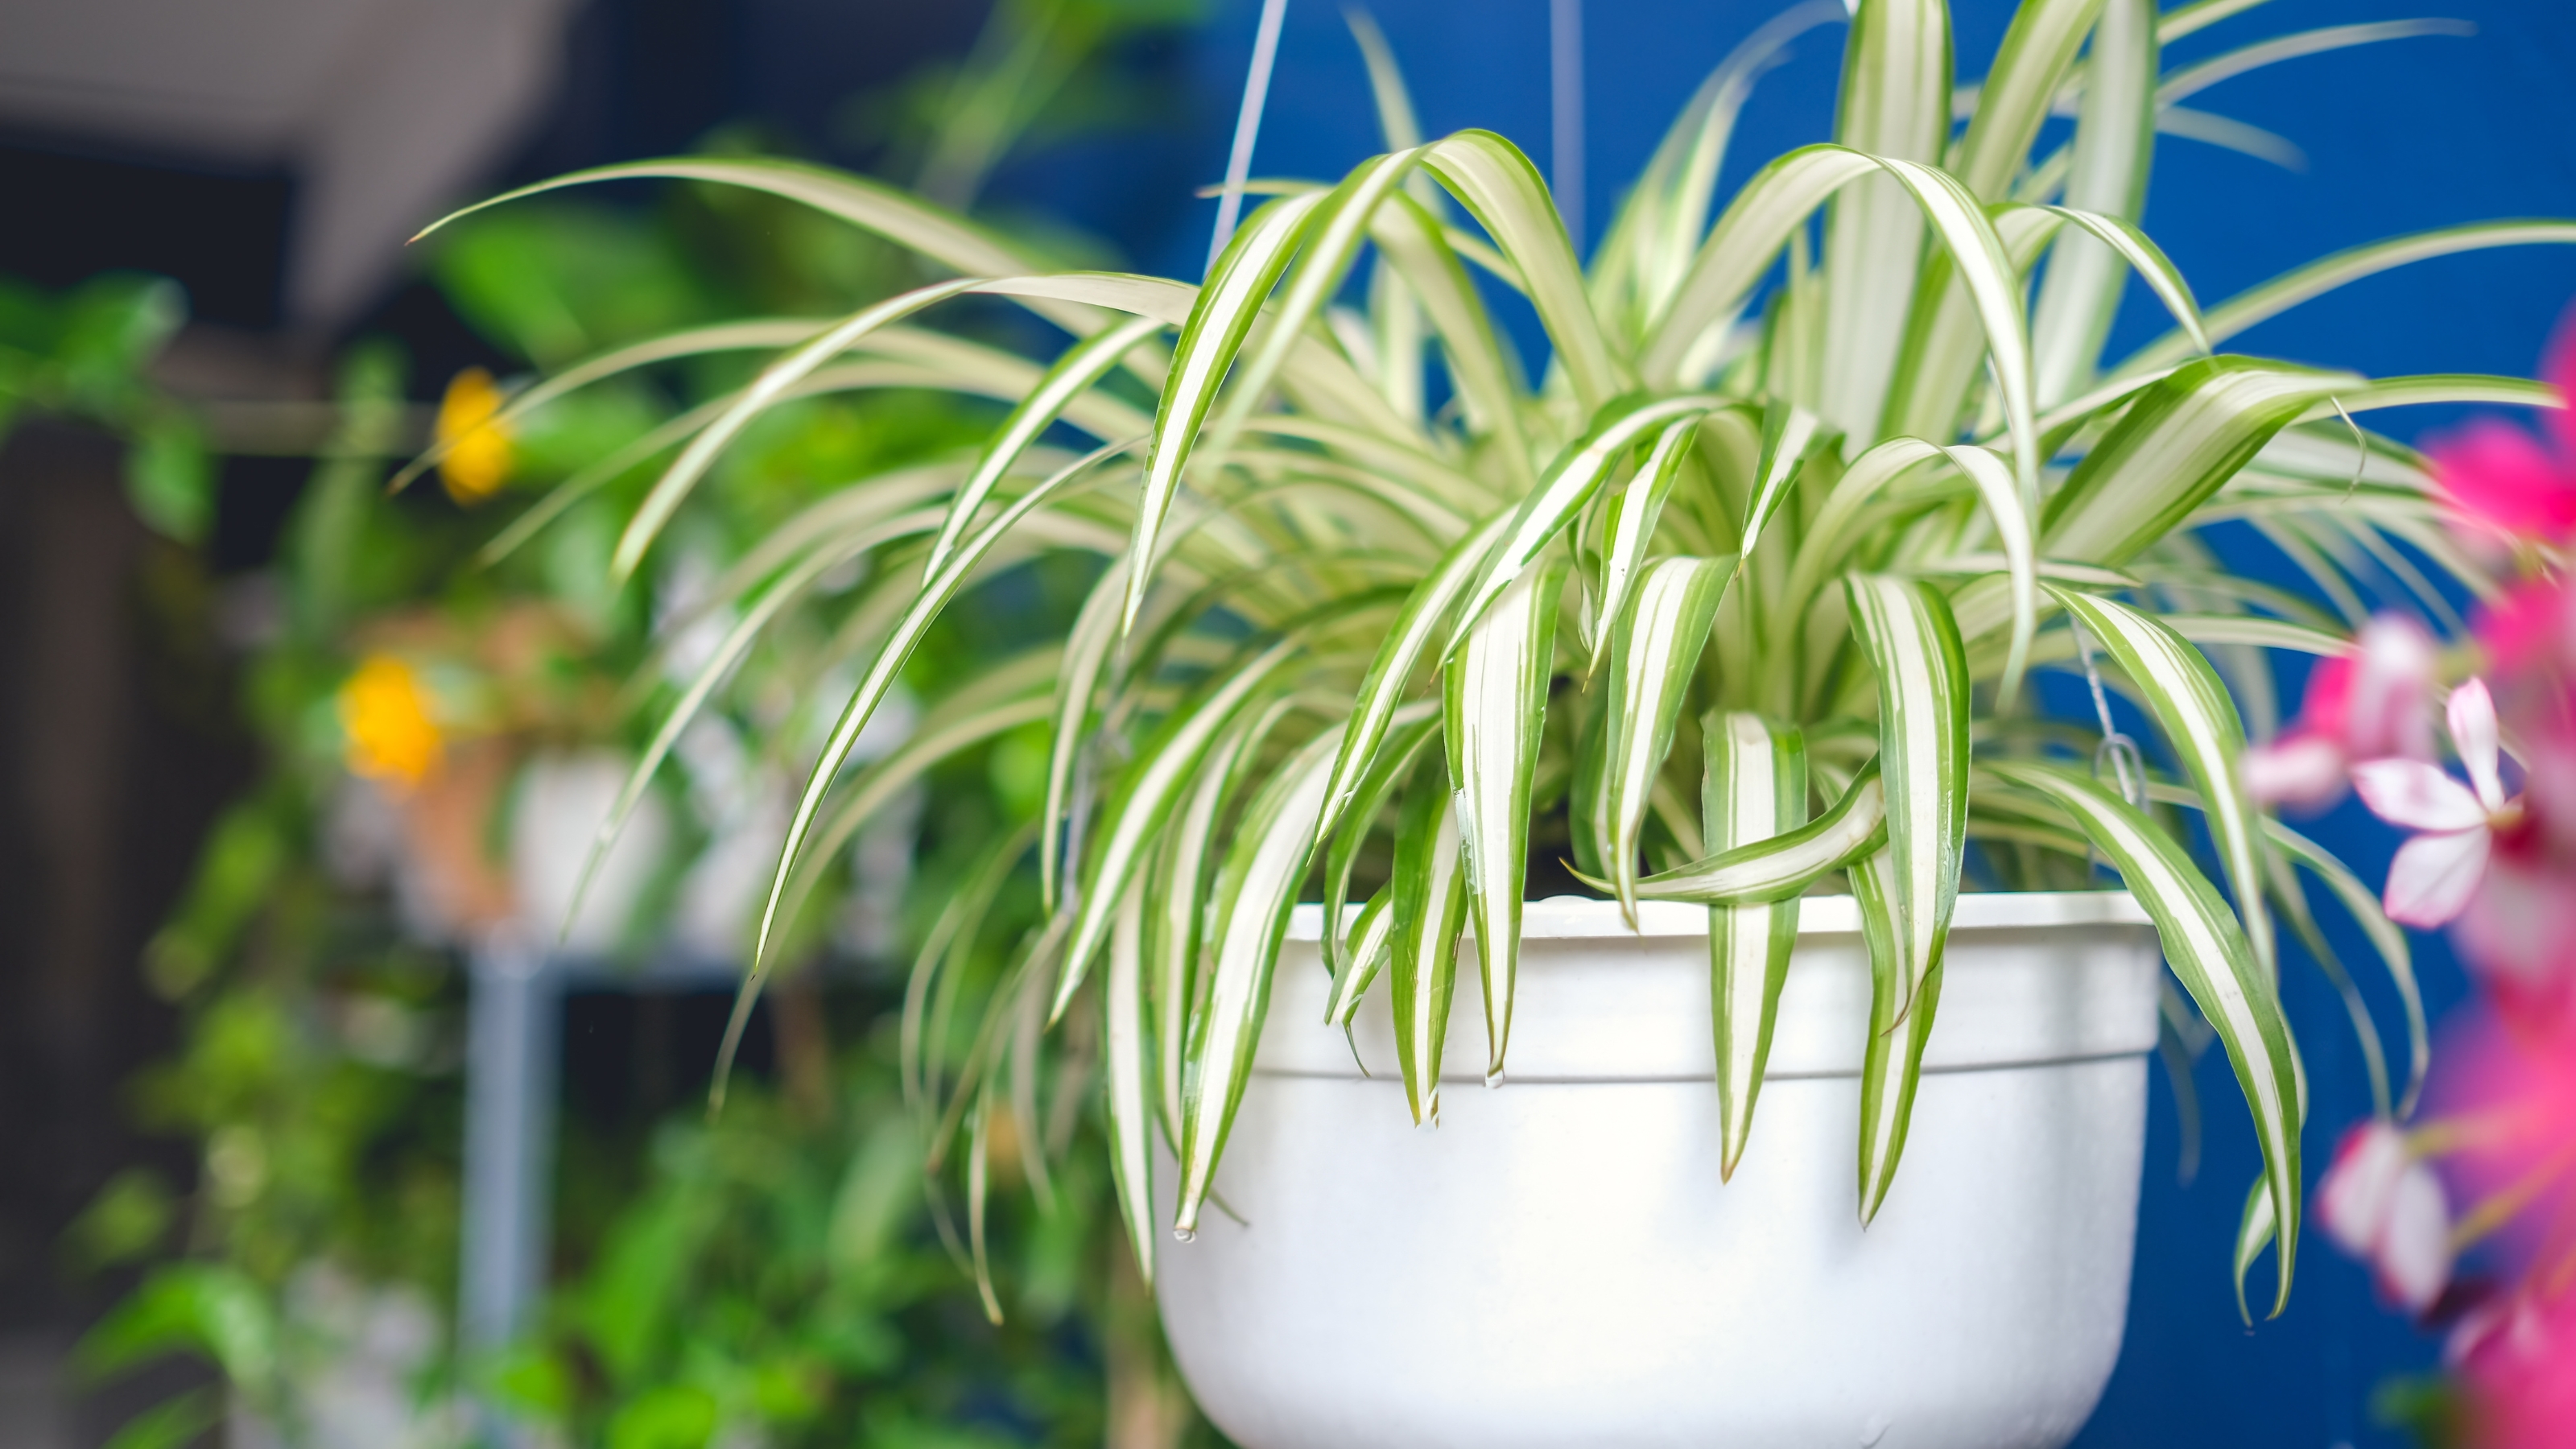
Learning how to repot a spider plant will make all the difference when it comes to growing an impressive display of greenery.
You may be a bit nervous to rehome your plants but with some expert tips and tricks, they'll turn out great. We asked the pros for the best ways to repot a spider plant to avoid damaging it or throwing off the delicate ecosystem in the soil.
As one of the best indoor plants, spider plants make great additions to any space. See how to keep them healthy and growing tall, even if you're a beginner.
How to repot a spider plant
Repotting is one of the key ways to take care of a spider plant. As they're quite resilient plants, you may find yours is outgrowing its current set-up.
The light requirements for a spider plant are pretty moderate — they thrive in a well-lit spot without direct sun exposure. You also don't have to water a spider plant too often, they only need a top-up about once a week.
With simple water and light requirements, your easy houseplant will probably fill the pot it's kept in with roots. If you'd like to keep it growing repot your spider plant to larger living conditions.
When to repot a spider plant
Your spider plant will give off a few obvious signs it's time for repotting.
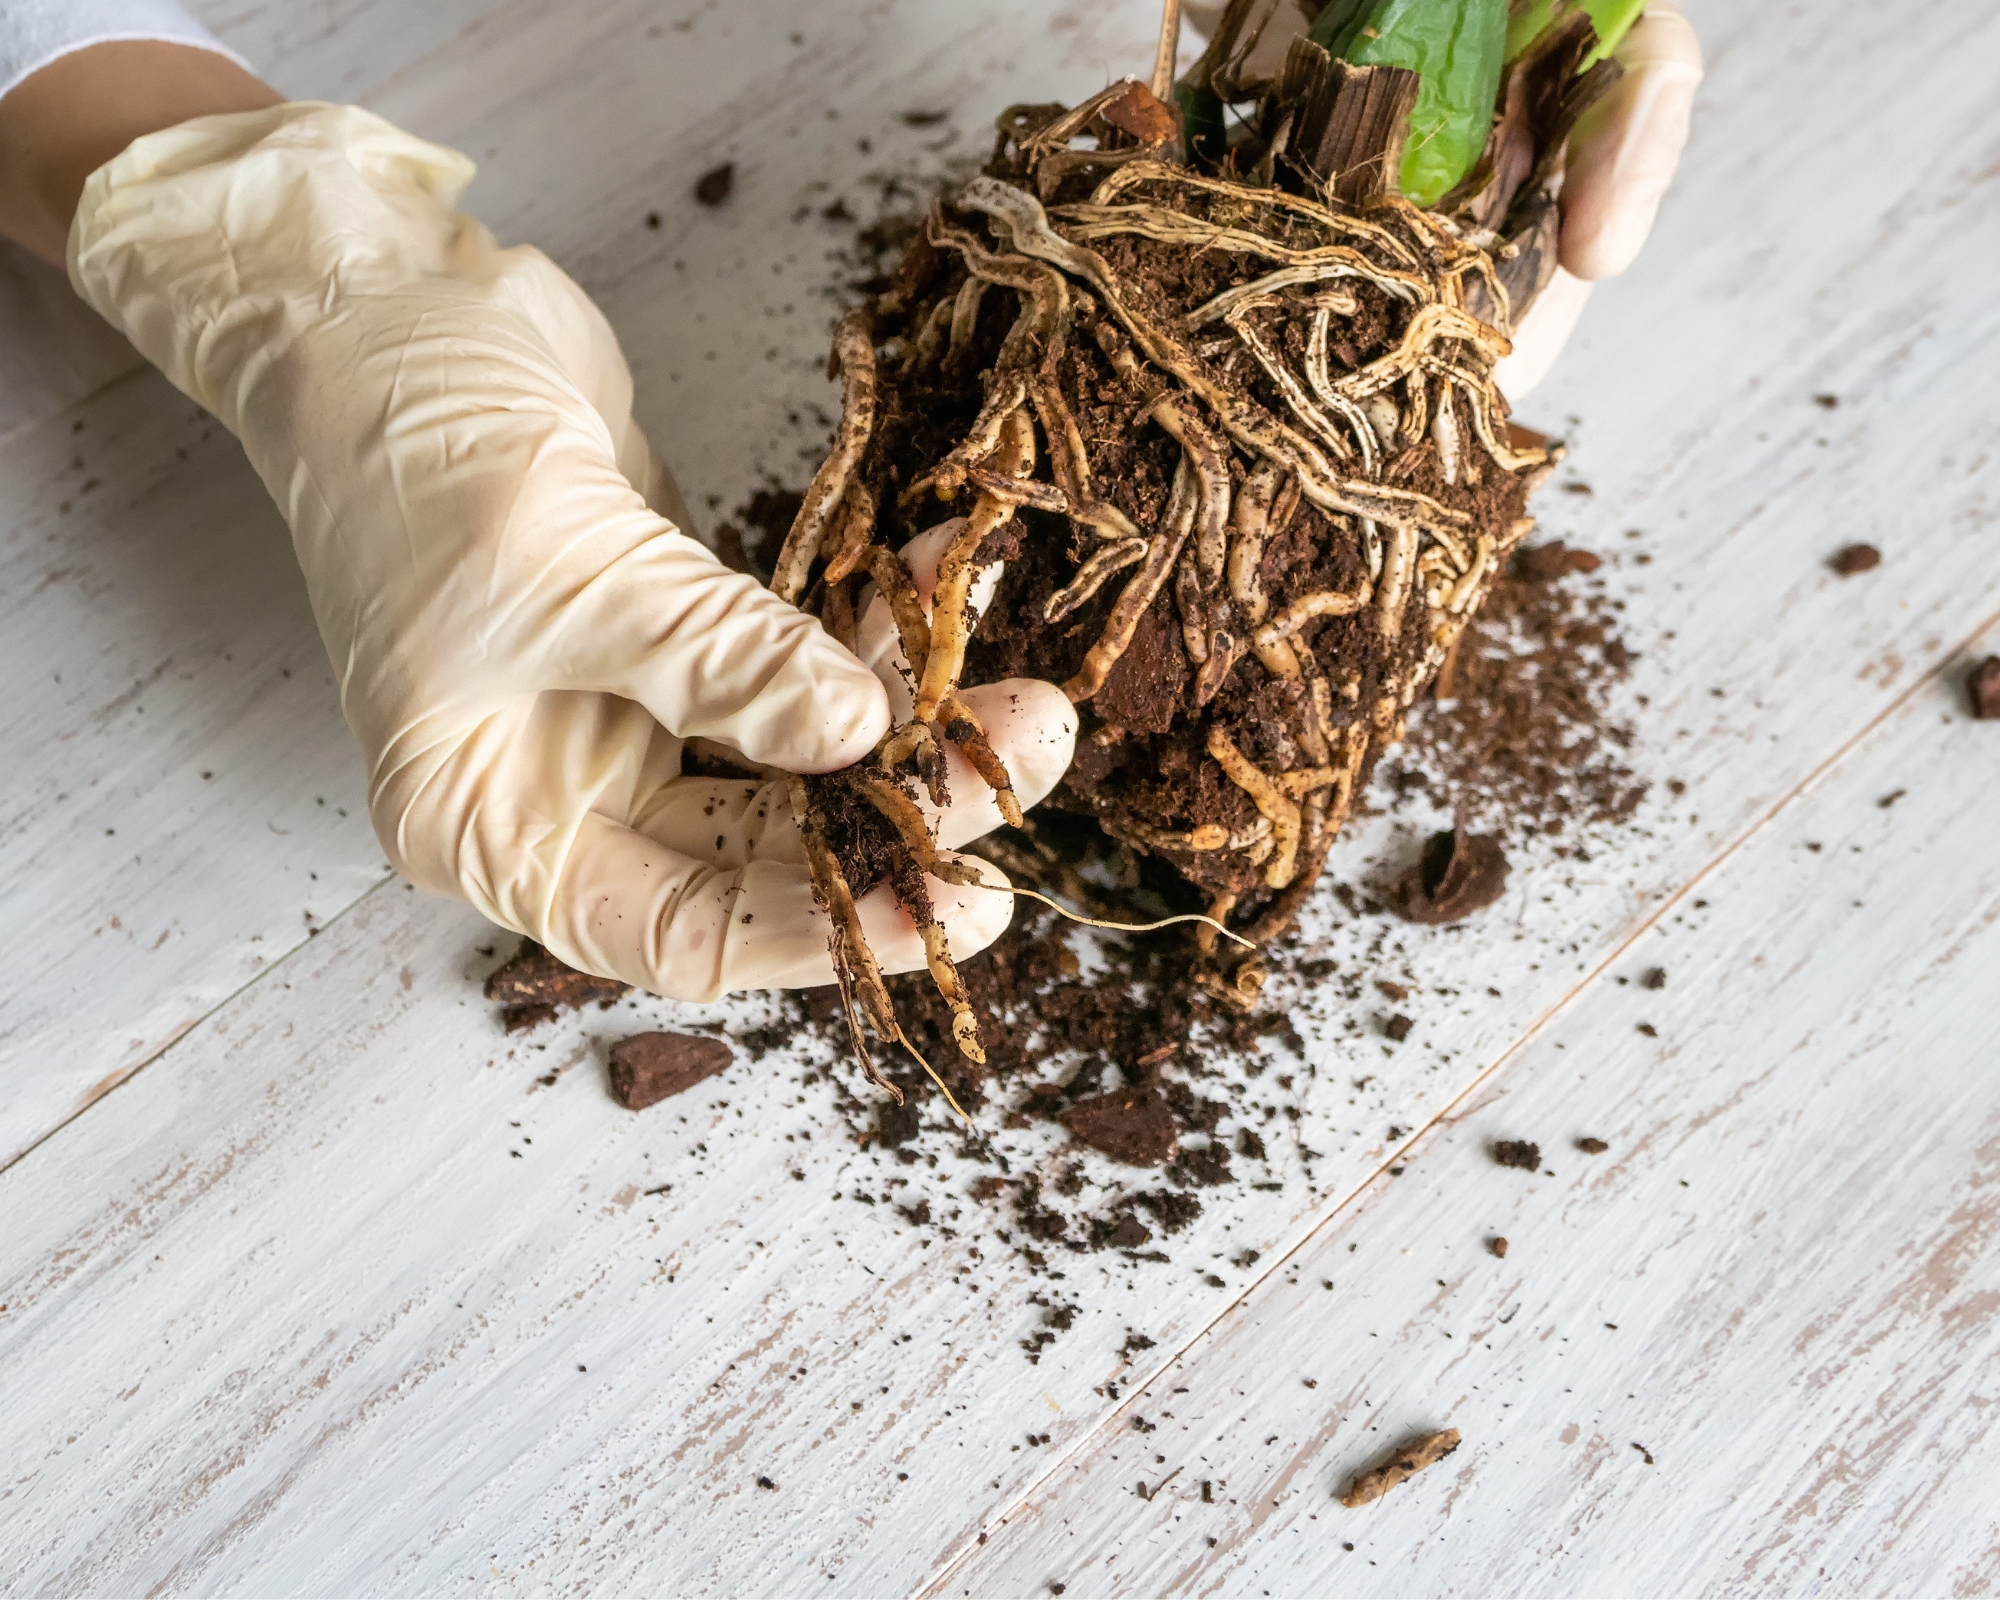
"The easiest way to check if your spider plant needs repotting is to check the drainage holes on the bottom of the pot. If you notice any roots growing out of the hole that means they've filled the current pot they're in. If you remove the plant from its pot you'll notice cramped roots in a tight bunch," says Gene Caballero, co-founder of GreenPal.
If your spider plant hasn't grown in a while, this may also be a sign. "Once the spider plant fills the container, the roots will be fighting for nutrients from the soil. This means the plant will have stunted growth and you may notice the soil starting to degrade," says Jamie Mitri, the founder of Moss Pure.
It's best to repot your spider plant in the spring as the cold weather in winter might throw off the growing conditions.
The best way to repot
It's pretty easy to repot a spider plant at home. First, pick out the container you'd like to move the plant into. "Never pick a container that's too big for your spider plant as it will struggle to grow in such an expansive space. Pick a pot that is one to two sizes bigger than the current container," says Jamie.
A pack of mixed-sized containers from Amazon will be helpful for finding the right one.
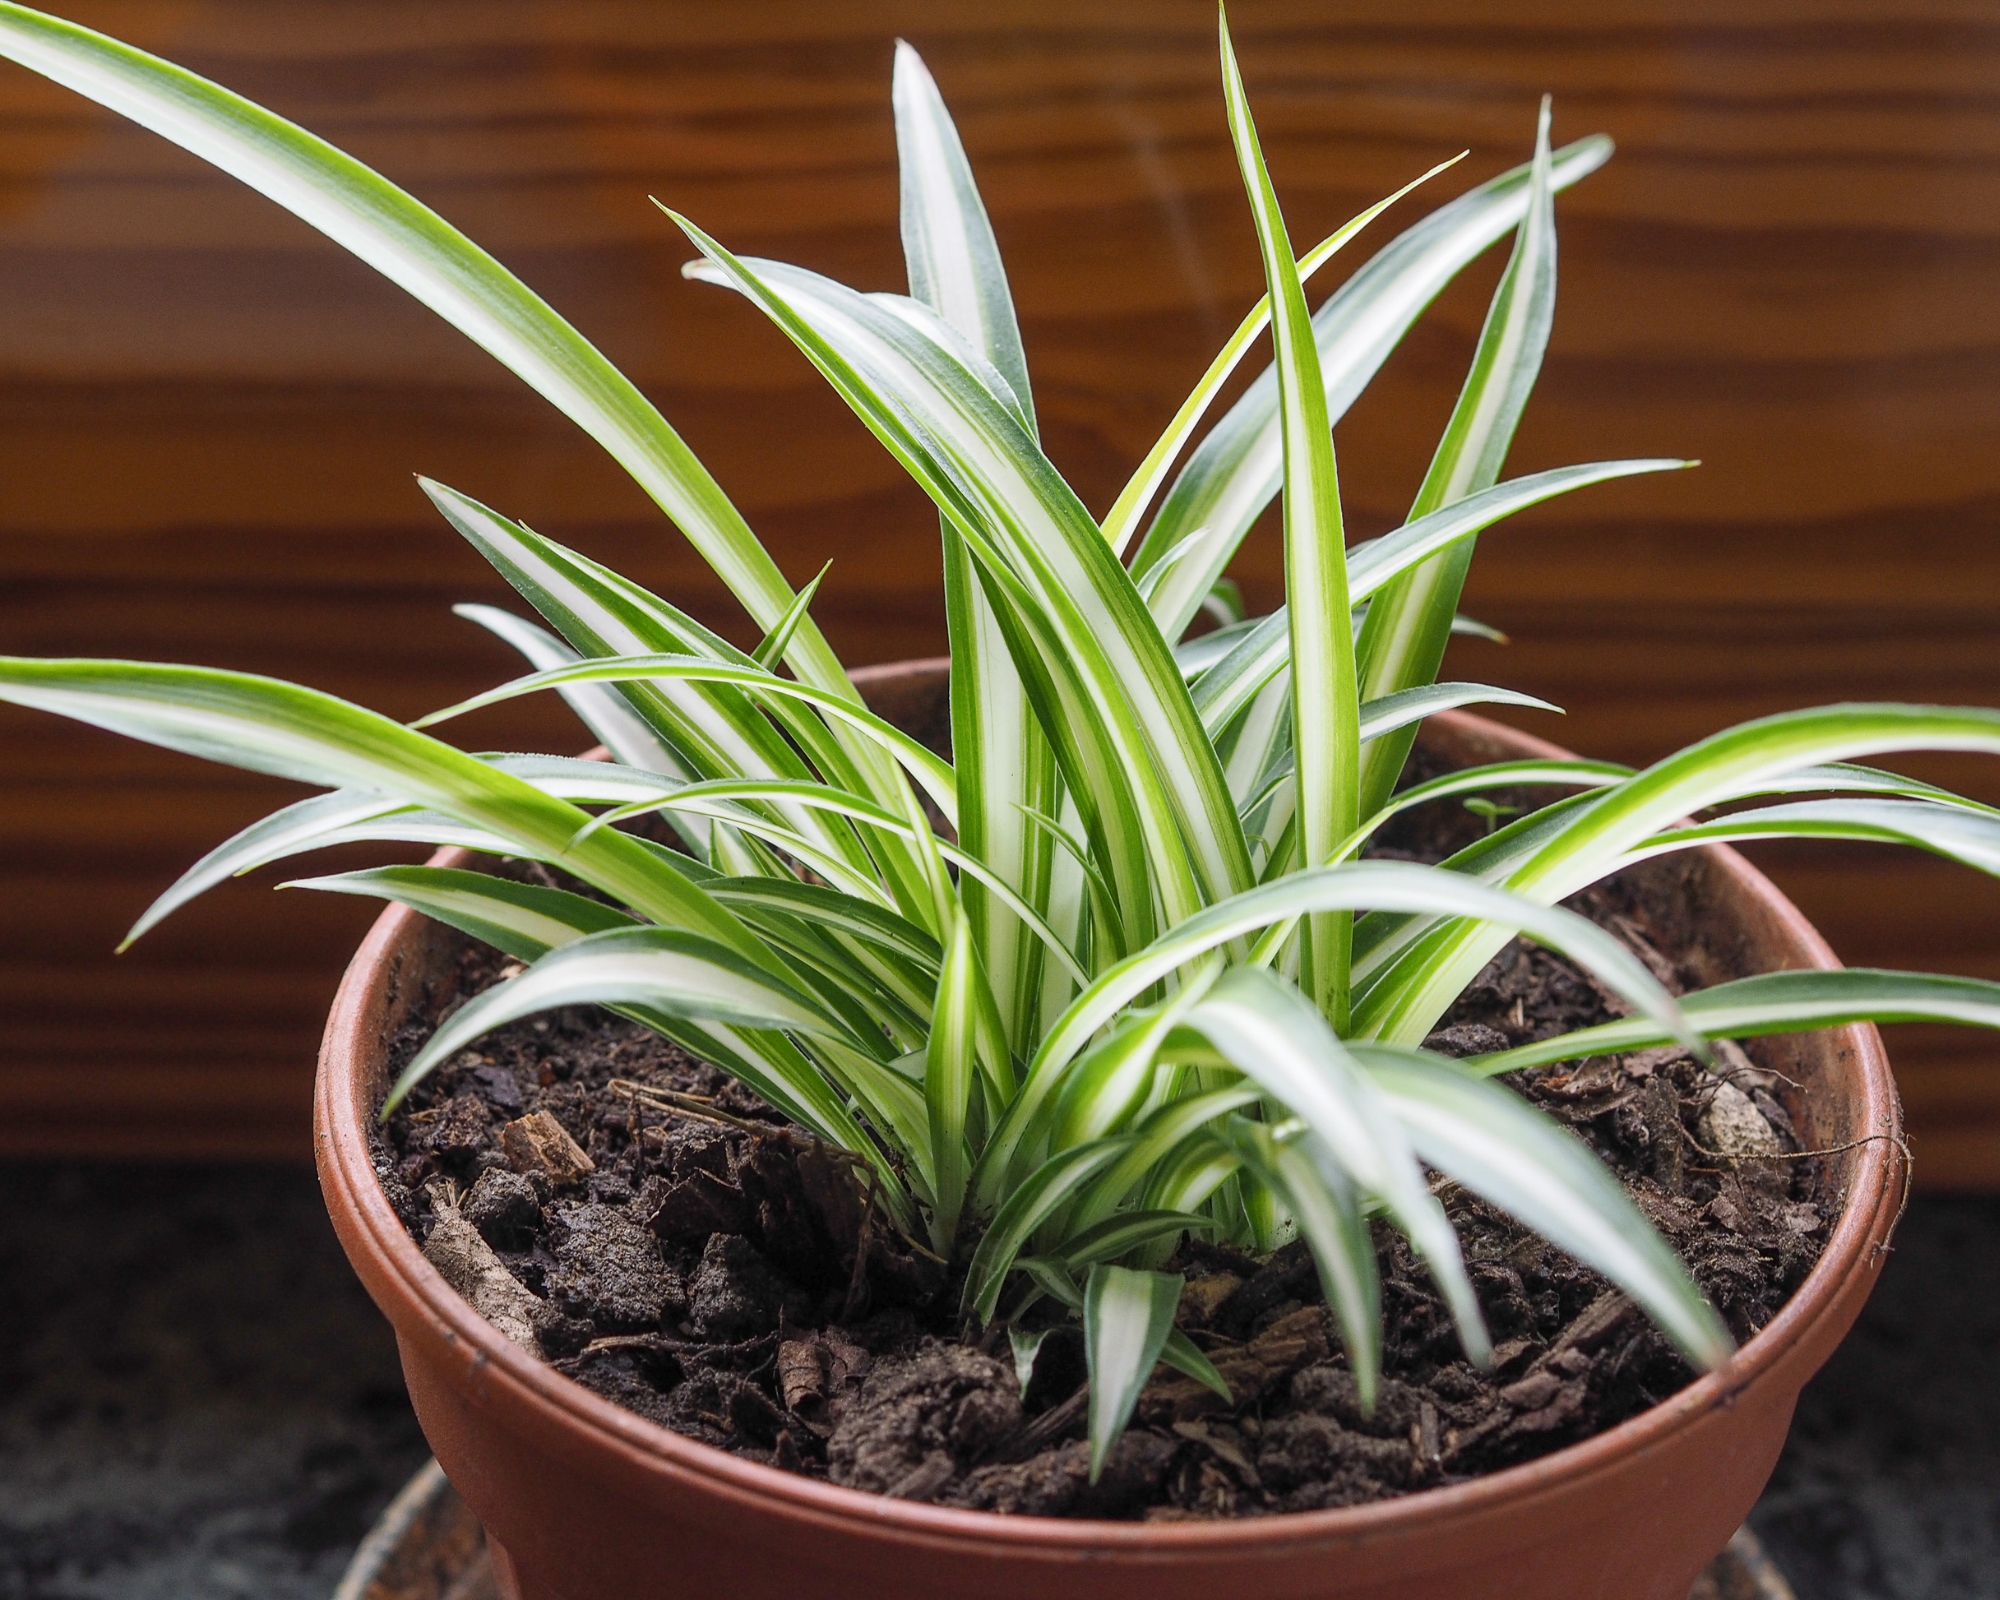
To repot the plant, simply remove the spider plant from its container. "Turn the plant on its side and gently pull the plant out by the base. Never pull from the leaves as this may cause them to tear," says Gene.
Once your plant is out of the pot, loosen the roots to gently untangle them. Don't panic if a few come off, these will grow back.
Then fill your new container with well-draining houseplant soil like this Miracle-Gro potting mix available on Amazon. Then plant your spider plant in the new container, making sure not to pack it in too tightly.
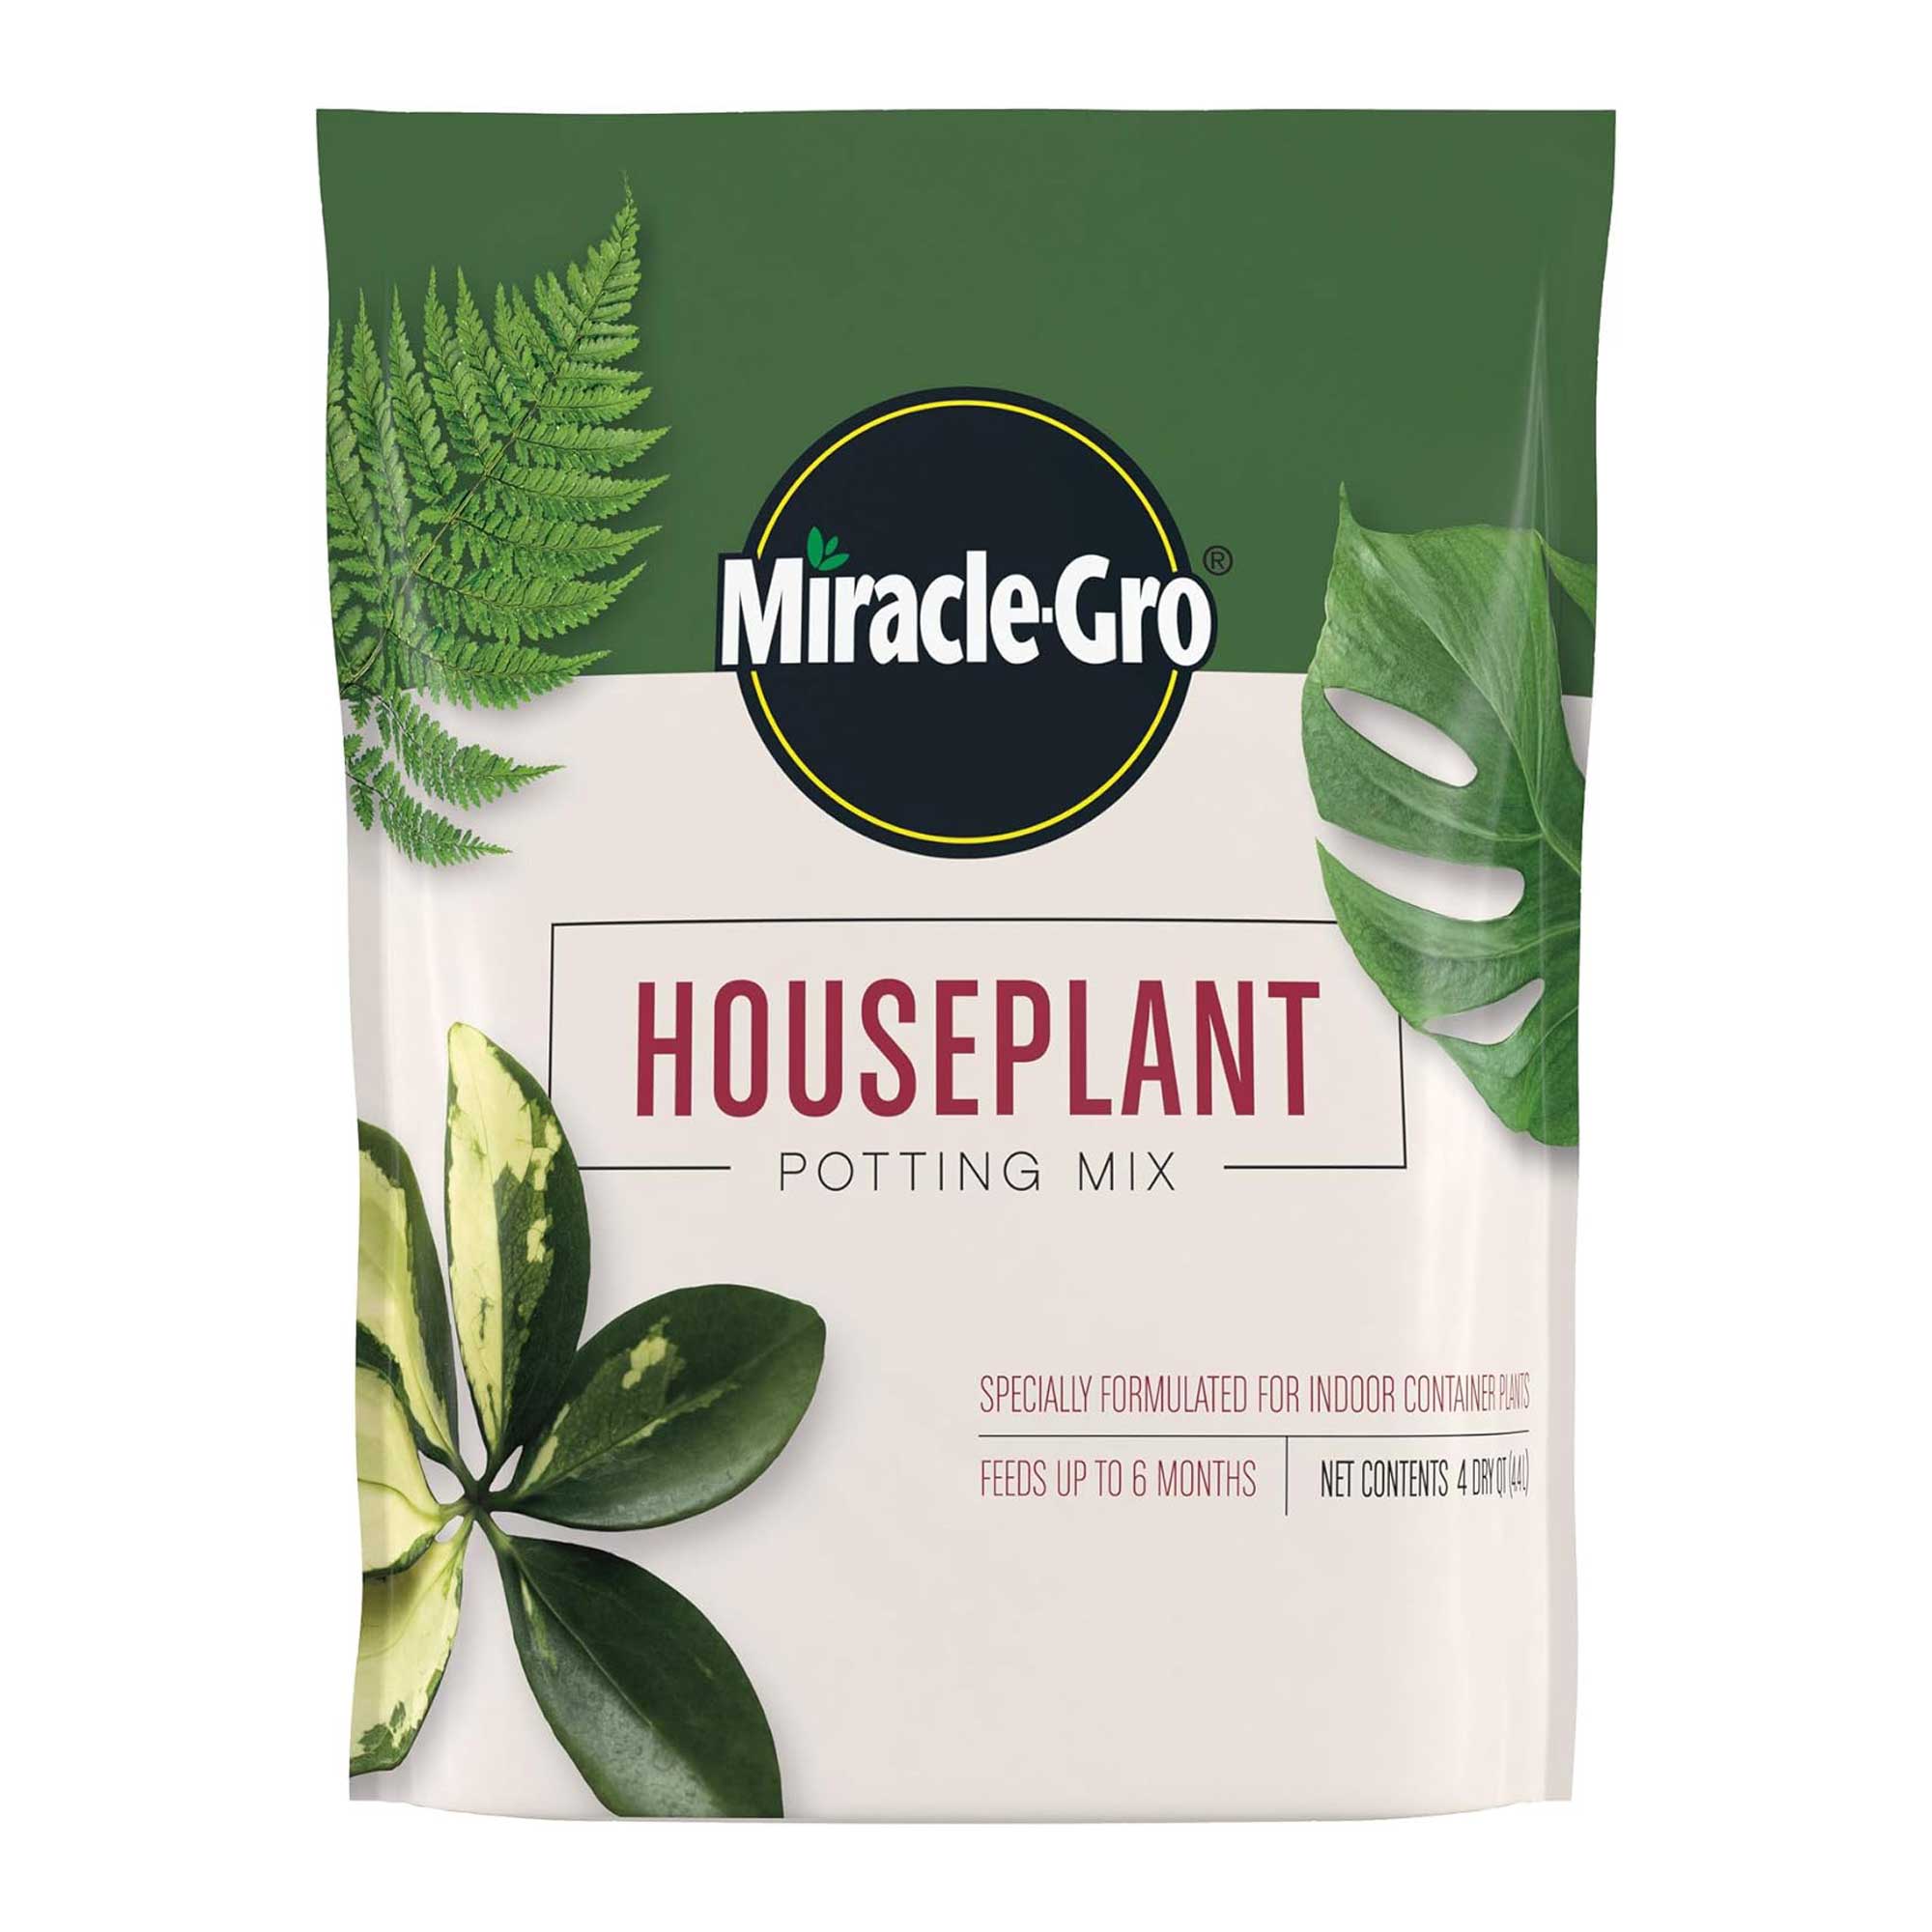
Price: $13.33
With over 11,000 5-star ratings, this mix from Miracle-Gro® is specifically formulated to help houseplants thrive.
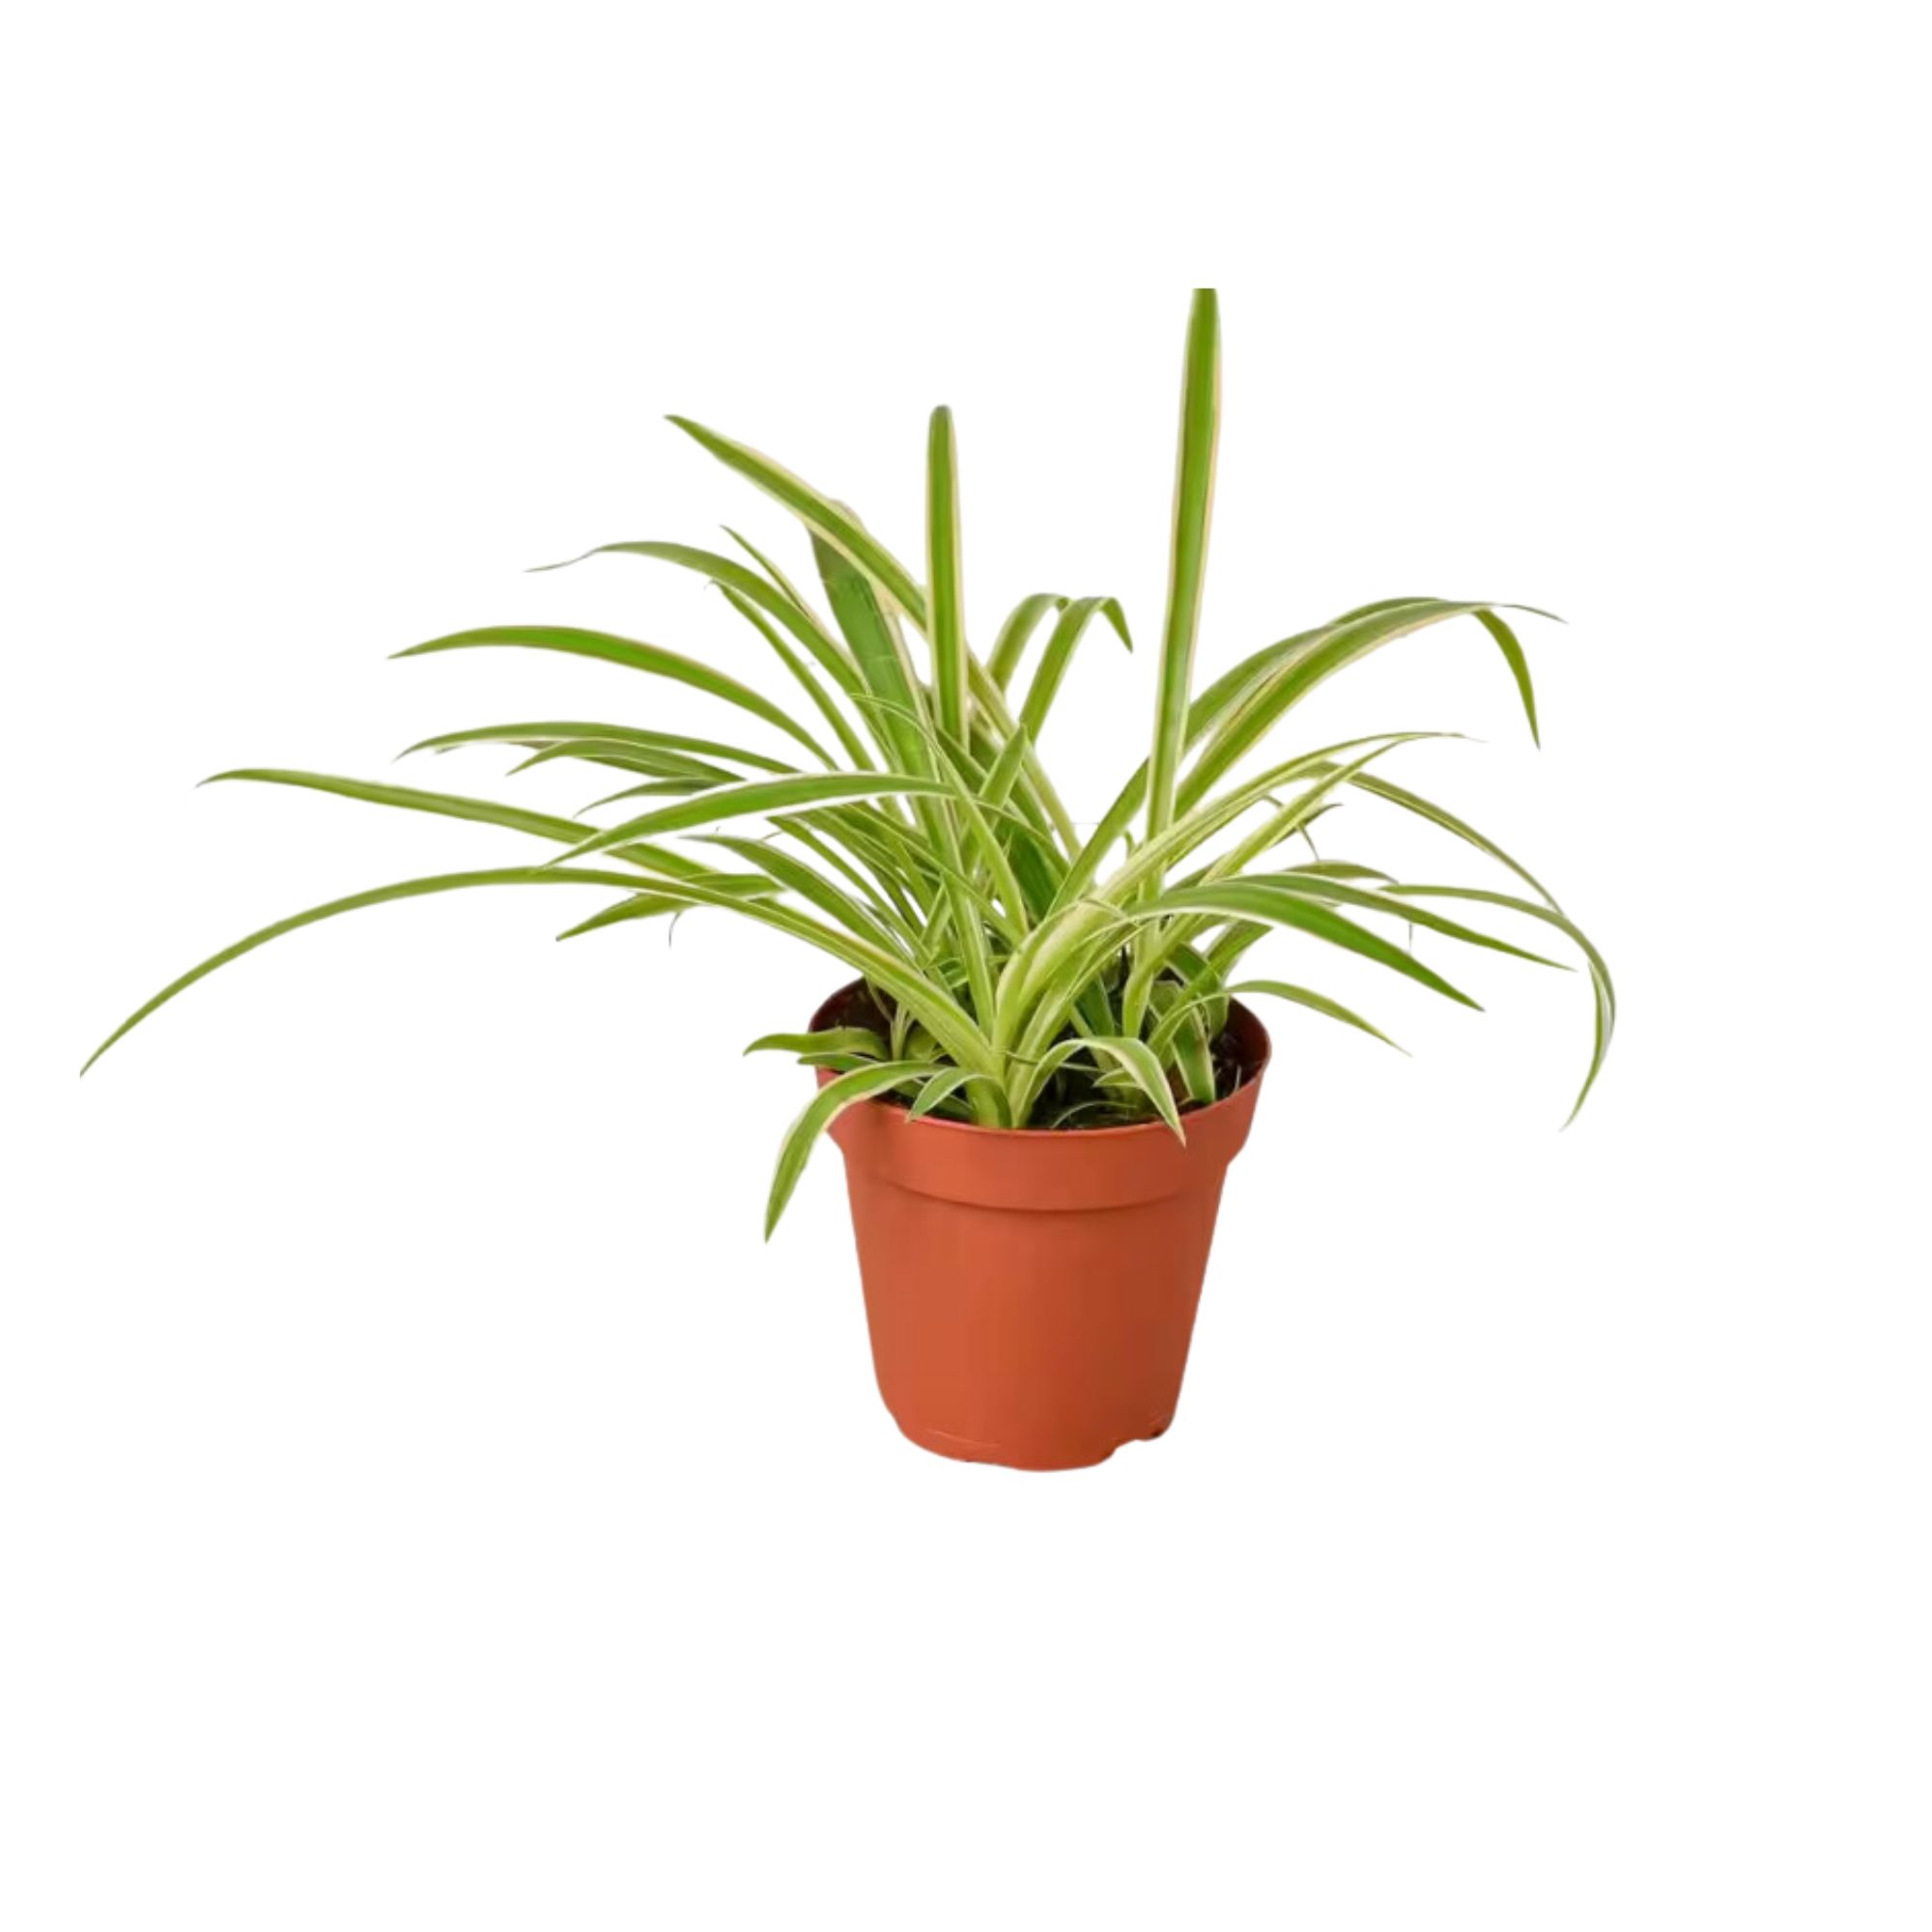
Price: $19.99
Add a new spider plant to your indoor jungle with this good starter plant from The Home Depot.
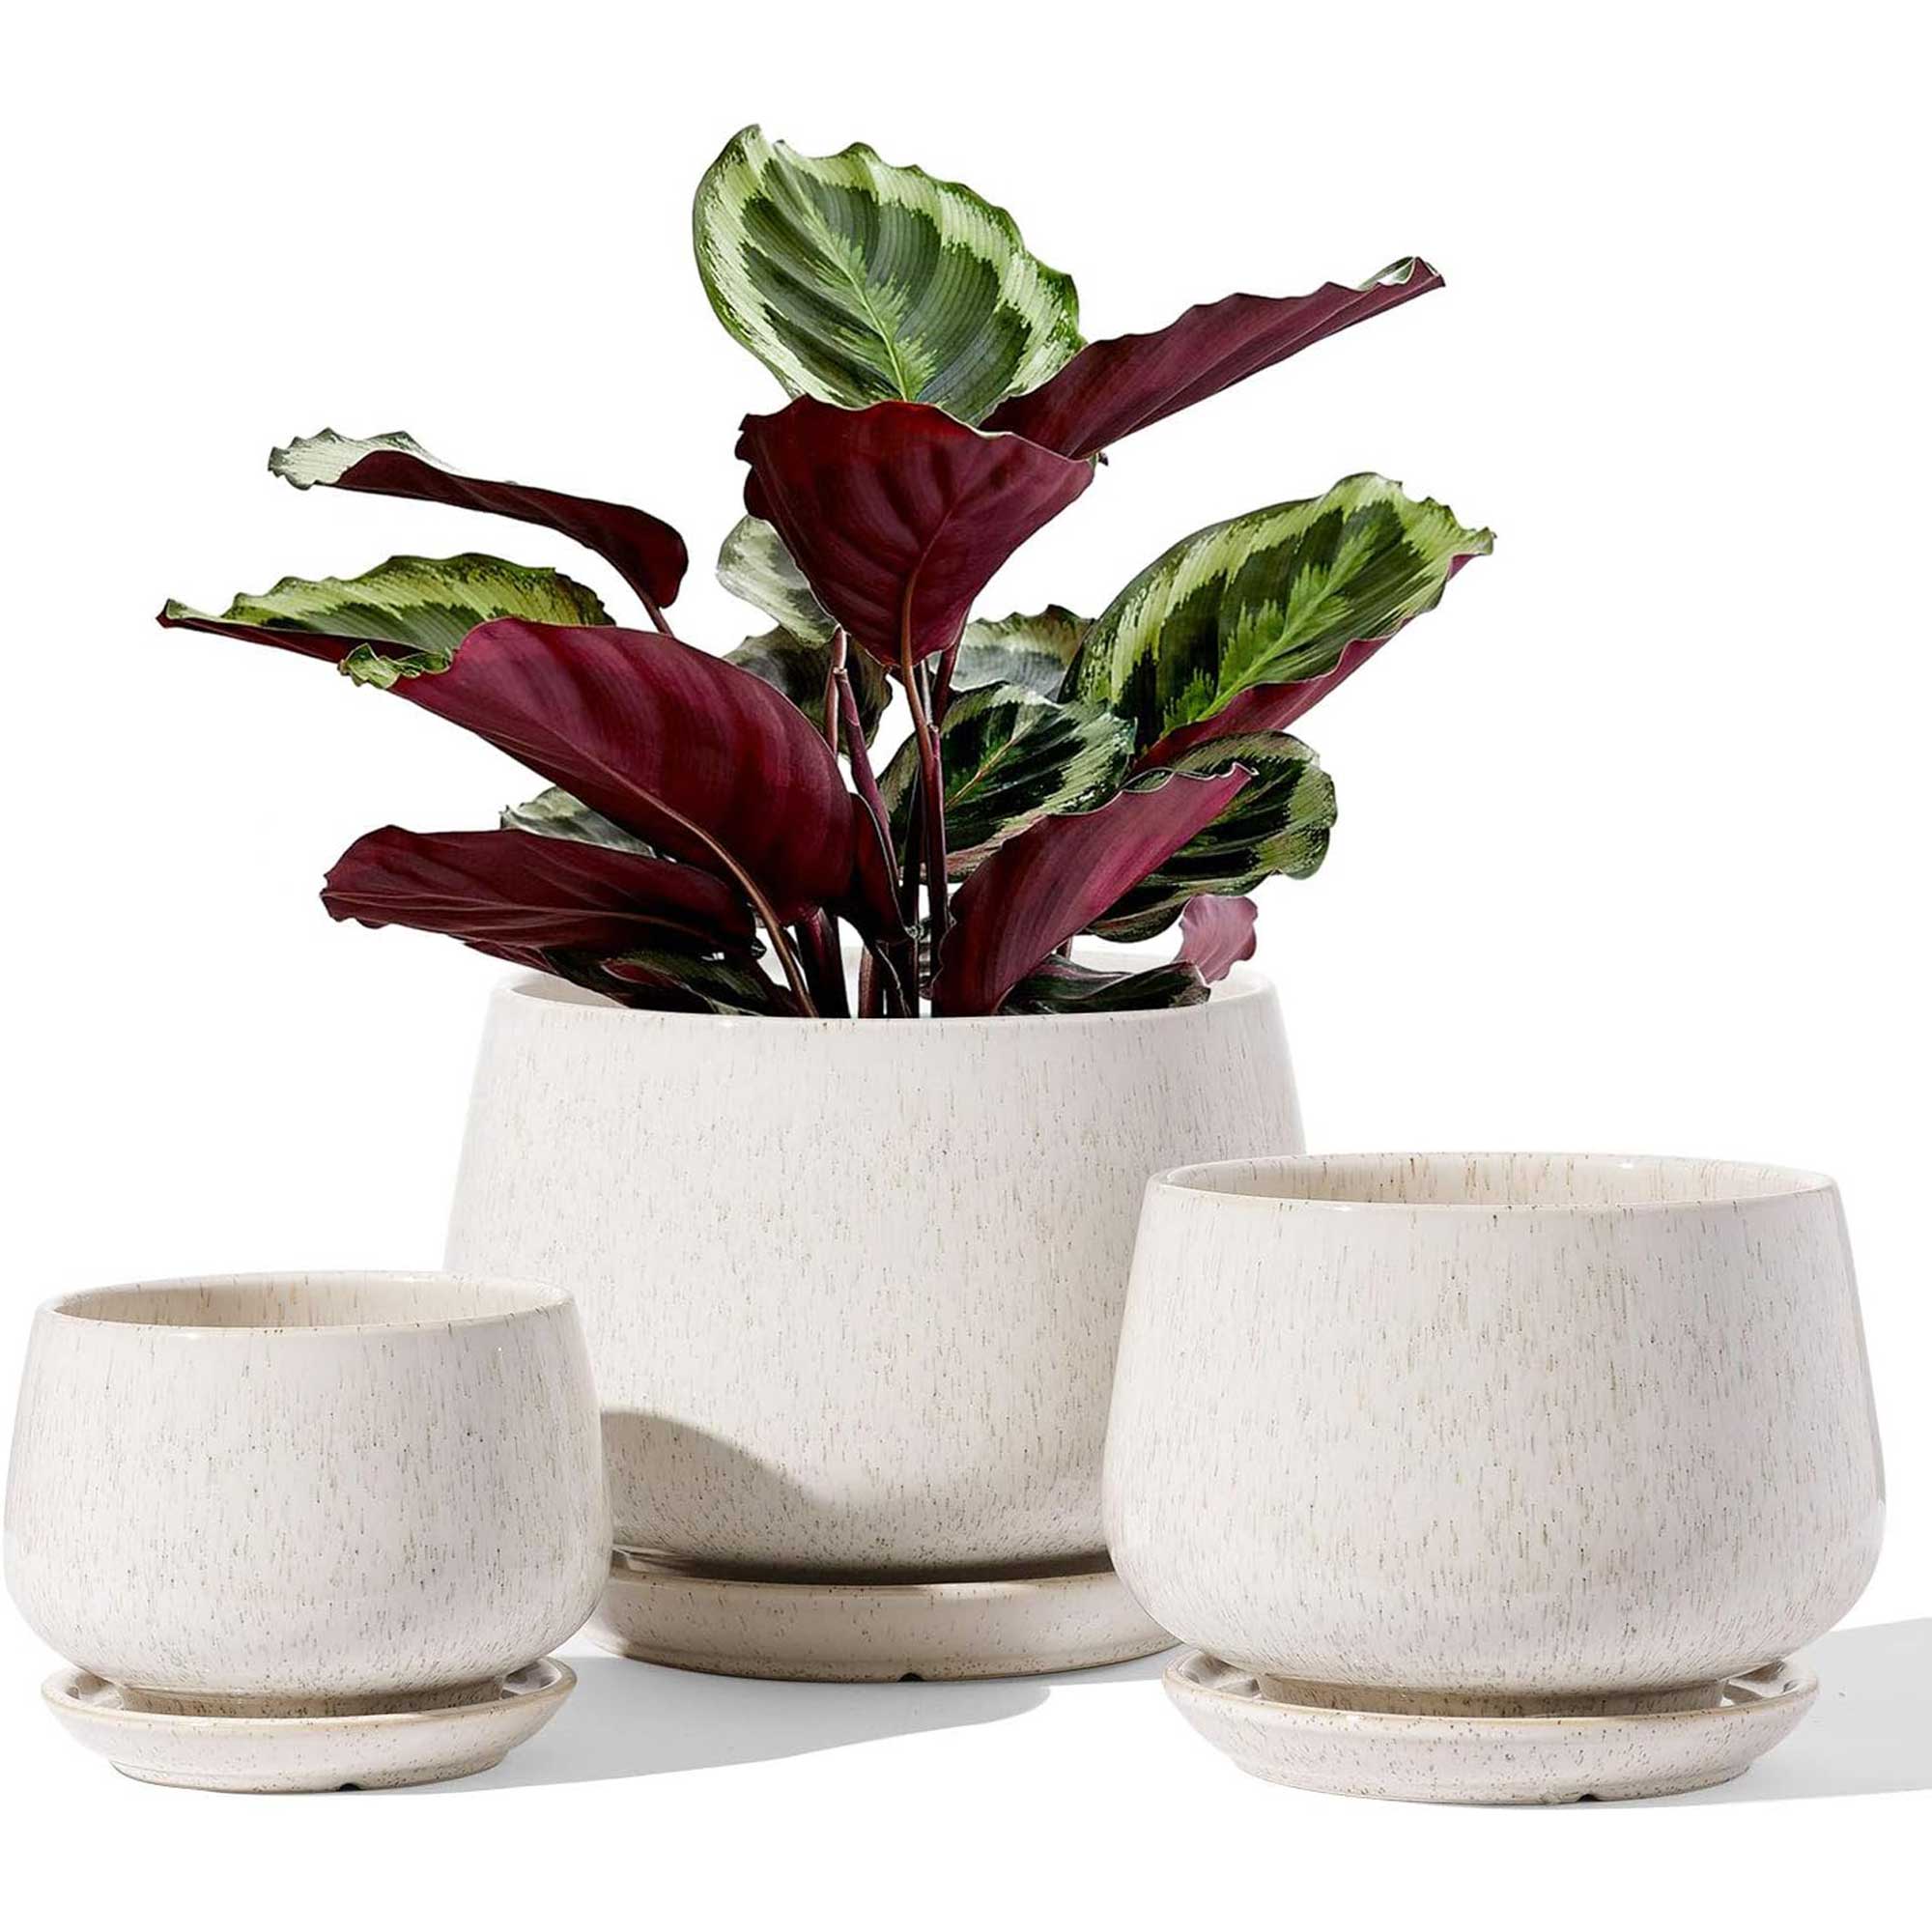
Price: $32.99
It's handy to have a matching set of planters on hand so when your plant outgrows the smallest one, you can upgrade to a larger size.
As long as you avoid brown tips on a spider plant (which is actually pretty easy to fix) your greenery should grow to new heights in its new planter. Once spider plants are happy and thriving they may even produce flowers and baby spider plants, known as spiderettes.


