
If you own a Christmas cactus, you'll know what a treasure they are during the bleaker winter months. But learning how to repot a Christmas cactus will ensure your plant remains healthy for years to come.
With the right Christmas cactus care regime, you'll enjoy a fresh round of blooms every winter. Knowing how often you should water a Christmas cactus is one thing, but you'll also need to pay attention to its pot.
‘By repotting a Christmas cactus, you can keep the same plant for years and it will continue to grow larger and more floriferous,’ says Kelly Dyer, indoor house plant expert at Patch Plants. ‘It’s one worth nurturing.’
To help you out, we've gathered top tips from garden and houseplant experts and created a guide on how to repot a Christmas cactus.
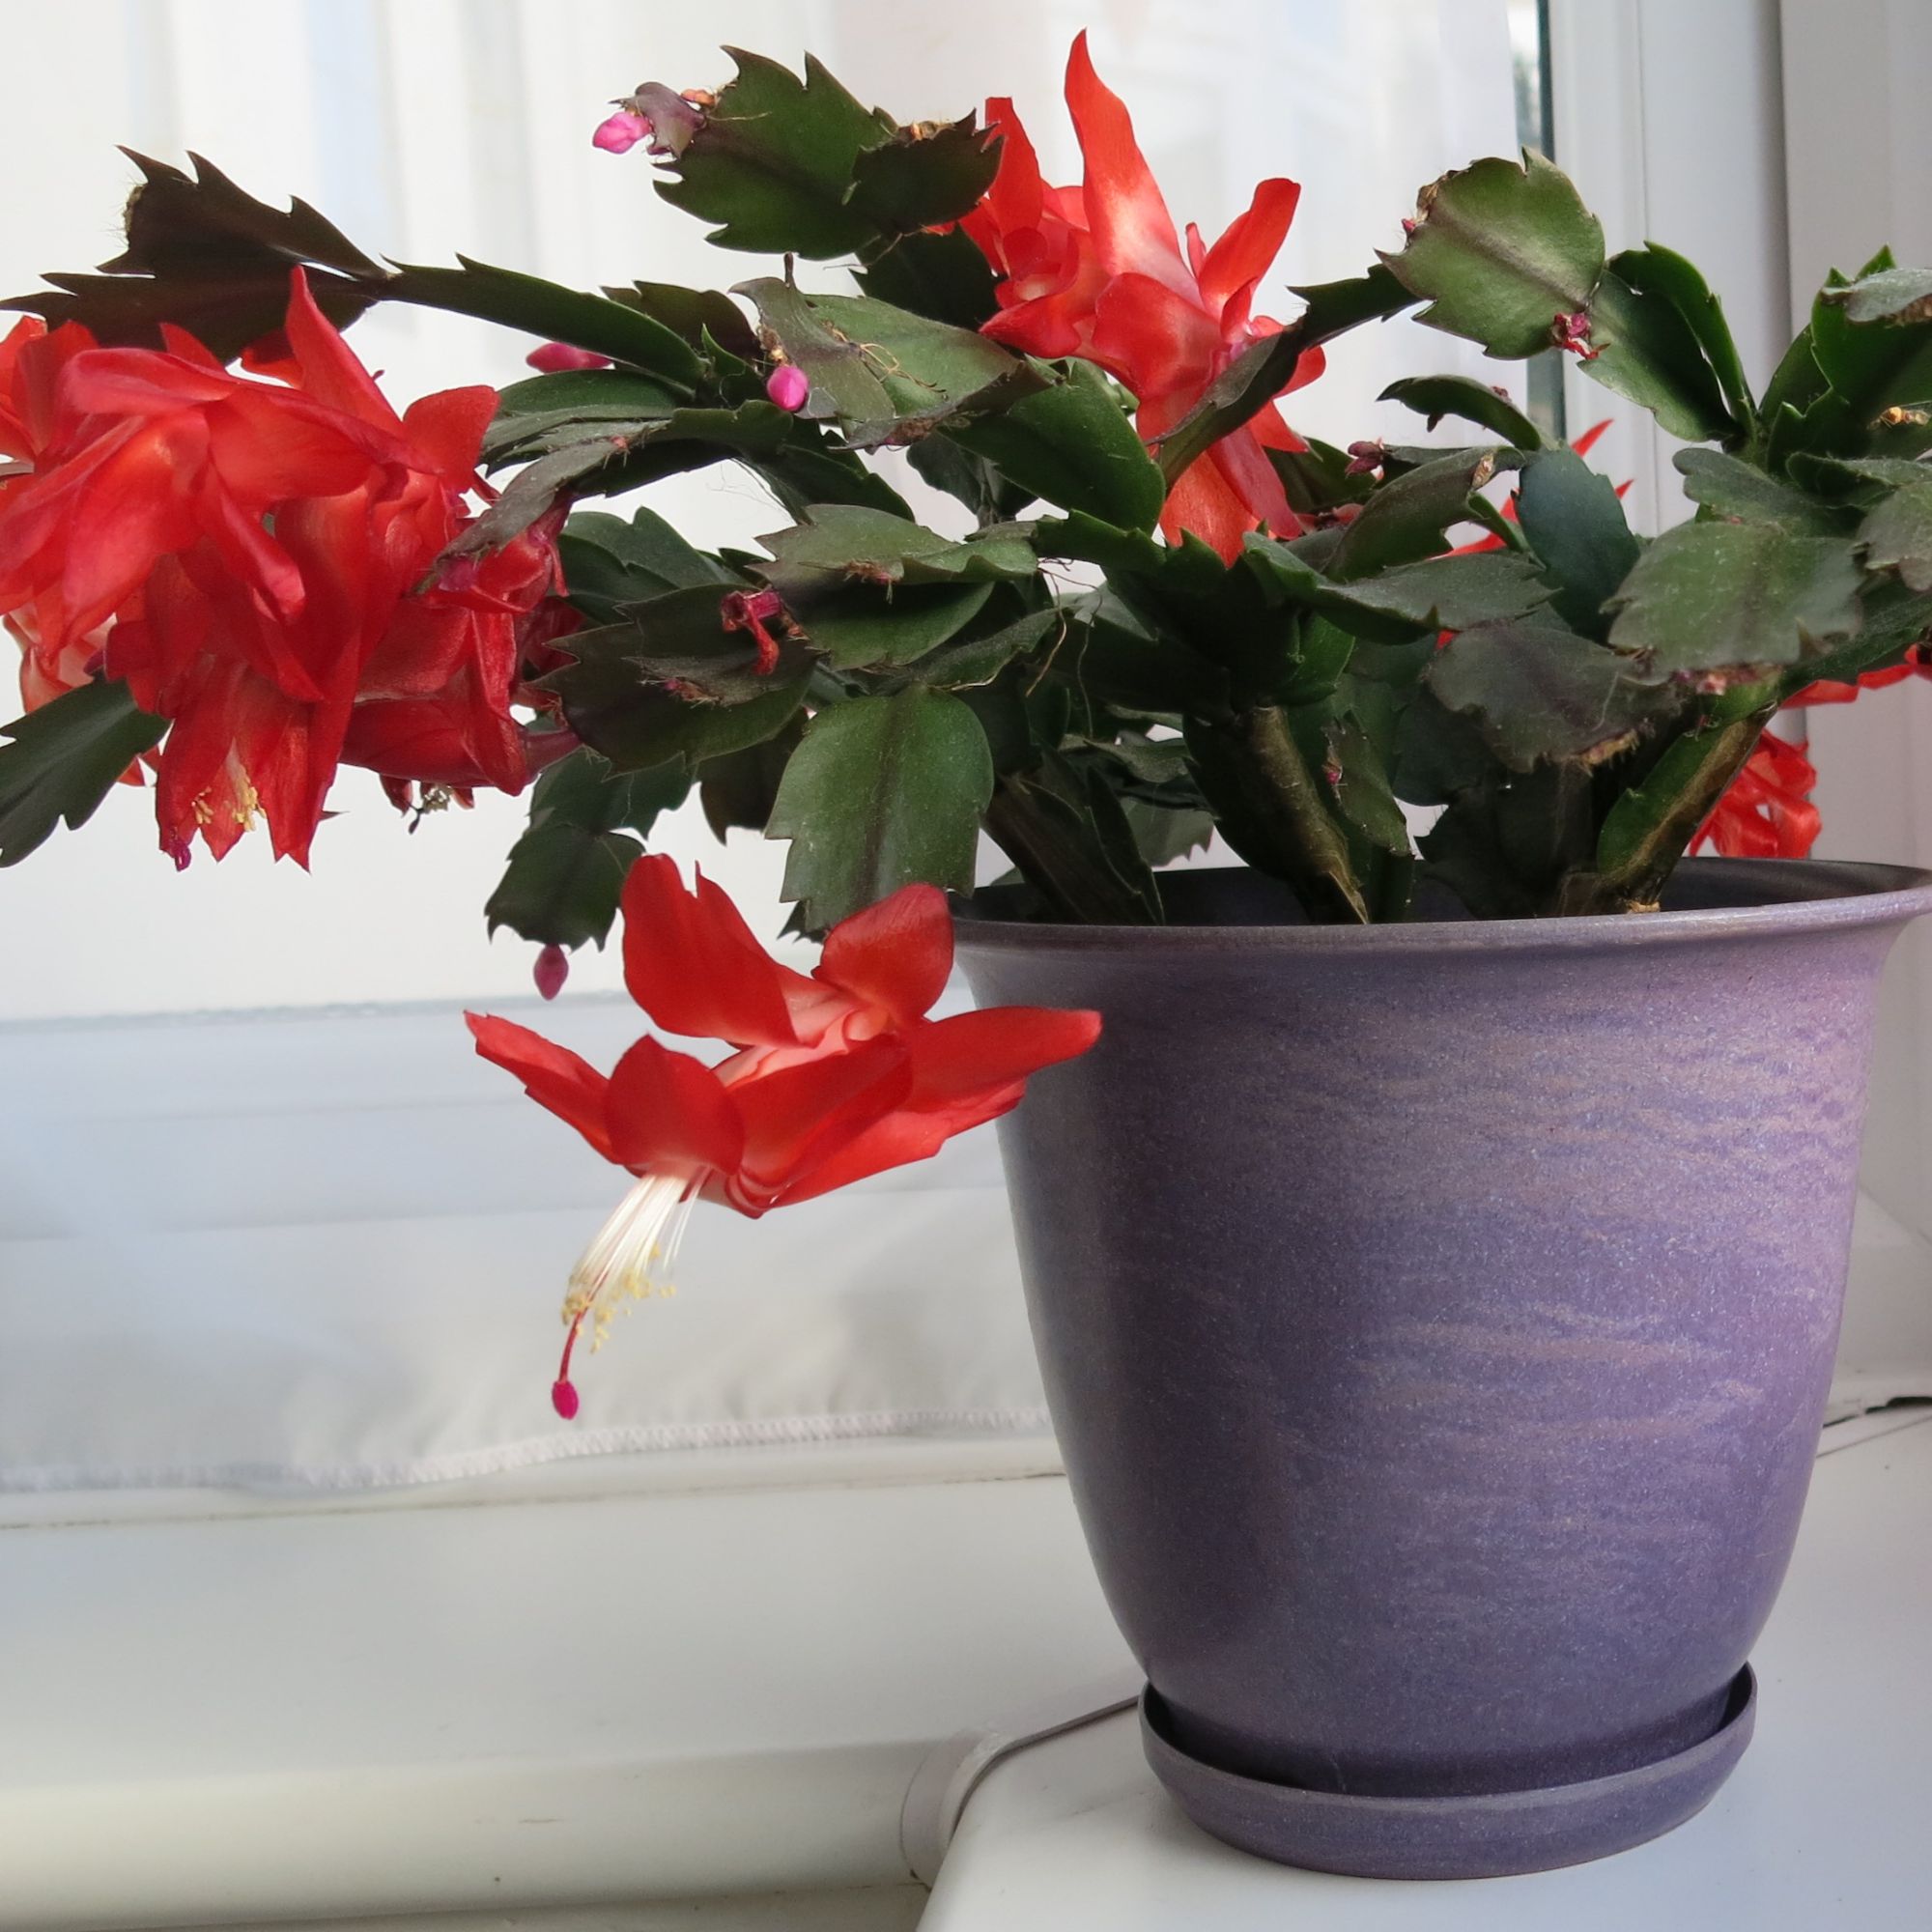
How to repot a Christmas cactus
First, you'll need to work out the best time to repot your Christmas cactus.
‘Repot your cactus immediately after it finishes blooming,’ says Andy Little, houseplant buyer at British Garden Centres.
Repotting every two to three years is ideal, but you should also keep an eye on the rootball. Once it's filled the pot, it’s time to repot the plant into a larger container.
Time to upgrade? This is how to repot a Christmas cactus.
What you’ll need
- A plant pot with drainage holes like the Contemporary Glazed Stoneware Planter from John Lewis
- Well-draining soil suitable for succulents like the Westland Cacti & Succulent Potting Mix from Amazon
- Trimming scissors like the Chilymes Professional Pruning Shears from Amazon
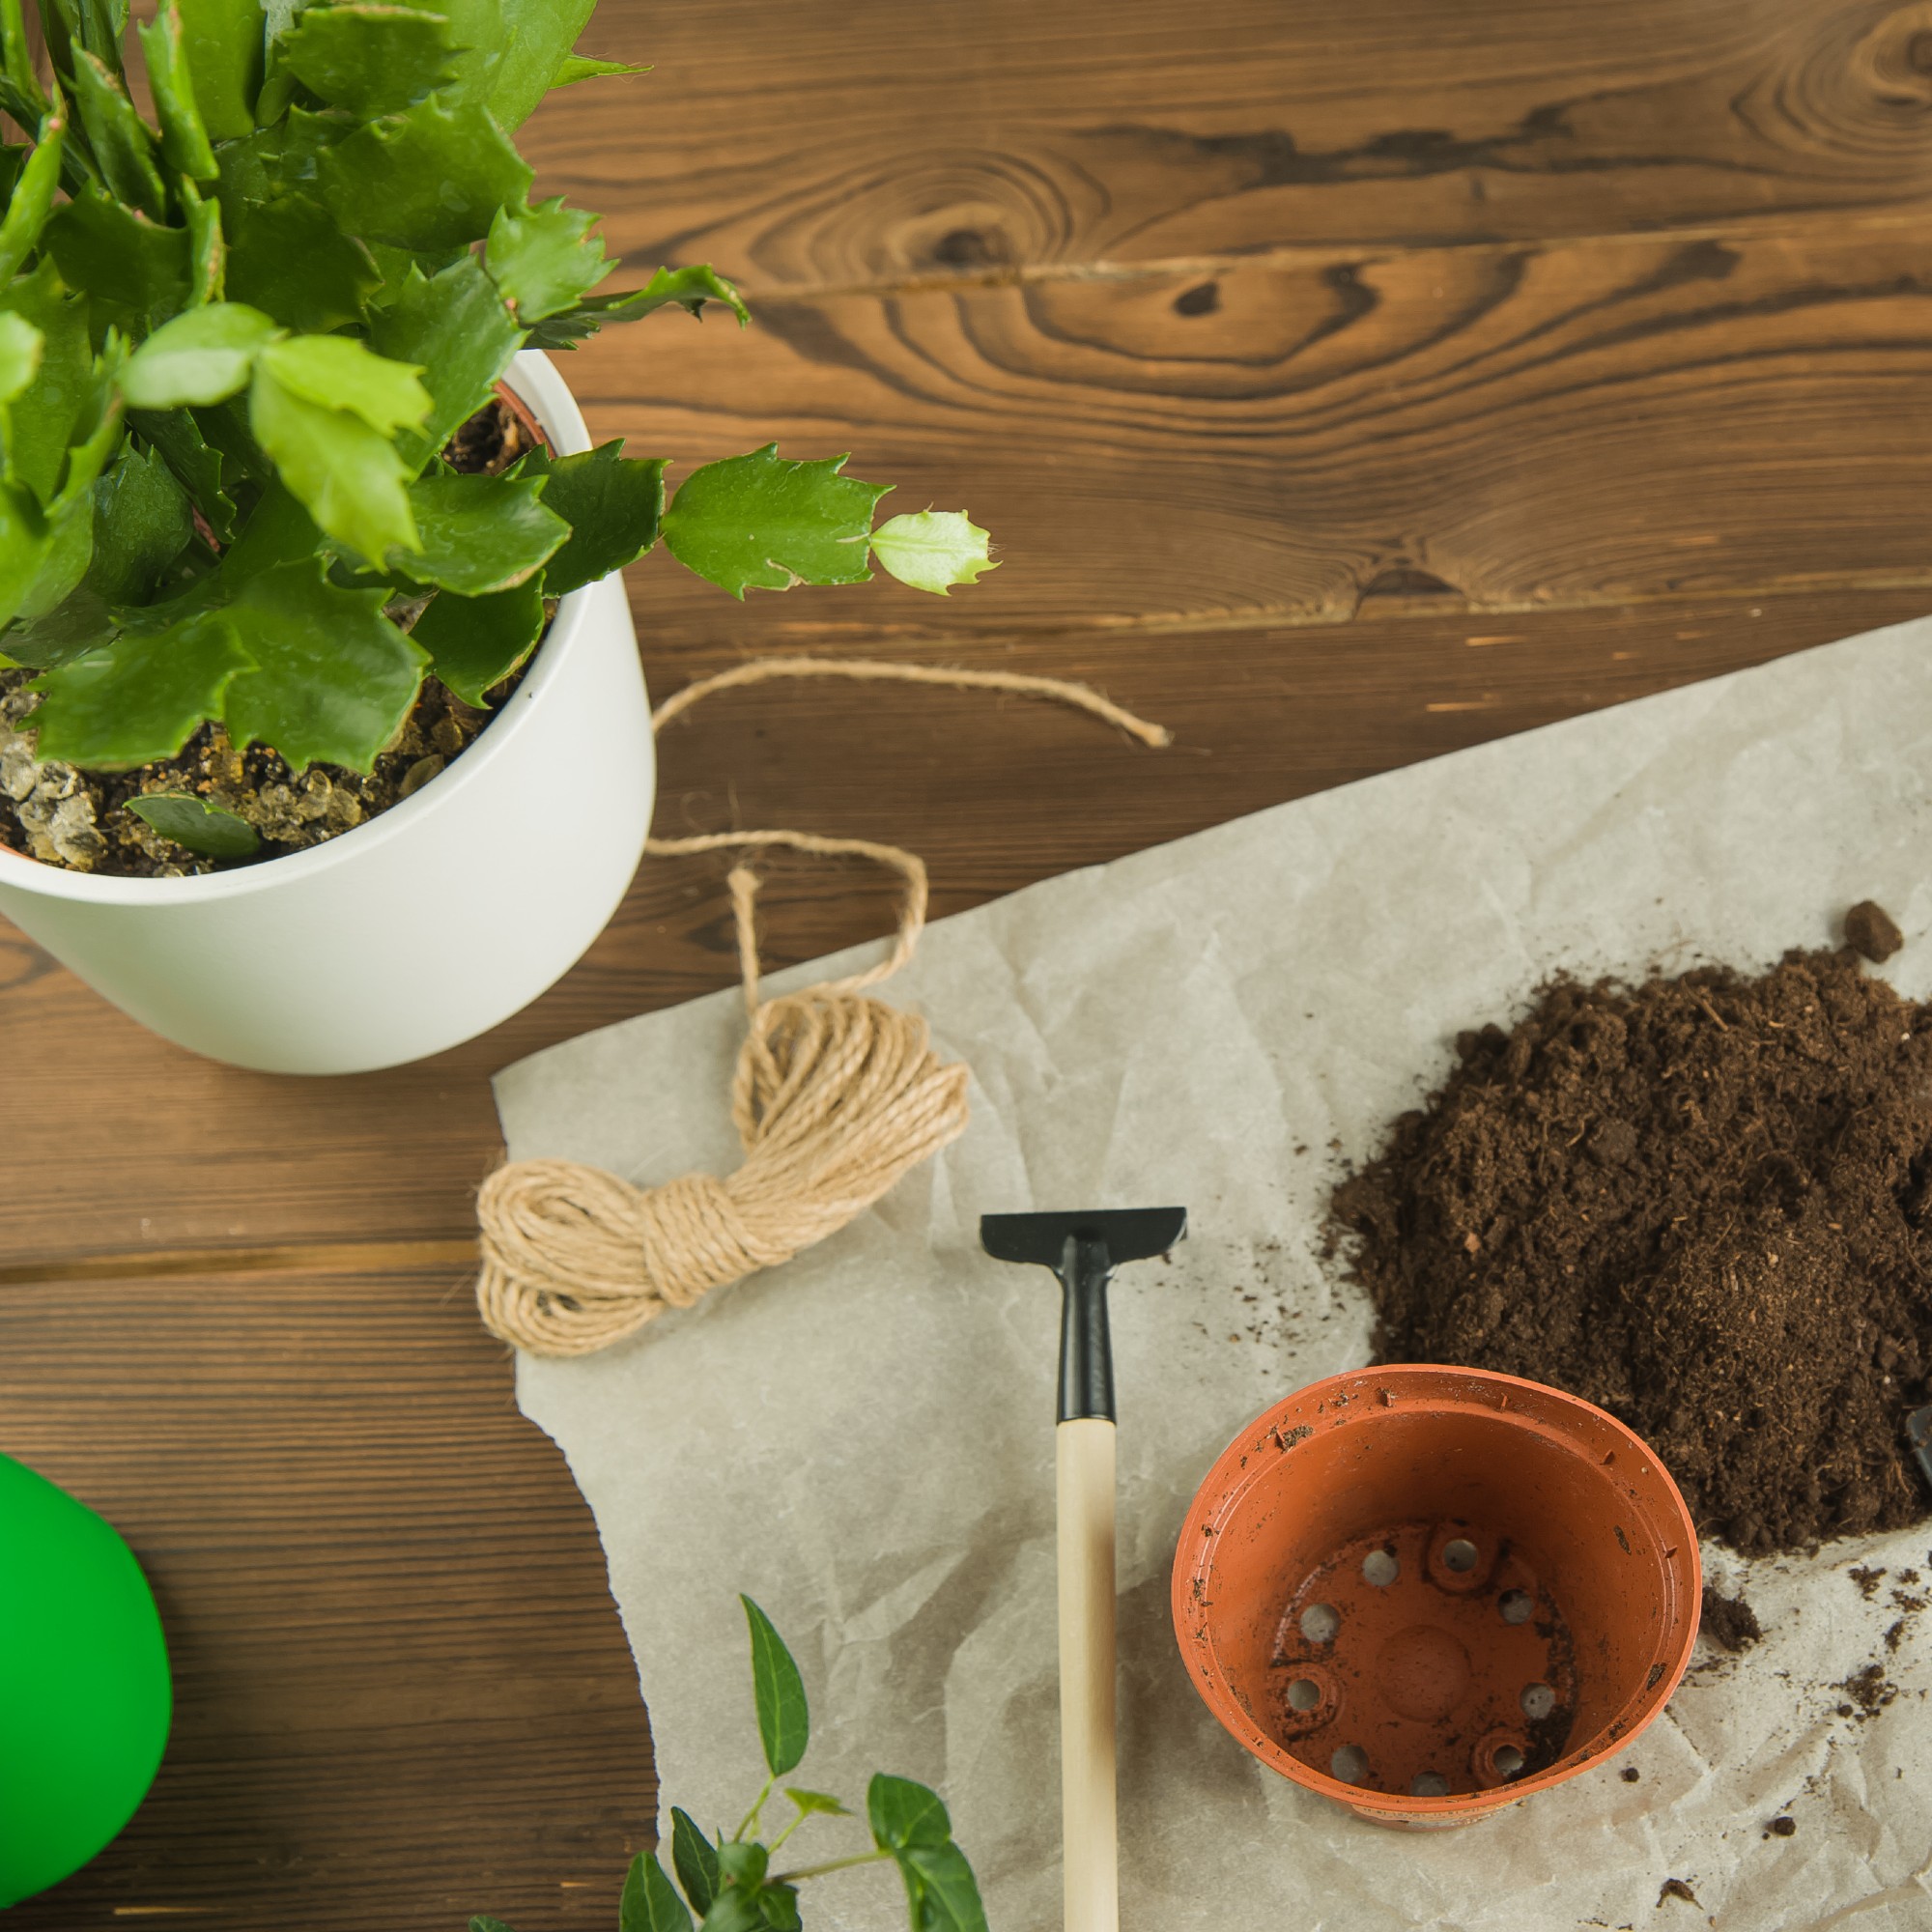
How to repot a Christmas cactus – step-by-step
1. Choose the right planter
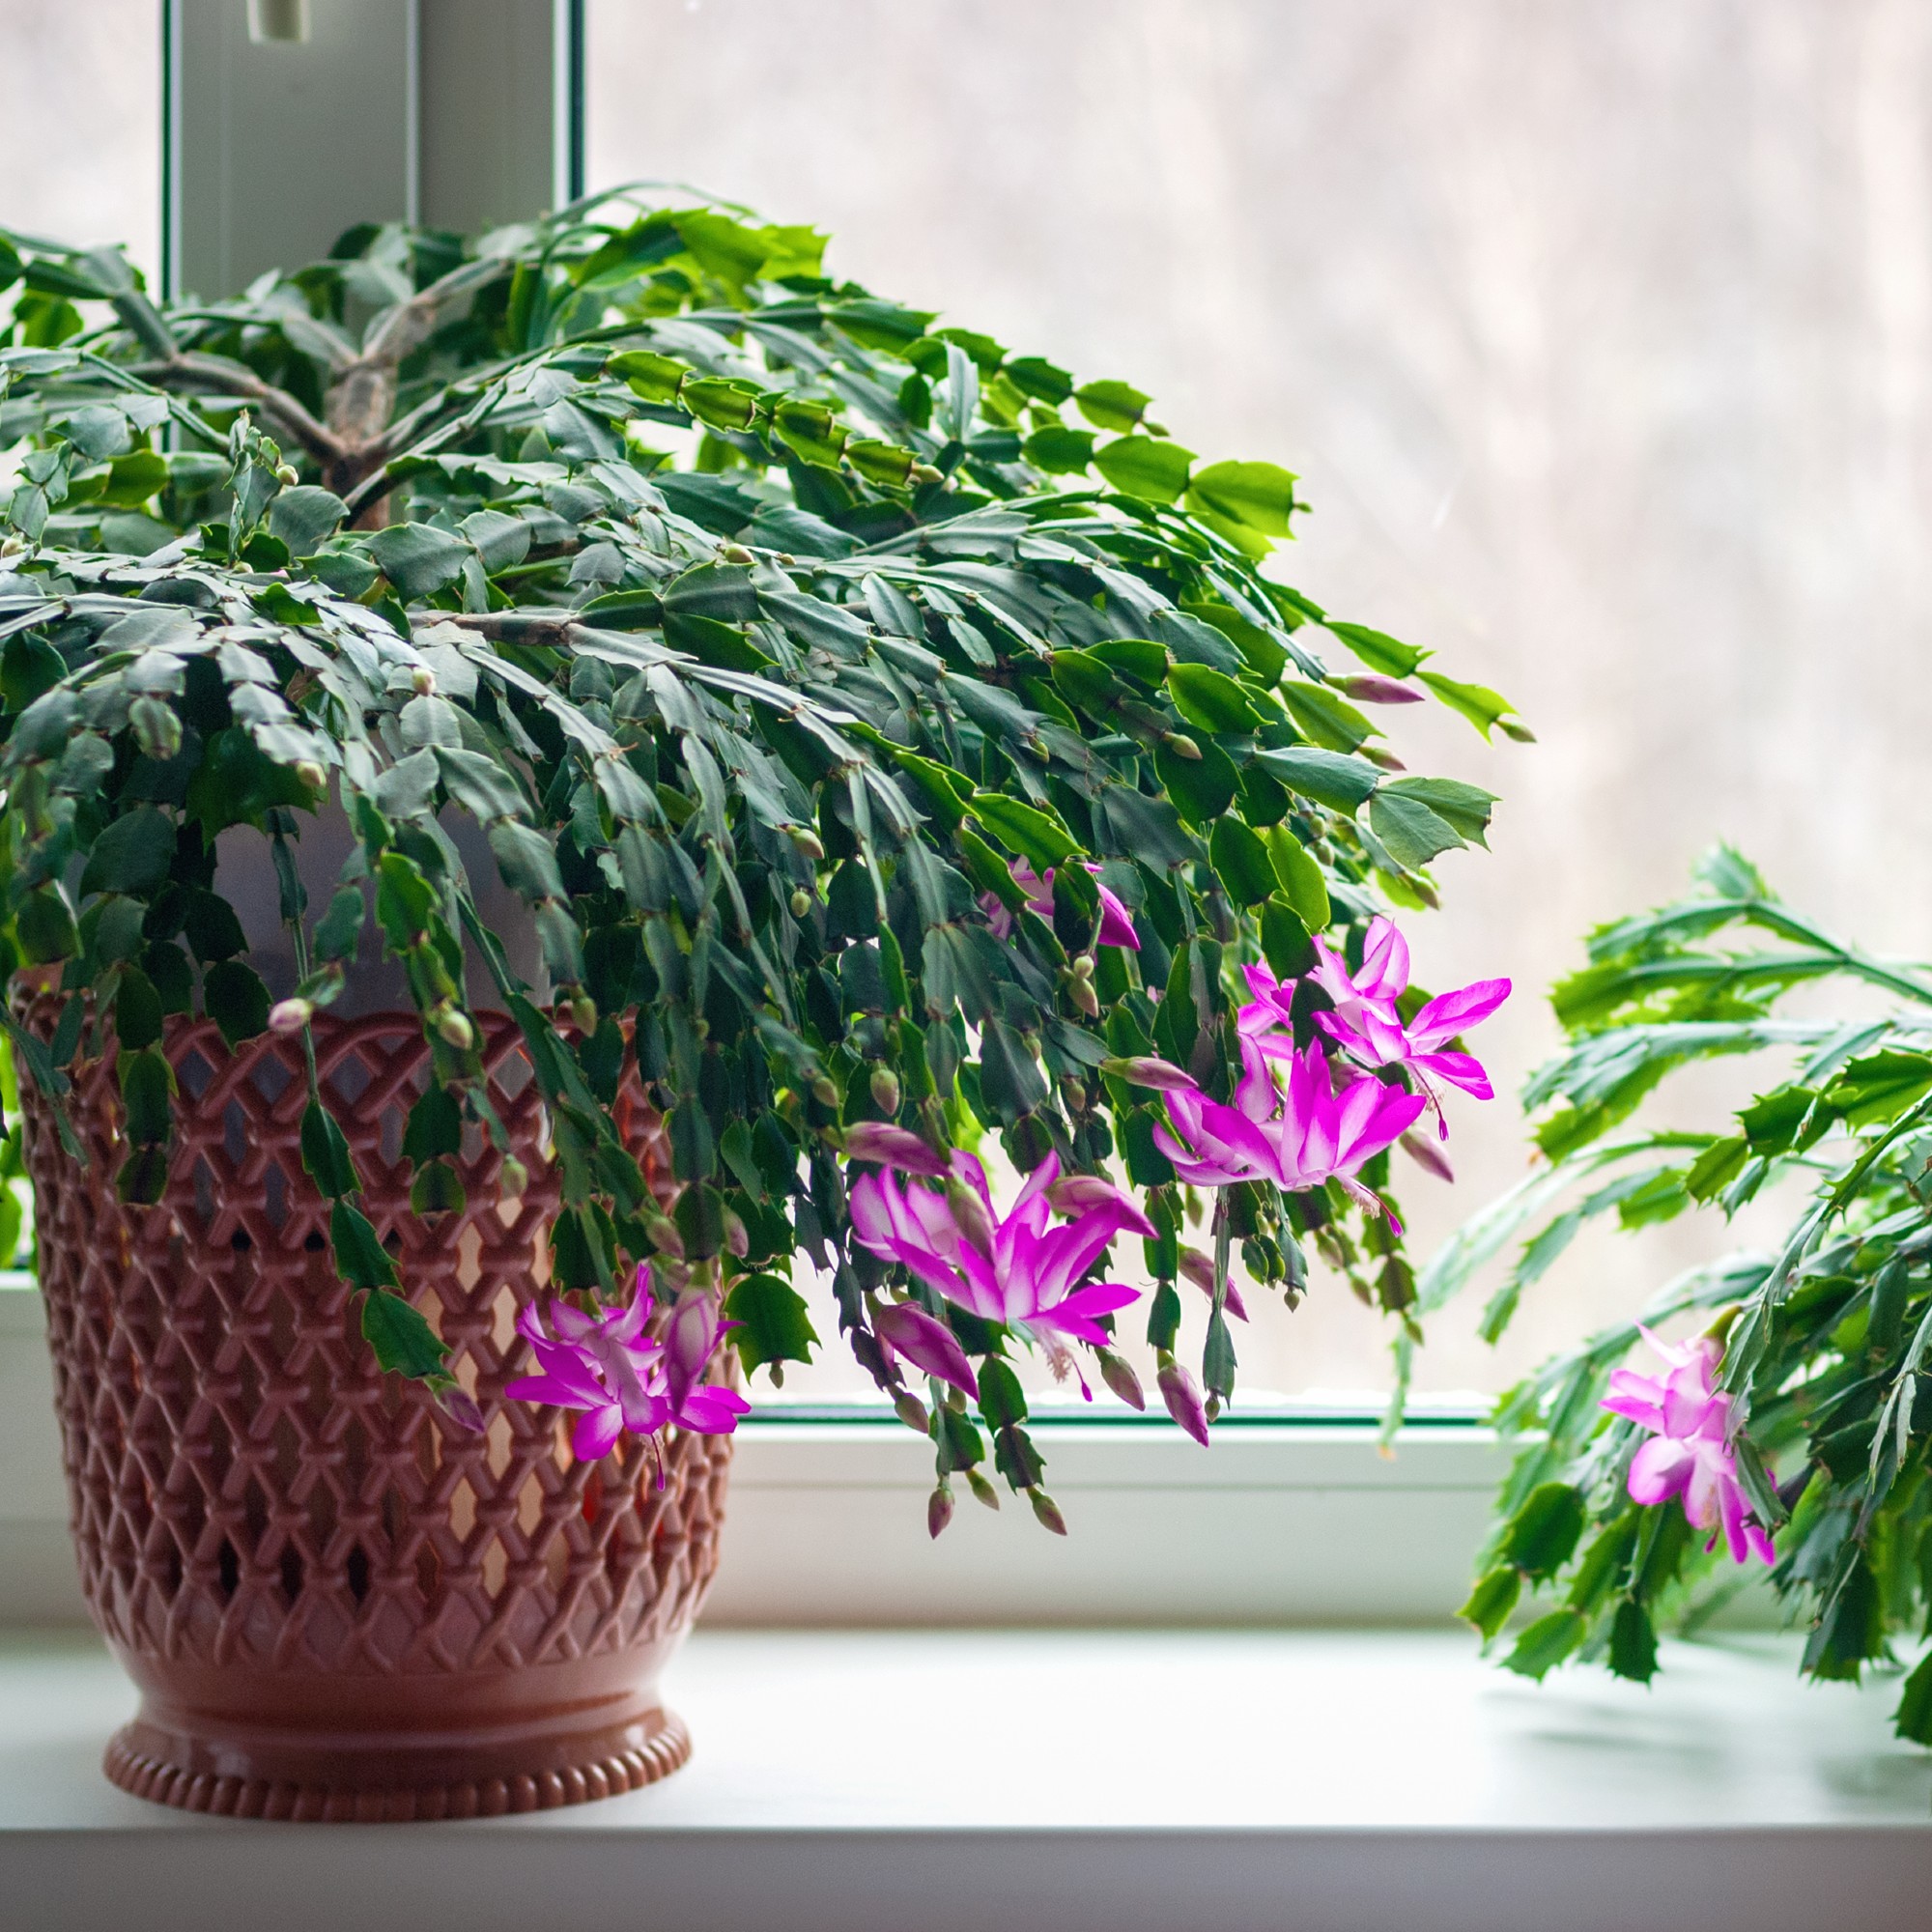
To start with, you'll need to select the right pot for your Christmas cactus. These plants grow wider than taller, so you'll need to pick the right shape, too.
‘When repotting, use a wide, shallow pot with good drainage and a mix of potting soil and sand,’ says David Denyer, expert florist at Eflorist.
Of course, you'll need to make sure the pot you choose is bigger than the original planter.
‘The new pot should be about 8 to 16 centimetres larger, depending on its size and how long its roots are,' explains Petar Ivanov, gardening expert at Fantastic Gardeners.
‘Choose a planter that has a drainage hole at the bottom to allow water to move easily throughout the soil. This promotes good water circulation and helps the plant avoid root rot.'
2. Remove the cactus from the current pot
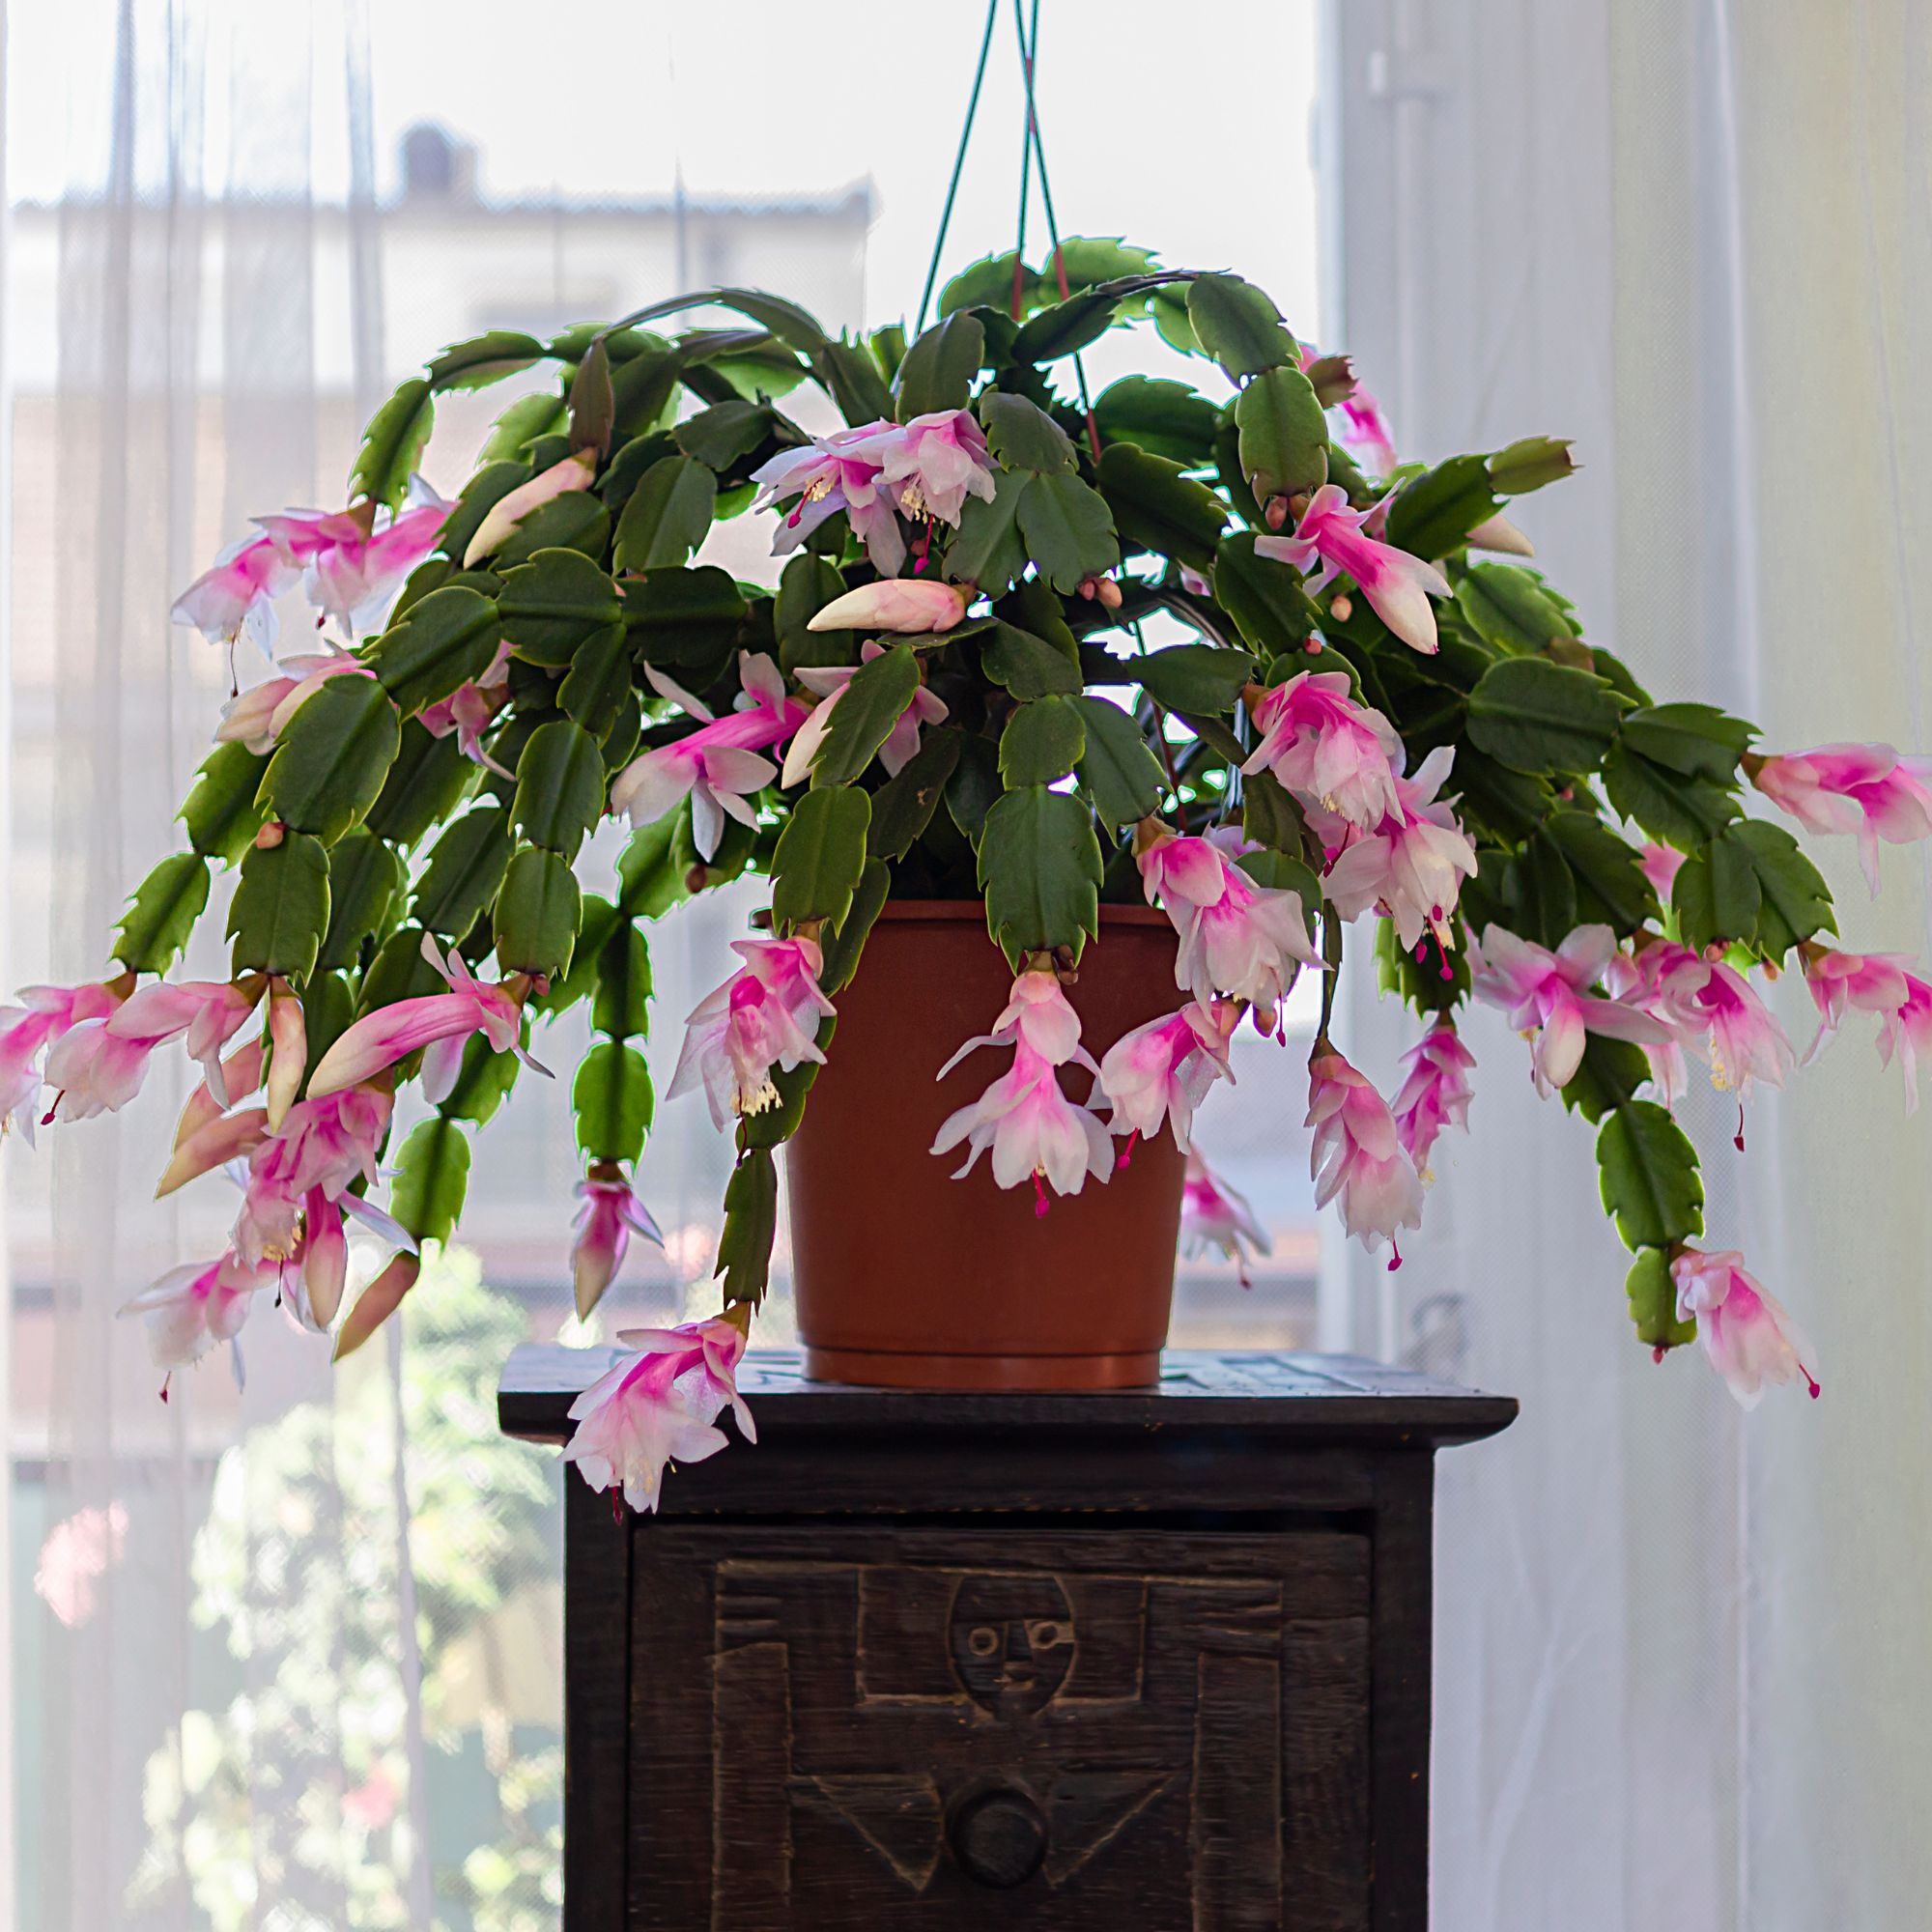
Next, remove the cactus from its original pot.
‘Turn it upside down in its current pot and gently tap it,’ says Steve Chilton, garden expert at LeisureBench. ‘This should loosen the roots and make it easy to lift the plant out of the pot. Hold the base of the stem when you do this.’
3. Trim the roots
Once your Christmas cactus is out of its pot, you might need to trim the roots.
‘Trim any damaged or unhealthy roots,’ advises Jack Sutcliffe, co-founder of shed manufacturer Power Sheds. You'll need to use a clean, sharp pair of pruning scissors for this.
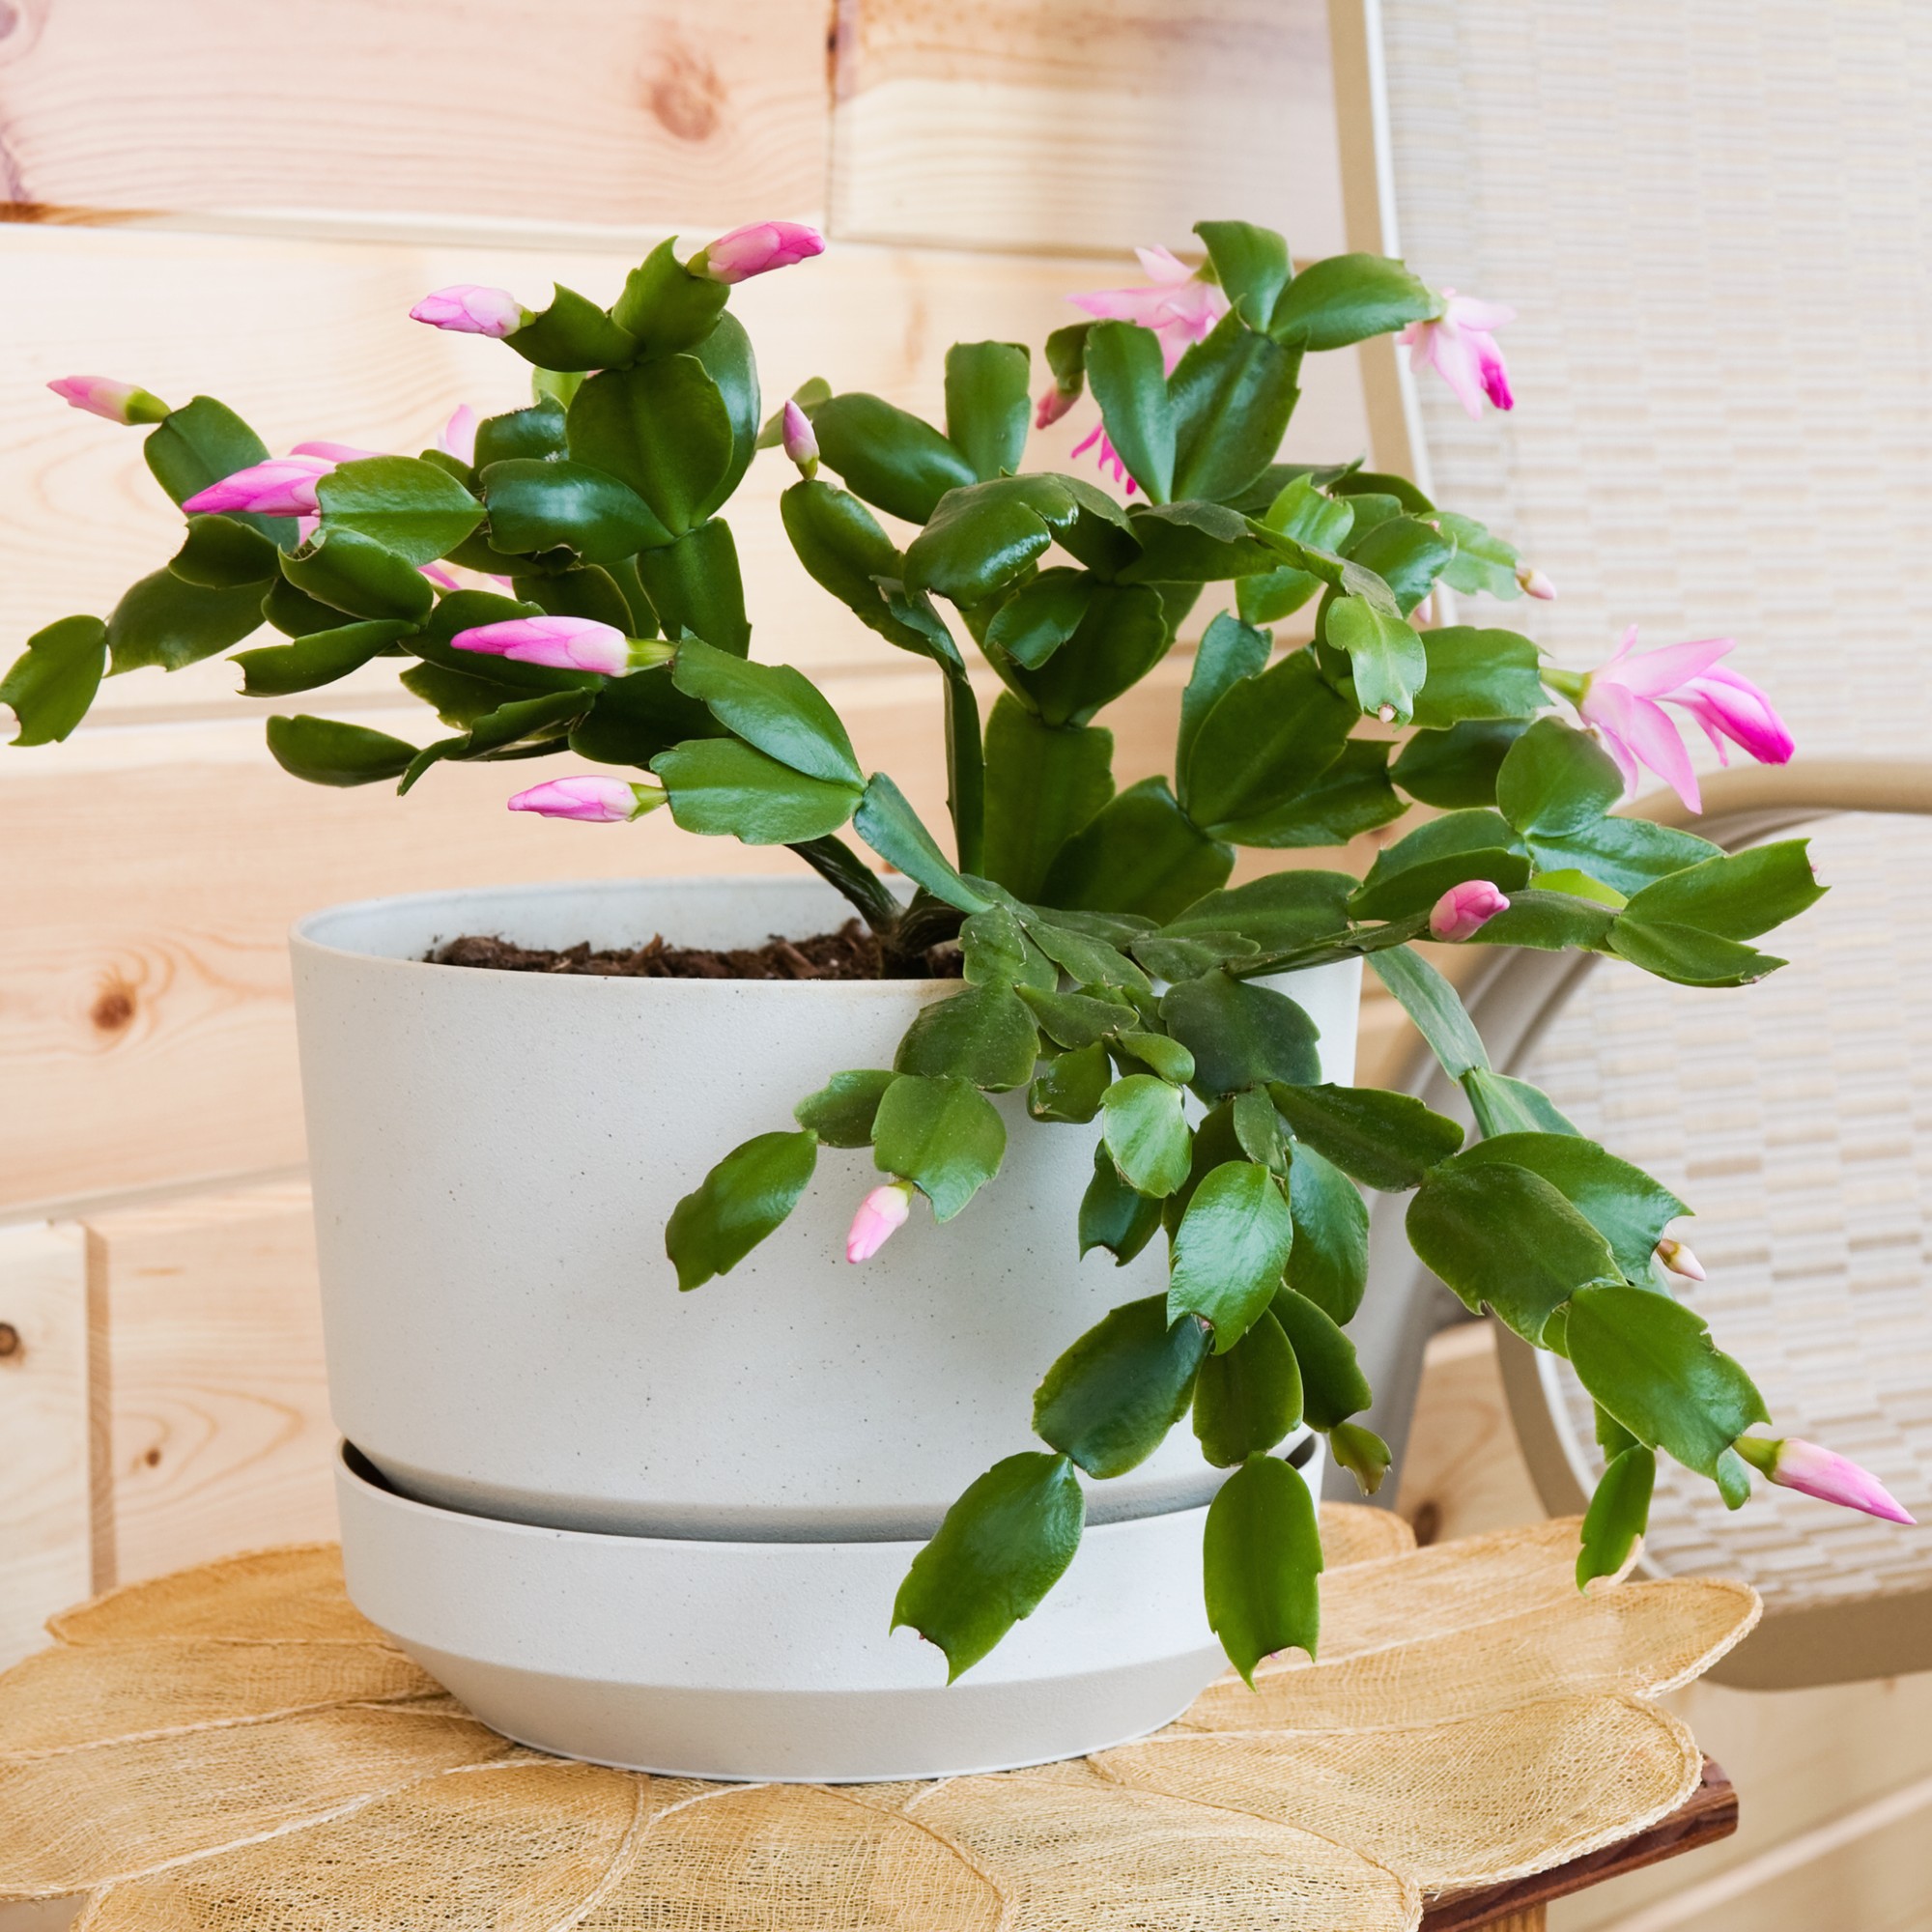
4. Plant up the new pot
Now, your plant should be ready to settle into its new pot.
‘Prepare a well-draining, slightly acidic potting mix, and place a layer at the new pot's bottom,' says Jack. 'Set the cactus in the centre of the pot at the same level as before, and then fill the remaining space with fresh potting mix.’
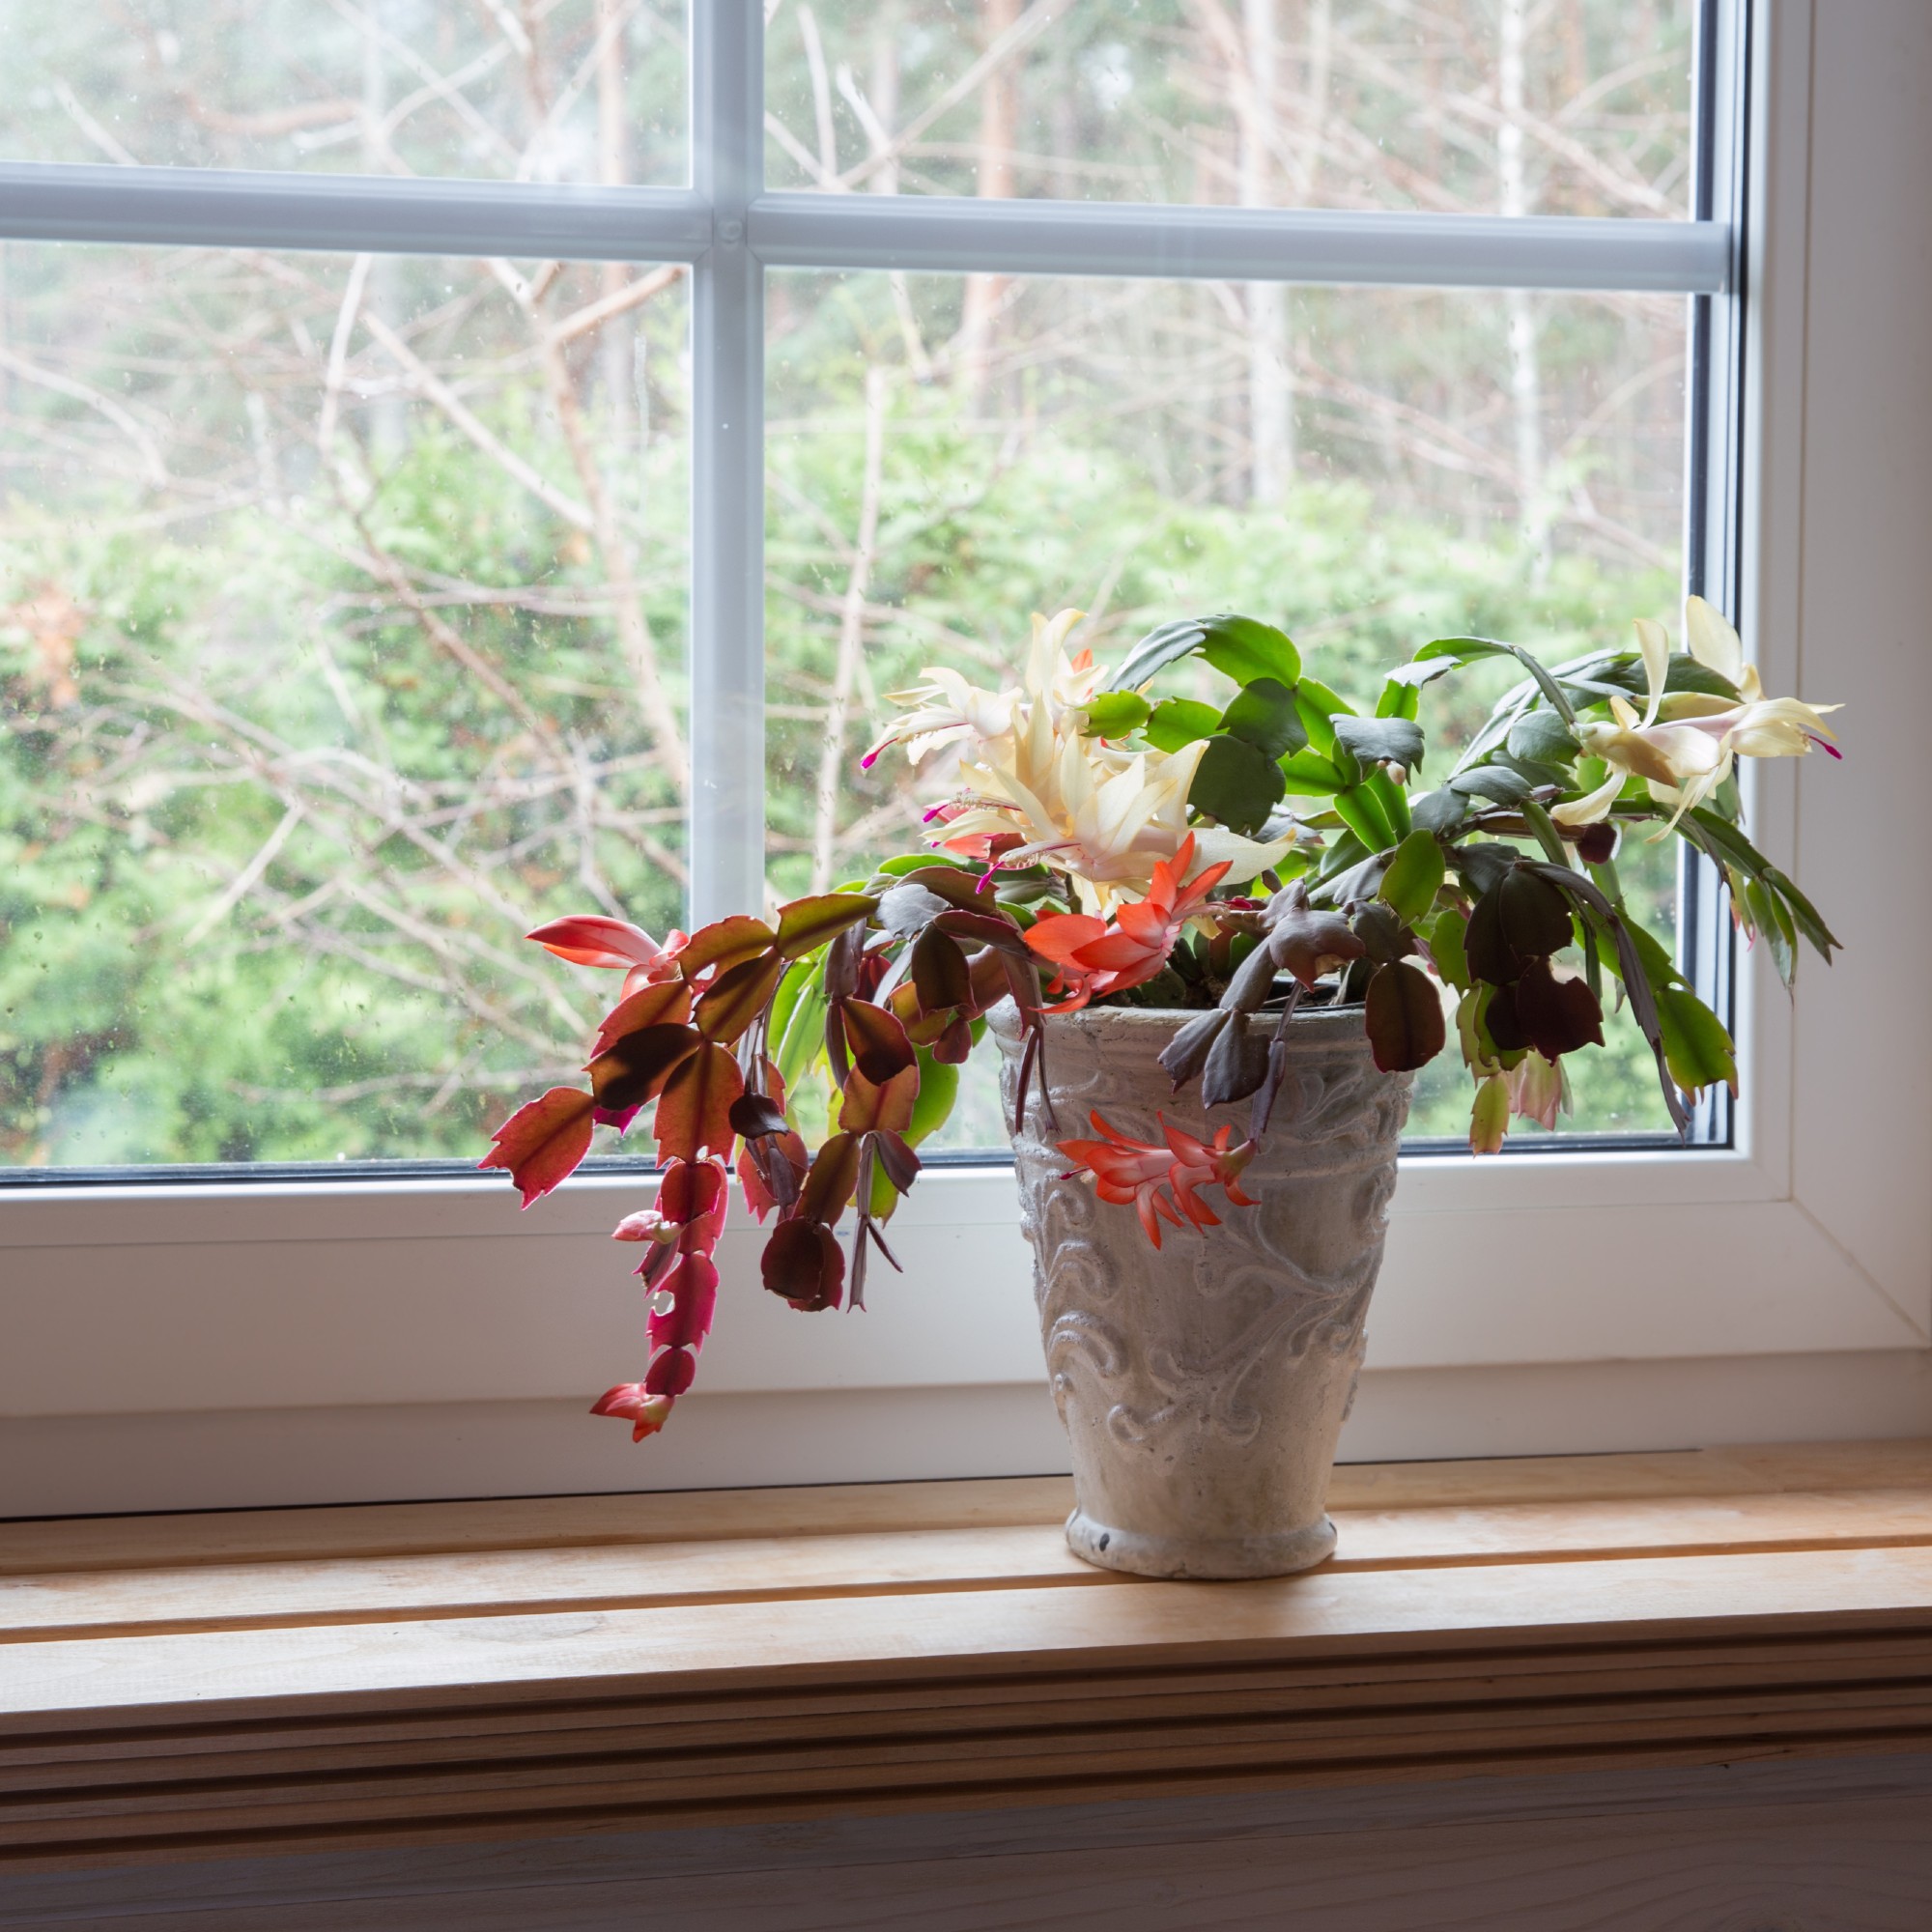
5. Water
Then, once the soil is firmed, it’s time to water the plant in.
‘Water and let the plant sit for a couple of days in a shaded spot to recover and settle into its new pot,’ Steve says.
And that's it! Keep up a steady watering regime (but don't overdo it, or you'll face Christmas cactus problems) and your Christmas cactus should bloom for winters to come.
FAQs
What kind of soil does a Christmas cactus need?
The Christmas cactus is a succulent plant, which means it needs well-draining soil – preferably one that's suitable for succulents and cacti.
Kelly from Patch Plants says a gritty compost mix is best, as it provides good drainage.
When should I repot a Christmas cactus?
We've established that the best time to repot a Christmas cactus is after it's finished flowering, but what time of year are we looking at?
‘Early spring is ideal for this process as it will help your cactus thrive all year round,' says floral expert David Denyer from Eflorist.
Learning how to repot a Christmas cactus is vital if you want your plant to stick around for years to come – so keep an eye on that rootball!


