Is it possible to render on my iPad? The first caveat to this answer is that it depends what type of rendering you mean. To start off, let’s take it back to basics and explain what rendering is in this context.
Imagine you’re creating a 3D model of a house. You build a simple digital model of the house called a wireframe, made of points and edges, that illustrates the locations of the windows, doors and walls. The next step is to add colour and textures, just like when painting and furnishing a room.
The cool part is when you arrange shadows and lighting so that the house appears to be illuminated from various directions by different light sources. At last, the computer performs its magic and creates a realistic representation of the house. Photoreal if it’s necessary.
Now, I know this is a 101 explanation, but rendering is split into a few types. Mostly we talk about real-time, and then full-blown ray-tracing where the machine calculates the path or the light bouncing around the scene.
On iPad, we have all kinds of real-time rendering options, and the one I talk about most is Nomad Sculpt, where pretty much anything you make is shown as a real-time model, with lighting if needed. If you’re a Blender user the real-time option is called EEVEE, while the full rendering solution is called Cycles. Nomad doesn’t have that bit yet.
Fortunately, developers are rushing to help us by creating dedicated programs for just this use. The one I want to talk about is called CLEO. It’s still in beta, but if you search it in Google, at the time of writing, you can join it for free. For an app in beta, CLEO is outstanding for taking and rendering models to a high standard.
You can use premade scenes and lighting setups, and pre-installed HDRI or 360 maps that will make your outdoor scenes look great. There’s even a link to Sketchfab that allows you to import your models directly into your asset library within CLEO. And on top of that, it also has a real-time option for you to test PBR materials, just as you would in EEVEE or Marmoset Toolbag on your PC or Mac.
In this tutorial, I’ll quickly show you some examples of both real-time and full ray-tracing to show just how easy it is to use CLEO. It’s incredible to even be writing this about a mobile device, and it’s testament to how powerful these machines are now becoming.
01. Recognisable real-time rendering option
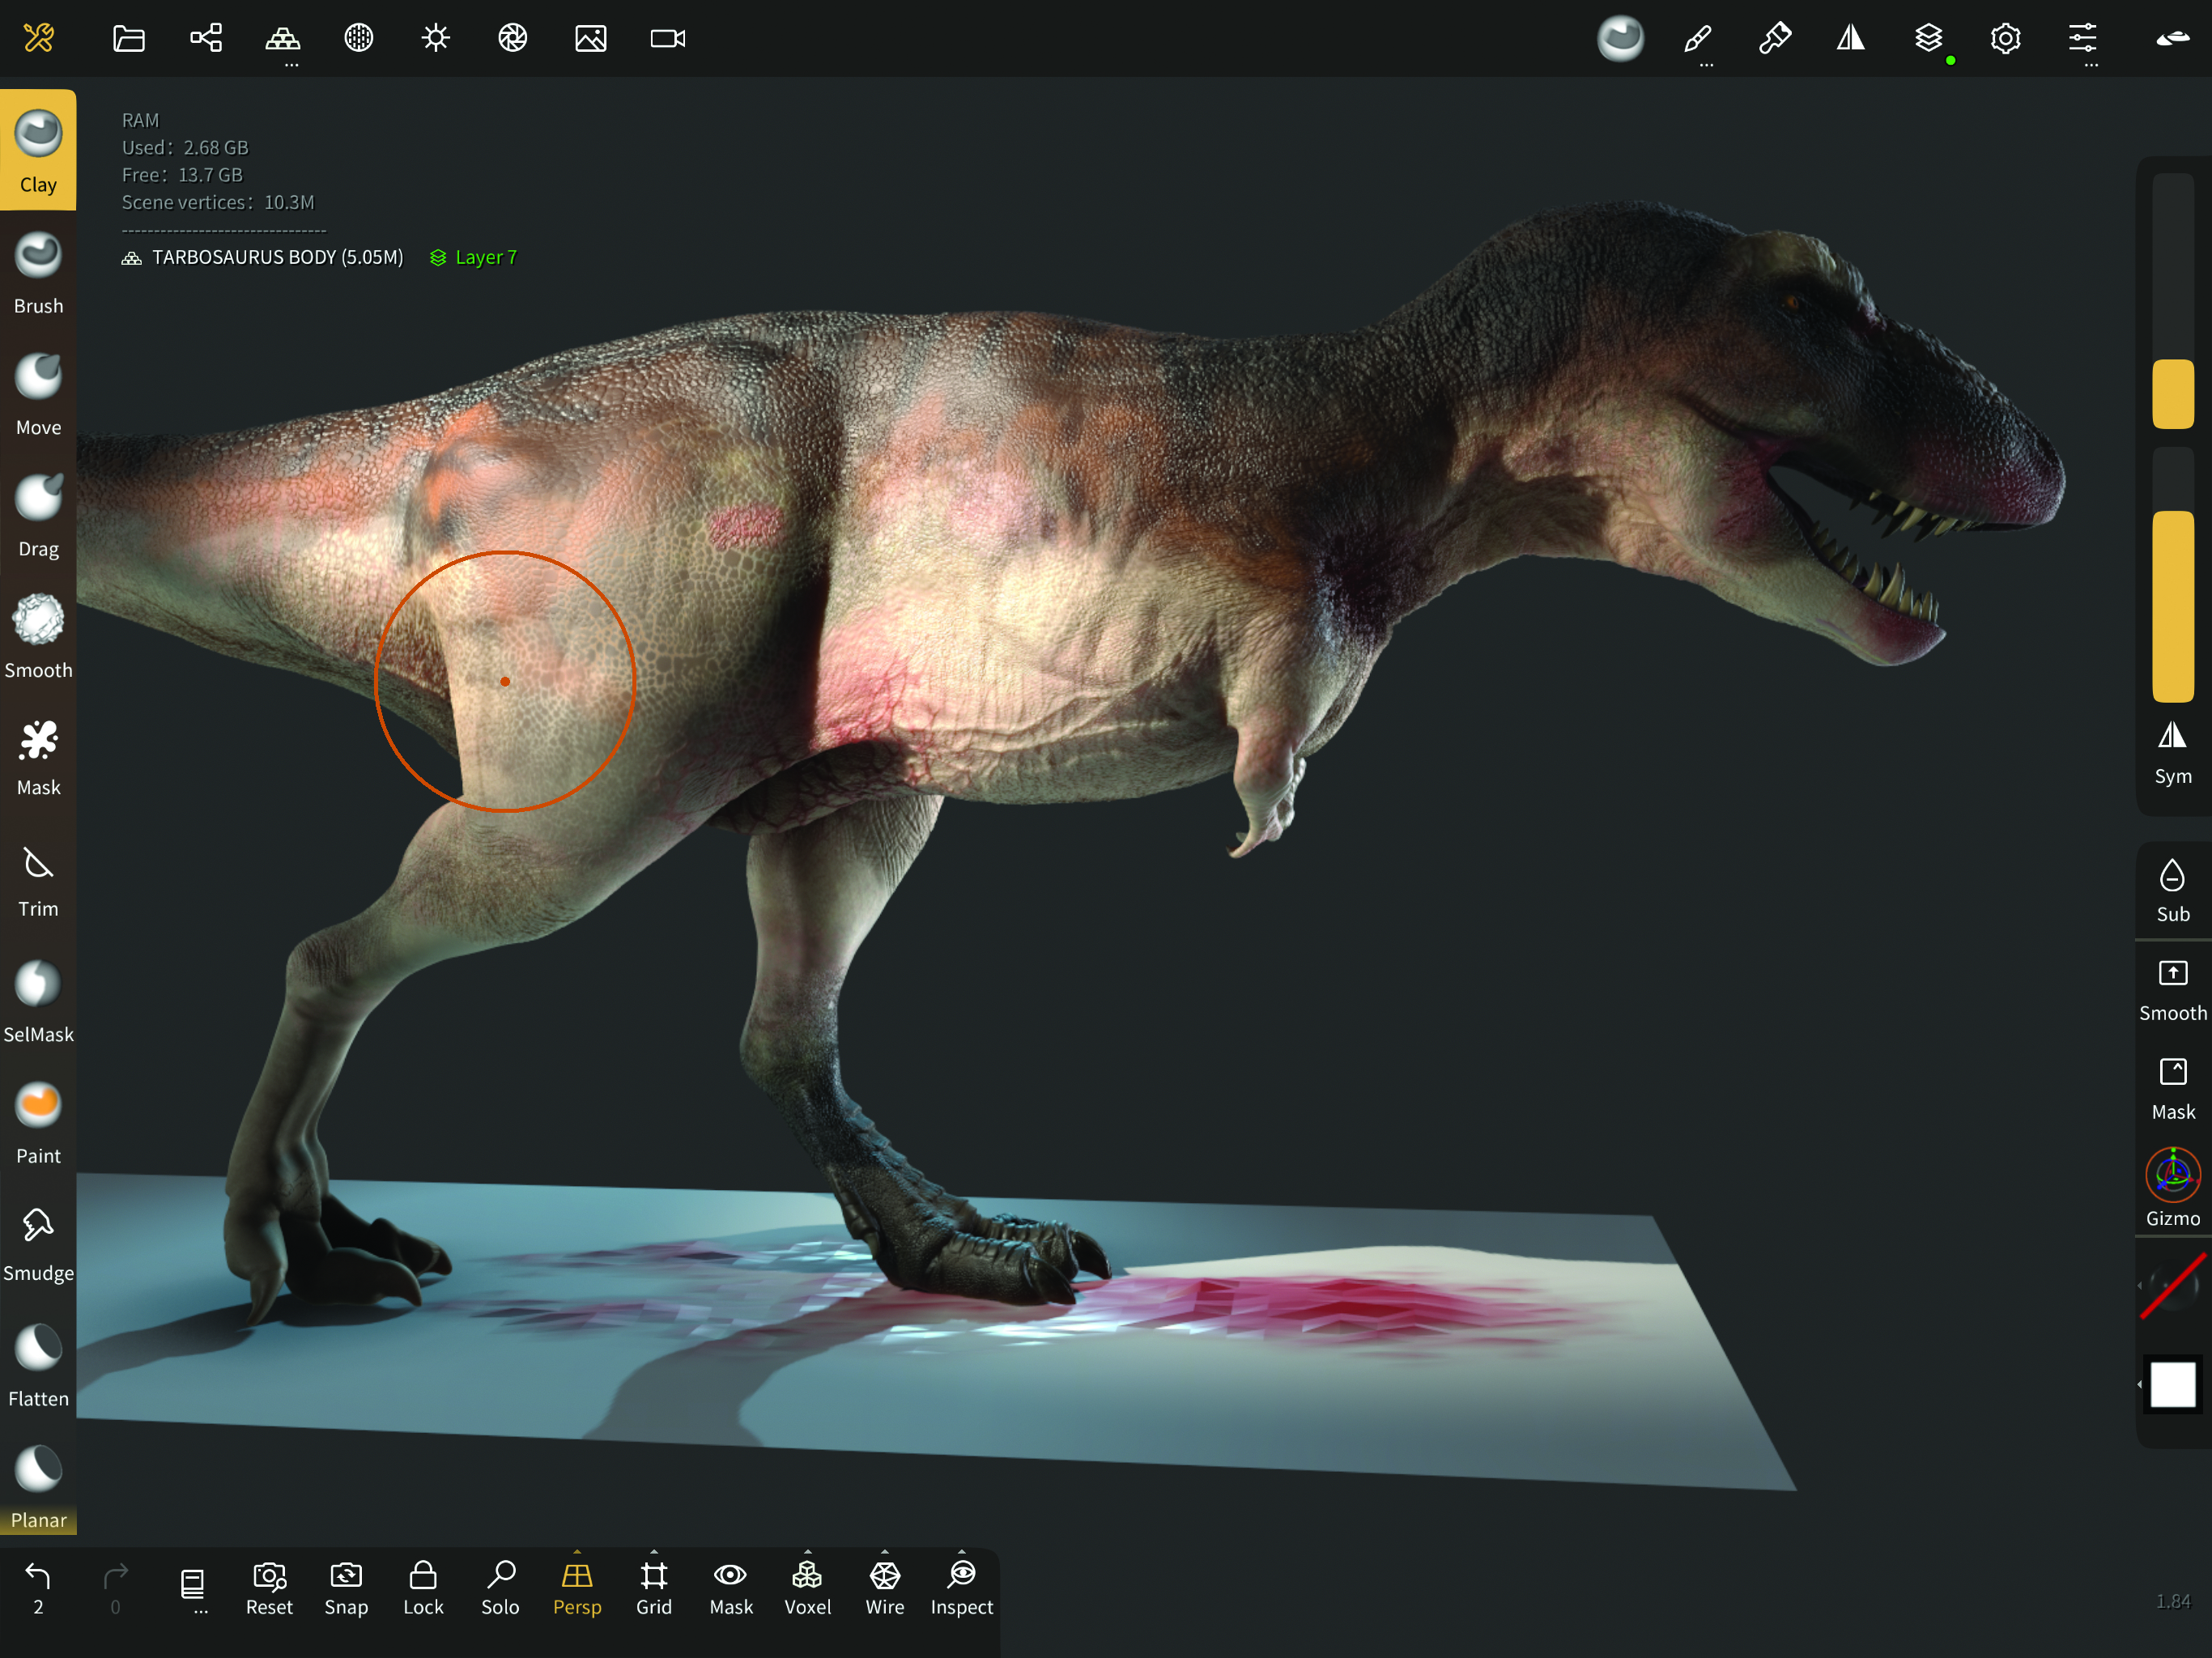
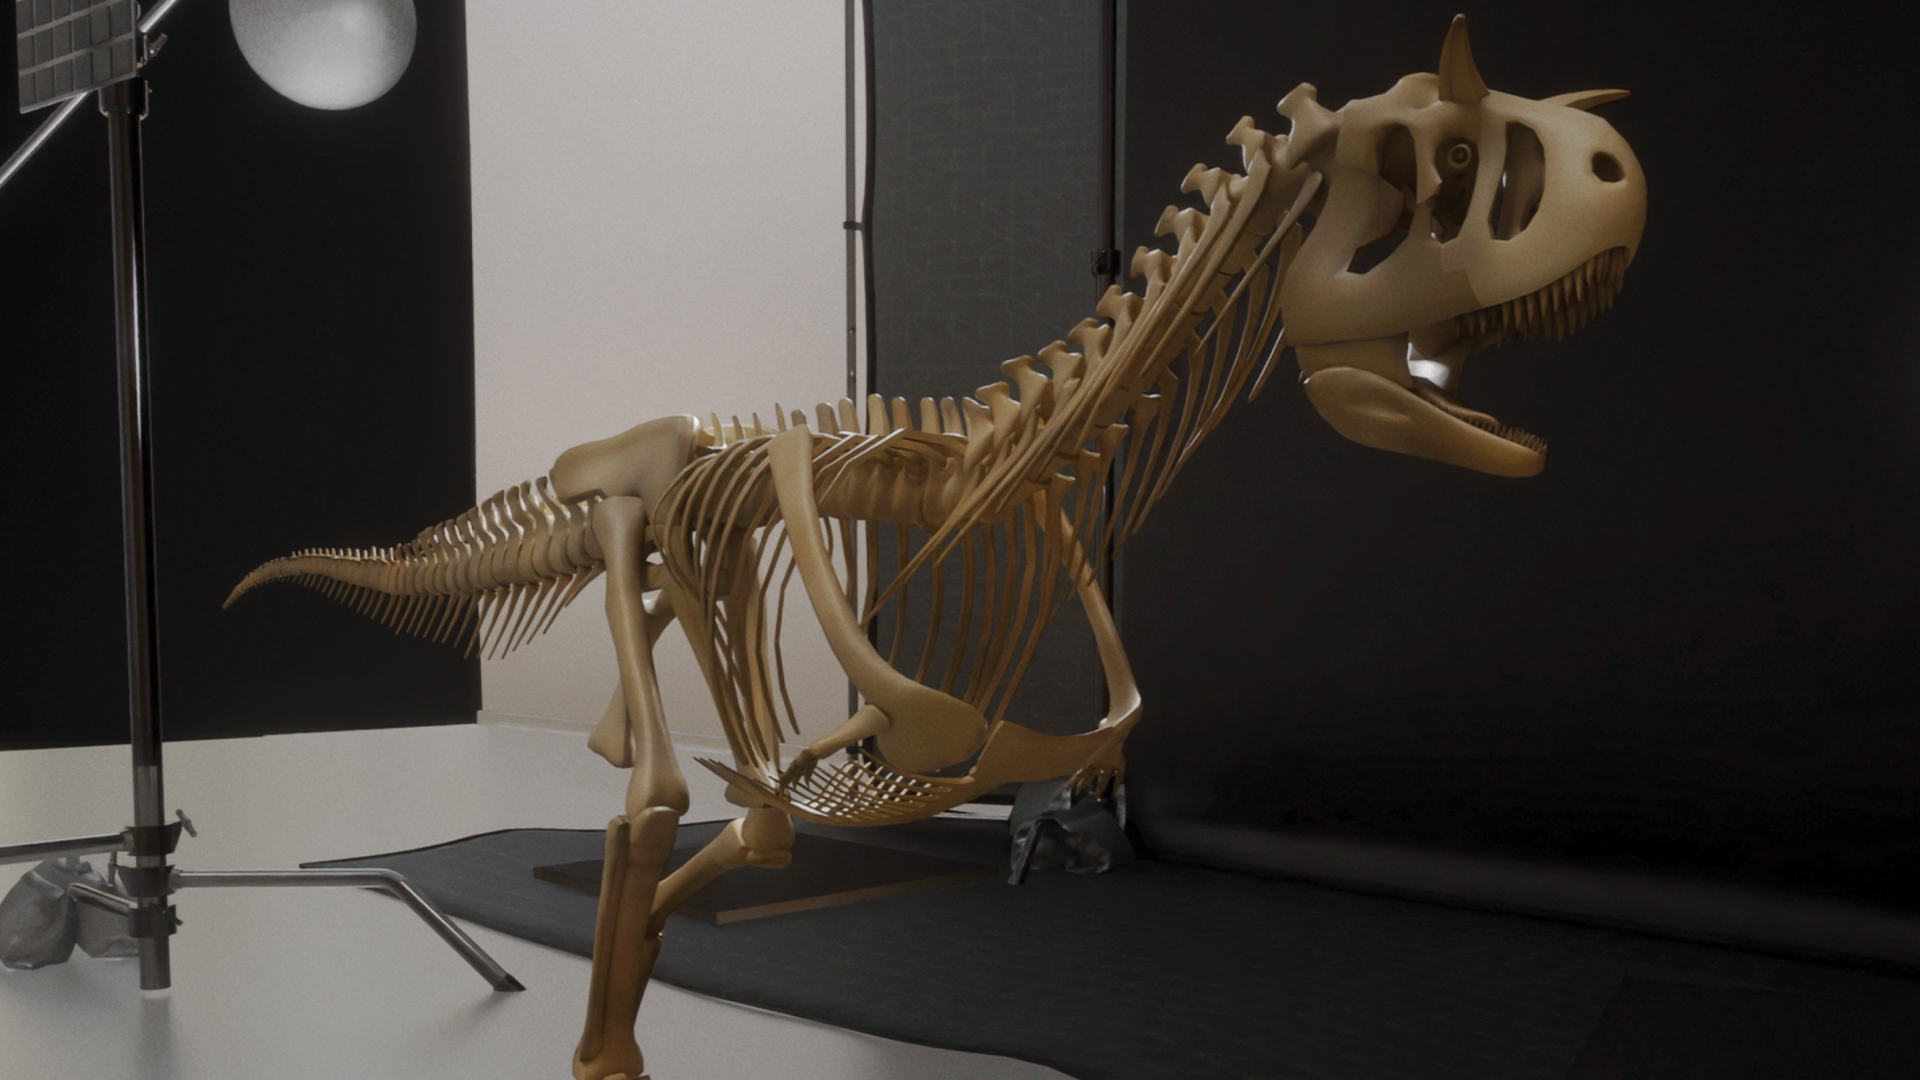
As mentioned already, real-time rendering is common on the iPad and available in many programs. Here I have a 3D model of a T-rex sculpted, painted and textured in Nomad Sculpt, and shown in a real-time rendered scene. This means that we can move the model around just as if we were playing a game. CLEO does also offer this same option.
02. Create scenes in CLEO
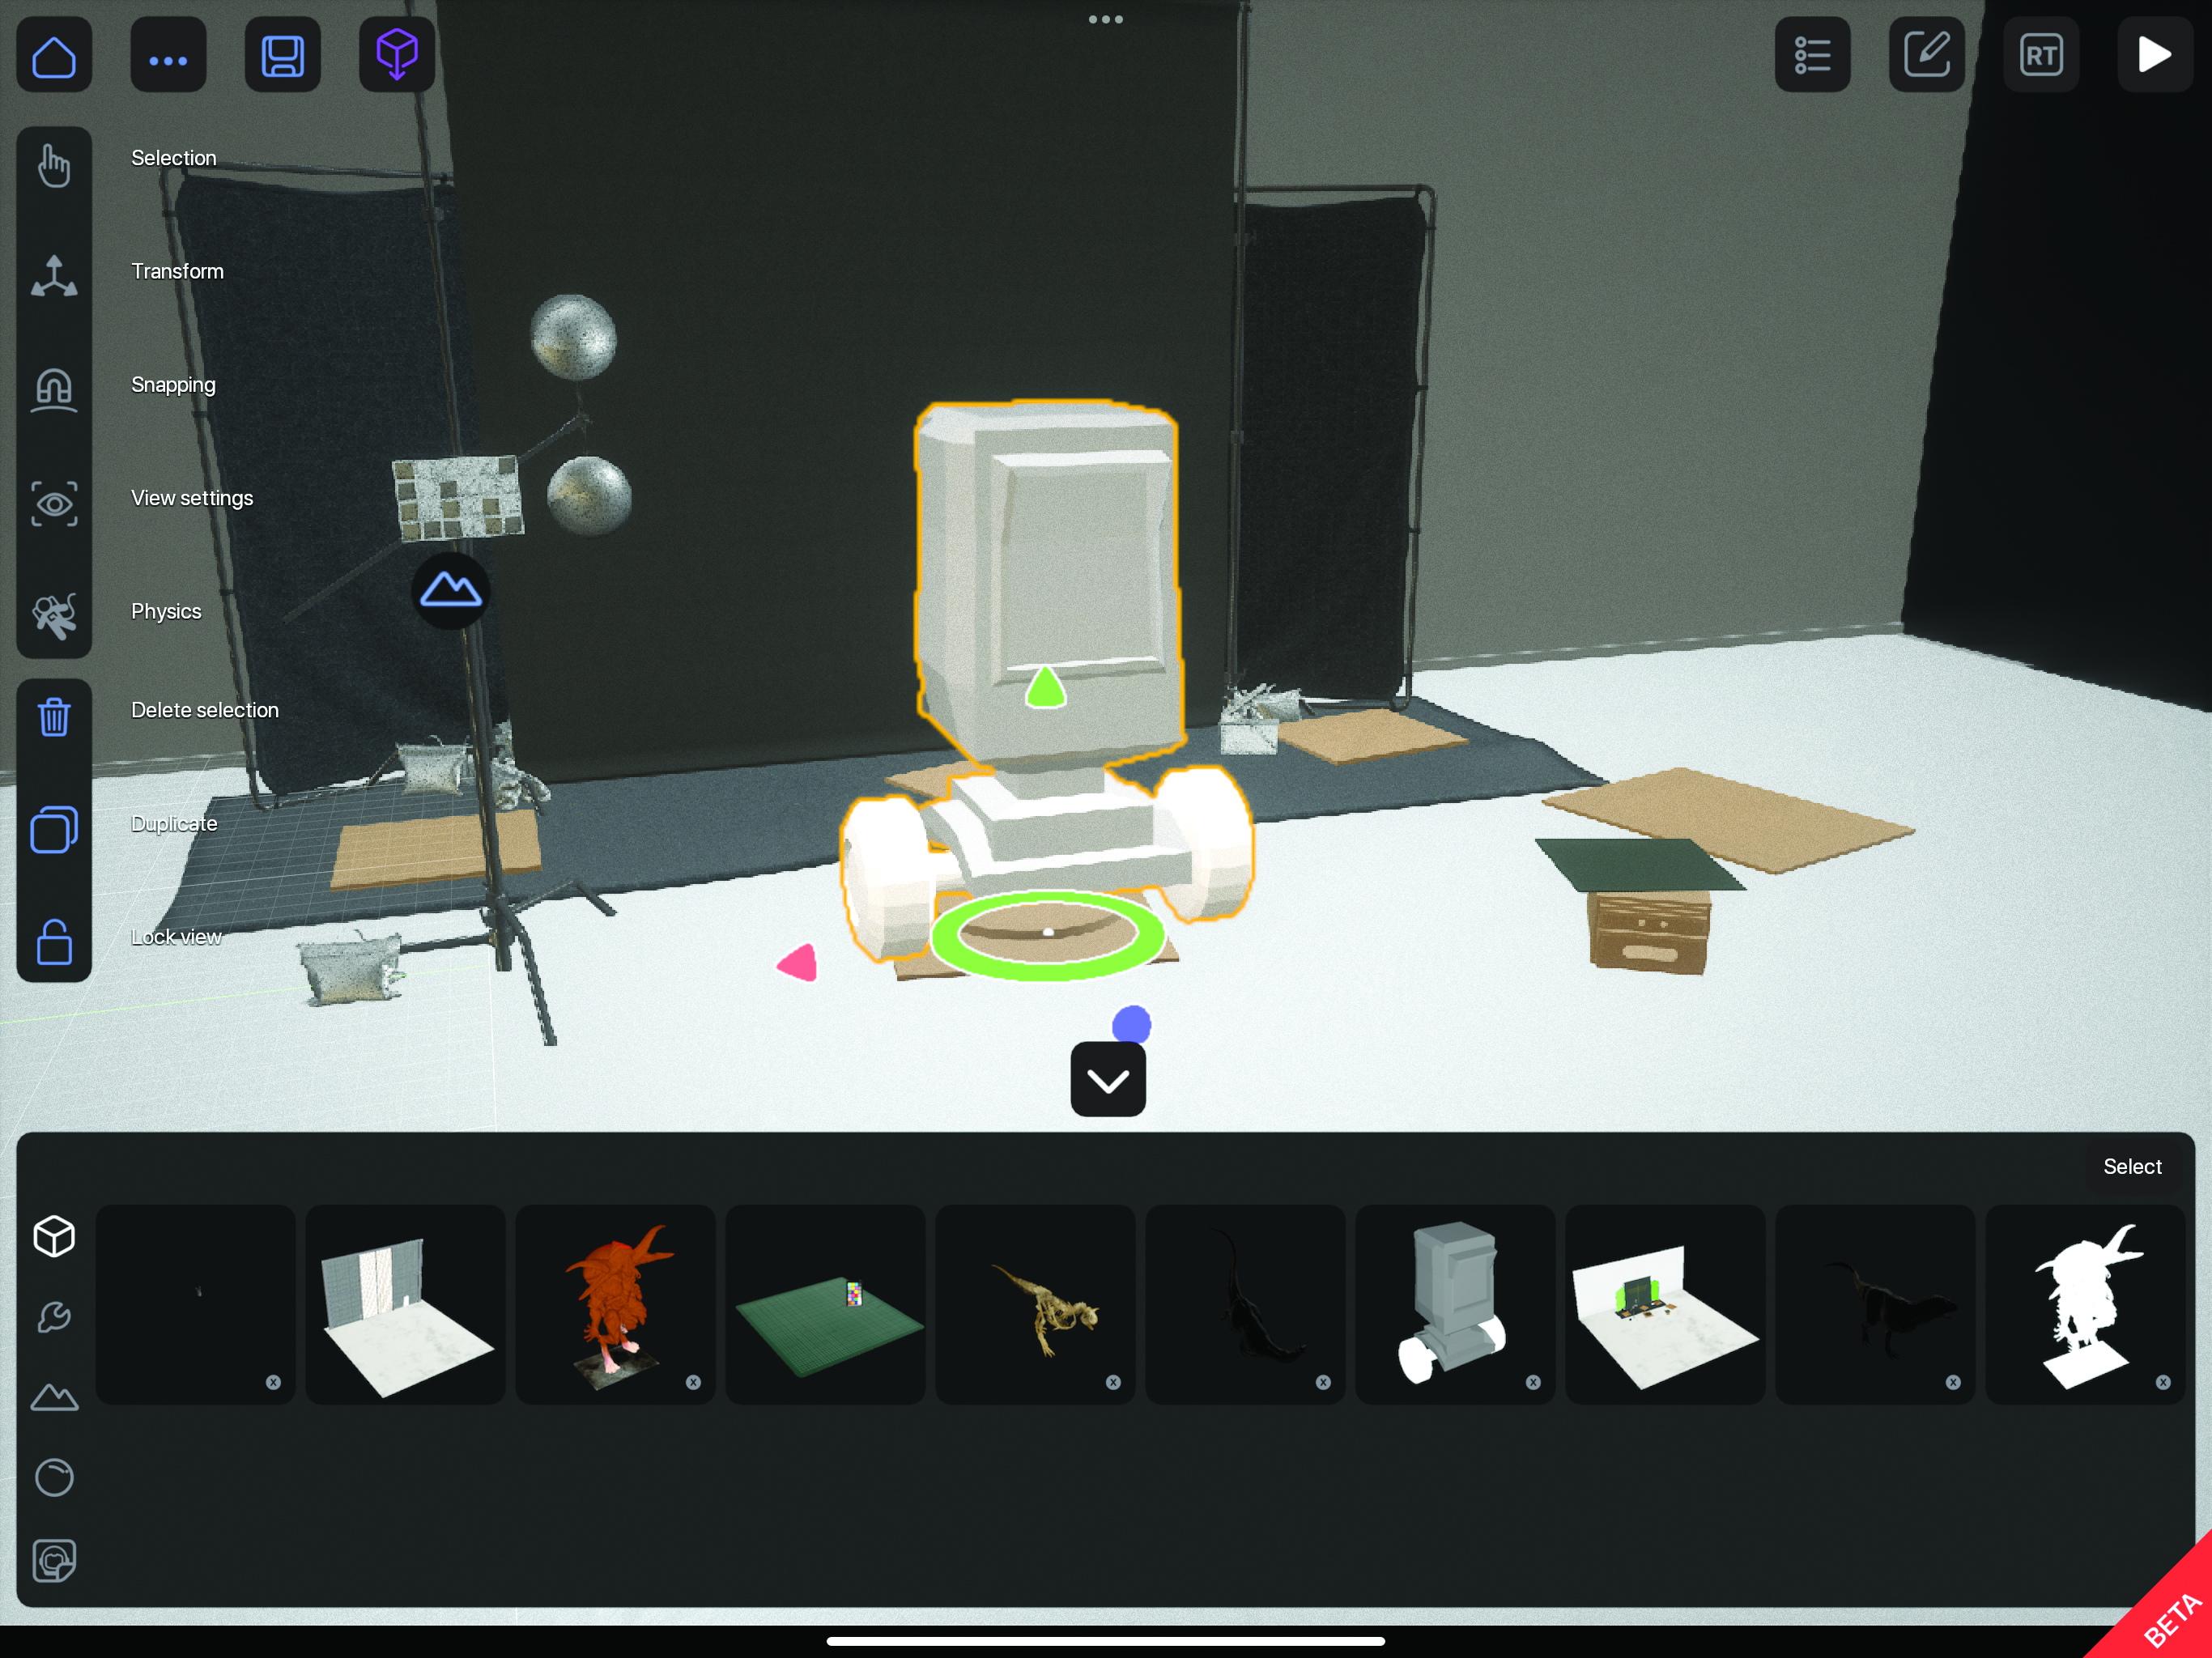
CLEO is simple to use and almost what-you-see-is-what-you-get. You have a Document window, which is where you build your scene. CLEO gives you lots of example scenes to start off with that are made with different background models and lighting options. You simply drag what you need from the bottom menu into the Document window and then tweak the settings. It’s super simple to understand and use from your first go.
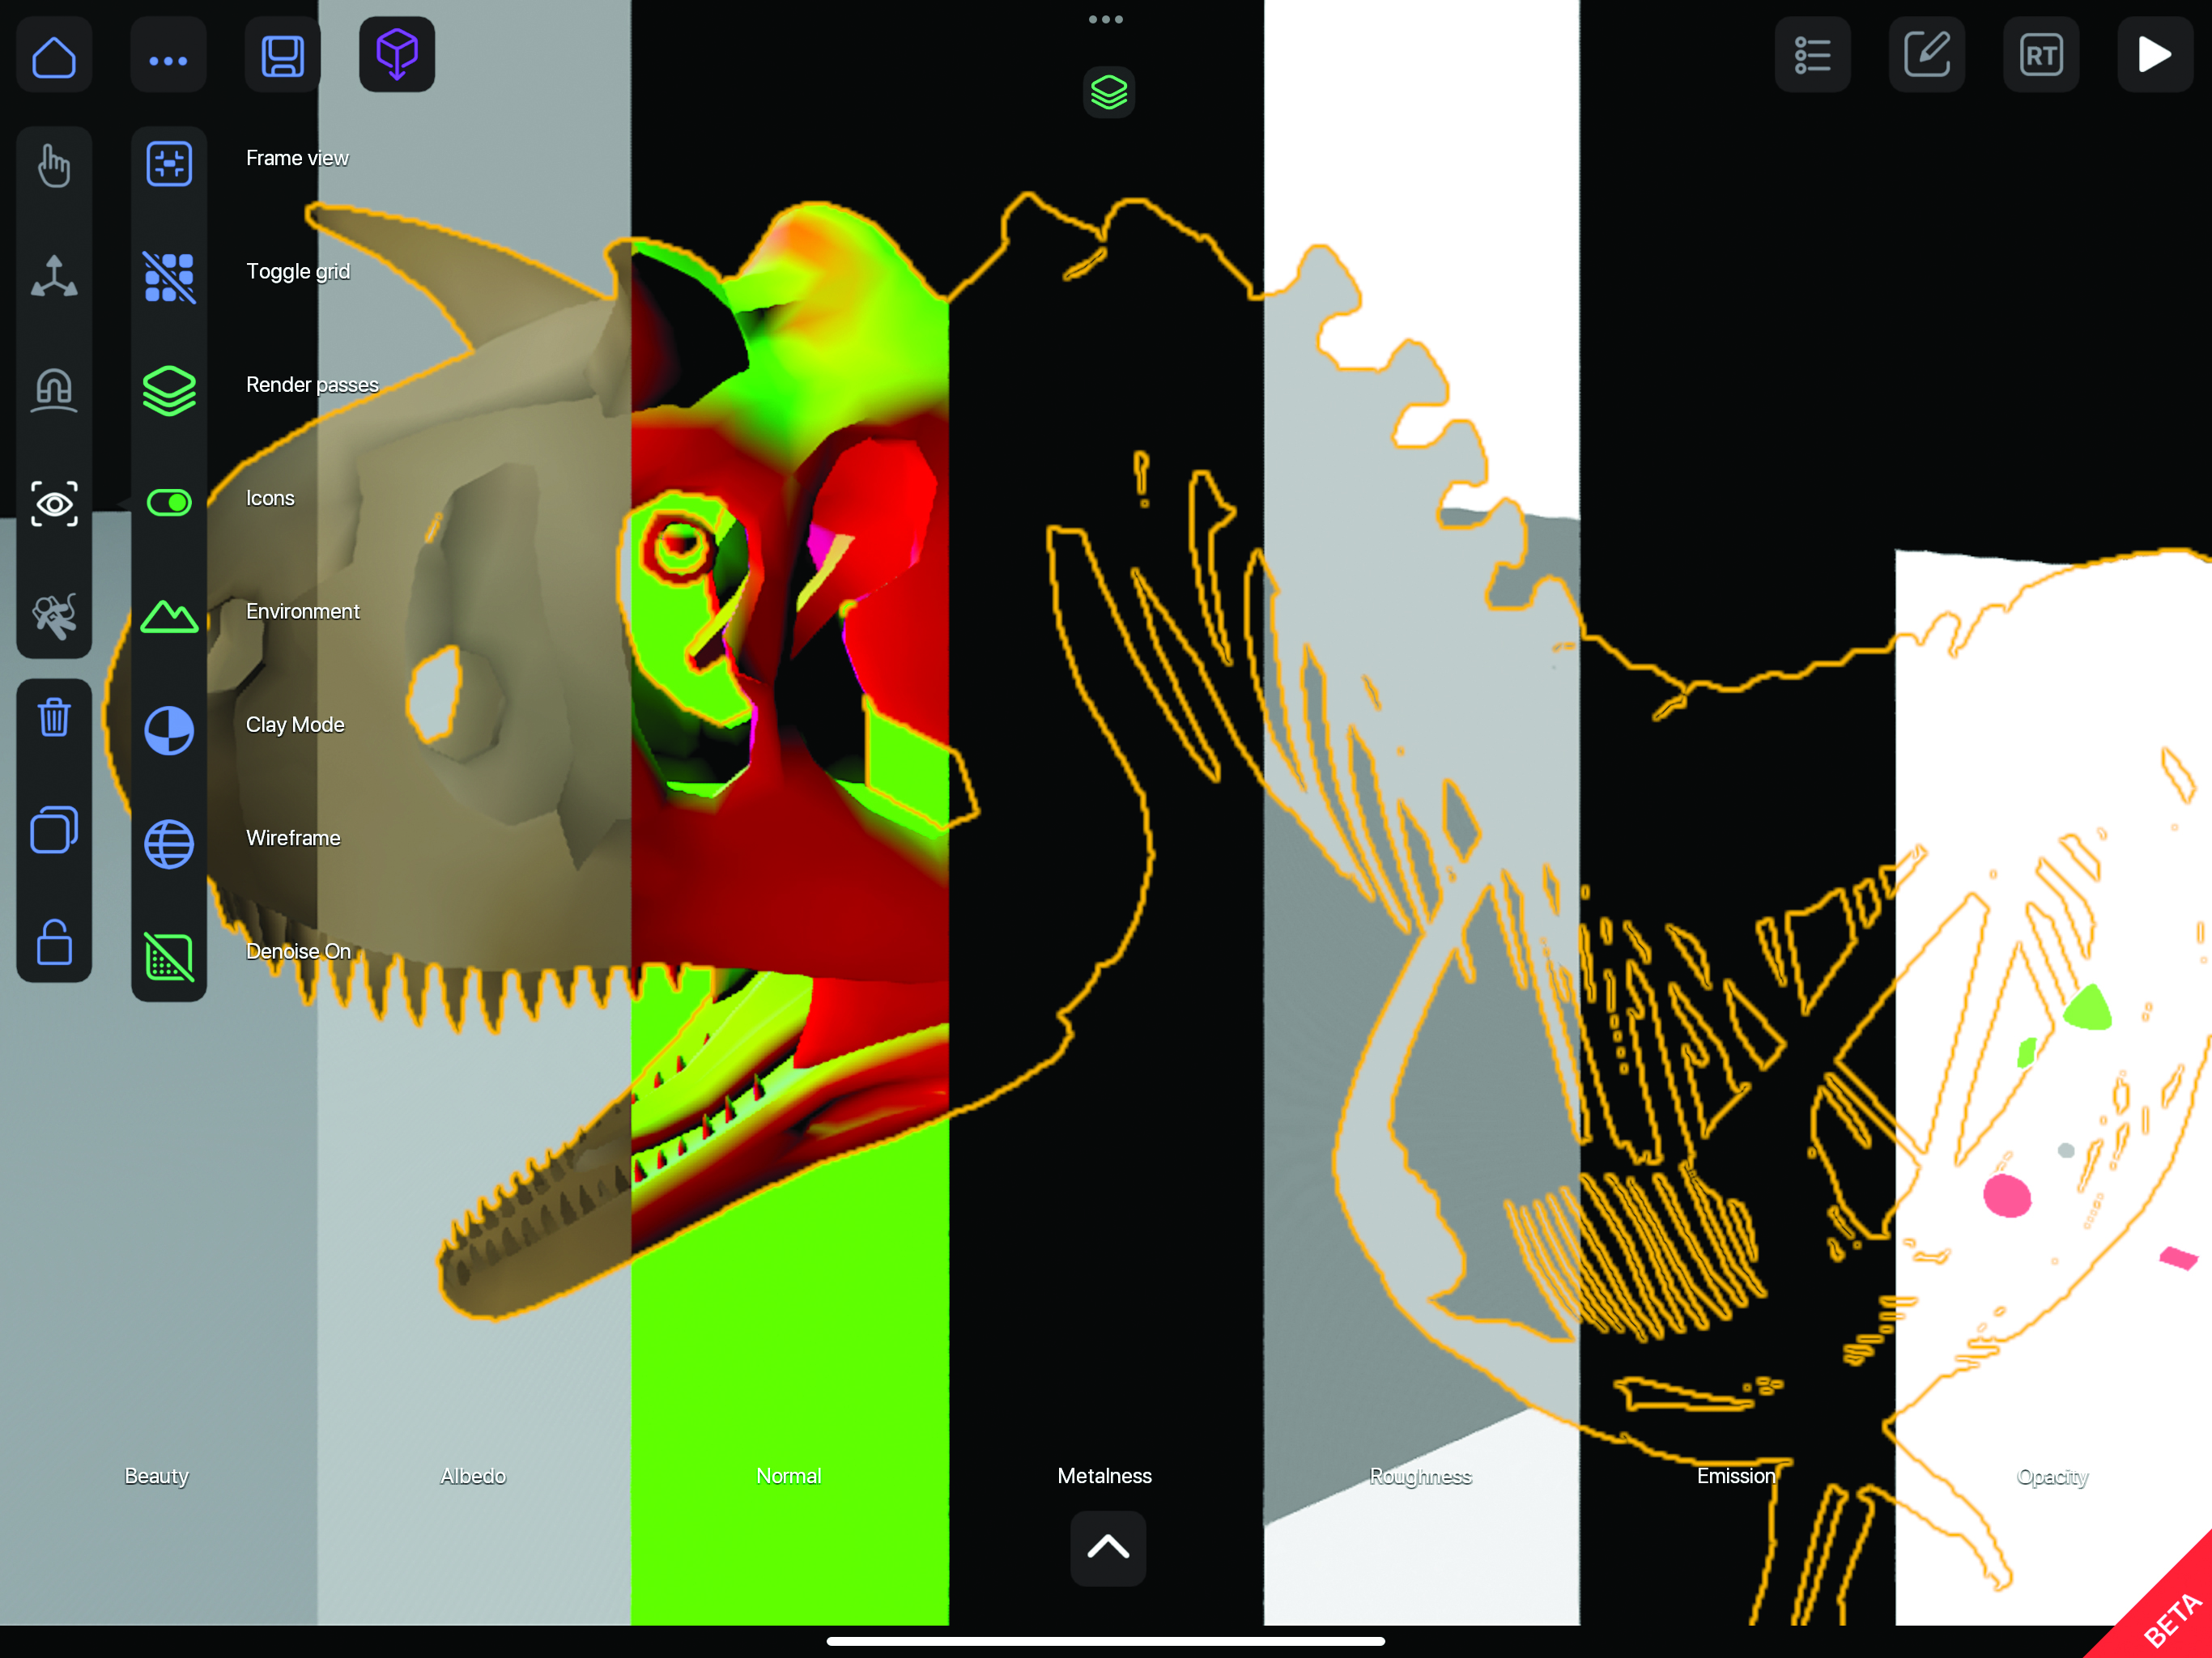
03. Use the different scene modes available
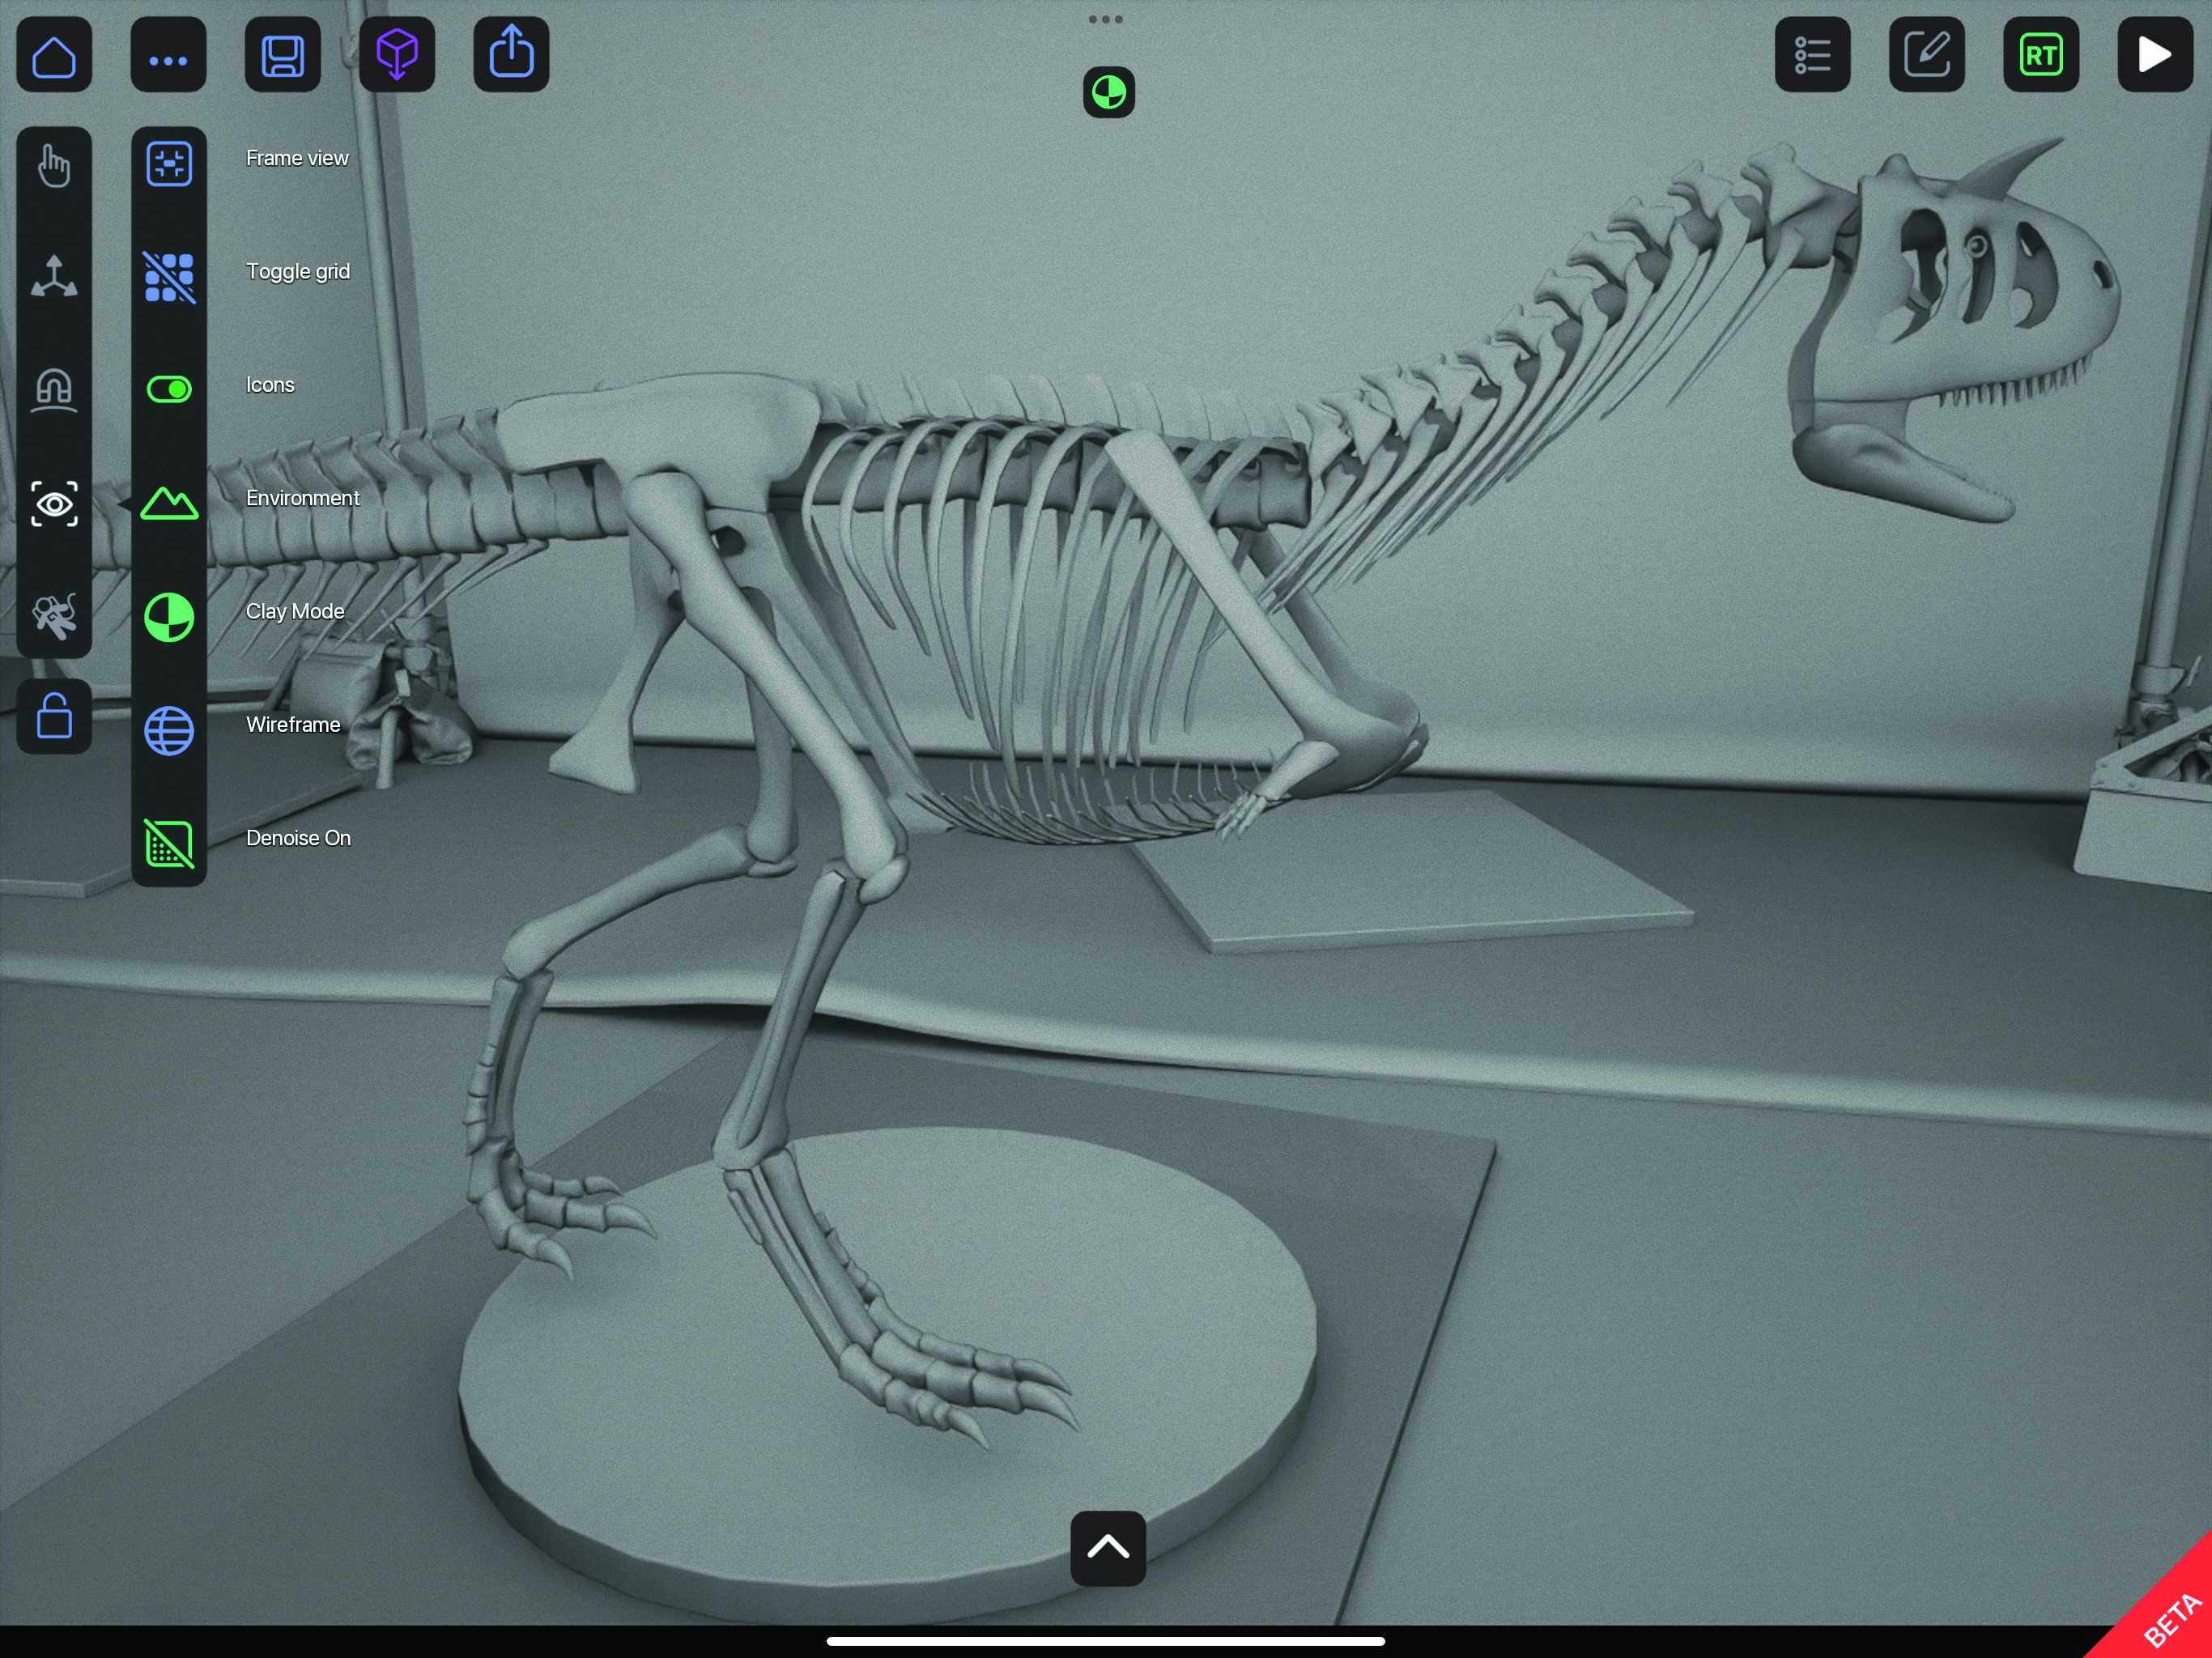
Within CLEO there are a variety of parameters for you to play around with, but some are premade for you. As a modeller, I might want to see my models in a wireframe view, with or without the textures, or in a simple grey clay mode. To do this in CLEO it's as simple as a single click from the sidebar. You can also switch to your other models from here to see how things are looking.
04. Render the final

So far we’ve just looked at the real-time rendering capabilities in CLEO. Switching to the full render mode is done by clicking a little green button labelled ‘RT’ at the top-right of the interface. The scene will instantly start to progressively render. If you’re happy with that you can view it by clicking the Play button in the top-right and then export the result or re-run a render if you aren’t happy.
This interview originally appeared in 3D World magazine, the world's leading digital art, CG and VFX magazine. 3D World is on sale in the UK, Europe, United States, Canada, Australia and more. Limited numbers of 3D World print editions are available for delivery from our online store (the shipping costs are included in all prices).