Whether a broken extractor fan has led to mould on your bathroom ceiling or you’re sick of staring up at the mould on your bedroom ceiling, knowing how to remove mould from ceilings is essential to keeping your house (and your health) in tip-top condition.
Of course, there’s a high chance that you’ve already mastered how to get mould off walls. But in particularly moisture-rich areas of the home, such as the kitchen, bathroom or bedroom, it’s not uncommon for mould to spread to the ceilings, too.
When cleaning off mould you have two options: 1. opt for a dedicated bleach-based mould remover, 2. take the gentler approach by cleaning with vinegar.
Since ceilings aren’t easily accessible trying to clean them with a strong chemical cleaner feels like a disaster waiting to happen, which is why we'd always recommend trying the second vinegar option first. Plus with this method, while owning a ladder would be a perk, it’s not essential.
How to remove mould from ceilings
While you may question this chemical-less process, we’re happy to tell you that Ideal Home’s Deputy Editor, Rebecca Knight, has (very successfully) tried the vinegar removal method out for herself on her bedroom ceiling. She raved that it was way more effective than any other shop-bought mould remover or bleach she’d tried before when cleaning her ceiling.
What you’ll need
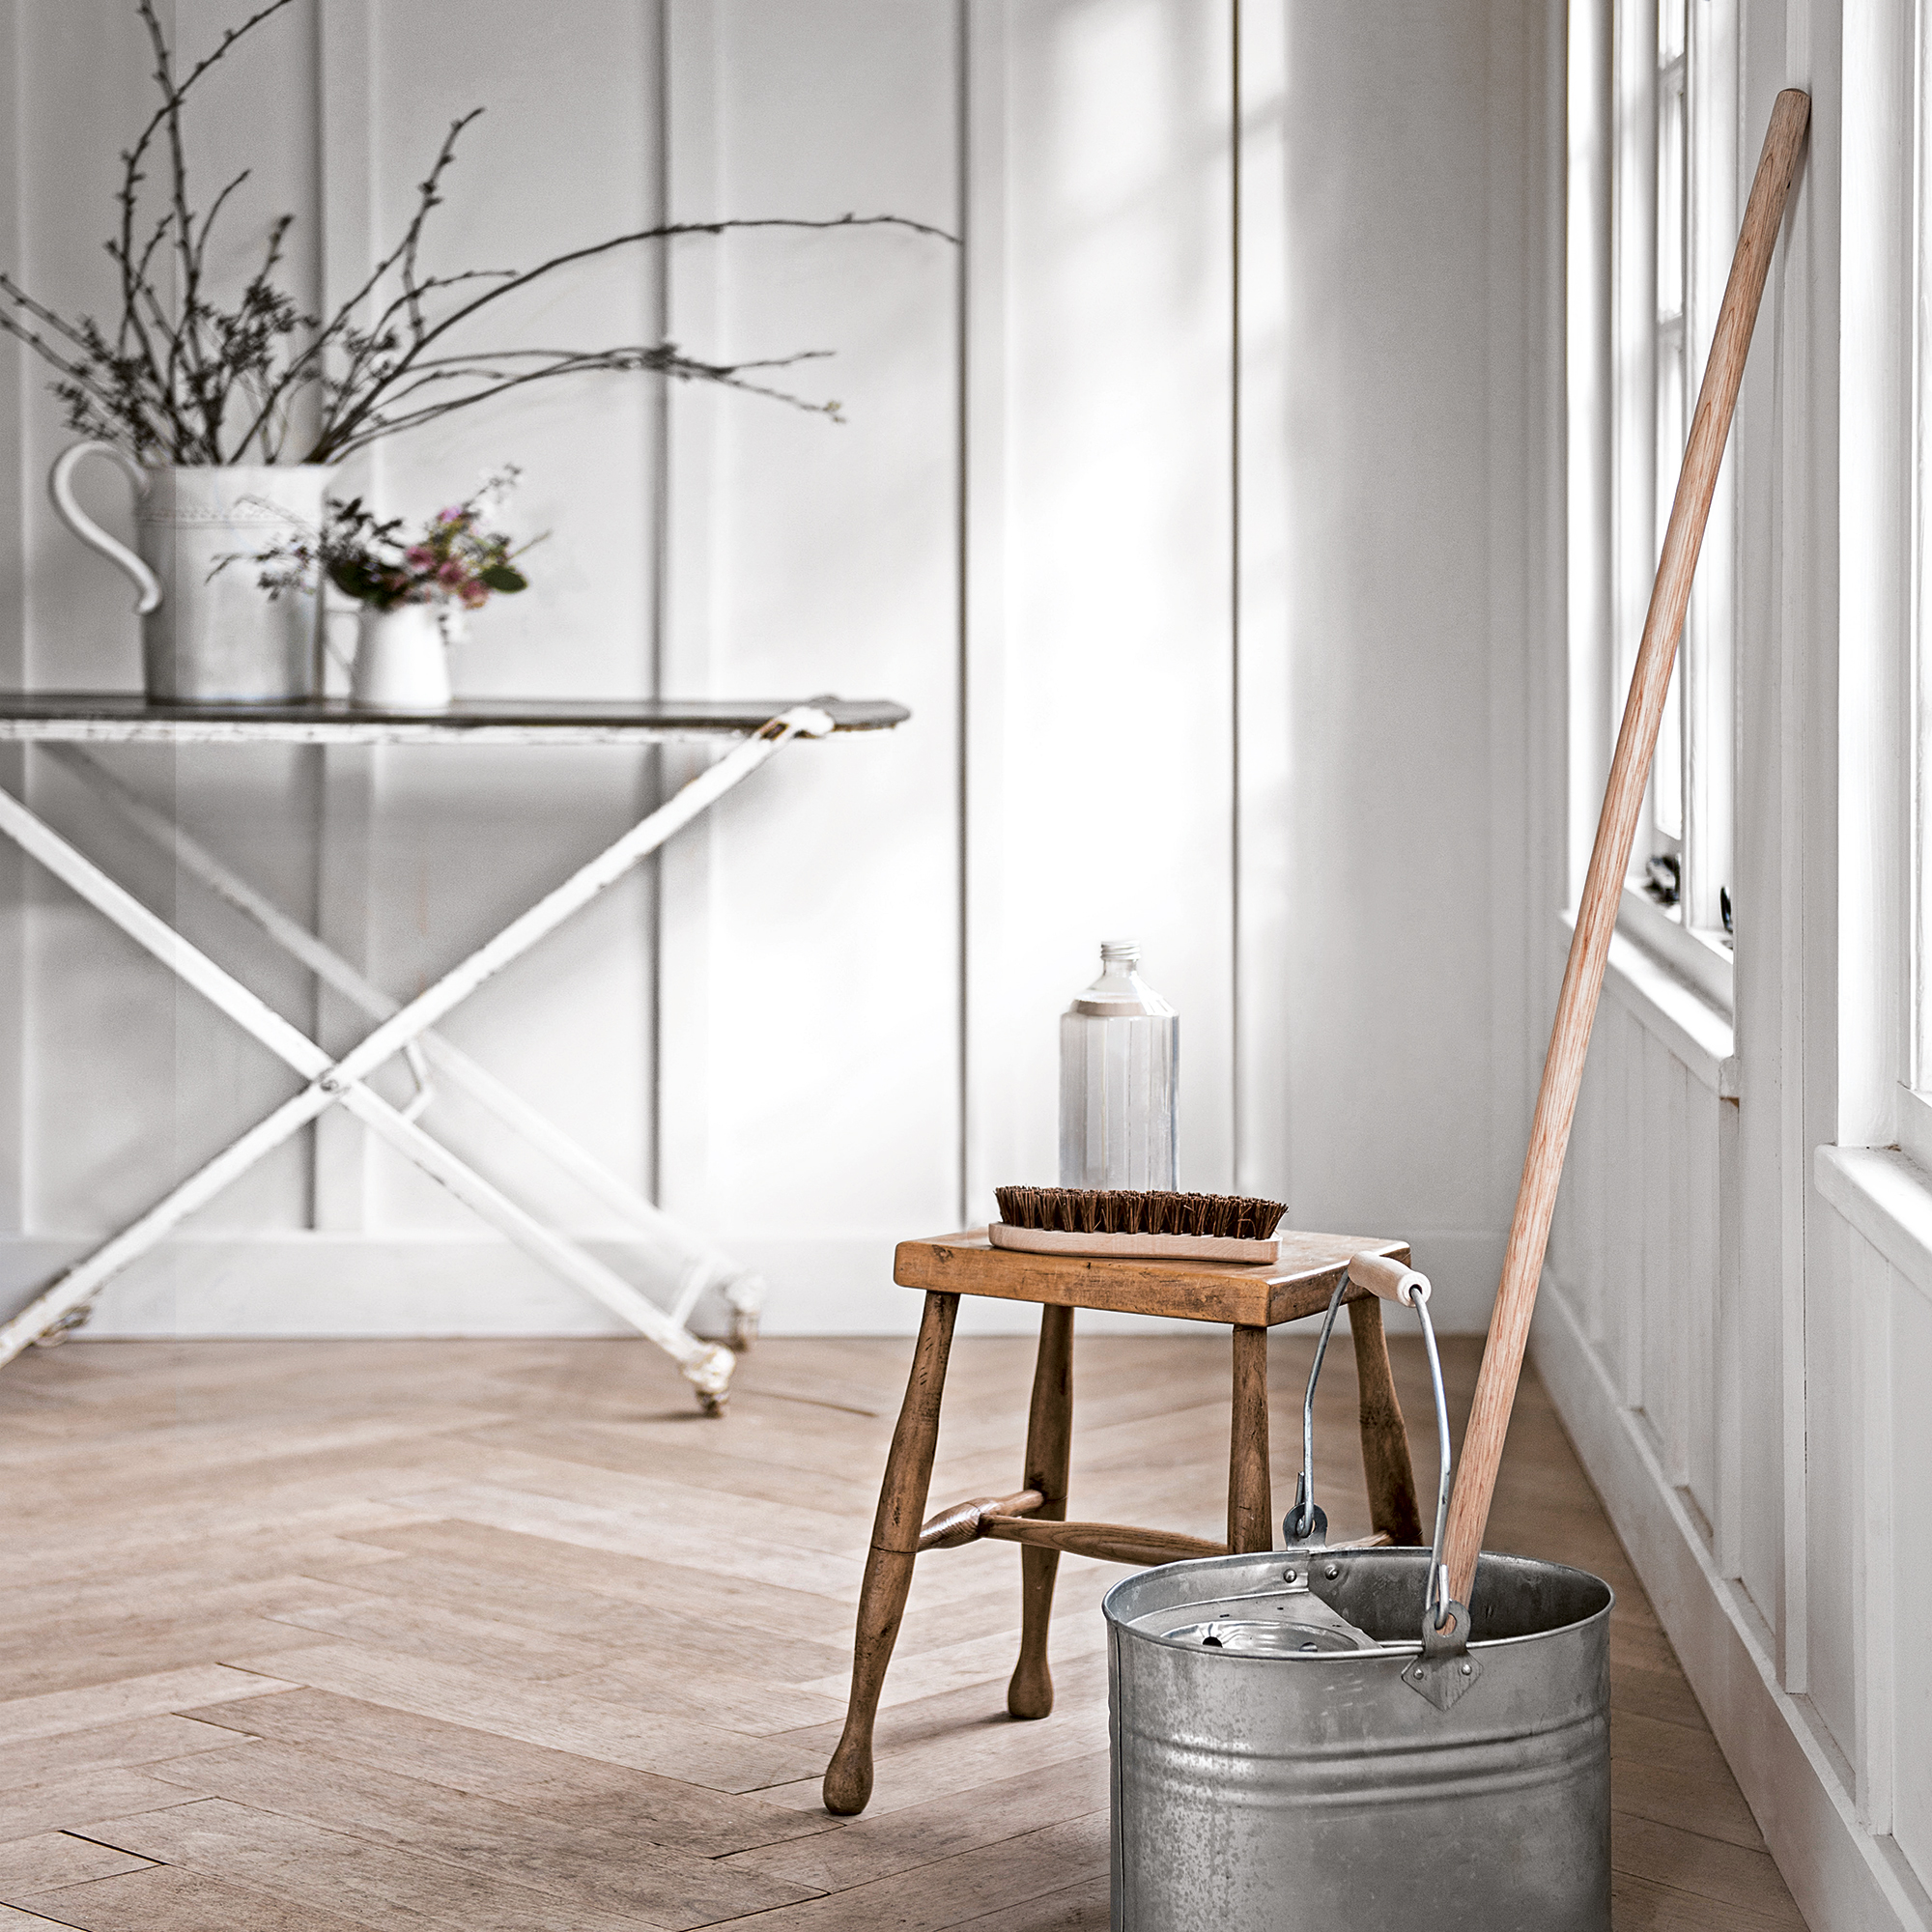
- Floor mop - our favourite is the Vileda Easy Wring and Clean Turbo Microfibre Mop and Bucket Set
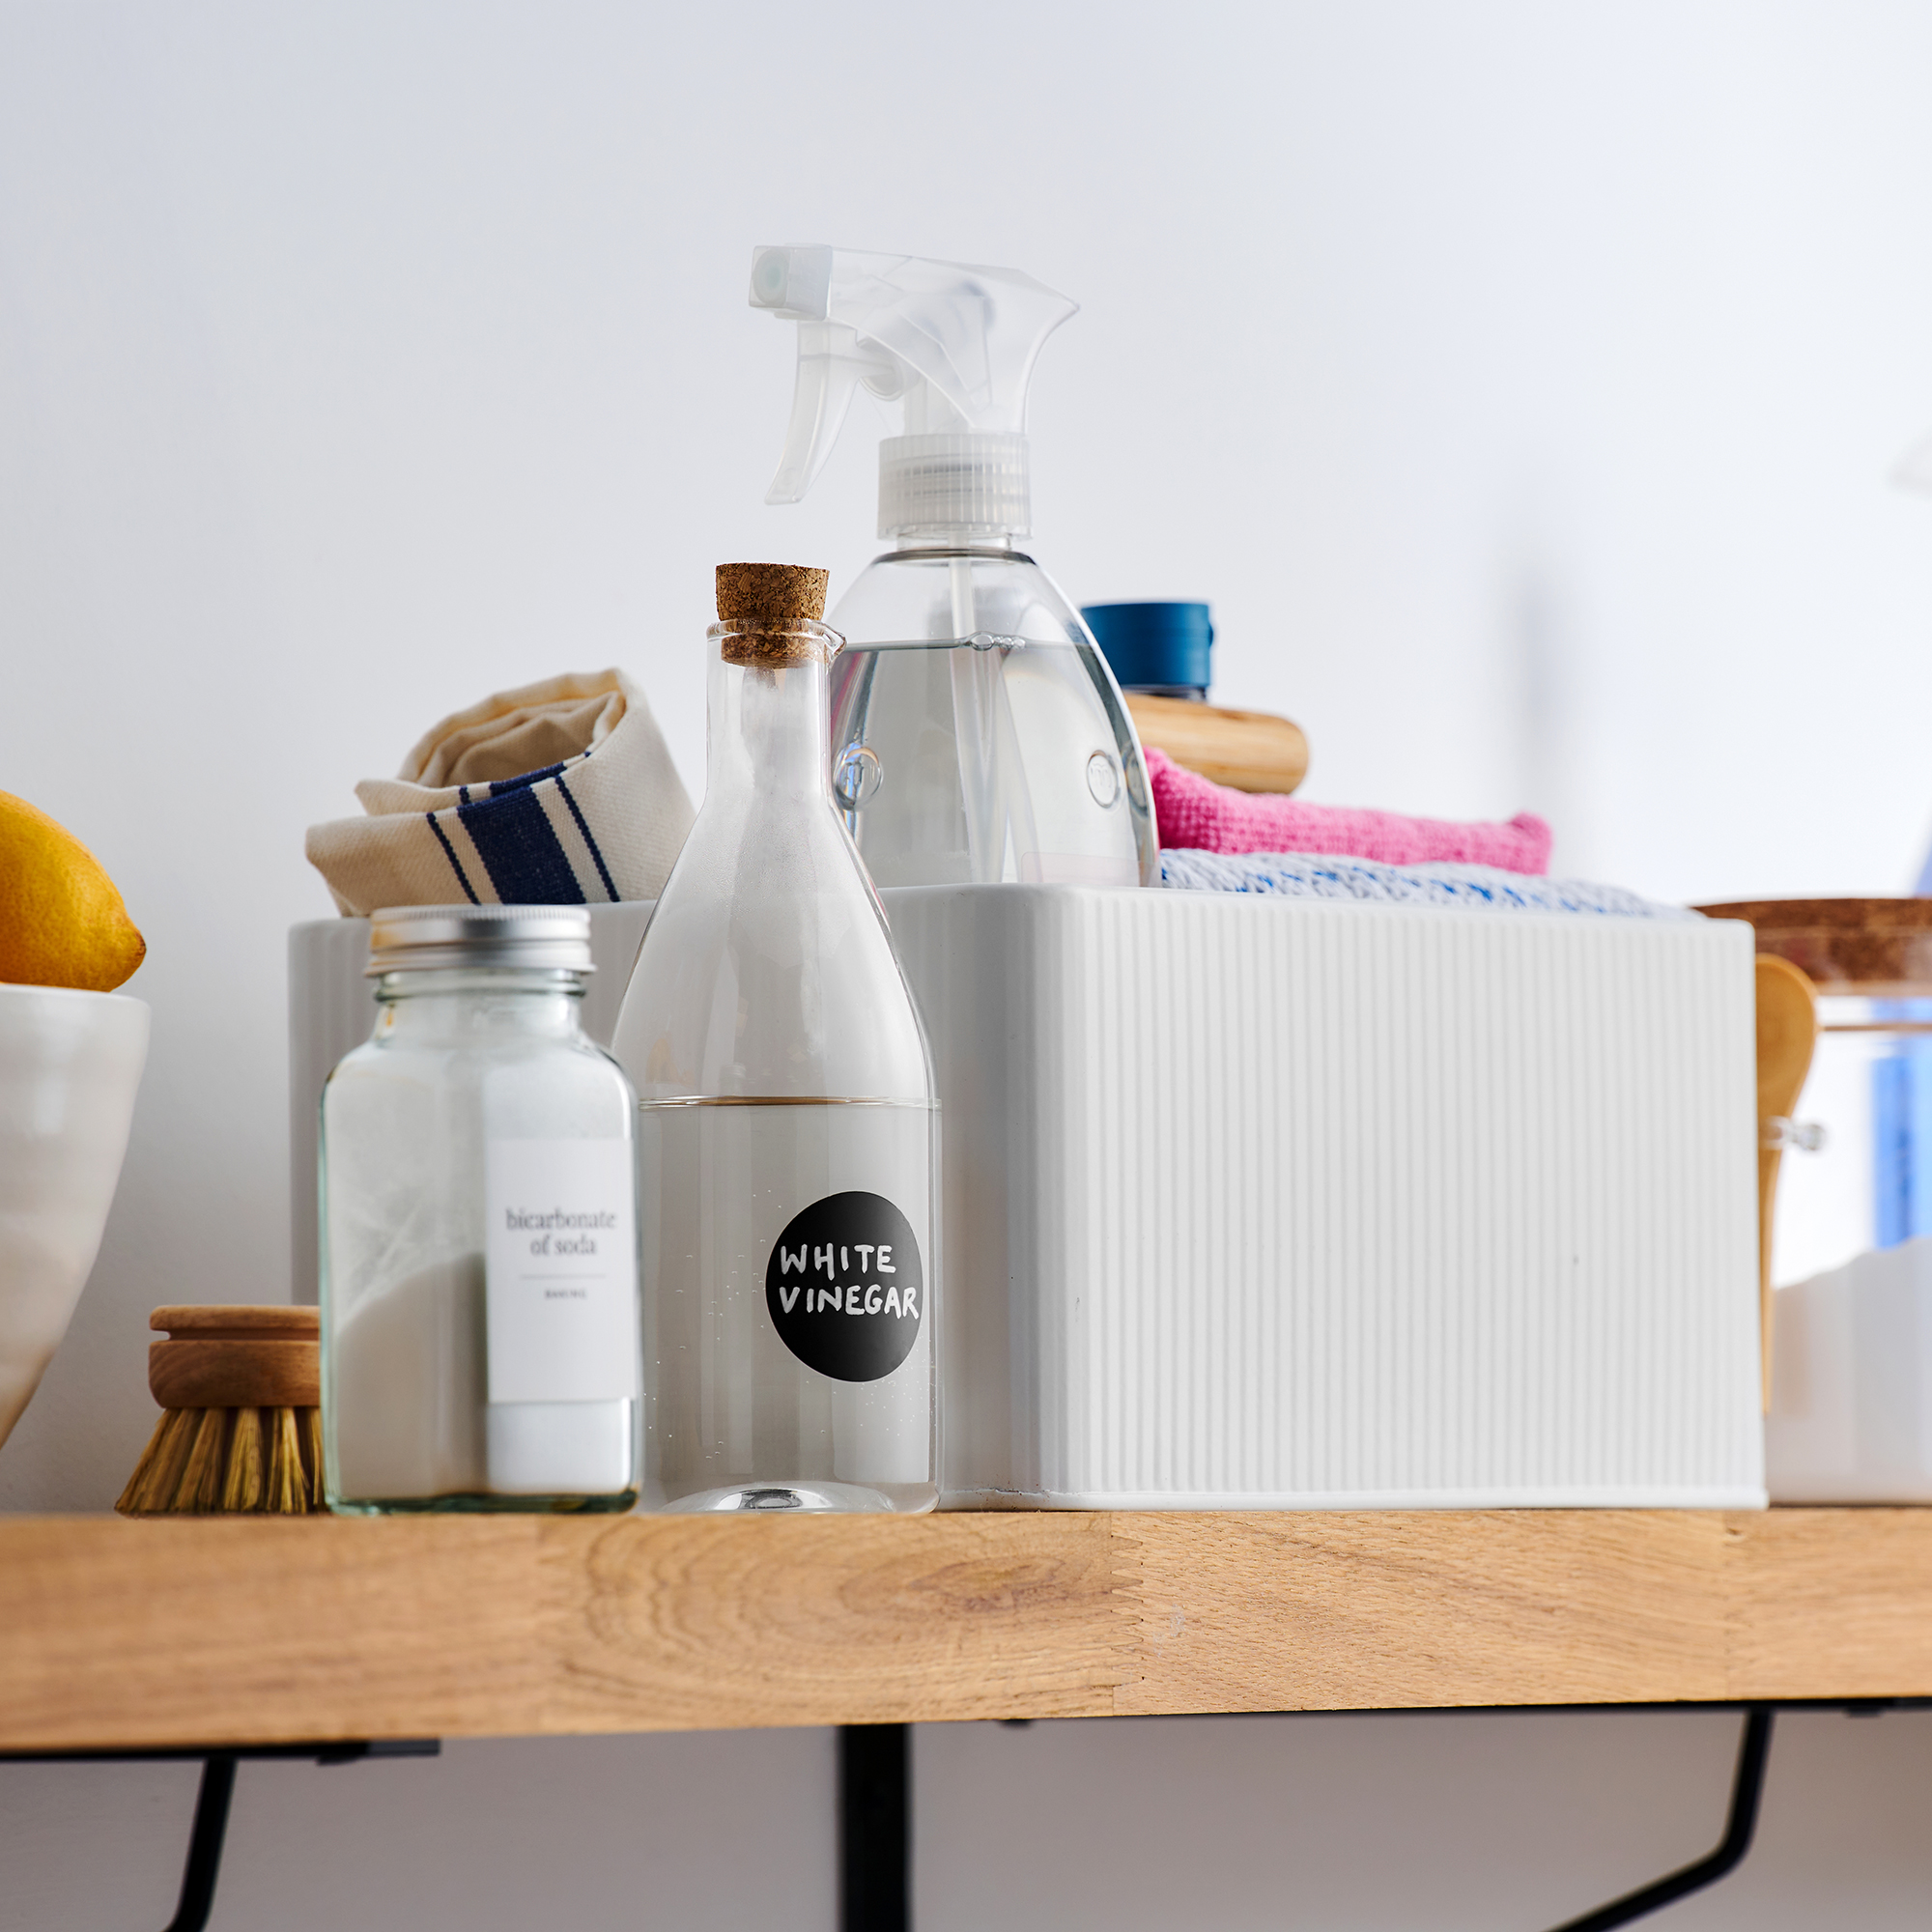
- White vinegar - like this Miniml Eco White Vinegar from Amazon
- Microfibre cloth - like these Sorbo Pack of 4 Microfibre Cloths from Dunelm
- Cleaning brush - like this OXO All Purpose Scrub Brush from Robert Dyas
- Spray bottle
- Bucket
- Water
- Face mask
- Goggles
- Dust sheet
- Ladder
Step-by-step
1. Prepare the area (and yourself)
When cleaning a ceiling, it’s important to realise that you’re working above yourself, as well as your floors, furniture, soft furnishings, and more.
Because of this, it’s always a good idea to prepare the area before you start this cleaning job. Cover the floor with an old dust sheet (or an old bed sheet) and protect furniture from spills or falling mould spores.
You should also ensure proper ventilation and open the windows. If you have one of the best air purifiers, you should also pop that on, as this appliance will collect and trap the mould spores that are disrupted during the cleaning process.
When you’ve done that, you can then prepare yourself. Breathing in mould spores can be extremely dangerous, so you should always wear a face mask and pop on eye goggles to protect your eyes from any falling cleaning products.
This is echoed by Ava Wilson from Unclutterer, who says, ‘Before starting, wear protective gear, including gloves, eyewear, and an N95 mask to avoid inhaling mould spores.’
2. Apply the vinegar

There are so many ways to clean with white vinegar, so it probably doesn’t surprise you to learn that white vinegar can also work wonders when trying to get rid of mould on ceilings.
Although you can use white vinegar alone, it’s best to create a 1:1 solution of warm water and white vinegar to avoid damaging the surface of your ceilings. Then, you can start applying it.
Ava says, ‘Using a spray bottle, apply the cleaning solution to the mouldy area. Use a ladder or an extension pole with a sponge or cloth attached for hard-to-reach areas.’
However, our Deputy Editor came up with her own genius method of removing mould from her ceiling. Instead of using a spray bottle or a ladder, Rebecca used one of the best floor mops to apply the white vinegar! So, that’s another option, too.
3. Let it work its magic
Although you might be inclined to wipe off the white vinegar and water solution as soon as possible, it’s important to wait for the white vinegar to work its magic.
‘Allow the solution to sit on the mould for about an hour,’ says Ava. ‘This helps to kill the mould spores.’

4. Gently scrub the area
When you’ve given the white vinegar time to kill the mould spores, you’ll then want to grab a cleaning brush and start scrubbing the area.
Although you want to disturb the mould stains and remove them during this cleaning process, you also need to be careful. Try to scrub hard enough to remove the mould but not so hard that you’ll damage the ceiling.

5. Wipe the area clean
After scrubbing the area, you may find that the ceiling looks dirtier than when you started - but this is normally a good sign that you’ve disturbed the mould and that it’s ready to be wiped off.
Ava says, ‘Wipe the area with a damp cloth to remove any remaining mould and cleaning solution. You might need to rinse the cloth frequently.’
Only when you’ve visibly removed all of the mould and the white vinegar and water mixture from the ceiling can you then move on to the next step.
6. Quickly dry the ceiling
As mould is caused by excess water and condensation, the last thing you want is to leave water or dampness on your ceiling. This will just result in more mould, after all.
Because of this, you should aim to dry the ceiling as quickly as possible. If you’re completing this task in the summer, having the window might be enough to dry it. But in the winter, you may need an extra helping hand.
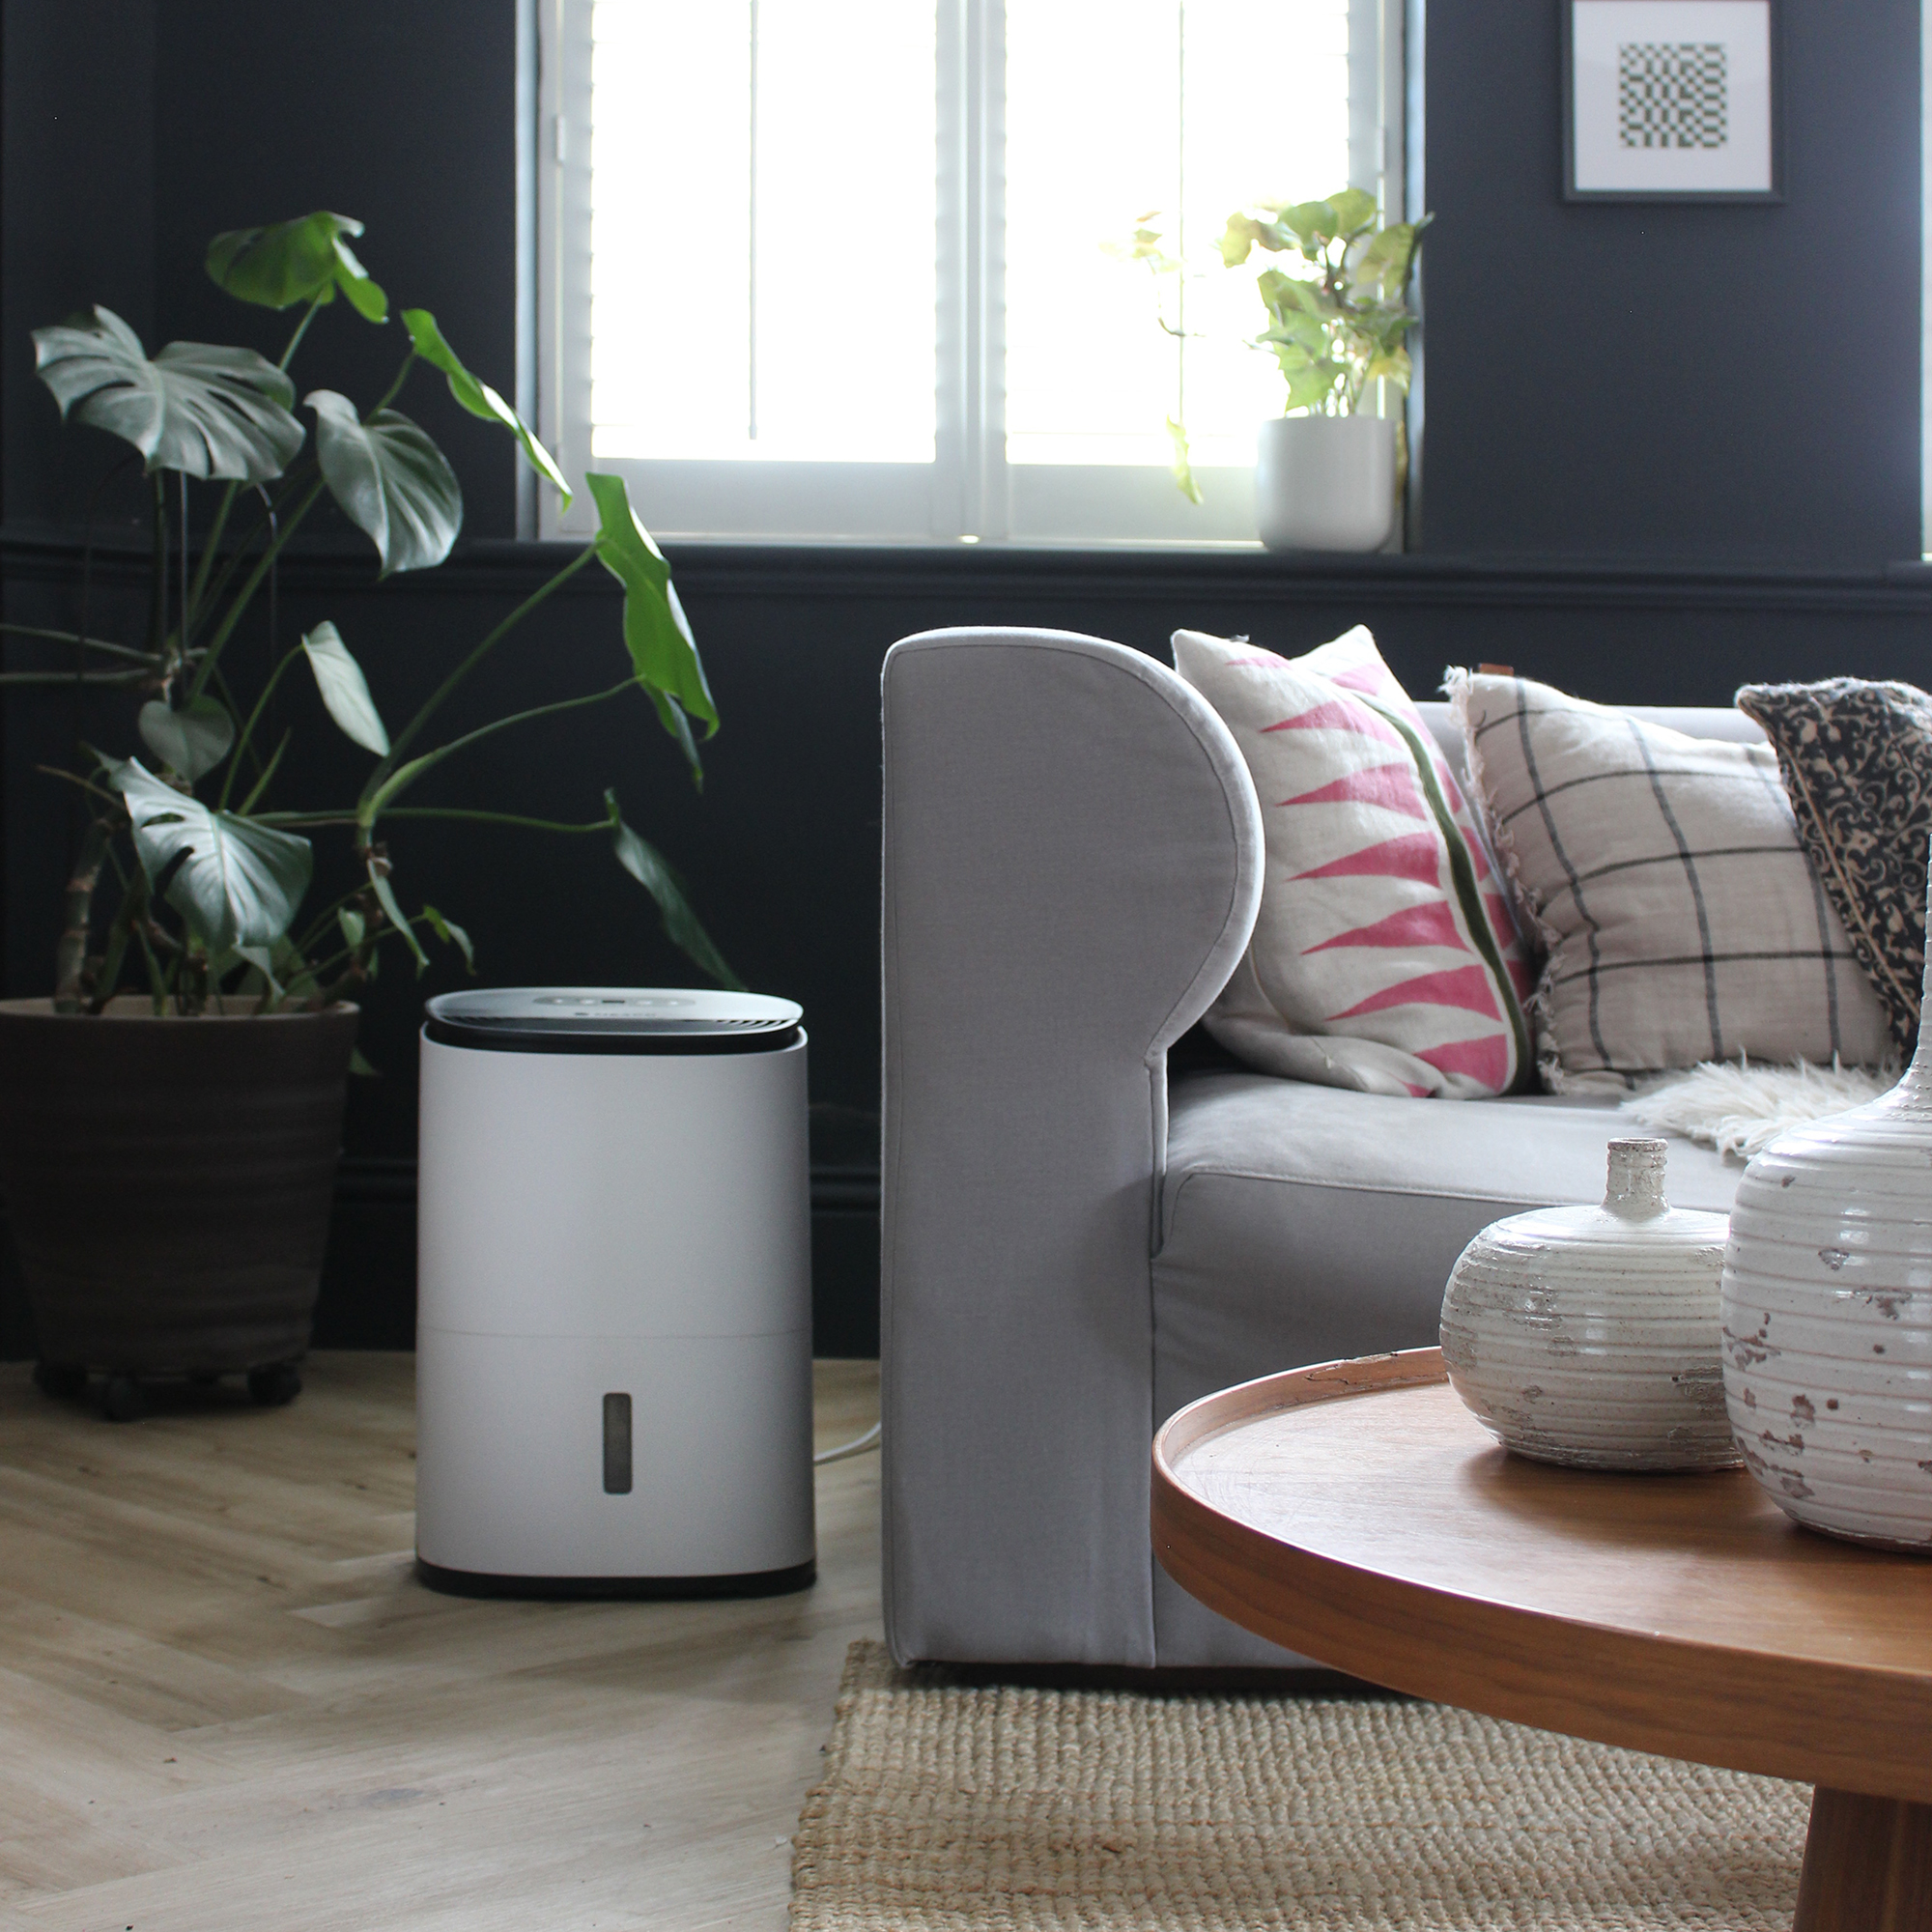
In this instance, use one of the best fans or one of the best dehumidifiers to circulate the air and remove the excess moisture.
7. Consider preventative measures
If you’re worried about the mould coming back, there are some preventative measures you can take to ensure you don’t have to deal with mouldy ceilings again.
In fact, many experts would suggest using mould-resistant paint on the ceilings of rooms that suffer from condensation, such as kitchens and bathrooms. Something like this Ronseal Problem Wall White Silk Anti-Mould Paint from B&Q should do the trick.
It’s also a good idea to use a dehumidifier in these rooms to bring the humidity down to the ideal humidity for a room.

8. Keep an eye out for future mould growth
Mould is easy to remove, but it’s even harder to stop mould from coming back. So, keep an eye on your ceilings to see if the mould returns. If it does, it may be that condensation isn’t the only problem.
Ava says, ‘Address any underlying issues, such as leaks or high humidity, that contribute to mould growth. Maintain good ventilation and keep the area dry.’
‘If the mould problem is extensive or you're unsure about handling it yourself, it's best to consult a professional. They can assess the situation and perform safe and effective mould remediation.’
In the meantime, keep on top of cleaning the ceiling and removing the mould from the ceilings when you can.
FAQs
How do you get rid of mould on the ceiling?
The most effective way to get rid of mould on a ceiling is to use a cleaning solution of white vinegar and water. You can spray this onto your ceiling with a spray bottle, and then leave it to work its magic for an hour.
Then, scrub the ceiling to disturb the mould stains and wipe clean with a damp cloth. You should then dry out the room completely to prevent any further mould growth.
Just remember that mould is dangerous, so you should always keep yourself and your home protected during this cleaning process.
Why is mould growing on my ceiling?
In short, your house is too humid. Condensation and dampness lead to mould growth on the ceiling, and it’s not uncommon for this to happen in areas like the bathroom and kitchen, where steam is often present.
If you don’t deal with this excess moisture as soon as possible (for example, by using a dehumidifier, ventilating your room, or using an extractor fan), it will almost always result in mould growth.
Well, there you have it. That’s how you can remove mould from ceilings without using harsh chemicals.


