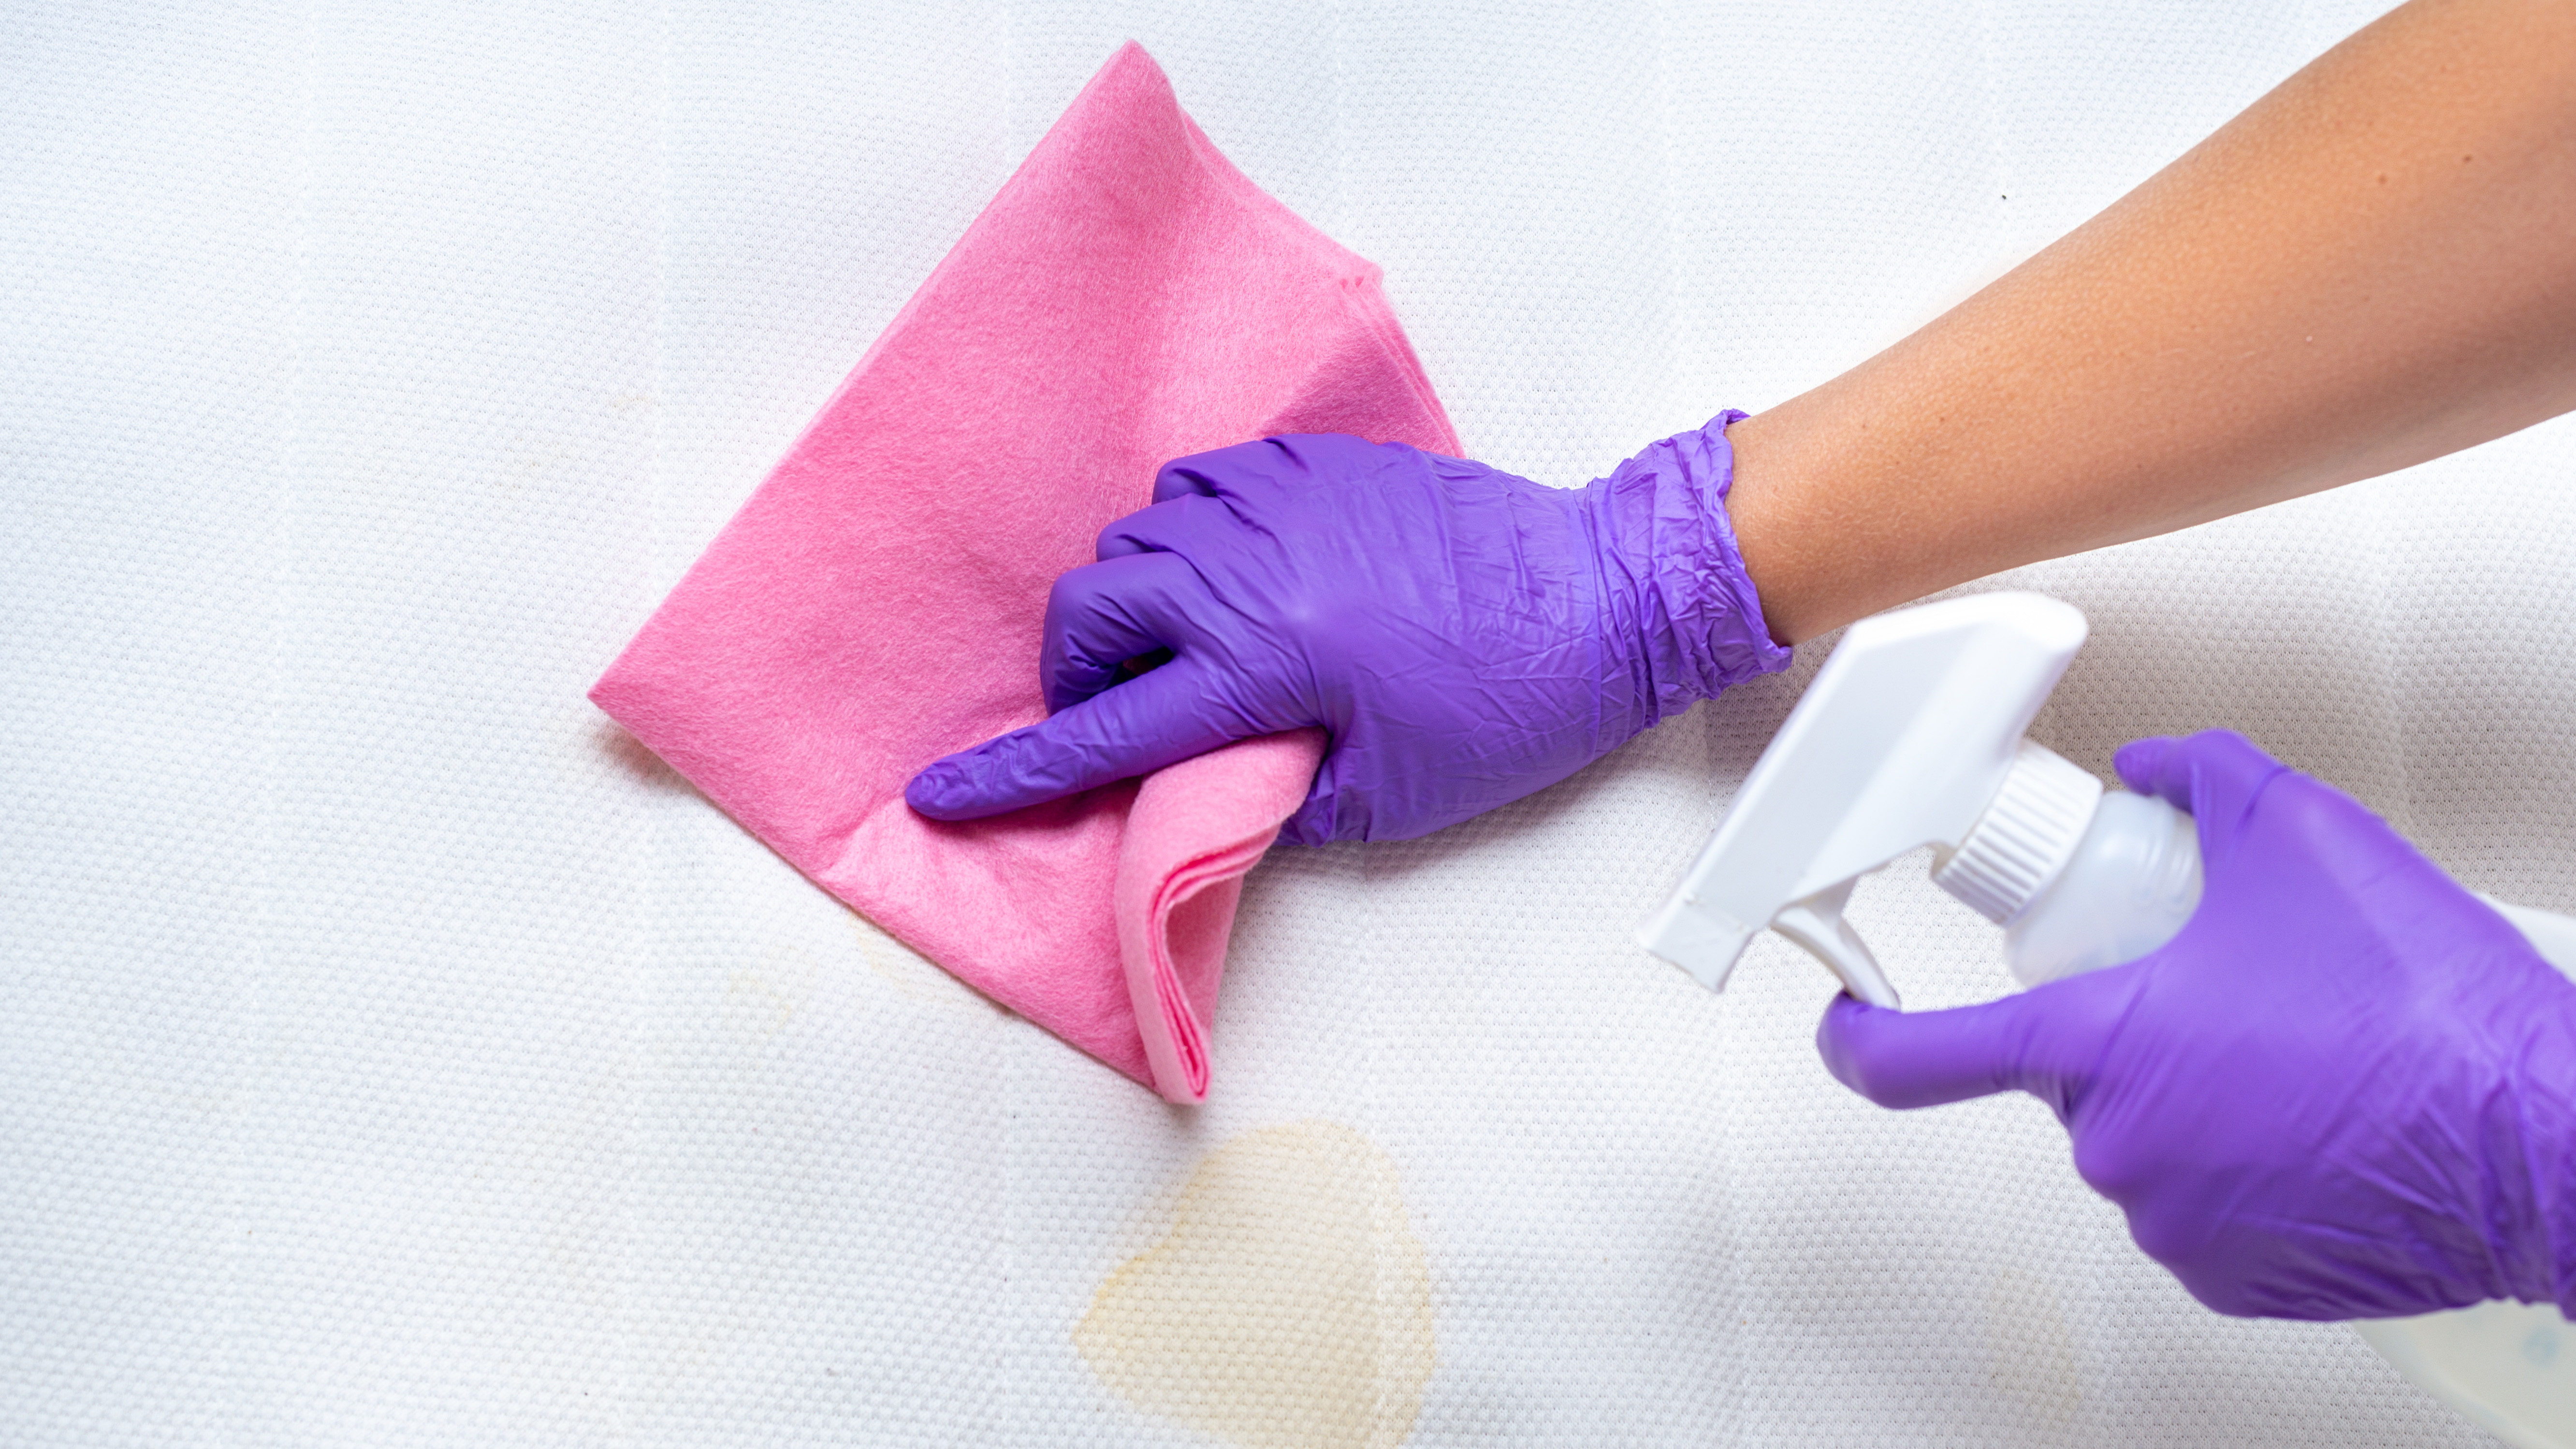
Accidents happen (especially if you have children and pets) which is why you might be wondering how to remove mattress stains. Mattresses can quickly become blighted with murky yellow stains when confronted with pee, vomit and more. Plus, with stains come smells, and mattress odors can be trickier to remove than stains if you don't know the cause.
Knowing how to remove stains from your mattress is important skill to help your bed last as long as possible. Of course, prevention is always better than cure, so investing in the best mattress protectors is important too, especially if your mattress is new and you want to keep it in pristine condition.
Removing stains and smells from a mattress is relatively straightforward, but will differ slightly depending on the type of mattress you own and the materials it’s made from. So. we’ll walk you through how to remove mattress stains while protecting your bed against lasting damage. If after reading this you decide it's time for a new bed, take a look at this year's best mattress guide for inspiration.
Now, grab your rubber gloves and let’s get started...
How to remove mattress stains in 7 easy steps
Step 1. Strip your bed
Whether you’re reacting to a new accident or are tackling an old but stubborn stain, the first step when getting rid of mattress stains is to remove all bedding and sheets from your mattress. Once removed, launder your bedding at 140° F (60° C), taking into account any care labels. 104° F (40° C) is usually fine, but 140° F will kill any germs or bacteria lingering between your sheets.
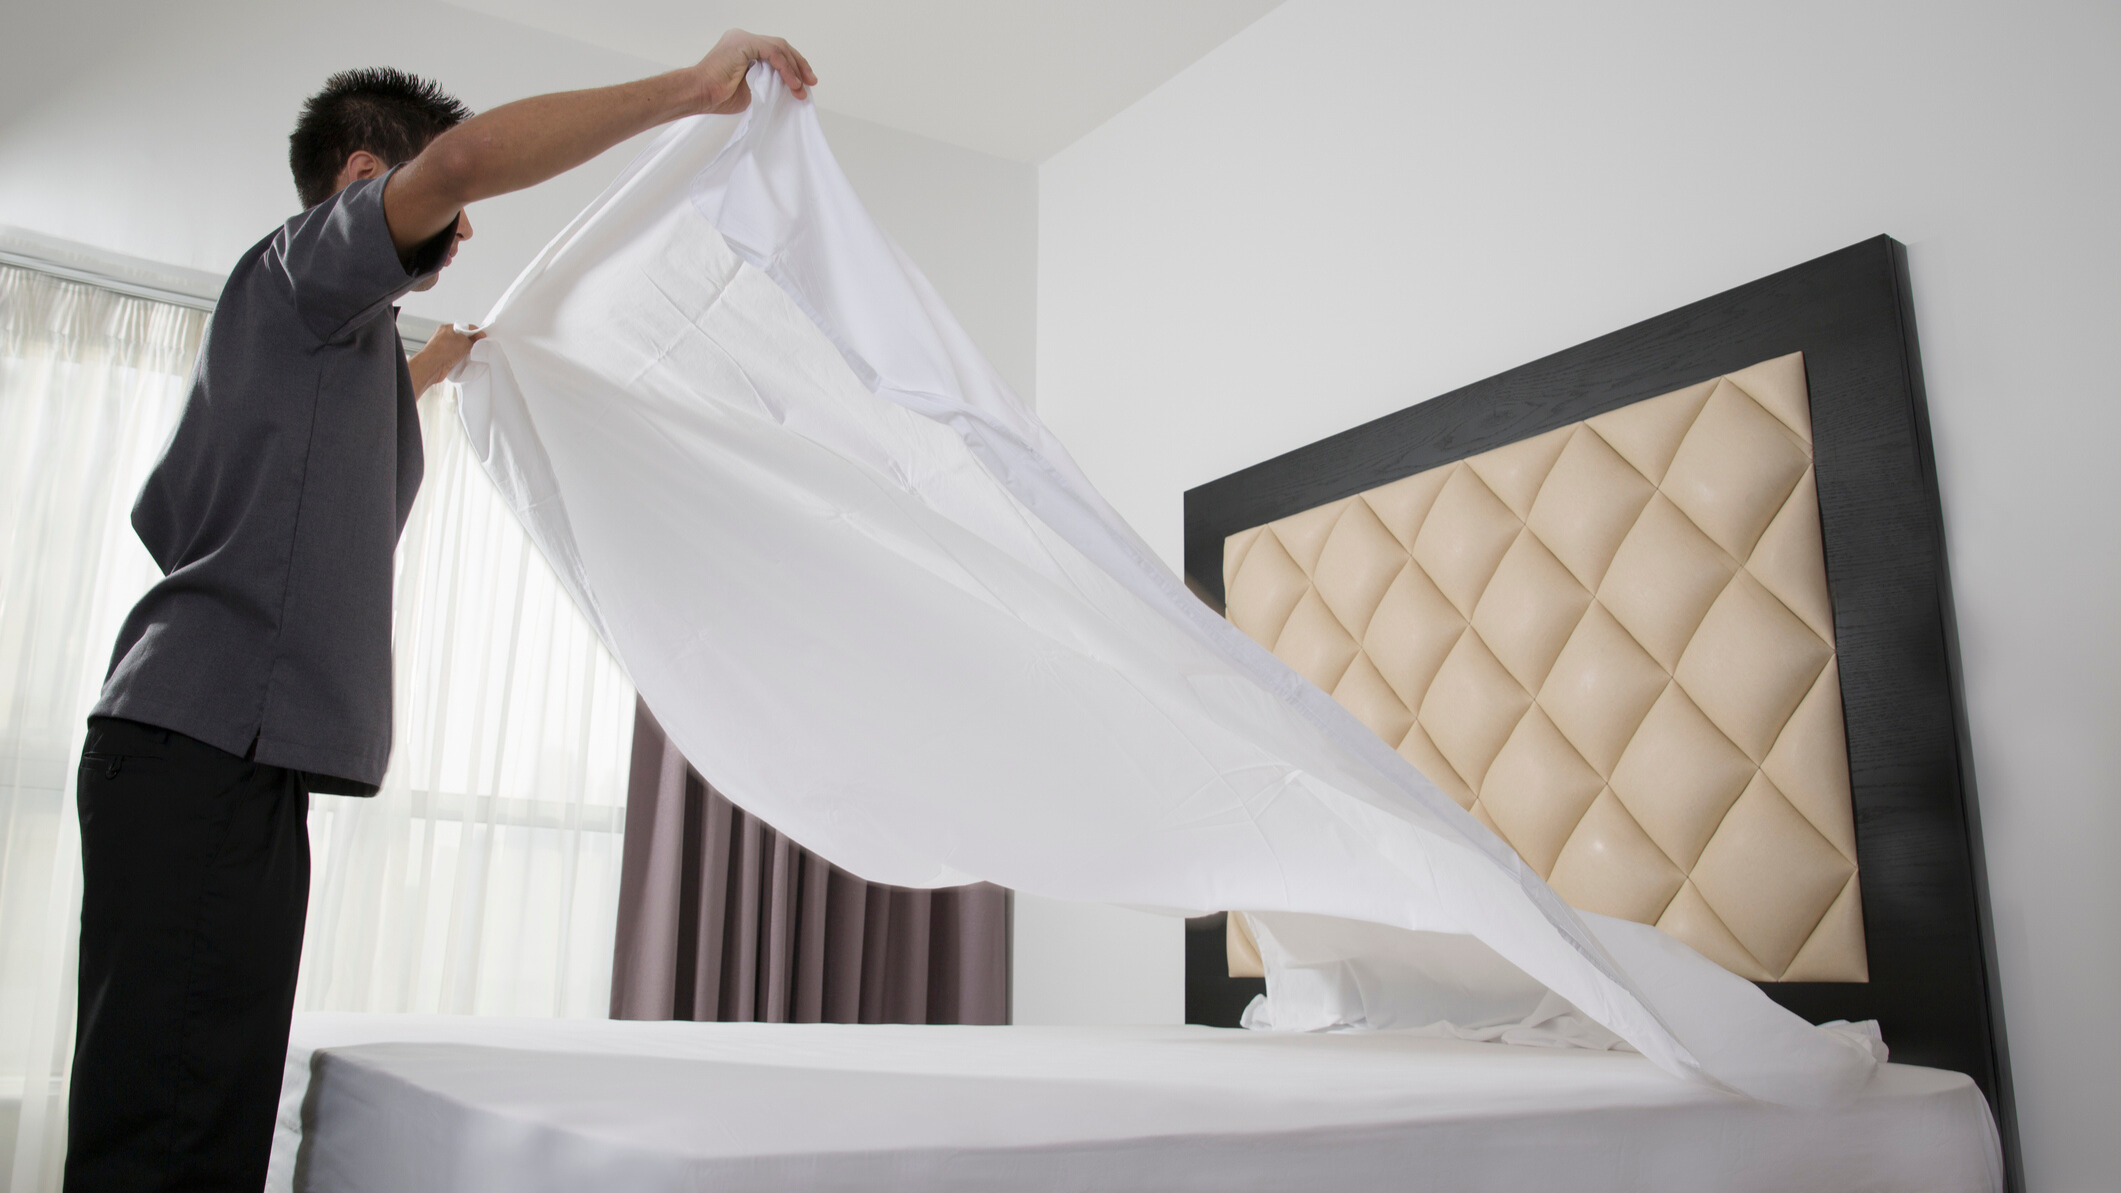
Now would be a good time to see if you can remove your mattress cover (this isn’t a mattress protector or topper, this is the mattress cover that your mattress came with). If yours is removable, it will explicitly say so on the manufacturer's label. If it doesn’t, leave the cover where it is.
Step 2. Blot any liquid
If your stain is old and dry, you can skip this step. However, if you’re cleaning up a new spill, gently blot the area with a clean and dry cloth to absorb any liquid. Don’t rub too hard, as we want to avoid the liquid seeping further into the mattress. Your mattress can quickly become a breeding ground for mold if it becomes oversaturated, so remove as much excess liquid as you can.
Step 3. Sprinkle with baking soda
Once you have absorbed as much of the liquid as possible, we can move on to cleaning the area. Baking soda (or bicarbonate of soda), is gently abrasive, which means it’s effective at removing stains but won’t damage your mattress in the process. Generously sprinkle the area with baking soda, rub gently (you can use your hand if you’re wearing latex or rubber gloves) and then leave for four to six hours.
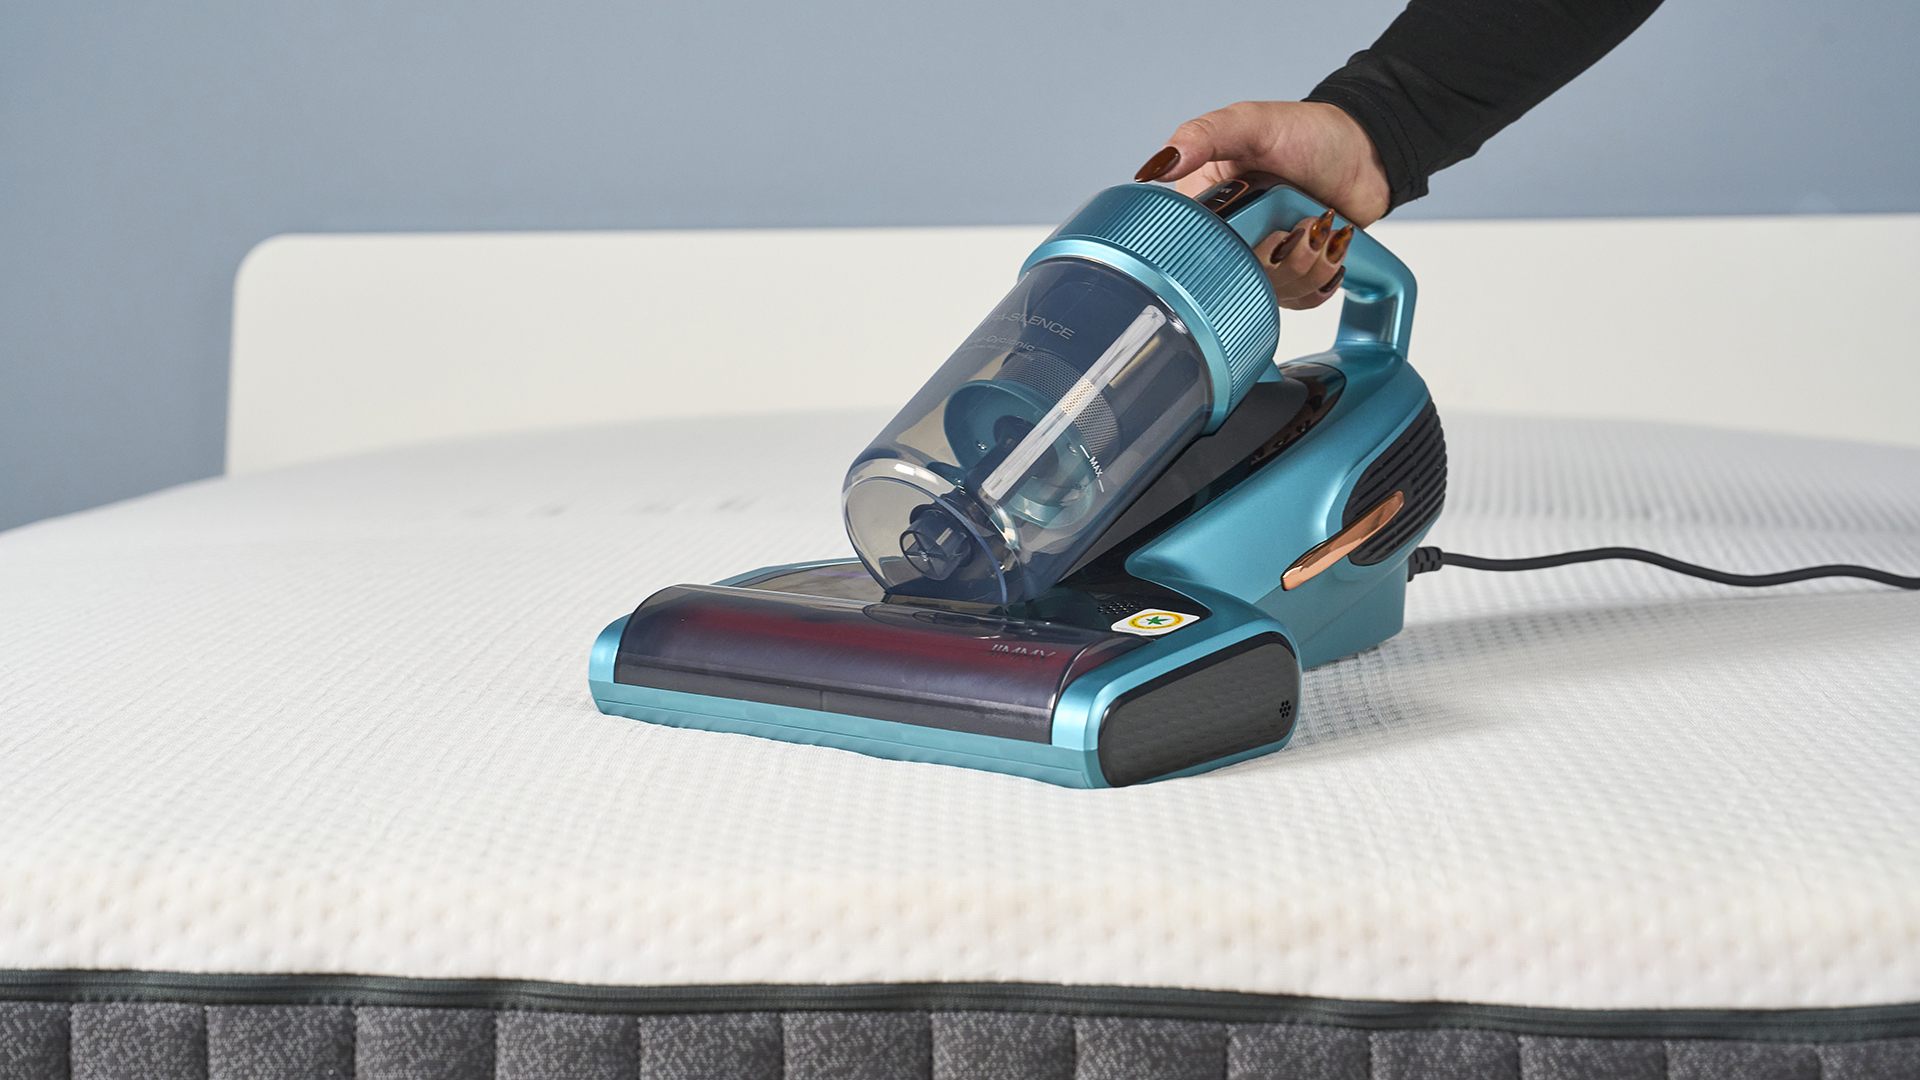
Step 4. Vacuum the area
After four to six hours (or a minimum of one), vacuum up the baking soda. As well as absorbing moisture, baking soda is effective at removing odors, which is why it’s a good product to get rid of pee, sweat and vomit stains, the smell of which can linger long after the stain has gone.
Step 5. Apply cleaning solution

The next step is to use a gentle enzyme based fabric cleaning solution, which will break down stubborn biological stains like pee, sweat, urine or blood (these stains are harder to shift than food and drink spills, but it can be done). You can either buy an off the shelf solution, or make your own. To do this you will need:
- One cup of white vinegar
- One cup of water
- Combine in a spray bottle
- Baking soda
Using your gloved hand or a soft brush, gently rub the area with your mixture. Don’t apply too much solution, as we don’t want to oversaturate the area, especially if you’re working on a memory foam mattress, which can become damaged or moldy when exposed to too much liquid. Sprinkle the area with baking soda and let sit for 15 minutes to activate.
The baking soda will likely bubble up as it reacts to the vinegar — this is a good sign, as it means that the cleaning solution is starting to break down the stain.
Step 6. Vacuum and blot clean
After 20 minutes, vacuum up the baking soda, which should have absorbed some of the cleaning solution. Blot the area with cool water and a clean cloth (again, be careful not to soak the mattress).
Open your window and pull back the curtains to allow sunlight into your bedroom. Not only will the sunshine help dry your mattress, the UV rays will help kill any lingering bacteria from the stains. If you have a memory foam mattress, keep it out of direct sunlight during very hot weather as extreme heat can damage its foam.
Step 7. Repeat if necessary
If you've followed the above steps you should be able to see a marked improvement in the stained area. However, for older and tougher stains, you might need to repeat steps 5 and 6 again.
While it can be tempting to reach for a harsher cleaning solution, try to refrain - harsh chemicals can cause irreparable damage to luxurious mattress materials like cashmere or silk, as well as discoloring and damaging memory foam. Remember, once you've shifted your stain, protect your mattress from further spills with a mattress cover.
How to remove stains from a memory foam mattress
Memory foam is highly porous and reactive to heat and water, so you need to tread carefully when removing stains from a memory foam mattress. You can follow the above steps, but you will need to avoid harsh chemicals that can discolor or damage your memory foam.
Diluted white vinegar is fine, but don’t leave it for longer than 20 minutes. Don’t oversaturate the area and ensure that your mattress is thoroughly dry before dressing again to prevent an outbreak of mold and mildew, which thrive in warm, dark areas.
Why does my mattress smell? How to get rid of odors
Knowing how to recognize each smell can make all the difference to tackling the source of the pong. Here are 3 common causes of mattress odors and what you can do to get rid of them.
1. Off-gassing
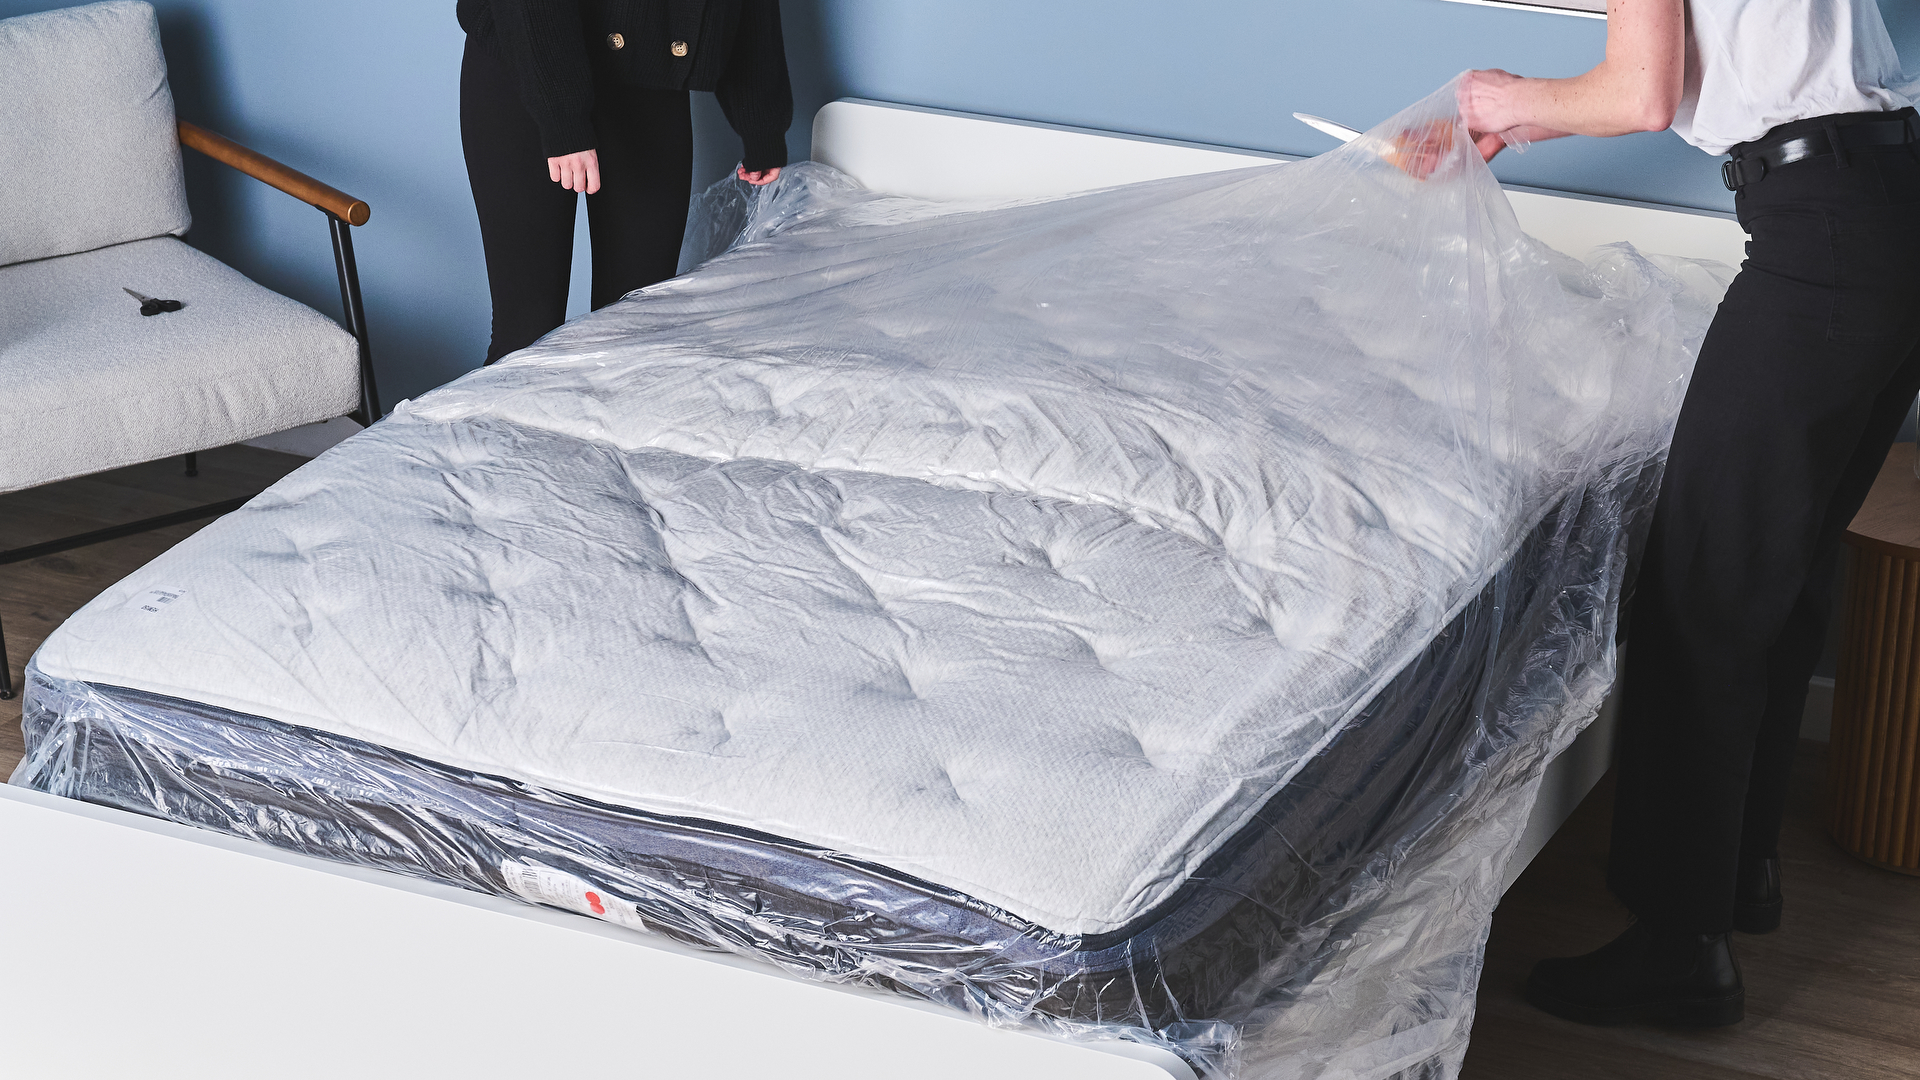
If you’ve just treated yourself to a new mattress then you may notice a chemical smell when you unwrap it from its plastic. That’s called off-gassing, which is a process in which VOC’s (volatile organic compounds) are released from the product and in to the air.
Off-gassing is usually present with a lot of synthetic or petroleum-based products including mattresses, carpets and furniture. The odor itself isn’t dangerous but it can be very overpowering. Off-gassing usually only lasts a few days, but it can be an unpleasant wait.
How to remove smell: The first thing to do when you unwrap your new mattress is to open all windows and doors to get a good rate of air flow through your room. You could also use fans to circulate the air and remove any VOC's. If you have an air purifier now is the time to plug it in as it’ll work to shift the smell quickly. Also, whilst it can be tempting to put bed sheets straight on the bed don’t. By adding sheets straight on to a new mattress you’ll be trapping those odors in.
2. Mold
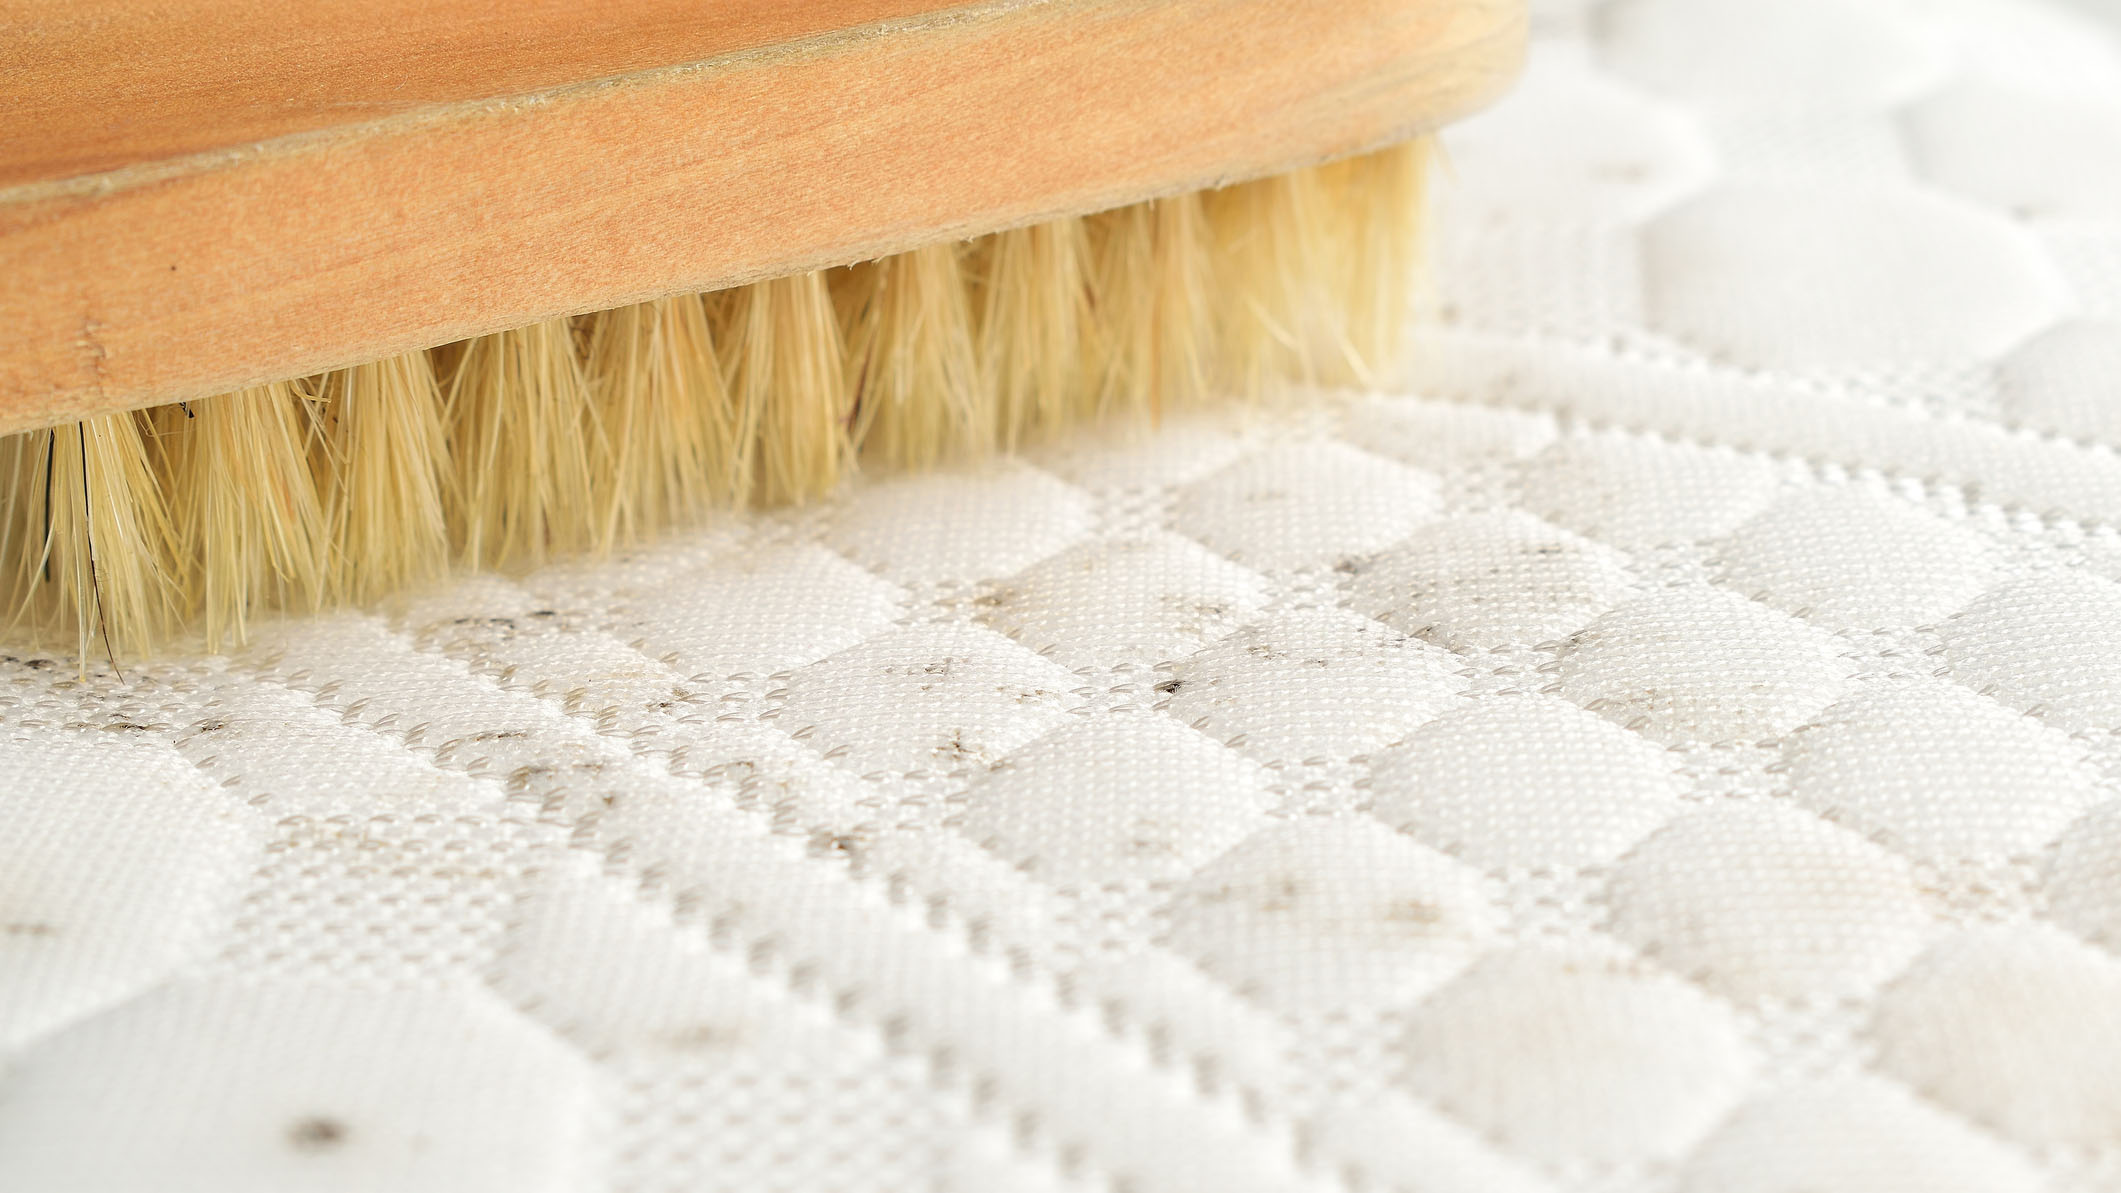
It’s super important to recognize the signs that you have mattress mold so that you can tackle it before the problem takes hold. Mattress mold is a fungus and ,left untreated, will spread rapidly through the fibres of your mattress. It can also spread to your bedding, carpets and other soft furnishings in your home.
Mattress mold can also leave you feeling unwell, waking with a stuffy nose, sneezing, itchy eyes and even worsening respiratory issues. Mattress mold also smells unpleasant. Mattress mold has quite a distinctive smell and you’ll notice a strong, musty odor that you may associate with a damp or earthy smell.
How to remove smell: Check out our guide on how to remove mold from a mattress — all you need is baking soda and white vinegar.
3. Bed bugs
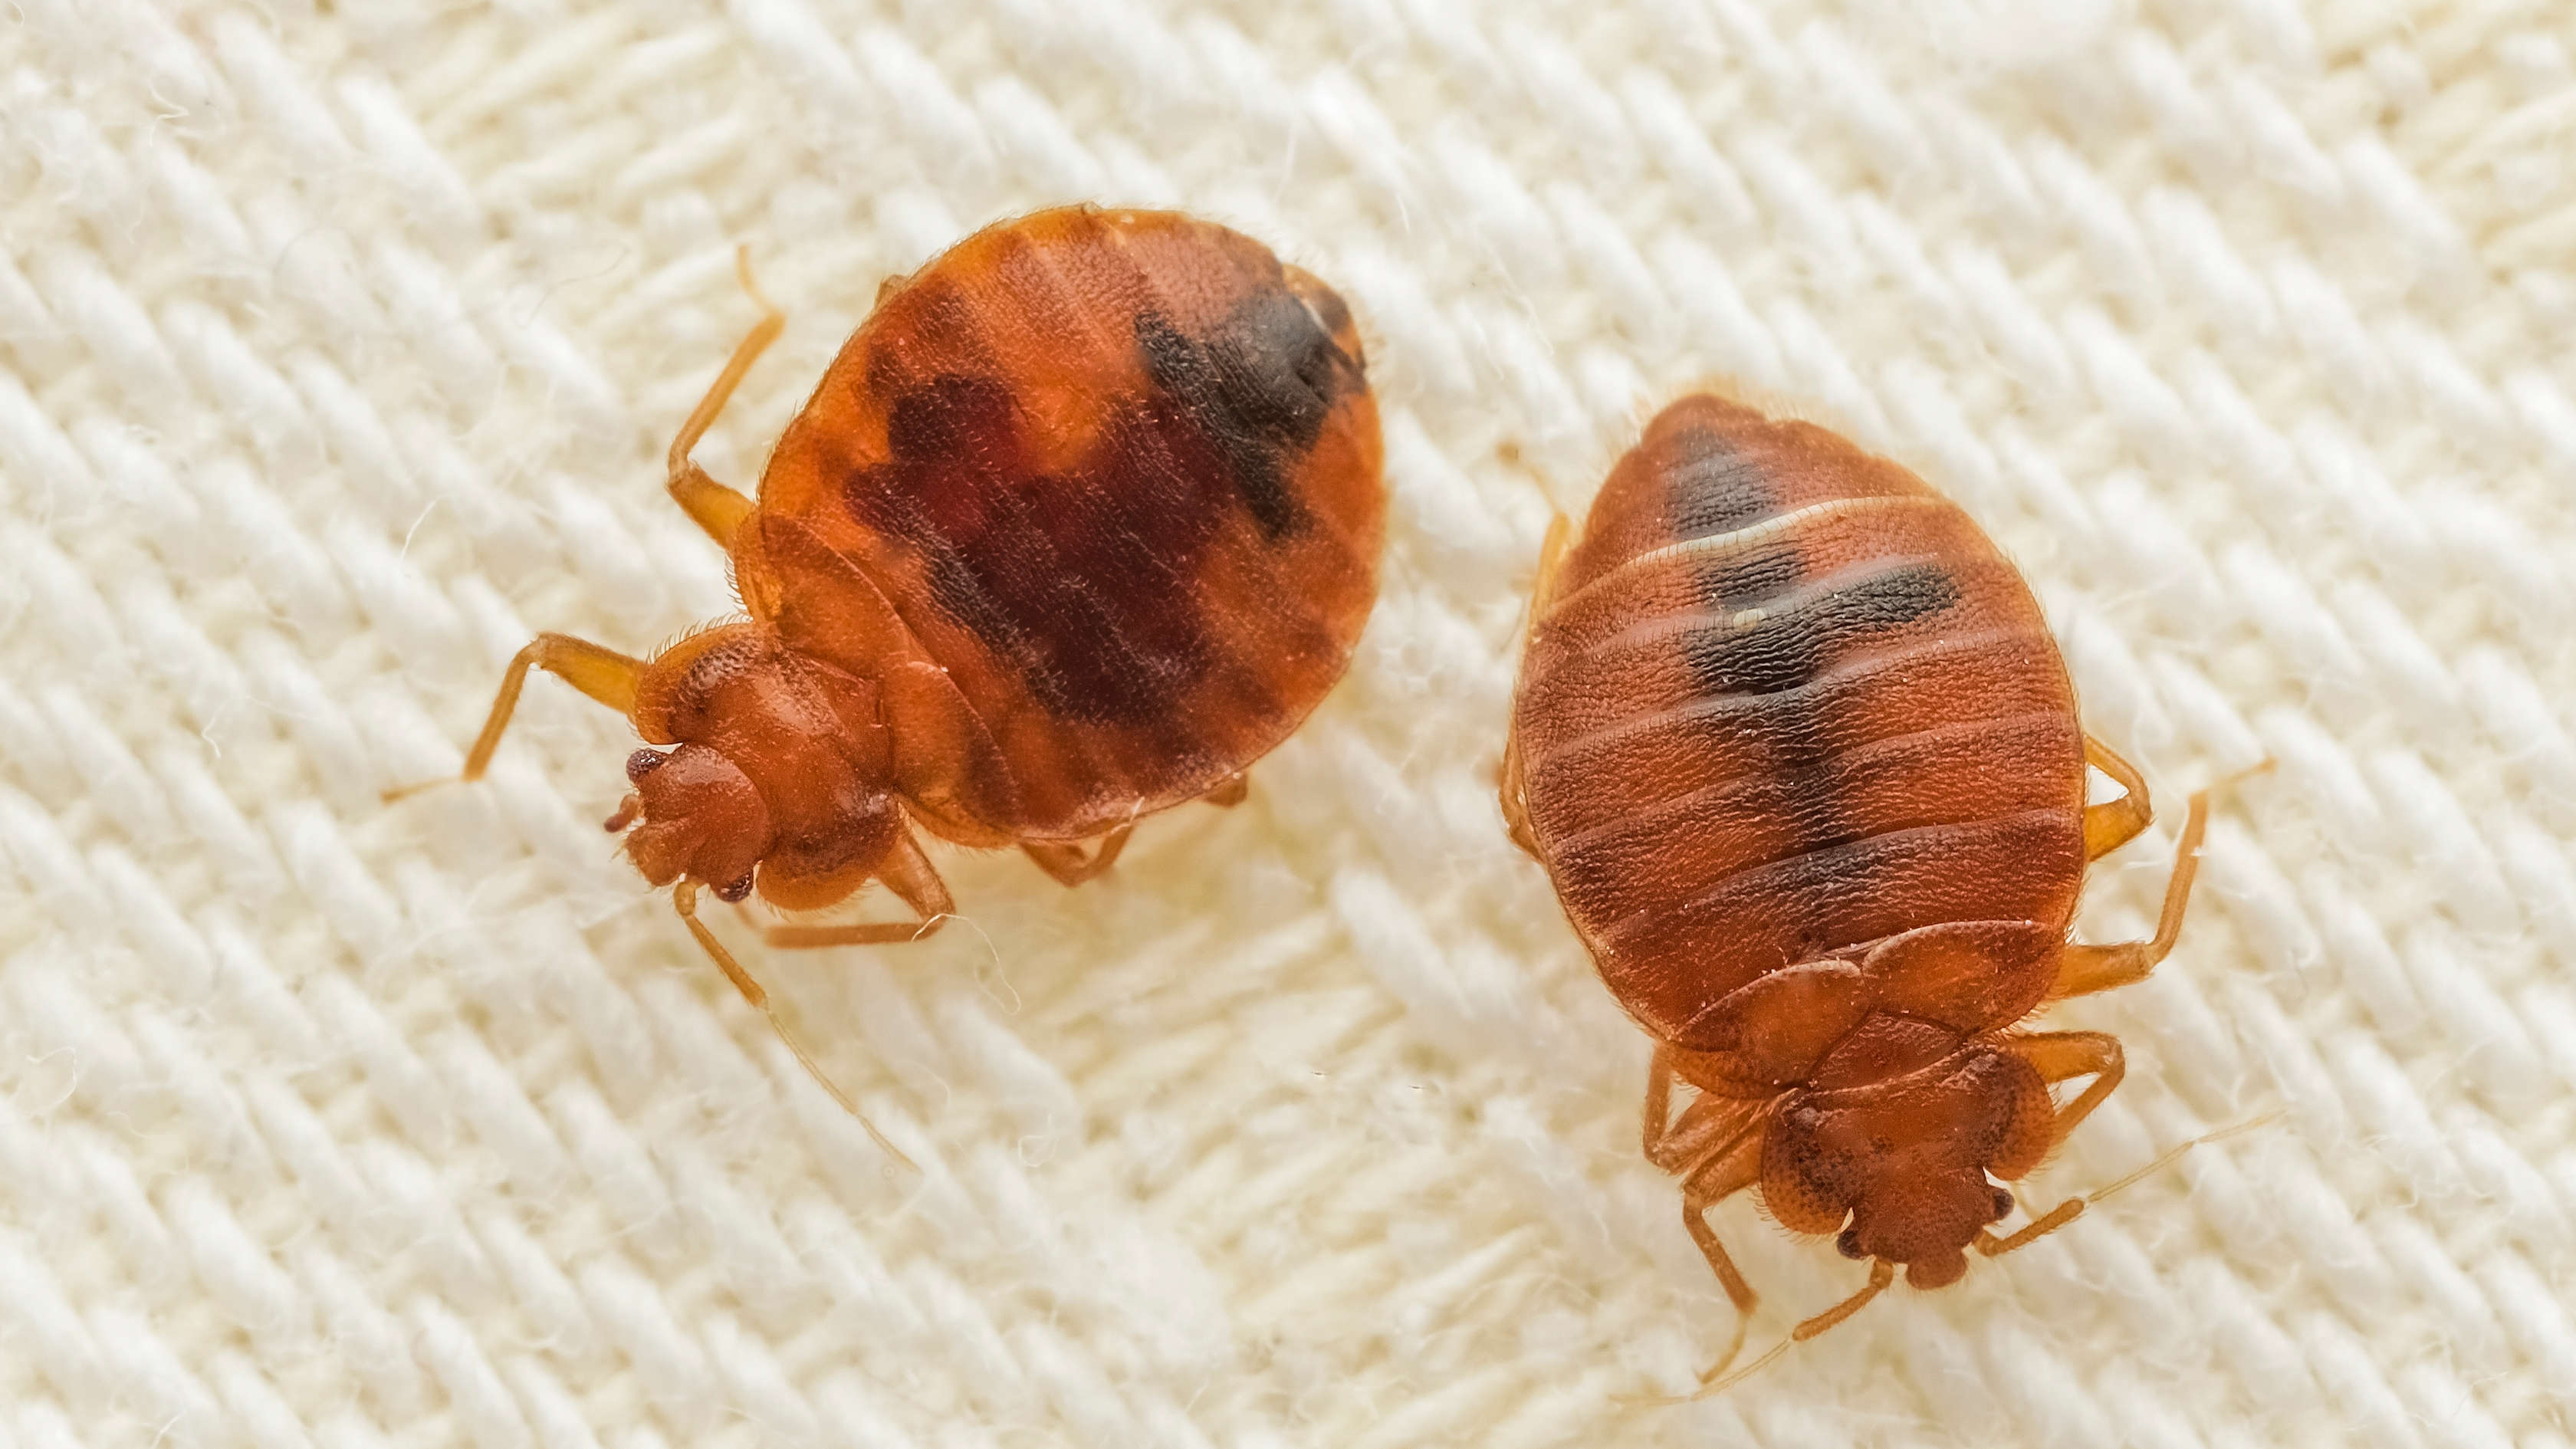
So bed bugs themselves don’t cause any bad odors, but there are a couple of ways that can contribute to a very noticeable smell on your mattress. Firstly, bed bugs have scent glands that release a pheromone when they are disturbed to alert other bed bugs of the danger.
This is a musty, sweet, almost almond-like smell. This is stronger when there is a large bed bug infestation present. There’s then a matter of their waste and decomposing bodies.
As bed bugs feed on your blood they leave behind fecal matter, and as they fill up, they start to shed their skin. These can accumulate in your mattress and then give off a musty or metallic odor. The metallic odor comes from the iron in our blood and may even smell like rusty old coins.
How to remove smell: In order to tackle the smell of bed bugs, you have to tackle the infestation. Our guide on how to get rid of bed bugs guide gives step-by-step instructions. However, if the infestation is particularly bad then do reach out for professional help.
Once you’ve tackled the bed bugs, start by vacuuming your mattress thoroughly, paying close attention to the seams, tufts and crevices where the bed bug debris may be left behind. When you empty your vacuum, always do this outside and into a plastic bag which you can then seal and place in an outdoor bin to avoid any cross contamination.
Next, we would advise that you use a high-temperature steam cleaner. Not only will the heat kill any remaining eggs, but the steam will also freshen the area. (If you don’t have a steam cleaner you can steam clean your mattress with an iron.) Use a solution of water and mild dish soap and dab at any brown or red stains left behind until they eventually lift.
If the stains are really engrained then swap to hydrogen peroxide. Mix hydrogen peroxide with equal parts water and dab the stain using a clean cloth. Taking another dry, clean cloth then dab the area again to remove any excess moisture. Always leave it to fully dry when your cleaning task is complete.


