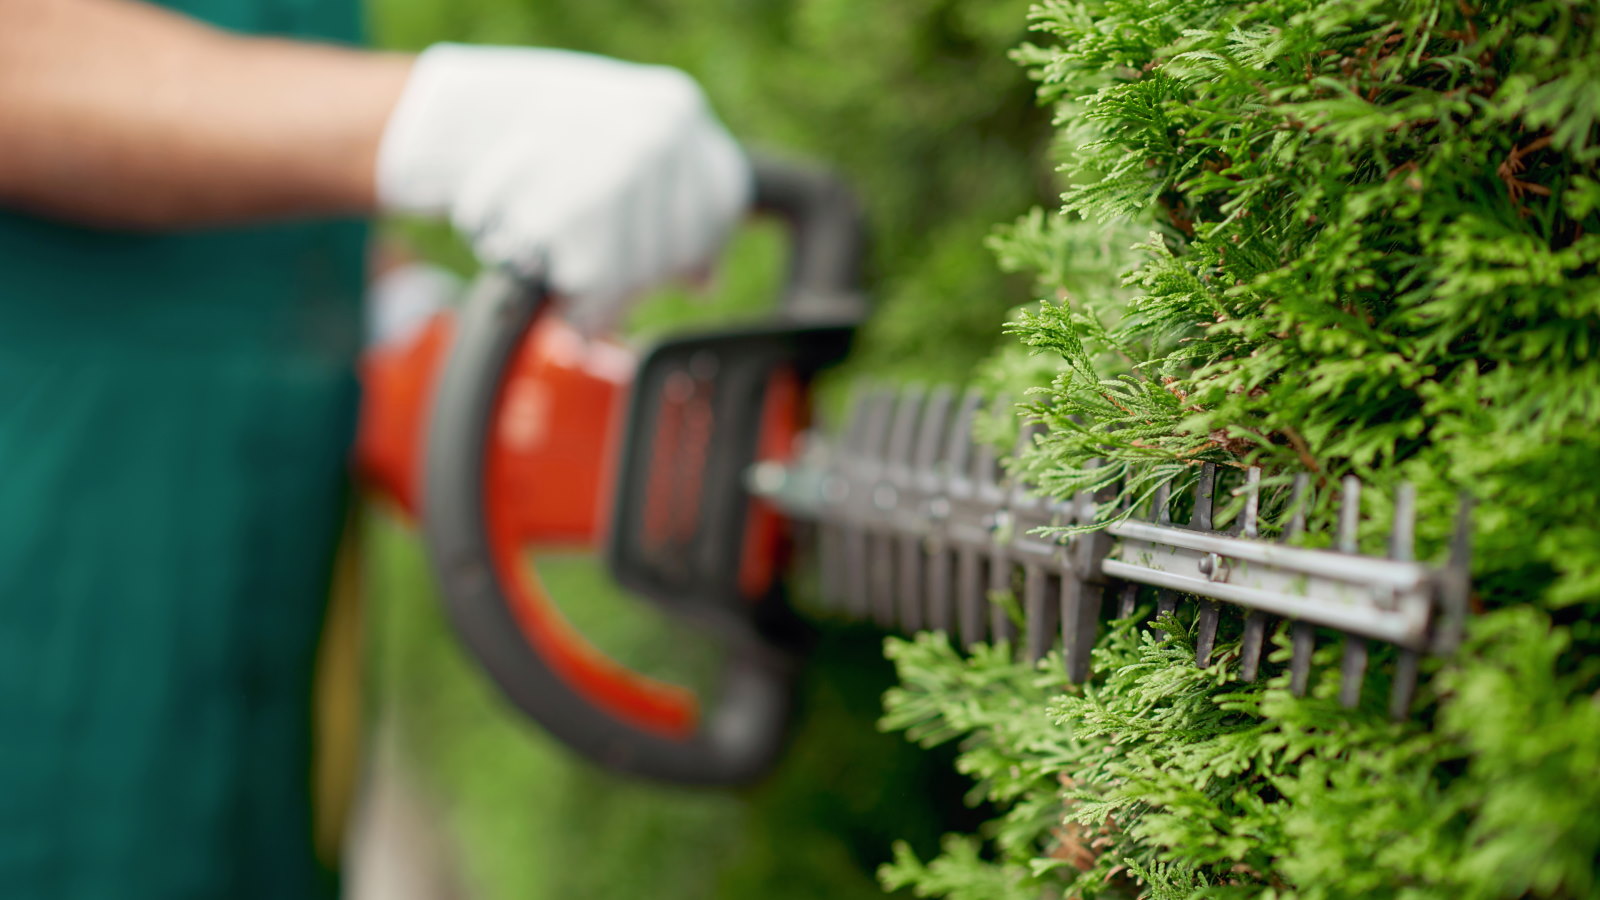
Hedges are commonplace in yards as they provide beauty, and privacy, and can be beacons for wildlife. Whether you have a deciduous or evergreen hedge, annual pruning keeps them healthy and looking their best. As a former professional gardener, I have done a lot of hedge trimming - so I put together this guide to help anyone discover how to prune hedges successfully.
I spent many months a year pruning hedges working as a gardener for the National Trust in the UK. At Hidcote Manor Garden there were several miles of large-scale hedges to cut and the hedge cutting season for the gardens team lasted around six months. At Hanbury Hall, there were many low box hedges in the formal gardens, along with large deciduous and evergreen hedges cut once or twice a year. The standards for hedge cutting were very high at both places, as the gardens were enjoyed by hundreds of thousands of visitors each year.
I learnt a lot about both when to prune hedges and how to trim and want to help you with your backyard hedges. This guide looks at how to prune hedges, and I share some of the lessons I learned so you can keep your hedges healthy and neat.
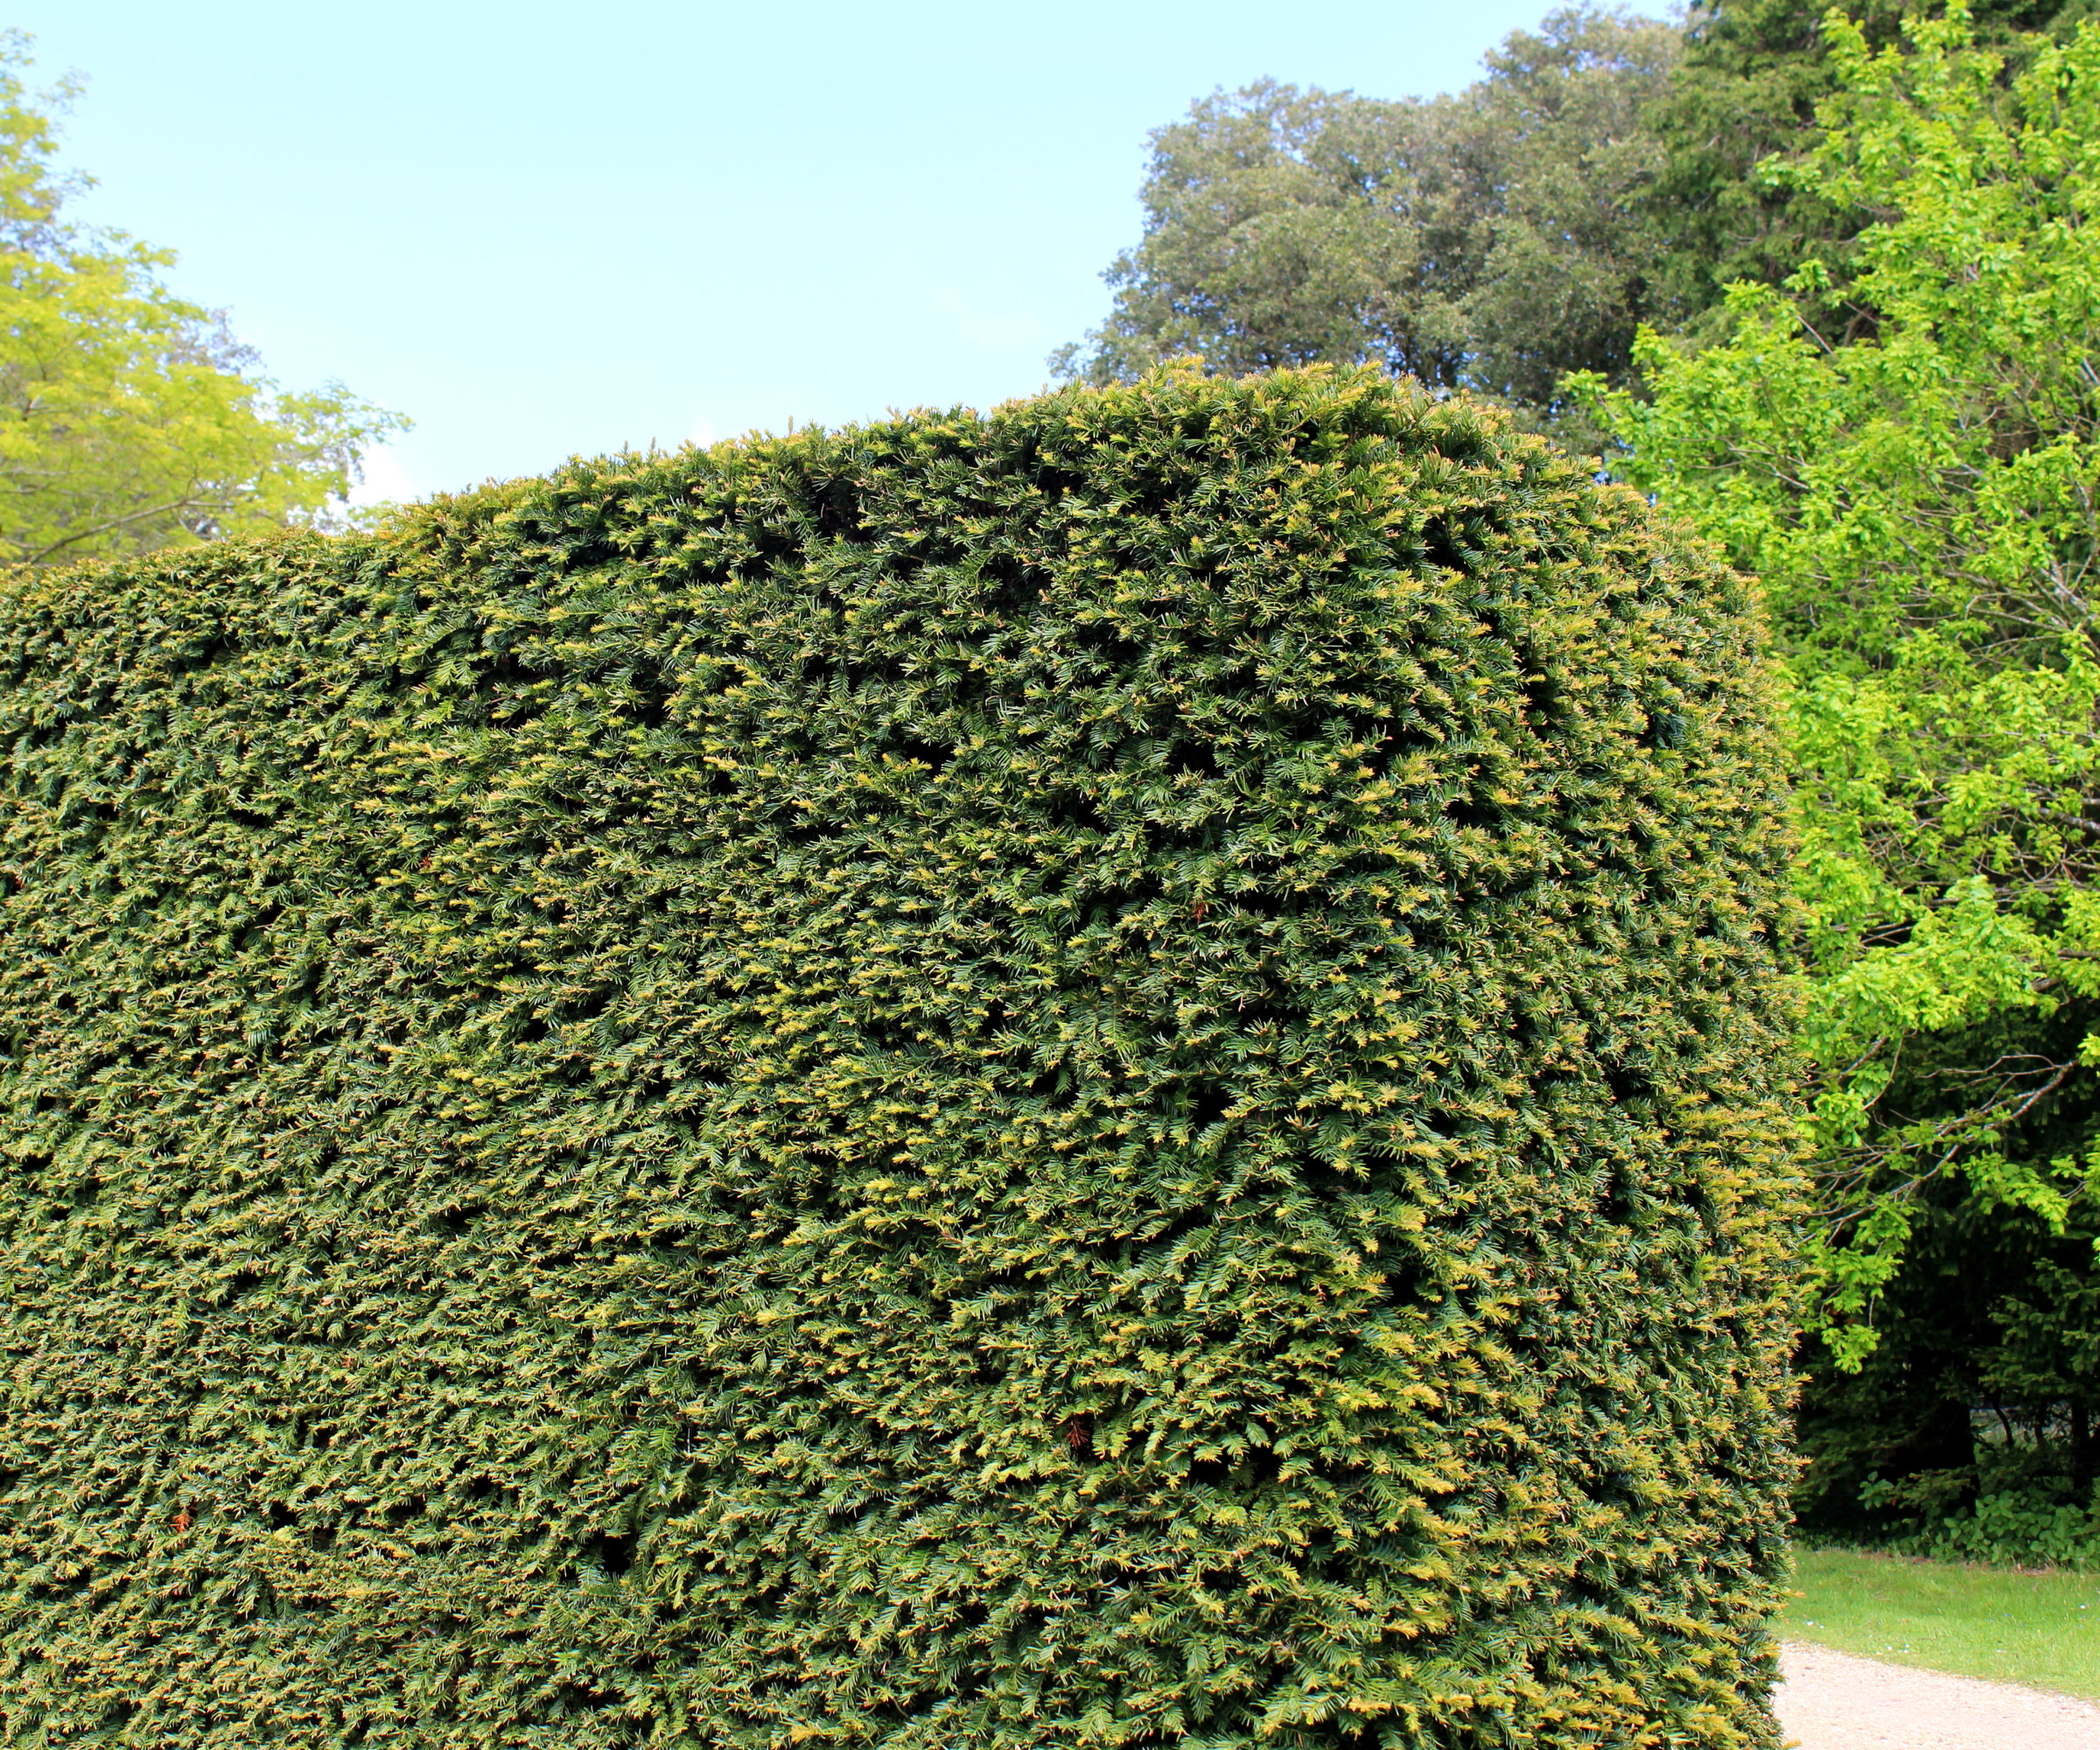
How to trim a hedge in 6 steps
Any landscaping with hedges needs to be perfectly maintained so the hedges are bushy and compact. A freshly-trimmed hedge is a fantastic sight and a sharp-manicured hedge will even provide structure and interest in a winter garden.
On the other hand, not pruning will leave a fast-growing hedge to outgrow its space and lose its aesthetic appeal. Ensure your hedges are immaculate by following these steps.
1. Have the right equipment
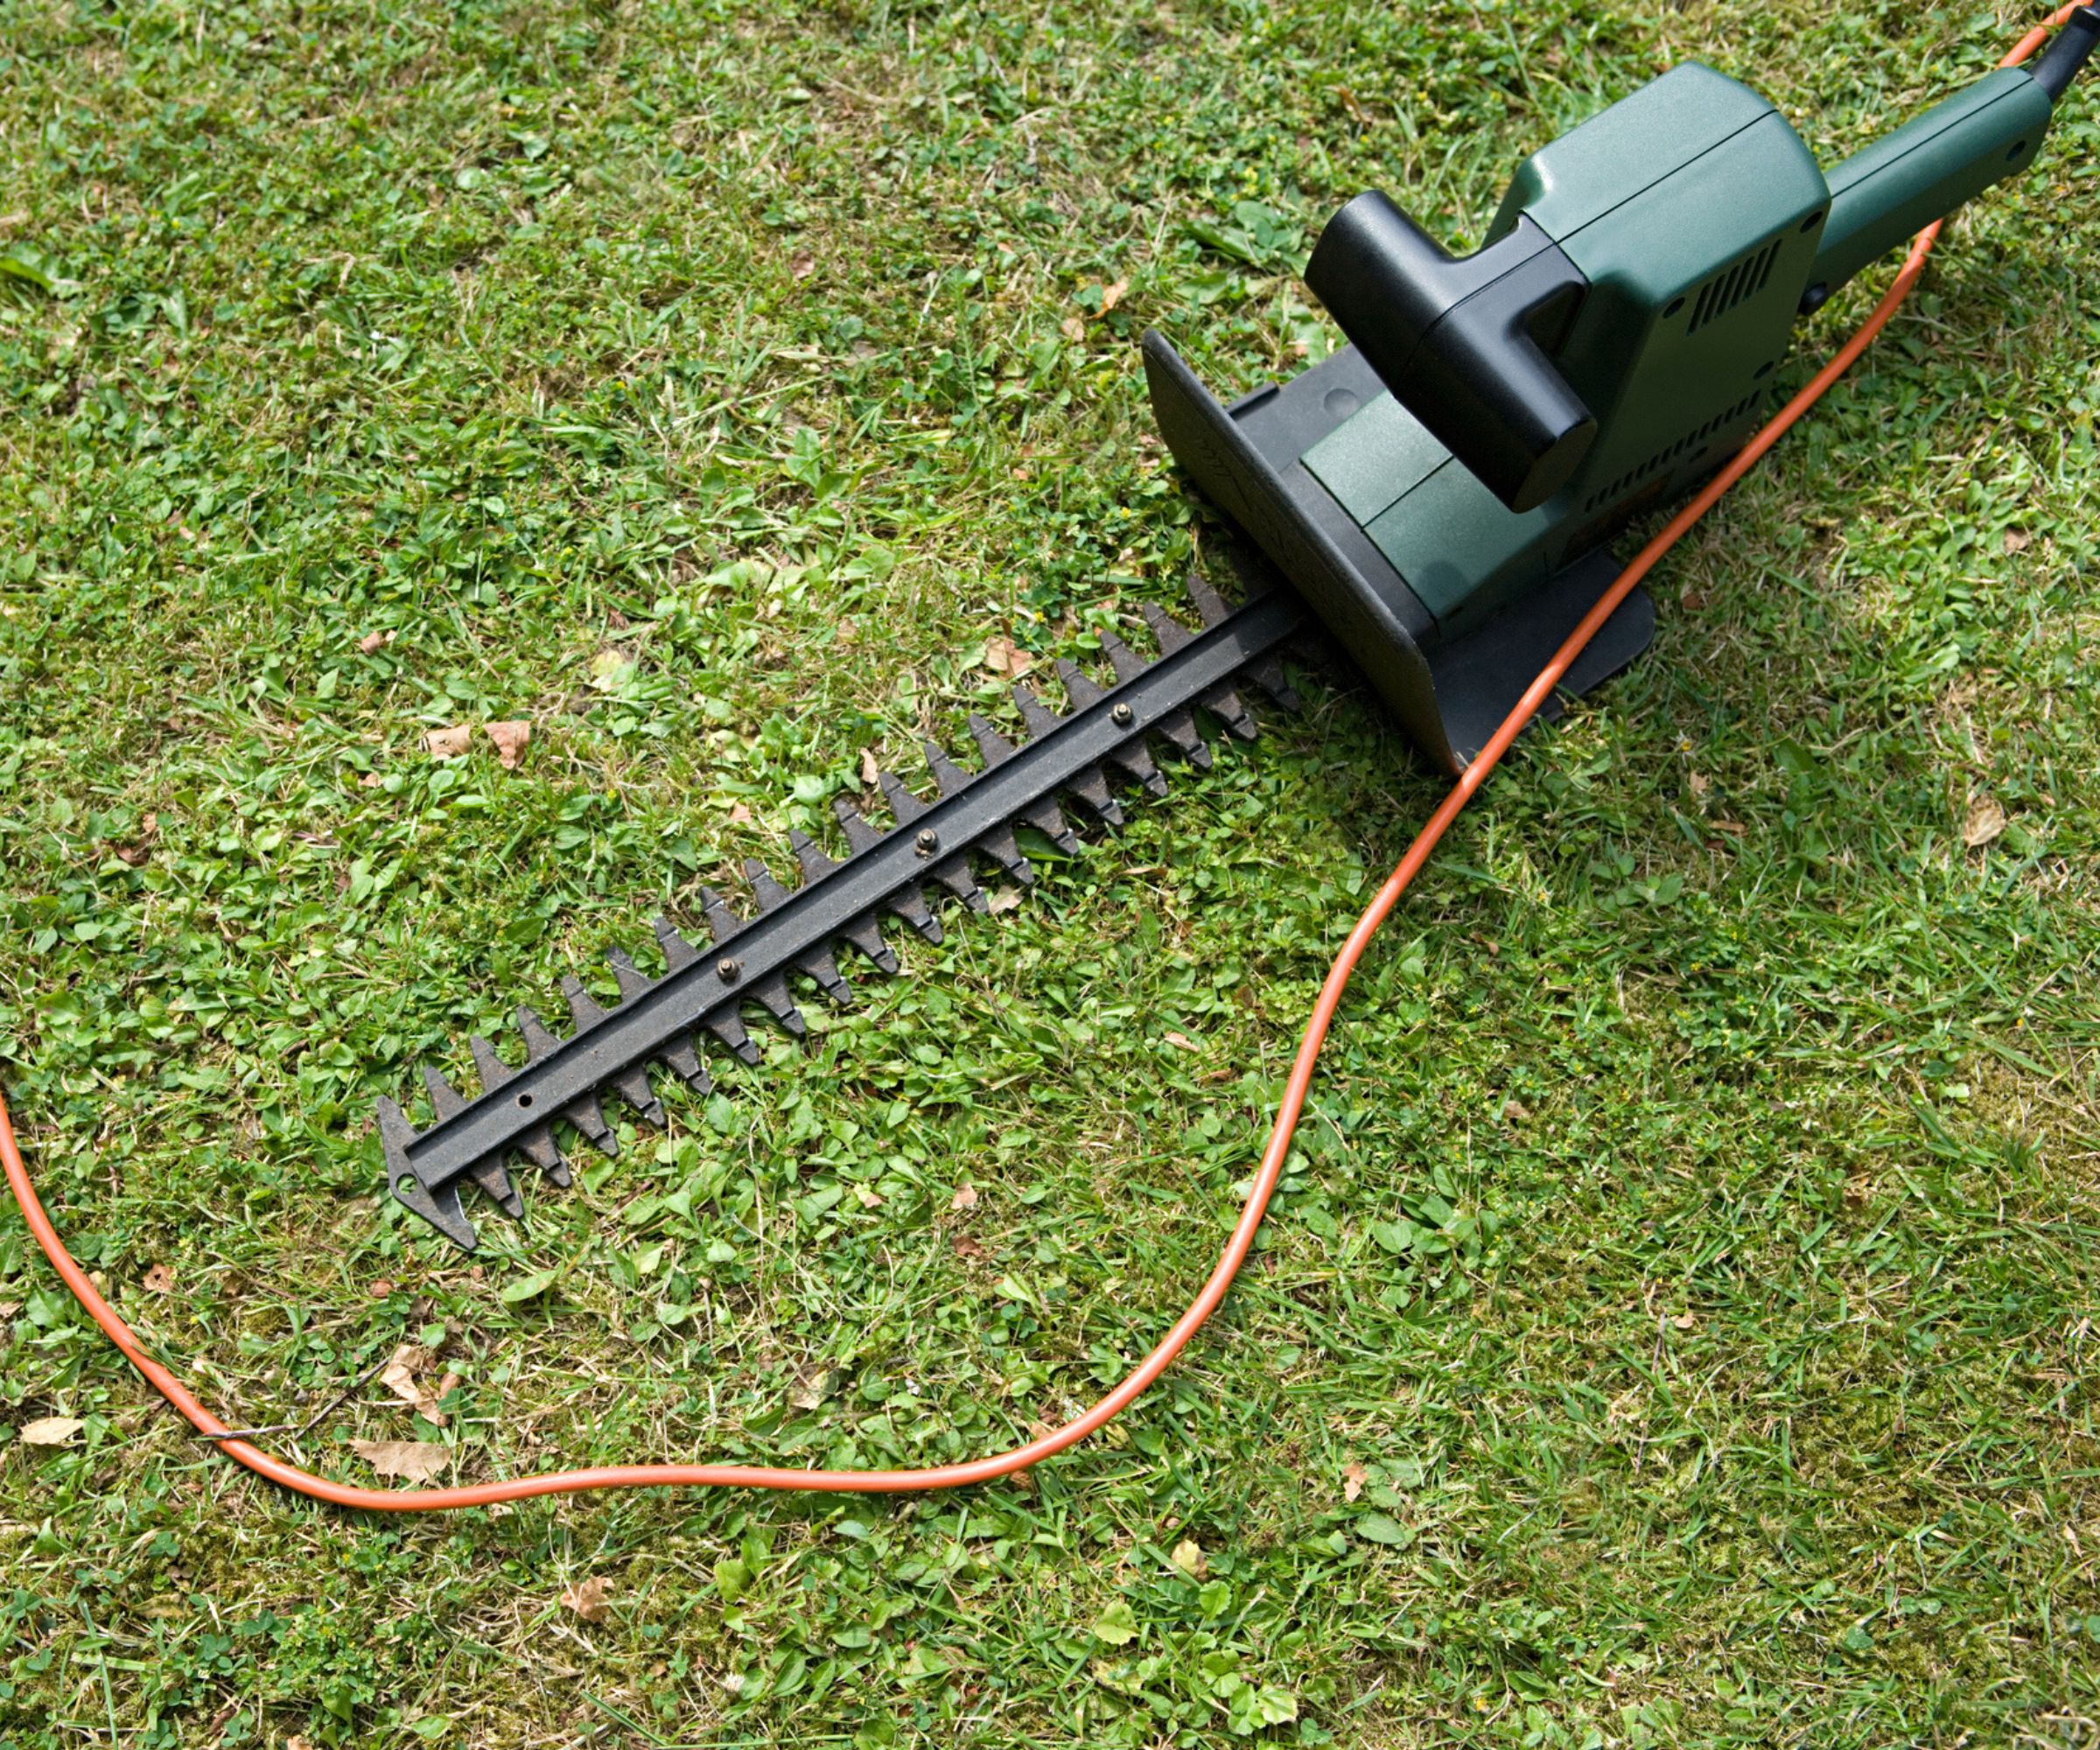
Using the wrong garden tools, or dirty and blunt cutting tools, is a pruning mistake that can damage any hedging plant.
Any pruning tools must be clean and sharp to ensure they cut smoothly and don’t spread diseases around the garden. So always take time before cutting to sharpen hedge trimmers or sharpen shears - it will make hedge cutting easier and ensure a quality finish.
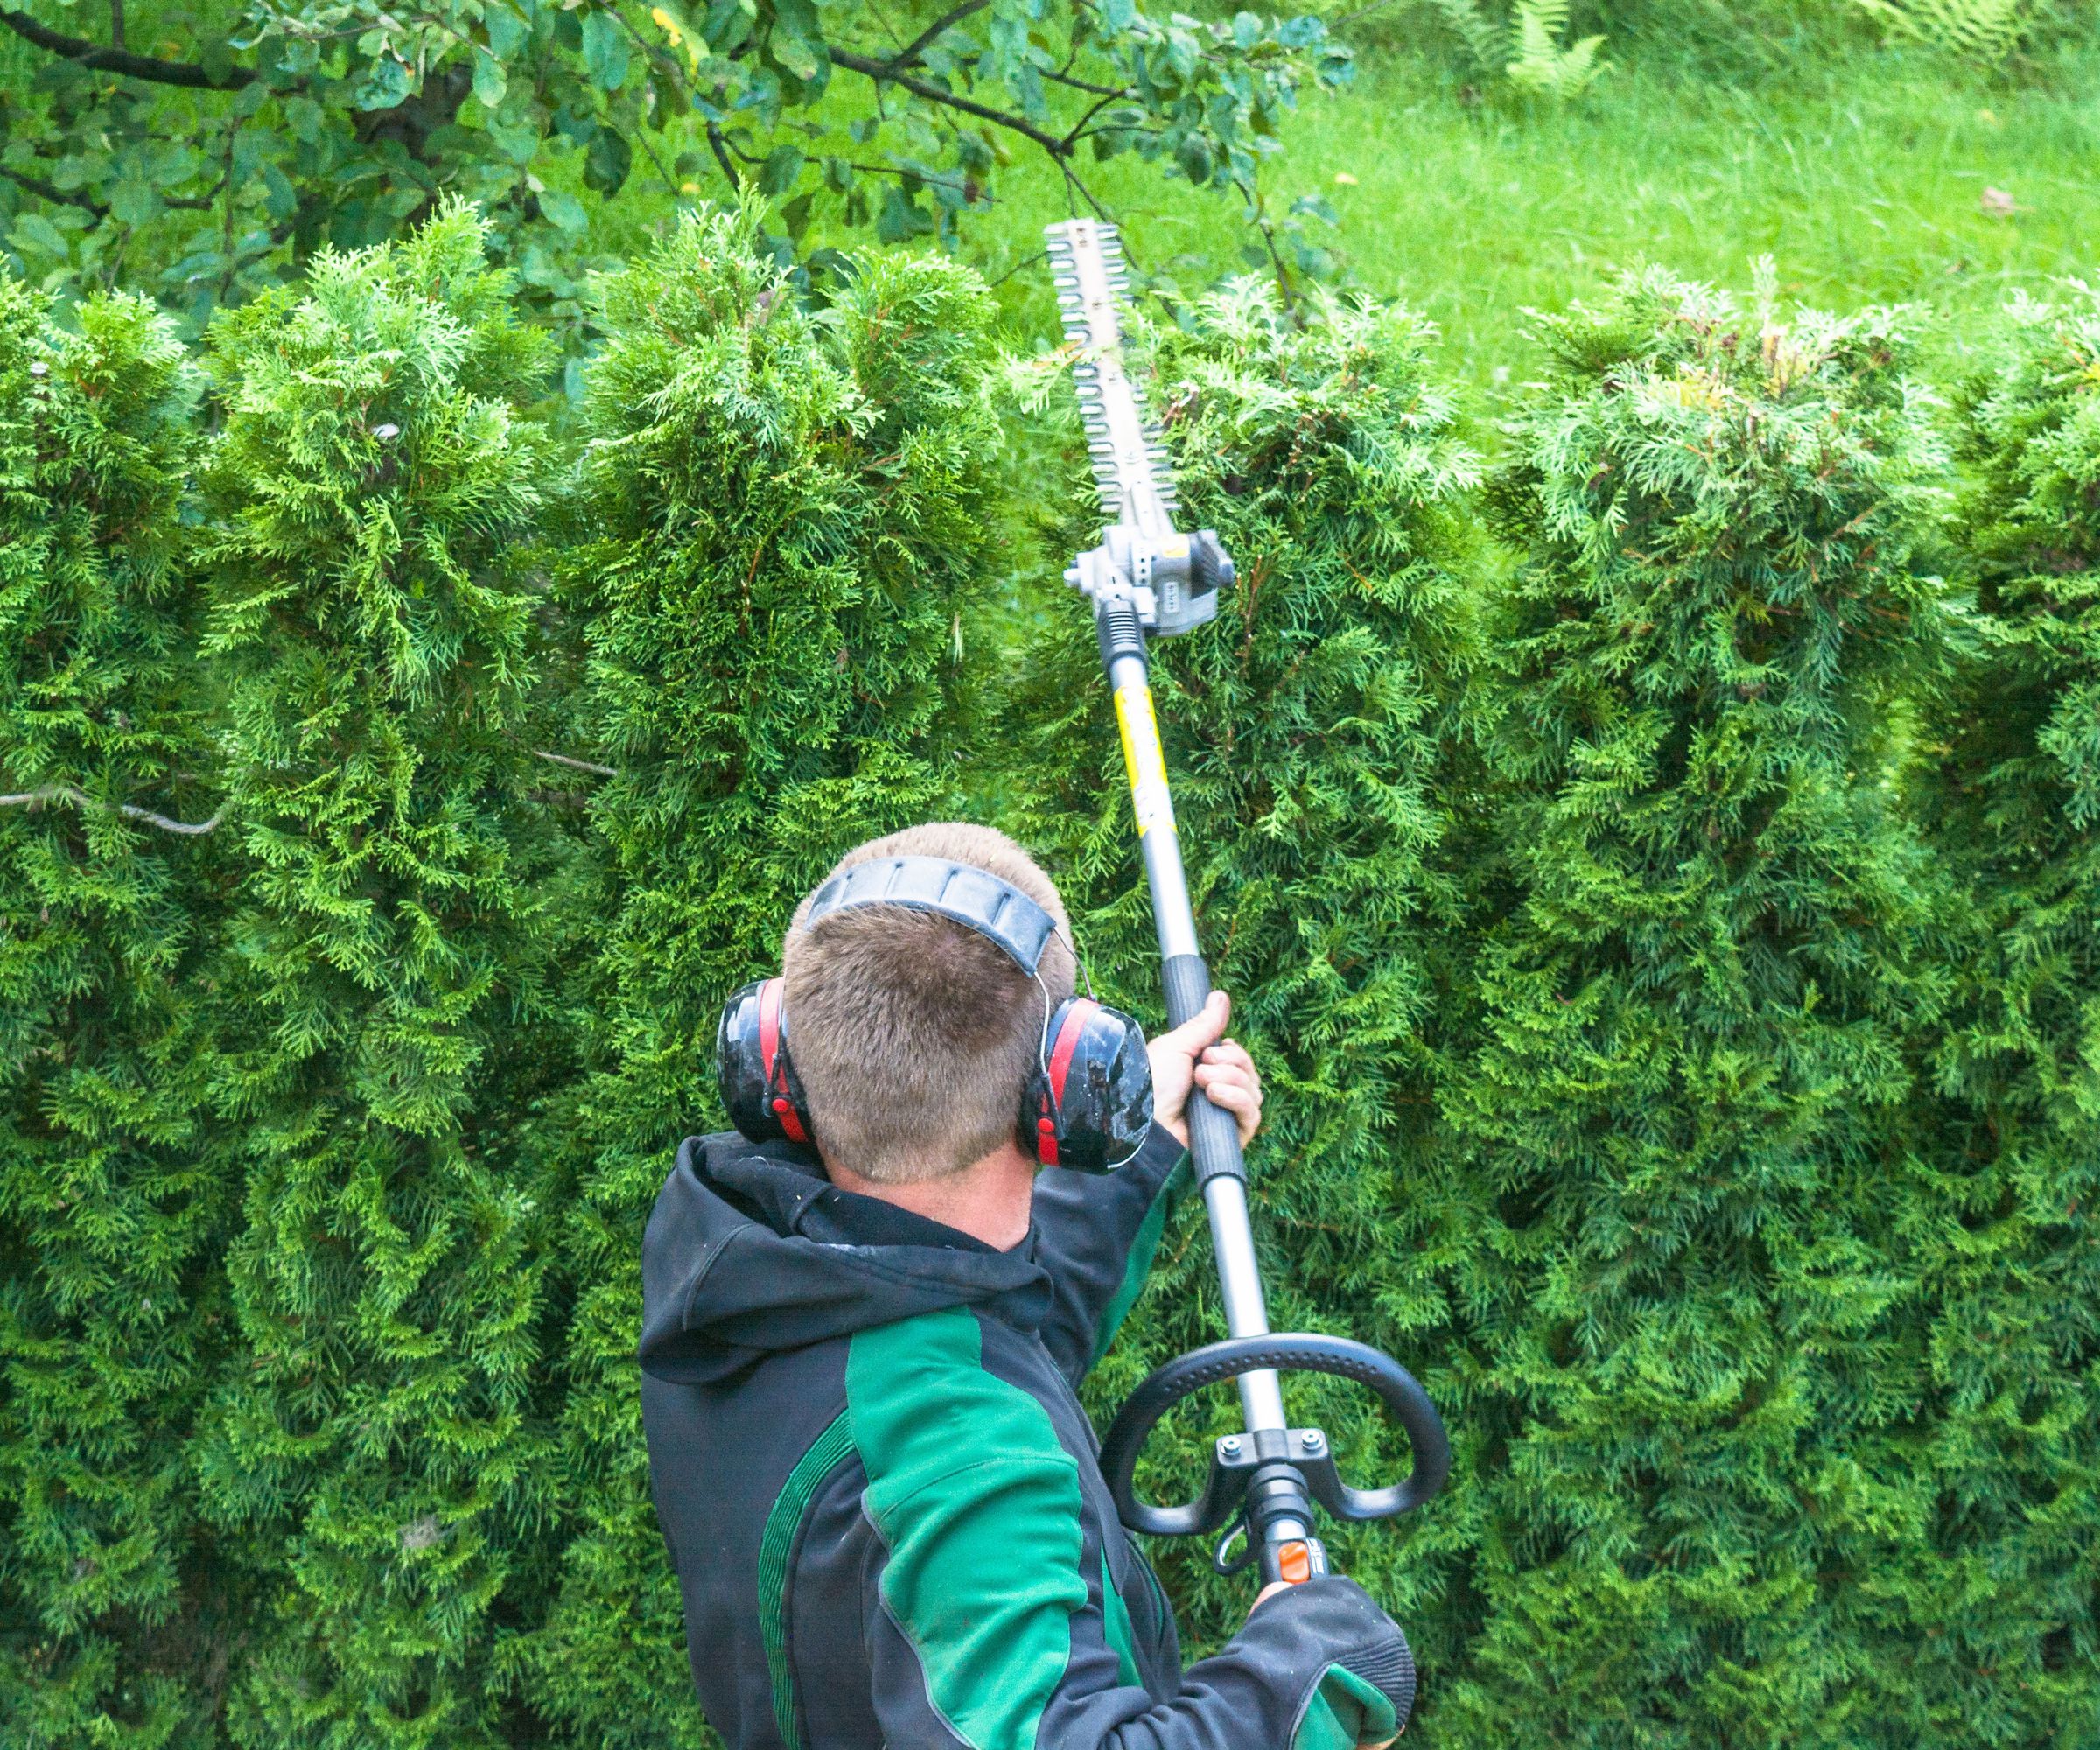
Depending on the height of your hedge, you may need long-handled pruning tools or a ladder. Any ladder must be strong and stable to keep you safe - a tripod ladder is an excellent choice for added stability.
Protective gear is also a must for cutting hedges. This includes a set of gloves with good grips, safety goggles to stop debris from getting in your eyes, and ear defenders, available at Amazon, if you are using electric or petrol hedge cutters. When using electric cutters it is also important to ensure the cord does not pose a trip hazard during cutting.
Finally, laying a sheet along the ground under the hedge before cutting will make cleaning up hedge trimmings easier.
Shop hedge trimmers
This cordless hedge trimmer from Makita is relatively lightweight at just under six pounds, making for a comfortable tool that makes short work of any hedge.
A hedge trimmer like this is all most people need. It has a long blade for tackling tougher, larger hedges, but it won't break the bank.
This is the archetype of a good pole hedge trimmer. Reaching up to 12 feet tall, The angle on the head is adjustable, so you can trim across the top of your hedge for a perfectly flat top without getting out the ladder.
2. Assess and plan….then cut
Before pruning, assess the hedge to check its current growth and monitor for any wildlife that may be nesting. Do not prune if there are nesting birds, simply check at a later date and only trim once the young birds have left the nest.
Always cut with a plan of action, this means closely examining the hedge before cutting. An established hedge may have less vigorous patches that need a lighter touch than other sections, or diseased or damaged bits that are best removed before cutting the bulk of the hedge.
Spotting these little intricacies beforehand means you are prepared. For example, it stops you from suffering with hedge cutter blades falling into bare patches and ruining the shape. It also means you will have an idea of how much you are going to take off, and the line you want to follow, before you start doing any cutting.
Newly-established hedges need formative pruning for the first few years. This means nipping back the shoots by around a third to encourage bushy growth. Cutting back any strong sideways stems will help create a thicker hedge, however, think in advance about the ultimate height of the hedge. Only trim the top of a hedge once it reaches the desired height.
3. Start with the sides
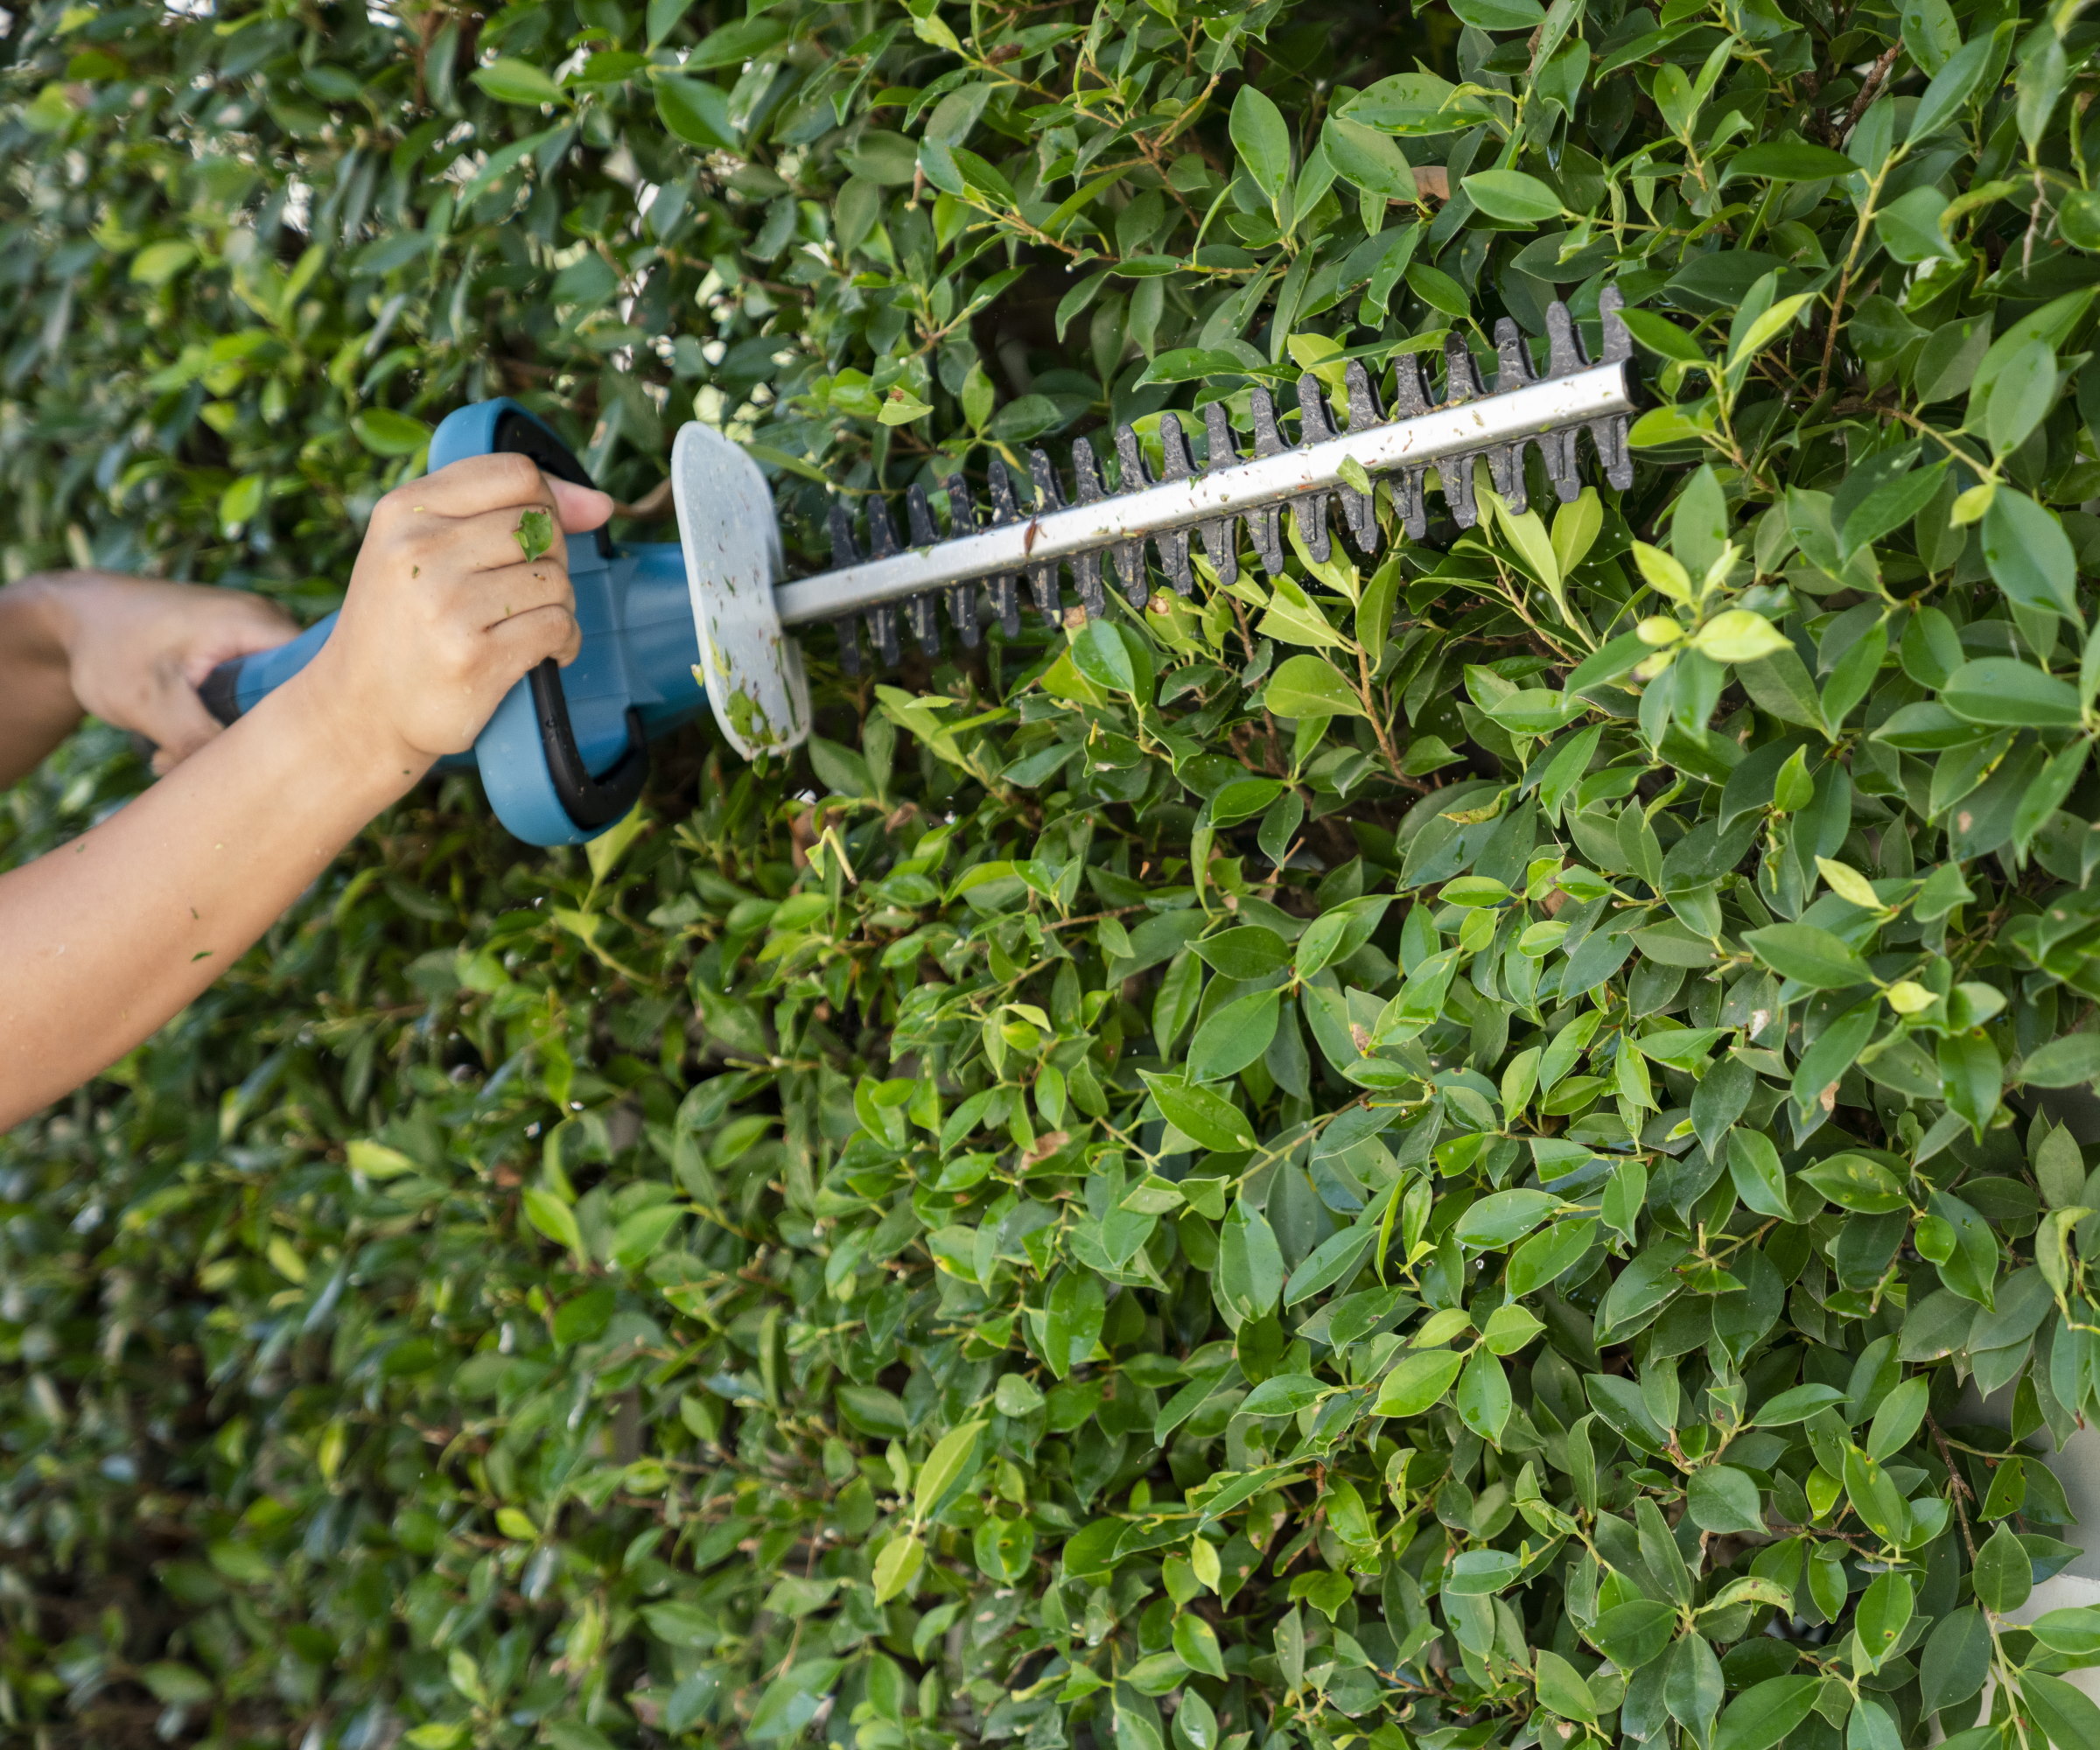
Cut the sides of the hedge first and always trim from the bottom upwards to shape the hedge as you trim.
It is best to cut in smooth and arcing movements, being careful to avoid cutting into the large structural branches of the hedge. Removing any of these would be a mistake that will make the hedge patchy and potentially harm the health of the plants.
Low formal hedges up to 40 inches in height can be cut with vertical sides. However, for bigger hedges, it is best to aim for a tapered shape - where the base is larger than the top. Shaping it in this way allows light to reach the base of the hedge.
Cutting oppositely to this and creating a V-shape is never recommended as the sunlight would not reach the lower branches and result in an unsightly patchy hedge.
If there are very dense sections of the hedge, selected small branches can be removed with pruning shears to allow more light and air to penetrate the interior of the hedge.
4. Move onto the top
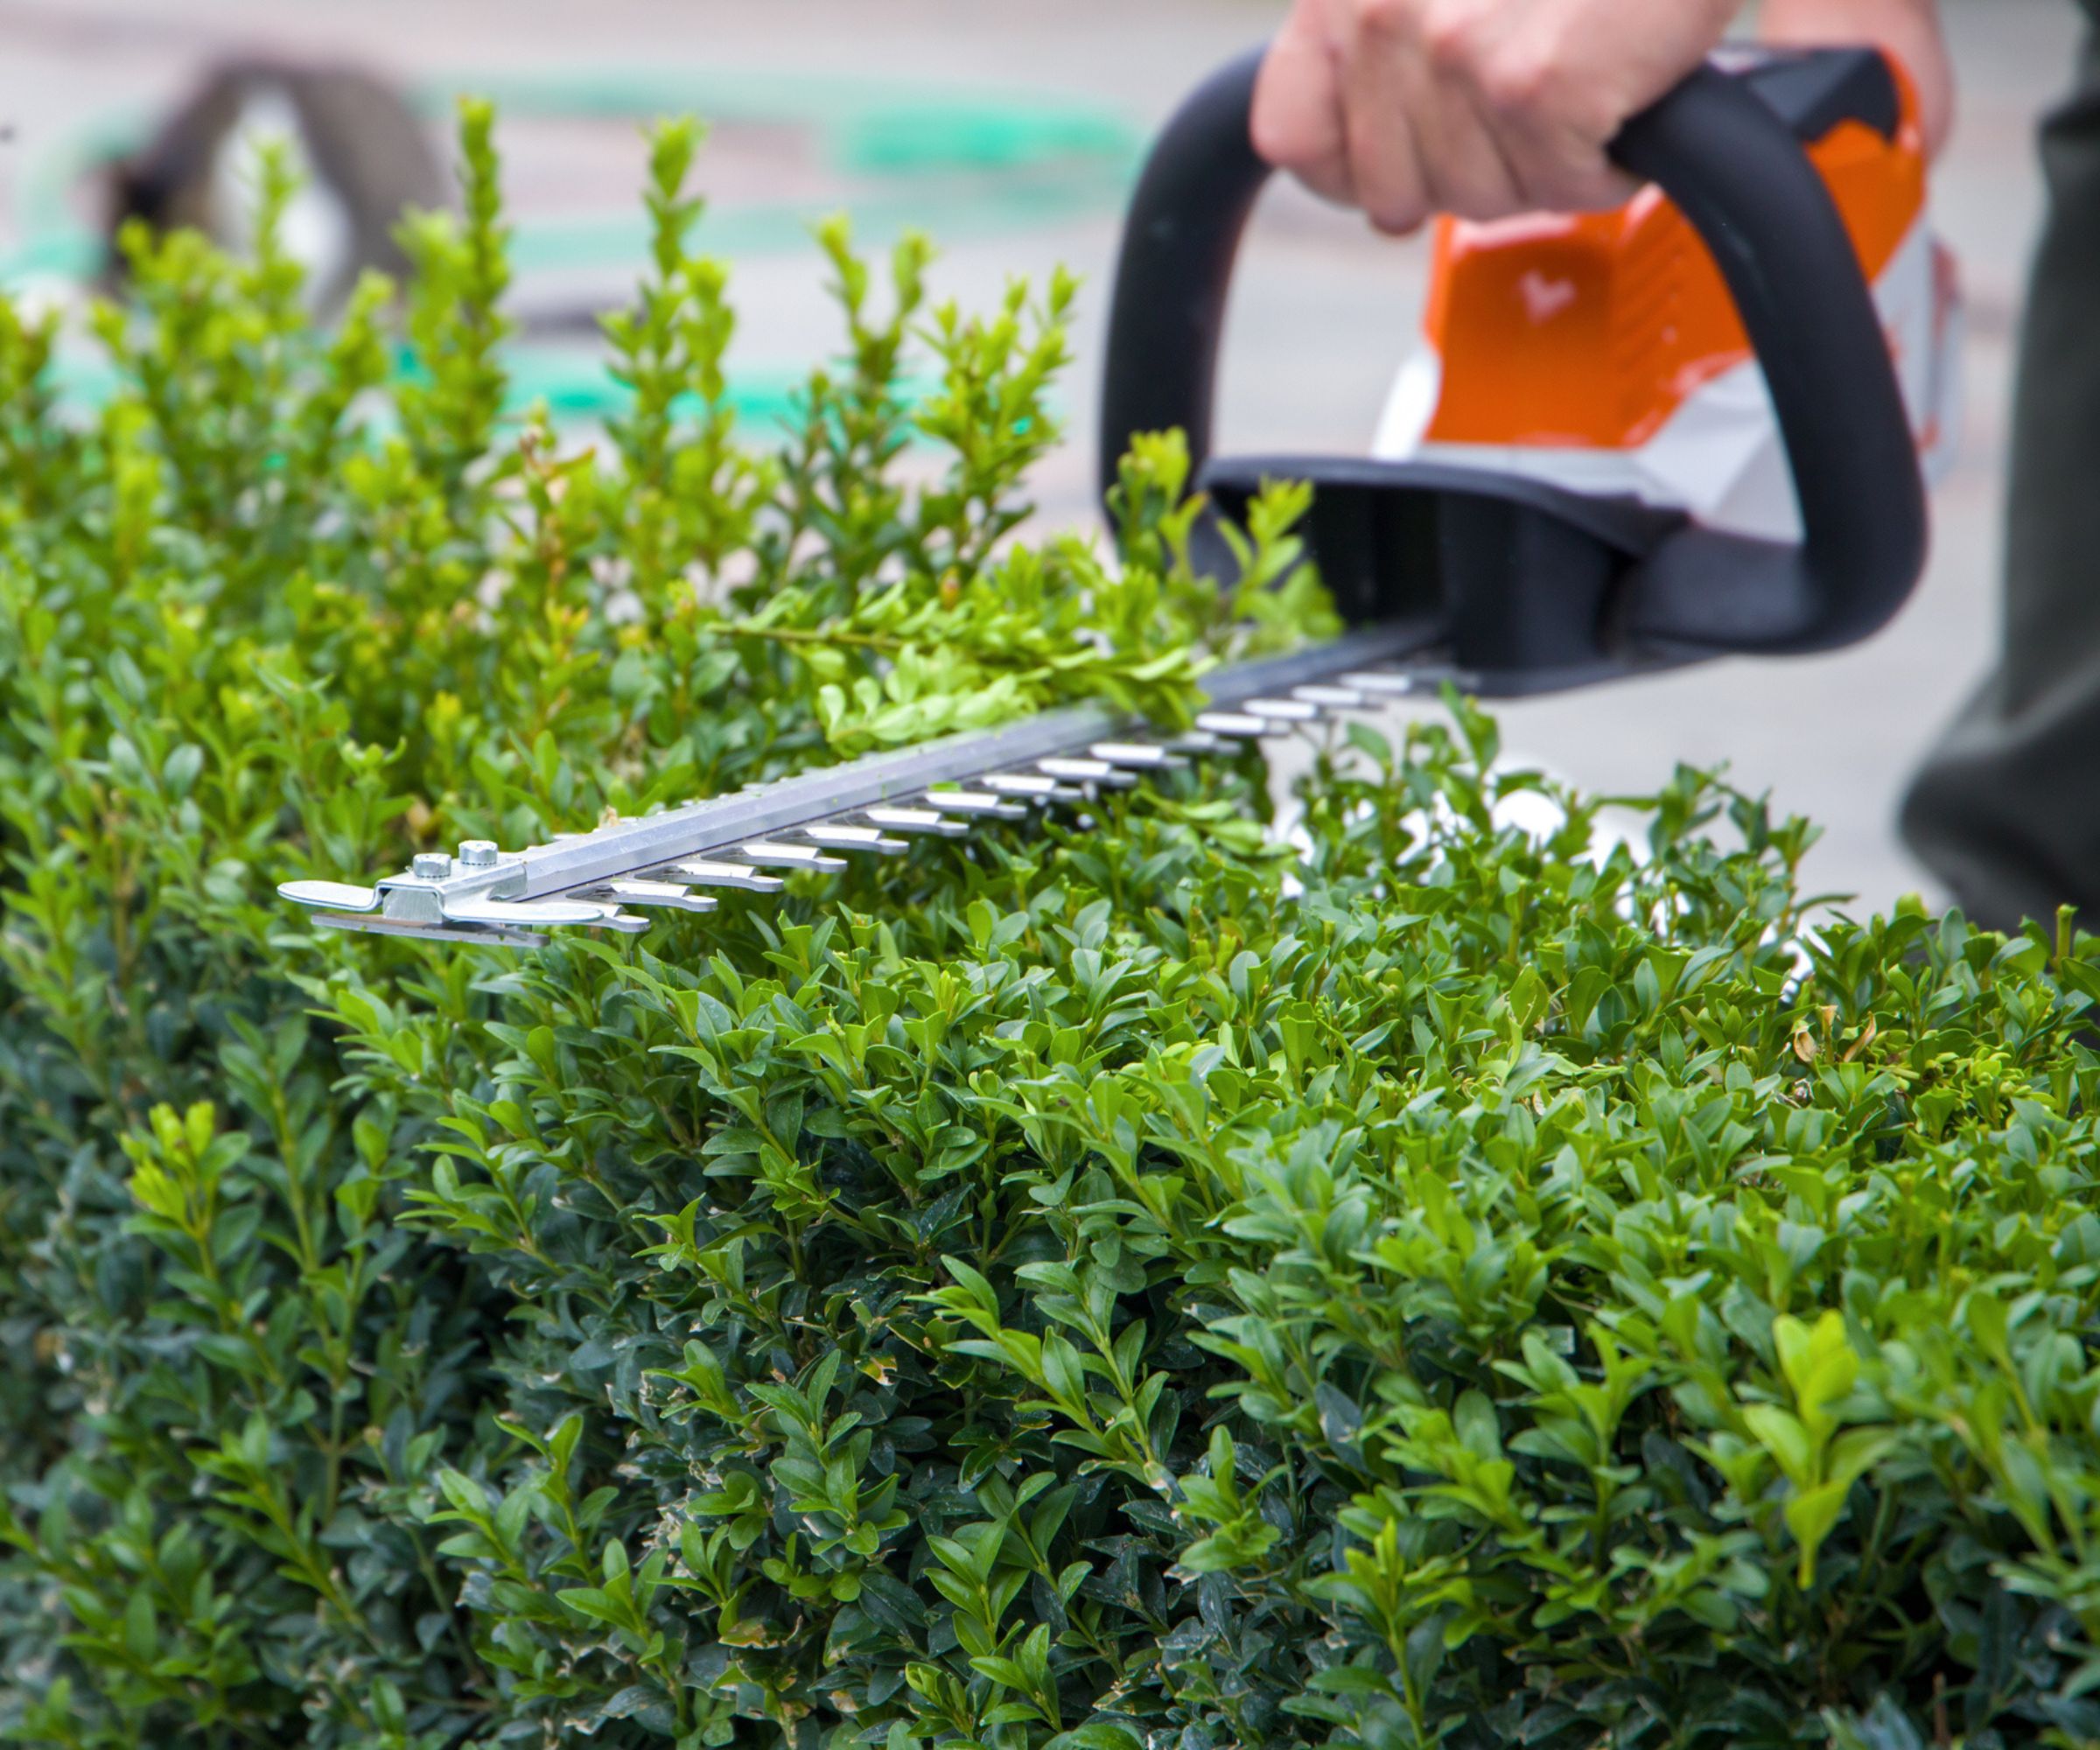
Once the sides of the hedge are done, the next step is to cut the top. If you need a ladder to cut the top of a tall hedge, make sure it is sturdy and safe.
Make controlled, sweeping cuts along the top of the hedge, moving the hedge trimmer away from your body and not over-reaching too far. It is better to cut the top of a wide hedge from both sides rather than leaning over the top. You are liable to cut at an angle when reaching, rather than getting a perfectly straight hedge.
A string guide can be an effective tool to help achieve a straight line. This can be as simple as a length of string running between two bamboo canes as a guide to cut along.
Regularly brush the clippings off the top of the hedge as you go. This helps make cutting and assessing your line easier and stops clippings from sitting on the top. Leaving trimmings on the hedge prevents light from getting into the hedge and can stop the cut stems from regrowing.
5. Step back and take a look regularly

No matter what tools you are using, or whether you are using a line or not, regularly take a step back from the hedge and look at the progress. This helps you see the line you are cutting and assess whether any longer sections need going over again. Areas may need more growth removed or trimming again to straighten up the line.
It is always better to go lightly and repeatedly do sections to shave off more, rather than cutting too much off straight away. As I was told when I first learnt about hedge cutting - you can always take more off, but you can never put it back on.
Over-pruning a hedge is hard to undo. It can leave hedges looking bare and some varieties of hedging plants may struggle to produce new growth if you cut back to the old wood.
6. Remove clippings and mulch
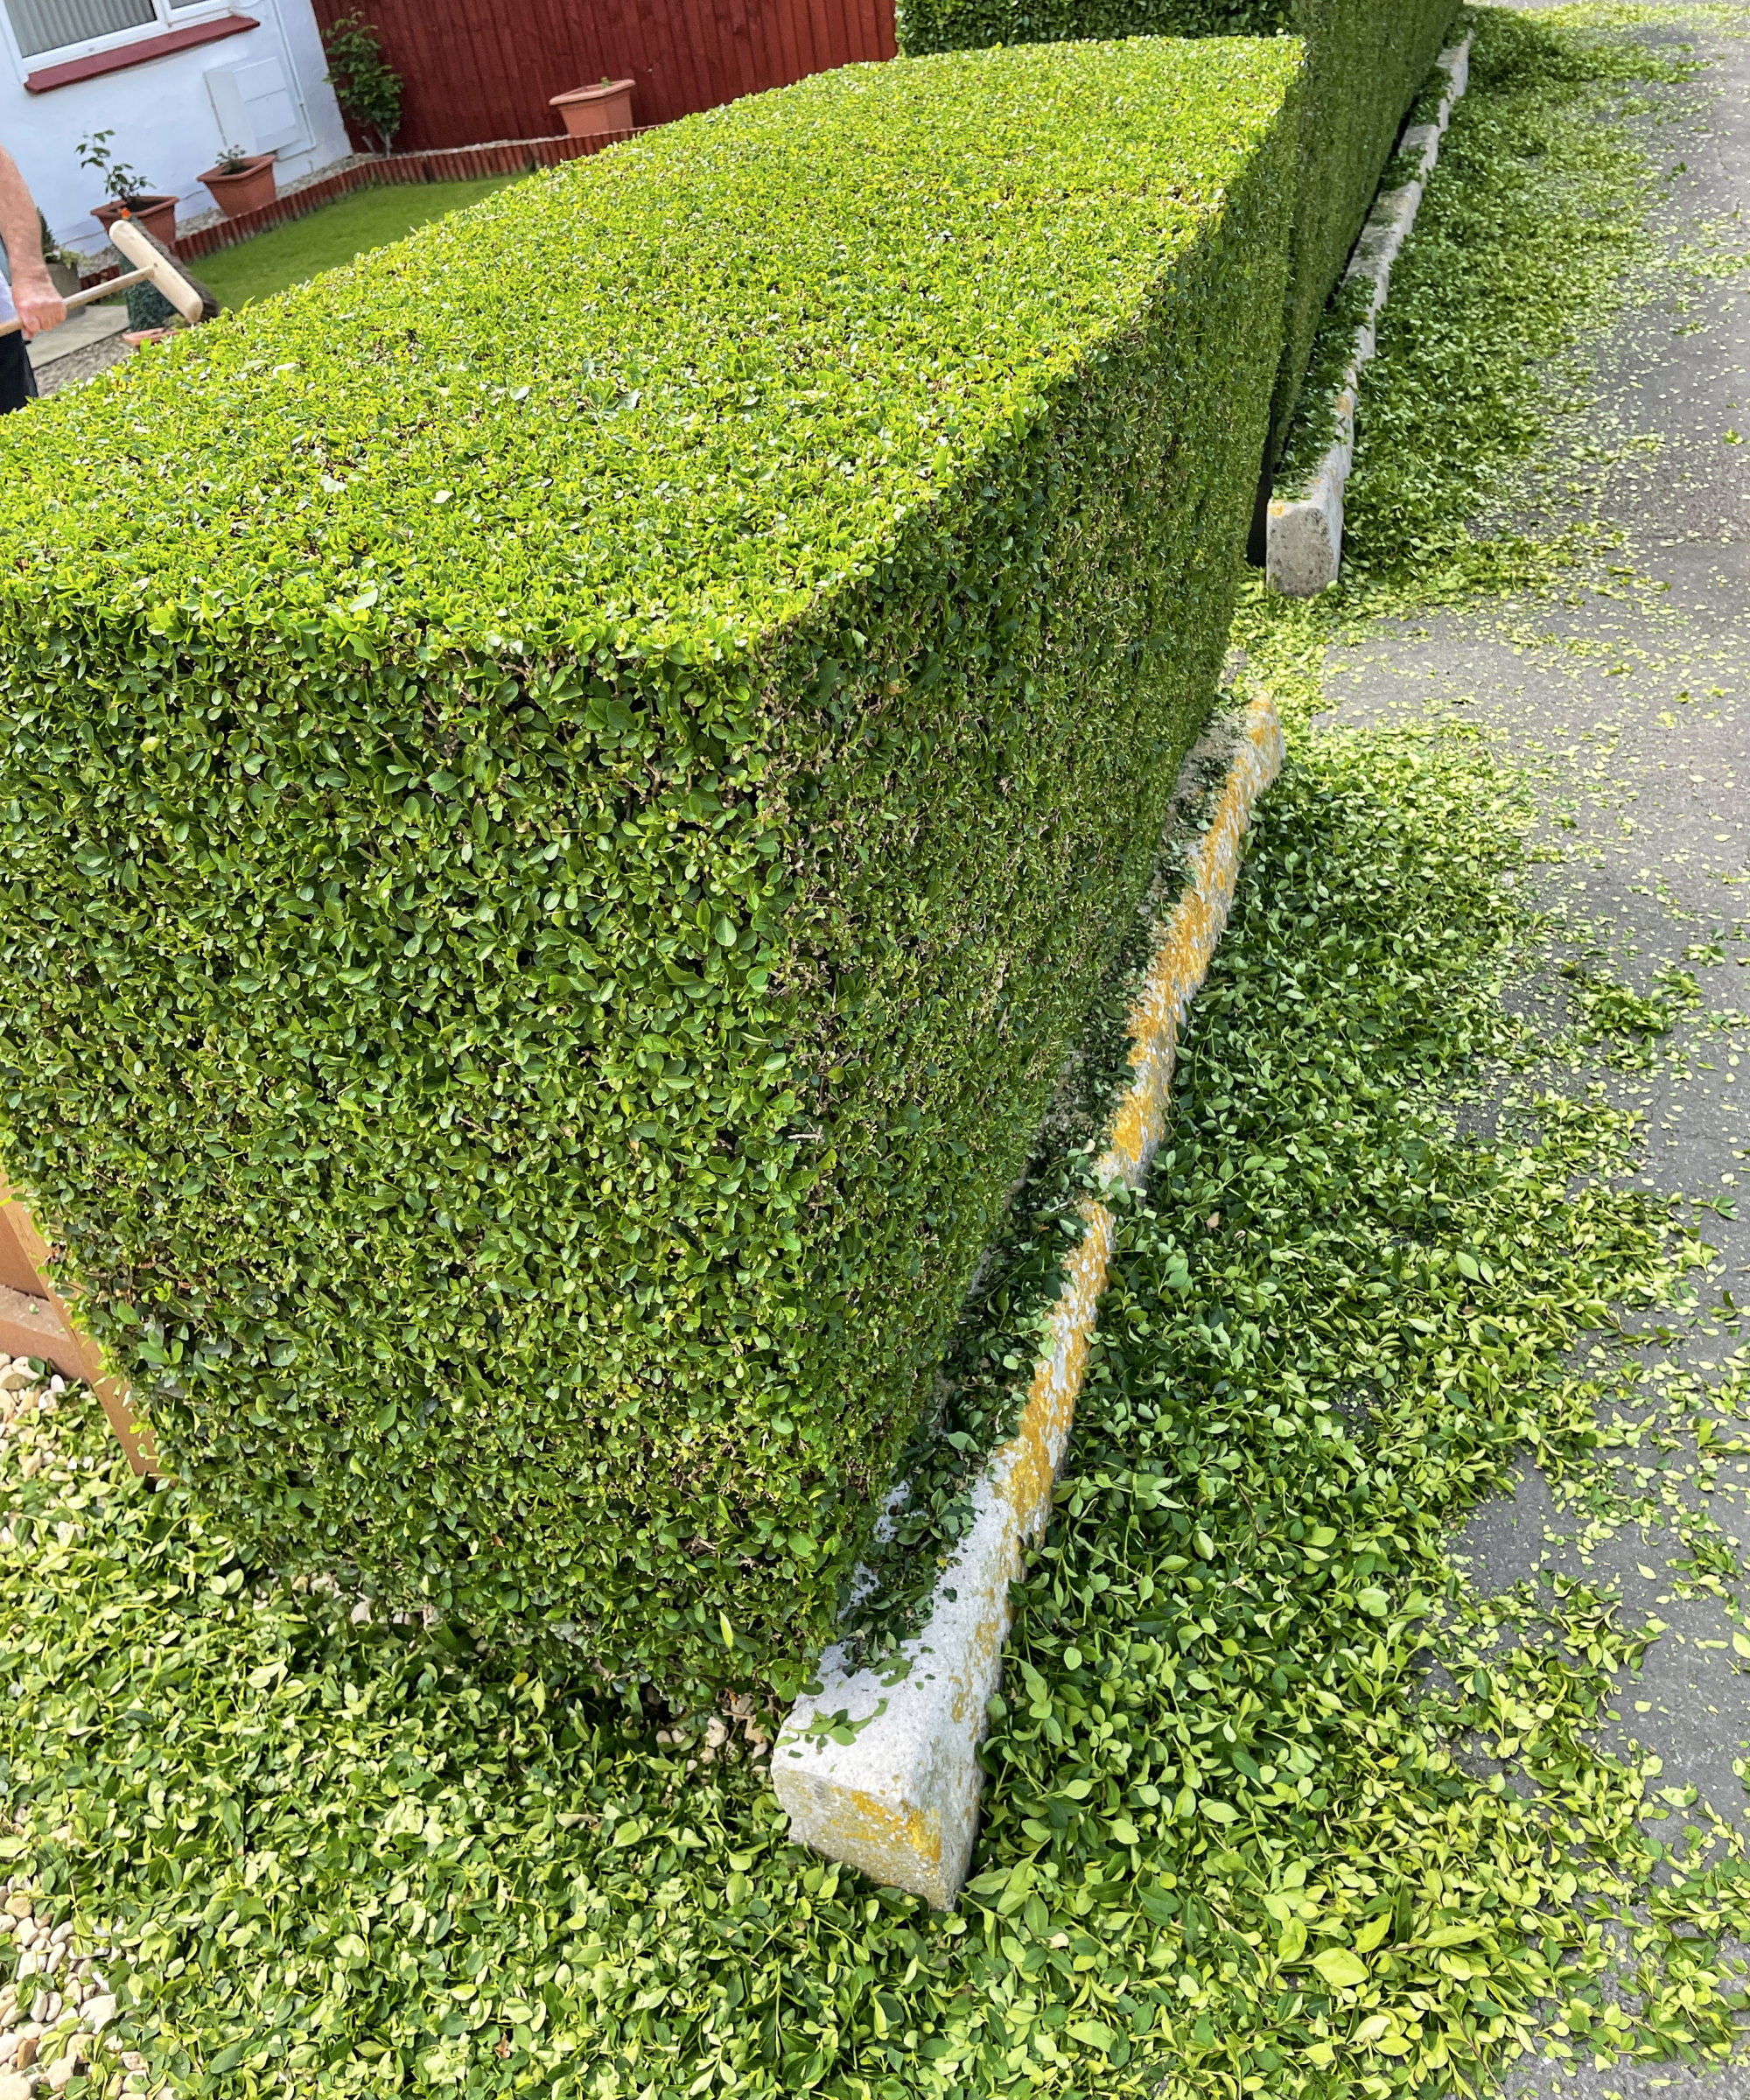
Clear up and dispose of the hedge clippings straightaway, as leaving the cuttings sitting around the hedge can promote fungal diseases. Any healthy clippings can be used to make compost and added to a home pile.
The trimmed hedges will benefit from mulching in early spring. Spreading a layer of compost, leaf mold, or bark will deter weeds, retain moisture, and provide nutrients to the hedge for the coming year.
Many hedges benefit from being trimmed twice a year, including evergreen hedges like box and privet, and deciduous hornbeam and beech hedges.
To keep them at their best, a first prune is likely for early summer. After pruning hedges in warmer months, it is important to water plants well.
Watering and fertilizing hedges post-trimming helps them recover better and keeps them looking their best throughout the year.


