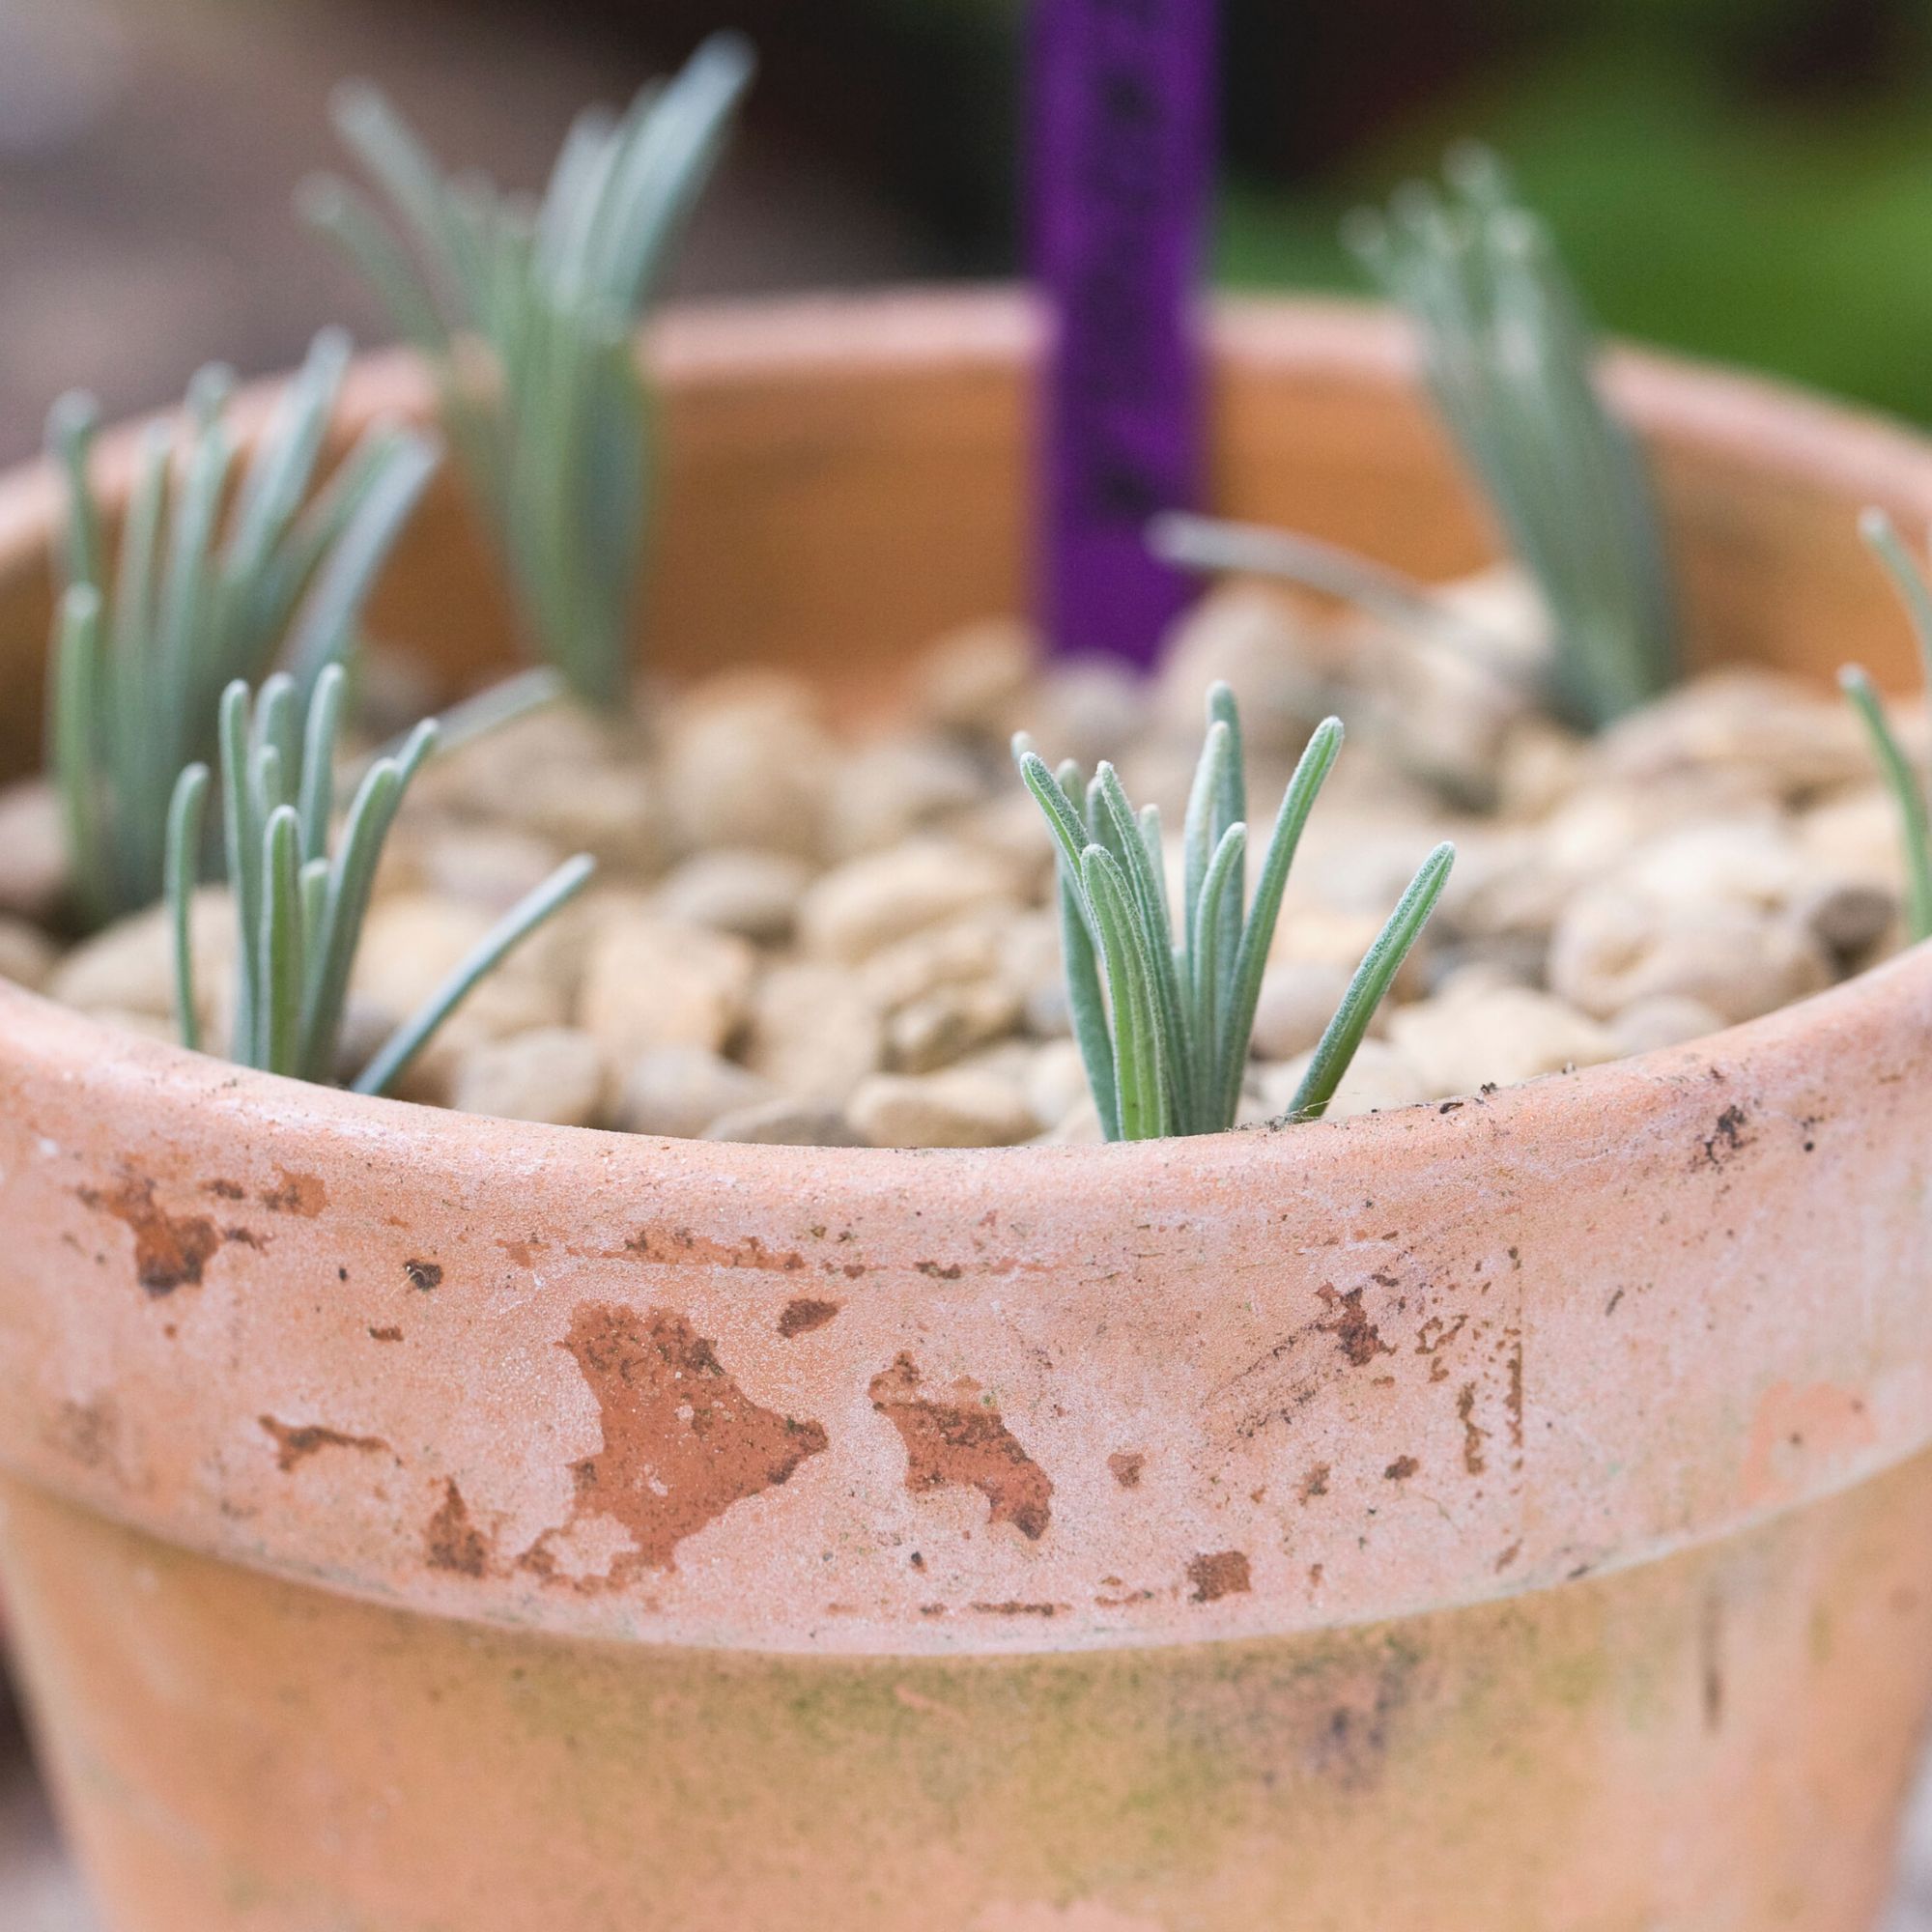
Knowing how to propagate lavender is a great way to increase your plant collection for free. Lavender is a favourite in gardens up and down the country and can be grown in both the border and containers to great effect.
If you're new to lavender husbandry knowing how to grow lavender will help to give your plant a good start in life.
'Taking cuttings can also prevent the existing plant from becoming leggy or woody, improving the production of its flowers in future,' says Daniel Carruthers, director of sales at Cultivar Greenhouses. 'What’s more, with the threat of the bacterium Xylella fastidiosa decimating lavender overseas, there’s no better time to start taking cuttings.'
How to propagate lavender
Propagation is one of the best budget garden ideas letting you increase your plant collection for free and learning how to propagate lavender is surprisingly easy.
If you have an established lavender plant in your garden or perhaps your friend has a stunning plant in theirs, then it's definitely worth having a go at propagating this Mediterranean garden favourite.
'Many plants, including lavender, can be grown from cuttings taken either in spring or autumn,' says garden expert Leigh Clapp. 'Like a little bit of magic, with a few careful cuts you can create a new plant. It takes practice, preparation and patience, but rewards with the results.'
What you'll need
- Terracotta plant pot with good drainage – this 15cm pot like from Homebase
- Secateurs
- Bleach
- Water
- Knife
- Compost – try this Westland John Innes No.2 Peat-free Compost from B&Q
- Vermiculite
- Dibber or pencil
- Plastic sandwich bag
- Established lavender plant
How to propagate lavender
1. Check the health of the parent lavender plant
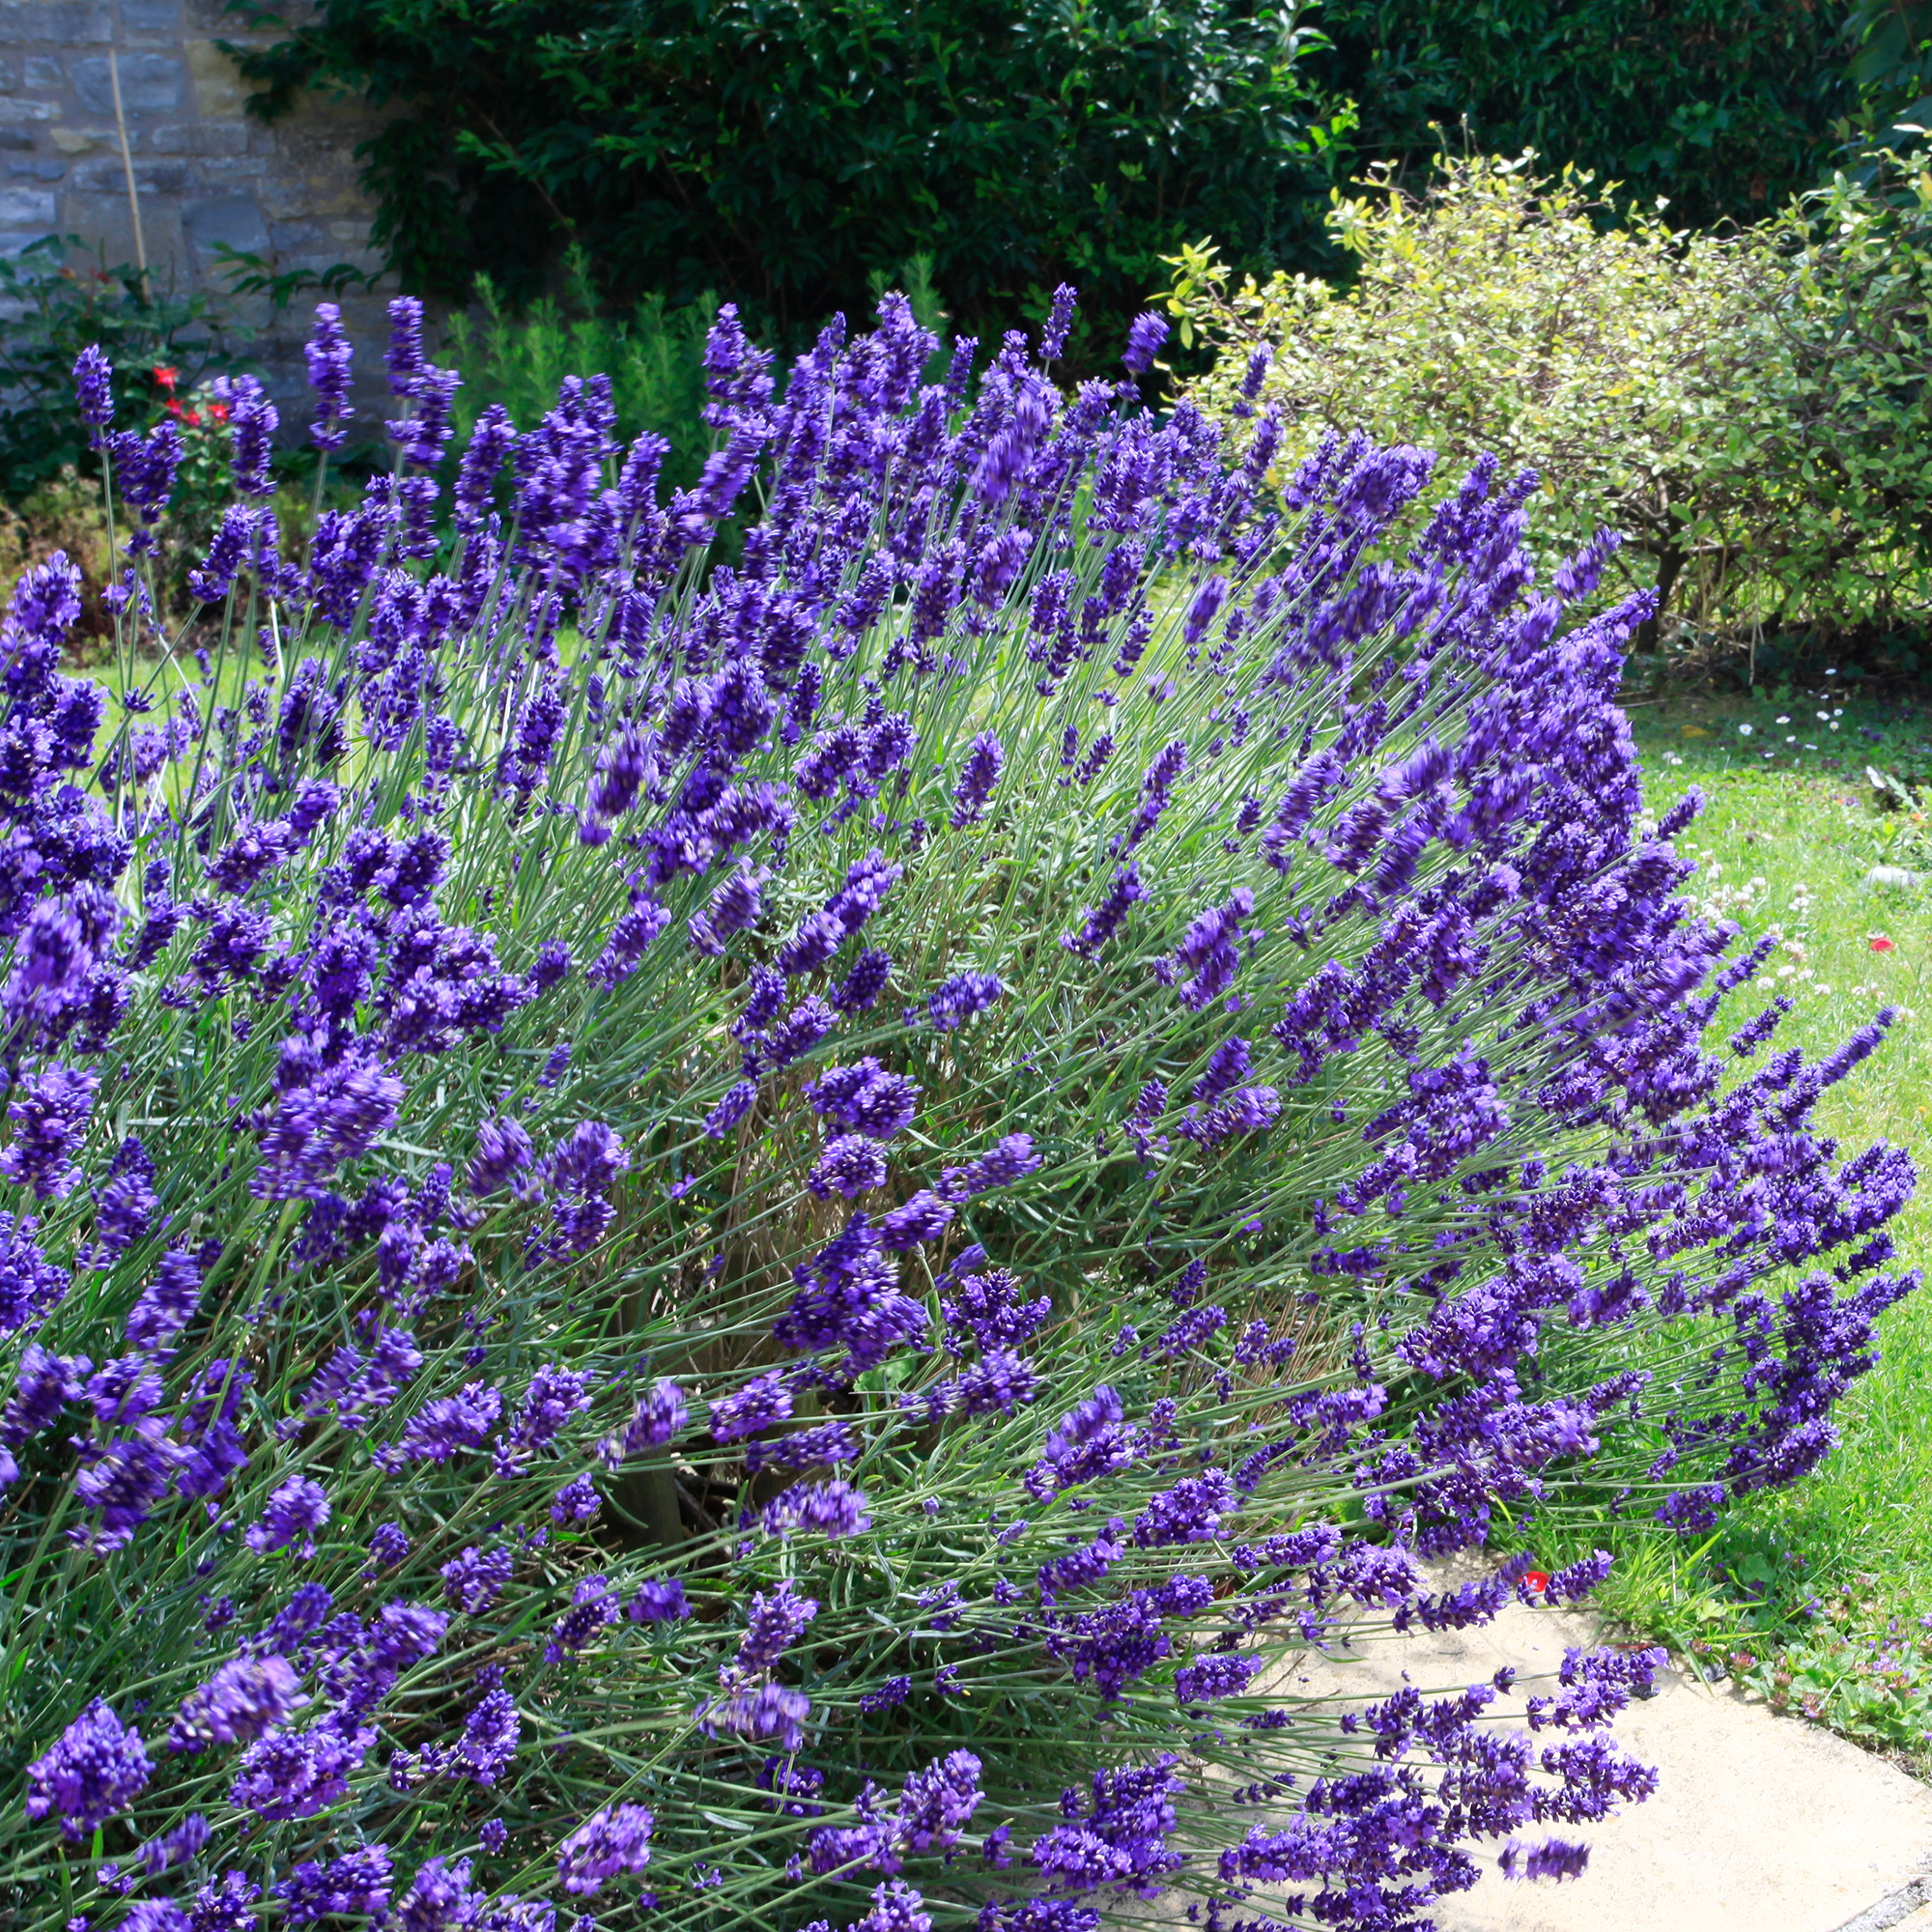
Before you propagate lavender, it is important that you select the right parent plant. 'Check the health of the plant from where you’ll be taking the cuttings – you need it to be pest free and free from diseases,' advises Lucie Bradly co-owner of Two Wests & Elliot Ltd.
'It’s best to use a mature plant rather than a younger specimen, as it will reduce the amount of stress that you are placing on the parent plant and will also increase your chance of rooting success.'
2. Set up your pots
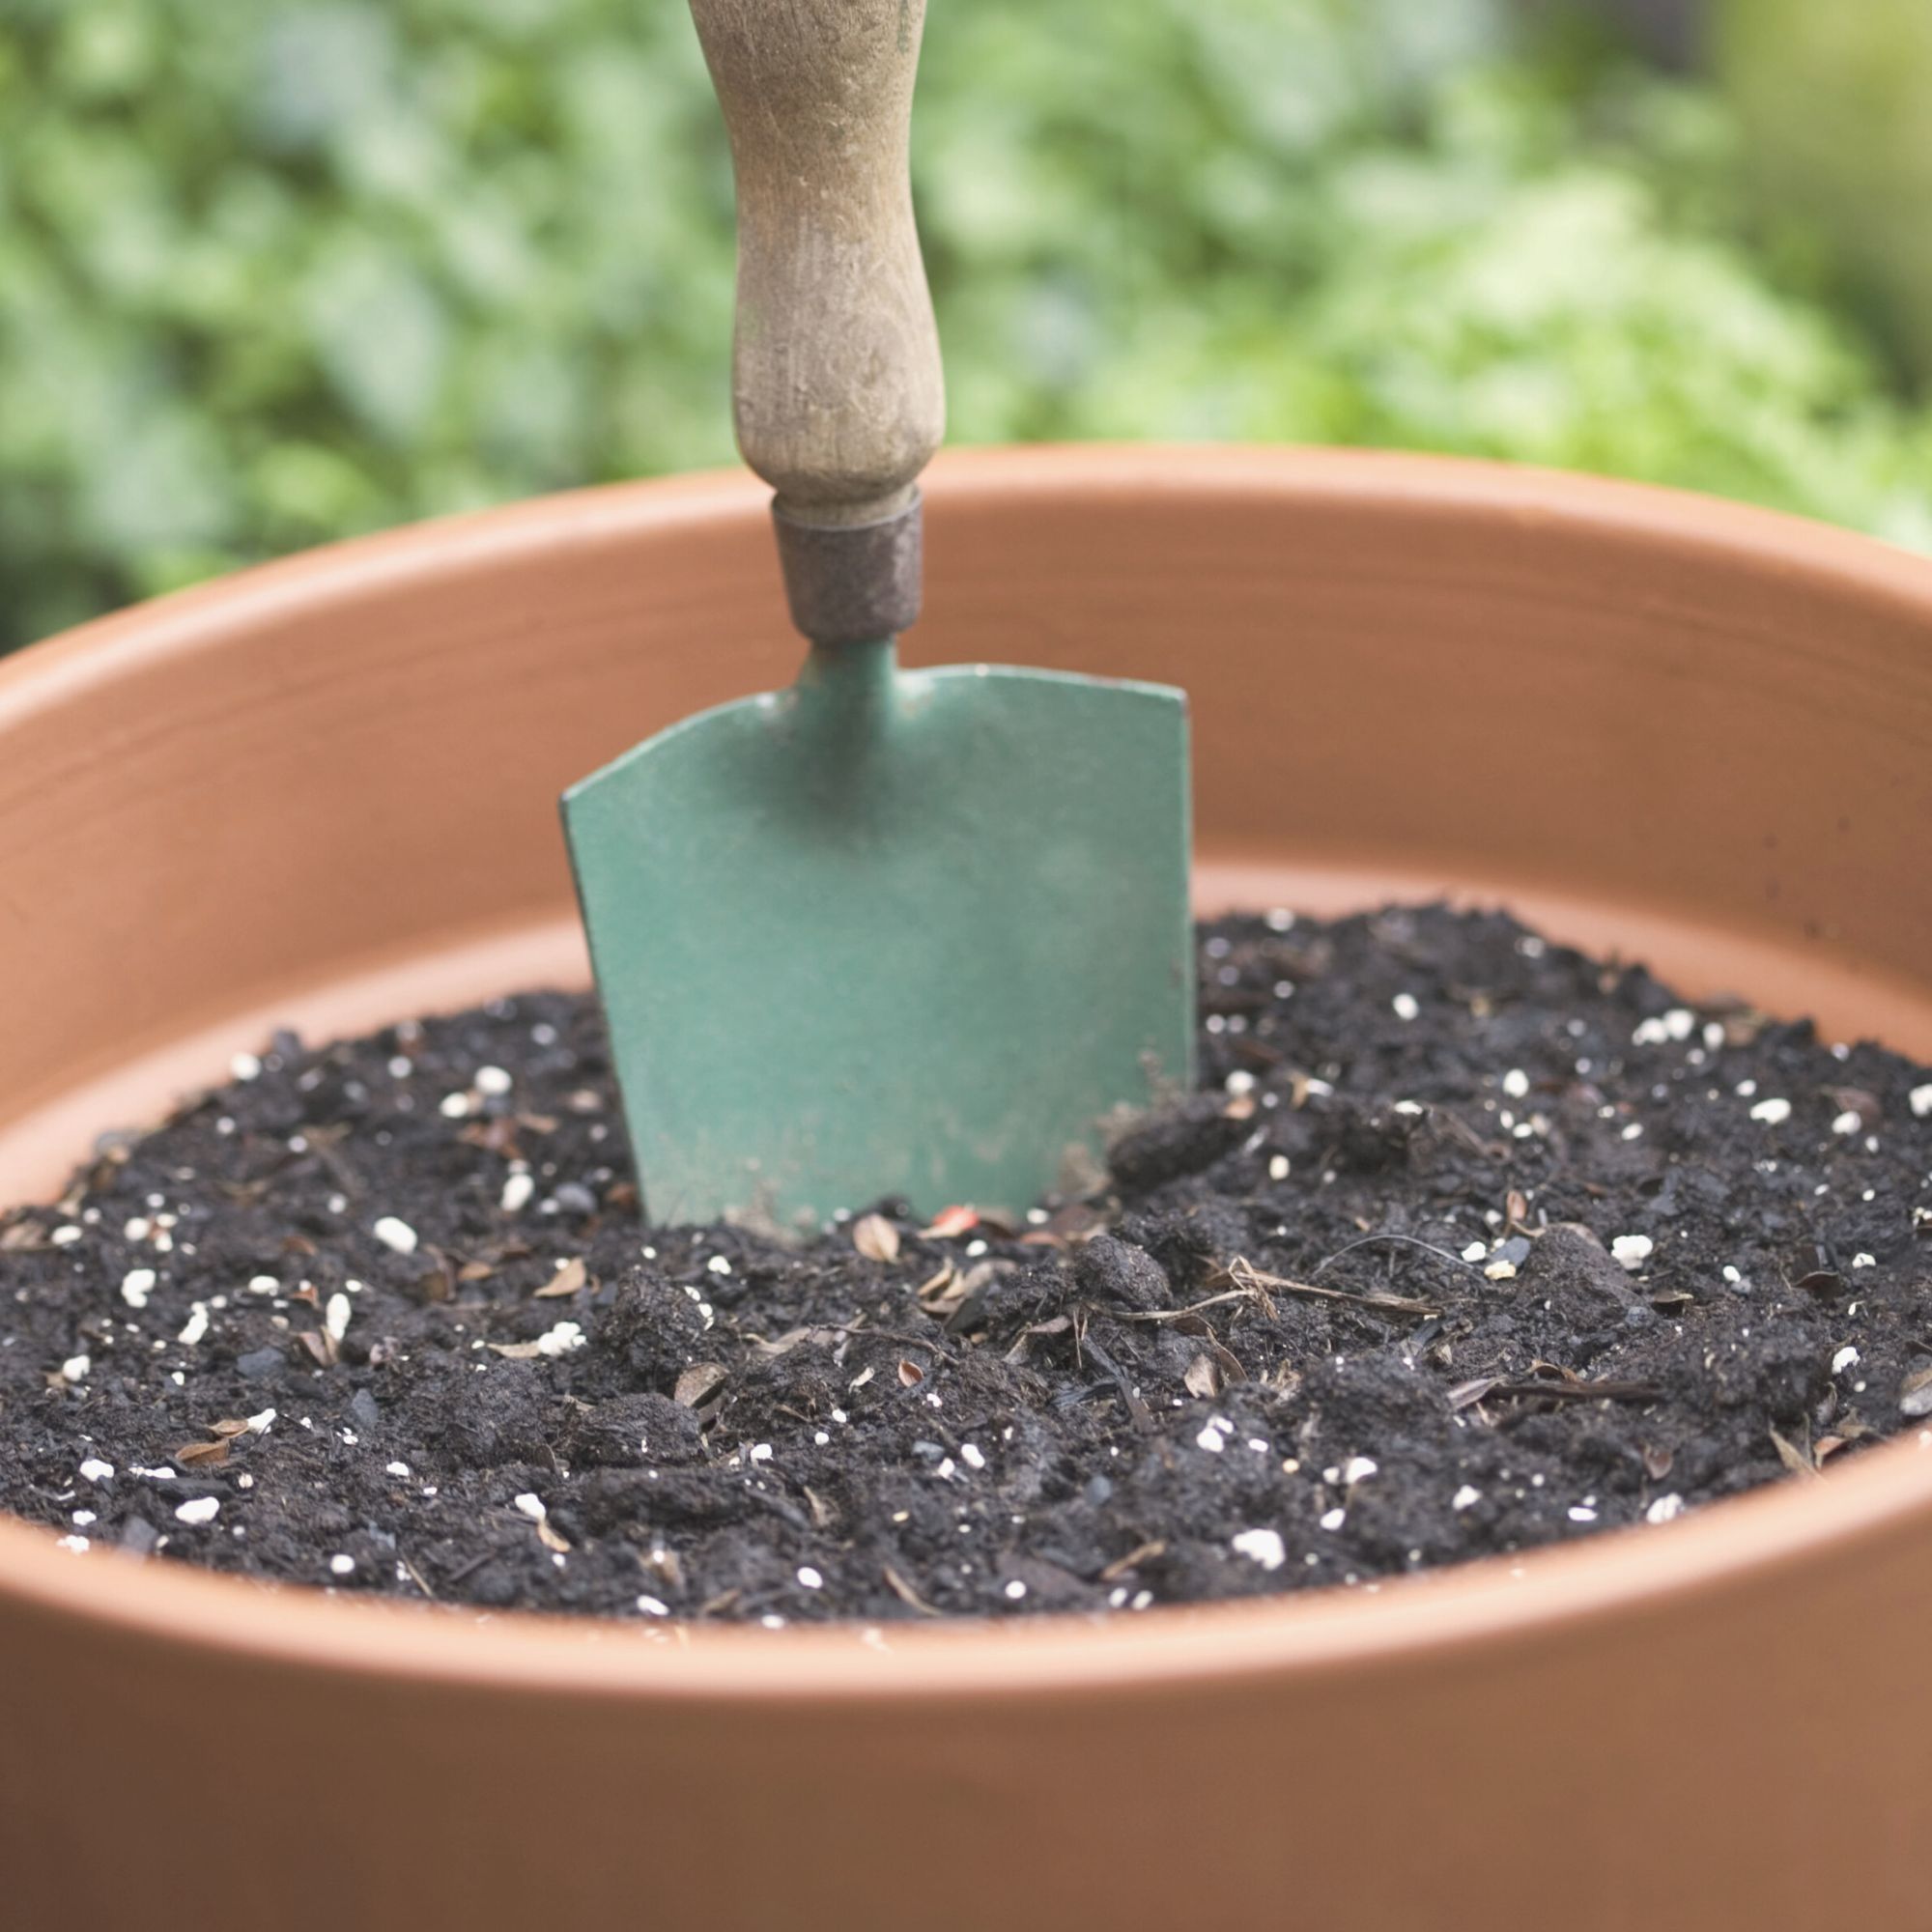
When taking cuttings it is important to move quickly. You want the cutting to be exposed to the air for as little time as possible.
'Before you take your cuttings, prepare the equipment ready for your cuttings as you don’t want them to dry out while you set up your propagator and fill your pots. This will prevent a last-minute rush to the local garden centre,' says Lucie Bradly co-owner of Two Wests & Elliot Ltd.
Fill a pot with free draining compost – two parts compost to one part vermiculite will ensure plentiful drainage and prevent the cuttings from rotting. Terracotta pots are a good choice as they offer good drainage from the walls of the pot as well as from the base.
3. Clean your secateurs
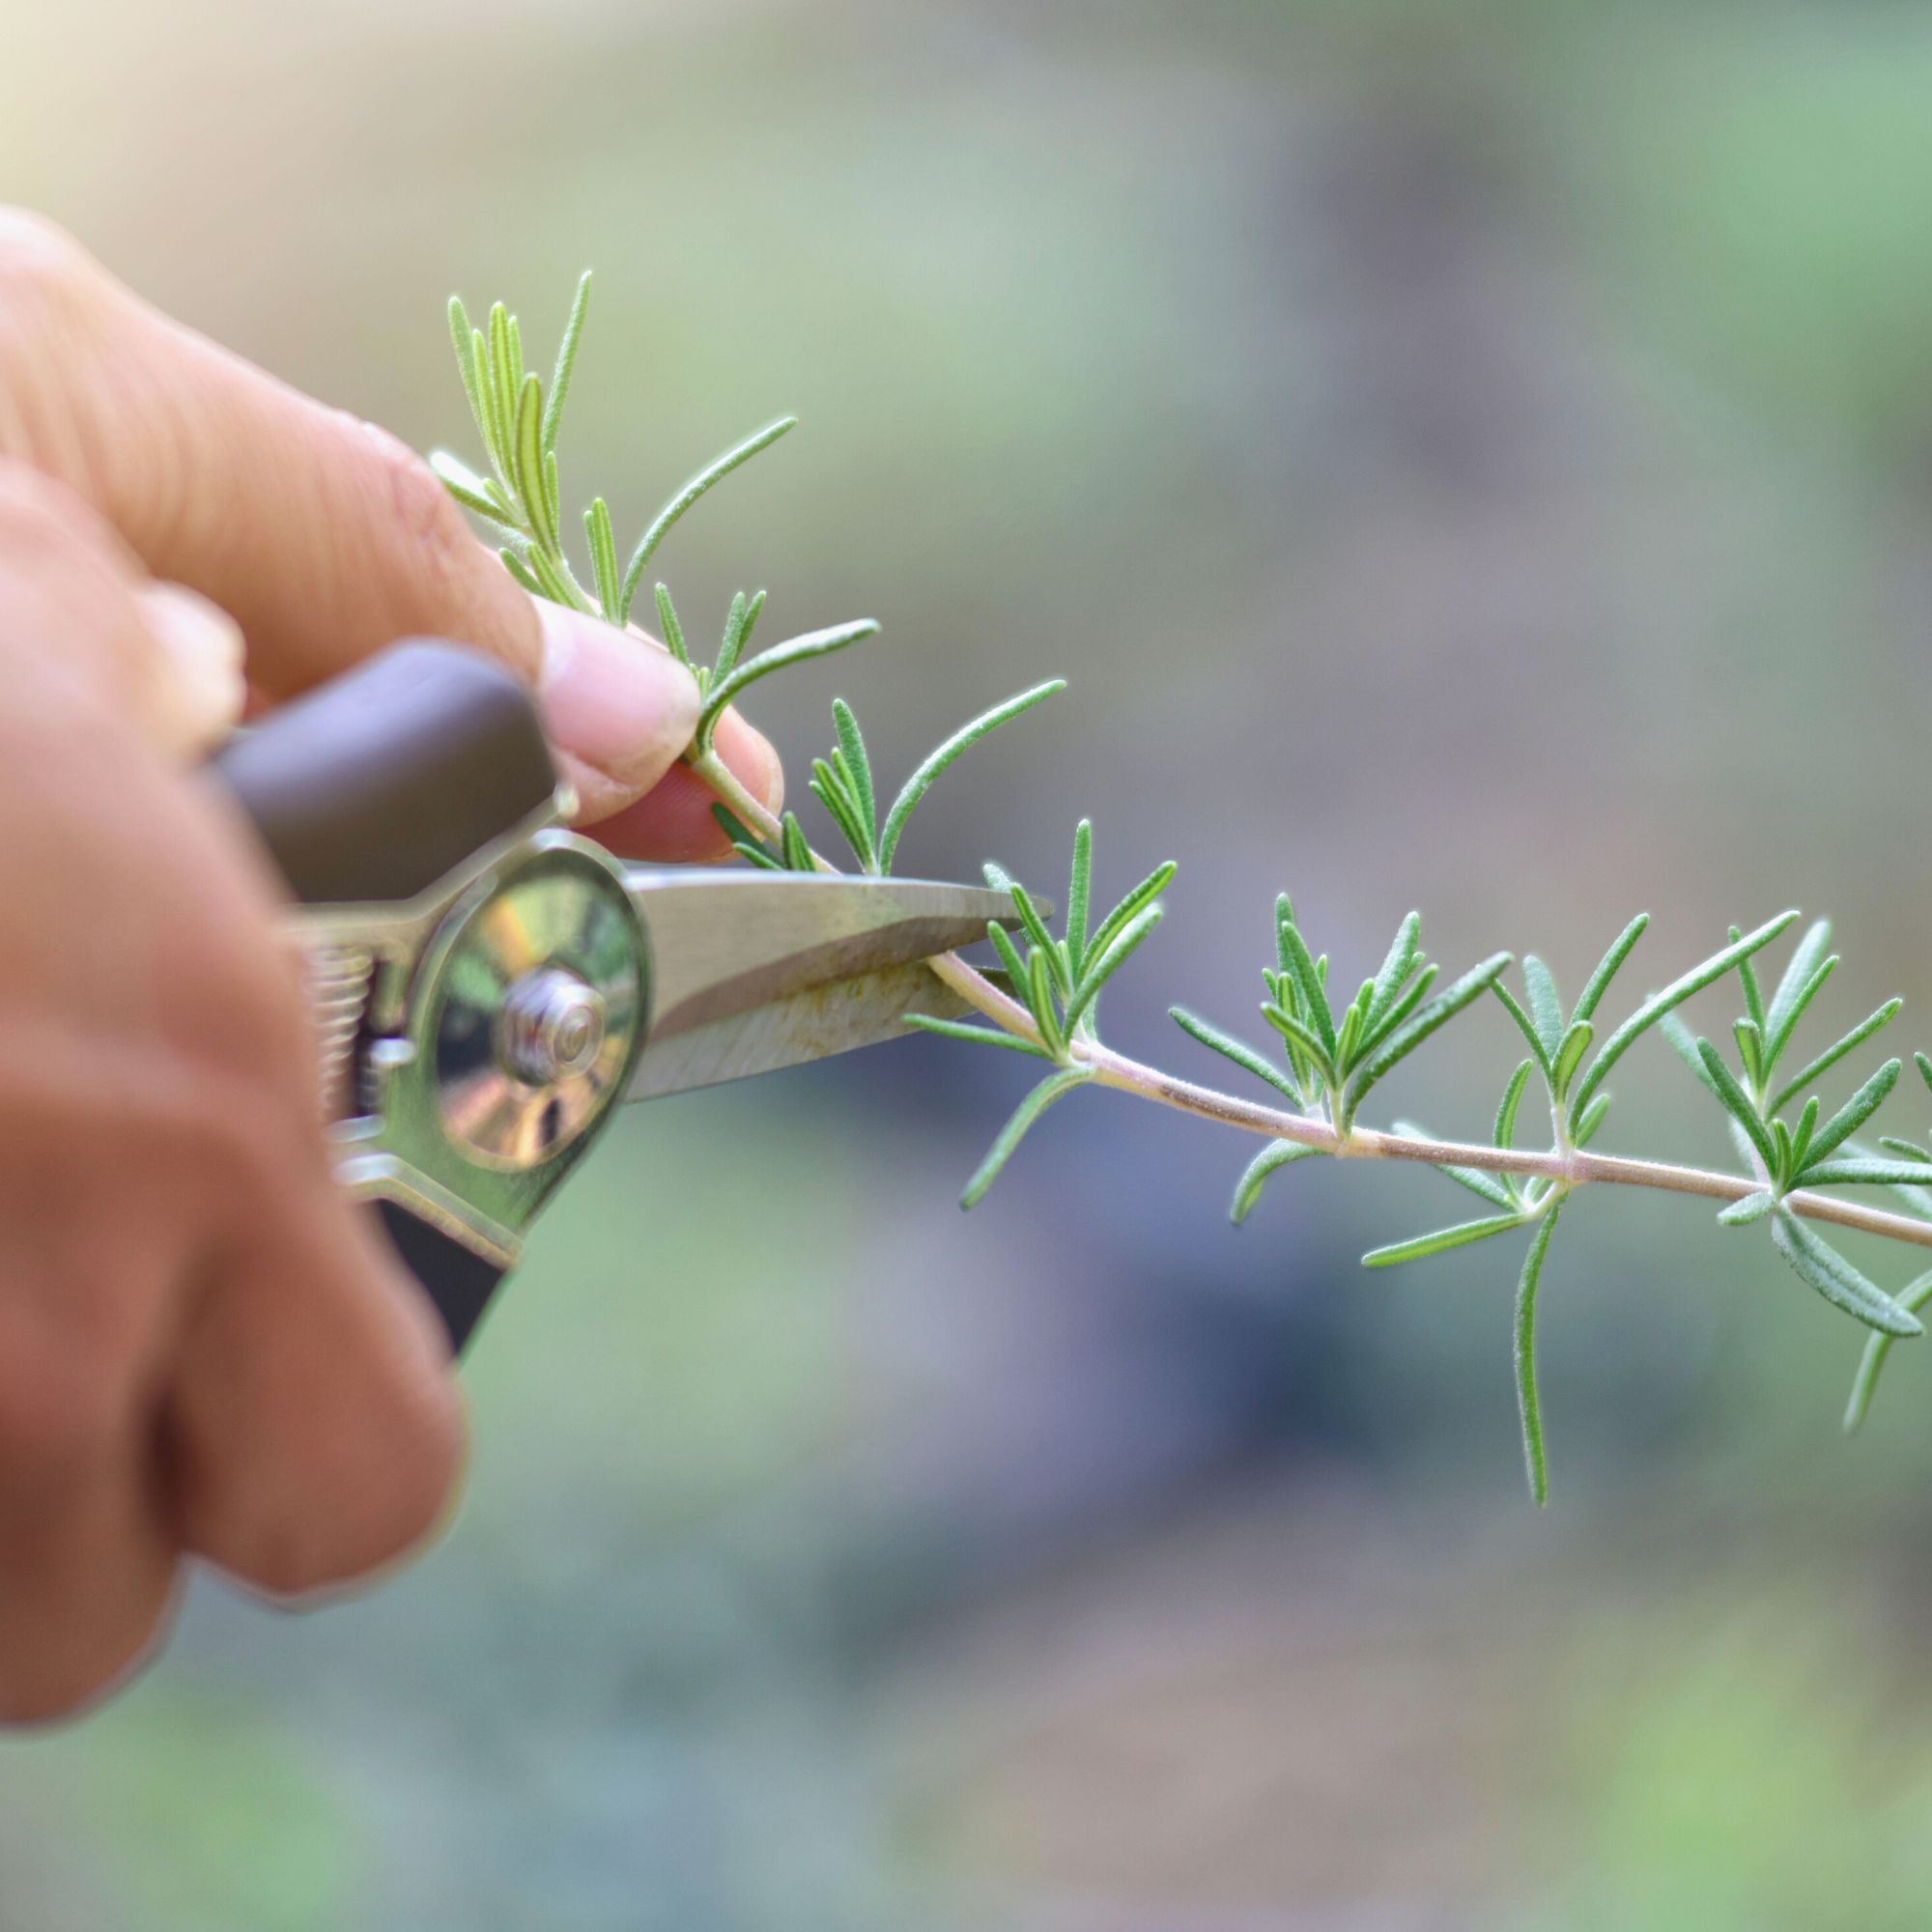
When taking a cutting, the best gardening tip is to ensure cleanliness. Clean your secateurs or scissors by dipping the blades in a solution of one part bleach to ten parts water for 30 seconds. Dirty blades can introduce bacteria into the existing lavender plants which can prove fatal.
This is also important when you are cutting back lavender.
4. Select healthy non-flowering stems for cutting
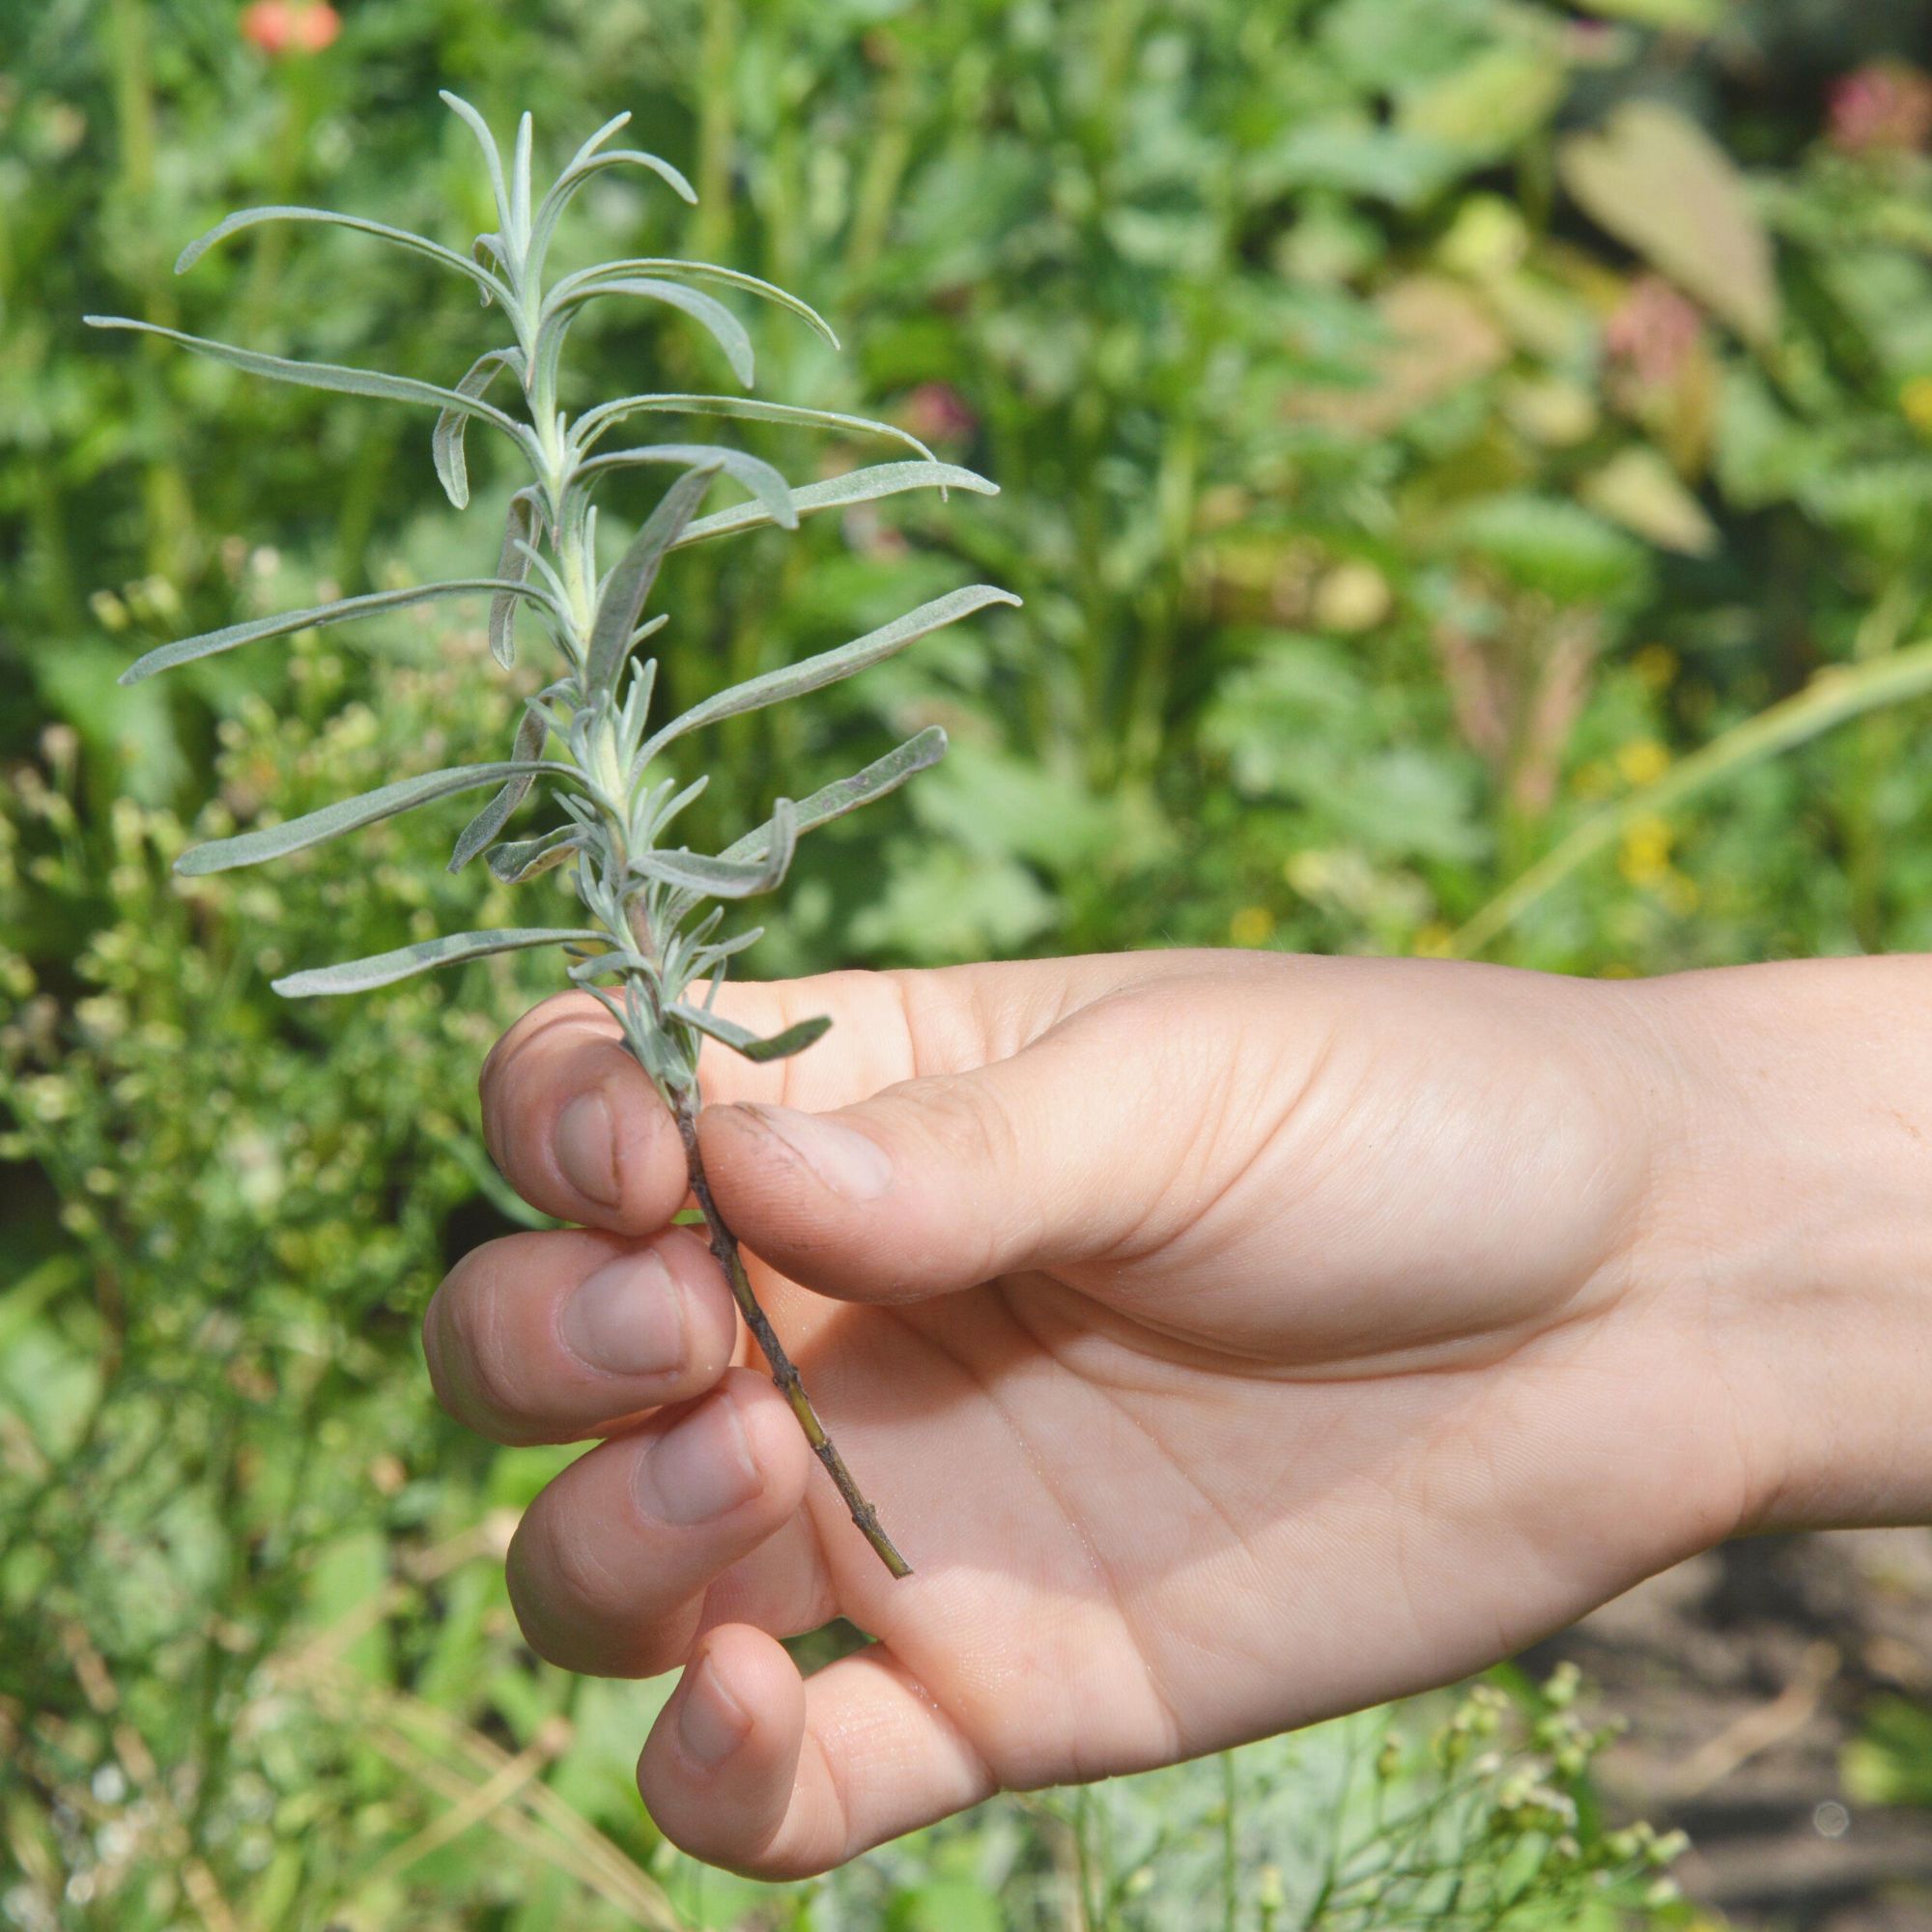
The next step is to identify where you are going to take a cutting.
'Find a healthy, non-flowering side shoot. It’s important that you choose a shoot without a flower so that the cutting can concentrate its energy on developing roots rather than flowering,' says Daniel from Cultivar Greenhouses.
'Look for the spot just below a leaf node (that’s where the leaves emerge from the main stem!) – this is where you'll take your cutting from. You should then have a stem between four and eight inches long.'
5. Make a diagonal cut on your stem
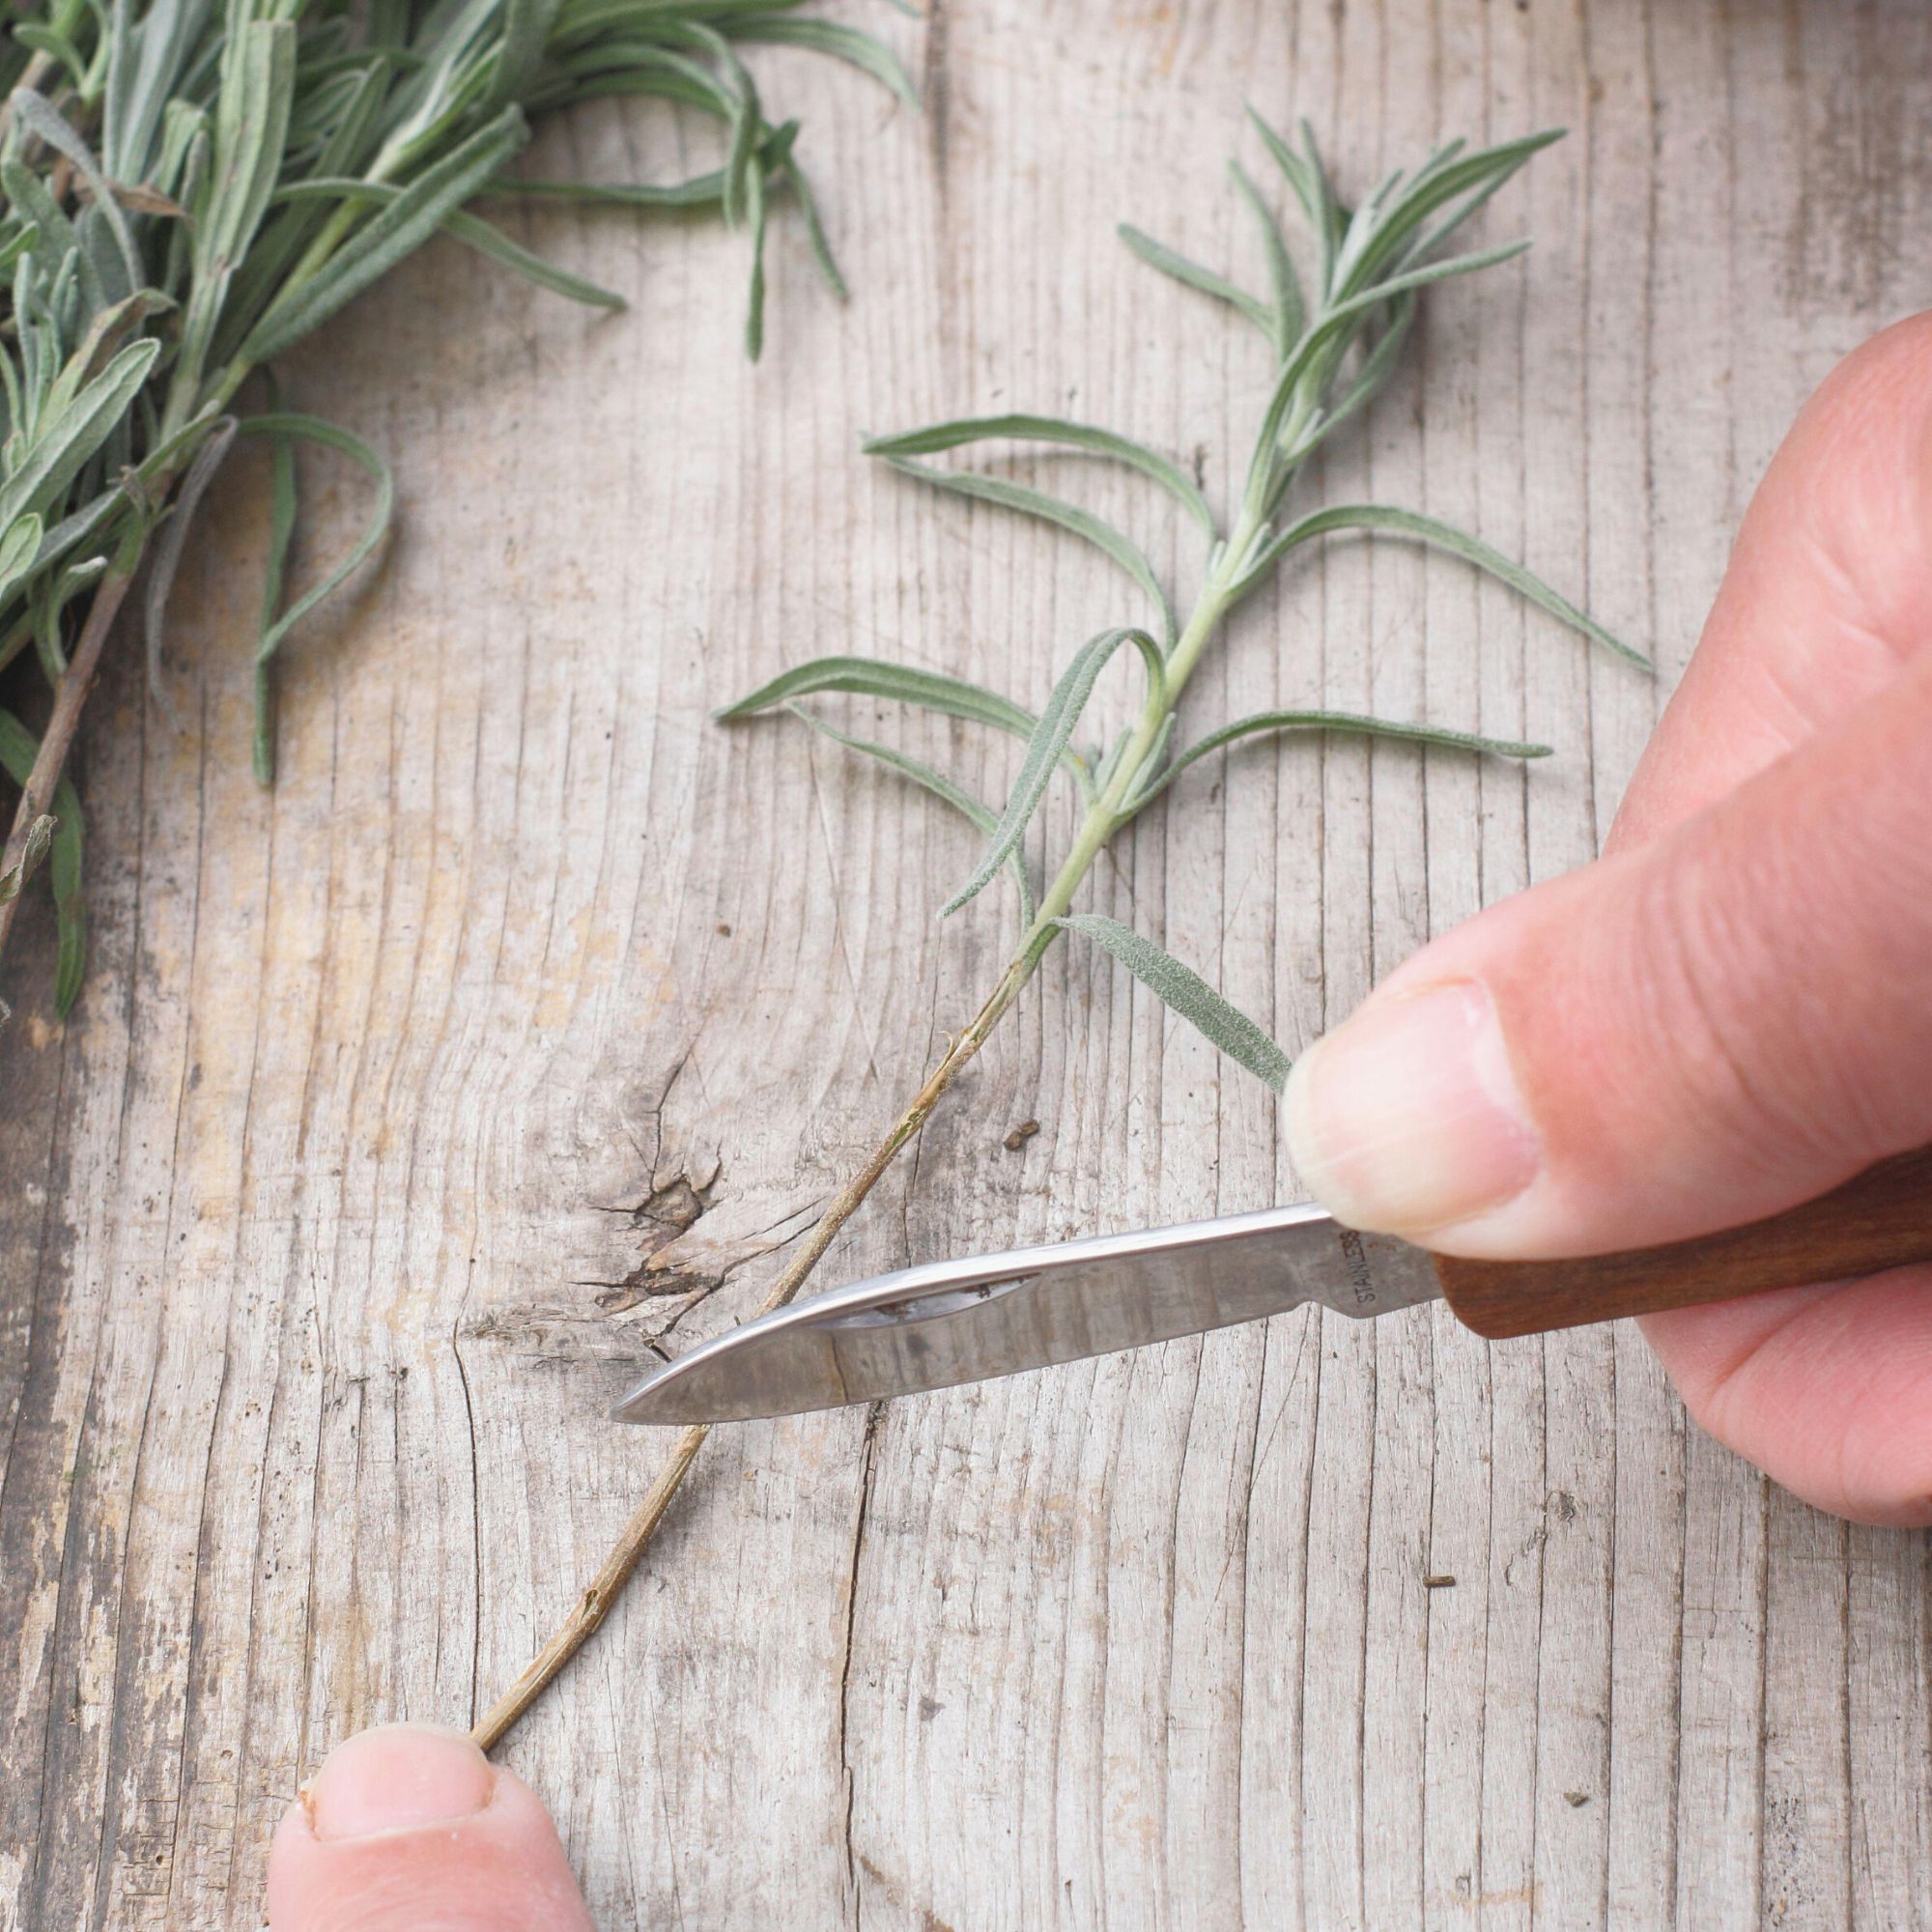
Once you've taken your cutting, use a sterilised knife to make a diagonal cut at the base of your stem. This will increase the amount of water the stem is able to absorb and increase the success of your cutting.
6. Strip leaves and dip in hormone rooting powder
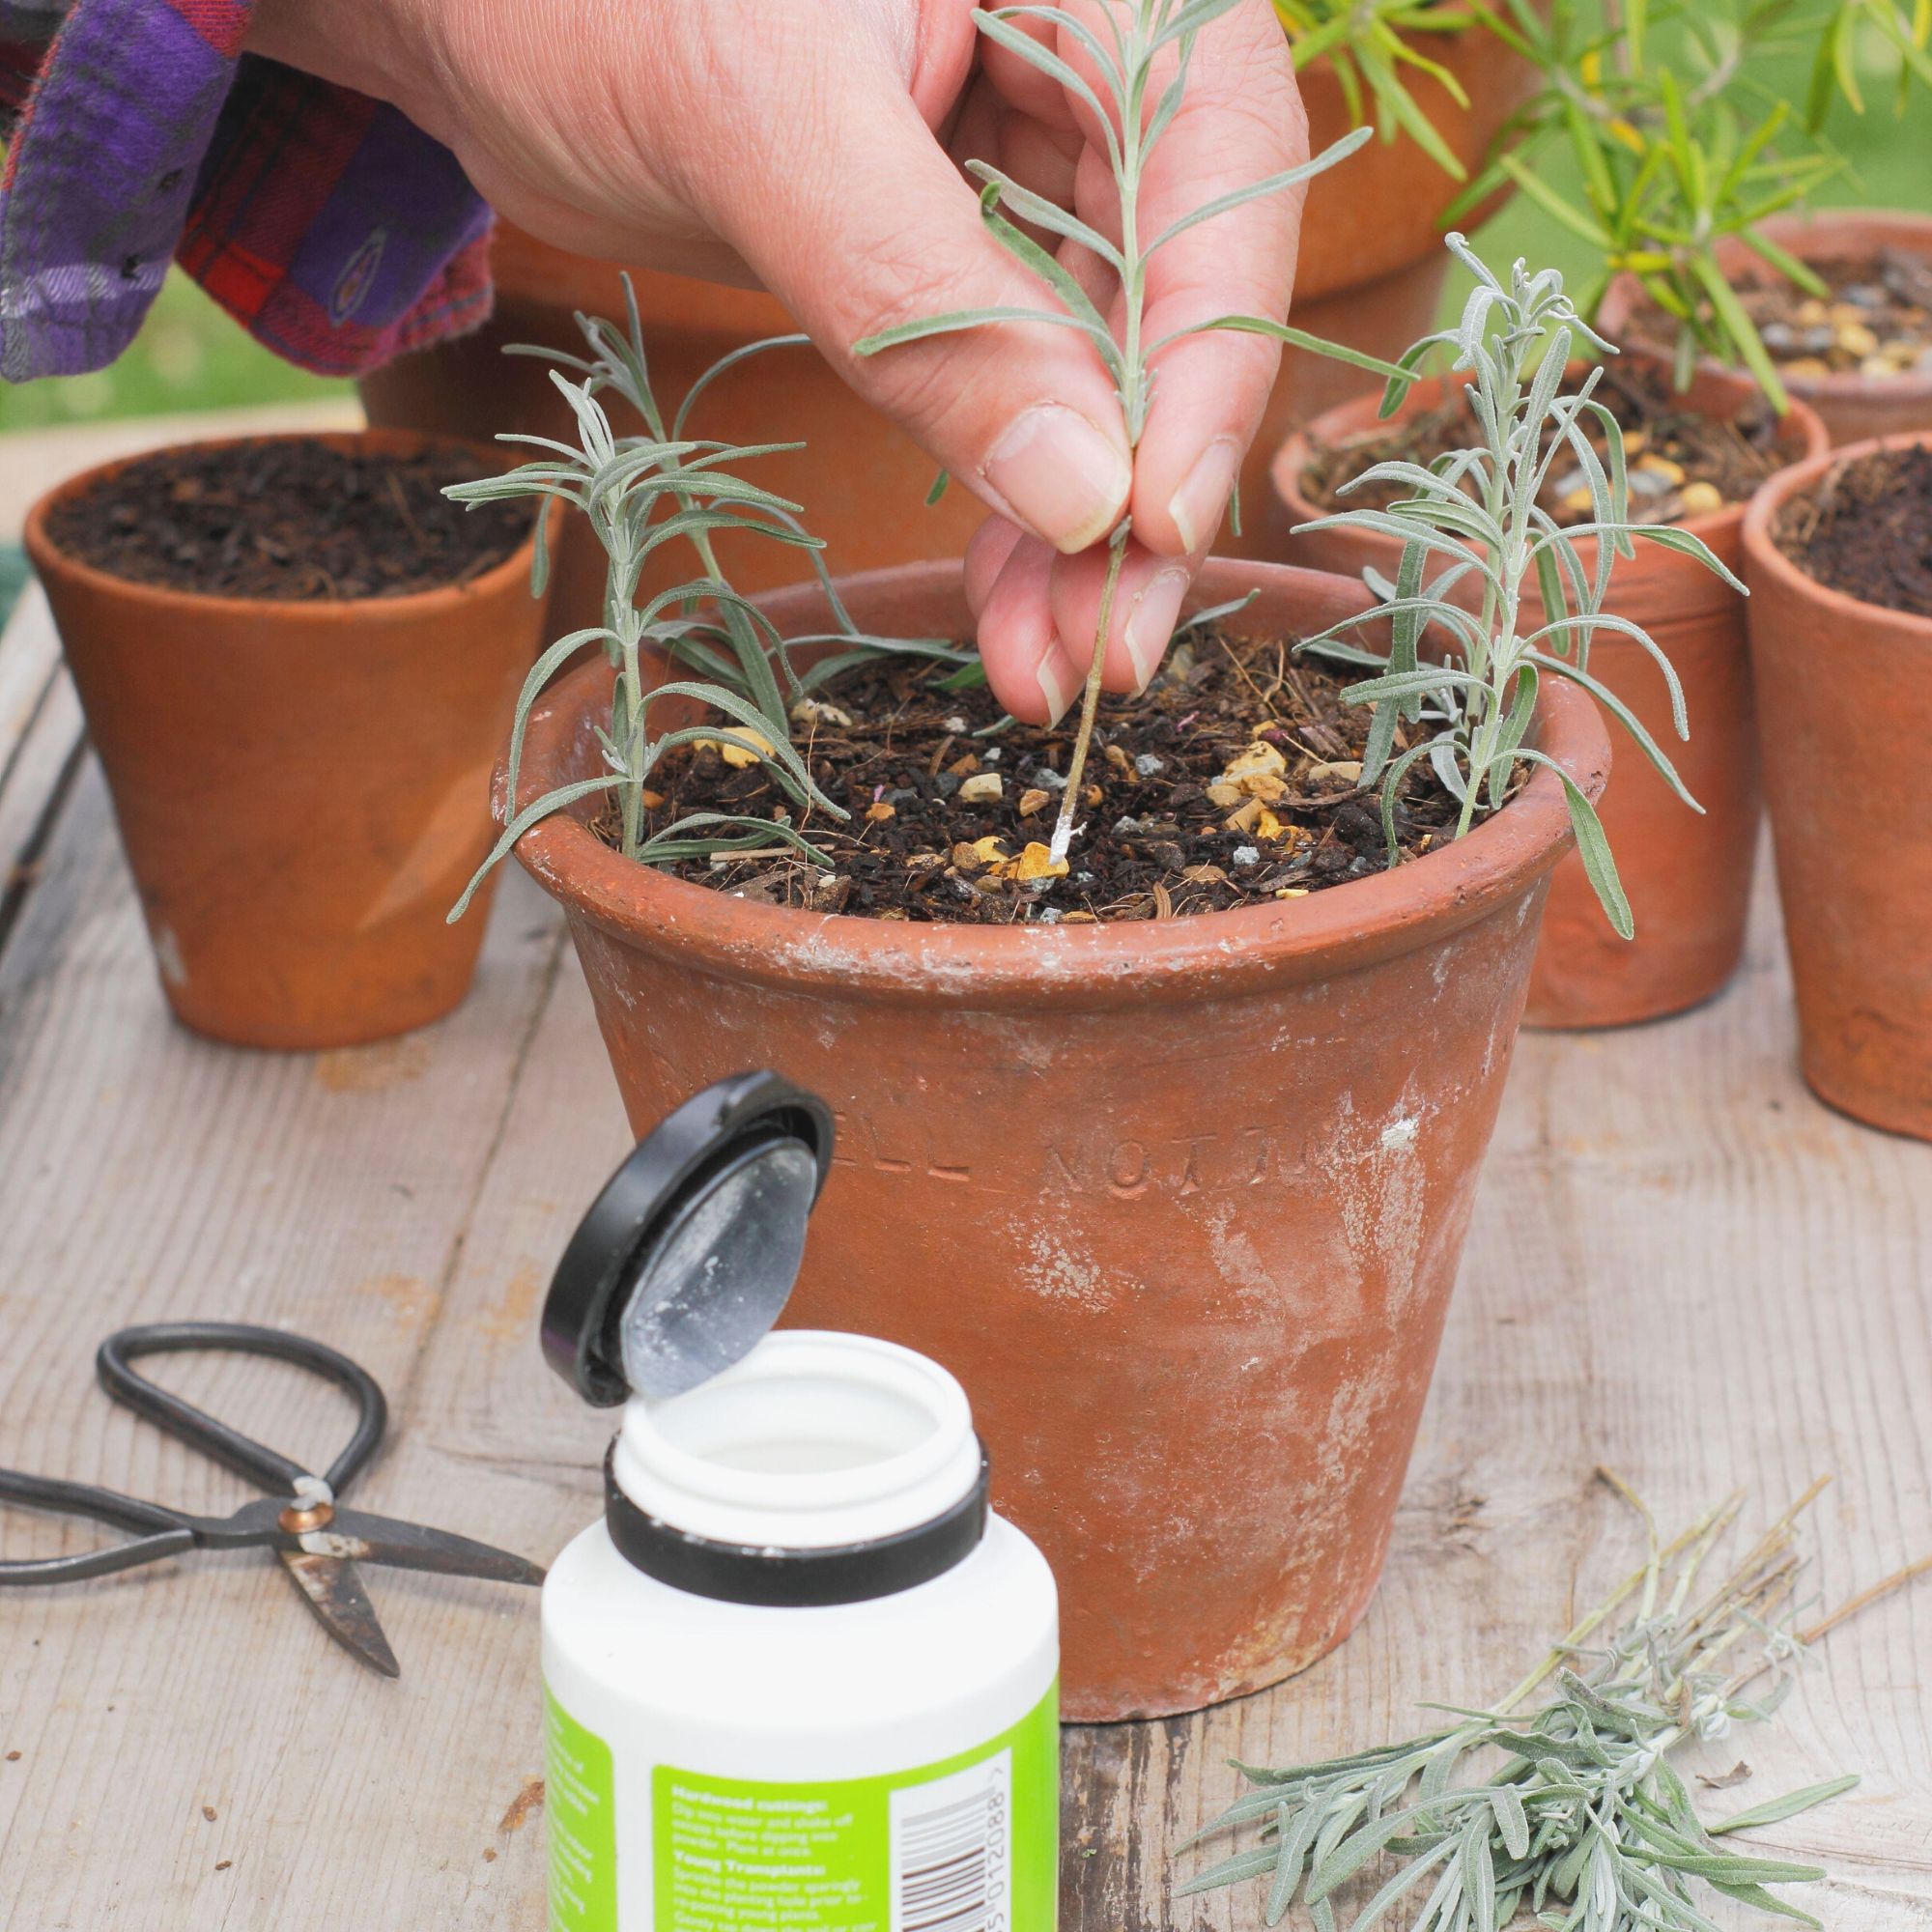
'Once you have cut your stems, you can start to prepare them,' advises Lucie from Two Wests & Elliot Ltd. The process of preparing them involves removing some of the leaves towards the bottom of the stem – it is the ‘wounds’ created by removing the leaves where new roots will form.'
'However, you shouldn’t remove all the leaves – as you need to leave some towards the top half of the stem for it to still be able to catch the sunlight and convert this into energy which it can use for root growth.'
You can increase your chance of success by dipping the base of the cuttings in hormone-rooting powder. This will help the roots develop more quickly and be stronger – increasing the chances of success.
7. Plant your cutting in the pot

Cuttings are best placed around the edges of the pot – this will encourage the roots to spread out rather than just grow downwards. In short, the more roots the greater chance of success.
'To avoid disturbing the hormone-rooting powder, use a dibber to make a hole, into which you can place your cutting, rather than pushing it down into the compost and dislodging the powder,' adds Lucie from Two Wests & Elliot Ltd. If you don't have a dibber, the back end of a pencil is equally efficient.
8. Cover your cuttings with a plastic bag
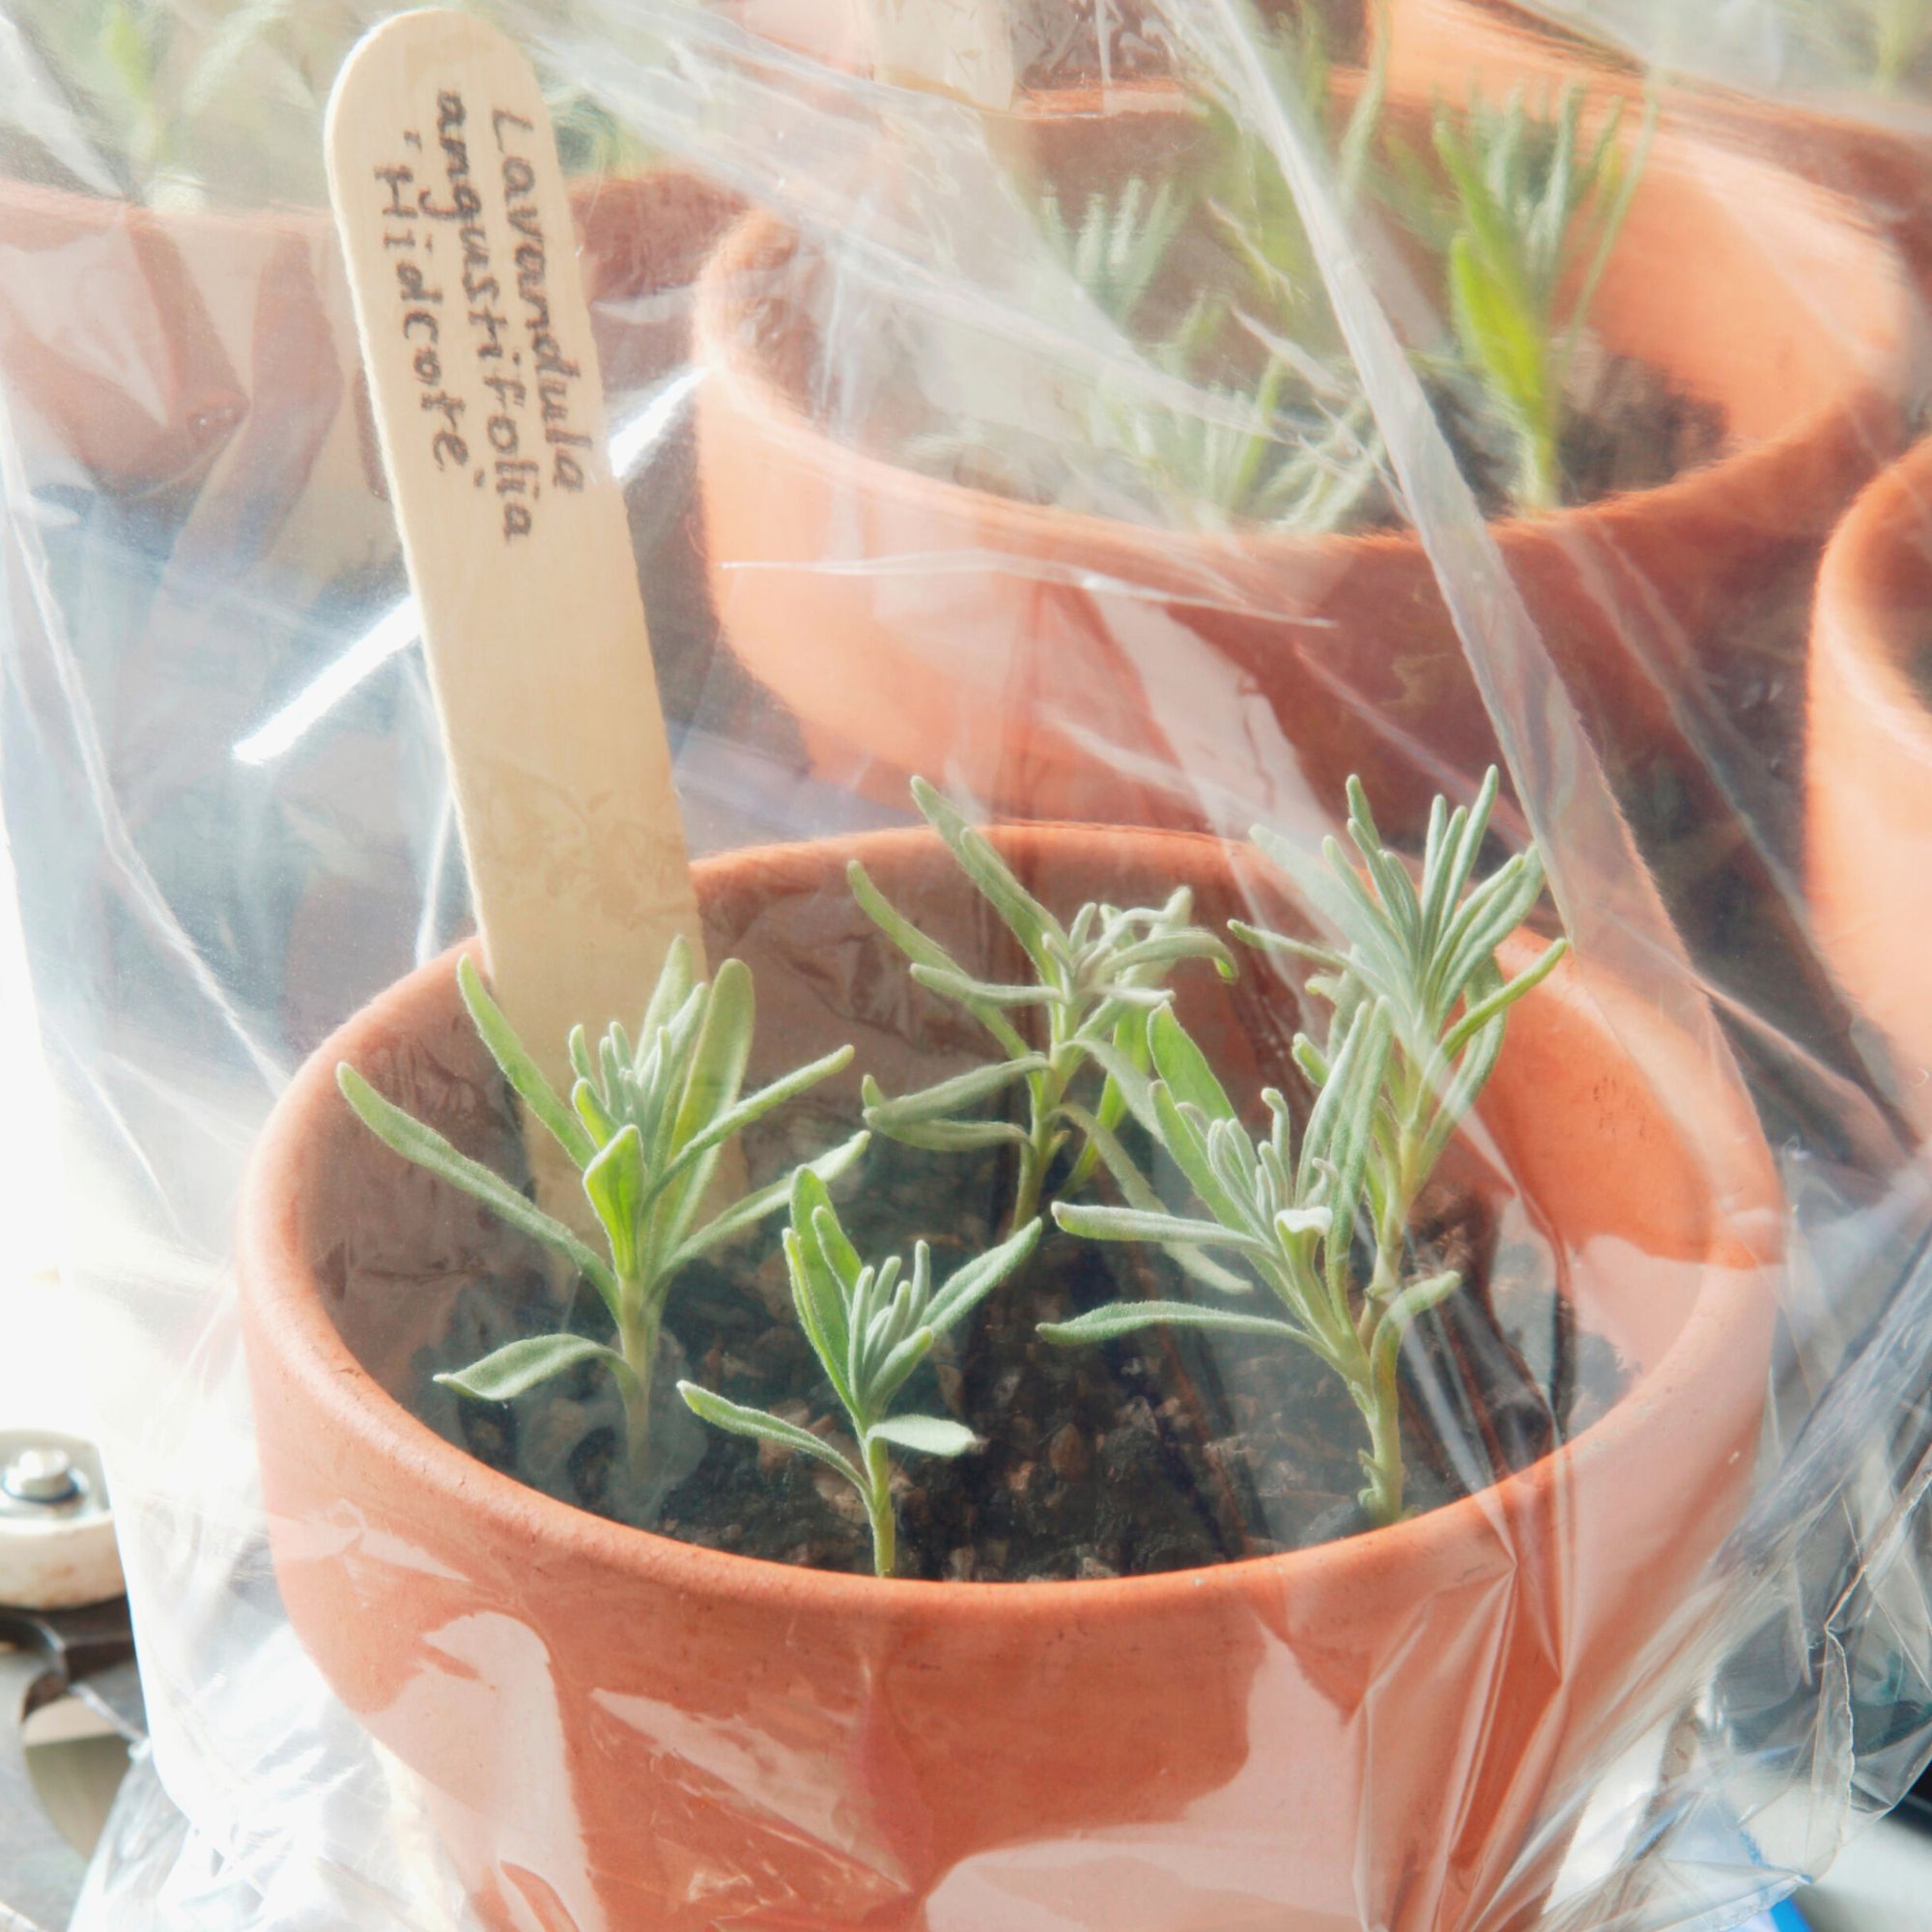
Covering your pot of cuttings with a plastic bag will help to create the perfect climate for your cuttings to develop and grow their roots.
'Using a plant pot covered with a clear plastic bag is a budget way to create your own propagator,' says Lucie from Two Wests & Elliot Ltd. 'It will retain moisture and increase temperatures (ensure you use something like skewers to keep the bag from touching the leave on the cuttings) to promote success.'
Ensure that the soil remains damp but not wet. You can test the moisture levels in the soil by inserting a finger and feeling whether the first two inches are dry.
9. Repot your rooted lavender cuttings
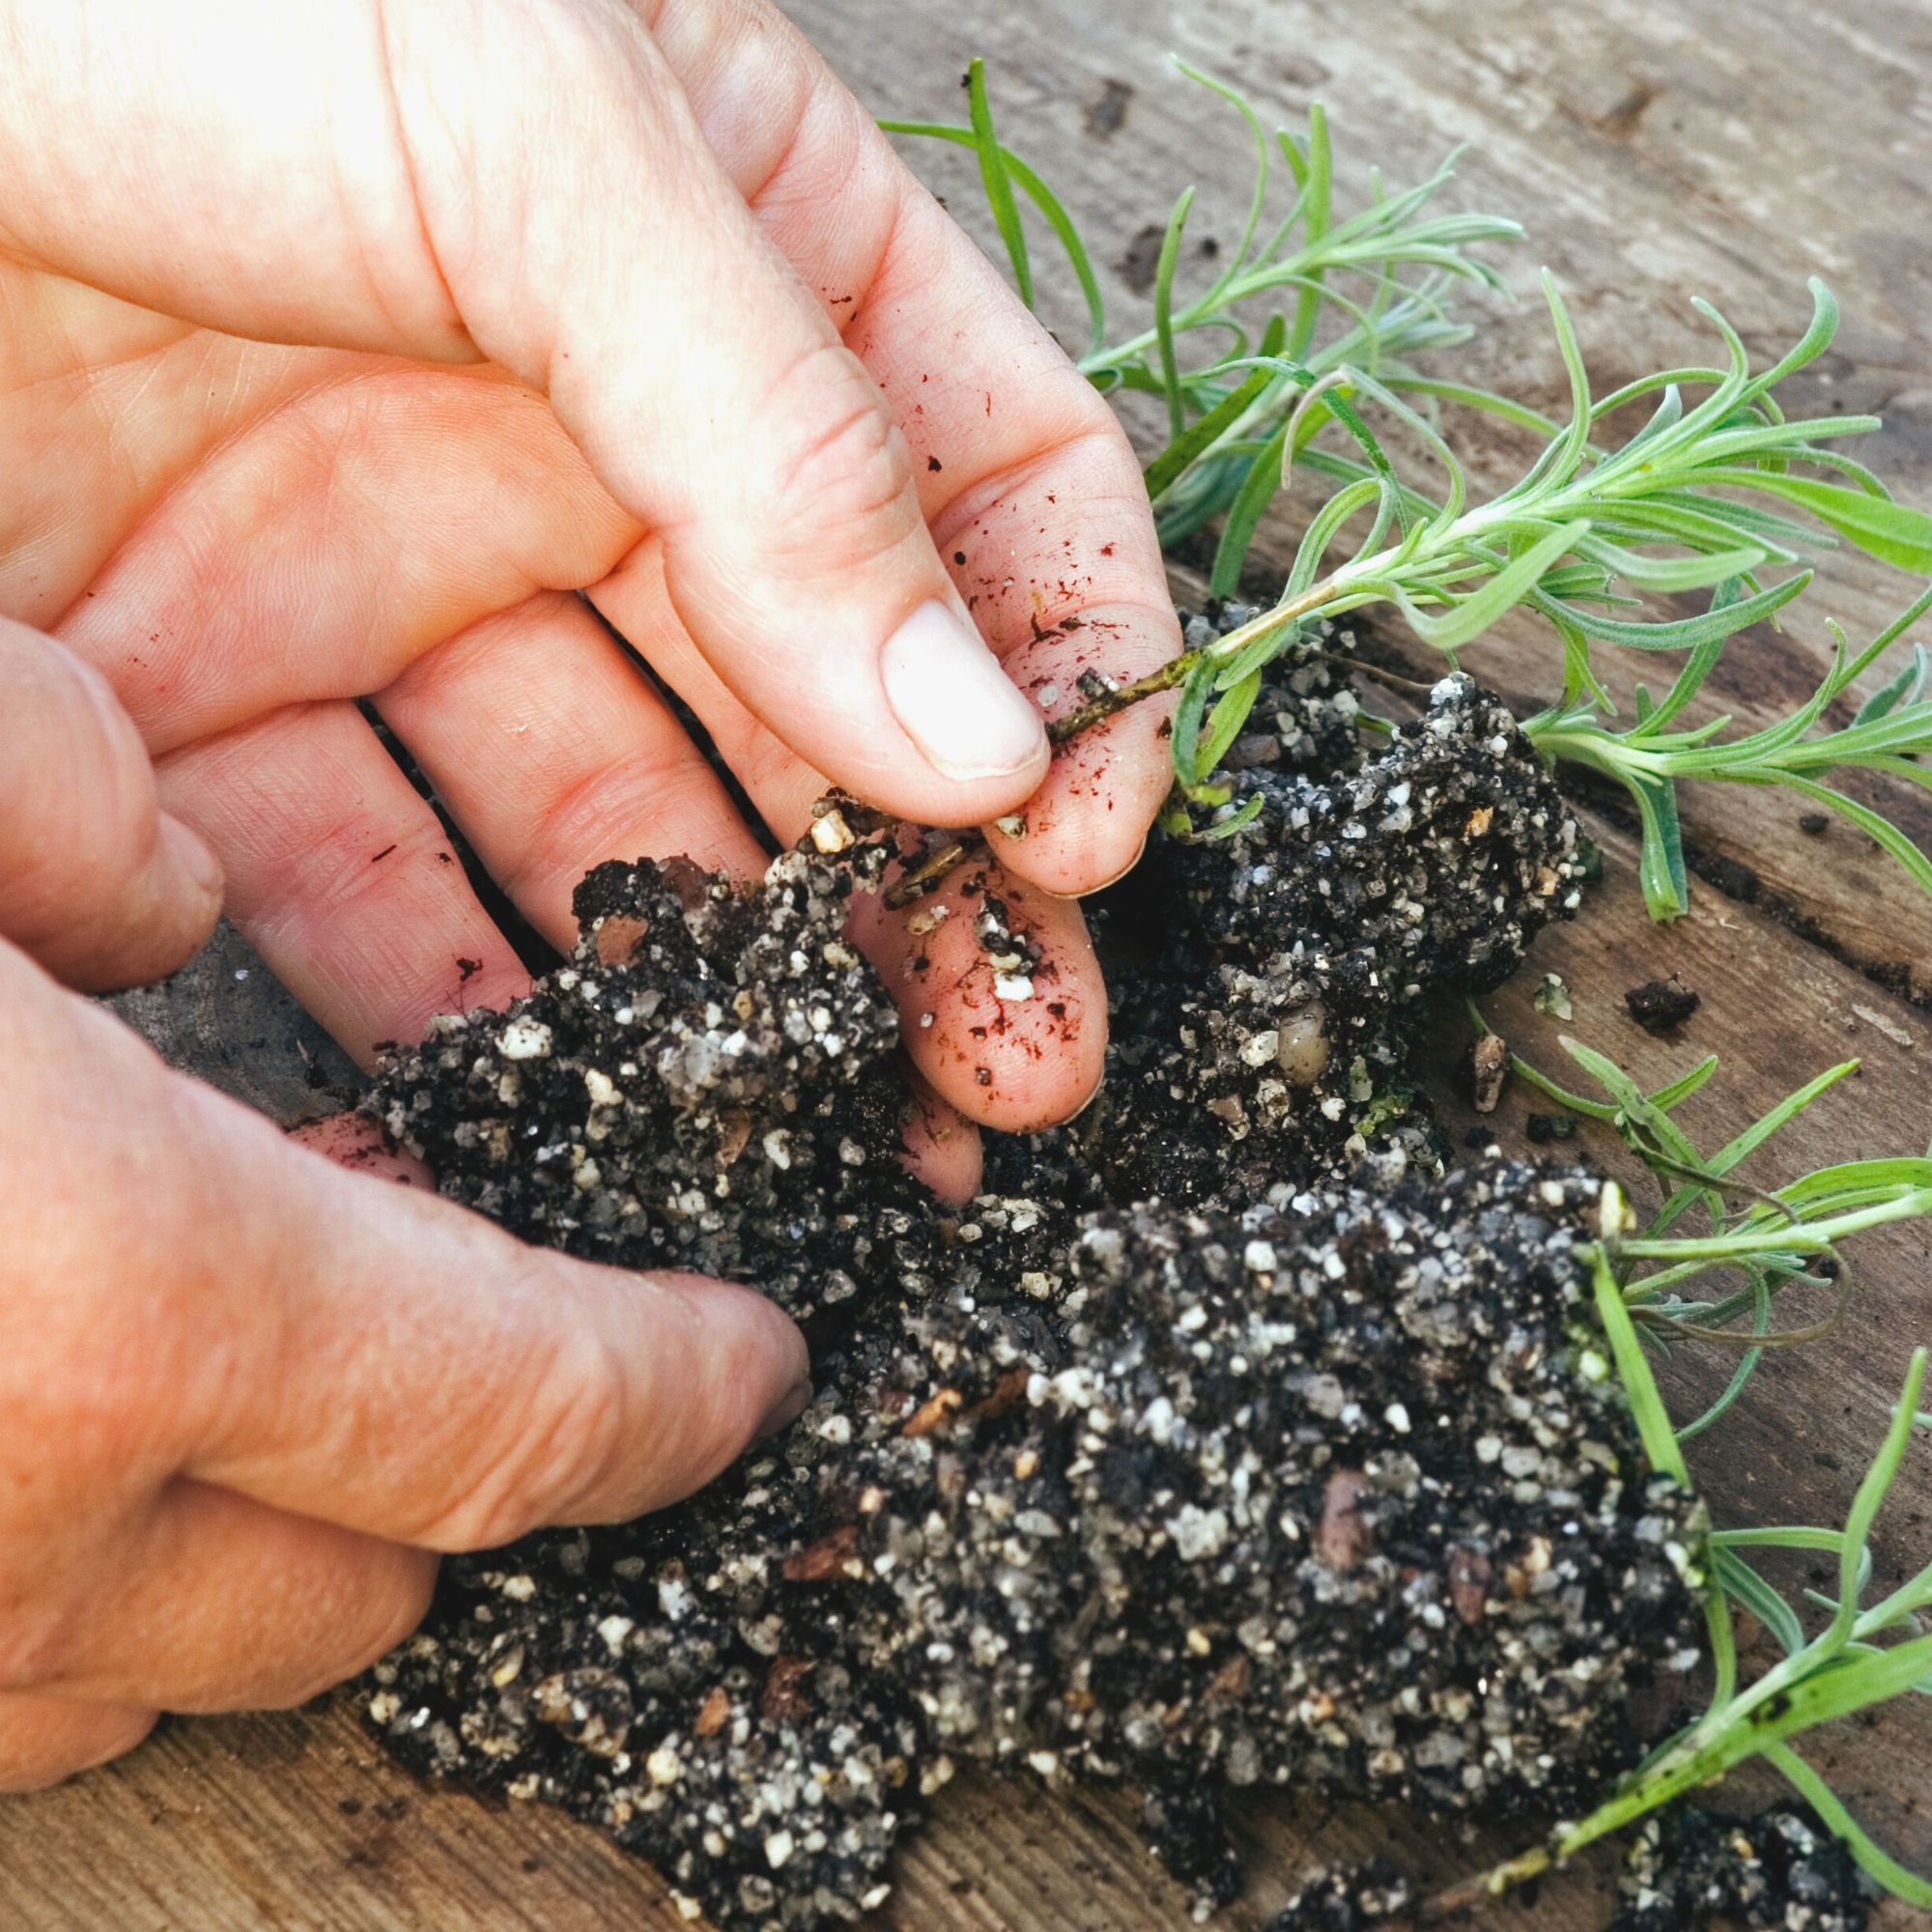
It should take around 4 to 6 weeks for your cuttings to root.
'You need to know if roots are forming on your cutting, and this can be difficult when it’s in soil,' says Lucie of Two Wests & Elliot Ltd. 'You can gently try to remove the cutting from the soil, and if there is any resistance, this shows that the roots are beginning to develop.'
Once you've got established roots, remove the cuttings ensuring not to damage the roots. The best way to do this is to tip out the pot and remove the soil and roots as one unit. You can then repot these in individual nursery pots.
10. Harden off your cuttings
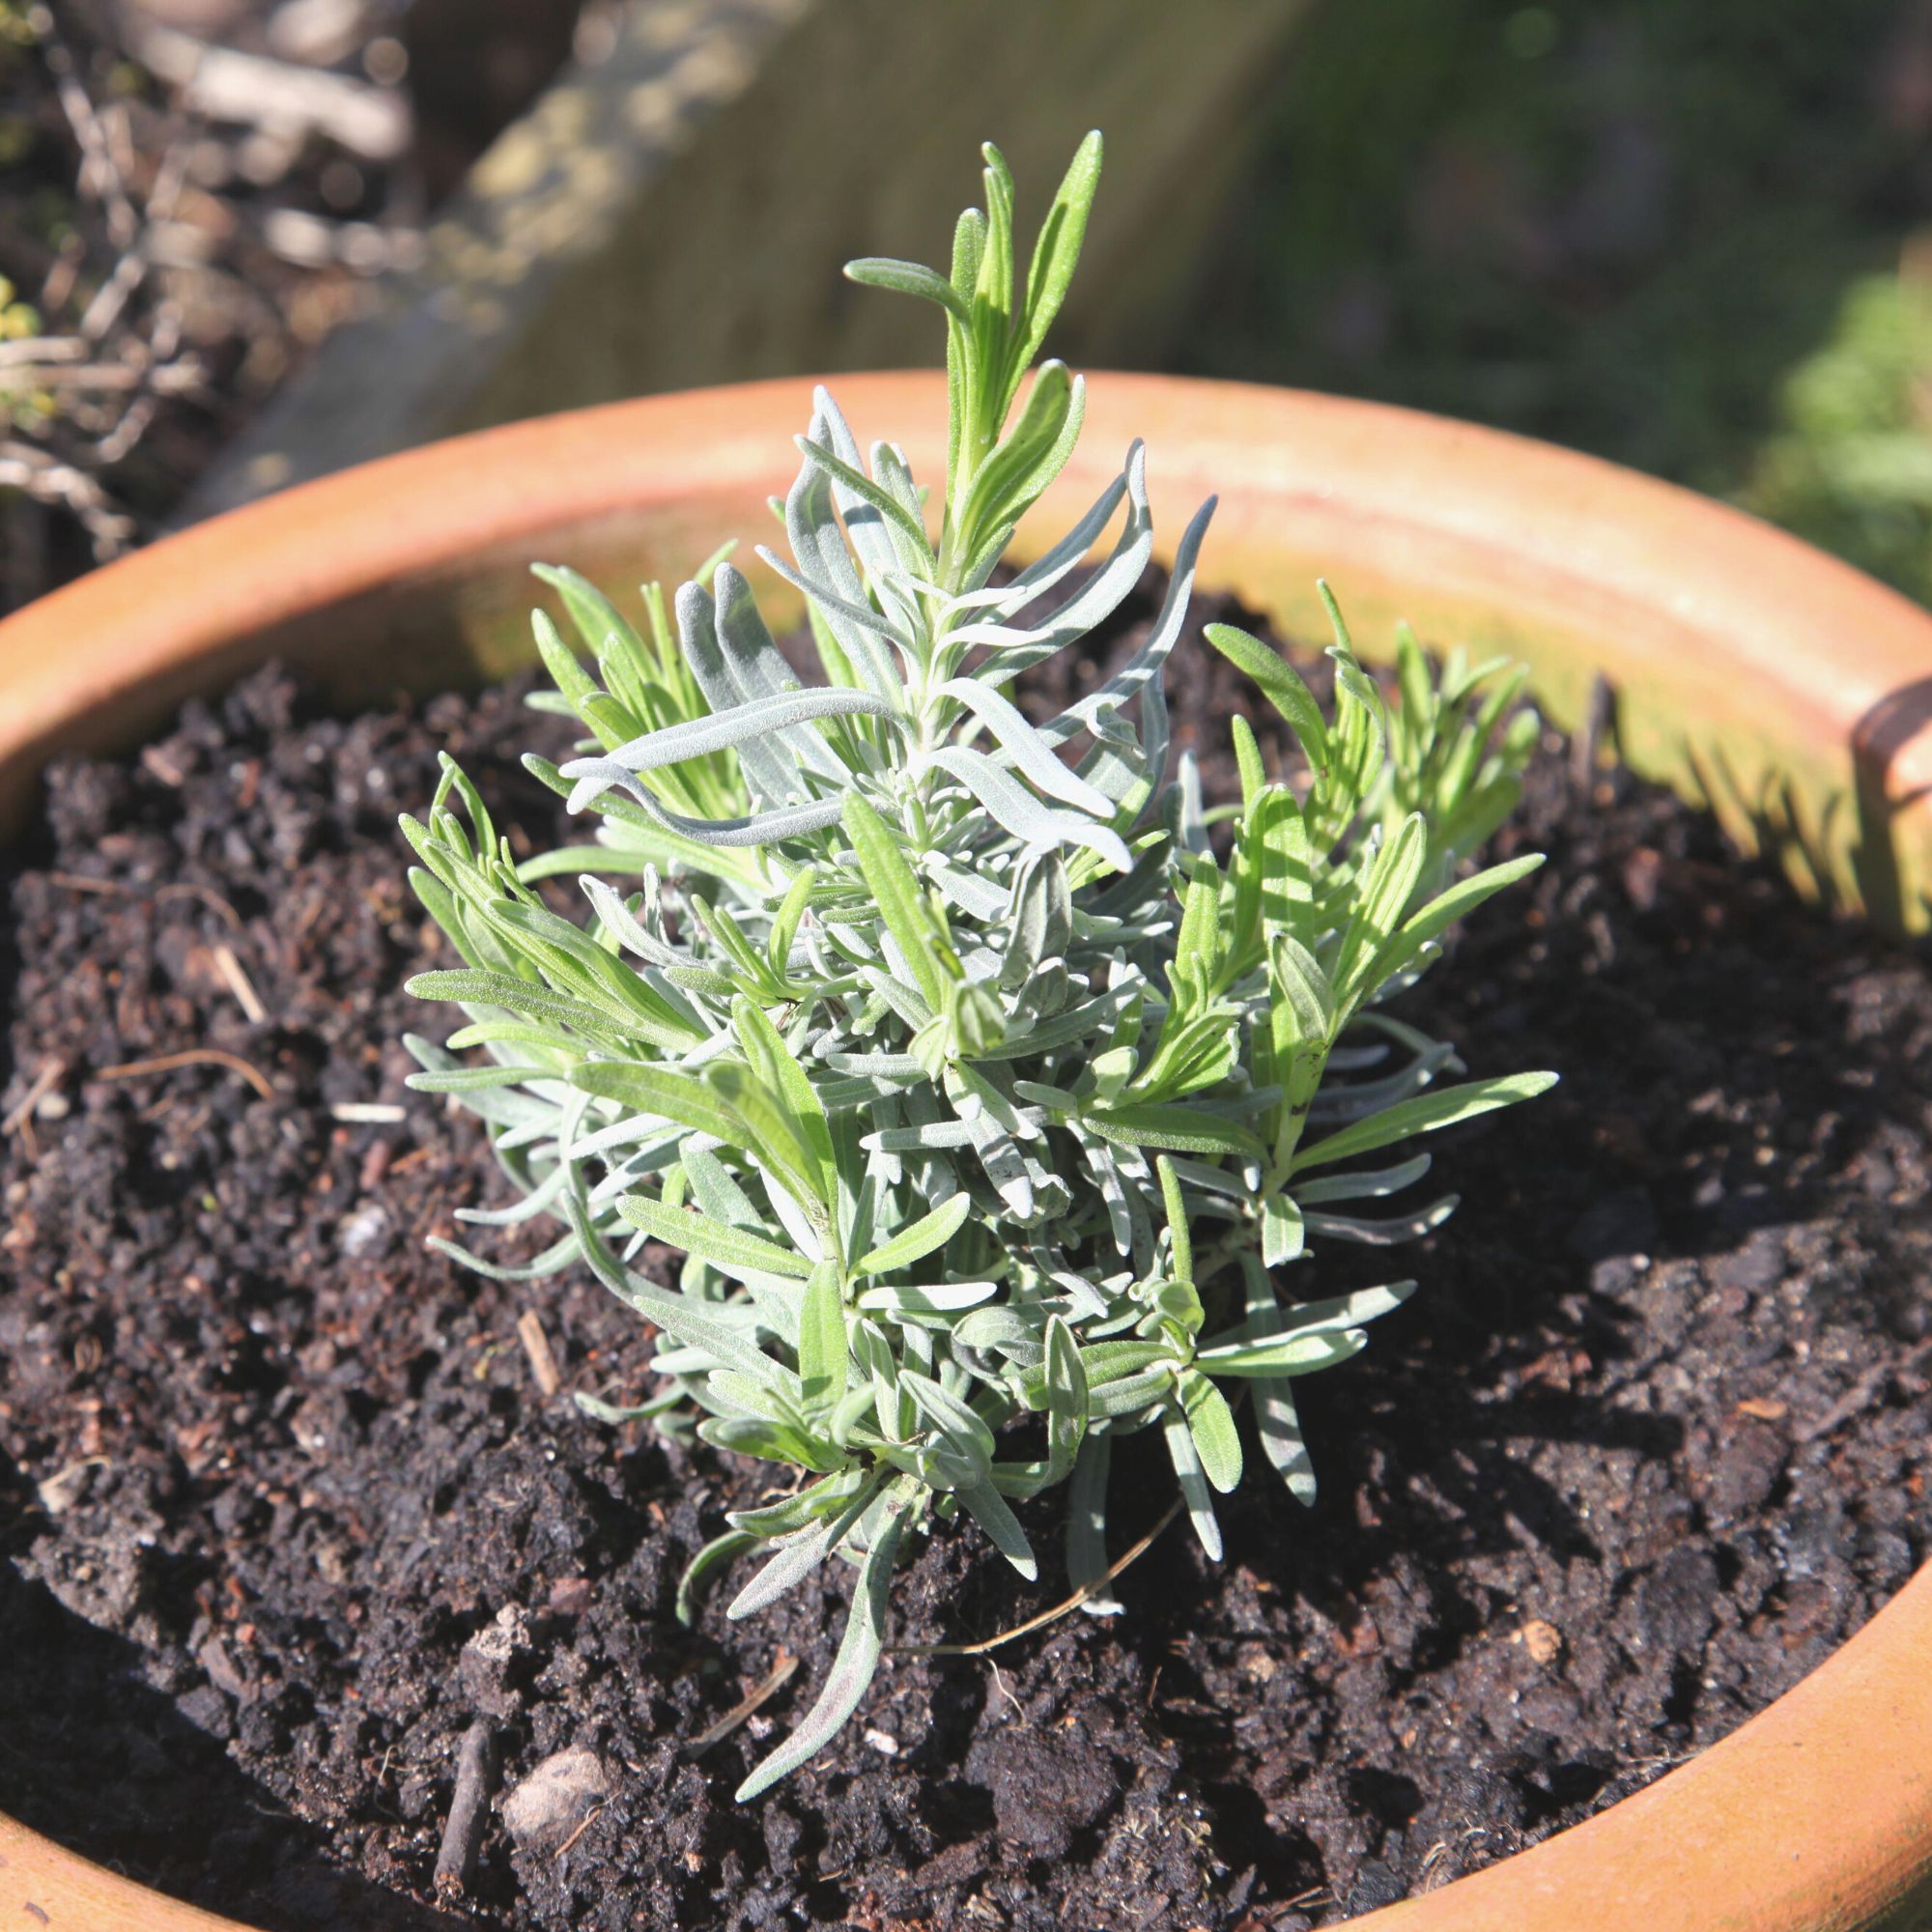
'When your lavender plants have had a few weeks in their nursery pots, they will need to become acclimatised gradually to the outdoors before being transferred outside, which is also known as “hardening off",' explains Daniel from Cultivar Greenhouses.
'To do so, take your young lavender plants outside on warm days and place them in a sunny, sheltered spot. At night, bring it back indoors to protect it from the cooler night temperatures. Over the space of a few weeks, you will be able to plant your newly hardened lavender plant outside for good.'
Once they're fully established, you can repot your lavender into a pretty pot – the perfect addition to your container garden ideas – or can be planted out in the border.
FAQs
How to take cuttings from a friend
If you are hoping to take a cutting from a friend's or family member's garden, it is important to ensure that your cutting will survive.
'If you are taking advantage of a friend’s garden to get your cuttings from, then take them just before you are about to set off back home to reduce the chance of them drying out,' advises Daniel from Cultivar Greenhouses.
'Keep the cuttings moist till you get home by putting them into a clear plastic bag with either a moist paper towel wrapped around their bases or with their bases in a small amount of water.'
Can you grow lavender cuttings in water?
Yes, you can grow lavender cuttings in water. 'Half fill a clear glass or vase with room temperature rainwater (best option), filtered, or distilled water,' suggests Lucie from Two Wests & Elliot Ltd.
'Tap water can be used, but this would be our least favourite option. Next, add the stems and ensure any leaves on the stems are not in the water as they would rot.' Change the water every week and clean the vase if algae start to appear.
The upside of propagating lavender cuttings in water is that you can easily monitor root growth, however, it is often slower.
'Also, as the rooted cutting will eventually be a plant growing in soil, sometimes even the best-rooted cuttings can be damaged when they are transferred into a pot of compost or soil just by the difference in growing media.'
Can I take lavender cuttings now?
Yes, you can take lavender cuttings now.
'You can take lavender cuttings any time from June to September when the plant is in flower, however, the best time is usually when growth is around one month old in July and August, as these semi-ripe cuttings have a stronger chance of success,' explains Daniel from Cultivar Greenhouses.


