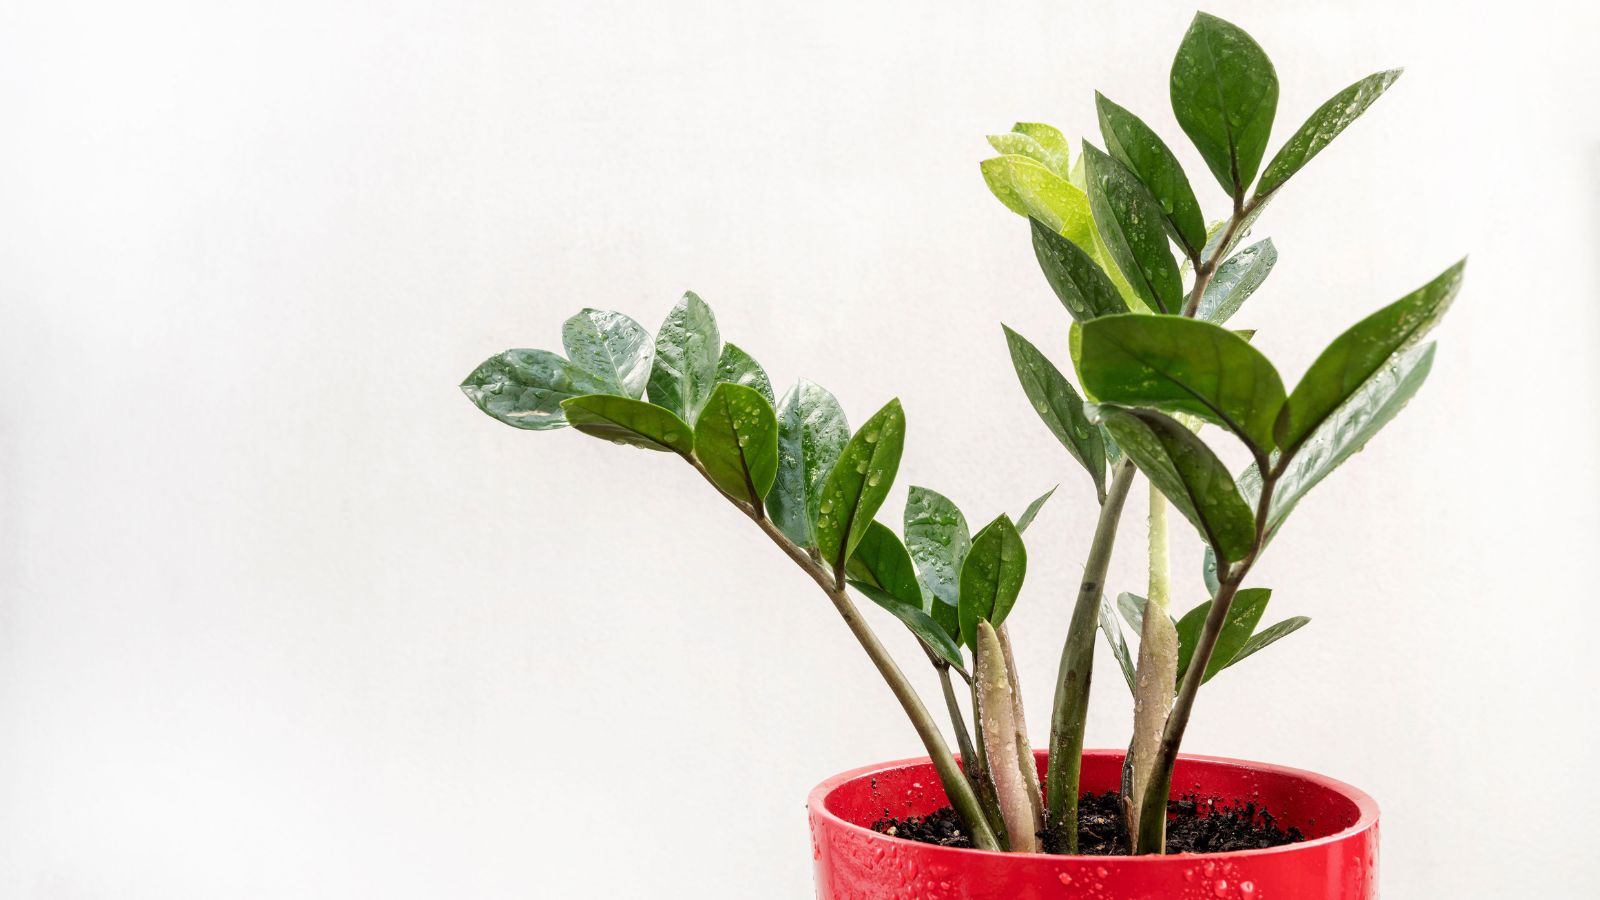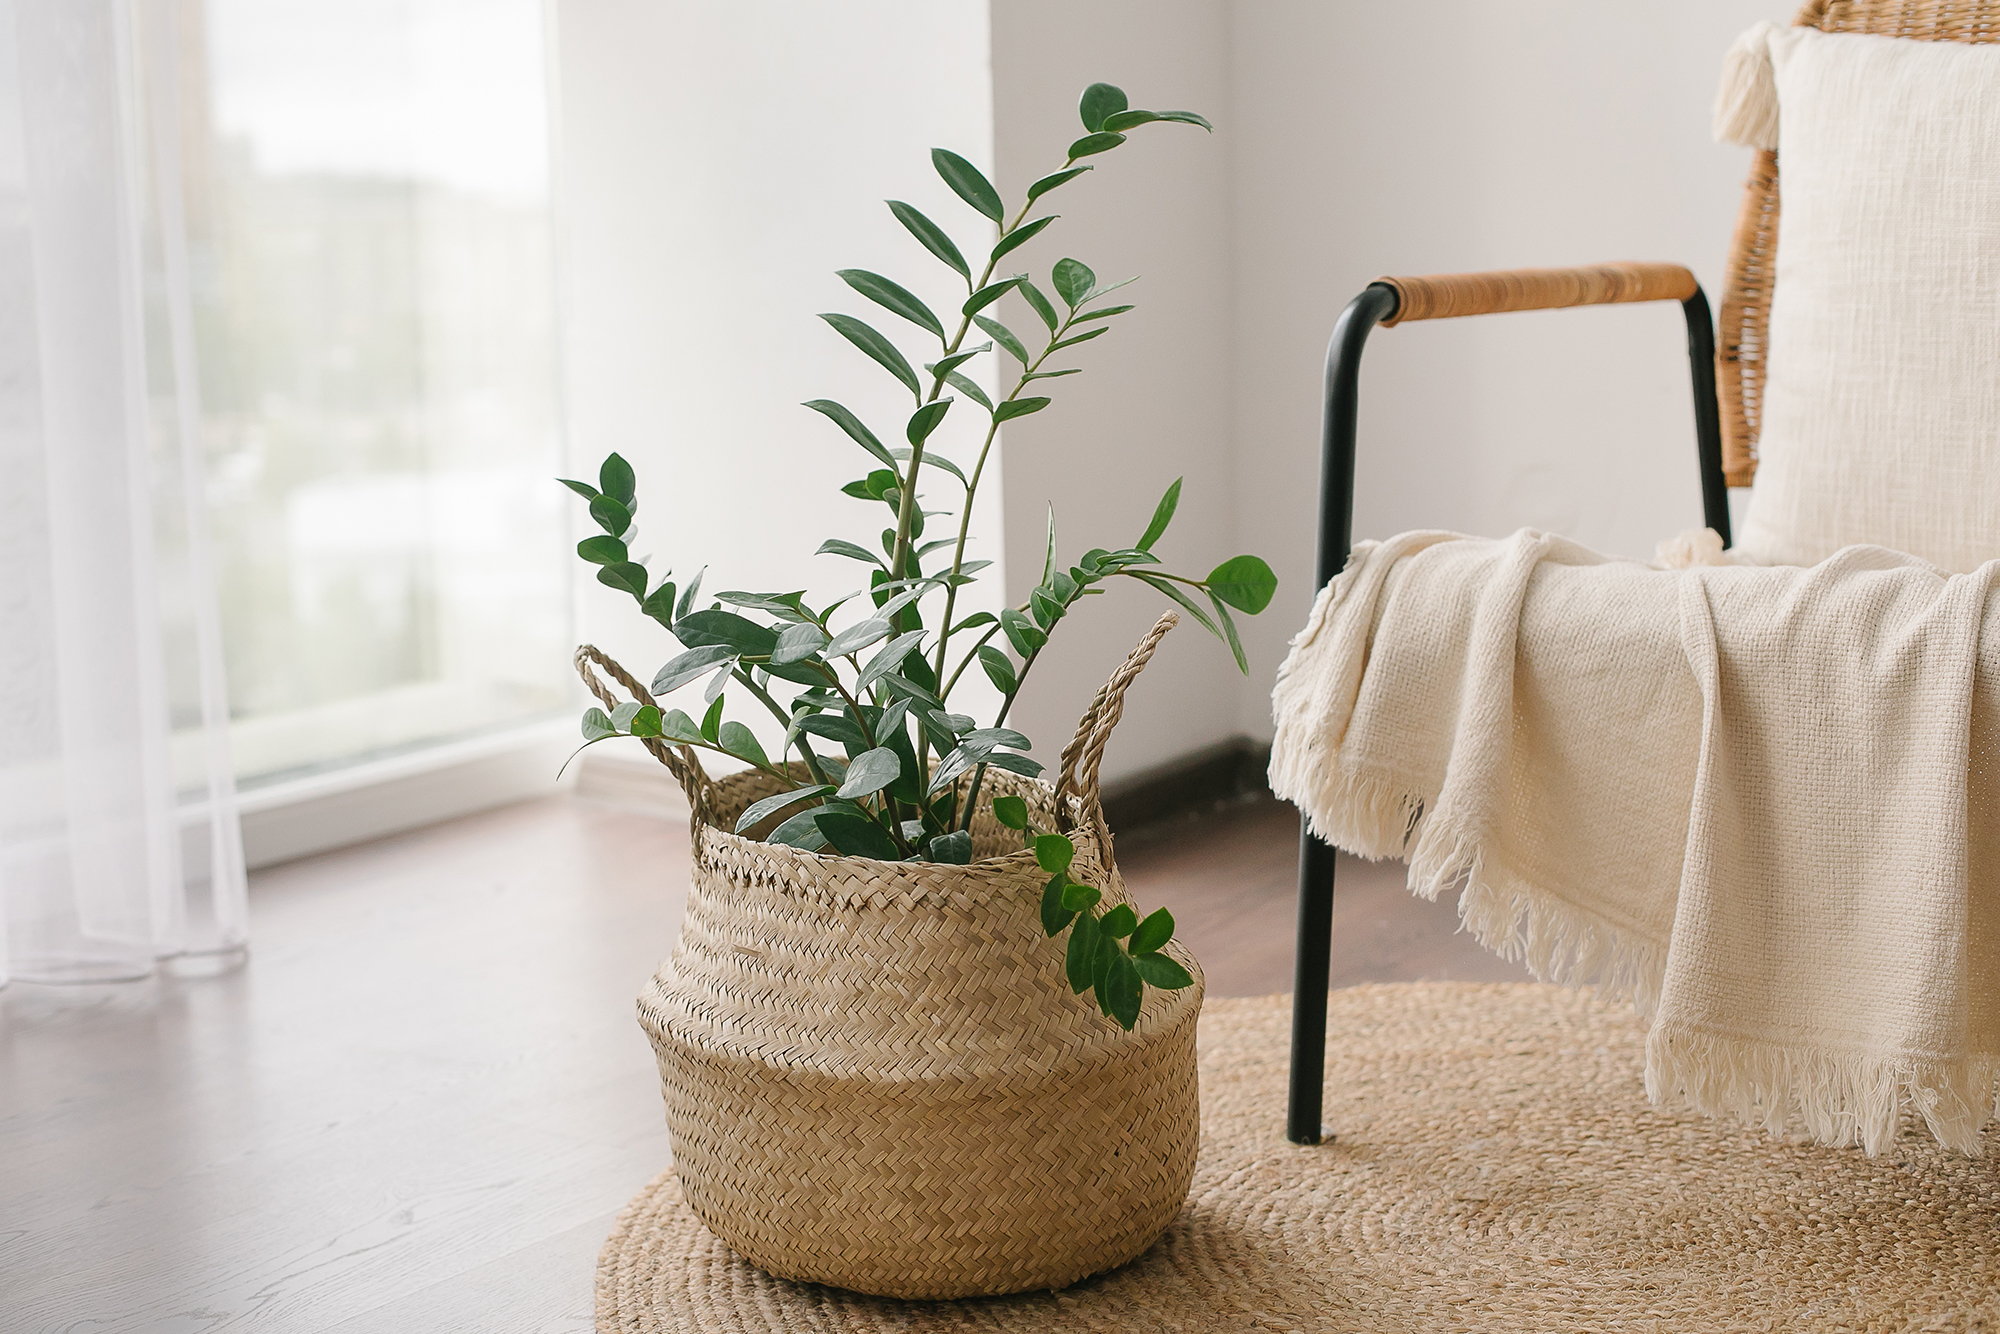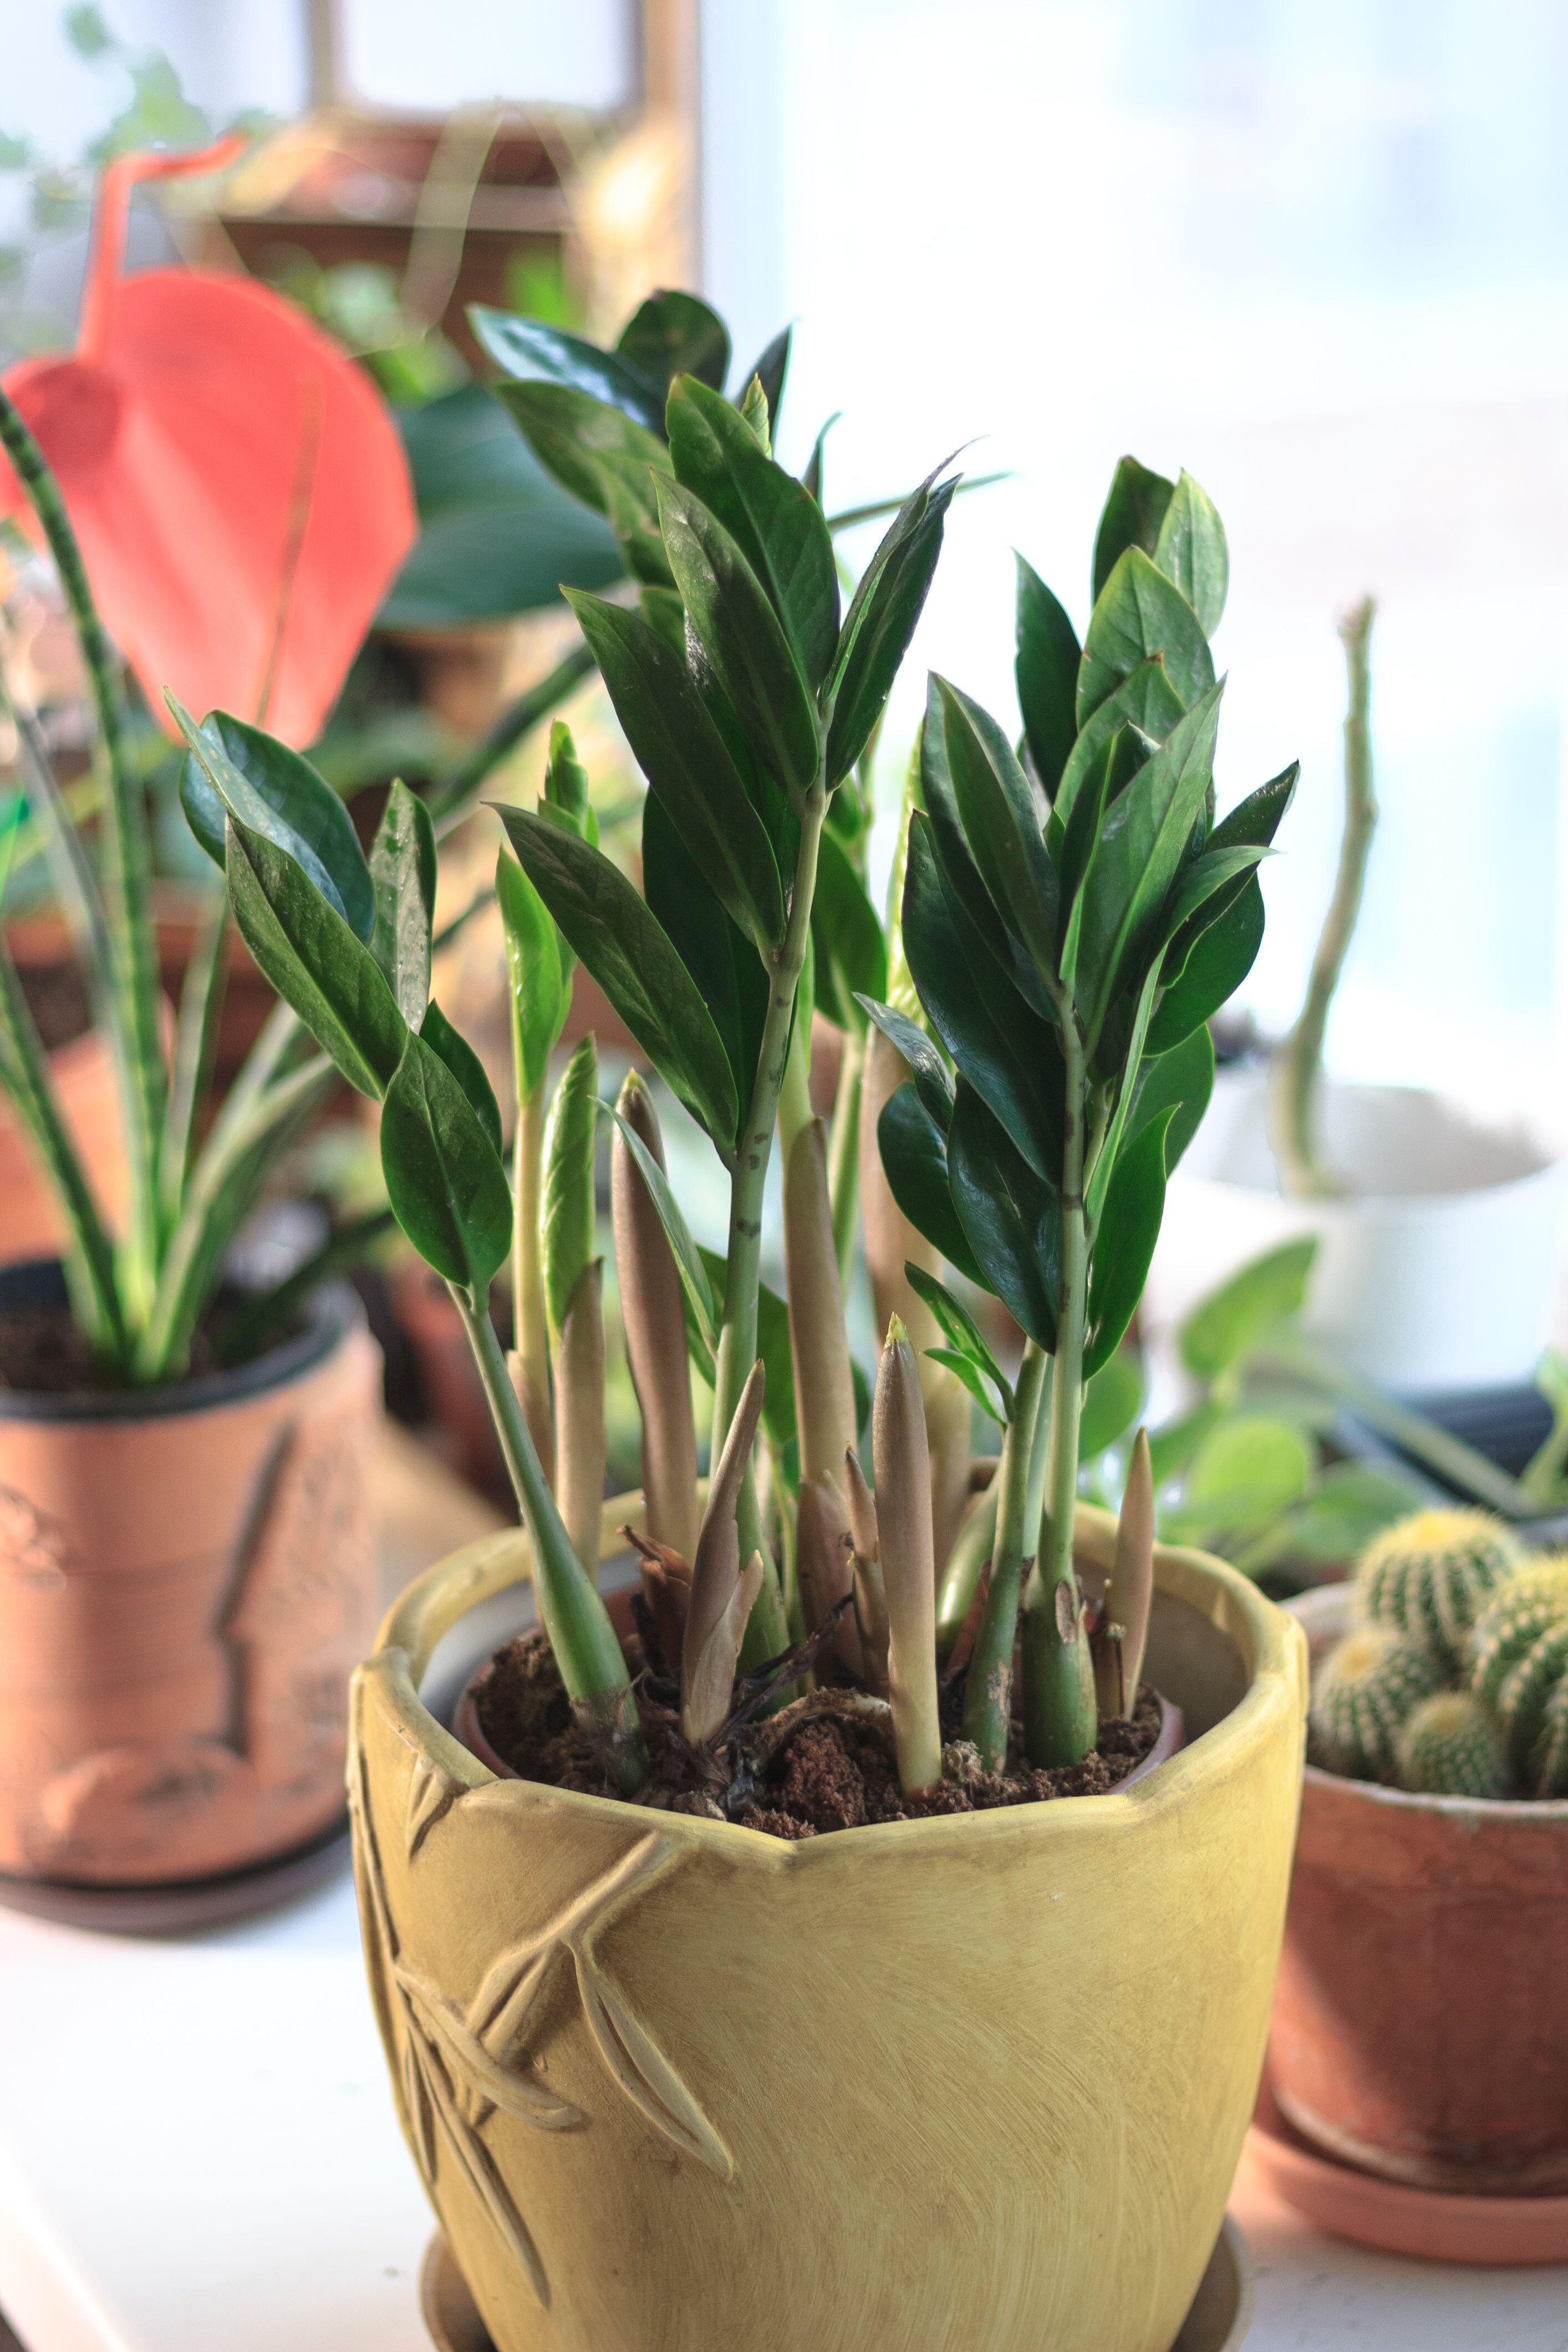
The ZZ plant, or Zamioculcas zamiifolia, is the perfect addition to your indoor plant collection, not only because of its easy-to-manage and aesthetically-pleasing features, but also because it is easy to propagate, meaning you can endlessly fill your house with more of them without spending any money.
As one of the best low maintenance indoor plants, the ZZ plant can quickly grow its tall, dark, glossy leaves and is pretty tricky to kill. It's also a great air-cleaning indoor plant, which makes it the ideal for bedrooms, living spaces and home offices.
'Propagating ZZ plants offers several advantages. Firstly, it allows you to grow more plants without purchasing additional ones. Secondly, it helps you rejuvenate an older or leggy ZZ plant, encouraging healthier growth. Lastly, propagating ZZ plants lets you share the joy of gardening with others by gifting them a new plant,' says Zahid Adnan, gardening expert and the founder of The Plant Bible.
Propagating a ZZ plant is actually simple, if you follow these easy steps.
- You can find Costa Farms Tall Green ZZ Plant at Walmart
How to propagate a ZZ plant
Zahid Adnan comments, 'ZZ plant propagation involves taking a portion of an existing plant and encouraging it to develop roots and grow into a new plant. Different methods yield varying success rates, and understanding the plant's natural growth habits can improve your chances of successful propagation.'
There are three different methods that you can use to propagate your ZZ plant. You can either use division, where you separate the plant into several smaller pieces, all of which must contain a stem and roots for this to work.
'Alternatively you can use stem cuttings plus any attached leaves, which will need to form new roots to propagate into a new plant. If you want to avoid impacting your ZZ plant in the process of propagating it, you can even do so by taking a single leaf.'
Propagating ZZ plants with stem cuttings

Using stem cuttings is one of the most common methods of propagating ZZ plants but be warned, this method will take longer than division. It can take anywhere from two to nine months for new roots to grow from a stem, depending on light and temperature conditions.
1. The first step is to use a sterilized and sharp pair of pruning scissors to cut off a stalk from your ZZ plant. The stem should be at least 3 to 4in long and have some leaves. Make sure the leaves and stem you are taking for the cutting is healthy. We recommend using these Deli Garden Pruning Shears from Walmart.
2. If there are a few leaves on the stem you can remove the bottom leaves from the stem so only one or a few healthy ones remain at the top.
3. Leave the stem cuttings out for a few hours to allow the stem ends to callous over. Try to do this somewhere that is warm.
4. Place the stems in a container with enough water to cover the cut ends. The stems in their containers should be placed somewhere warm with plenty of light, and their water should be changed weekly. This will prevent bacteria from growing.
We recommend investing in aesthetically-pleasing propogation containers, since this is a long process, plus these cuttings can be a nice addition to a room. Use these 6 Pcs Plant Terrarium Glass Planter Plant Propagation vases or these Hanging Glass Planters, from Amazon to beautify the growing process.
5. Wait. ZZ plants will be ready to be potted when they have developed rhizomes and roots are at least one inch long.
6. Fill a small plastic or terracotta pot with drainage holes with potting soil that drains well and plant the stem. Water well and allow the excess water to drain from the pot. The plant will fair best in indirect light.
Propagating by division

Experts agree that propagating ZZ plants by division is the easiest method. Part of the reason ZZ plants are so easy to propagate is because they consist of multiple different stems with roots and leaves that can easily be broken up to be replanted and regrown. To do this you need a mature ZZ plant with multiple stems and rhizomes, which ideally needs watering before dividing. You'll know when a ZZ plant is ready to be divided when you notice stems growing alongside the main plant.
1. Remove the ZZ plant from its pot by gently pulling the stems at the base of plant. Brush off the soil from the roots.
2. Break up the plant's rhizomes using your hands or a sterilized knife. By separating its rhizomes so you get separate intact sections of the plant, each with leaves and roots.
3. Take the broken up sections and separately repot them in plastic or terracotta pots with darning holes in well draining soil.
4. 'Place the newly potted divisions in a warm and shaded location. Water them sparingly to avoid overwatering, and gradually introduce them to more light as they establish', adds Zahid Adnan. It's always good to water ZZ plants after dividing and repotting, rather than before.
Since these plants are already established, they should continue growing, which may follow a brief period of the plant recovering, but the plant should get back to full strength pretty soon after.
Propagating with leaf cuttings
This method will certainly take the longest, but on the plus side it will hardly impact the look or health of your main ZZ plant.
1. Cut a few healthy leaves from your ZZ plant, cutting at the base of the leaf where it meets the stem.
2. Leave the leaves somewhere warm to dry and heal before placing them in a container of water to prevent rotting.
3. Alternatively, you can place leaf cuttings in a shallow dish with well draining potting soil. Push the base of the leaf into the soil and keep the soil moist with watering's. Keep it somewhere warm with indirect light
This process is pretty similar to using stem cuttings.
Common issueswith propagating ZZ plants
Zahid Adnan, Gardening expert and the founder of The Plant Bible advises the top problems associated with propagating your ZZ plant are:
'Overwatering and underwatering. Overwatering can lead to root rot, while underwatering can cause the ZZ plant to wilt. Finding the right balance and adjusting watering based on the plant's needs is crucial.
'Pest and disease control. Inspect the parent plant and propagated plants regularly for any signs of pests or diseases. Treat any issues promptly to prevent them from spreading.
'Temperature and humidity concerns. ZZ plants thrive in average room temperatures and moderate humidity. Avoid placing them in cold drafts or excessively dry environments.'
FAQs
When is the best time to propagate a ZZ plant?
Drew Swainston, Gardening expert at Homes & Gardens advises, 'ZZ plants are best propagated in the spring or summer, when they are most actively growing. They tend to start growing in early spring and will continue to actively grow until around mid-fall, providing a long window of potential opportunities for taking cuttings.'
The ideal growing conditions for ZZ plants is around 80°F with bright, indirect light, so it will be quicker to propagate a ZZ plant in warmer seasons when they are actively growing.
These three easy methods for propagating your ZZ plant can ensure you have a house full of these plants on a potentially endless cycle from small growing leaves and stems in cute containers to fully grown plants. This makes ZZ plants one of many of the easiest house plants to grow from cuttings, so why not give it a go?


