
If you take the time now, at the very beginning of the growing season, to learn how to prepare for seed sowing, you will reap the rewards in your vegetable garden and flower beds. Not only will good organization lead to healthier and stronger seedlings, it will also mean lower stress levels and more enjoyment, too.
Rather than hastily sowing seeds old and new and just hoping they will germinate, taking time to gather supplies and plan ahead will increase your success rates, giving you many more gorgeous plants for your yard. Growing vegetables, herbs, annual flowers or perennials from seed is not only fascinating and hugely satisfying, it’s also a brilliant opportunity to try and enjoy more unusual, heirloom crops and blooms.
As horticultural expert Tabar Gifford explains: ‘A new season is a great time to explore, try something new, and expand your garden in meaningful ways. The key is to plan ahead and prepare now, for a successful and enjoyable spring and beyond.’ We have gathered some expert advice, to give you seven key tips for getting started with seed sowing this gardening year.

7 smart ways to prep for seed sowing
From choosing seeds and buying essentials to organising your work area, these expert tips will help you prepare for successful seed sowing.
1. Plan your planting projects
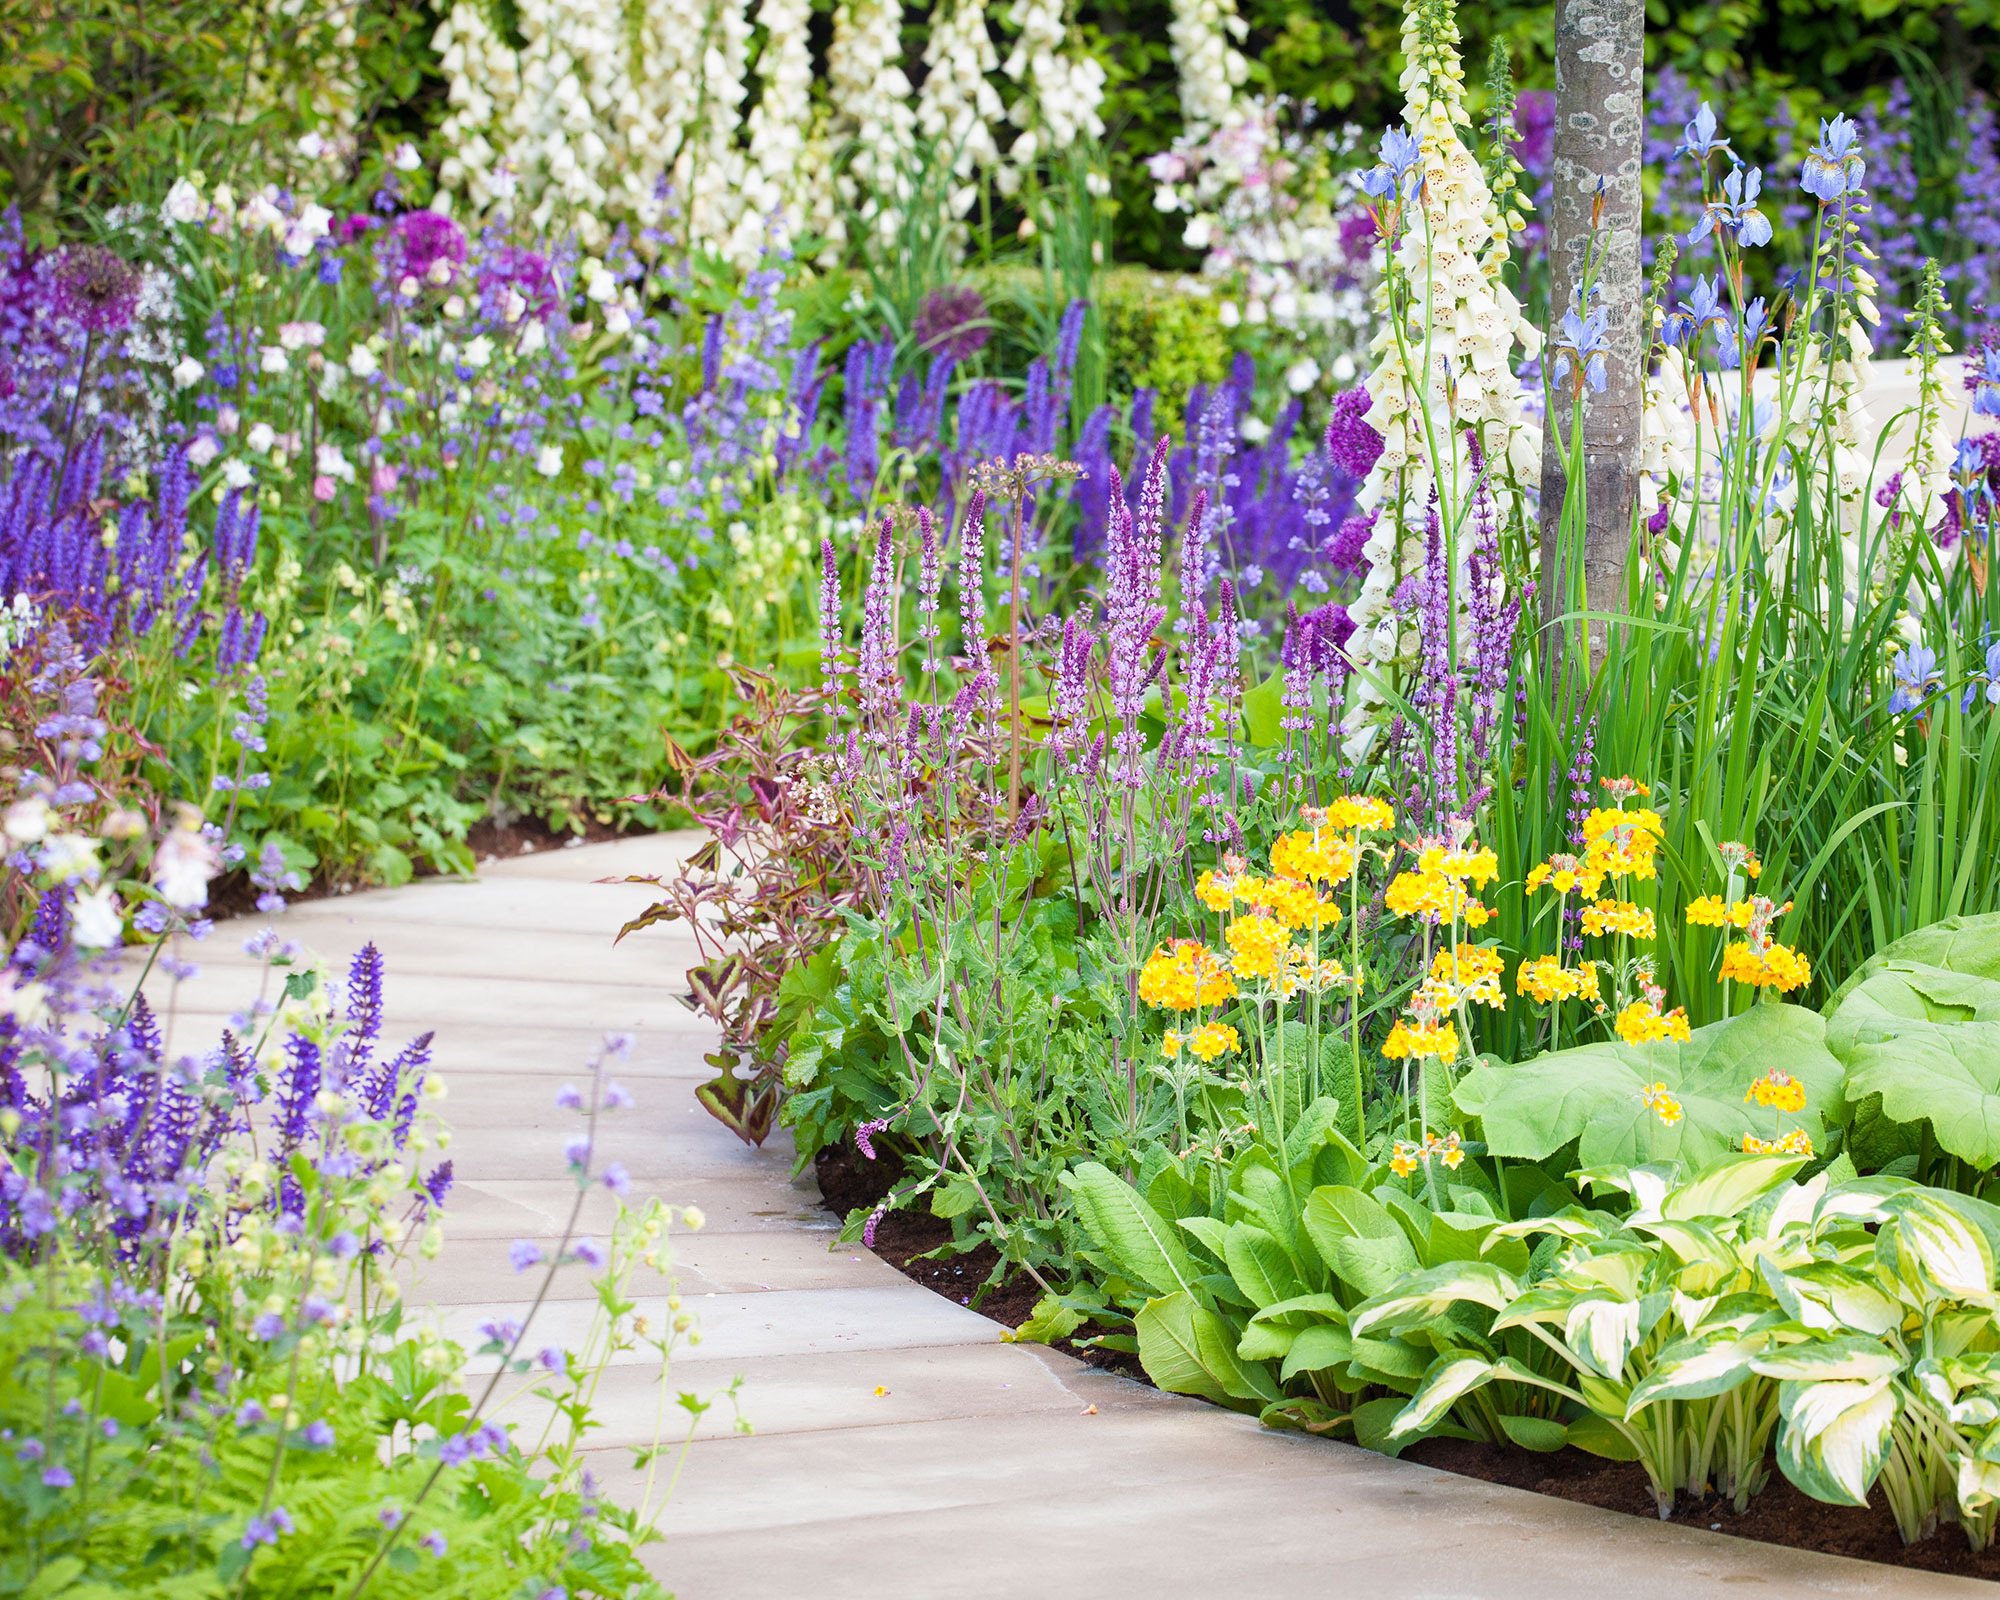
Compiling a list of all the seeds you wish to grow is essential for good sowing preparation. Not only will it help you plan out your sowing dates so you know what to grow when, but it will give you a clear idea of how much space, soil and pots you will need too.
It’s also a great opportunity to focus on any areas of your yard that you wish to rework or improve on this coming year.
Perhaps you have always wanted to liven up a border with show-stopping dahlias from seed or pep up the veg patch with delicious new crop such as rutabaga or nutritious okra? Whatever the reason, good preparation can make all the difference.
2. Stock up on seeds
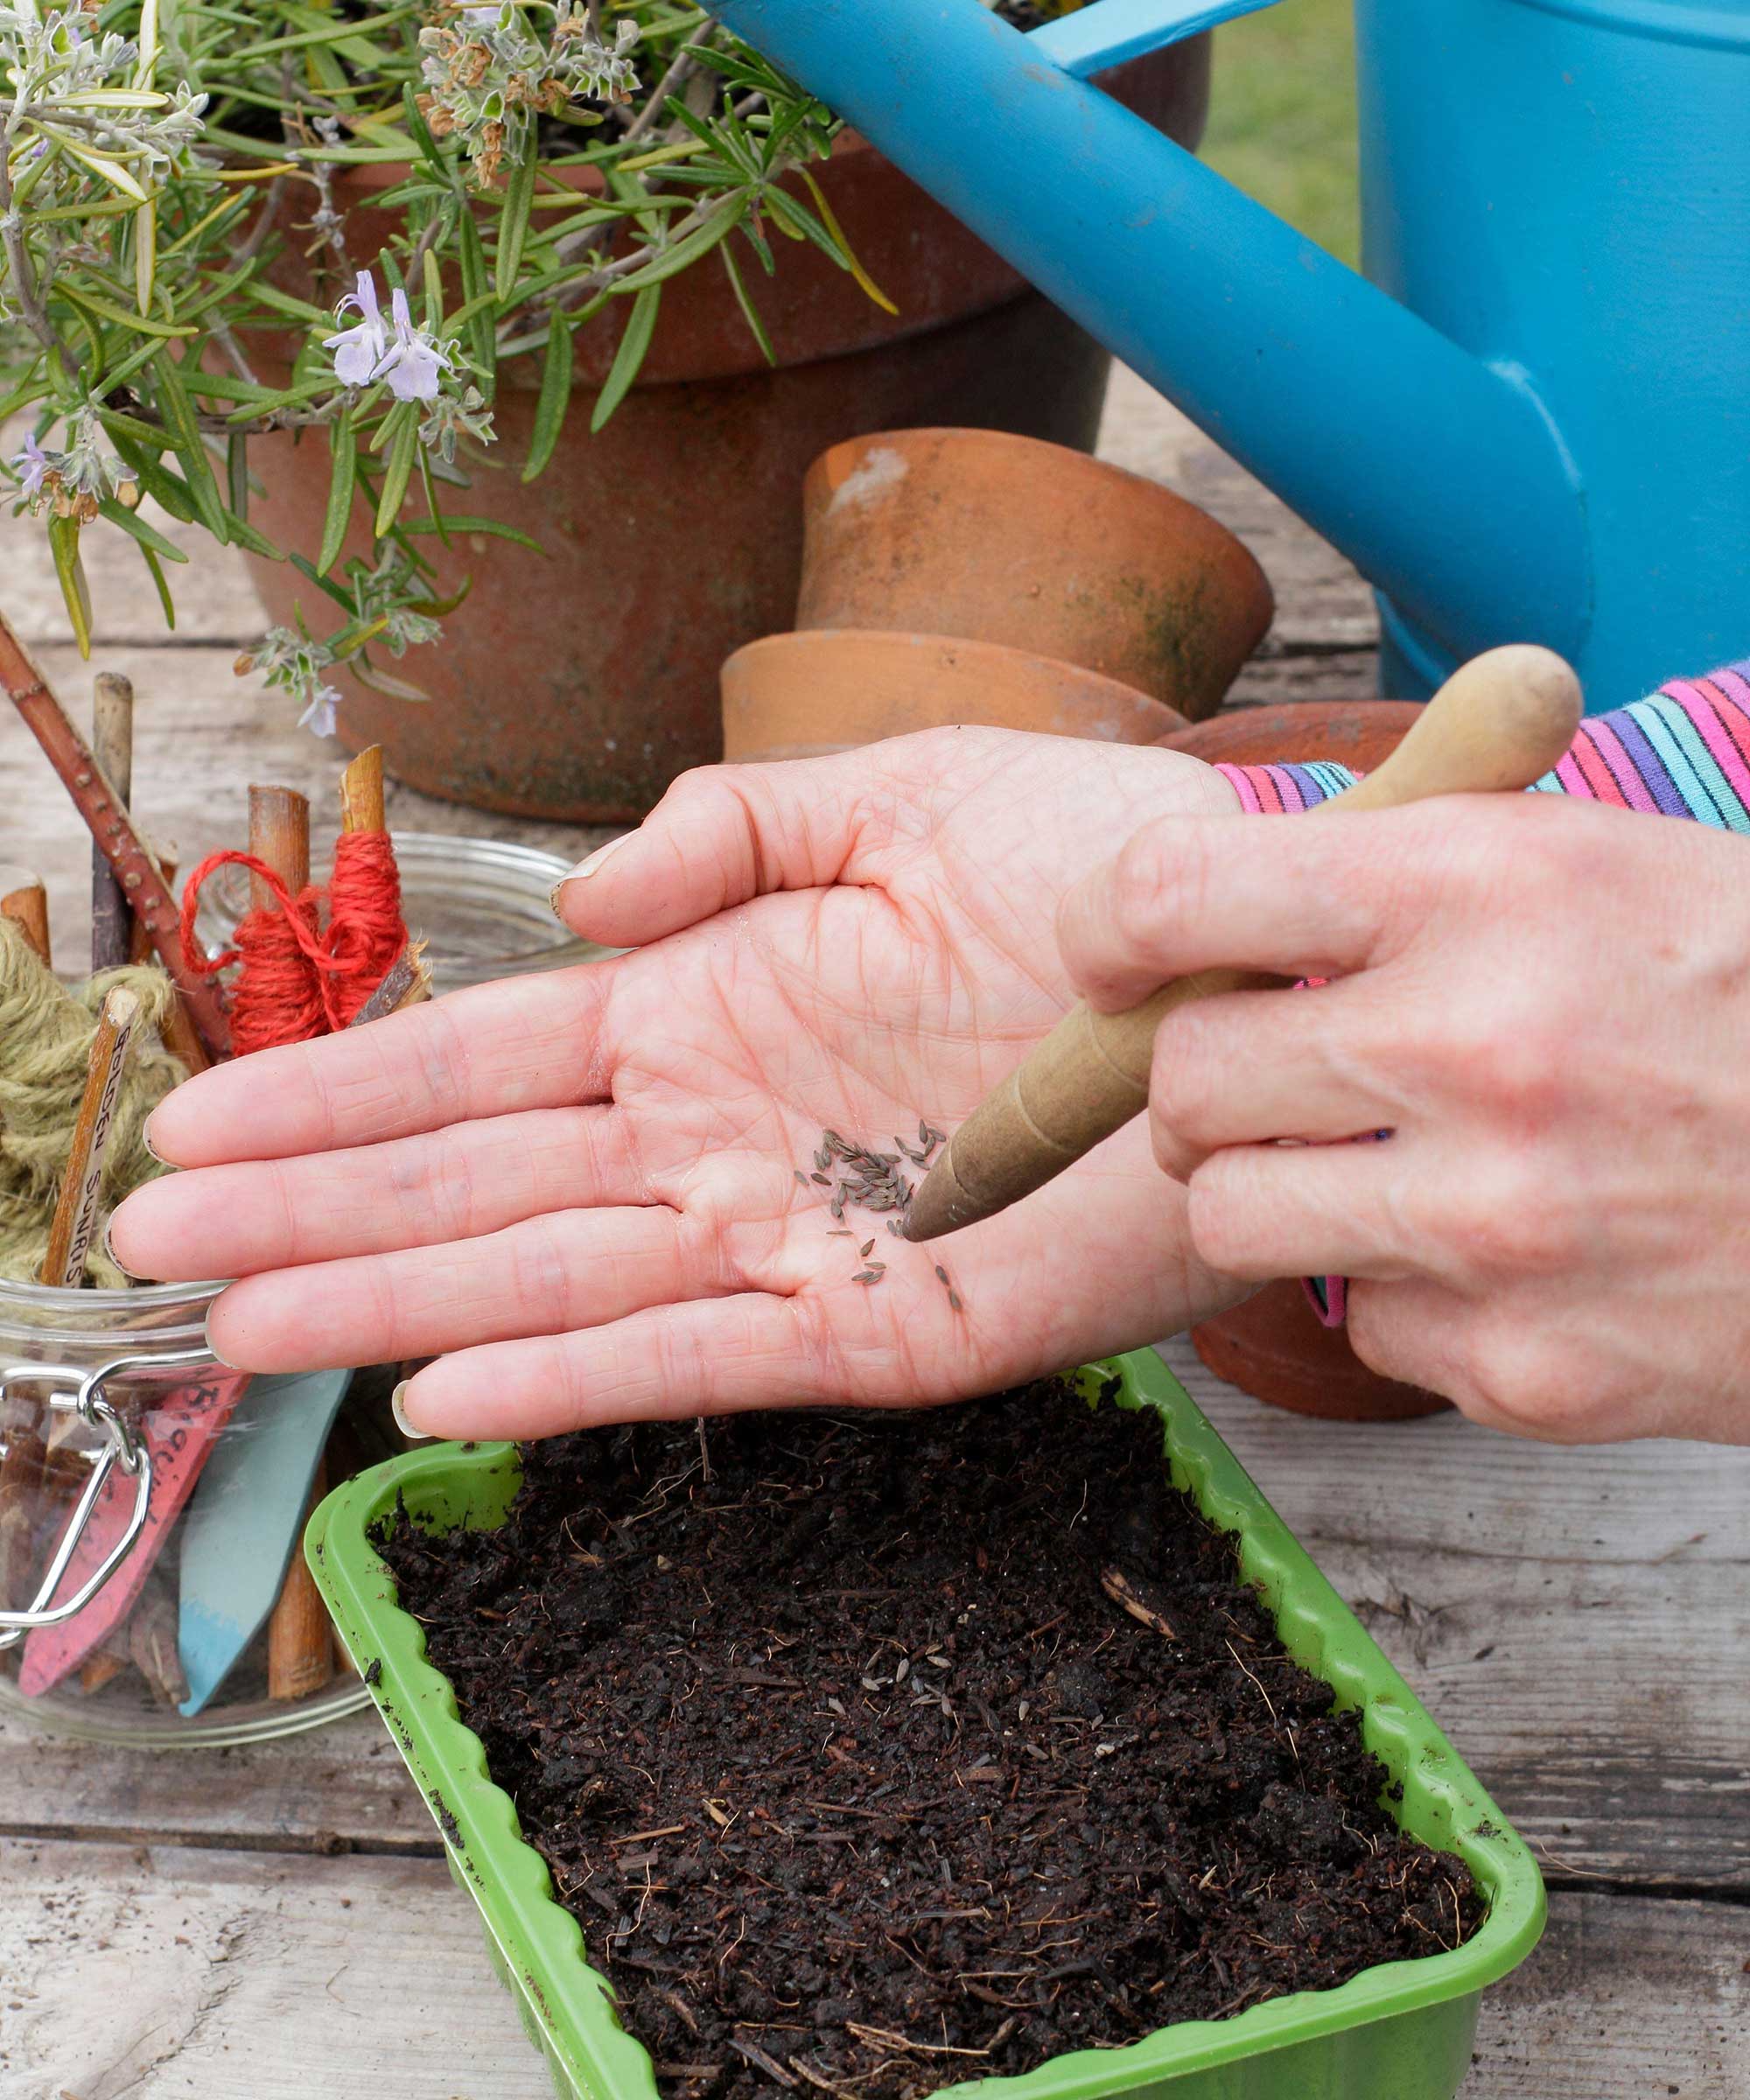
You may have endless seeds to hand, either gathered from your own garden, snaffled from seed swaps or store bought, but it’s a good idea to stock take before sowing to avoid late sowings or missing out altogether. Check your ‘seeds to sow’ list and identify any gaps, so you can get ready to order seeds.
‘For limited and hard to find seeds in particular, it’s best to buy early so you don’t miss out on your favorites,’ says master gardener, Tabar Gifford. ‘Remember, seed stores very well and your future self will thank you when you’ve got exactly what you wanted to dig in come spring planting.’
There are so many flower and veg seed retailers out there, from supermarkets to specialist plant nurseries, but consider other options too. Seed Savers Exchange is a community that helps to ‘steward America’s culturally diverse and endangered garden and food crop legacy', while local seed swap events can also be an exciting opportunity to learn and try growing something new.
Buying seeds from an unreliable source is one of the most common seed sowing mistakes. If packet images look too good to be true, they usually are and can prove a waste of money. Also be wary of buying any seed that has been stored outside, as its likely to have become damp and damaged, leading to germination failure.
3. Check and refresh seed sowing essentials
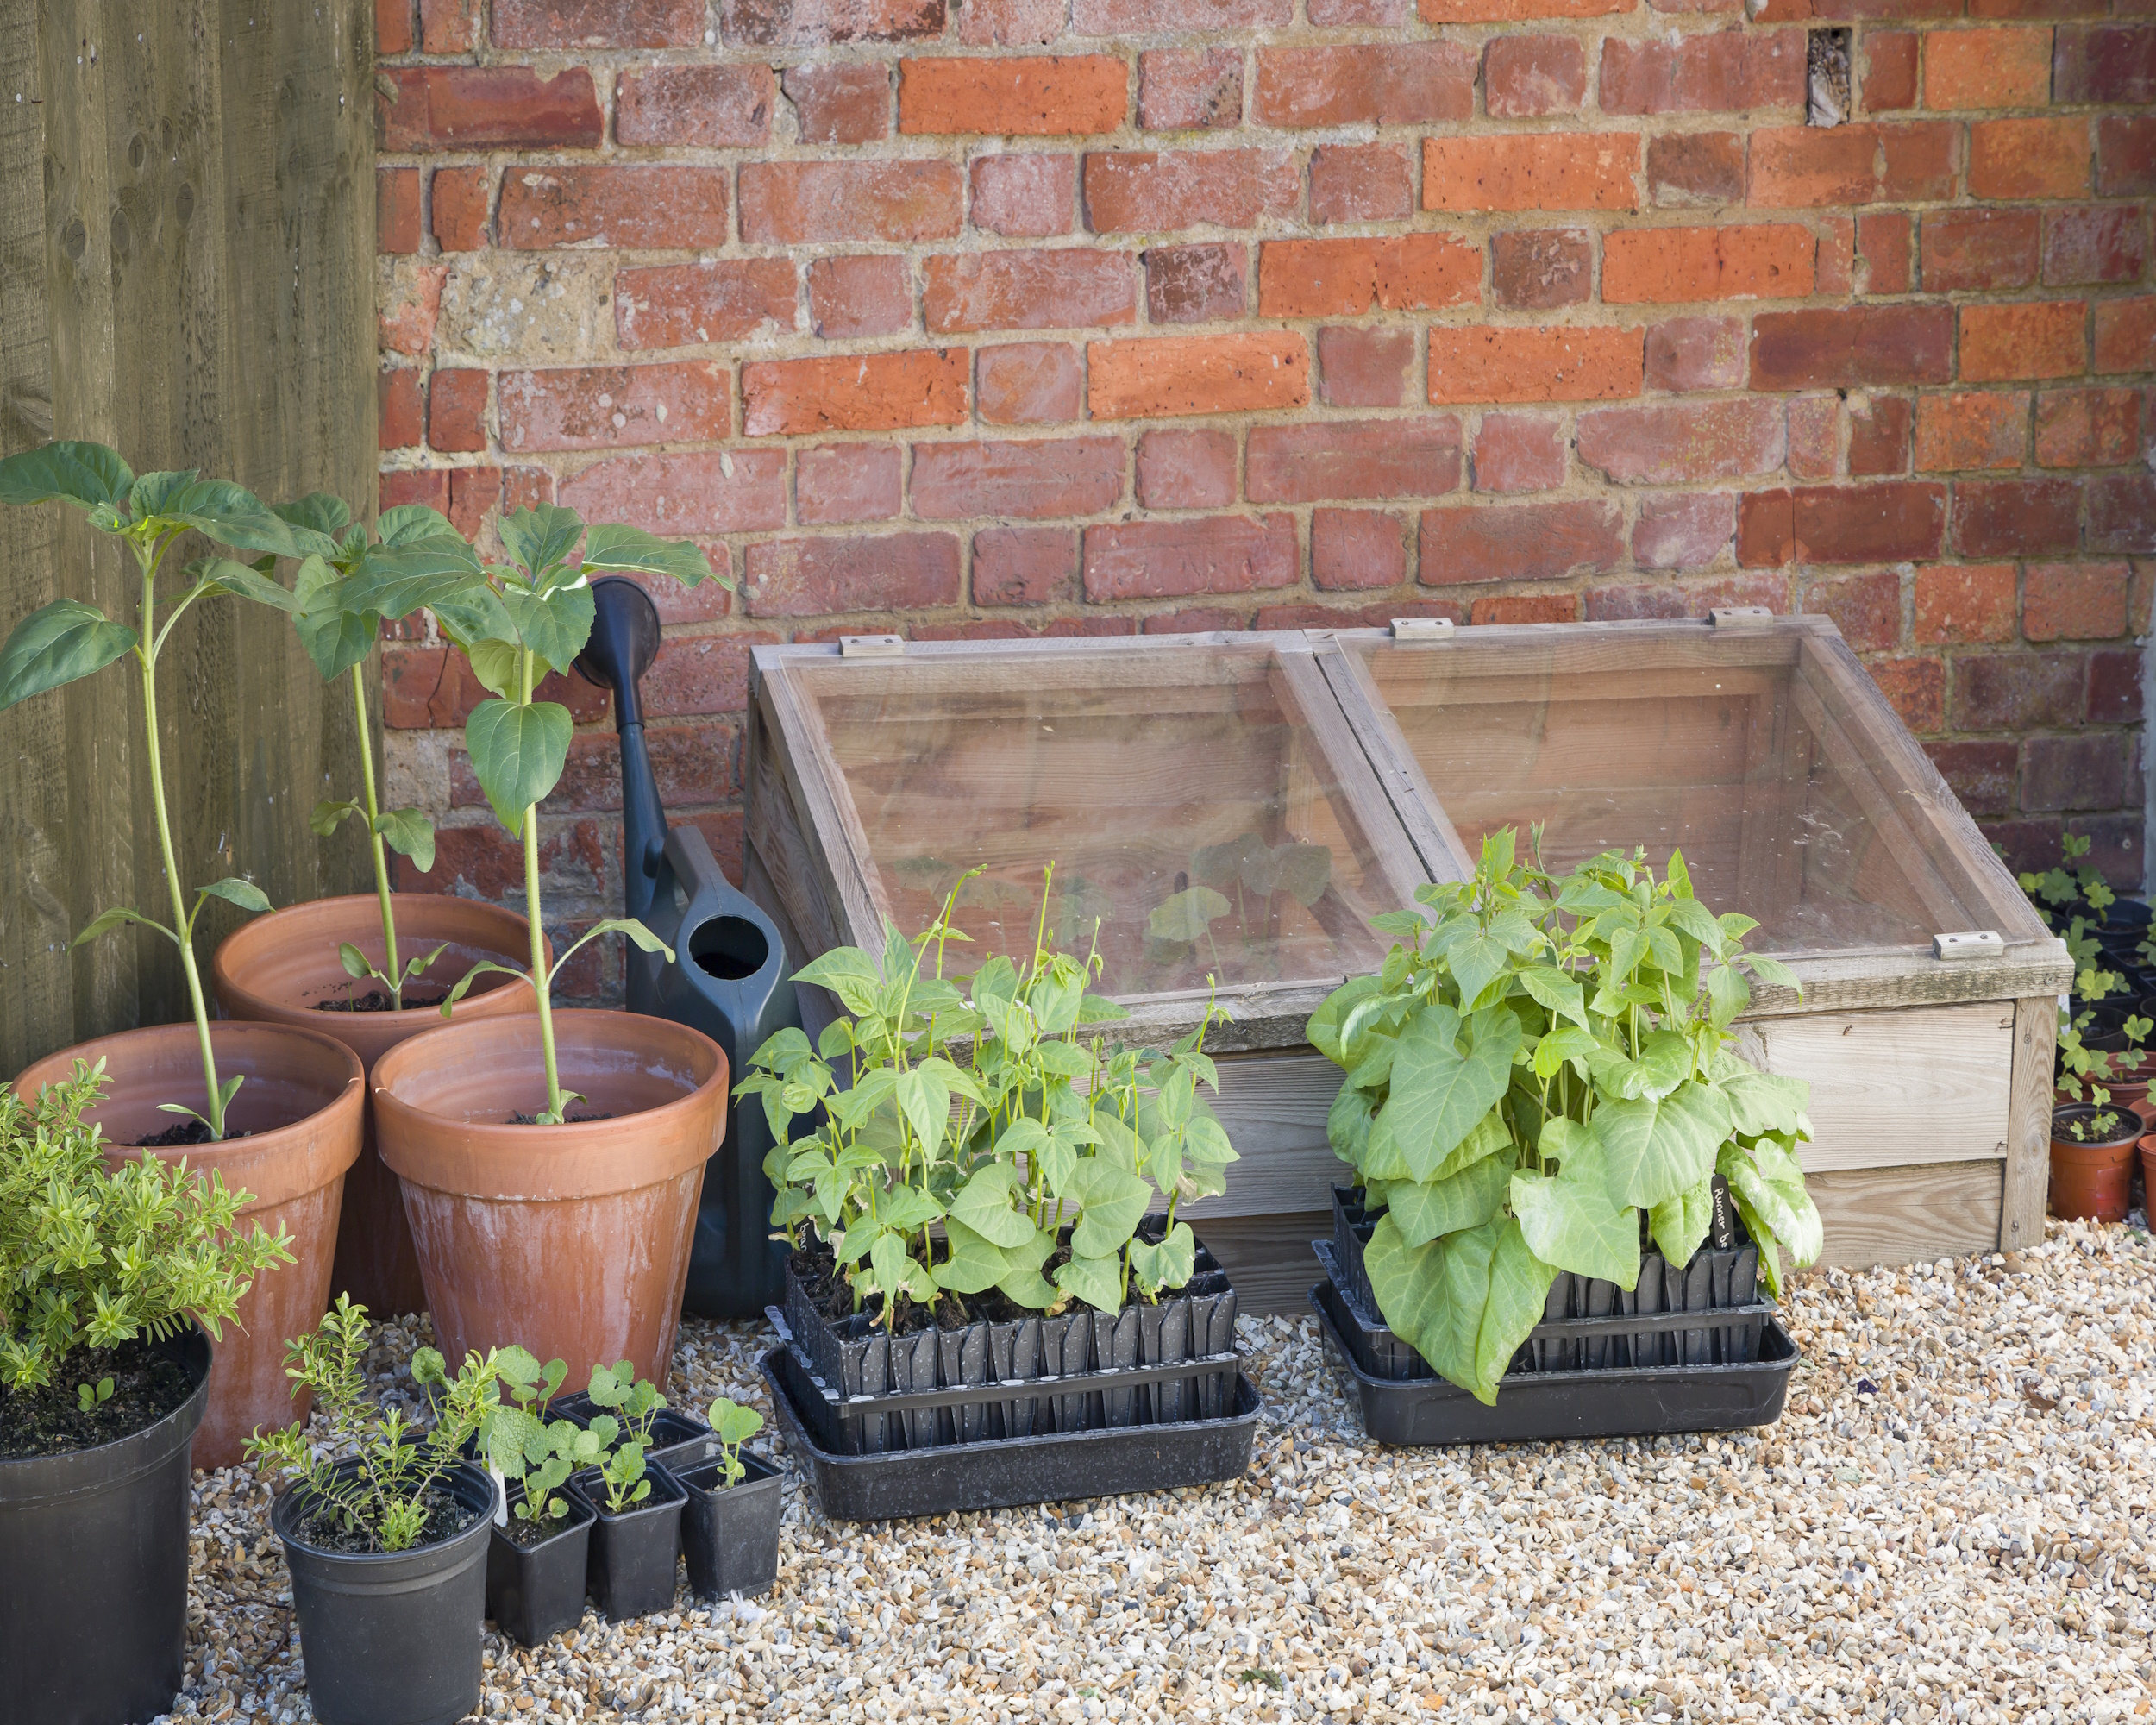
Although not complicated, seed sowing does require some equipment - namely seed compost, cells, pots or trays and some degree of protection. Making sure you have everything to hand before you begin, always pays off, and saves on unnecessary stress and time wasting.
Tabar says: ‘If you’re planning to start seeds indoors, check your supply of pots, seed starting trays, lights and heat mats, such as this one from Amazon, if using as well as your soil and tools. Now is a great time to clean and serialize any supplies you’re planning to use to start your seeds. Restocking on anything you may need in advance will save you the hassle later.’
Investing in fresh seed compost, such as this Sprout soil from Walmart, is always a good plan when starting any amount seed sowing. Opened sacks that have been hanging around for any length of time could harbor harmful bacterial, spores and weeds that can prevent germination or lead to seedlings damping off. Most growers have their own preferred soil to start seeds, but a fine compost that is low in nutrients and retains some water is the basis of most commercial seed mixes.
There are numerous different types of containers for starting seeds in, ranging from plastic seed trays with different size cells, compressed coir and peat pellets, biodegradable pots, such as these from Amazon, and even raw waste wool. While each have different environmental and growing properties, it’s essential that they promote good air circulation and drainage.
Anna Ohler, owner of Bright Lane Gardens explains: ‘Select appropriate containers for starting your seeds. These can be seed trays, peat pots or even recycled containers like egg cartons. Just make sure they have drainage holes at the bottom to prevent waterlogging. Root health is paramount, and well-draining containers support this by allowing oxygen to reach the roots and preventing rot.’
Making sure all seed sowing equipment is scrupulously clean before use will reduce the chance of germination failure and boost the health of your seedlings.
4. Store and organise seed packets correctly
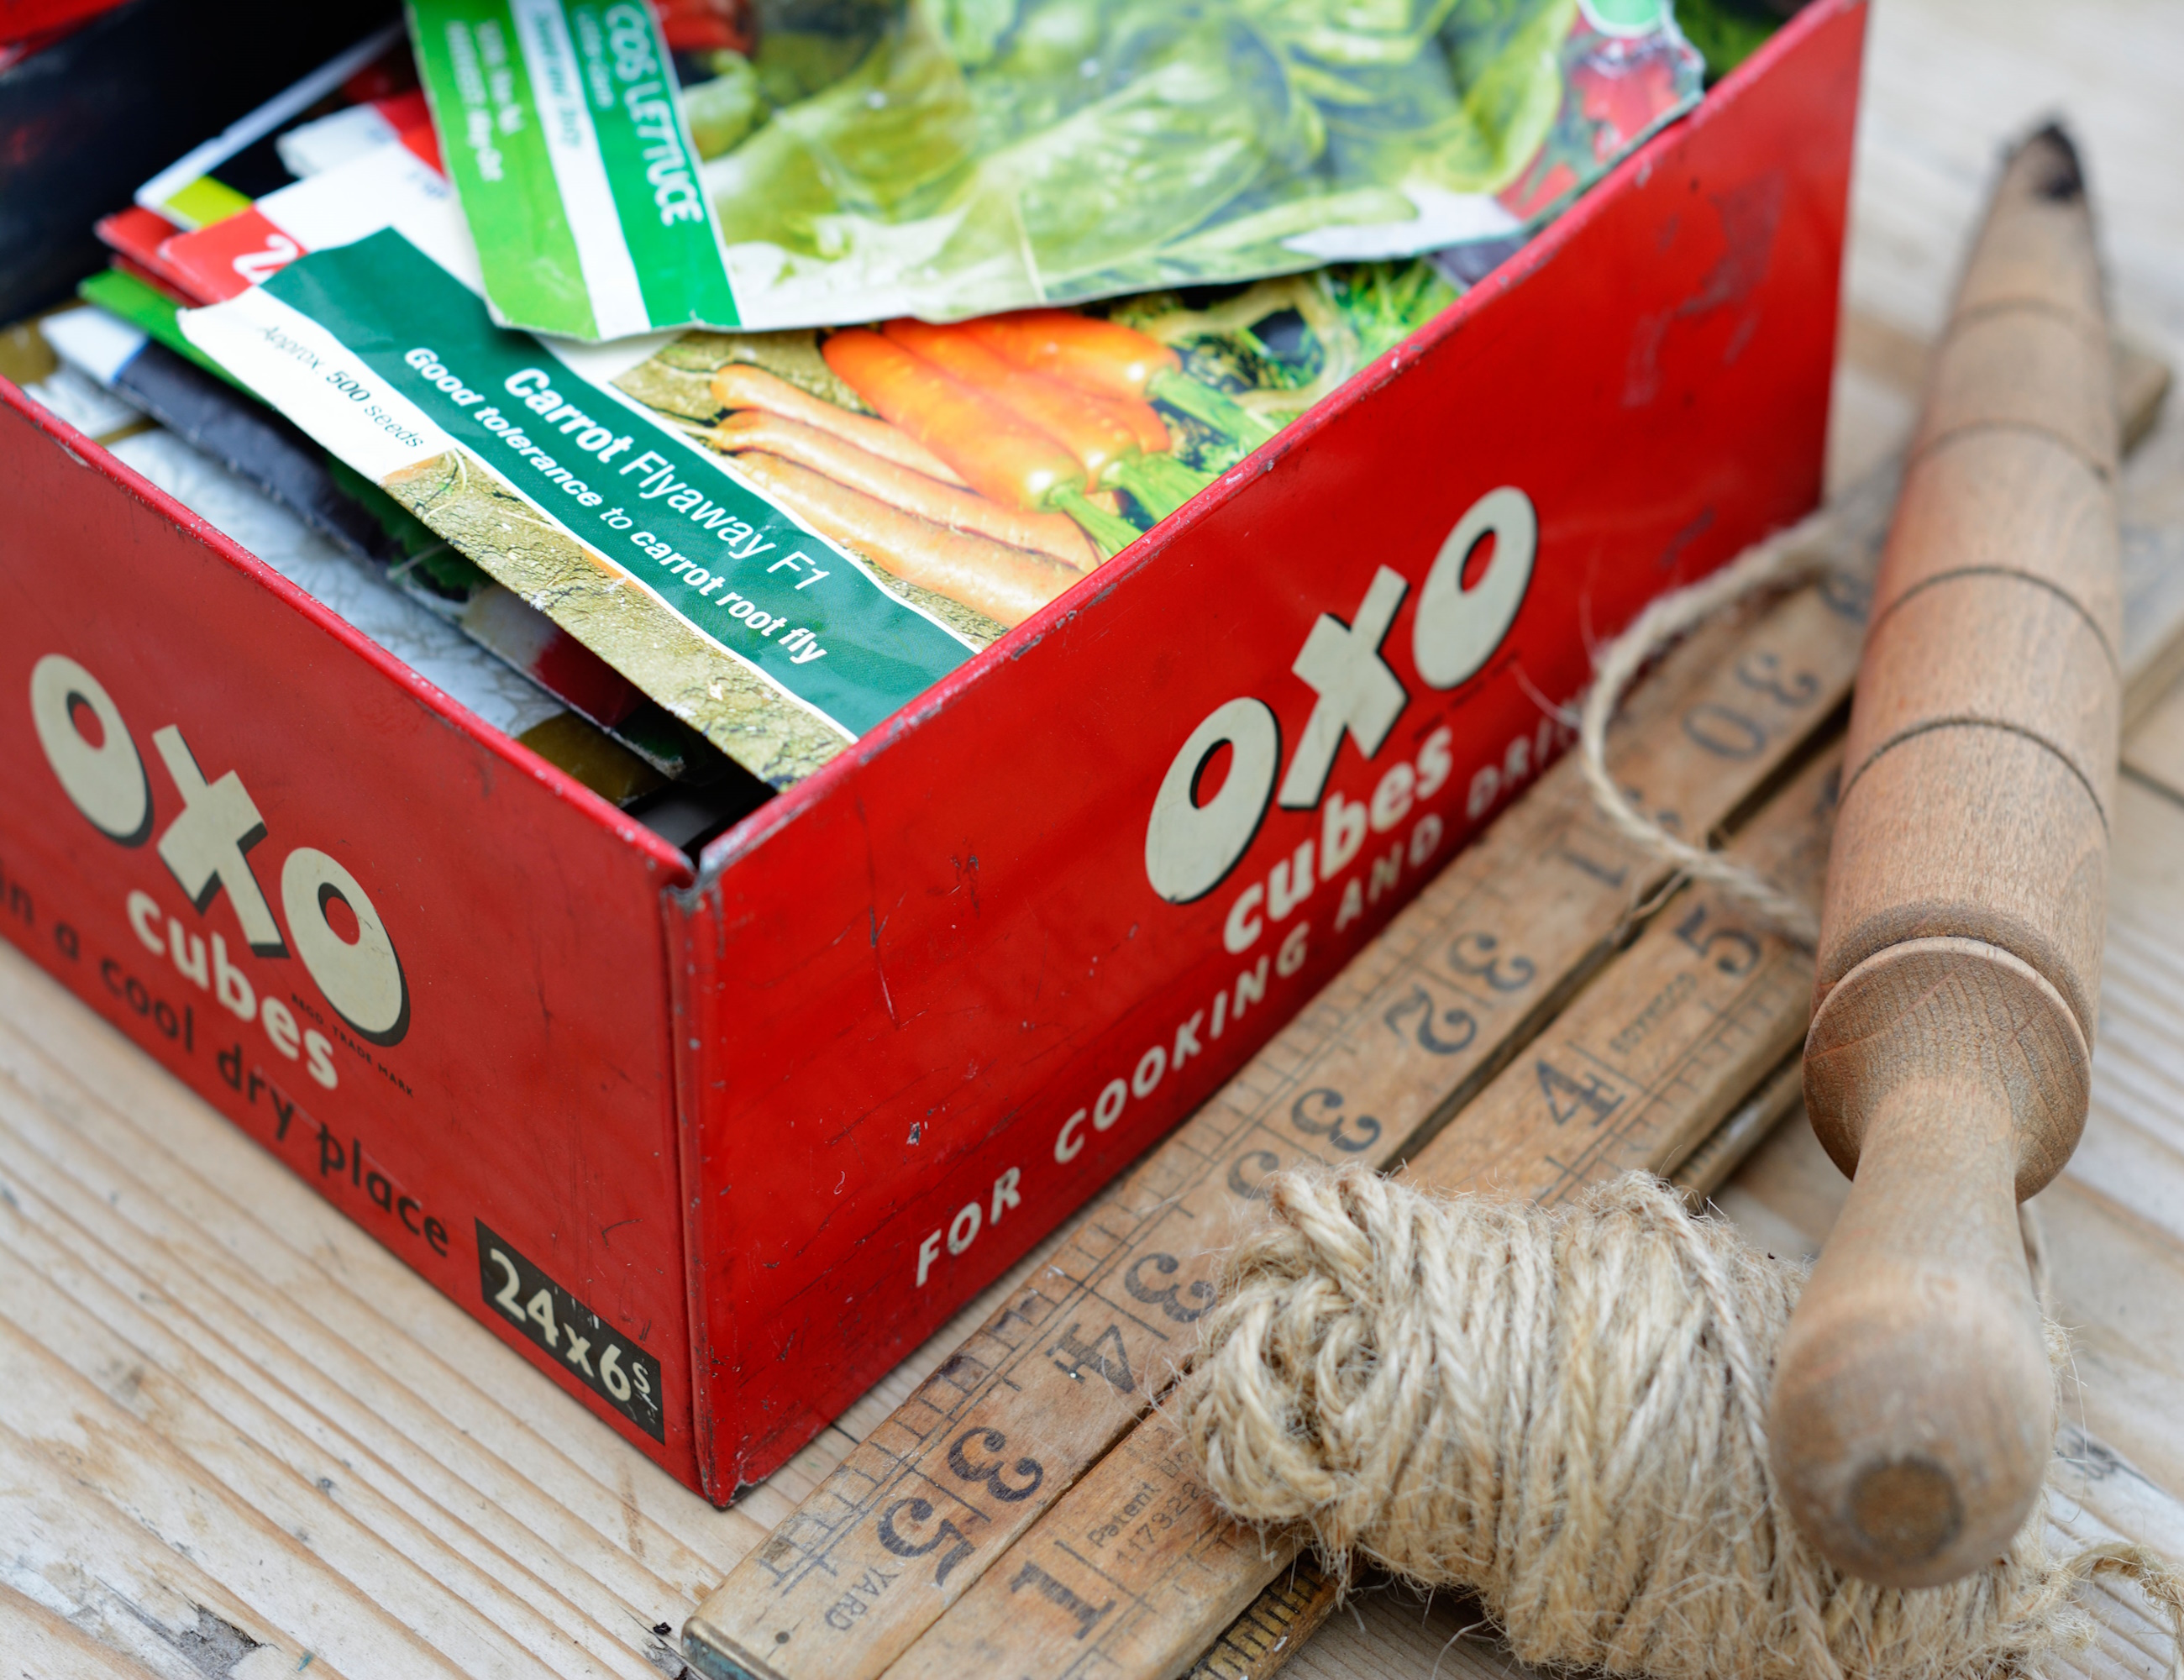
There there are a few do’s and don’ts when it comes how to store seeds. Essentially keeping seeds somewhere cool and dry – depriving them of two key growth essentials warmth and moisture – will ensure they stay dormant until ready to sow.
This is particularly important when collecting and storing seeds harvested from your own garden, as these can quickly become mouldy if not dried thoroughly before storage.
The original seed packet has all the crucial information needed for that variety, such as the plant name, days to maturity, when to plant, how far to space, etc. If you can’t keep the seed in their original packaging, place them in a small envelope that has the plant and variety name and date of purchase at a minimum written on it.
Deciding on how to organize seeds is very much a personal choice, but having some kind of system will help to cut down on late sowings or some crops being missed altogether.
Storing seed packets by sowing date is perhaps the easiest and most effective method. Choose a plastic container, divided into compartments, so you can view at a glance and easily move seed packets if needed.
5. Prep your potting bench
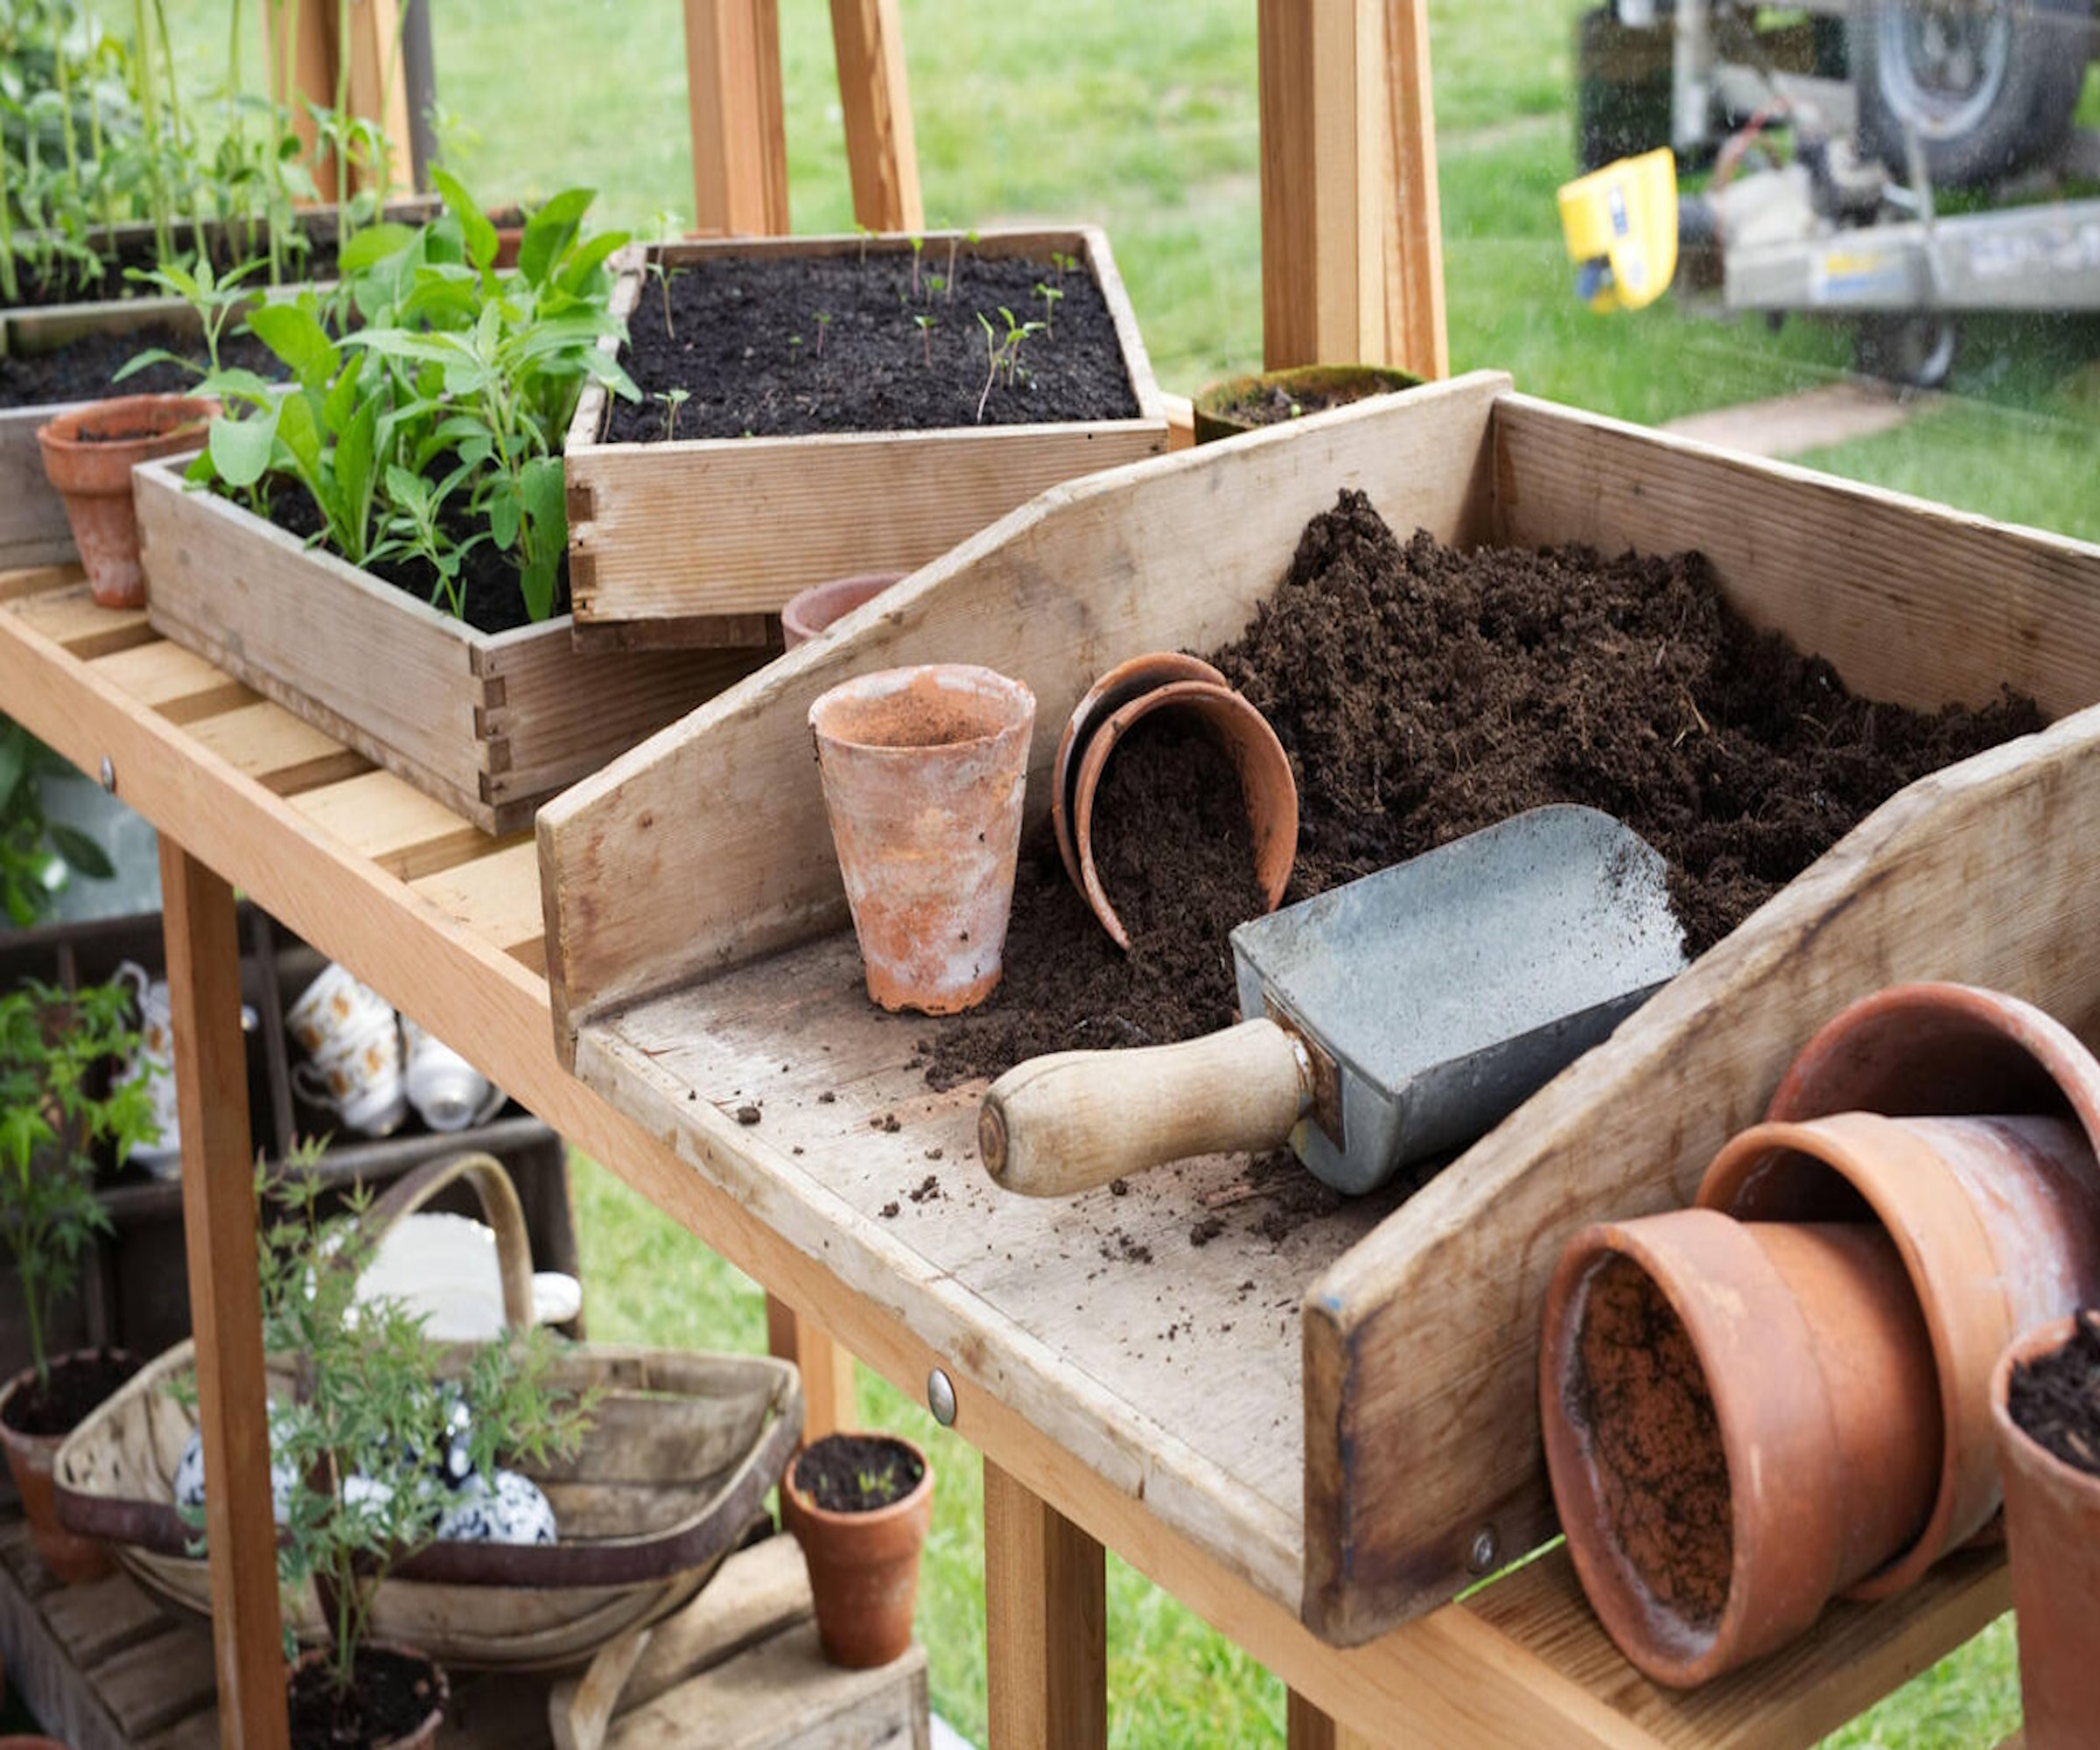
A clean and tidy workspace is essential for seed sowing. Whether it is a dedicated potting bench, kitchen table or shed, knowing where everything is will save on seed from being wasted or varieties from becoming muddled.
It’s also much more therapeutic to work on, especially if you are sowing in large quantities. Go for a solid surface too, as seeds and seed packets have an annoying habit slipping through any gaps and getting lost on the floor.
Plant experts always advise cleaning the table surface thoroughly before sowing seed. Lingering dirt and dust can encourage mold, fungal spores and bacteria to grow, all which can prevent germination and weaken emerging seedlings. Sweep, hoze or wipe the work surface down with a damp cloth or mild disinfectant and leave to air dry before using.
Organizing the space around the work bench is worthwhile, too. Nearby shelves or undercounter cupboards for storing seed trays, heat mats and propagator lids can help protect freshly sown seeds and prevent catastrophic spills, while adjacent floor space for open seed sowing compost will help eliminate mess and awkward bending.
A separate surface area for sowing seeds and labelling is a good idea, if room allows. Just make sure it’s well lit, so you can keep a close eye on those tiny seeds.
6. Make space for seedlings

Once sown, seeds can take up a surprising amount of space, so it pays to be one step ahead and clear some room. Germination requires steady warmth, moisture and light, so choose a spot such as a windowsill, tabletop or glasshouse, where the containers can be monitored and left to grow.
If you have numerous pots and trays to accommodate, it maybe worth rigging up some temporary shelving.
A series of wire shelves, slatted metal or plastic staging or even stacked plastic boxes with holes pierced in the base can work well and be dismantled and stored away when no longer needed. Wooden shelves are best avoided as they can rot quickly in the humid conditions and are not the best option for drainage.
7. Sow at the right time
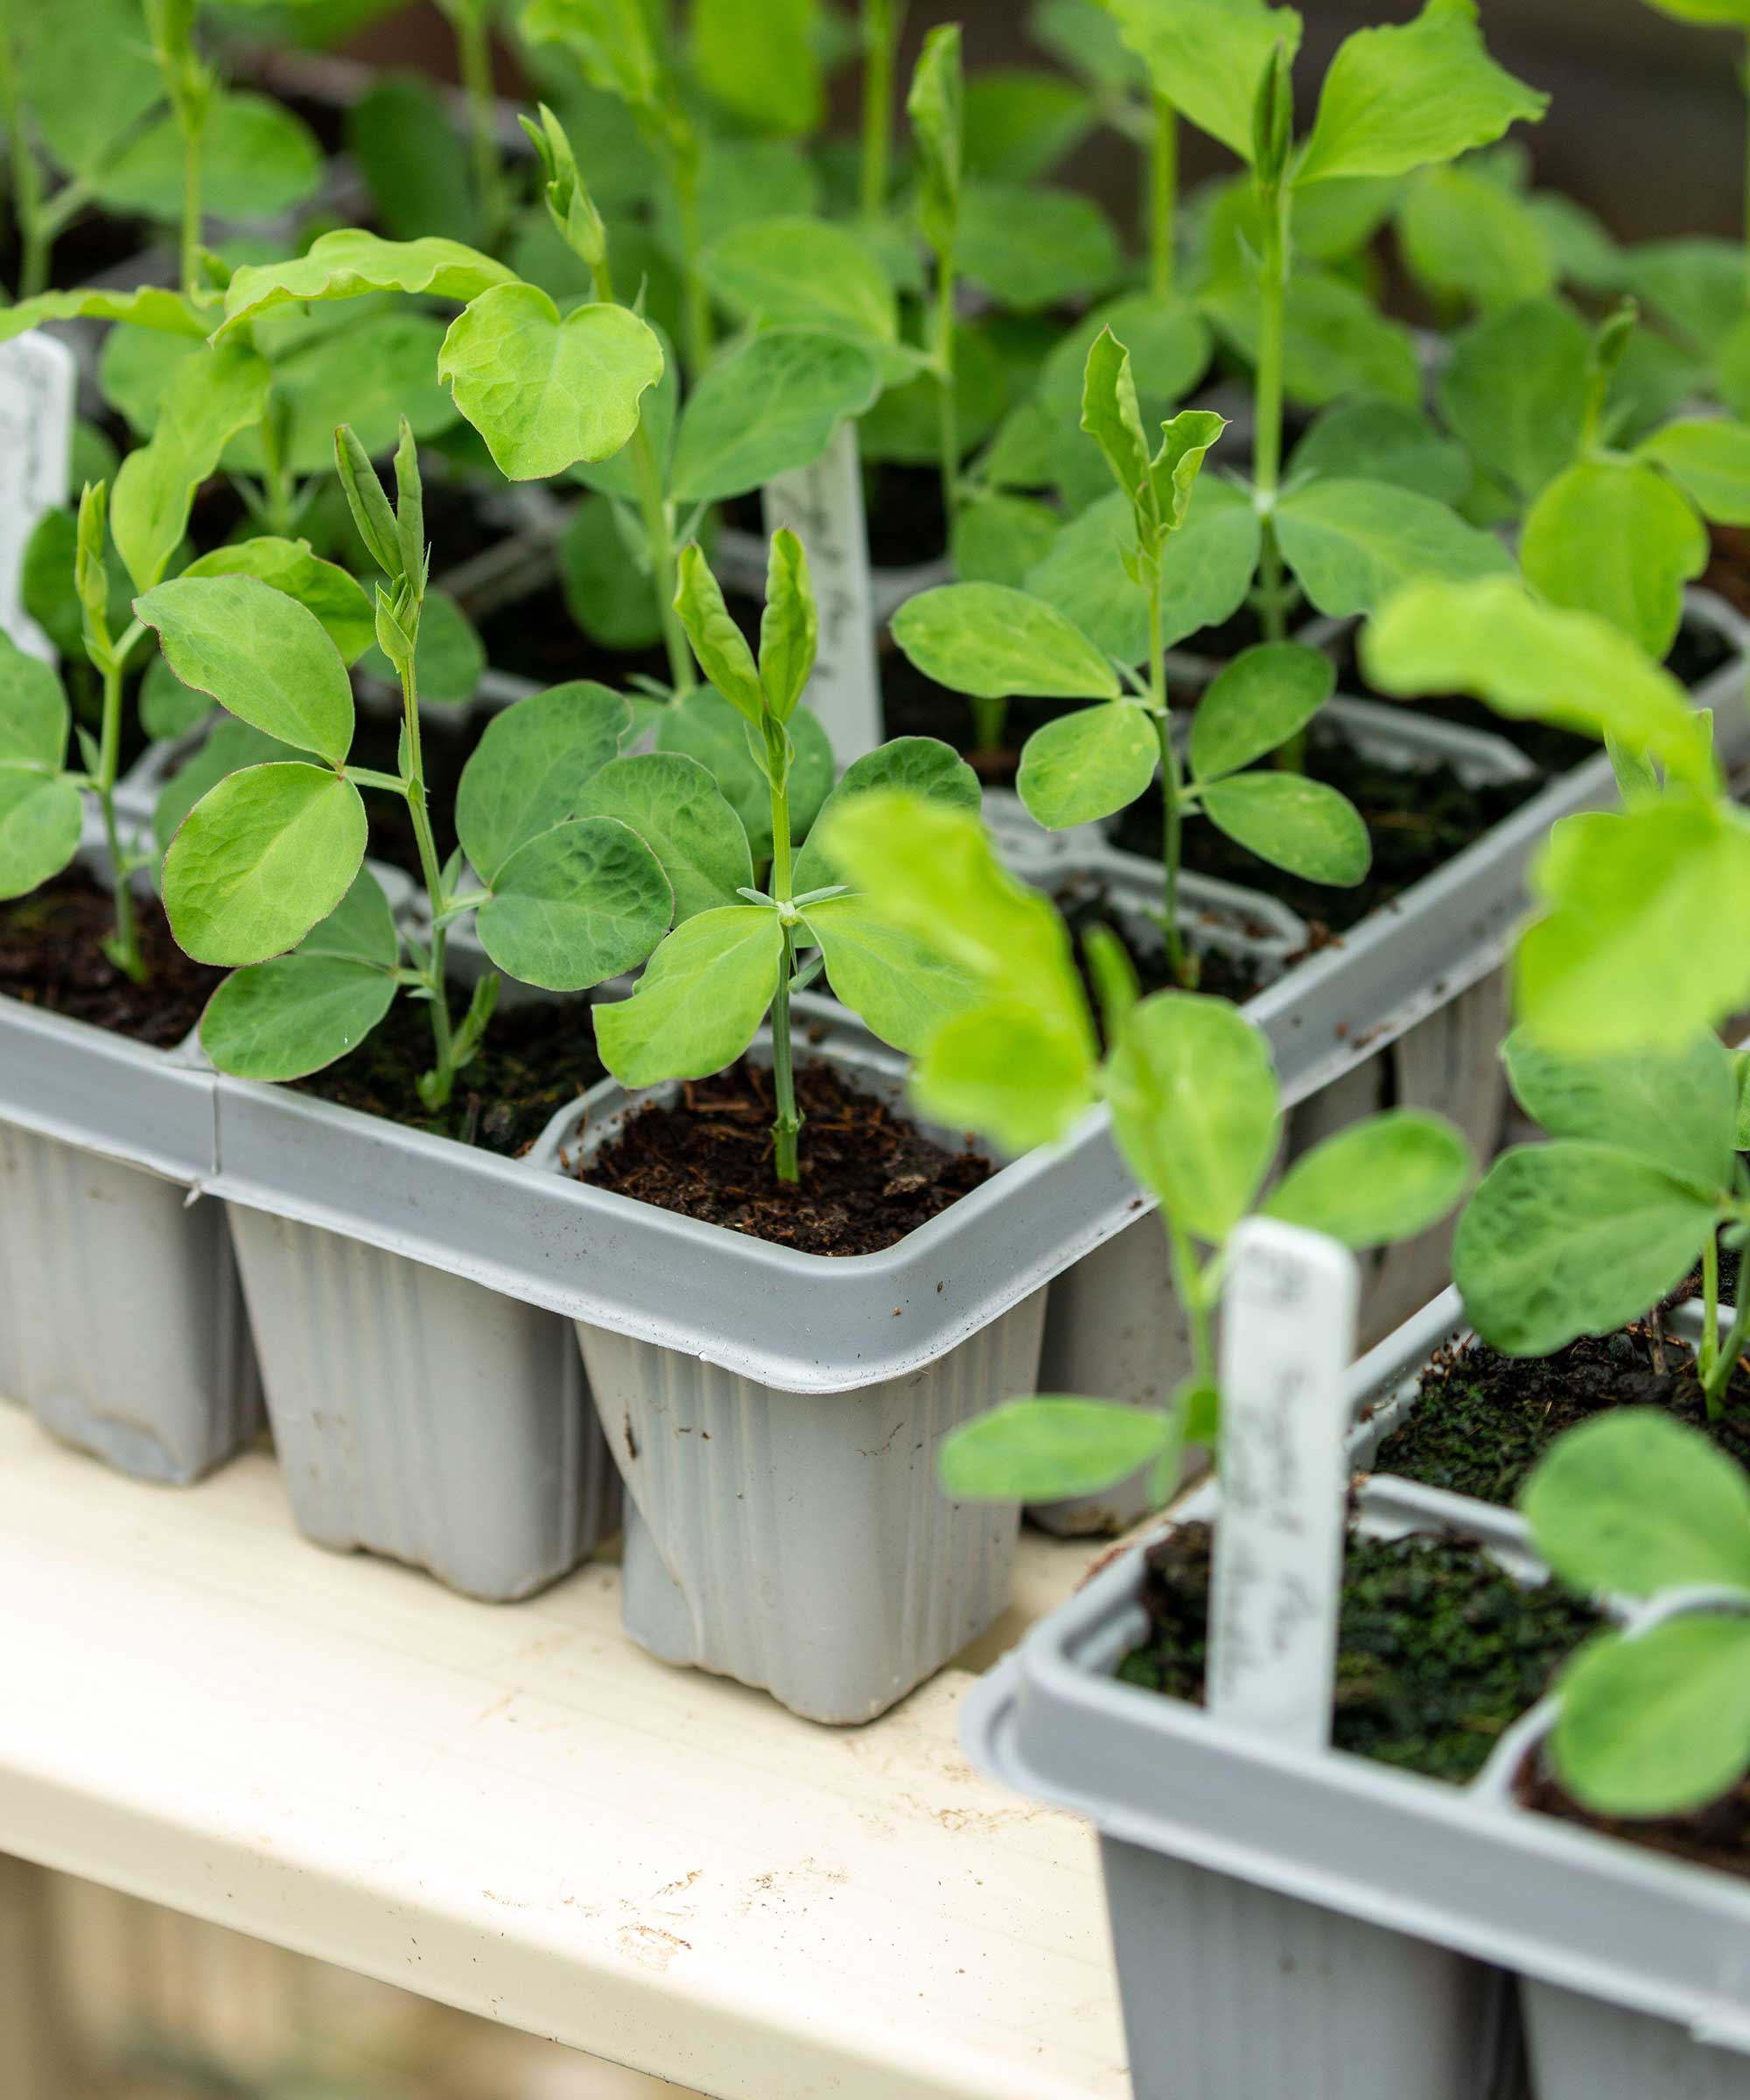
One important bit of seed sowing preparation is to plan the best time to sow. Too early, seeds will be frustratingly slow to shoot – or be finished off by a late frost, too late and you will never enjoy the crop or bloom. Make the effort to work out the weather patterns of your local climate and learn how to make a seed sowing schedule.
The main factors to be aware of are your freeze and frost dates, and soil temperatures. Most seeds should be planted after your danger of frost has passed and soil temperatures are warming up.
FAQs
How can I tell if seed is still good to sow?
All seeds have a shelf life and planting after this, or not storing them correctly, can lead to disappointment. Patchy germination or a even complete failure to grow can be hugely frustrating and a waste of time and resources. One way to avoid this is to run a germination test, and here's how:
· Choose ten seeds at random.
· Dampen a paper towel.
· Place the seeds on top of the damp paper towel.
· Place the paper towel/seeds in a dark, warm place.
· Wait 10-14 days.
· Check every few days until you see sprouts, then you will have a good indication of whether the seed is good to sow.
Hopefully these tips have left you feeling confident and inspired to give seed sowing a try. Why not learn more about how to grow seeds indoors and discover the best annual flowers to raise for your garden.


