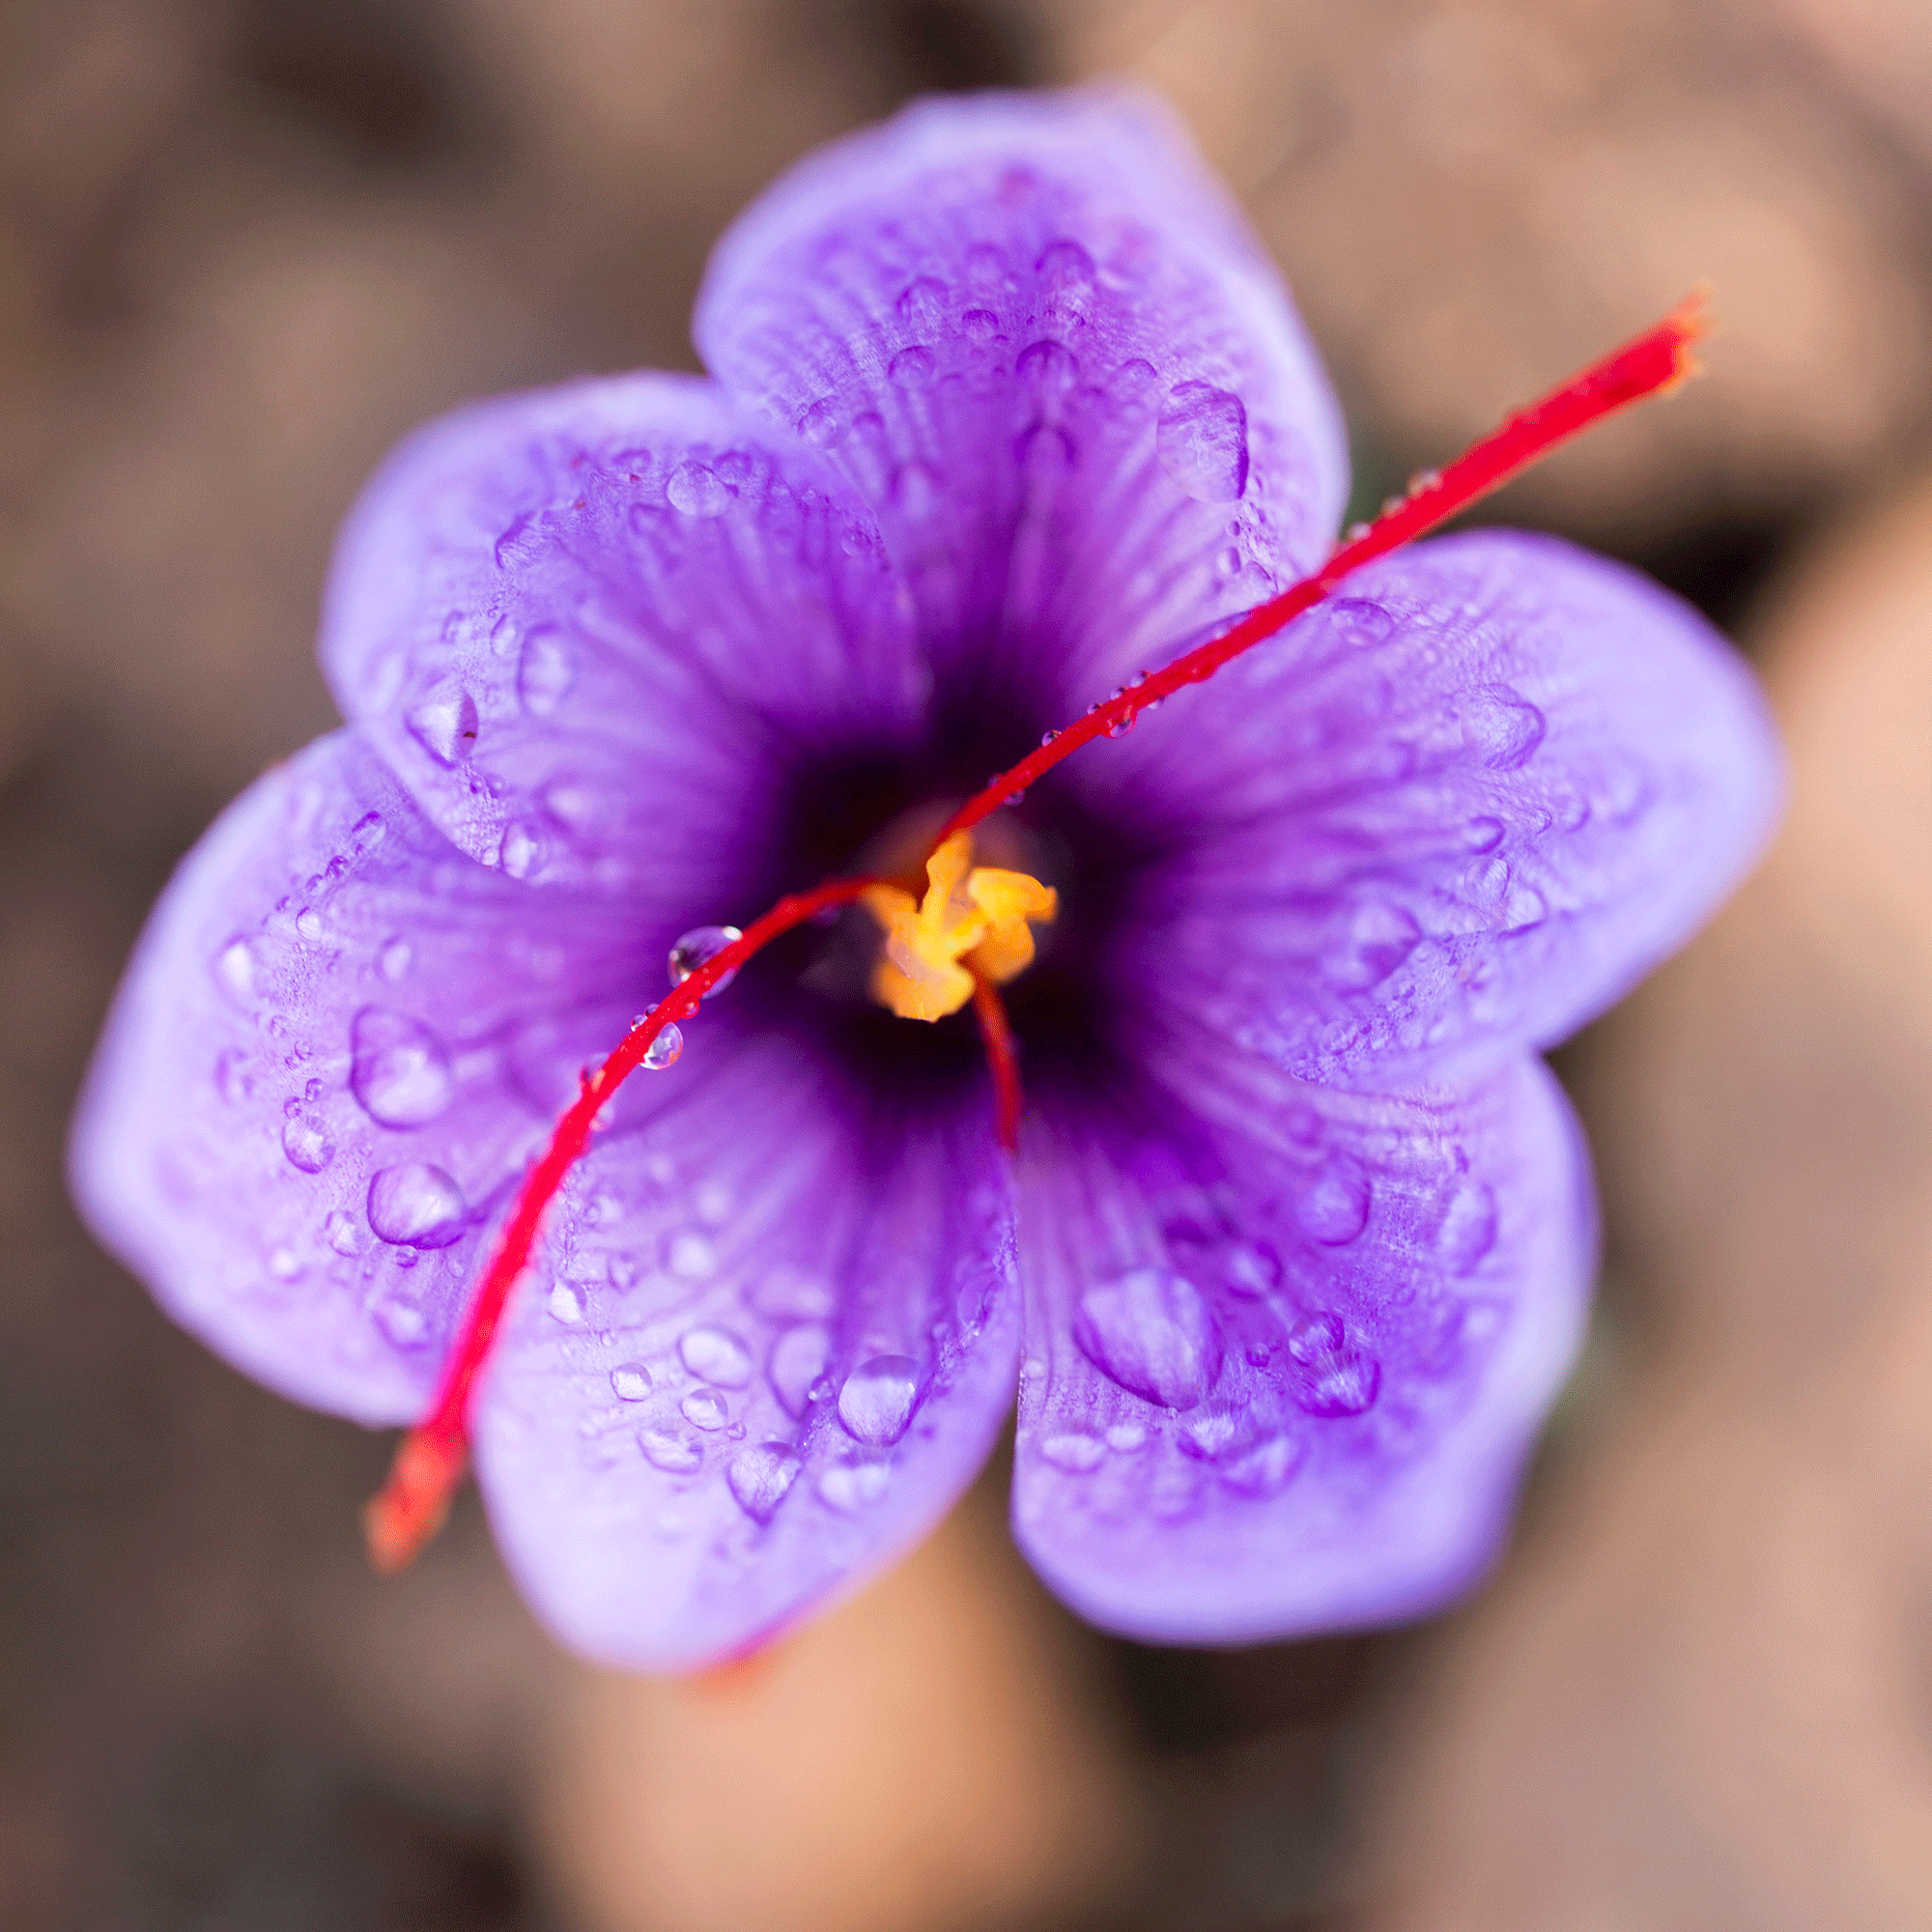
If you love the delicate, colourful blooms of crocus plants, you’re not alone. Flowering from late winter to early spring, many people choose to add this burst of colour to their seasonal gardens. But if you want to do the same, you’ll need to know how to plant crocus bulbs.
Yes, if you want to incorporate the purple, white, and yellow hues of crocus flowers into your garden, there are a few things you should know. Of course, knowing when to plant crocus is key - but knowing where, how deep, and into what kind of soil you should plant crocus bulbs will also ensure that they're some of the best spring bulbs to plant in pots.
As Claire Hooper, Plant Area Manager at Hillier Garden Centre, explains, ‘To ensure a successful display of crocus flowers, the right planting timings and techniques are crucial.’ So, this is how to plant crocus bulbs.
What you'll need
If you can't choose which colour you prefer, this pack of 16 mixed bulbs will allow you to plant all of them in your garden.
This set has everything you need to get the job done, from tilling the soil to digging the holes for your crocus bulbs.
It's always worth adding in some fresh free-draining compost when planting crocus bulbs, and this stuff should do the trick.
Step-by-step
1. Don’t worry about soaking
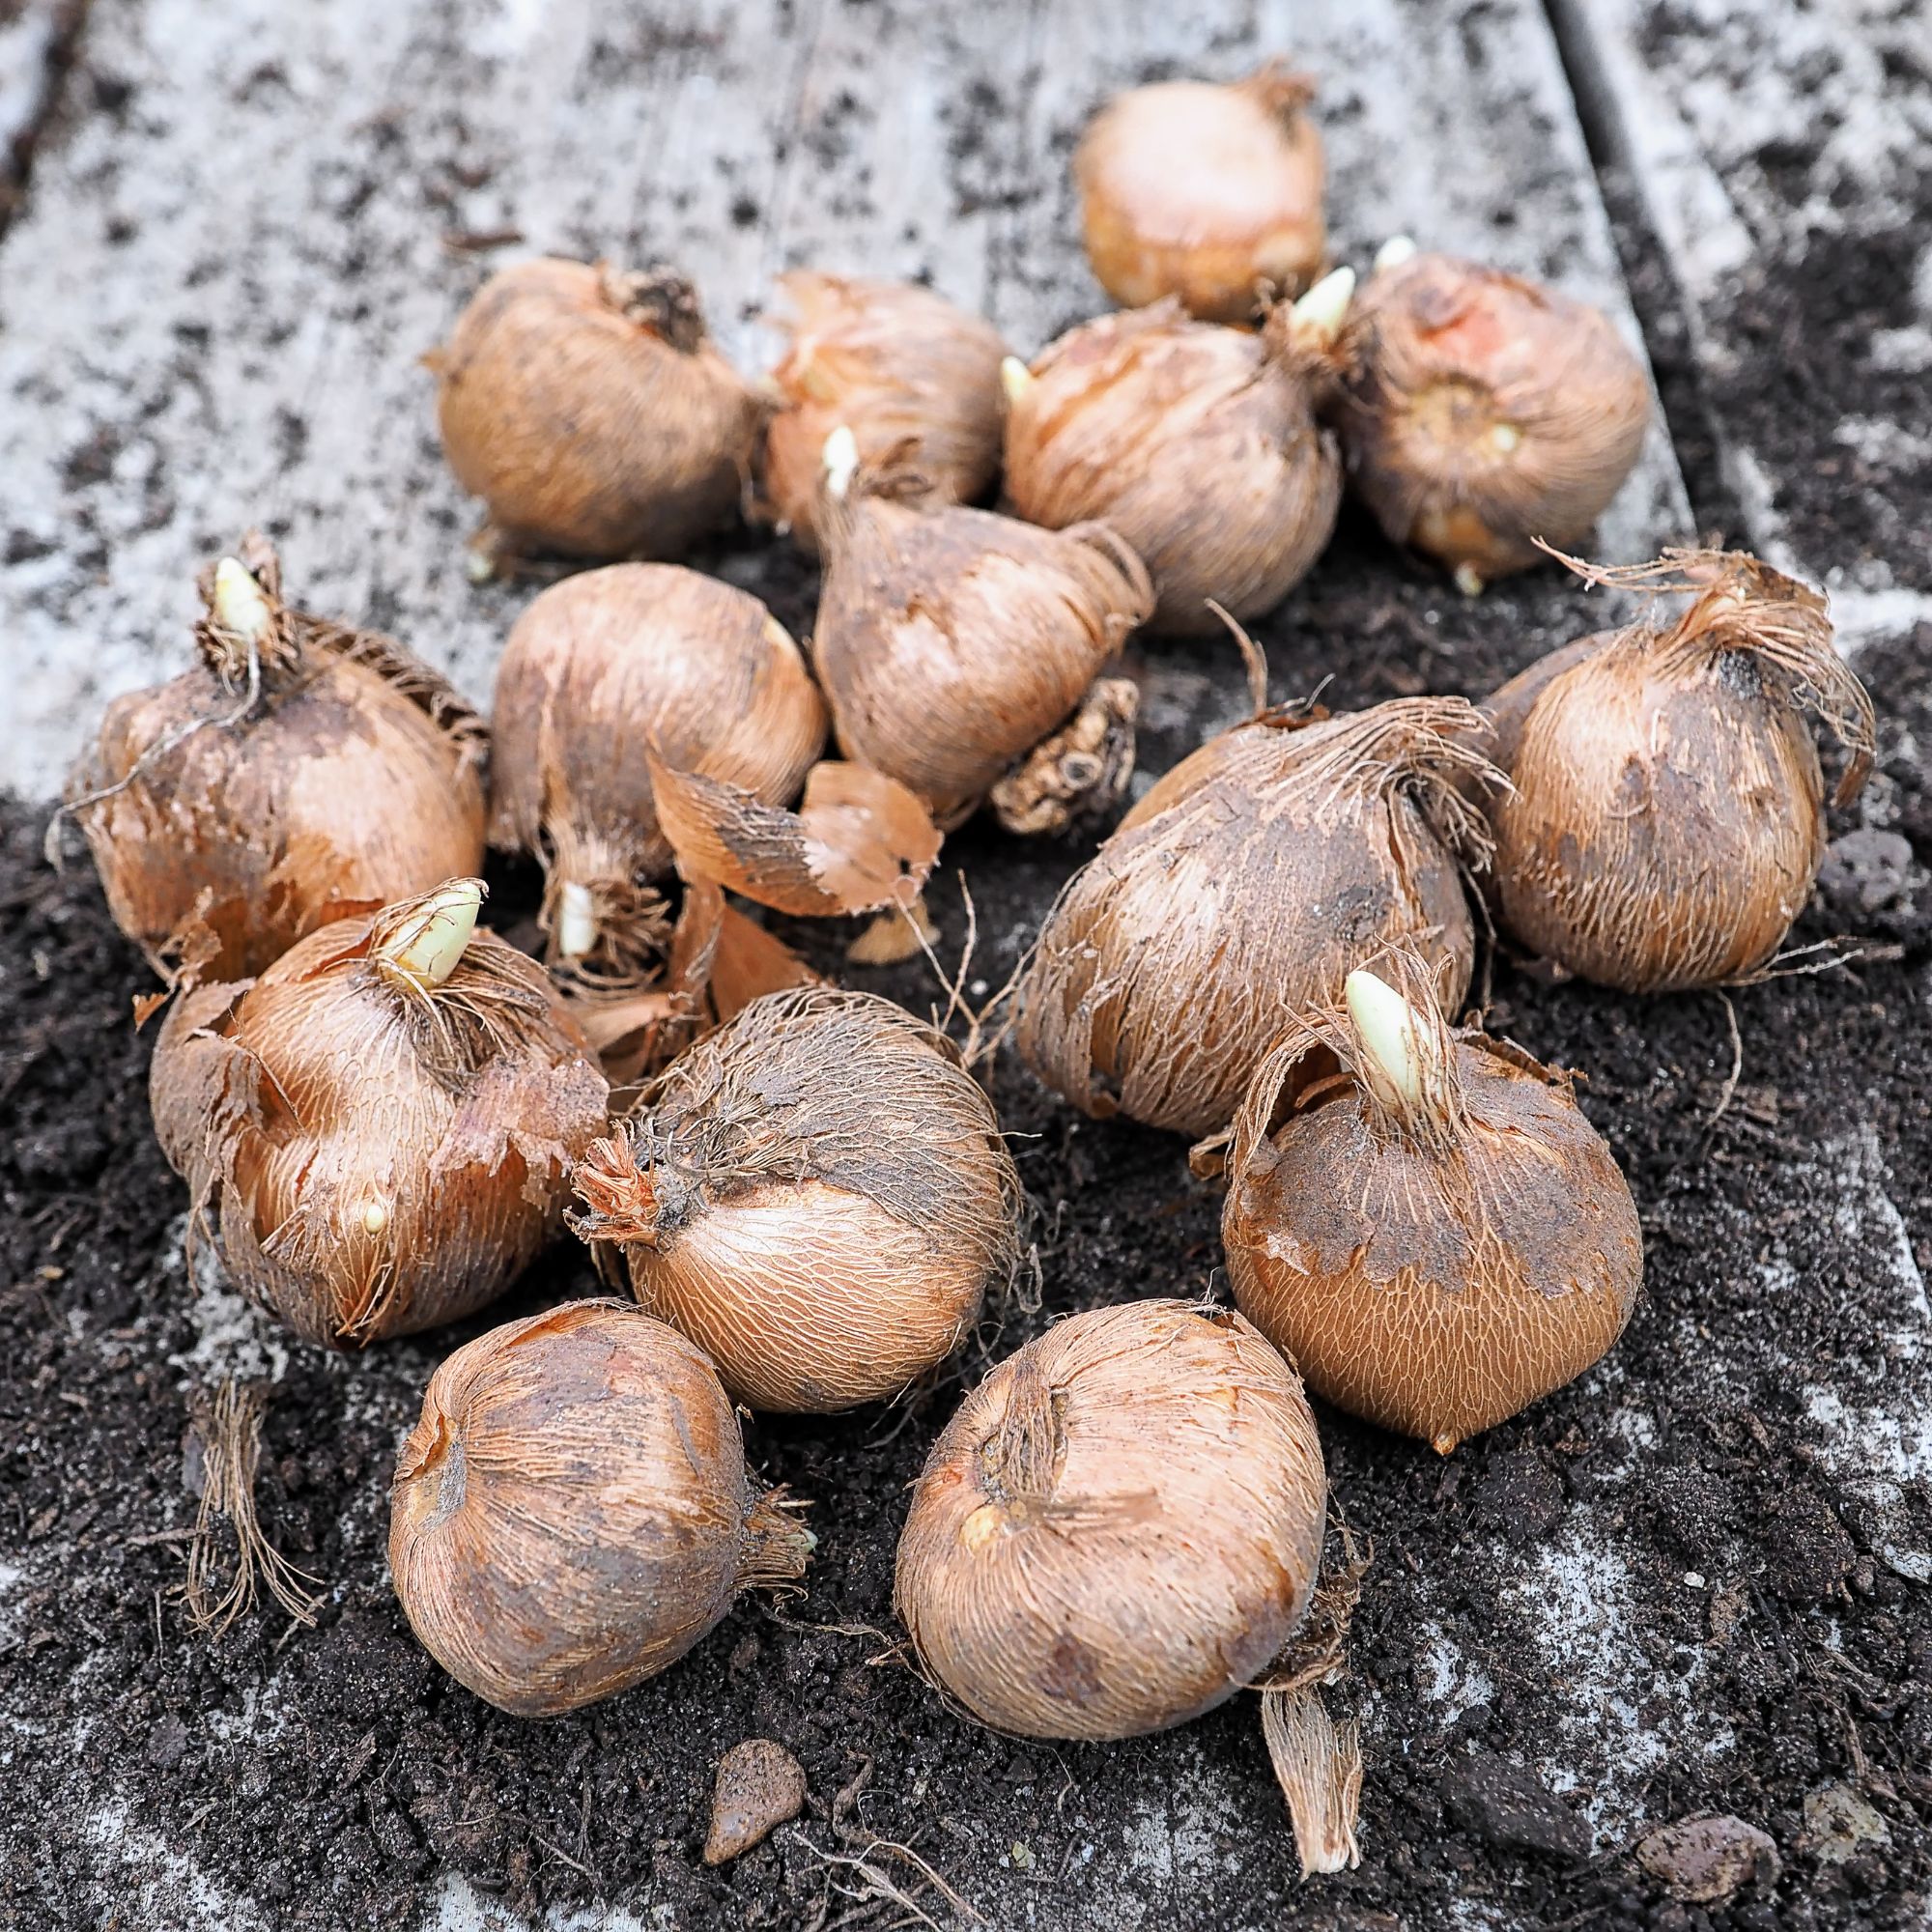
Deciding whether you need to soak your bulbs or not can make a big difference when you’re looking to fill your garden with blooms. But thankfully, you don’t need to worry about soaking when planting crocus bulbs.
Morris Hankinson, Managing Director of Hopes Grove Nurseries, explains, ‘Crocus bulbs don’t need to be soaked before planting; just let the winter weather supply the water they need.’
This means that you can crack on with the next steps as soon as it’s time to plant crocus bulbs. Just make sure that you inspect your bulbs beforehand and throw away any that look diseased.
2. Choose the perfect planting spot
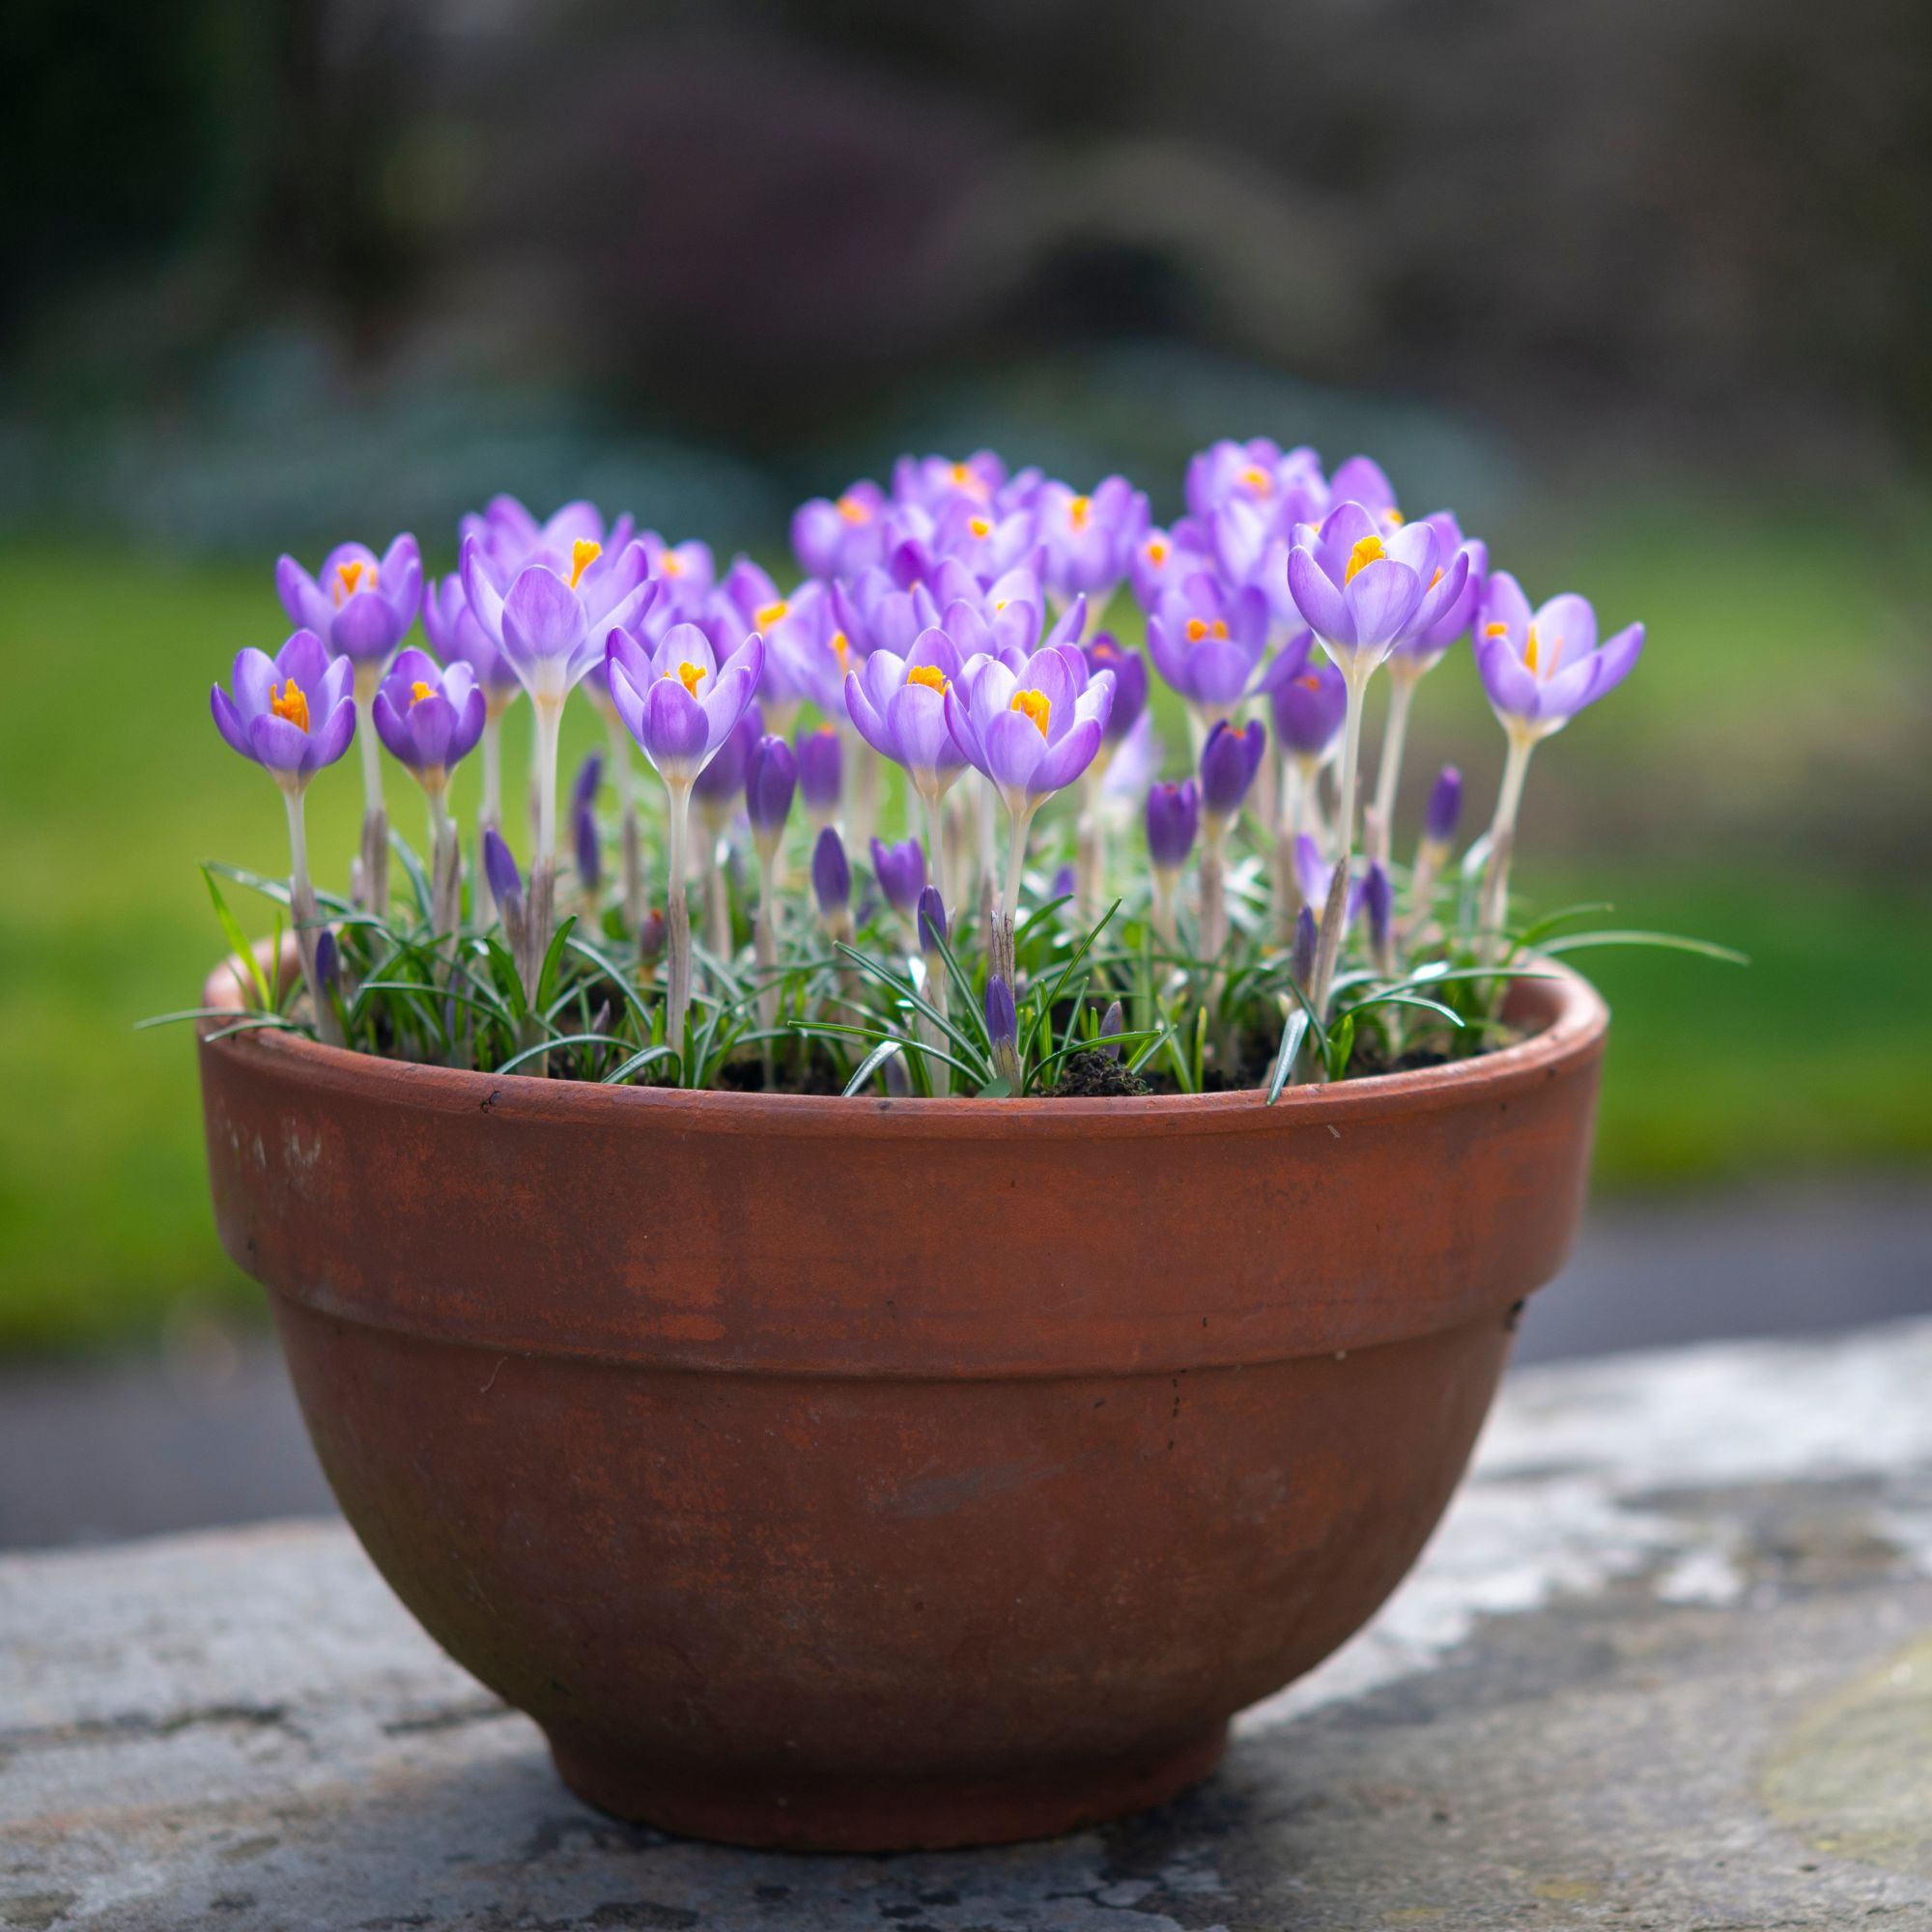
One of the many things we love about crocuses is that they’re versatile. They can be grown in garden borders or as part of your container garden, so all you need to do is choose which of these options you’d like to go for.
However, crocuses do have very specific growing requirements. As Morris says, ‘They need to be in a sunny position to thrive.’ Because of this, it’s best to find the sunniest spot in your garden to ensure they can get the sunlight they need throughout the gloomier months of the year. Your soil is important, too.
This is echoed by Claire, who says, ‘Look for a spot in your garden that receives full or partial sun with well-draining, slightly acidic soil. To prepare the soil for planting, use a garden fork or trowel to loosen it and remove any pesky weeds, rocks, or debris to provide the bulbs with a clean canvas to grow.’
3. Get planting
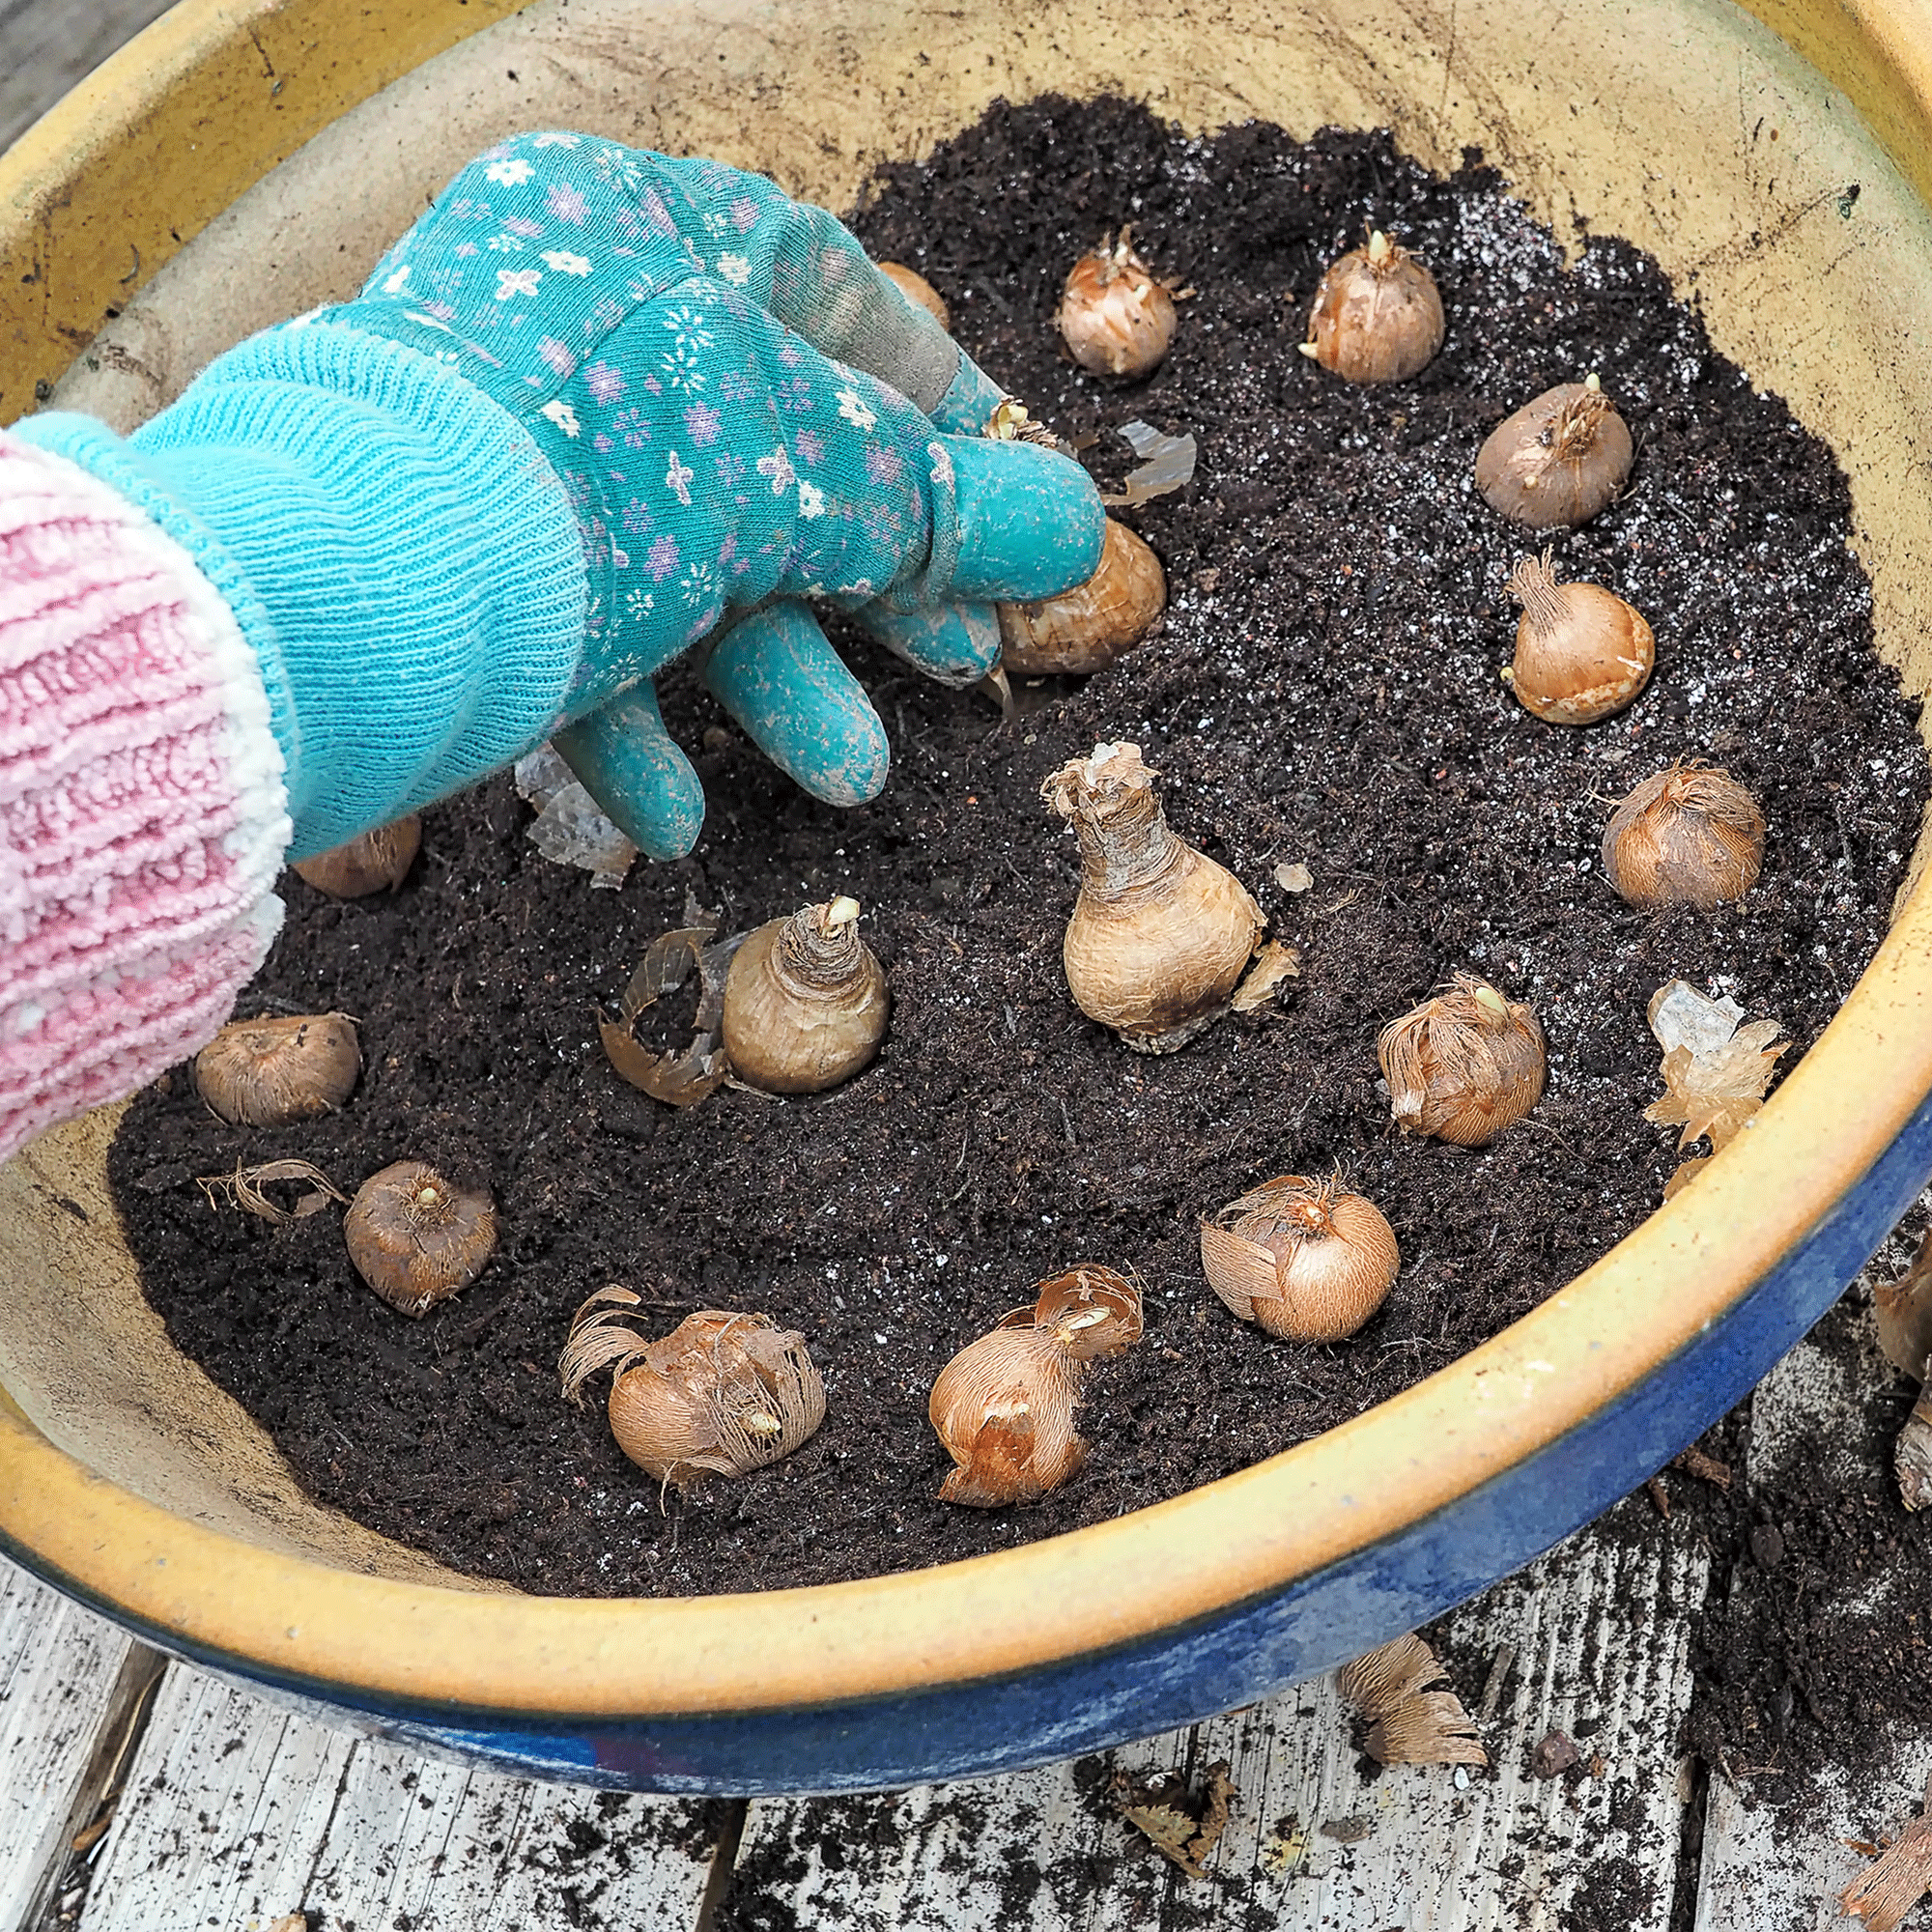
When you’ve chosen the perfect spot for your crocuses, you can get planting. It’s always worth having some extra free-draining compost on hand for this step, as this will help to replenish your soil and give your bulbs a boost.
According to both Morris and Claire, you should aim to plant your crocus bulbs 10cm deep and around 8cm apart from each other to give them room to grow. You should also plant them with the tip pointing up. You can then cover them with fresh compost.
This is also the case if you want to grow crocus sativas, allowing you to grow your own saffron and save a fortune at the supermarket.
4. Water well

After planting your crocus bulbs, you can then give them a good water to kickstart the growing process. Claire says, ‘This helps settle the soil and provides vital moisture which is essential for the early stages of root development.’
And while it’s a good idea to continue watering them if we have a dry autumn or spring, there’s a high chance you don’t need to water them again after planting. After all, the British weather will probably do that for you!
5. Cover with netting
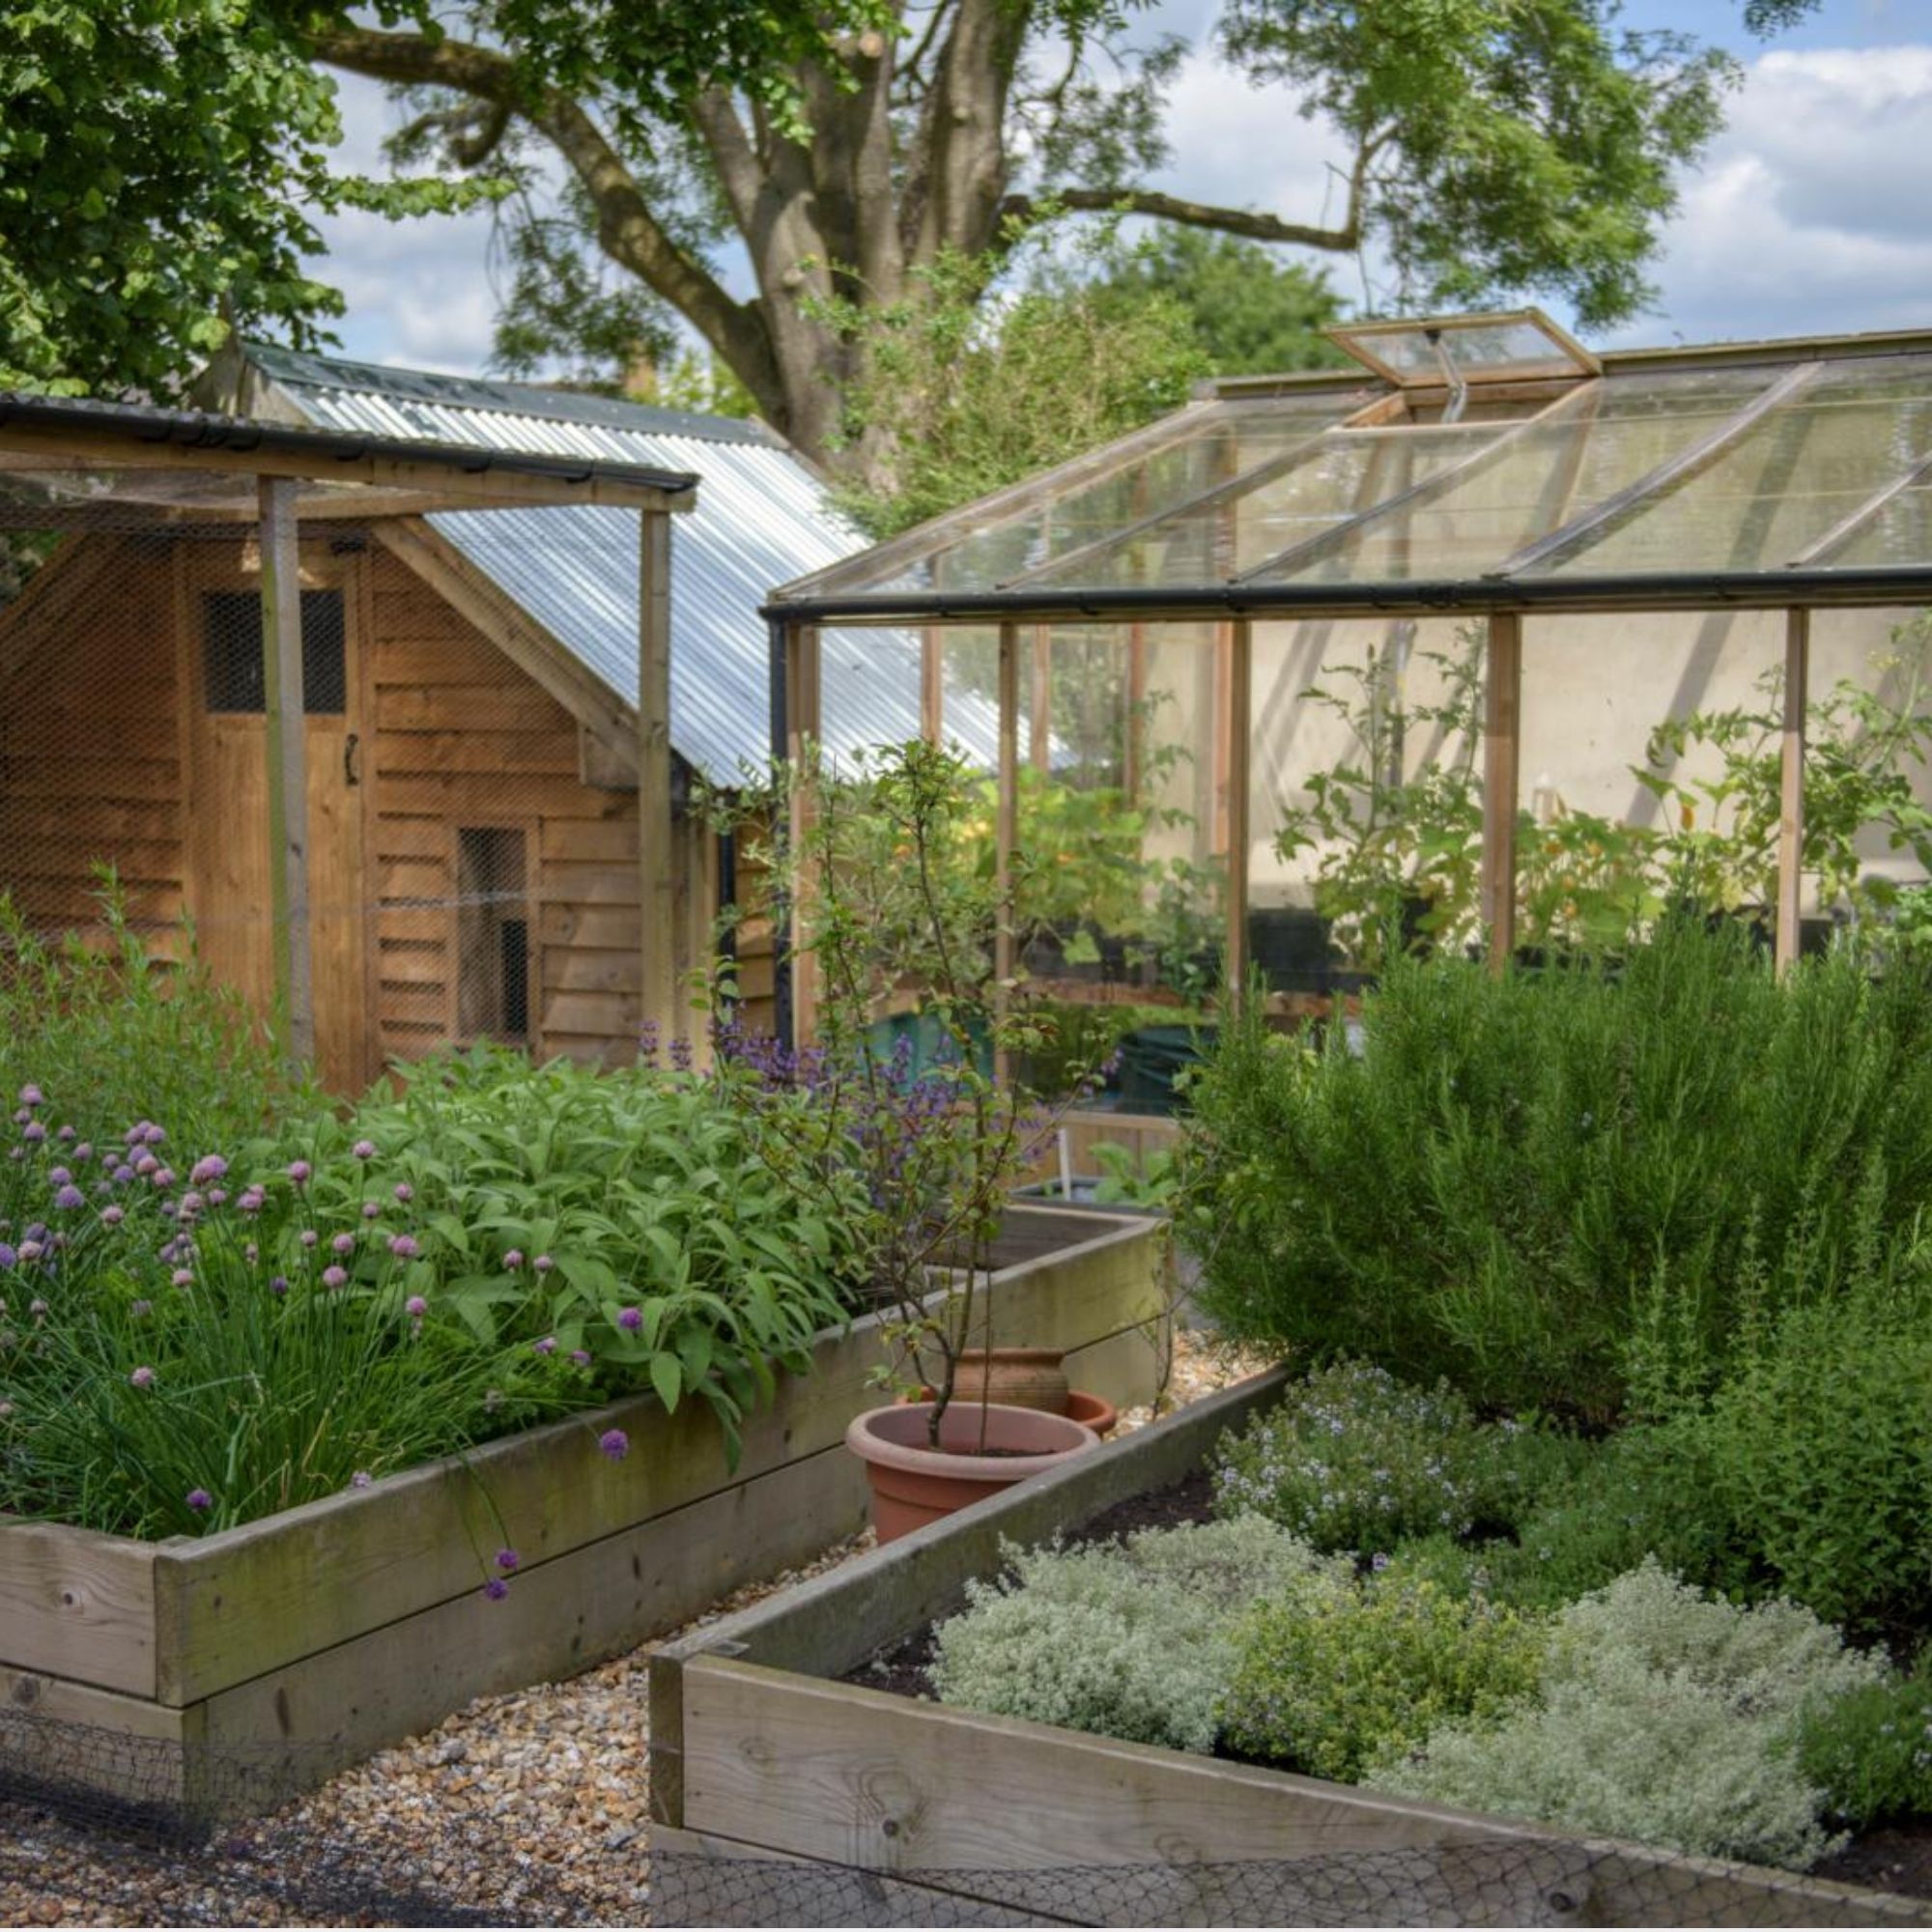
Although you may be able to stop there and wait for your crocus bulbs to bloom, you may find that you have to add this extra step to your to-do list. In fact, you may find that you have to stop squirrels from digging up your bulbs.
Morris says, ‘Planting in autumn is ideal, although sometimes hungry garden wildlife can dig them up. So, if possible, covering with some netting can be helpful but not always necessary.’
In our eyes, it’s always better to be safe than sorry, so we’d suggest using something like these Flower Bulb Planting Baskets from B&Q.
6. Care for them over the winter
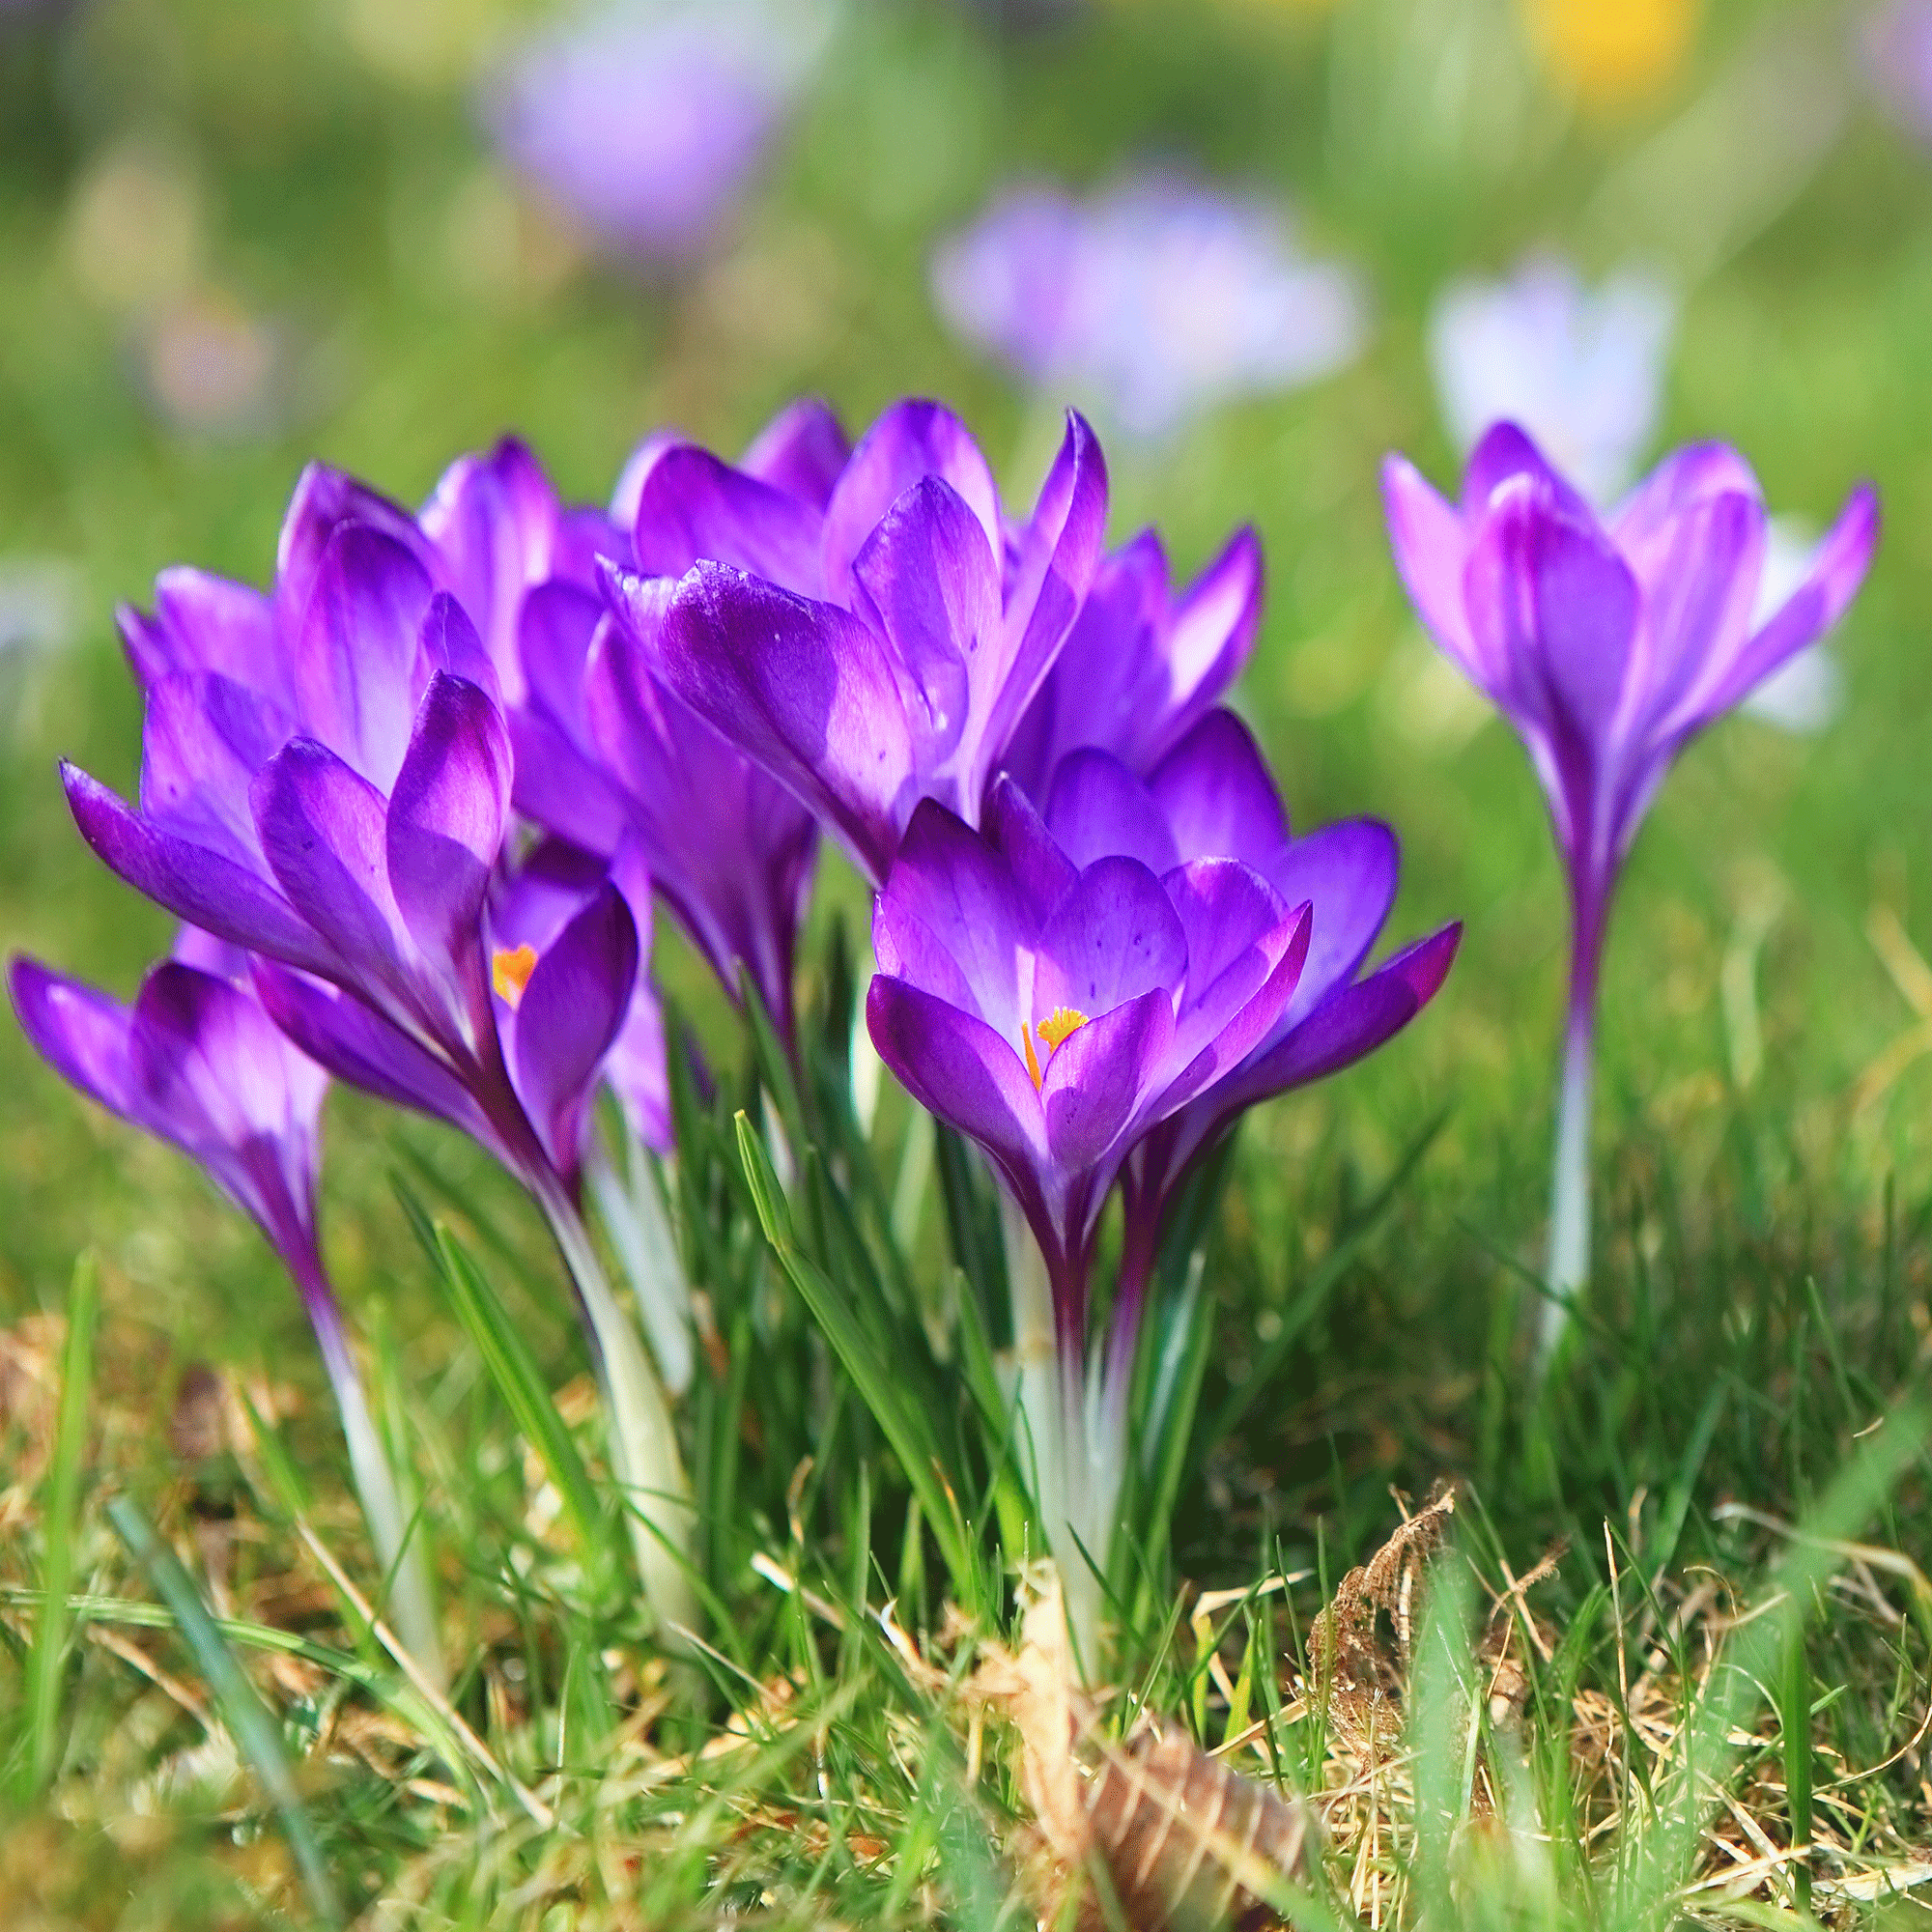
Although crocus bulbs can normally survive the winter months without a helping hand, they still struggle during extreme weather conditions. So, if temperatures drop below freezing, it’s probably best to step in.
Claire says, ‘In the face of severe weather conditions, it's advisable to apply a layer of mulch. Mulch serves a dual purpose, conserving soil moisture and regulating soil temperature.’
She also adds, ‘If you've planted crocus bulbs in pots, consider moving them indoors to a conservatory or greenhouse during extreme weather events.’
Then, all you have to do is wait until they bloom - and even then, they’re very easy to care for. Neil Donovan, AKA The Bath Gardener, advises, ‘Just leave the foliage to die back naturally and don't remove as there’s no need to deadhead. Then, feed with a general purpose feed once the flowers have faded but leaves are still green to promote more growth and better flowers next year.
FAQs
How many crocus bulbs to plant together?
Ultimately, you can plant as many crocus bulbs together as you want, as long as you give them around 8cm of breathing space in between. Most experts would suggest planting groups of six at a time, though, to create a display that looks effective without looking too overpowering.
What happens if you plant crocus bulbs upside down?
Crocus bulbs will still grow if you plant them upside down, but they may grow a little slower than normal. You may also find that some of them don’t survive the initial growing process if we have a particularly wet autumn or winter, as they may succumb to root rot.
Happy planting!


